Home>Home Appliances>Lighting Appliances>How To Change A Flush Mount Ceiling Light Bulb

Lighting Appliances
How To Change A Flush Mount Ceiling Light Bulb
Modified: March 24, 2024
Learn how to easily change a flush mount ceiling light bulb with our step-by-step guide. Keep your lighting appliances shining bright with these simple tips.
(Many of the links in this article redirect to a specific reviewed product. Your purchase of these products through affiliate links helps to generate commission for Storables.com, at no extra cost. Learn more)
Introduction
Changing a flush mount ceiling light bulb may seem like a simple task, but it's essential to approach it with caution and attention to detail. Whether you're replacing a burnt-out bulb or upgrading to a more energy-efficient option, understanding the proper steps can make the process smooth and hassle-free.
In this comprehensive guide, we will walk you through the step-by-step process of changing a flush mount ceiling light bulb. From ensuring safety by turning off the power to selecting the right replacement bulb and completing the installation, we've got you covered. By following these instructions, you can confidently tackle this task and illuminate your space with a renewed glow.
So, let's dive in and explore the essential steps to change a flush mount ceiling light bulb, ensuring a well-lit and inviting atmosphere in your home or workspace.
Key Takeaways:
- Safety first! Always turn off the power before changing a flush mount ceiling light bulb. Use a voltage tester for extra caution and ensure a safe environment for the task.
- Choose the right replacement bulb by considering brightness, color temperature, and energy efficiency. Make an informed decision to create the perfect lighting ambiance for your space.
Step 1: Turn off the power
Before beginning any work on the flush mount ceiling light, it is crucial to prioritize safety by turning off the power supply. This step is essential to prevent the risk of electrical shock and ensure a secure environment for the bulb replacement process.
-
Locate the Circuit Breaker: Identify the circuit breaker panel in your home or workspace. Typically, the panel is located in a utility room, basement, or garage. If you are unsure about the location, consult the property's floor plan or ask a knowledgeable individual for assistance.
-
Switch Off the Circuit: Open the circuit breaker panel and locate the breaker corresponding to the ceiling light fixture. It is important to switch off the circuit by flipping the breaker to the "off" position. Confirm that the power has been successfully cut off by testing the light switch associated with the fixture.
-
Use a Voltage Tester (Optional): For an extra layer of precaution, consider using a voltage tester to ensure that there is no electrical current flowing to the light fixture. This handheld device can detect the presence of electricity, providing added reassurance before proceeding with the bulb replacement.
By following these steps to turn off the power, you can create a safe working environment for the subsequent tasks involved in changing the flush mount ceiling light bulb. Prioritizing safety at the outset sets the stage for a smooth and secure process, allowing you to proceed with confidence and peace of mind.
Step 2: Remove the old bulb
With the power supply safely turned off, you can proceed to the next step of removing the old bulb from the flush mount ceiling light. This process requires attention to detail and a gentle touch to avoid any damage to the fixture or potential injuries. Here's a detailed guide on how to effectively remove the old bulb:
-
Allow the Bulb to Cool: If the light fixture was recently in use, it's important to allow the old bulb to cool down before attempting to remove it. This precautionary measure prevents the risk of burns or discomfort when handling the bulb.
-
Identify the Bulb Type: Different flush mount ceiling lights may feature various types of bulbs, such as incandescent, LED, or compact fluorescent bulbs. Before proceeding, take a moment to identify the specific type of bulb installed in the fixture. This information will be helpful when selecting a replacement bulb later on.
-
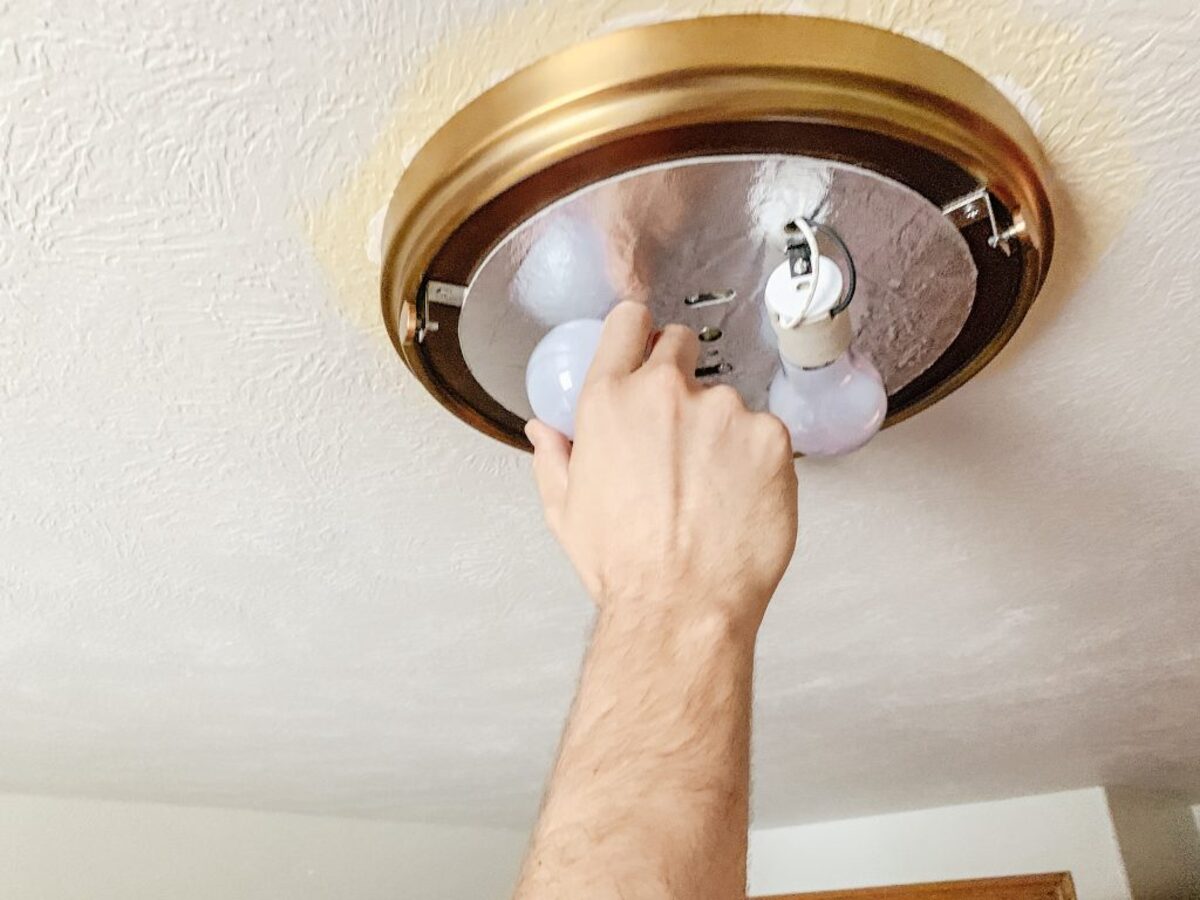
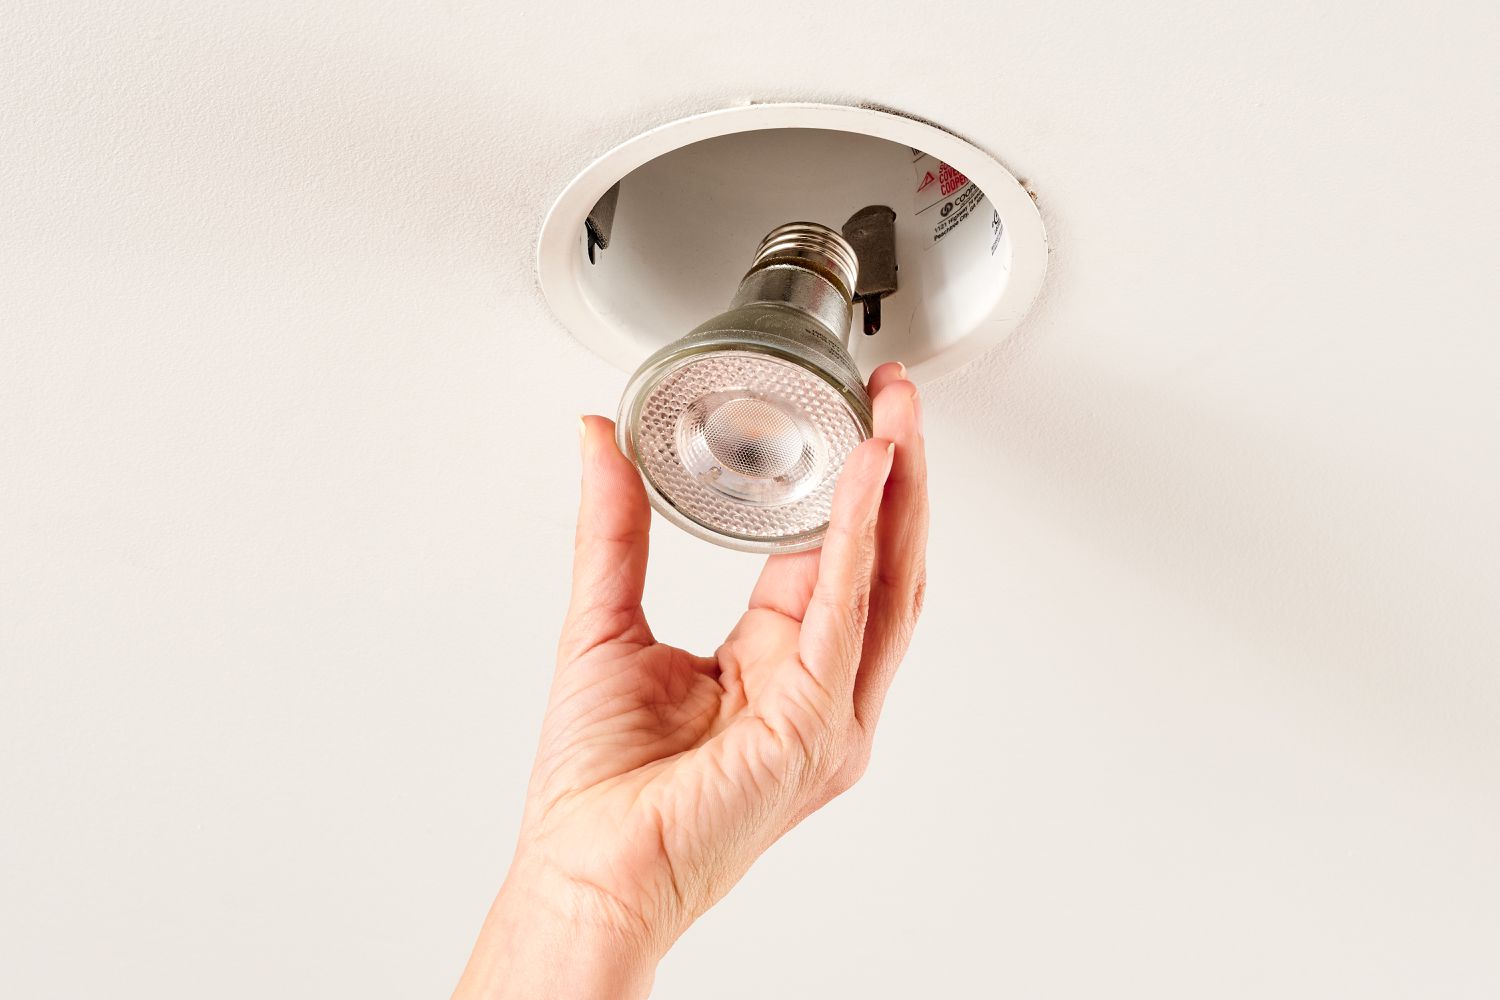
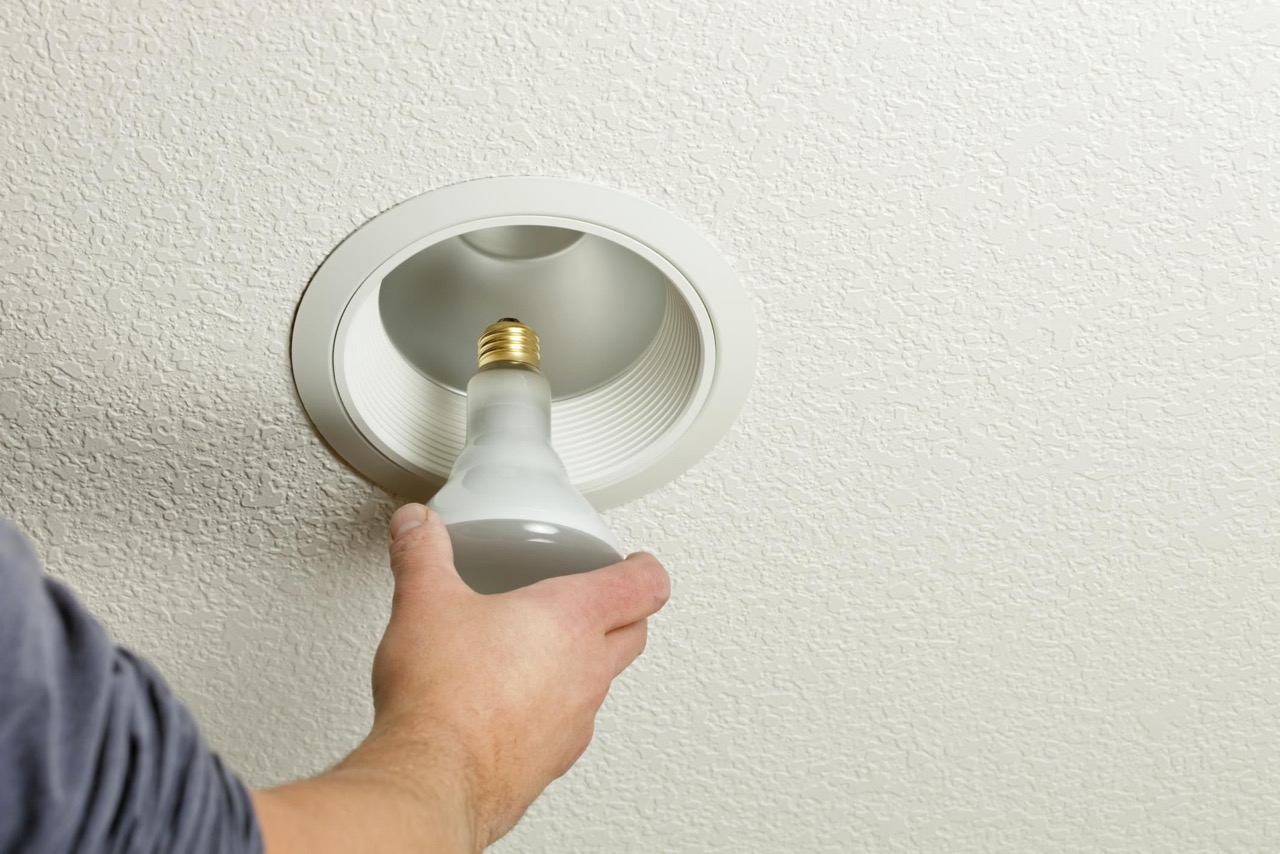
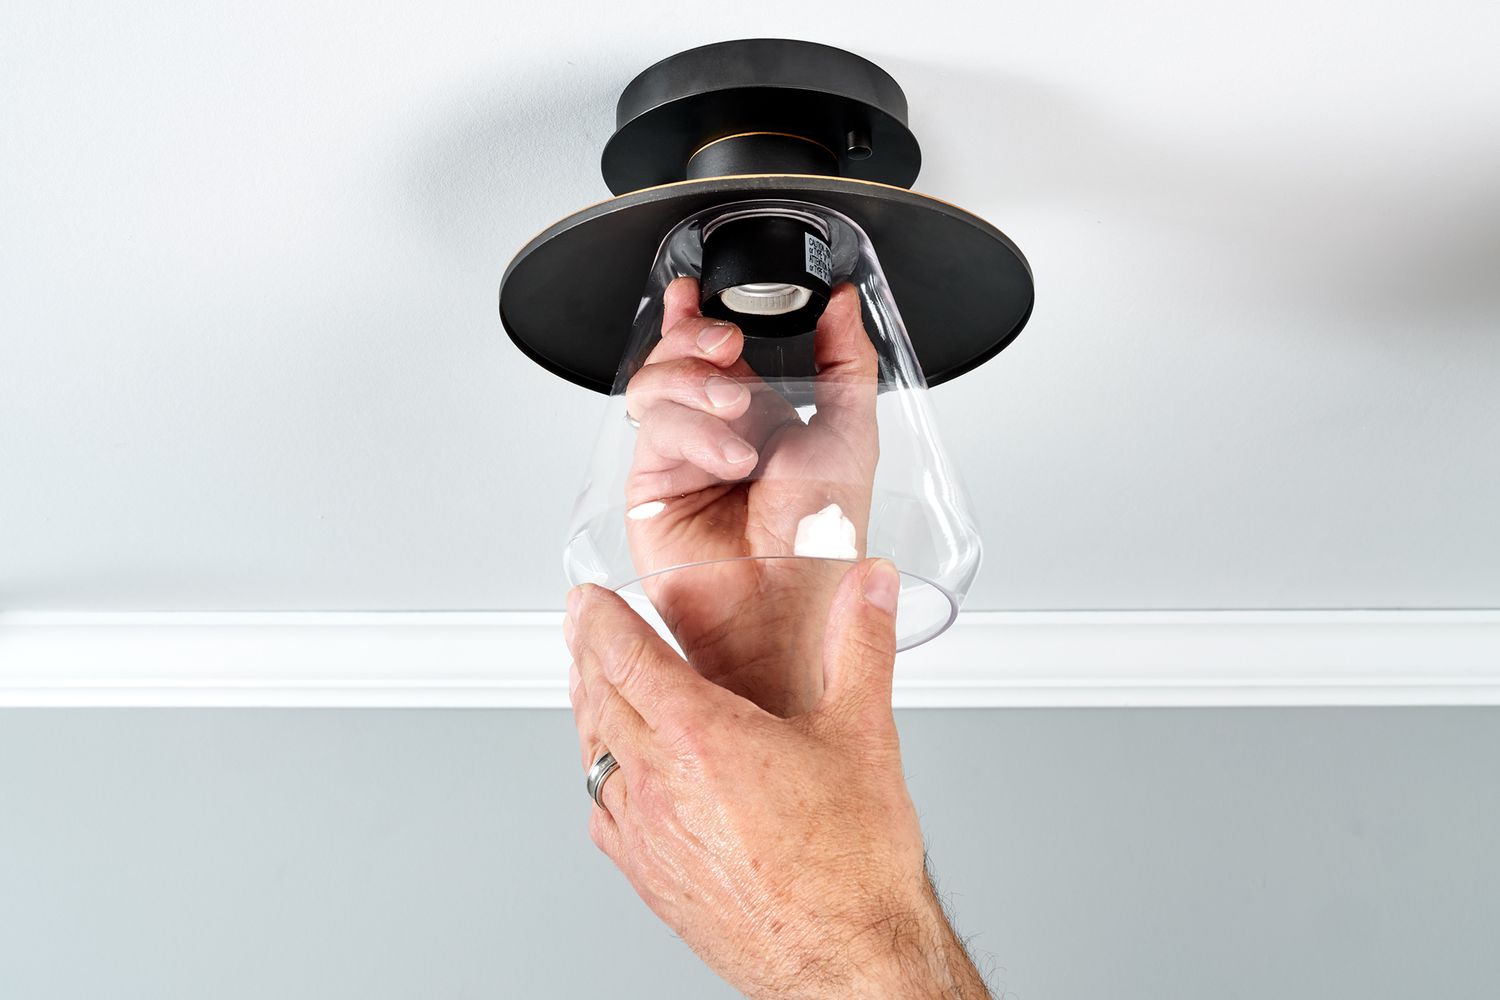
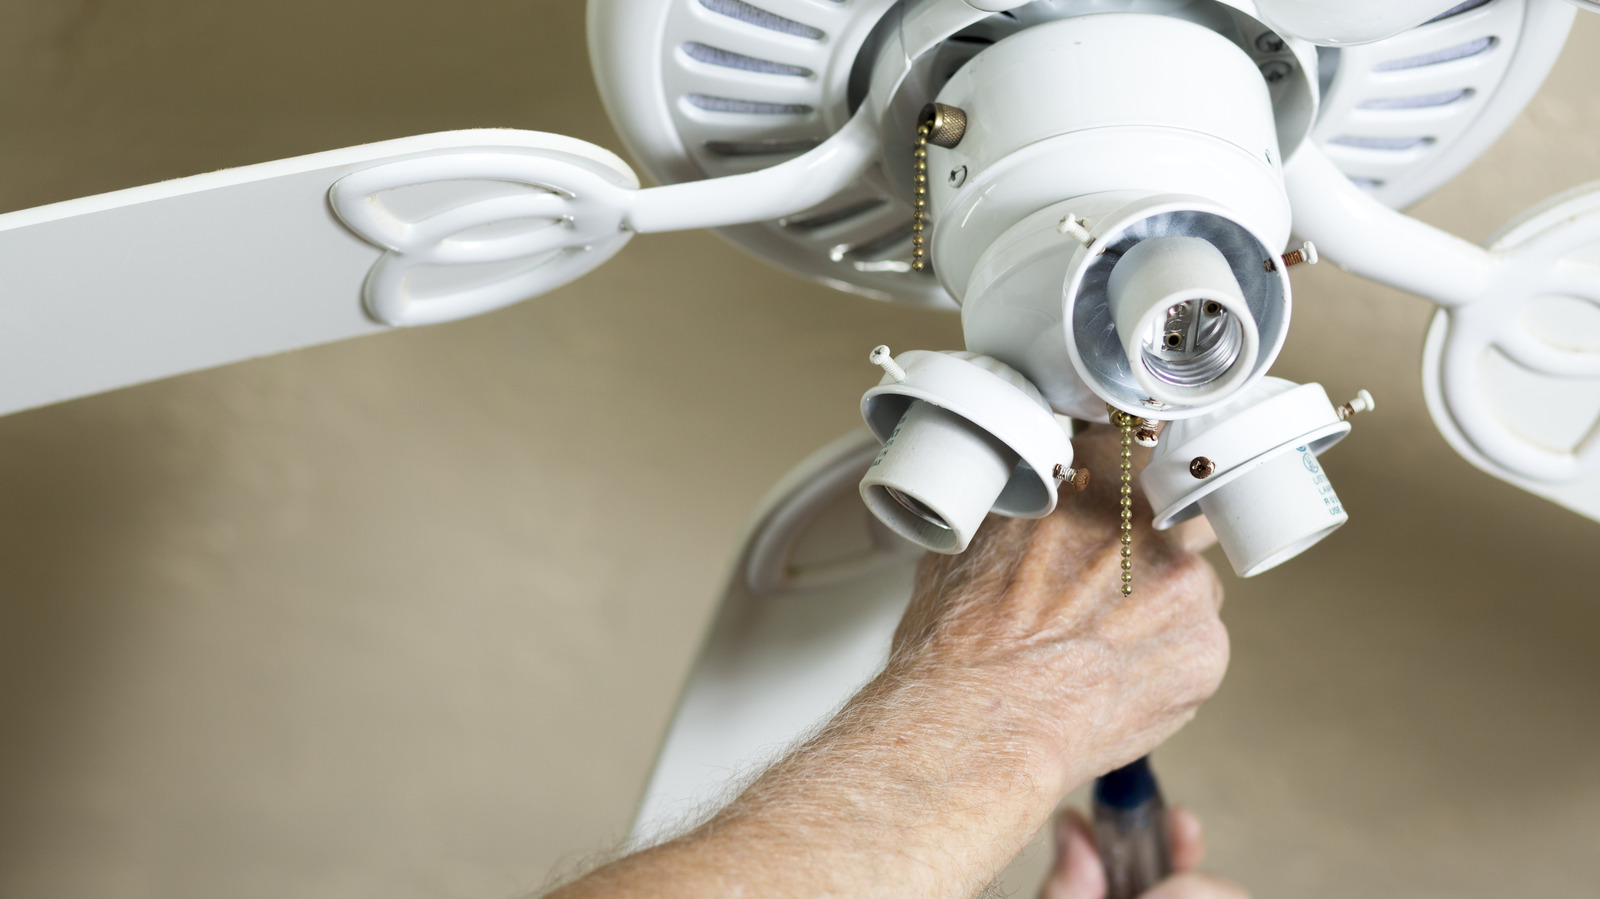
Gently Twist and Remove: Depending on the design of the flush mount fixture, the bulb may be secured in place by twisting it into a socket or holder. Carefully grip the bulb and rotate it counterclockwise to loosen it from the socket. Once it's free, gently pull the bulb straight out from the fixture, taking care not to apply excessive force.
-
Inspect for Any Residue or Debris: After removing the old bulb, take a moment to inspect the socket or holder for any residue or debris that may have accumulated over time. If you notice any dust or buildup, use a soft, dry cloth to gently clean the area, ensuring that the new bulb will be installed in a clean and well-maintained environment.
-
Dispose of the Old Bulb Properly: If the old bulb is no longer functional, it's important to dispose of it responsibly. Depending on the type of bulb, it may need to be recycled or disposed of in accordance with local regulations. LED and fluorescent bulbs, for example, often contain materials that require special handling. Be sure to research the appropriate disposal methods for the specific type of bulb to minimize environmental impact.
By following these detailed steps, you can safely and effectively remove the old bulb from the flush mount ceiling light, setting the stage for the subsequent tasks of selecting and installing a new bulb. With the old bulb successfully removed, you are one step closer to revitalizing the illumination in your space and enjoying a renewed ambiance.
Step 3: Choose the right replacement bulb
Selecting the right replacement bulb for your flush mount ceiling light is a crucial step that directly impacts the quality of illumination and energy efficiency. With a wide range of bulb options available in the market, it's essential to consider factors such as bulb type, brightness, color temperature, and energy efficiency to make an informed decision. Here's a detailed guide to help you choose the perfect replacement bulb for your flush mount ceiling light:
Consider the Bulb Type
The first consideration when choosing a replacement bulb is the type of bulb that best suits your needs. Common options include incandescent, LED, and compact fluorescent bulbs. LED bulbs are known for their energy efficiency and long lifespan, making them a popular choice for modern lighting fixtures. On the other hand, incandescent bulbs offer a warm and familiar glow, while compact fluorescent bulbs are valued for their energy-saving capabilities. Evaluate the unique characteristics of each bulb type to determine the most suitable option for your specific lighting requirements.
Read more: How To Change Light Bulb Flush Mount
Assess Brightness and Luminosity
The brightness of a bulb is measured in lumens, indicating the amount of light emitted. When selecting a replacement bulb, consider the desired level of brightness for the space where the flush mount ceiling light is installed. For general illumination in living areas or workspaces, a higher lumen output may be preferable, while softer lighting may be suitable for bedrooms or relaxation areas. By assessing the lumens of different bulb options, you can tailor the lighting to create the ambiance you desire.
Evaluate Color Temperature
Color temperature, measured in Kelvin (K), determines the warmth or coolness of the light produced by the bulb. Bulbs with lower color temperatures (2700K-3000K) emit a warm, yellowish light that is often associated with cozy and inviting environments. In contrast, bulbs with higher color temperatures (4000K-5000K) produce a cooler, bluish light that is ideal for task-oriented spaces. Consider the mood and functionality of the area where the flush mount ceiling light is located to select a replacement bulb with the appropriate color temperature.
Prioritize Energy Efficiency
Opting for energy-efficient bulbs not only reduces electricity consumption but also contributes to long-term cost savings. LED bulbs, in particular, are renowned for their energy efficiency and durability, making them an environmentally conscious choice. When choosing a replacement bulb, look for the ENERGY STAR label or check the bulb's energy efficiency rating to ensure that it aligns with your sustainability goals and helps minimize your carbon footprint.
By carefully considering these factors and exploring the diverse range of bulb options available, you can confidently select the right replacement bulb for your flush mount ceiling light. Whether you prioritize energy efficiency, customizable lighting ambiance, or long-term durability, making an informed choice ensures that the new bulb seamlessly integrates into your space, enhancing both functionality and aesthetics.
Step 4: Install the new bulb
With the old bulb successfully removed and the replacement bulb carefully chosen, it's time to proceed with the installation process. Installing a new bulb in a flush mount ceiling light requires precision and attention to detail to ensure a secure and reliable fit. Here's a detailed guide to effectively install the new bulb and revitalize the illumination in your space:
-
Handle the New Bulb with Care: Before installing the new bulb, it's important to handle it with care to avoid any damage. If the bulb is packaged, carefully remove it from the packaging, taking care not to apply excessive pressure or force that could potentially cause breakage.
-
Align the Bulb Correctly: Depending on the type of flush mount ceiling light, the new bulb may need to be aligned and inserted in a specific manner. Take note of any alignment indicators or markings on the fixture that guide the positioning of the bulb. Ensuring proper alignment is essential for a secure and stable installation.
-
Gently Insert and Twist: Holding the new bulb by its base, gently insert it into the socket or holder within the flush mount fixture. Rotate the bulb clockwise to secure it in place, ensuring a snug fit without over-tightening. It's important to avoid excessive force during this step to prevent damage to the bulb or the fixture.
-
Test the Bulb: Once the new bulb is securely installed, it's advisable to test the flush mount ceiling light to confirm that the bulb illuminates as expected. Turn the power supply back on and switch on the light to verify that the new bulb functions properly. This step allows you to promptly identify any installation issues and make adjustments if necessary.
-
Adjust the Positioning (if applicable): In some cases, flush mount ceiling lights may feature adjustable components that allow for customized positioning of the bulb. If the fixture includes adjustable elements, take the opportunity to fine-tune the positioning of the new bulb to achieve the desired lighting distribution and coverage.
By following these detailed steps, you can successfully install the new bulb in your flush mount ceiling light, bringing renewed radiance to your living space or work environment. With the new bulb seamlessly integrated into the fixture, you can bask in the enhanced illumination and enjoy the transformative impact of a freshly installed light source.
Read more: How To Change Flush Mount Light
Step 5: Turn the power back on
After successfully installing the new bulb in your flush mount ceiling light, the final crucial step is to restore power to the fixture. This step ensures that the newly installed bulb can illuminate your space effectively, providing the desired lighting ambiance and functionality. Here's a detailed guide on how to safely and confidently turn the power back on:
-
Verify the Bulb Installation: Before proceeding to turn the power back on, take a moment to verify that the new bulb is securely installed in the flush mount ceiling light. Ensure that it is aligned correctly and firmly seated in the socket or holder to prevent any potential issues when the power is restored.
-
Return to the Circuit Breaker Panel: Once you have confirmed the proper installation of the new bulb, return to the circuit breaker panel in your home or workspace. Locate the breaker that corresponds to the ceiling light fixture, which was switched off during the initial steps of the bulb replacement process.
-
Switch On the Circuit: Carefully flip the breaker switch to the "on" position, restoring the power supply to the flush mount ceiling light. As you do so, be attentive to any sounds or indications that the power has been successfully reinstated. It's essential to ensure a smooth and seamless restoration of electricity to the fixture.
-
Test the Light: With the power supply restored, test the flush mount ceiling light by turning it on using the corresponding wall switch or control mechanism. Observe the newly installed bulb as it illuminates the space, confirming that it functions as expected and provides the desired level of brightness and quality of light.
-
Check for Stability and Functionality: As the light shines, take a moment to assess the stability and functionality of the flush mount ceiling light. Ensure that the fixture operates without flickering, dimming, or exhibiting any irregular behavior. This step allows you to promptly identify and address any potential issues related to the power restoration.
By following these detailed steps to turn the power back on, you can complete the bulb replacement process with confidence and precision. Restoring power to the flush mount ceiling light marks the culmination of the task, allowing you to revel in the renewed illumination and ambiance that the new bulb brings to your living or working environment. With the power reinstated, you can bask in the enhanced radiance and functionality of your freshly revitalized light fixture.
Make sure the power is off. Remove the old bulb by twisting it counterclockwise. Insert the new bulb and twist it clockwise to secure it. Turn the power back on to test the new bulb.
Conclusion
In conclusion, changing a flush mount ceiling light bulb is a task that demands attention to detail, safety precautions, and a thoughtful approach to selecting and installing the right replacement bulb. By following the step-by-step guide outlined in this comprehensive article, you can confidently navigate the process and revitalize the illumination in your living space or workspace.
The journey begins with the crucial step of turning off the power supply to ensure a safe working environment. By locating the circuit breaker, switching off the circuit, and optionally using a voltage tester for added reassurance, you prioritize safety and set the stage for a smooth and secure bulb replacement process.
Removing the old bulb requires a gentle touch and careful inspection to ensure a clean and debris-free environment for the new bulb. By allowing the old bulb to cool, identifying the bulb type, gently twisting and removing the old bulb, and responsibly disposing of it, you pave the way for a seamless transition to the next phase of the process.
Choosing the right replacement bulb involves considering factors such as bulb type, brightness, color temperature, and energy efficiency. By assessing these elements and making an informed decision, you can tailor the lighting to suit the specific ambiance and functionality of your space, ensuring that the new bulb seamlessly integrates into your environment.
The installation of the new bulb demands precision and attention to detail to achieve a secure and reliable fit. By handling the new bulb with care, aligning it correctly, gently inserting and twisting it into place, testing the bulb, and adjusting the positioning if applicable, you complete the installation process with confidence and finesse.
Finally, turning the power back on marks the culmination of the task, allowing you to revel in the renewed illumination and ambiance that the new bulb brings to your living or working environment. By verifying the bulb installation, returning to the circuit breaker panel, switching on the circuit, testing the light, and checking for stability and functionality, you complete the bulb replacement journey with a sense of accomplishment and satisfaction.
In essence, changing a flush mount ceiling light bulb is not just a practical task; it's an opportunity to enhance the atmosphere and functionality of your space. By approaching the process with care, attention, and a commitment to safety, you can enjoy the transformative impact of a freshly installed light source, illuminating your surroundings with renewed radiance and charm.
Frequently Asked Questions about How To Change A Flush Mount Ceiling Light Bulb
Was this page helpful?
At Storables.com, we guarantee accurate and reliable information. Our content, validated by Expert Board Contributors, is crafted following stringent Editorial Policies. We're committed to providing you with well-researched, expert-backed insights for all your informational needs.



0 thoughts on “How To Change A Flush Mount Ceiling Light Bulb”