Articles
How To Remove Glass From Electric Fireplace
Modified: January 6, 2024
Learn how to safely remove glass from an electric fireplace with our informative articles. Find step-by-step guides and expert tips for a hassle-free process.
(Many of the links in this article redirect to a specific reviewed product. Your purchase of these products through affiliate links helps to generate commission for Storables.com, at no extra cost. Learn more)
Introduction
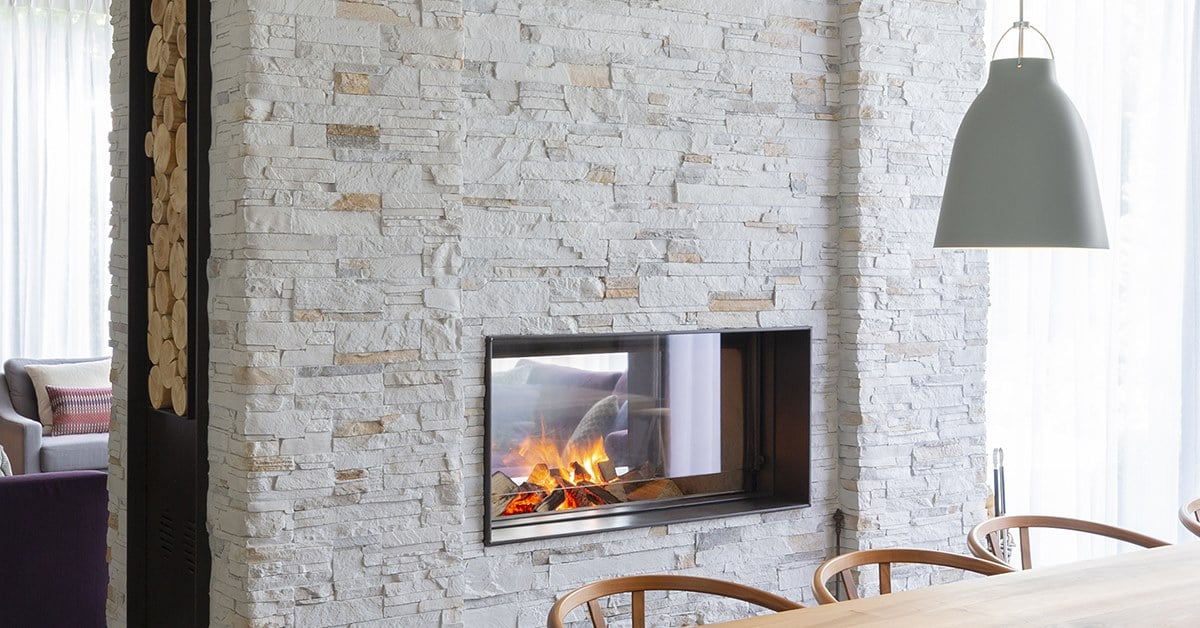
An electric fireplace can be a beautiful and functional addition to any home. It provides the warmth and ambiance of a traditional fireplace without the hassle of chopping wood or dealing with smoke and ash. However, over time, the glass on the front of the fireplace may become dirty or damaged and need to be removed for cleaning or replacement.
Removing the glass from an electric fireplace may sound like a daunting task, but with the right tools and a step-by-step approach, it can be done easily and safely. In this article, we will guide you through the process of removing the glass from an electric fireplace, ensuring that you can keep your fireplace looking clean and beautiful.
Key Takeaways:
- Easily remove, clean, and reassemble the glass on your electric fireplace with basic tools and safety precautions. Enjoy a cozy and inviting ambiance with a revitalized fireplace.
- Prioritize safety by turning off and unplugging the fireplace before removing the glass. Clean both the glass and frame thoroughly for a sparkling, unobstructed view.
Read more: How To Remove Glass From Gas Fireplace
Step 1: Gather the necessary tools and materials
Before you begin removing the glass from your electric fireplace, it’s important to gather all the necessary tools and materials. Having everything prepared beforehand will make the process smoother and more efficient.
Here are the tools and materials you will need:
- Gloves: A pair of protective gloves will help keep your hands safe from any sharp edges or debris.
- Screwdriver: Depending on the type of electric fireplace you have, you may need a screwdriver to remove any screws holding the frame or front panel in place.
- Soft cloth: Having a soft cloth handy will allow you to clean the glass and the frame more effectively.
- Glass cleaner: To ensure a thorough cleaning, it’s recommended to have a quality glass cleaner on hand.
- Replacement glass (optional): If you are planning to replace the glass, make sure to have the new glass ready before starting the removal process.
Once you have gathered all the necessary tools and materials, you are ready to move on to the next step.
Step 2: Turn off the electric fireplace and unplug it
Before you begin removing the glass from your electric fireplace, it’s crucial to ensure your safety by turning off the fireplace and unplugging it from the power source. This precautionary step will prevent any accidental electrical shock while working on the fireplace.
To turn off the electric fireplace, locate the power switch or control panel. Follow the manufacturer’s instructions or consult the user manual if you’re unsure of the exact location of the power switch. Once you’ve found it, switch off the fireplace.
After turning off the fireplace, locate the power cord and unplug it from the electrical outlet. This step will further guarantee your safety and prevent any unintentional activation of the fireplace controls during the glass removal process.
Take a moment to ensure that the fireplace is completely powered off and disconnected from the electricity supply before proceeding to the next step.
Remember, safety should always be your top priority when working with any electrical appliance, so take the time to properly turn off and unplug your electric fireplace.
Step 3: Remove the frame or front panel of the electric fireplace
With the electric fireplace turned off and unplugged, it’s time to remove the frame or front panel that holds the glass in place. The exact method of removal may vary depending on the make and model of your fireplace, so refer to the manufacturer’s instructions or user manual if available.
If your fireplace has a removable frame, look for any screws or fasteners securing the frame to the rest of the unit. Use a screwdriver to carefully remove these screws, taking note of their placement for reassembly later on.
If your fireplace has a front panel instead of a removable frame, inspect the panel for any screws or clips that may be securing it in place. Again, use a screwdriver or your hands to remove these fasteners, being cautious not to apply excessive force that could damage the panel or other components.
Once the screws or clips are removed, gently pull the frame or front panel away from the rest of the fireplace. Be mindful of any electrical connections or wires that may be attached to the panel. If necessary, disconnect these connectors by carefully unplugging them or removing any screws that hold them in place.
Set the frame or front panel aside in a safe location, ensuring that it won’t be damaged while you work on removing the glass. Be sure to keep track of any screws or fasteners that you removed, as you will need them for reassembly later on.
With the frame or front panel removed, you now have access to the glass and can proceed to the next step in the glass removal process.
Before attempting to remove glass from an electric fireplace, make sure the unit is turned off and completely cooled down. Use a screwdriver to carefully remove the screws holding the glass in place, then gently lift the glass out of the frame.
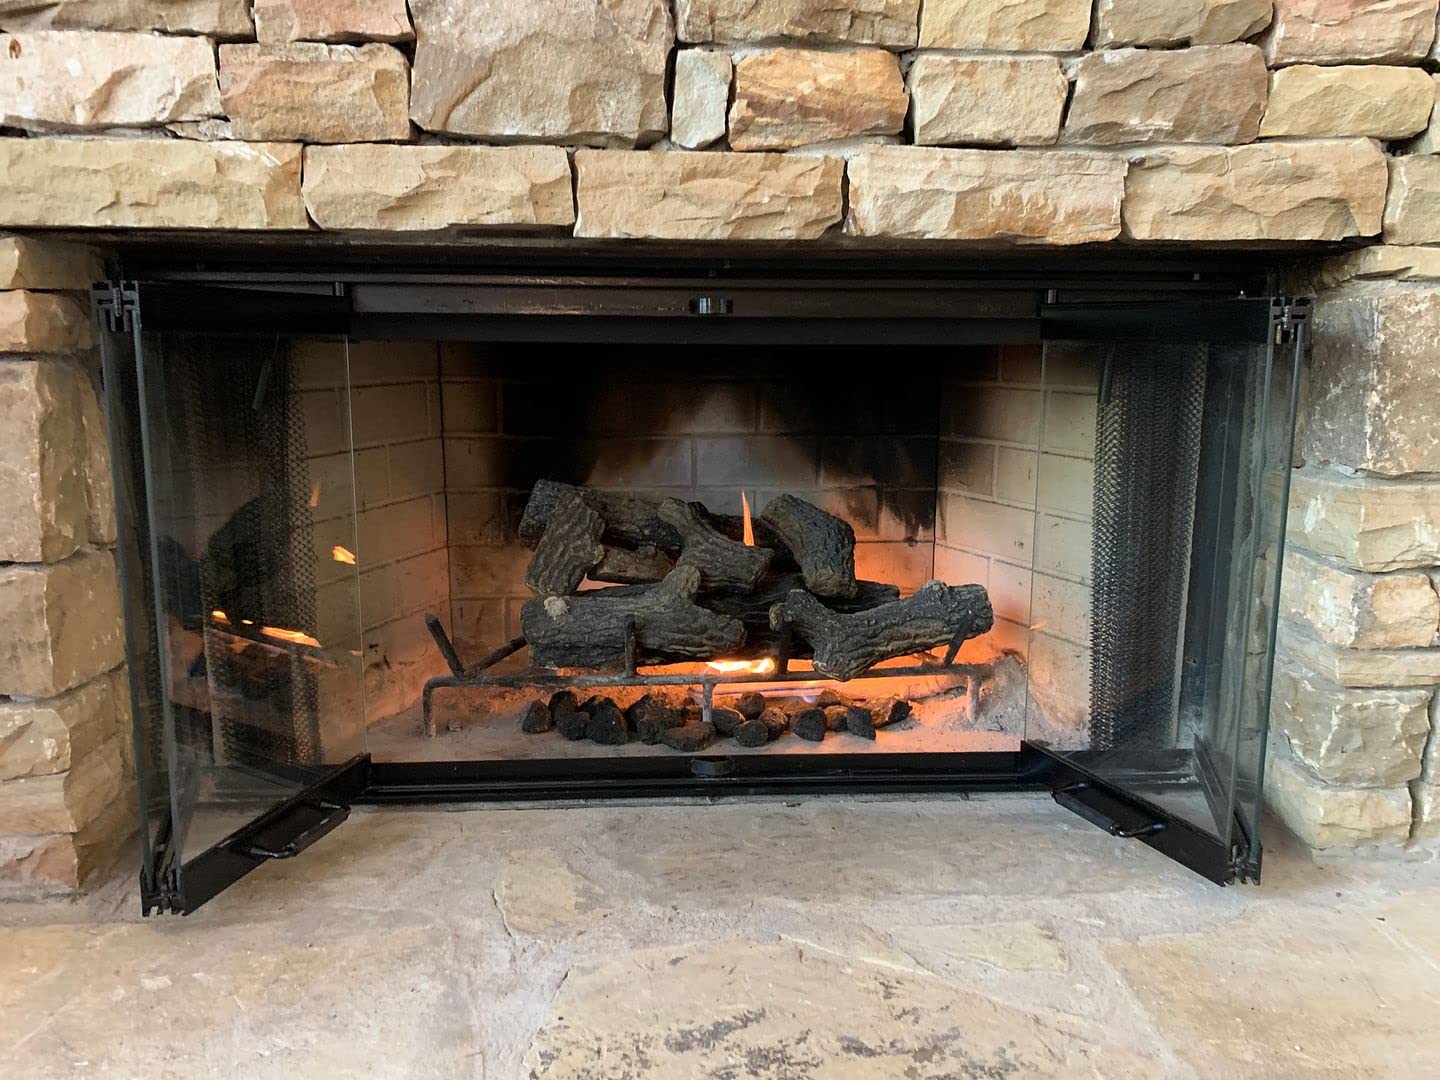
Step 4: Carefully detach the glass from the frame or front panel
Now that you have removed the frame or front panel of the electric fireplace, it’s time to detach the glass from it. Handling the glass with care is important to prevent any breakage or injury.
Examine the frame or front panel and locate any clips, brackets, or adhesive strips that are holding the glass in place. Depending on your fireplace model, there may be different methods of attachment.
If there are clips or brackets securing the glass, carefully remove them using a screwdriver or your hands. Be cautious not to apply too much pressure or force that could cause the glass to crack or shatter.
If adhesive strips are used, gently peel them away from the glass, ensuring that you support the glass with one hand as you remove the adhesive. Take your time to ensure that all the adhesive strips are detached evenly to prevent any damage to the glass surface.
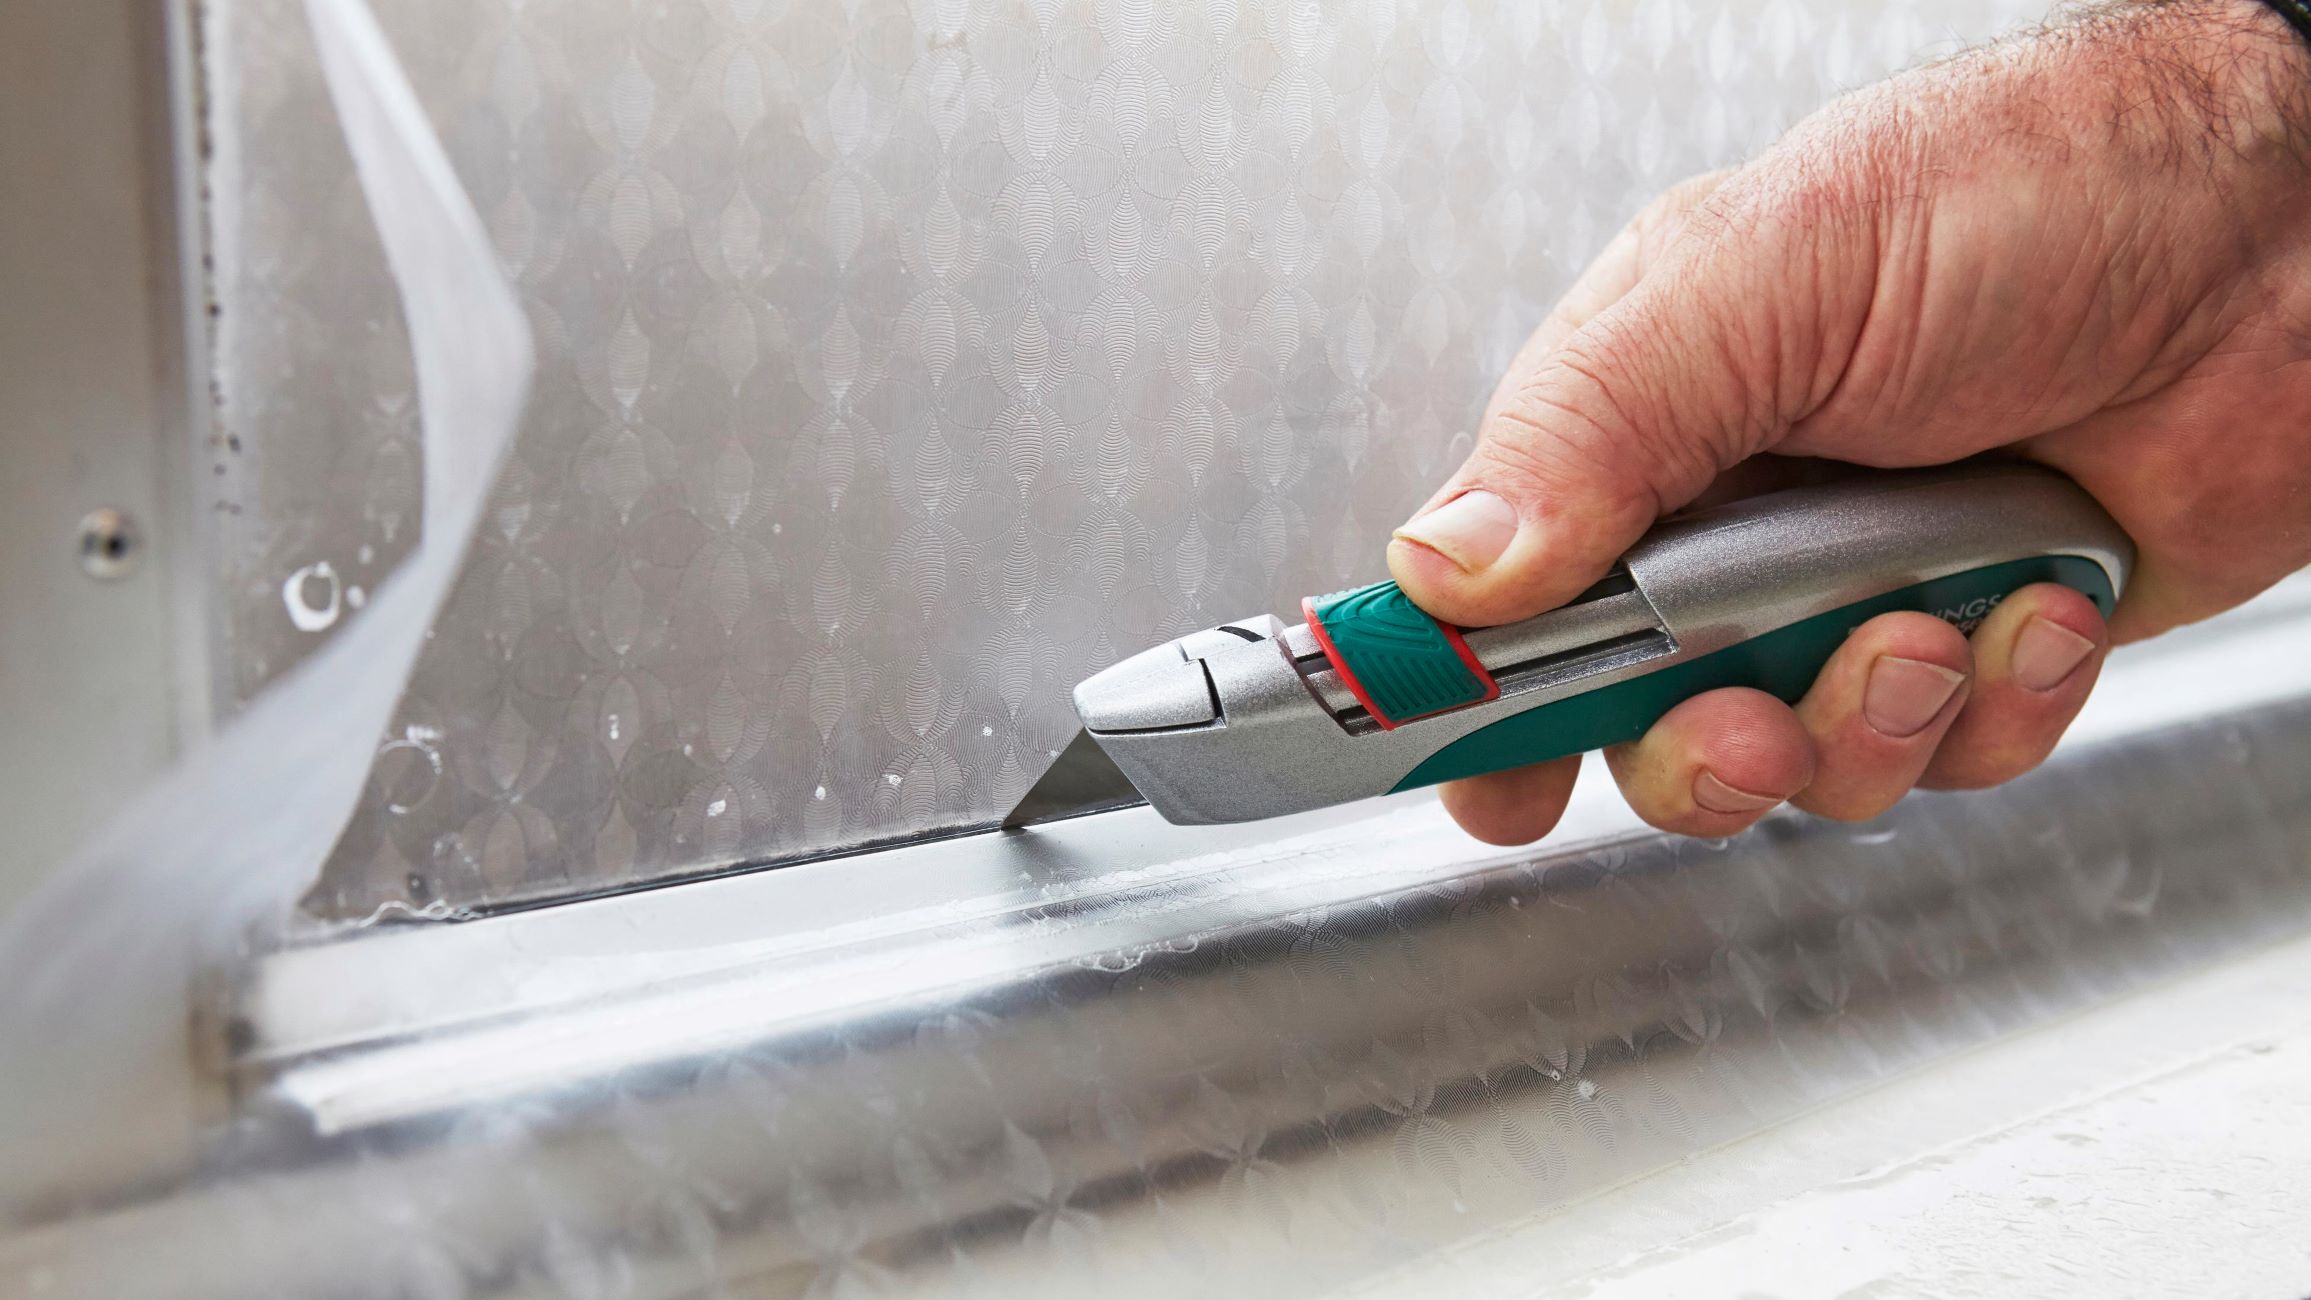
If the glass is attached using silicone or adhesive caulk, use a utility knife or a putty knife to carefully cut through the sealant along the edges of the glass. Take your time and work slowly to avoid slipping and potentially damaging the glass or the frame.
Once the glass is detached from the frame or front panel, set it aside in a safe place. Clean any remnants of adhesive or sealant from the frame or panel using an appropriate solvent or scraping tool, being careful not to damage the surface.
With the glass removed, you can proceed to the next step to clean it and the frame before reassembling the electric fireplace.
Read more: How To Remove Black From Fireplace Glass
Step 5: Clean the glass and the frame
Now that you have successfully detached the glass from the frame or front panel, it’s time to clean both the glass and the frame to ensure they are sparkling and free from any dirt or smudges.
Start by cleaning the glass using a glass cleaner or a mixture of mild soap and water. Spray the cleaner onto the glass surface and use a soft cloth or sponge to gently wipe away any dust, fingerprints, or grime. Be sure to clean both sides of the glass thoroughly.
If there are stubborn stains or residue on the glass, you can use a non-abrasive glass cleaner or a vinegar and water solution to tackle them. Apply the cleaner to the affected areas and let it sit for a few minutes before wiping it away with a clean cloth.
As for the frame or front panel, wipe down the surface using a damp cloth to remove any dirt or debris. Pay attention to any hard-to-reach areas or crevices where dust may have accumulated. If necessary, use a toothbrush or cotton swab to clean those areas effectively.
If the frame or front panel is made of metal, you can use a metal cleaner or polish to restore its shine and remove any tarnish or discoloration. Be sure to follow the instructions provided by the cleaner and thoroughly wipe away any excess residue.
Once both the glass and the frame are clean and dry, you are now ready to reassemble the electric fireplace and enjoy its restored beauty.
Remember to handle the glass and frame with care during the cleaning process to avoid any accidental damage. Take your time and be thorough to ensure optimal cleanliness.
Step 6: Reassemble the electric fireplace
With the glass and frame or front panel beautifully cleaned, it’s time to reassemble the electric fireplace. Follow these steps to ensure a smooth and successful reassembly:
- Retrieve the frame or front panel that you set aside earlier. Inspect it for any screws or clips that you removed during the disassembly process.
- If there were screws, align the screw holes on the frame or panel with the corresponding holes on the fireplace. Carefully insert and tighten the screws using a screwdriver, being cautious not to overtighten them.
- If there were clips, place the frame or panel back onto the fireplace, ensuring that it fits snugly and securely. Use your hands to reattach the clips or fasteners, applying gentle pressure to engage them.
- If there were electrical connections or wires that you disconnected, reattach them according to the manufacturer’s instructions. Make sure the connections are secure and tight, taking care not to damage any wires or connectors in the process.
- Double-check that all the components are properly aligned and fitted. Take a moment to inspect the frame or front panel to ensure it is flush and level to maintain the aesthetic appeal of the electric fireplace.
Once you have reassembled the electric fireplace, give it a final visual check to ensure everything looks as it should. Make any necessary adjustments before moving on to the final step.
Now that your electric fireplace is reassembled, it’s time to plug it back in and prepare for the joy and warmth it will bring to your living space.
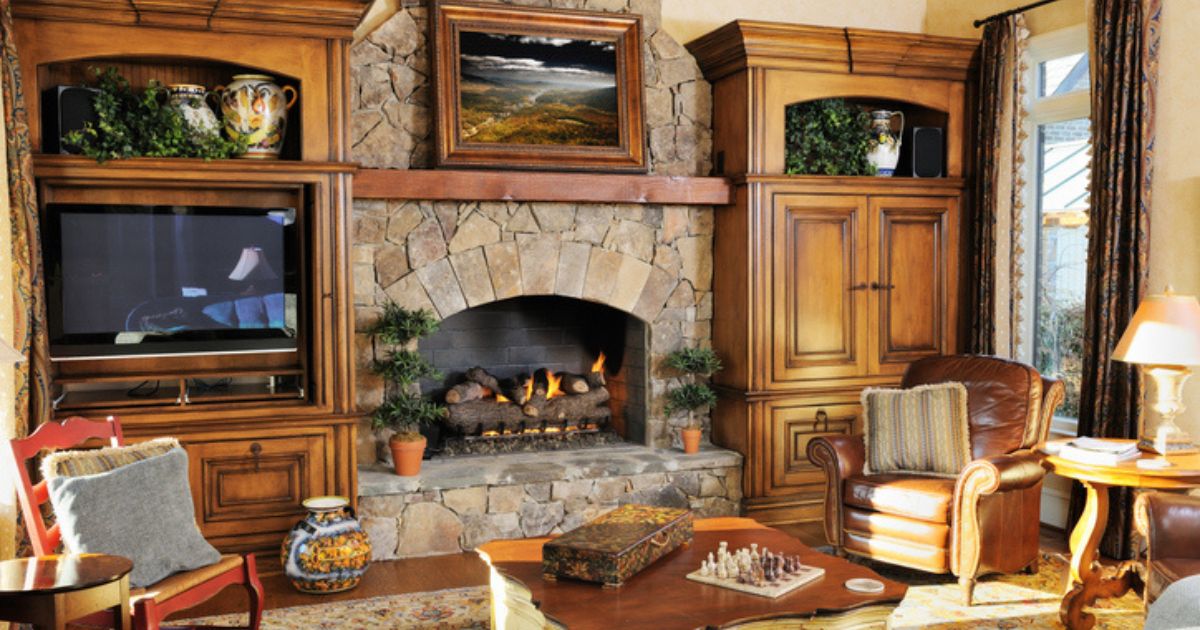
Step 7: Turn on the electric fireplace and enjoy
Congratulations! You have successfully removed, cleaned, and reassembled the glass on your electric fireplace. Now it’s time to sit back, relax, and enjoy the cozy and inviting ambiance it provides.
Before turning on the electric fireplace, ensure that all connections are secure and that the frame or front panel is properly in place. Double-check that there are no obstructions in or around the fireplace that could pose a safety hazard.
Once you have completed these safety checks, plug in the fireplace and turn it on using the power switch or control panel. You should see the flames or heat starting to generate, creating a warm and inviting atmosphere in your home.
Take a moment to appreciate the beauty of the clean glass and the freshness of the frame or front panel. The clear and unobstructed view of the flame effect will enhance your experience and create a stunning focal point in the room.
Remember, always follow the manufacturer’s instructions for operating your specific electric fireplace model. If you have any concerns or notice any issues, refer to the user manual or contact the manufacturer for further assistance.
Now, sit back, relax, and enjoy the comfort and ambiance of your newly cleaned and revitalized electric fireplace. Whether you’re curling up with a book, entertaining guests, or simply unwinding after a long day, your electric fireplace is ready to bring relaxation and warmth to your living space.
Keep the glass and frame well-maintained by periodically cleaning them to preserve their beauty and ensure optimal performance for years to come.
Thank you for following this step-by-step guide, and we wish you many cozy and enjoyable moments with your electric fireplace!
Frequently Asked Questions about How To Remove Glass From Electric Fireplace
Was this page helpful?
At Storables.com, we guarantee accurate and reliable information. Our content, validated by Expert Board Contributors, is crafted following stringent Editorial Policies. We're committed to providing you with well-researched, expert-backed insights for all your informational needs.


0 thoughts on “How To Remove Glass From Electric Fireplace”