Articles
Why Does My Plumbing Make A Whistling Sound?
Modified: August 27, 2024
Learn why your plumbing might be whistling and discover expert articles to help you troubleshoot and fix the issue.
(Many of the links in this article redirect to a specific reviewed product. Your purchase of these products through affiliate links helps to generate commission for Storables.com, at no extra cost. Learn more)
Introduction
Have you ever been startled by a high-pitched, whistling noise coming from your plumbing? As annoying as it may be, this whistling sound can actually serve as a warning sign that something is amiss with your plumbing system. Understanding the reasons behind this whistling can help you identify and resolve the issue before it leads to more significant problems.
In this article, we will explore the common causes of whistling plumbing and discuss troubleshooting steps to address the issue. From water pressure and flow restrictions to loose pipes and faulty valves, we will delve into the various factors that can contribute to this unwelcome whistle.
So, settle in, and let’s uncover the mystery behind why your plumbing is whistling.
Key Takeaways:
- Address high water pressure, flow restrictions, loose pipes, faulty valves, air in the pipes, water hammer, and corroded pipes to eliminate annoying whistling sounds in your plumbing system. Regular maintenance is key to preventing potential damage.
- Troubleshoot whistling plumbing by checking water pressure, inspecting for flow restrictions, securing loose pipes, repairing or replacing faulty valves, removing air from the pipes, mitigating water hammer, and addressing corroded or aging pipes. Prompt action and regular maintenance ensure a quiet and well-functioning plumbing system.
Read more: Why Does My Air Conditioner Whistle
Reasons for Whistling Plumbing
There are several potential reasons why your plumbing may be emitting a whistling sound. Let’s take a closer look at each one:
- Water Pressure: High water pressure can often be the culprit behind whistling plumbing. When the water flow encounters a restricted section in the pipes, such as a partially closed valve or a clogged filter, the increased pressure can cause the water to whistle as it rushes through.
- Water Flow Restrictions: Similar to high water pressure, flow restrictions within the plumbing system can create turbulence and lead to a whistling noise. This can be caused by mineral deposits, debris, or even a pinched pipe.
- Loose Pipes: When pipes are not securely fastened, they can vibrate or rattle with the water flow, resulting in a whistling sound. Loose pipes can occur due to improper installation or over time as the plumbing system expands and contracts with temperature changes.
- Faulty Valves: Malfunctioning or faulty valves can disrupt the smooth flow of water, causing turbulence and resulting in a whistling noise. This can be due to worn-out gaskets, damaged seals, or internal damage to the valve itself.
- Air in the Pipes: Sometimes, air can become trapped in the plumbing system, leading to vibrations and whistling sounds. This is more commonly experienced when there are changes in water usage, such as when turning faucets on or off.
- Water Hammer: Water hammer occurs when the flow of water is suddenly stopped or redirected, causing a shockwave that travels through the pipes. This can result in a loud banging or thumping noise, but it can also produce a whistling sound in some cases.
- Corroded or Aging Pipes: Over time, pipes can deteriorate due to corrosion or general wear and tear. As the inner surface of the pipes becomes rougher, it can disrupt the smooth flow of water, leading to whistling or other unusual noises.
Now that we’ve identified the possible reasons for your plumbing’s whistling symphony, let’s move on to troubleshooting steps to help you silence those annoying sounds.
Water Pressure
One of the primary causes of whistling plumbing is high water pressure. When the water pressure in your pipes is too high, it can create turbulence and vibrations, resulting in the whistling sound. Here’s what you can do to address this issue:
- Check the water pressure: Use a pressure gauge to measure the water pressure in your plumbing system. The recommended range is typically between 40-60 psi (pounds per square inch). If the reading exceeds this range, you may need to adjust the pressure regulator or install a pressure reducing valve to bring it within the appropriate range.
- Adjust the pressure regulator: Locate the pressure regulator, which is usually located near the main water supply line or water meter. Use a wrench to turn the adjustment screw or knob to decrease the water pressure. Make small adjustments at a time and recheck the pressure until it falls within the recommended range.
- Install a pressure reducing valve: If adjusting the pressure regulator doesn’t solve the issue, you may need to install a pressure reducing valve. This device is typically installed on the main water supply line and helps regulate the water pressure entering your home. Consult a professional plumber to ensure proper installation.
By addressing high water pressure, you can minimize the whistling noise in your plumbing system and prevent potential damage to your pipes and fixtures. Don’t ignore this issue, as prolonged exposure to high water pressure can lead to leaks, pipe bursts, and other costly plumbing problems.
Water Flow Restrictions
Another common cause of whistling plumbing is water flow restrictions within the pipes. These restrictions can occur due to mineral deposits, debris, or even pinched pipes. Here are some steps to troubleshoot and address this issue:
- Inspect and clean faucets and showerheads: Over time, mineral deposits from hard water can accumulate in faucets and showerheads, reducing the water flow and causing whistling sounds. Remove the aerators from the faucets and the showerheads, and clean them thoroughly to remove any deposits. Soak them in a descaling solution if necessary, and then reattach them.
- Check for clogged filters and screens: Some plumbing fixtures, such as washing machine hoses or refrigerator water lines, have filters or screens that can become clogged with debris. Check and clean or replace these filters to ensure unrestricted water flow.
- Inspect visible pipes for pinches or kinks: Examine any visible pipes, such as those under sinks or behind appliances, for any signs of pinching or kinking. If you find any, carefully straighten the pipe without causing further damage. For harder-to-reach areas, consider calling a professional plumber for assistance.
- Consider water softening: If you live in an area with hard water, mineral deposits can build up more quickly, leading to flow restrictions and whistling plumbing. Installing a water softener can help prevent the accumulation of minerals and improve the overall water flow in your plumbing system.
By addressing water flow restrictions, you can restore proper water flow in your plumbing system and eliminate the whistling noises. Regular maintenance and cleaning of faucets, showerheads, and filters can go a long way in preventing clogs and maintaining optimal water flow throughout your home.
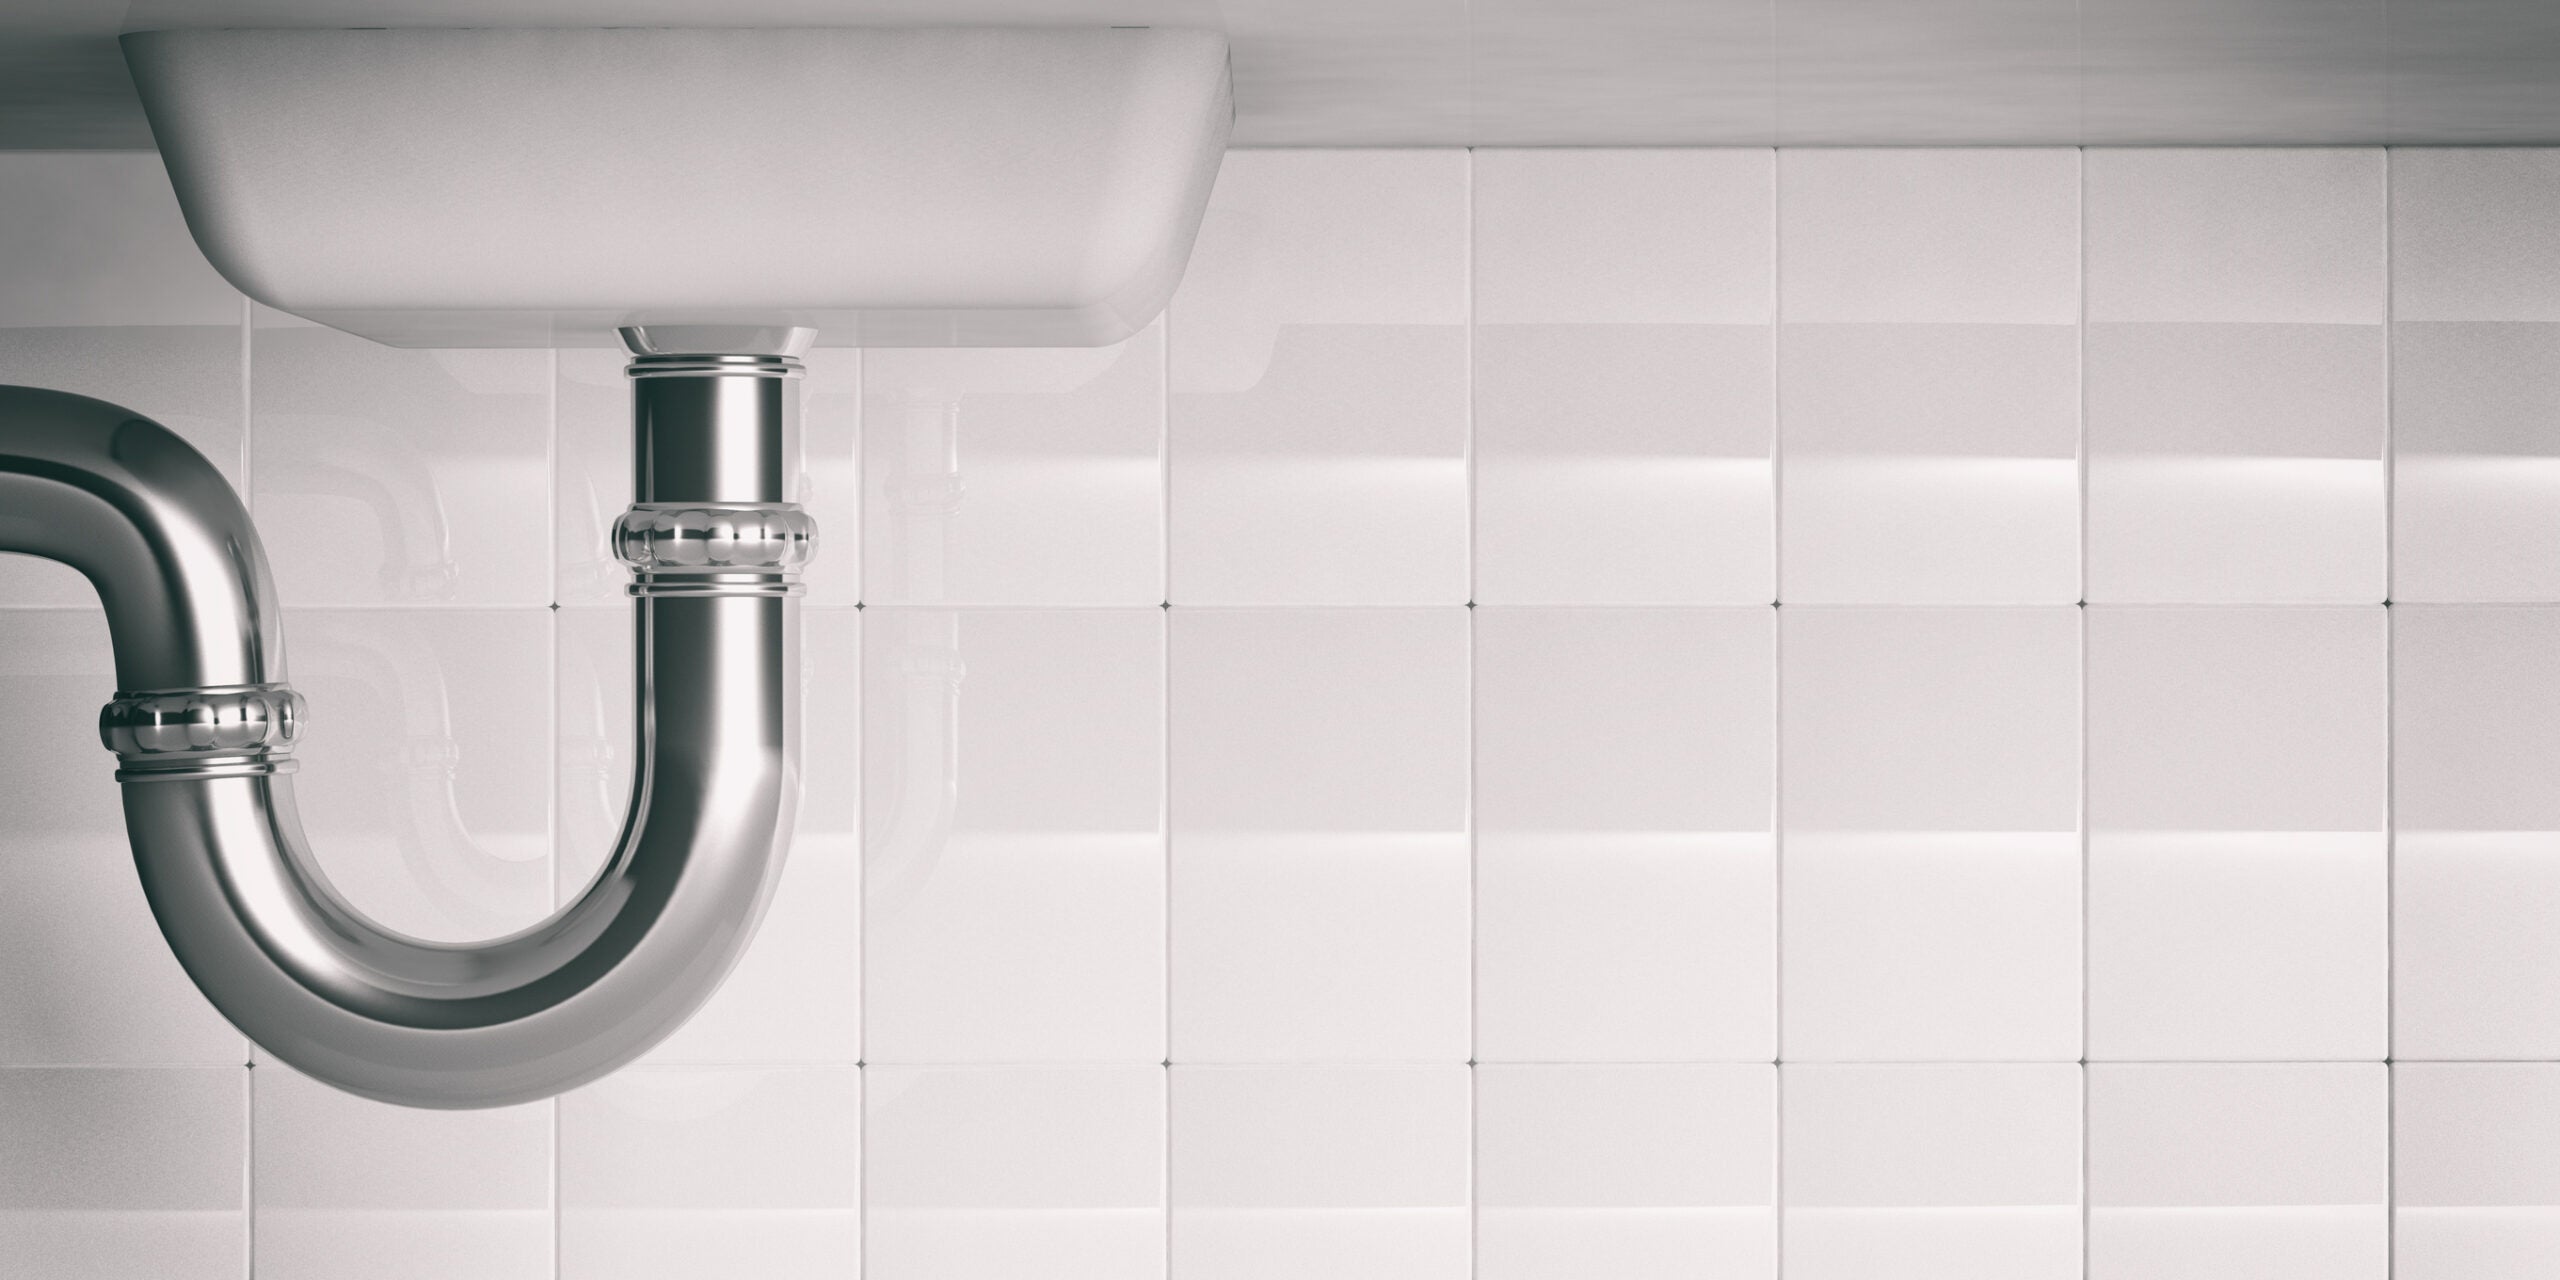
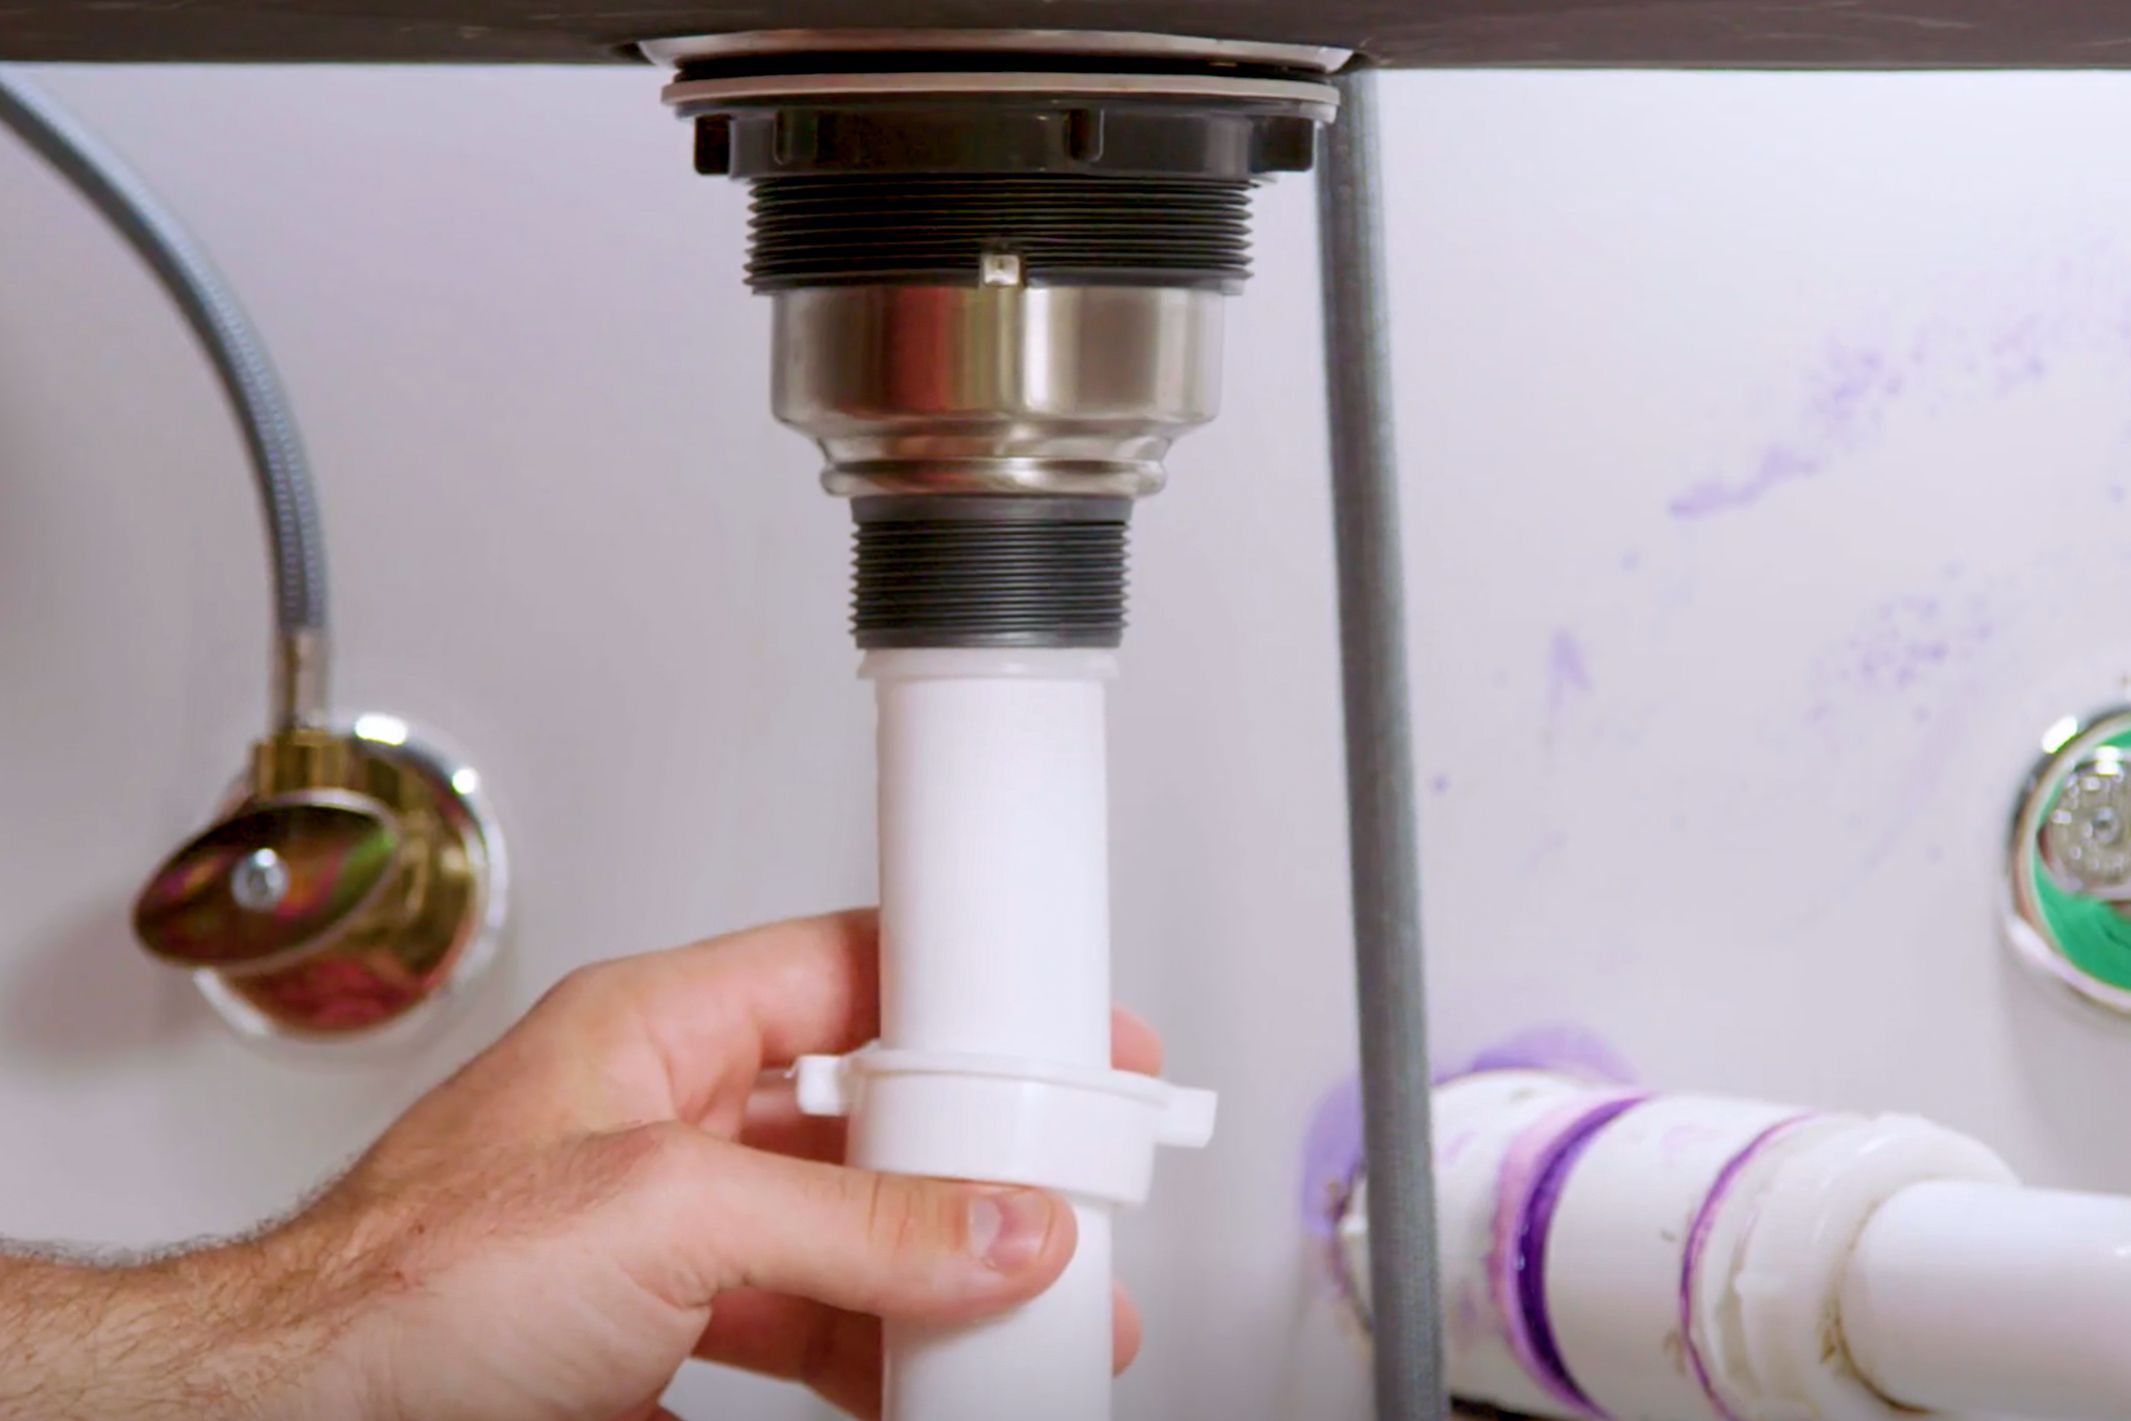
Loose Pipes
Loose pipes can vibrate and rattle when water flows through them, resulting in a whistling sound. If you suspect that loose pipes are causing the issue, here are some steps you can take to secure them:
- Identify the loose pipes: Start by identifying the specific pipes that are causing the whistling sound. This might require some investigation and careful listening to locate the source of the noise.
- Tighten pipe brackets and supports: Check the pipe brackets and supports along the affected section of the plumbing system. Use a wrench or screwdriver to tighten any loose brackets or fittings. Make sure to secure the pipes firmly without over-tightening, which could lead to other issues.
- Add cushioning materials: In some cases, the whistling sound may be caused by pipes rubbing against nearby surfaces or other pipes. To eliminate this friction and vibration, consider adding cushioning materials such as foam pipe insulation or rubber pads around the pipes at contact points.
- Reinforce with pipe straps: If the pipes continue to rattle, you may need to add additional support by installing pipe straps. These straps can provide stability and prevent excessive movement, reducing the chances of whistling noises.
- Consult a professional plumber: If the whistling sound persists despite your efforts to secure the pipes, it may be best to seek assistance from a professional plumber. They can assess the plumbing system, identify any underlying issues, and recommend appropriate solutions.
Securing loose pipes can significantly reduce or eliminate whistling noises in your plumbing system, ensuring a quiet and well-functioning system. Taking prompt action to address this issue can also prevent further damage to the pipes and potential leaks.
Read more: Why Is My Alexa Making Mario Sounds
Faulty Valves
Faulty valves can disrupt the smooth flow of water, leading to turbulence and whistling noises in your plumbing system. If you suspect that faulty valves are causing the issue, here are some steps to address the problem:
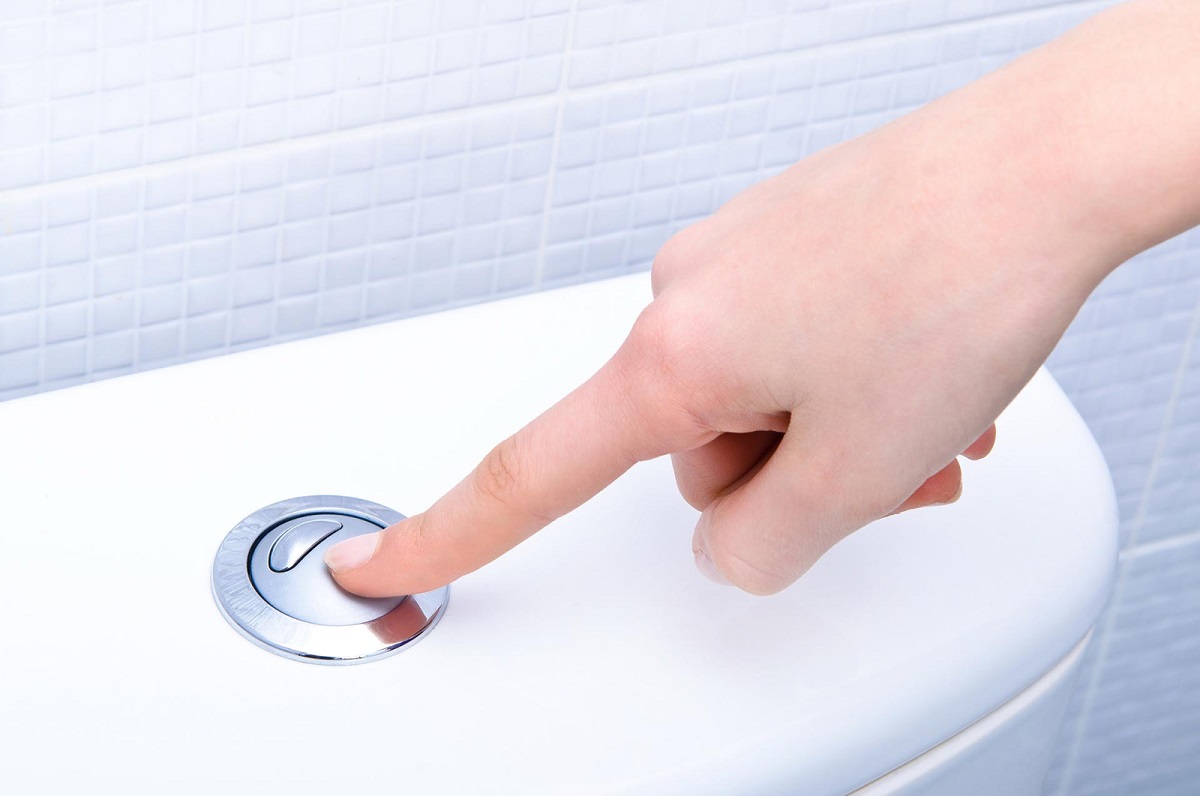
- Identify the faulty valves: Start by determining which valves are causing the whistling sound. This may include shut-off valves under sinks, toilet fill valves, or the main water shut-off valve.
- Inspect the valves for damage: Carefully examine the valves for any visible signs of wear and tear, such as leaking seals, damaged gaskets, or corrosion. If you identify any obvious damage, the valve may need to be repaired or replaced.
- Repair or replace the faulty valves: If the valve is repairable, you can attempt to replace the damaged parts, such as seals or gaskets, following the manufacturer’s instructions. However, if the valve is severely damaged or beyond repair, it is recommended to replace it entirely.
- Consult a professional plumber: If you are unsure about repairing or replacing the valves yourself, it is best to seek assistance from a professional plumber. They have the expertise to diagnose and properly address any valve-related issues in your plumbing system.
By repairing or replacing faulty valves, you can restore proper water flow and eliminate the whistling noises in your plumbing system. It is important to address faulty valves promptly to prevent leaks, water wastage, and further damage to your plumbing fixtures.
Air in the Pipes
When air becomes trapped in your plumbing system, it can lead to vibrations and whistling noises as water flows through the pipes. If you suspect that air in the pipes is causing the issue, here are some steps to remove the trapped air:
- Bleed the air from the affected fixtures: Start by turning on the affected faucets or fixtures one by one. Begin with the faucet that is closest to the main water supply line and work your way to the farthest fixtures. Allow the water to run for a few minutes to flush out the trapped air.
- Flush the system: In some cases, bleeding the air from individual fixtures may not be sufficient. To ensure the entire plumbing system is free from trapped air, consider flushing the system by turning on multiple faucets simultaneously. This can help dislodge the trapped air and allow it to escape through the open faucets.
- Consider installing air vents: If you frequently experience issues with air in your plumbing system, installing air vents can help prevent the buildup of trapped air. These devices are typically installed at high points in the system where air is likely to accumulate. Consult a professional plumber for guidance on the appropriate type and location of air vents for your specific setup.
- Consult a professional plumber: If the issue persists or if you are unable to remove the trapped air yourself, it is recommended to consult a professional plumber. They have the expertise and specialized tools to diagnose and resolve air-related issues in your plumbing system.
By removing trapped air from your plumbing system, you can eliminate the whistling noises and ensure the smooth flow of water. Prevention is key, so consider installing air vents if you frequently encounter air-related issues in your plumbing system.
Water Hammer
Water hammer is a phenomenon that occurs when the flow of water is abruptly stopped or redirected, creating a shockwave that travels through the pipes. This can result in loud banging or thumping noises, but in some cases, it can also produce whistling sounds. Here are some steps to mitigate water hammer:
- Install water hammer arrestors: Water hammer arrestors are devices that absorb the shockwaves created by the sudden changes in water flow. These devices are typically installed near plumbing fixtures or appliances that are prone to water hammer, such as washing machines or dishwashers.
- Adjust water pressure: High water pressure can exacerbate the effects of water hammer. As we discussed earlier, check and adjust your water pressure to reduce the likelihood of water hammer occurring.
- Secure loose pipes: Loose or improperly fastened pipes can further amplify the noise and vibrations caused by water hammer. Ensure that all pipes are securely anchored and supported to minimize movement and reduce the impact of water hammer.
- Consider water hammer arrestor installations: If water hammer persists despite your efforts, it may be necessary to install additional water hammer arrestors throughout your plumbing system. Consult a professional plumber for guidance on the proper placement and installation of these devices.
By addressing water hammer, you can not only eliminate the whistling sounds but also protect your plumbing system from potential damage caused by the intense shockwaves. Water hammer can cause pipes to become loose, joints to weaken, and even lead to pipe bursts if left unchecked.
Corroded or Aging Pipes
Over time, pipes can deteriorate due to corrosion or general aging. As the inner surface of the pipes becomes rougher, it can disrupt the smooth flow of water and lead to whistling or other unusual noises. If you suspect that corroded or aging pipes are the cause of the whistling sounds, here are some steps to address the issue:
- Inspect the plumbing system: Examine the visible pipes in your home for signs of corrosion, such as discoloration, rust, or flaking. Pay attention to areas where leaks are more likely to occur, such as pipe joints and connections.
- Consider pipe replacement: If you identify corroded or aging pipes, it may be necessary to replace them. Consult with a professional plumber to assess the extent of the damage and determine the best course of action. They can advise you on the appropriate materials and methods for pipe replacement.
- Address underlying issues: In addition to pipe replacement, it’s important to address any underlying issues that may have contributed to the corrosion or aging. This could include addressing high water acidity, resolving plumbing leaks, or installing water treatment systems to improve the quality of your water.
- Regular maintenance and inspections: To prevent further corrosion and prolong the lifespan of your pipes, it’s crucial to keep up with regular maintenance and inspections. This includes checking for leaks, monitoring water quality, and addressing any plumbing issues promptly.
By addressing corroded or aging pipes, you can ensure the proper functioning of your plumbing system and eliminate the whistling noises. Regular maintenance and proactive measures can help extend the lifespan of your pipes and prevent more significant plumbing problems in the future.
Check for loose or damaged washers in faucets, as they can cause whistling sounds. Also, high water pressure can lead to whistling, so consider installing a pressure regulator.
Read more: Why Is My Air Conditioner Making Sound?
Troubleshooting Whistling Plumbing
If you’re experiencing whistling sounds in your plumbing system, here are some troubleshooting steps you can take to address the issue:
- Check water pressure: Measure the water pressure in your plumbing system using a pressure gauge. If the pressure exceeds the recommended range, adjust the pressure regulator or install a pressure reducing valve.
- Inspect for flow restrictions: Clean faucets, showerheads, and filters to remove any mineral deposits or debris that may be causing flow restrictions and whistling noises.
- Secure loose pipes: Tighten pipe brackets and supports and consider adding cushioning materials or installing additional pipe straps to minimize pipe movement and vibrations.
- Repair or replace faulty valves: Inspect valves for damage and repair or replace them if necessary to ensure smooth water flow and eliminate whistling noises.
- Remove air from the pipes: Bleed the air from affected fixtures and consider flushing the entire plumbing system to release trapped air.
- Mitigate water hammer: Install water hammer arrestors, adjust water pressure, and secure loose pipes to minimize the impact of water hammer and reduce noise and vibrations.
- Address corroded or aging pipes: Inspect pipes for corrosion, consider pipe replacement if needed, and take steps to prevent further corrosion and deterioration.
It’s important to note that while these troubleshooting steps can help resolve common issues, some plumbing problems may require professional intervention. If the whistling sound persists or you are uncertain about performing any repairs yourself, it is recommended to consult a licensed plumber for assistance.
Remember, regular maintenance and upkeep of your plumbing system can help prevent issues and prolong the lifespan of your pipes and fixtures. By promptly addressing whistling plumbing, you can enjoy a quiet and smoothly functioning plumbing system in your home.
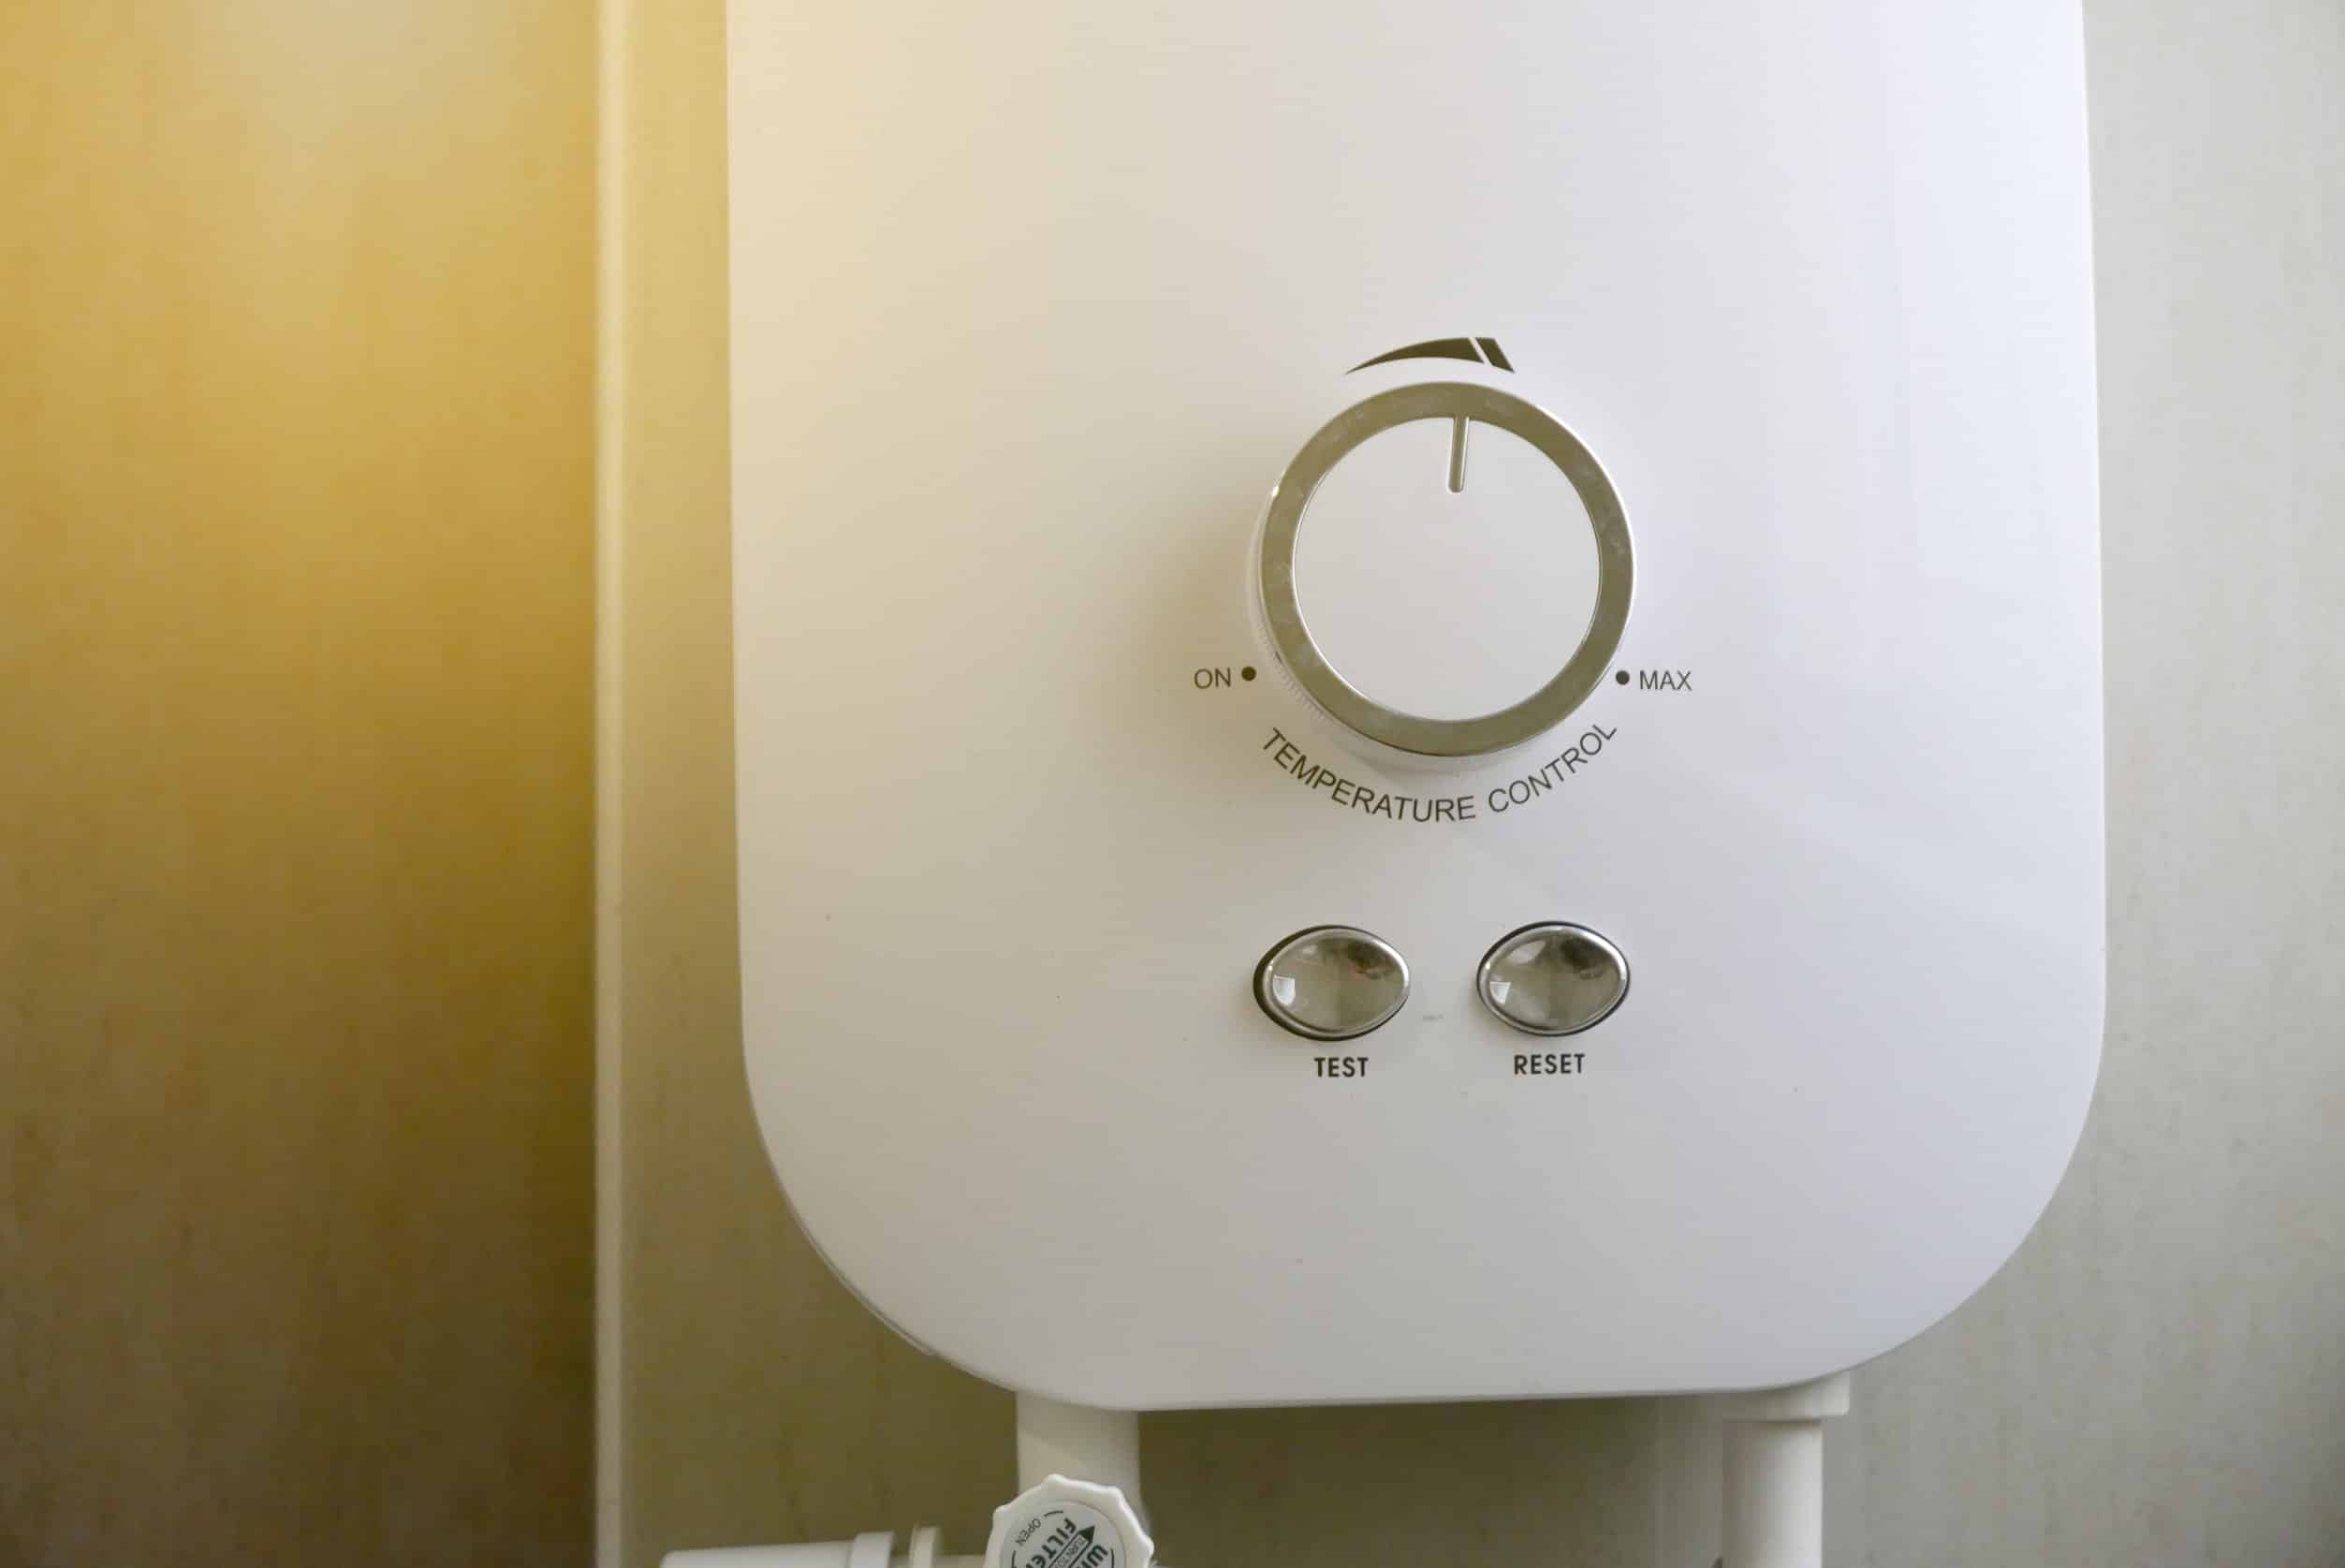
Check Water Pressure
One of the first troubleshooting steps to address whistling plumbing is to check the water pressure in your system. High water pressure can often be a contributing factor to the whistling sounds. Here’s how you can check and adjust the water pressure:
- Obtain a pressure gauge: You will need a pressure gauge to measure the water pressure in your plumbing system. These gauges are available at most hardware stores.
- Locate the water pressure regulator: The water pressure regulator is typically located near the main water supply line or the water meter. It is a bell-shaped device with an adjustment screw or a bolt on top.
- Attach the pressure gauge: Attach the pressure gauge to a hose bib or faucet near the main water line. Make sure to remove any aerators or filters from the faucet before attaching the gauge.
- Turn on the faucet: Open the faucet or hose bib fully and allow the water to flow for a few seconds to stabilize the pressure.
- Read the pressure: Read the pressure displayed on the gauge. The ideal range for residential water pressure is typically between 40-60 psi (pounds per square inch).
- Adjust the pressure regulator: If the water pressure exceeds the recommended range, you will need to adjust the pressure regulator. Using a wrench, slowly turn the adjustment screw or bolt counterclockwise to reduce the pressure. Make sure to make small adjustments and recheck the pressure after each adjustment.
- Recheck the pressure: After adjusting the pressure regulator, recheck the water pressure using the gauge. Continue making adjustments if necessary until the pressure falls within the recommended range.
By checking and adjusting the water pressure, you can help alleviate the whistling sounds in your plumbing system. Excessive water pressure not only leads to whistling but can also put additional strain on your pipes, leading to leaks or bursts. Keeping the pressure within the recommended range helps maintain the health and longevity of your plumbing system.
Inspect for Flow Restrictions
Flow restrictions within the plumbing system can contribute to whistling sounds. These restrictions can occur due to mineral deposits, debris, or even pinched pipes. Here are the steps to inspect and address flow restrictions:
- Examine faucet screens and aerators: Start by inspecting the screens and aerators on your faucets. Over time, mineral deposits can accumulate and clog these components, impeding water flow. Remove the aerators and screens, and clean them thoroughly with a brush or vinegar solution to remove any buildup.
- Check showerheads and other fixtures: Likewise, check the showerheads, bathroom faucets, and any other fixtures in your home. Look for signs of mineral buildup or debris that may be causing restricted flow. Clean or replace these fixtures as needed.
- Inspect and clean filters: Some plumbing fixtures, such as refrigerator water lines or washing machine hoses, have filters that can become clogged with debris over time. Check these filters and clean or replace them to restore proper water flow.
- Check for pinched or kinked pipes: Inspect visible pipes, such as those under sinks or behind appliances, for any signs of pinching or kinking. These obstructions can restrict water flow and contribute to whistling noises. Carefully straighten any pinched pipes to restore proper water flow.
- Consider installing a water softener: If you live in an area with hard water, mineral deposits can build up more quickly, leading to flow restrictions and whistling plumbing. Installing a water softener can help reduce the mineral content in your water, minimizing buildup and maintaining optimal water flow throughout your plumbing system.
By inspecting and addressing flow restrictions, you can restore proper water flow and minimize or eliminate the whistling noises in your plumbing system. Regular cleaning and maintenance of fixtures, filters, and pipes can help prevent future restrictions and maintain the efficiency of your plumbing system.
Secure Loose Pipes
Loose pipes can vibrate and rattle, leading to whistling sounds in your plumbing system. Here are the steps to secure loose pipes and eliminate the whistling noises:
- Identify the loose pipes: Start by identifying the specific pipes that are causing the whistling sound. This may require careful listening or visually inspecting the pipes for movement.
- Tighten pipe brackets and supports: Check the pipe brackets and supports along the affected section of the plumbing system. Use a wrench or screwdriver to tighten any loose brackets or fittings, ensuring the pipes are securely fastened.
- Add cushioning materials: In some cases, whistling sounds may occur when pipes come into contact with nearby surfaces or other pipes. To eliminate these vibrations, consider adding cushioning materials such as foam pipe insulation or rubber pads at the contact points. These materials help dampen the vibrations and reduce the whistling noises.
- Reinforce with pipe straps: If the pipes continue to rattle even after securing the brackets and adding cushioning materials, you may need to reinforce them with pipe straps. Pipe straps provide additional support and help prevent excessive movement, reducing the chances of whistling noises.
- Consult a professional plumber: If the whistling sound persists or if you are unsure about securing the pipes yourself, it is always recommended to consult a professional plumber. They have the expertise to evaluate your plumbing system, identify areas of concern, and provide appropriate solutions.
By securing loose pipes, you can minimize vibrations and eliminate whistling noises in your plumbing system. Taking the time to properly fasten and support your pipes not only ensures a quiet system but also helps prevent potential damage caused by excessive movement or pipe breakages.
Read more: Why Does My Alexa Sound Static
Repair or Replace Faulty Valves
Faulty valves can disrupt the smooth flow of water and contribute to whistling sounds in your plumbing system. Here are the steps to repair or replace faulty valves:
- Identify the faulty valves: Start by identifying which valves in your plumbing system are causing the whistling noise. Common culprits include shut-off valves under sinks, toilet fill valves, or the main water shut-off valve.
- Inspect the valves for damage: Carefully examine the valves for any visible signs of wear and tear. Look for leaking seals, damaged gaskets, or internal components that may be causing the whistling sound.
- Attempt valve repair: If the valves are repairable, you can try replacing the damaged parts, such as seals or gaskets, following the manufacturer’s instructions. This can help restore the proper functioning of the valves and eliminate the whistling noises.
- Consider valve replacement: If the valves are severely damaged or beyond repair, it may be necessary to replace them entirely. Consult with a professional plumber to determine the best replacement options for your specific plumbing system.
- Consult a professional plumber: If you are uncertain about repairing or replacing the valves yourself, or if the whistling sound persists despite your efforts, it is recommended to consult a licensed plumber. They have the knowledge and expertise to diagnose valve issues accurately and provide appropriate solutions.
By repairing or replacing faulty valves, you can restore the smooth flow of water and eliminate the whistling sounds in your plumbing system. Taking timely action to address valve problems not only improves the functionality of your plumbing system but also helps prevent water wastage and potential damage to other components.
Remove Air from the Pipes
Air trapped in the pipes can create vibrations and result in whistling sounds in your plumbing system. To remove air from the pipes, follow these steps:
- Bleed the air from the affected fixtures: Start by turning on the affected faucets or fixtures one by one. Begin with the faucet that is closest to the main water supply line and work your way to the farthest fixtures. Allow the water to run for a few minutes to flush out the trapped air.
- Flush the entire plumbing system: If bleeding the air from individual fixtures does not entirely resolve the issue, you may need to flush the entire plumbing system. To do this, turn on multiple faucets simultaneously throughout your home. This will increase the velocity of the water flow and help dislodge and push out trapped air.
- Consider installing air vents: If you frequently experience issues with air in your plumbing system, it may be beneficial to install air vents. These devices are typically installed at high points in the system, where air is likely to accumulate. Air vents automatically release built-up air, preventing it from causing whistling sounds and other disruptions.
- Consult a professional plumber: If removing air from the pipes remains challenging or the whistling sound continues, it is advisable to consult with a professional plumber. They have the expertise and equipment to diagnose and resolve any persistent air-related issues in your plumbing system.
By removing air from the pipes, you can restore smooth water flow and eliminate annoying whistling noises in your plumbing system. Regular maintenance, including bleeding air from the pipes, will help prevent the recurrence of this issue and ensure the efficient operation of your plumbing system.
Mitigate Water Hammer
Water hammer occurs when the flow of water is suddenly stopped or redirected, leading to shockwaves that travel through the pipes and can produce whistling sounds. To mitigate water hammer and eliminate the associated whistling noises, follow these steps:
- Install water hammer arrestors: Water hammer arrestors are devices that absorb the shockwaves created by sudden changes in water flow. They are typically installed near plumbing fixtures or appliances that are prone to water hammer, such as washing machines or dishwashers. Consult with a professional plumber to determine the type and location of water hammer arrestors appropriate for your system.
- Adjust water pressure: High water pressure can intensify the effects of water hammer. If your water pressure exceeds the recommended range (usually between 40-60 psi), adjust the pressure regulator or install a pressure reducing valve to bring it within the appropriate range.
- Secure loose pipes: Loose or improperly secured pipes can amplify the noise and vibrations caused by water hammer. Check for any loose pipes and securely fasten them using pipe brackets or straps. This will help minimize movement and reduce the impact of water hammer.
- Consider installing water hammer arrestors on main lines: If water hammer persists despite your efforts to mitigate it, you may need to install water hammer arrestors on the main water supply lines. This can help alleviate the shockwaves and reduce the whistling noise throughout your plumbing system.
By mitigating water hammer, you can eliminate whistling noises and prevent potential damage to your plumbing system. Water hammer can cause pipes to become loose, joints to weaken, and even lead to pipe bursts. Taking proactive measures to address water hammer improves the overall functionality and durability of your plumbing system.
Address Corroded or Aging Pipes
Corroded or aging pipes can contribute to whistling sounds in your plumbing system. Here are steps to address this issue:
- Inspect the plumbing system: Begin by visually inspecting the visible pipes in your home for signs of corrosion or aging. Look for discoloration, rust, or flaking along the pipes.
- Consider pipe replacement: If you identify corroded or severely aged pipes, it may be necessary to replace them. Consult with a professional plumber to assess the extent of the damage and determine the best course of action.
- Address underlying issues: In addition to pipe replacement, it’s essential to identify and address any underlying issues that may have contributed to the corrosion or aging. This could include addressing high water acidity, resolving plumbing leaks, or installing a water treatment system to improve the quality of your water.
- Regular maintenance and inspections: To prevent further corrosion and prolong the lifespan of your pipes, practice regular maintenance and inspections. Check for leaks, monitor water quality, and promptly address any plumbing issues that arise.
By addressing corroded or aging pipes, you can ensure the longevity and functionality of your plumbing system while eliminating whistling noises. Regular maintenance and proactive measures will help prevent future issues and maintain the overall integrity of your pipes and fixtures.
Read more: Why Does My Plumbing Pipe Make Noise
Conclusion
Whistling sounds in your plumbing system can be annoying and indicative of underlying issues. By understanding the common causes and implementing troubleshooting steps, you can effectively address the whistling and restore the functionality of your plumbing system.
Throughout this article, we explored various reasons for whistling plumbing, including high water pressure, flow restrictions, loose pipes, faulty valves, air in the pipes, water hammer, and corroded or aging pipes. Each of these factors contributes to the whistling sounds in different ways.
To troubleshoot whistling plumbing, you can start by checking the water pressure and adjusting it if necessary. Inspecting for flow restrictions and securing loose pipes are essential steps to address issues caused by mineral deposits, debris, or pipe vibrations. Additionally, repairing or replacing faulty valves helps ensure smooth water flow and eliminates whistling noises. Removing air from the pipes and mitigating water hammer are important measures to reduce vibrations and prevent shockwaves that create the whistling sound. Finally, addressing corroded or aging pipes through inspection, replacement, and necessary maintenance safeguards against further damage.
It is crucial to prioritize regular maintenance and pay attention to any signs of trouble in your plumbing system. Promptly addressing whistling noises not only restores peace and quiet in your home but also mitigates potential damages and costly repairs.
However, it’s important to note that plumbing issues can vary in complexity. If you are unsure or unable to resolve the problem yourself, it is always advisable to seek professional assistance from a licensed plumber. They have the expertise and knowledge to accurately diagnose and provide effective solutions for your specific plumbing situation.
By taking proactive steps and addressing whistling plumbing, you can maintain a smoothly functioning plumbing system, enjoy uninterrupted water flow, and have peace of mind knowing that your pipes and fixtures are in good working order.
Frequently Asked Questions about Why Does My Plumbing Make A Whistling Sound?
Was this page helpful?
At Storables.com, we guarantee accurate and reliable information. Our content, validated by Expert Board Contributors, is crafted following stringent Editorial Policies. We're committed to providing you with well-researched, expert-backed insights for all your informational needs.


0 thoughts on “Why Does My Plumbing Make A Whistling Sound?”