Articles
How To Remove Paint From Brick Fireplace
Modified: October 28, 2024
Learn effective methods for removing paint from your brick fireplace in this comprehensive articles. Discover helpful tips and step-by-step instructions to restore your fireplace to its original beauty.
(Many of the links in this article redirect to a specific reviewed product. Your purchase of these products through affiliate links helps to generate commission for Storables.com, at no extra cost. Learn more)
Introduction
Painting a brick fireplace can be a great way to give your living space a fresh and updated look. However, if you have decided that it’s time to remove the paint from your brick fireplace and bring it back to its natural beauty, you may be wondering where to start. Removing paint from brick can be a challenging and time-consuming process, but with the right tools and techniques, it can be done effectively.
In this article, we will walk you through a step-by-step guide on how to remove paint from a brick fireplace. Whether you’re dealing with a few drips or an entire painted surface, we’ll cover everything you need to know to get the job done right.
Before we dive into the steps, it’s important to note that removing paint from brick can be a messy and labor-intensive task. It requires patience, attention to detail, and a commitment to following the necessary safety precautions.
So, if you’re ready to roll up your sleeves and restore the natural beauty of your brick fireplace, let’s get started with the preparation phase!
Key Takeaways:
- Restoring the natural beauty of a brick fireplace requires thorough preparation, careful paint removal, and diligent cleaning. Prioritize safety, test paint removers, and consider finishing touches to achieve a stunning, updated look.
- The process of removing paint from a brick fireplace demands patience, attention to detail, and a commitment to safety. From preparation to finishing touches, follow the step-by-step guide to transform your living space with a refreshed and charming fireplace.
Read more: How To Remove A Fireplace Mantel From Brick
Step 1: Preparation
Before you begin the process of removing paint from your brick fireplace, it’s crucial to properly prepare the area and gather the necessary supplies. Taking the time to do these initial steps will help make the paint removal process smoother and more efficient.
Here are a few key steps to follow during the preparation phase:
- Clean the surface: Start by thoroughly cleaning the brick surface to remove any dirt, dust, or debris. Use a stiff brush and warm soapy water to scrub the bricks and ensure they are free of any loose particles. Rinse the area with clean water and allow it to dry completely before moving on to the next step.
- Protect the surrounding area: Paint removal can create a mess, so it’s essential to protect the surrounding area from any potential damage or stains. Cover nearby furniture, flooring, and other items with drop cloths or plastic sheets to prevent paint splatters or chemical spills from causing harm.
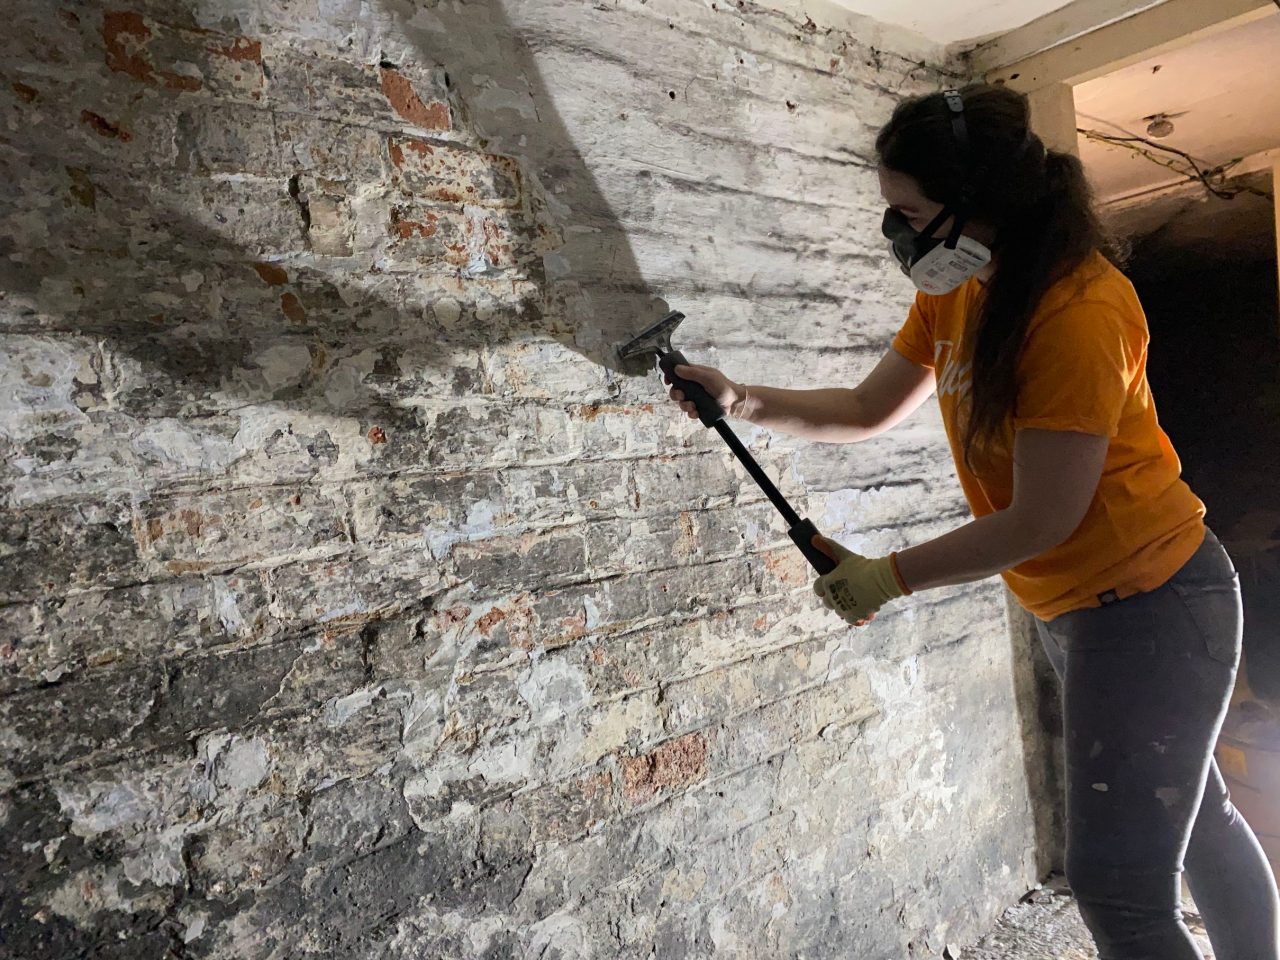
- Wear protective gear: When working with paint removers or chemicals, it’s crucial to prioritize your safety. Wear protective goggles, gloves, and a mask to protect your eyes, hands, and respiratory system from potential hazards.
- Ventilate the area: Paint removers often contain strong chemicals that emit fumes, which can be harmful if inhaled. Make sure to open windows or use fans to ensure proper ventilation in the area where you’ll be working.
By thoroughly preparing the surface and ensuring your safety, you are now ready to proceed to the next step: gathering the necessary supplies.
Step 2: Gather Supplies
Having the right tools and supplies is crucial for successful paint removal from a brick fireplace. Here is a list of items you will need:
- Paint remover: Choose a suitable paint remover specifically designed for masonry surfaces. There are various types available, including chemical strippers, gel-based removers, or eco-friendly options. Read the labels and select one that is appropriate for the type of paint on your fireplace.
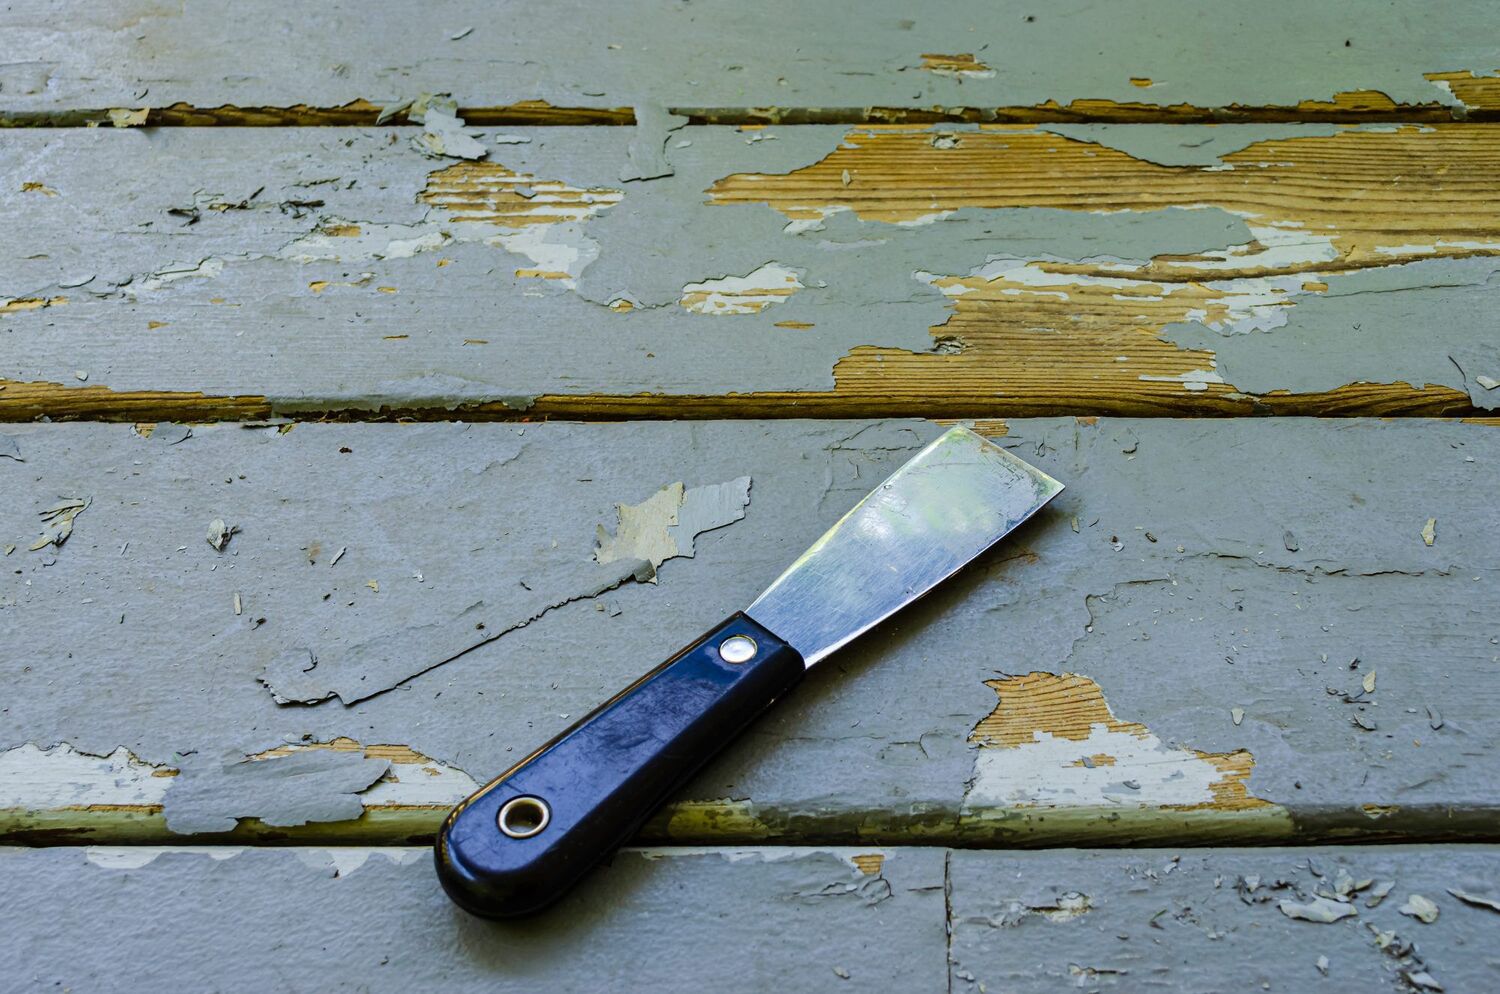
- Paint scraper: A sturdy paint scraper with a flat edge will be your primary tool for removing the paint from the brick surface. Ensure it is in good condition and ready for use.
- Wire brush: A wire brush will help you in the paint removal process by scrubbing and loosening any stubborn paint or residue from the brick. Choose a brush with stiff bristles for effective results.
- Protective gear: As mentioned earlier, it is essential to protect yourself during the paint removal process. Wear goggles, gloves, and a mask to shield your eyes, hands, and respiratory system from any potential harm.
- Drop cloths or plastic sheets: To protect the surrounding area, cover any furniture, flooring, or other items with drop cloths or plastic sheets. This will prevent paint splatters or chemical spills from causing damage.
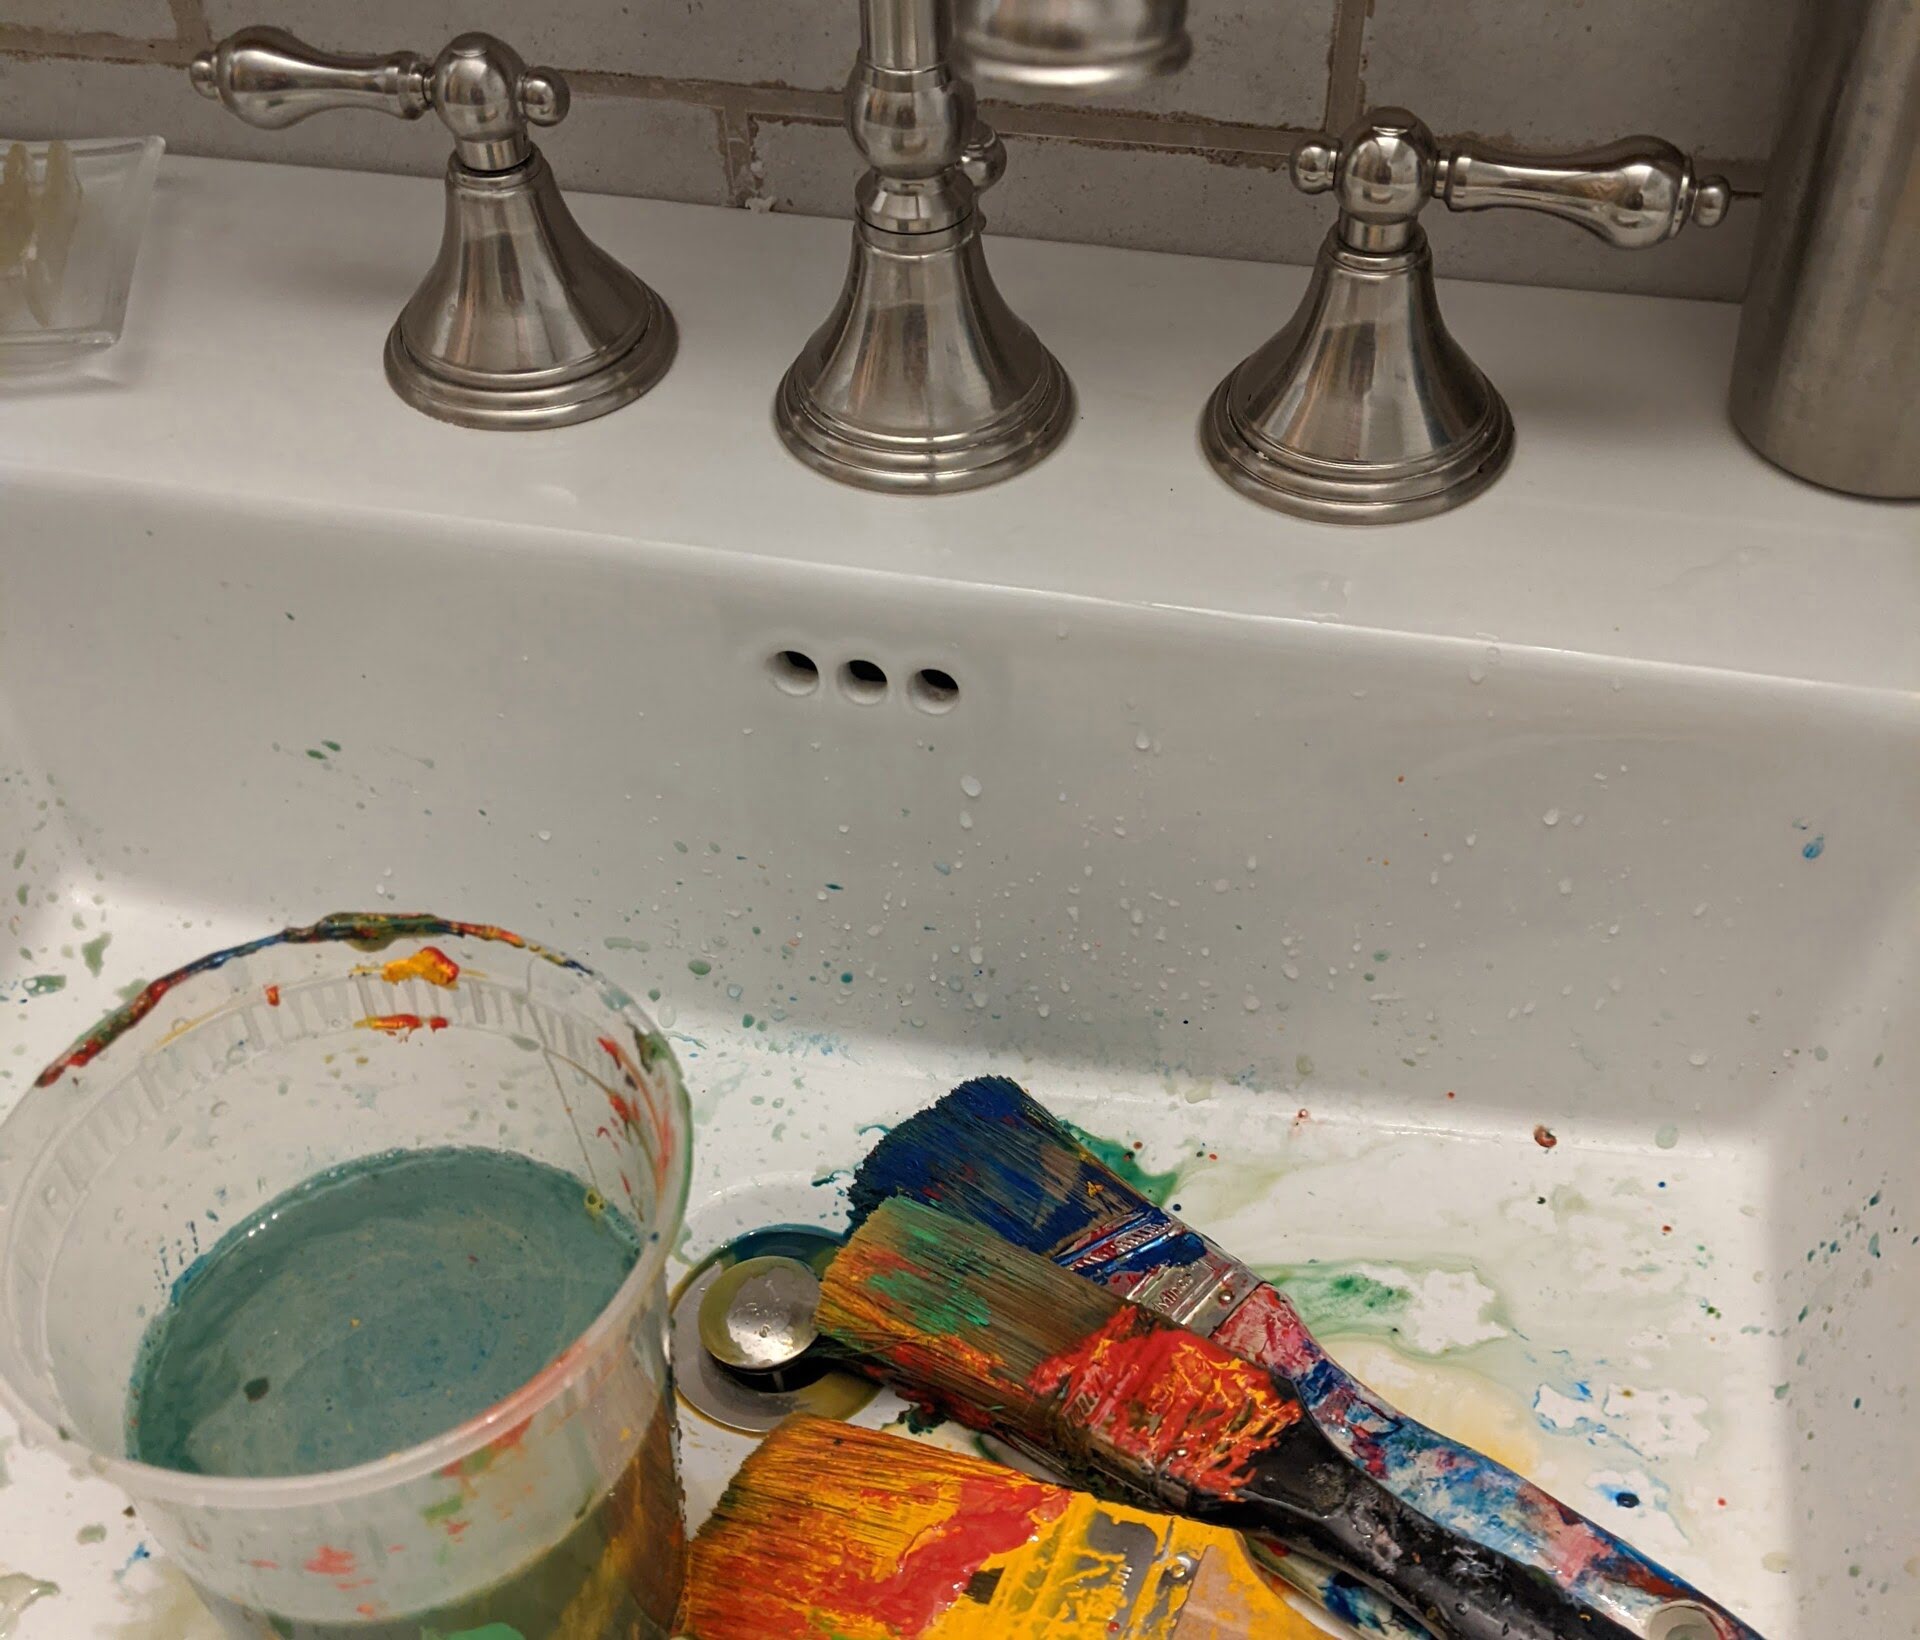
- Clean water and rags: Keep a bucket of clean water and several rags handy for wiping away any excess paint remover or cleaning the surface as needed.
By gathering these supplies before starting the paint removal process, you will ensure that you have everything you need to tackle the job effectively and efficiently. Now that you’re equipped with the necessary tools, you can move on to the next step: protecting the surrounding area.
Step 3: Protect Surrounding Area
When removing paint from a brick fireplace, it’s important to take precautions to protect the surrounding area from any potential damage. Paint removal can be a messy process, and you don’t want paint splatters or chemical spills to ruin your furniture, flooring, or other belongings. Here’s how to protect the surrounding area:
- Cover furniture and flooring: Use drop cloths, plastic sheets, or old newspapers to cover any furniture, flooring, or other items in the vicinity of the fireplace. This will prevent paint drips or chemical spills from causing damage. Make sure the coverings are securely in place to avoid any accidents.
- Use painter’s tape: Apply painter’s tape to any surfaces that are adjacent to the brick fireplace, such as trim, windows, or mantels. This will create a protective barrier and make it easier to clean up any stray paint or paint remover that may accidentally come into contact with these surfaces.
- Protect electrical outlets and switches: If there are electrical outlets or switches near the fireplace, use plastic outlet covers or tape to protect them from paint or paint remover. It’s essential to ensure that these areas are not compromised during the paint removal process.
- Secure plastic sheets: In addition to covering furniture and flooring, you may also want to hang plastic sheets on the walls surrounding the fireplace. This will provide an added layer of protection against paint drips or splatters. Use painter’s tape or secure the plastic sheets with tacks or staples to keep them in place.
- Create a workspace: If you’re working indoors, consider setting up a designated workspace by placing a tarp or drop cloth beneath the fireplace area. This will catch any debris or paint chips that may fall during the paint removal process, making it easier to clean up afterward.
By taking the time to protect the surrounding area, you can minimize the risk of accidental damage and make the paint removal process more efficient. With the area properly secured, you’re now ready to proceed to the next step: testing the paint remover.
Step 4: Test Paint Remover
Before applying the paint remover to the entire surface of your brick fireplace, it’s important to test it in a small, inconspicuous area. This will help you ensure that the paint remover is effective and won’t cause any damage or discoloration to the brick. Here’s how to test the paint remover:
- Select a small test area: Choose a small section of the brick fireplace, preferably in a less noticeable spot, to test the paint remover. This could be an area behind the mantel or on the side of the fireplace.
- Apply the paint remover: Follow the instructions on the paint remover product and apply a liberal amount to the test area. Use a brush or sponge to spread it evenly and ensure good coverage.
- Wait and observe: Allow the paint remover to sit on the brick for the recommended amount of time as mentioned by the manufacturer. Observe any changes in the paint, such as softening or blistering, to determine if the product is working effectively.
- Remove the paint: Depending on the paint remover, you may need to use a scraper or brush to gently remove the softened paint from the test area. If the paint comes off easily without damaging the brick, it’s a good indication that the paint remover is suitable for your fireplace.
- Check for discoloration: After removing the paint, inspect the test area for any discoloration or damage to the brick surface. If there are no adverse effects, it’s safe to proceed with using the same paint remover on the rest of the fireplace.
By conducting a test on a small area, you can ensure that the paint remover is safe and effective for your brick fireplace. If the test results are satisfactory, you can confidently move on to the next step: applying the paint remover to the entire surface.
Use a chemical paint stripper specifically designed for masonry surfaces. Apply it according to the manufacturer’s instructions, then scrape off the softened paint with a putty knife or wire brush. Always wear protective gear and work in a well-ventilated area.
Read more: How To Paint White Brick Fireplace
Step 5: Apply Paint Remover
Now that you have tested the paint remover and confirmed its effectiveness, it’s time to apply it to the entire surface of your brick fireplace. This step will help soften and loosen the paint, making it easier to remove. Here’s how to apply the paint remover:
- Read and follow instructions: Begin by carefully reading and following the instructions provided by the paint remover manufacturer. Different products may have specific application techniques and dwell times, so it’s important to adhere to the guidelines for best results.
- Work in small sections: To prevent the paint remover from drying out before you have a chance to remove the paint, it’s best to work in small sections. Divide the fireplace into manageable areas and focus on one section at a time.
- Apply the paint remover: Use a brush or sponge to apply a generous amount of paint remover to the brick surface. Ensure that the remover is evenly spread and covers the painted areas completely.
- Allow dwell time: Let the paint remover sit on the brick surface for the recommended dwell time as specified by the manufacturer. This will give the remover sufficient time to penetrate and break down the paint.
- Avoid excessive drying: To prevent the paint remover from drying out prematurely, take care to keep the treated area moist. If necessary, you can cover the applied sections with plastic wrap to maintain moisture during the dwell time.
By carefully applying the paint remover and allowing enough dwell time, you are maximizing its effectiveness in softening the paint. Once the dwell time has elapsed, you can move on to the next step: removing the paint from the brick surface.
Step 6: Remove Paint
With the paint remover successfully softening the paint on your brick fireplace, it’s time to remove the loosened paint and reveal the natural beauty of the brick. Here’s how to effectively remove the paint:
- Use a paint scraper: Begin by using a paint scraper with a flat edge to gently scrape away the softened paint from the brick surface. Hold the scraper at a slight angle and apply even pressure as you scrape in a parallel motion. Be careful not to scrape too forcefully, as it may damage the brick.
- Work in small sections: Similar to applying the paint remover, it’s best to work in small sections when removing the paint. This ensures that the paint doesn’t dry out before you have a chance to scrape it off.
- Remove any residue: After scraping off the majority of the paint, you may notice some residue or stubborn spots remaining on the brick. Use a wire brush to gently scrub away these areas, applying a bit more pressure if necessary. Be careful not to damage the brick surface.
- Wipe with clean water and rags: As you’re scraping off the paint and removing residue, periodically wipe the brick surface with clean water and rags. This will help remove any paint particles or residue left behind.
- Repeat if necessary: Depending on the thickness and type of paint, you may need to repeat the scraping and cleaning process to completely remove all traces of paint from the brick surface. Be patient and thorough, as it’s important to achieve a clean and natural finish.
Remember to work carefully and take breaks if needed. Removing paint from a brick fireplace can be a labor-intensive process, so it’s important to pace yourself. Once you have successfully removed the paint, it’s time to move on to the next step: cleaning the brick.
Step 7: Clean the Brick
After removing the paint from your brick fireplace, it’s important to thoroughly clean the brick surface to restore its natural beauty. Cleaning the brick will help remove any remaining residue, paint particles, or dirt, giving you a clean and fresh canvas. Here’s how to effectively clean the brick:
- Prepare a cleaning solution: Mix a solution of warm water and mild dish soap in a bucket or spray bottle. The gentle soap will help break down any dirt or grime on the brick surface.
- Dampen the brick: Use a sponge or cloth to dampen the brick surface with clean water. Wetting the brick before applying the cleaning solution will help prevent the brick from absorbing the soap mixture too quickly.
- Apply the cleaning solution: Dip a sponge or cloth into the cleaning solution and apply it to the brick surface. Work in small sections and scrub gently to remove any remaining paint residue or dirt. Pay extra attention to any stubborn areas.
- Rinse with clean water: Once you have scrubbed the brick with the cleaning solution, rinse the surface thoroughly with clean water. This will remove any soap residue and ensure a completely clean finish. You can use a clean sponge or cloth to help with the rinsing process.
- Dry the brick: Allow the brick surface to air dry completely before moving on to the next step. This will prevent any moisture from getting trapped and potentially causing damage.
By following these steps, you can effectively clean the brick and prepare it for any further finishing touches or treatments. Now that the brick surface is clean and dry, it’s time to move on to the final step: adding the finishing touches to the brick fireplace.
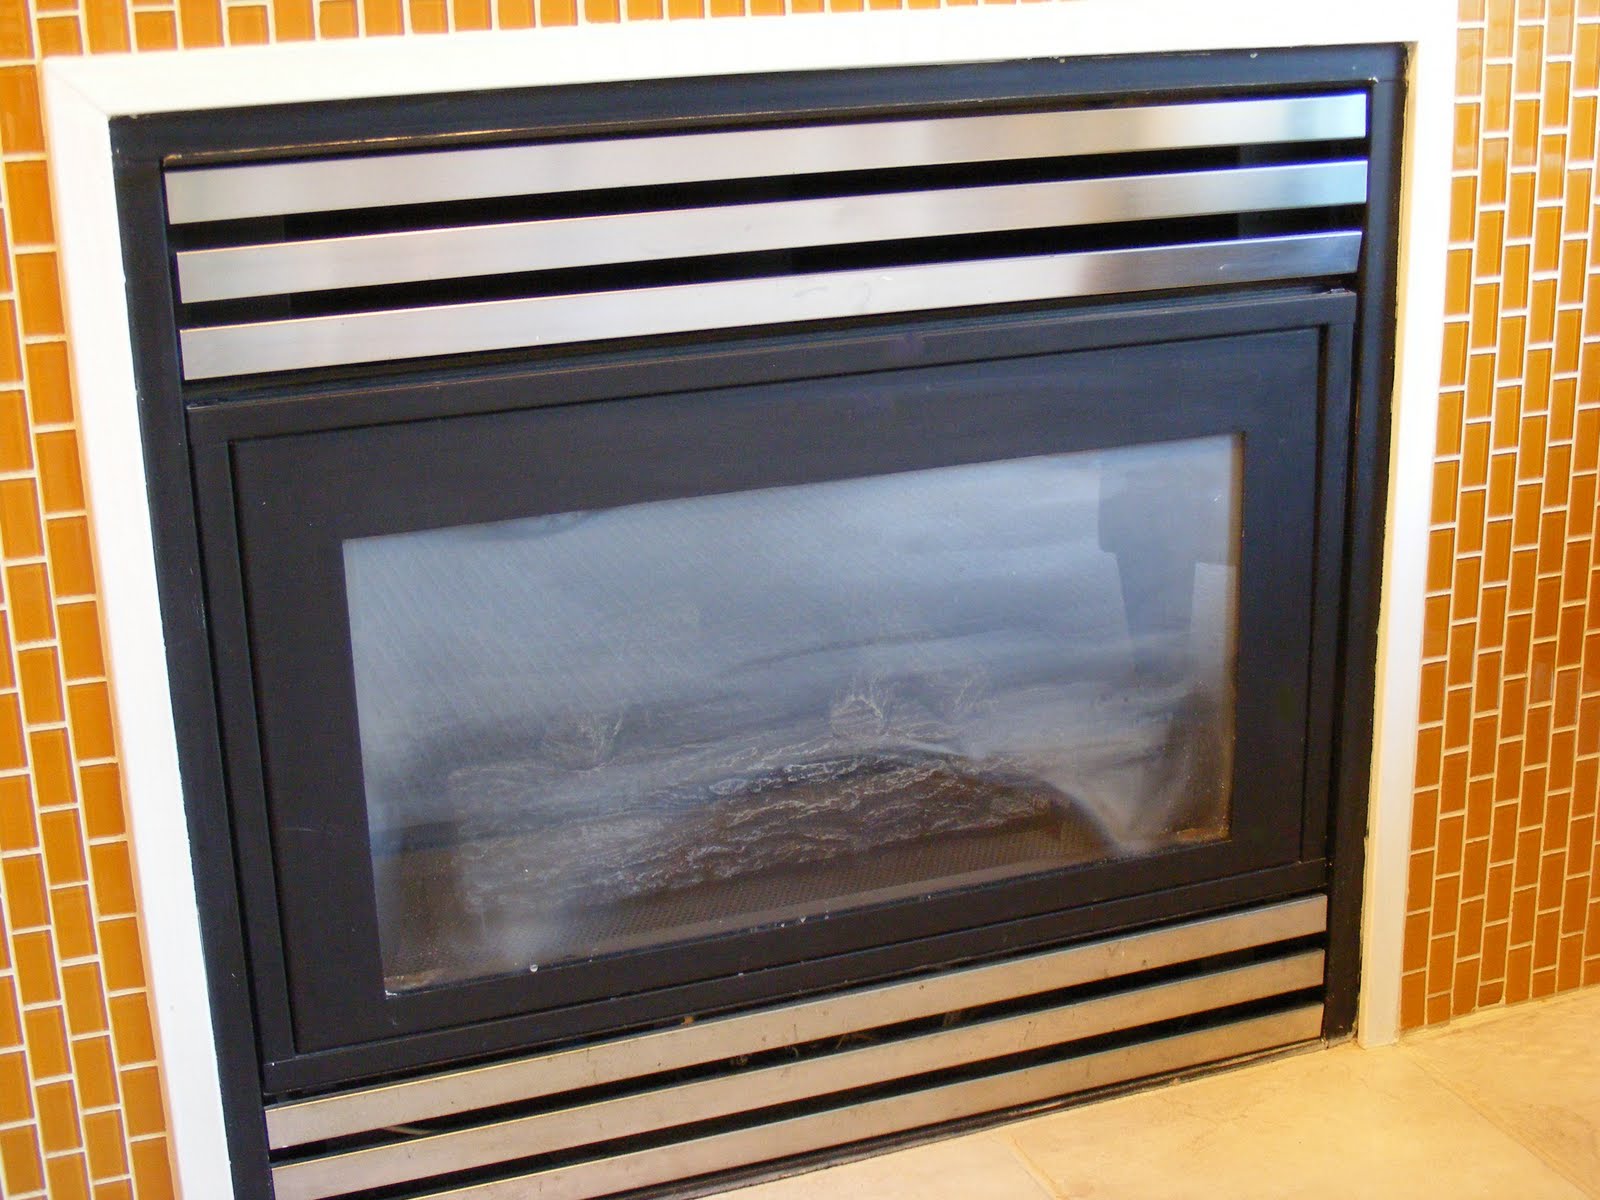
Step 8: Finishing Touches
Now that you have successfully removed the paint and cleaned the brick surface, it’s time to add the finishing touches to your brick fireplace. This step will help enhance the appearance of the brick and protect it for years to come. Here are some options for the final touches:
- Seal the brick: Consider applying a brick sealer to protect the surface and enhance its natural color. A brick sealer will create a barrier that helps prevent staining and makes future cleaning easier. Follow the manufacturer’s instructions for application and allow sufficient drying time.
- Paint or stain: If you prefer a different color for your fireplace, you can choose to paint or stain the brick. Opt for a masonry paint or stain that is designed for use on brick surfaces. Follow the proper application techniques and allow ample drying time for the best results.
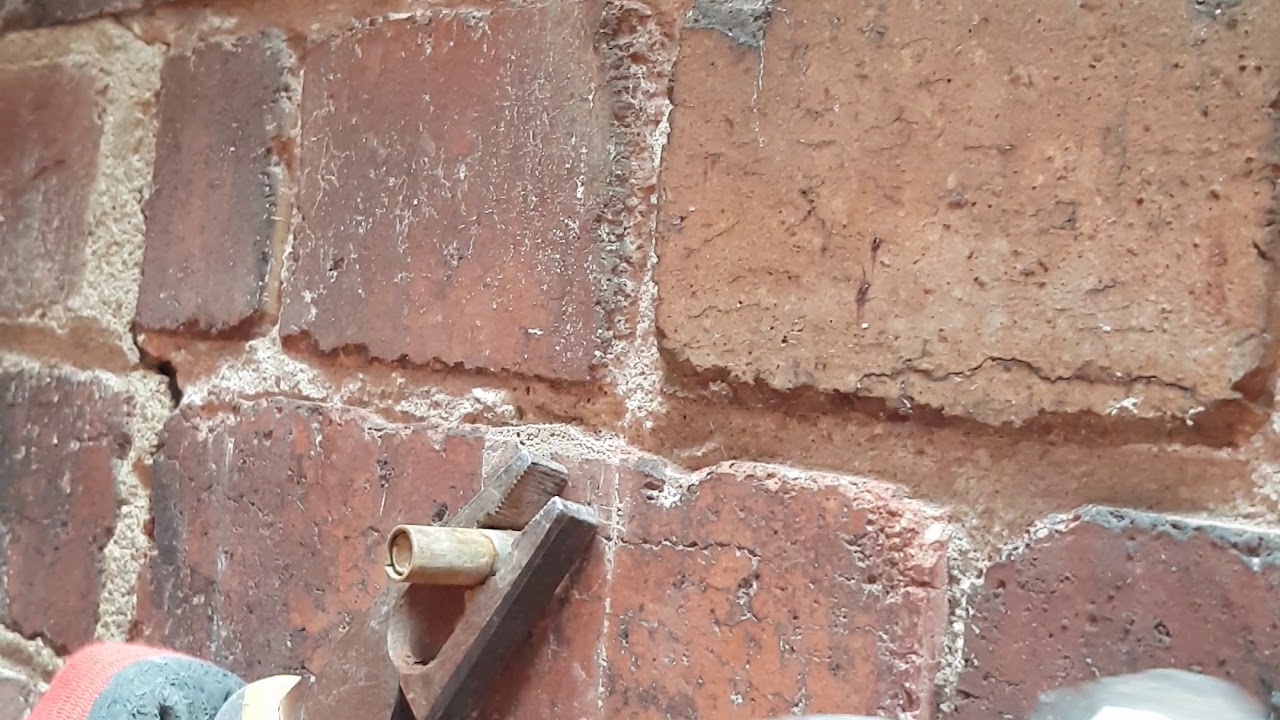
- Repoint the mortar: If you notice any damaged or deteriorating mortar between the bricks, consider repointing it. Repointing involves removing the old mortar and replacing it with fresh mortar to restore the stability and aesthetics of the brickwork. It’s a meticulous process that may require the assistance of a professional.
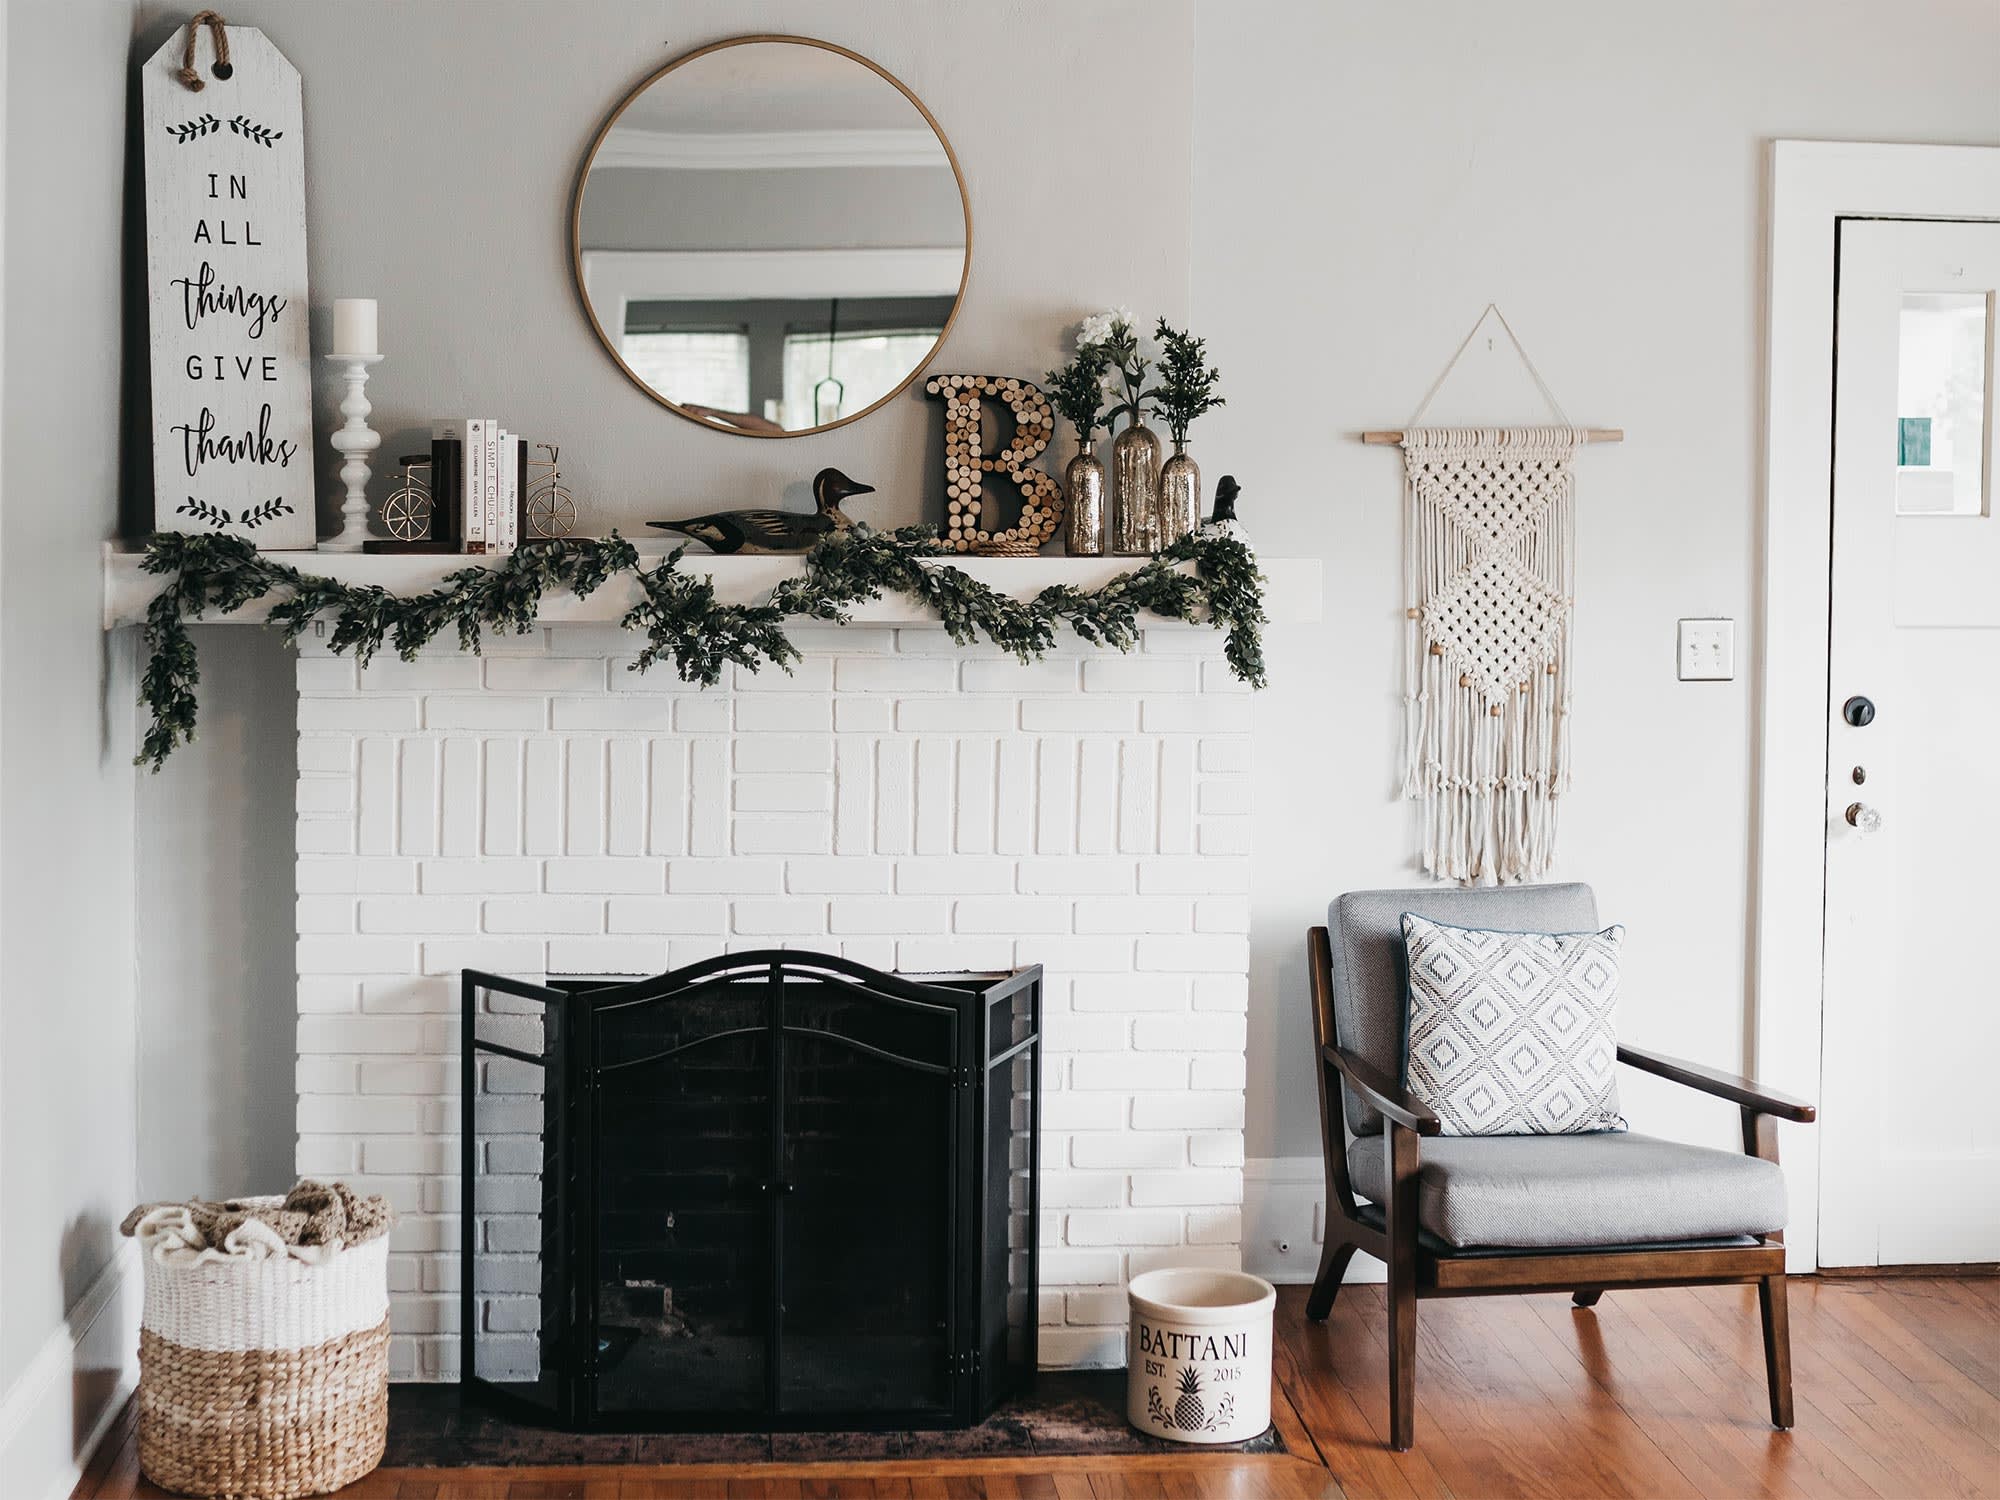
- Decorate the fireplace: With the paint removed and the brick refreshed, you can now add your personal touch to the fireplace. Consider decorating it with artwork, mirrors, or other decorative elements that complement your interior design style. This will help make your fireplace a focal point in the room.
Remember to choose the finishing touches that align with your preferences and overall design vision for your living space. With these final steps completed, your brick fireplace will be transformed into a stunning centerpiece that adds character and charm to your home. Enjoy the beauty of your restored brick fireplace for years to come!
Read more: What Color To Paint A Brick Fireplace
Conclusion
Removing paint from a brick fireplace can be a tedious task, but with the right tools, techniques, and patience, it can be achieved successfully. By following the step-by-step guide outlined in this article, you can restore the natural beauty of your brick fireplace and give your living space a fresh and updated look.
Starting with the preparation phase, we discussed the importance of cleaning the surface, protecting the surrounding area, and gathering the necessary supplies. We emphasized the need to prioritize safety by wearing protective gear and ensuring proper ventilation during the paint removal process.
Testing the paint remover in a small area allowed you to ensure its effectiveness and compatibility with your brick surface. Applying the paint remover and allowing the appropriate dwell time effectively softened the paint, making it easier to remove.
Using a paint scraper and wire brush, you were able to carefully remove the paint from the brick surface, working in small sections and taking breaks as needed. After removing the paint, thorough cleaning of the brick was emphasized to achieve a clean and fresh finish.
Lastly, we discussed the various finishing touches you can consider to enhance the appearance and protection of your fireplace, such as sealing the brick, painting or staining, repointing the mortar, and adding decorative elements to make the fireplace a focal point of your room.
Remember, removing paint from a brick fireplace requires attention to detail and a commitment to following the necessary safety precautions. Take your time, be patient, and enjoy the rewarding process of bringing out the natural beauty of your brick fireplace.
With the information provided in this article, you are now equipped with the knowledge to successfully remove paint from your brick fireplace. Get ready to transform your living space and create a cozy and inviting atmosphere for you and your loved ones to enjoy.
Frequently Asked Questions about How To Remove Paint From Brick Fireplace
Was this page helpful?
At Storables.com, we guarantee accurate and reliable information. Our content, validated by Expert Board Contributors, is crafted following stringent Editorial Policies. We're committed to providing you with well-researched, expert-backed insights for all your informational needs.

0 thoughts on “How To Remove Paint From Brick Fireplace”