
Articles
How To Remove Gorilla Glue From A Carpet
Modified: December 7, 2023
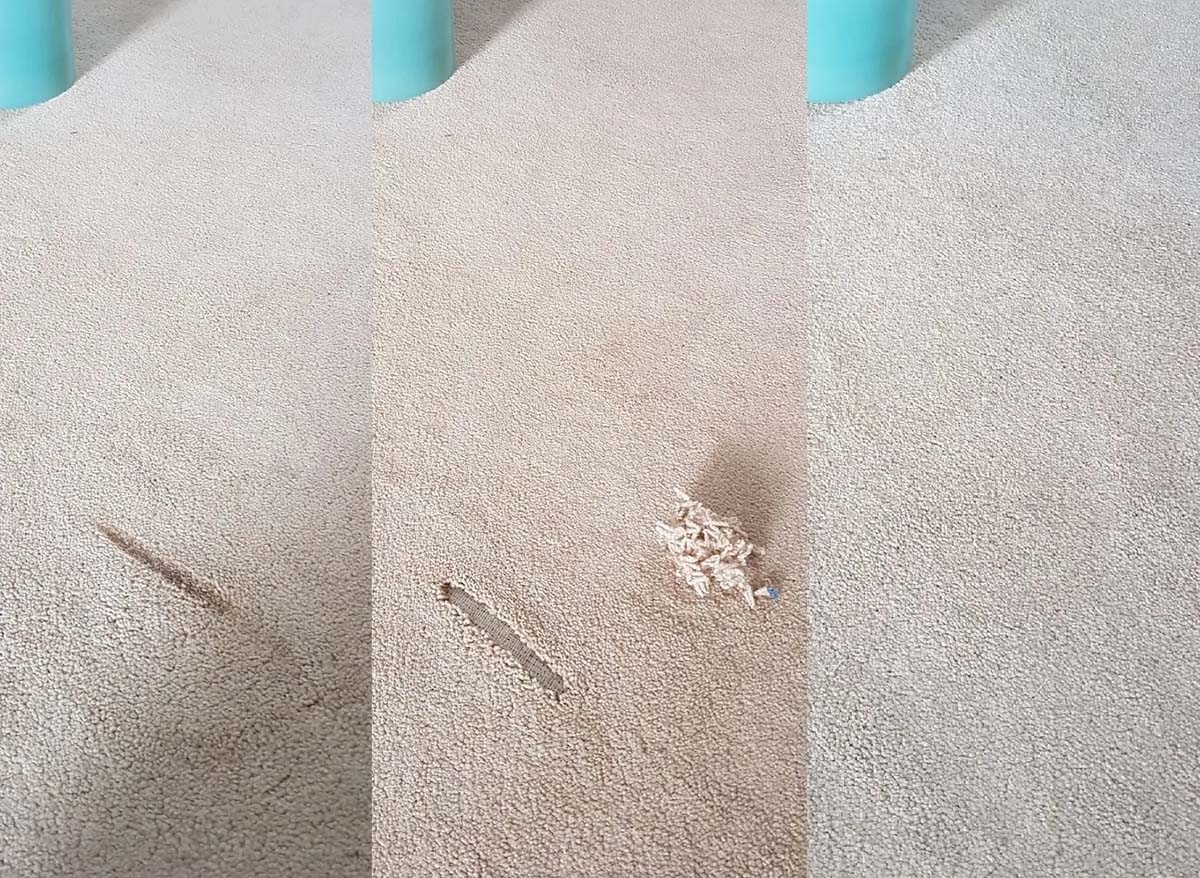
Learn effective techniques to remove Gorilla Glue from your carpet with these helpful articles. Say goodbye to stubborn stains and restore your carpet's pristine condition.
(Many of the links in this article redirect to a specific reviewed product. Your purchase of these products through affiliate links helps to generate commission for Storables.com, at no extra cost. Learn more)
Introduction
Gorilla Glue is a popular adhesive known for its strong bonding properties. However, accidents happen, and sometimes Gorilla Glue ends up on surfaces where it isn’t intended, such as carpets. Removing Gorilla Glue from a carpet can be a daunting task, but with the right approach and materials, it is possible to effectively remove the glue and restore the carpet to its original condition.
Before we dive into the step-by-step process of removing Gorilla Glue from a carpet, it’s essential to understand how Gorilla Glue works. Gorilla Glue is a polyurethane adhesive that expands as it cures, creating a strong and long-lasting bond. This adhesive can be challenging to remove once it has dried and hardened, making quick action crucial when dealing with a spill or accidental glue application.
However, before attempting to remove Gorilla Glue from your carpet, it’s important to take some precautions. Firstly, ensure good ventilation in the area to prevent inhaling any fumes during the removal process. Secondly, protect your hands by wearing gloves, as some adhesive removers or solvents may be harsh on the skin. Lastly, read and follow the instructions on the label of the adhesive remover or solvent you choose to use, as different products may require different application techniques.
To effectively remove Gorilla Glue from a carpet, you will need a few materials. Here’s a list of the items you will likely need:
- Adhesive remover or solvent
- Plastic scraper or spatula
- Clean white cloth or paper towels
- Water
- Mild detergent
- Vacuum cleaner
Now that we have our materials ready, let’s proceed to the step-by-step process of removing Gorilla Glue from a carpet. It’s important to note that the effectiveness of each step may vary depending on the severity of the glue stain and the type of carpet you have. It’s always a good idea to test any cleaning solution on a small, inconspicuous area of the carpet before applying it to the stained area.
Key Takeaways:
- Removing Gorilla Glue from a carpet requires patience, precaution, and the right materials. By following the step-by-step process and taking necessary safety measures, you can effectively restore your carpet to its original condition.
- Prompt action and thoroughness are essential when dealing with Gorilla Glue spills. By softening, scraping, applying adhesive remover, and cleansing the carpet, you can successfully remove the glue and enjoy a clean, glue-free environment.
Read more: How To Store Gorilla Glue
Understanding Gorilla Glue
Gorilla Glue is a powerful adhesive that is commonly used for various purposes, including carpentry, household repairs, and even arts and crafts. It is known for its incredible strength and versatility, making it a popular choice among DIY enthusiasts and professionals alike.
One of the key features of Gorilla Glue is its polyurethane formula. This formula allows the glue to expand as it cures, creating a strong and durable bond. It can adhere to various surfaces, including wood, metal, stone, ceramic, and even fabric. This makes it ideal for a wide range of applications.
When Gorilla Glue comes into contact with a surface, it initially forms a bond through a process called moisture-activated polyurethane chemistry. The glue requires moisture to cure and form a strong bond. This means that if Gorilla Glue comes in contact with a dry surface, it will not adhere properly.
Gorilla Glue also has a unique foaming property. As it cures, the liquid glue expands and turns into foam, filling irregularities and gaps to create an even stronger bond. This expansion property can be both a benefit and a challenge, depending on the surface and the intended use.
However, despite its exceptional bonding capabilities, Gorilla Glue is not meant to be used on all surfaces. It is not recommended for use on surfaces that will be exposed to continuous water immersion or extreme temperatures. Additionally, it is not suitable for use on certain plastics, such as polyethylene or polypropylene, as it may not adhere properly.
When Gorilla Glue spills or drips onto a carpet, it can quickly harden, making it difficult to remove. The expanding nature of the glue can cause it to seep into the fibers of the carpet, creating a stubborn glue stain. However, with proper techniques and materials, it is possible to remove Gorilla Glue from a carpet and restore its original appearance.
In the next sections, we will explore the step-by-step process of removing Gorilla Glue from a carpet, providing valuable tips and insights along the way. Before we dive into the removal process, it’s important to perform a small test in an inconspicuous area of the carpet to ensure that the cleaning method does not damage or discolor the fibers.
Precautions before Removing Gorilla Glue
Before you begin the process of removing Gorilla Glue from your carpet, there are some essential precautions that you should take to ensure your safety and protect the integrity of the carpet.
Firstly, ensure that the area is well-ventilated. Whether you are working in a small room or a larger space, opening windows or using fans can help dissipate any fumes from the adhesive remover or solvent you will be using. Remember to take breaks and breathe fresh air if you start to feel lightheaded or uncomfortable.
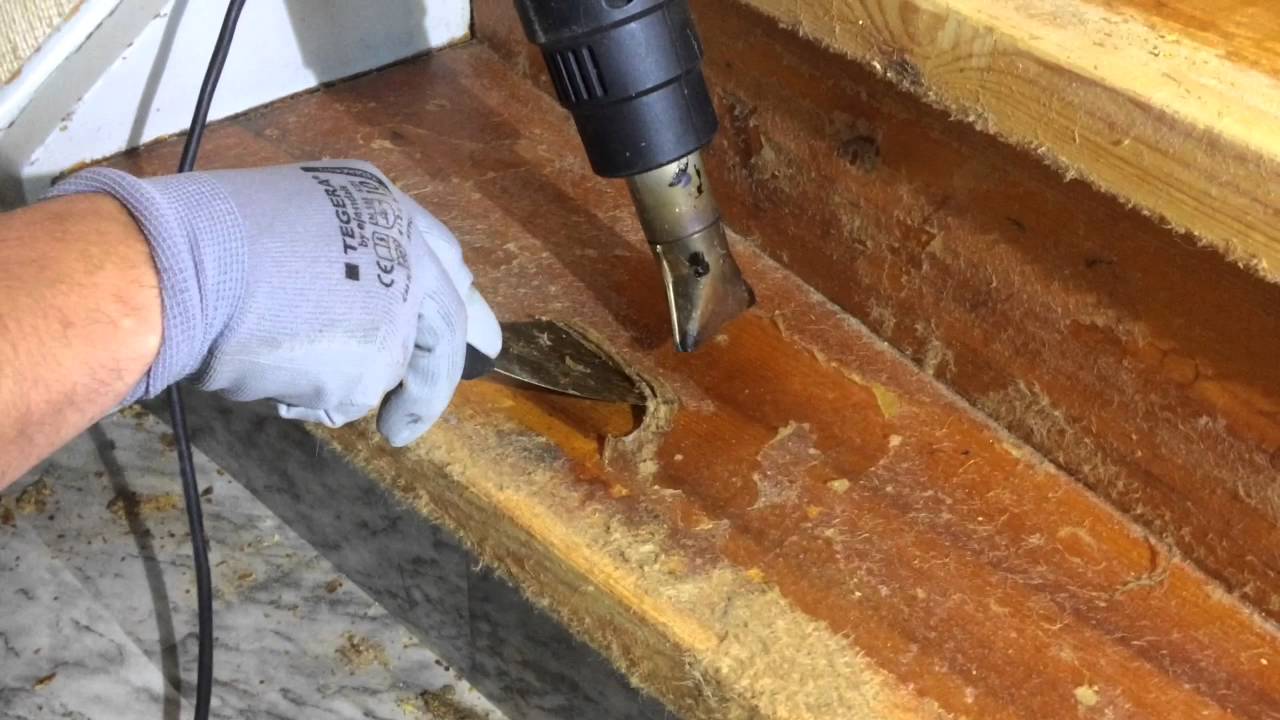
In addition to good ventilation, it is crucial to protect your hands by wearing gloves. Some adhesive removers or solvents can be harsh on the skin, so it is important to take precautionary measures to avoid any potential irritation or chemical burns. Choose gloves that are resistant to the specific adhesive remover or solvent you plan to use.
Moreover, it is essential to read and follow the instructions provided on the label of the adhesive remover or solvent. Different products may have different application techniques and safety precautions. Adhering to the instructions will ensure that you achieve the best results and avoid any potential mishaps or damage to your carpet.
Before you proceed with the removal process, it is highly recommended to test the chosen adhesive remover or solvent on a small, inconspicuous area of the carpet. This will help you determine if there are any adverse reactions or discoloration to the carpet fibers. Wait for a few minutes and observe the test area for any changes before continuing with the rest of the carpet.
It is important to note that certain carpets may be more sensitive to adhesive removers or solvents due to their fiber composition or dyeing process. If you are unsure about the suitability of a particular product for your carpet, consult the manufacturer’s instructions or seek professional advice.
Lastly, keep in mind that removing Gorilla Glue from a carpet can require patience and persistence. The effectiveness of the removal process may depend on factors such as the age of the glue, amount of glue, and type of carpet. It may be necessary to repeat some steps or try alternative methods if the initial attempts do not yield satisfactory results.
By taking these precautions and following the guidelines provided, you can safely and effectively remove Gorilla Glue from your carpet without causing damage or risking your well-being. Now that you are equipped with the necessary knowledge, let’s move on to the step-by-step process of removing Gorilla Glue from your carpet.
Materials Needed
Before you begin the process of removing Gorilla Glue from your carpet, it’s important to gather all the necessary materials. Having these materials on hand will ensure that you can efficiently and effectively tackle the task at hand.
Here’s a list of the materials you will likely need:
- Adhesive remover or solvent: Choose a solvent specifically designed for removing adhesives. Look for products that are safe for use on carpets and follow the instructions on the label.
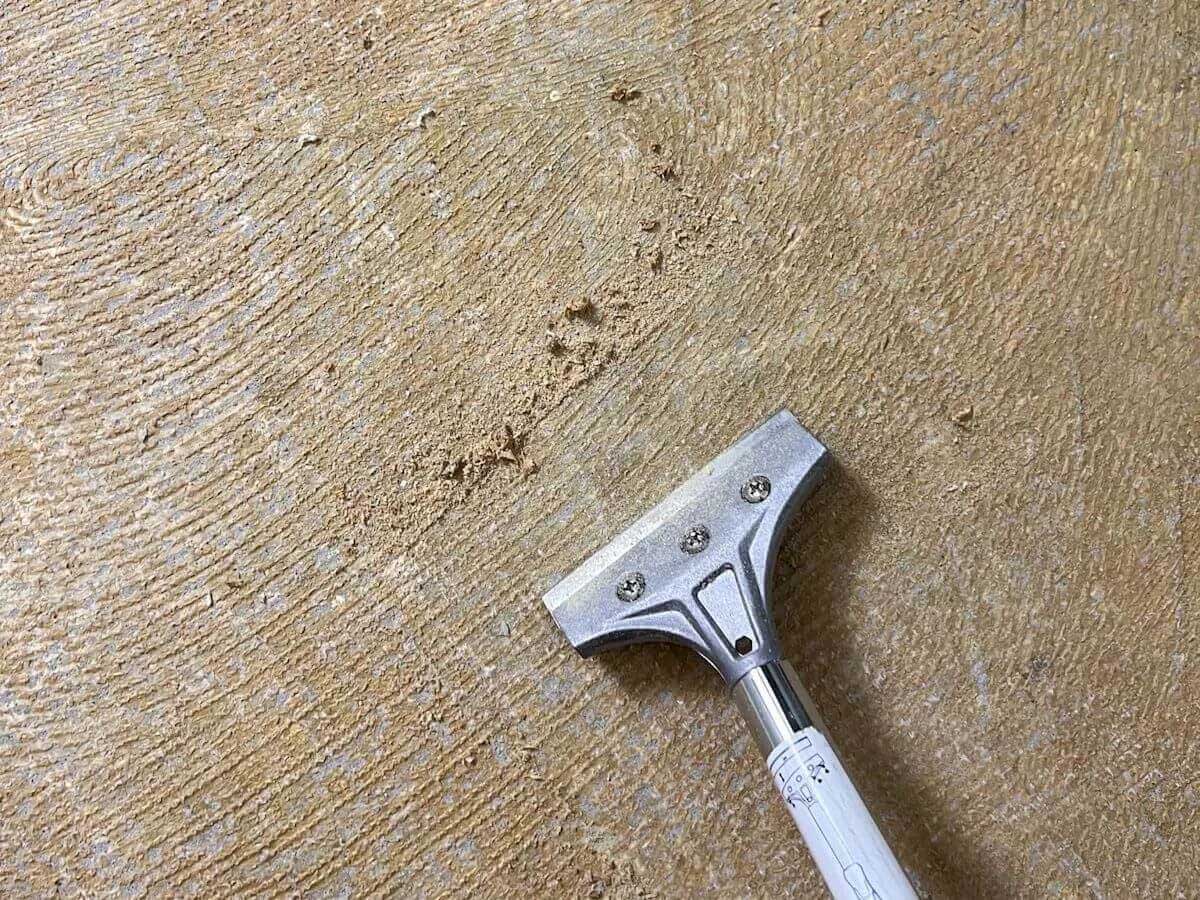
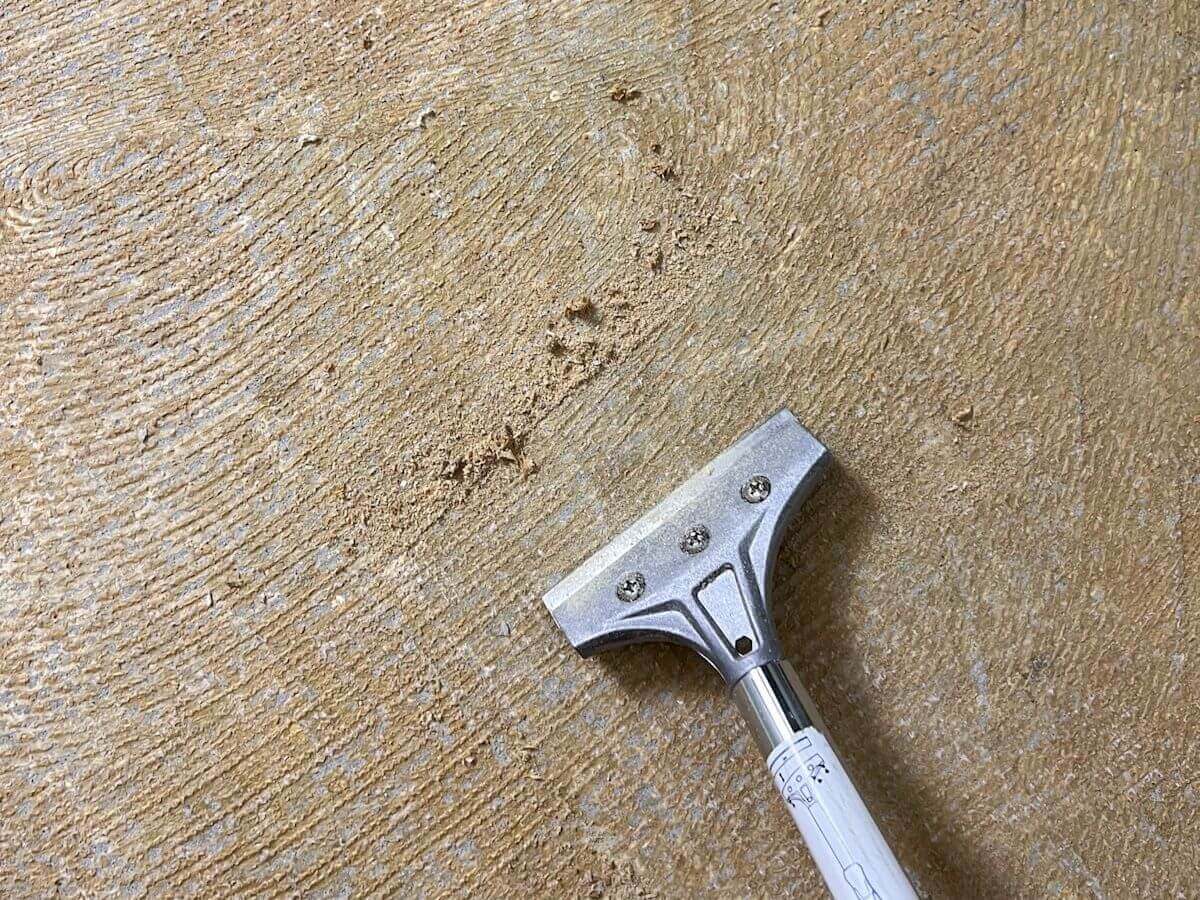
- Plastic scraper or spatula: This will be used to gently scrape off any excess glue from the carpet surface. Make sure to use a plastic scraper to avoid damaging the fibers.
- Clean white cloth or paper towels: These are essential for blotting and absorbing the adhesive remover or solvent.
- Water: You’ll need water for rinsing and cleaning the carpet.
- Mild detergent: A mild detergent can be used to cleanse the carpet fibers after removing the glue. Ensure that it is suitable for use on carpets and follow the instructions.
- Vacuum cleaner: A vacuum cleaner with a brush attachment will help remove any remaining debris or loose fibers after the glue removal process.
It’s important to note that the specific materials needed may vary depending on the severity of the glue stain and the type of carpet you have. Additionally, you may require additional tools or cleaning agents if the first attempts are not successful.
Before you proceed with the glue removal process, ensure that you have all the necessary materials readily available and within reach. This will help you maintain a smooth and efficient workflow, minimizing the time and effort required to remove the Gorilla Glue stain from your carpet.
Now that you have gathered all the materials needed, let’s move on to the step-by-step process of removing Gorilla Glue from your carpet and restoring its pristine appearance.
Step 1: Assess the Glue Stain
The first step in successfully removing Gorilla Glue from your carpet is to thoroughly assess the glue stain. Understanding the severity and extent of the stain will help you determine the best approach for removal.
Take a close look at the glue stain and consider the following factors:
- Size of the stain: Evaluate the size of the glue stain on your carpet. Is it a small spot or a larger area? Knowing the size of the stain will help you determine the amount of time and effort needed for removal.
- Age of the glue: Consider how long the Gorilla Glue has been on the carpet. Fresh glue stains are typically easier to remove compared to older, dried stains that have hardened over time.
- Condition of the carpet: Assess the overall condition of the carpet. Is it made of delicate fibers or is it more resilient? Understanding the type of carpet you have will allow you to choose the appropriate adhesive remover or solvent that is safe for use on your specific carpet material.
By thoroughly assessing the glue stain, you can tailor your approach to ensure the most effective and efficient removal process. Keep in mind that the success of the removal will depend on these factors, and you may need to adjust the techniques or materials used based on your specific situation.
Once you have assessed the glue stain, you are ready to move on to the next step: testing a small area of the carpet to ensure that the chosen adhesive remover or solvent does not cause any damage or discoloration.
Read more: How To Remove Dry Nail Glue From Carpet
Step 2: Test a Small Area
Before proceeding with the removal of Gorilla Glue from your carpet, it’s important to test the adhesive remover or solvent on a small, inconspicuous area. This step is crucial to ensure that the cleaning solution does not cause any damage or discoloration to your carpet.
Follow these steps to test a small area:
- Choose a small, hidden area of the carpet, such as a corner or under a piece of furniture.
- Apply a small amount of the adhesive remover or solvent to a clean white cloth or paper towel.
- Gently dab the cleaning solution onto the test area, ensuring that the carpet fibers are not saturated.
- Wait for a few minutes and observe the test area. Check for any adverse reactions, such as color fading or fiber damage.
- If there are no visible negative effects, the cleaning solution is likely safe to use on the rest of the carpet. Proceed with caution and closely monitor the area during the removal process.
If you notice any discoloration, fiber damage, or other undesirable effects, it’s important to stop the test immediately. Do not proceed with using the adhesive remover or solvent on your carpet and consider trying a different method or consulting a professional if needed.
Keep in mind that different carpets may react differently to various cleaning solutions, so it’s essential to perform the test to avoid potential damage and ensure a safe cleaning process.
Once you have confirmed that the cleaning solution is safe for use on your carpet, you can confidently move forward with the glue removal process.
Next, we will discuss how to soften the Gorilla Glue to make it easier to remove.
Step 3: Soften the Glue
Now that you have assessed the Gorilla Glue stain and tested the adhesive remover on a small area of your carpet, it’s time to move on to the next step: softening the glue.
Softening the glue will make it easier to remove, especially if the glue has dried and hardened. Follow these steps to soften the Gorilla Glue:
- Apply a generous amount of the adhesive remover or solvent directly onto the glue stain. Make sure to saturate the glue with the solution.
- Allow the adhesive remover or solvent to penetrate and soften the glue for the recommended time stated on the product label. This can vary depending on the specific product you are using.
- During this waiting period, avoid touching or disturbing the softened glue to allow the solution to work effectively.
- Keep in mind that it may take several minutes or longer for the glue to soften completely, depending on the age and amount of glue present.
Softening the Gorilla Glue will help loosen its grip on the carpet fibers, making it easier to remove. However, be patient and give the adhesive remover or solvent enough time to work its magic.
While waiting for the glue to soften, make sure to follow any safety precautions provided on the product label. Take breaks if you feel overwhelmed by the fumes and ensure adequate ventilation in the area.
Once the glue has sufficiently softened, you can move on to the next step: scraping off the glue from the carpet.
Note: If you are working with a delicate or sensitive carpet, it’s important to be extra cautious when scraping off the glue to avoid damaging the fibers. In such cases, it may be best to consult a professional carpet cleaner for assistance.
To remove Gorilla Glue from a carpet, try using acetone or nail polish remover. Apply a small amount to a cloth and gently dab at the glue until it starts to dissolve. Be careful not to saturate the carpet and test in an inconspicuous area first.
Step 4: Scrape off the Glue
After softening the Gorilla Glue, it’s time to start removing it from the carpet. The scraping process will help lift the softened glue from the fibers, gradually restoring the carpet’s appearance.
Follow these steps to scrape off the Gorilla Glue:
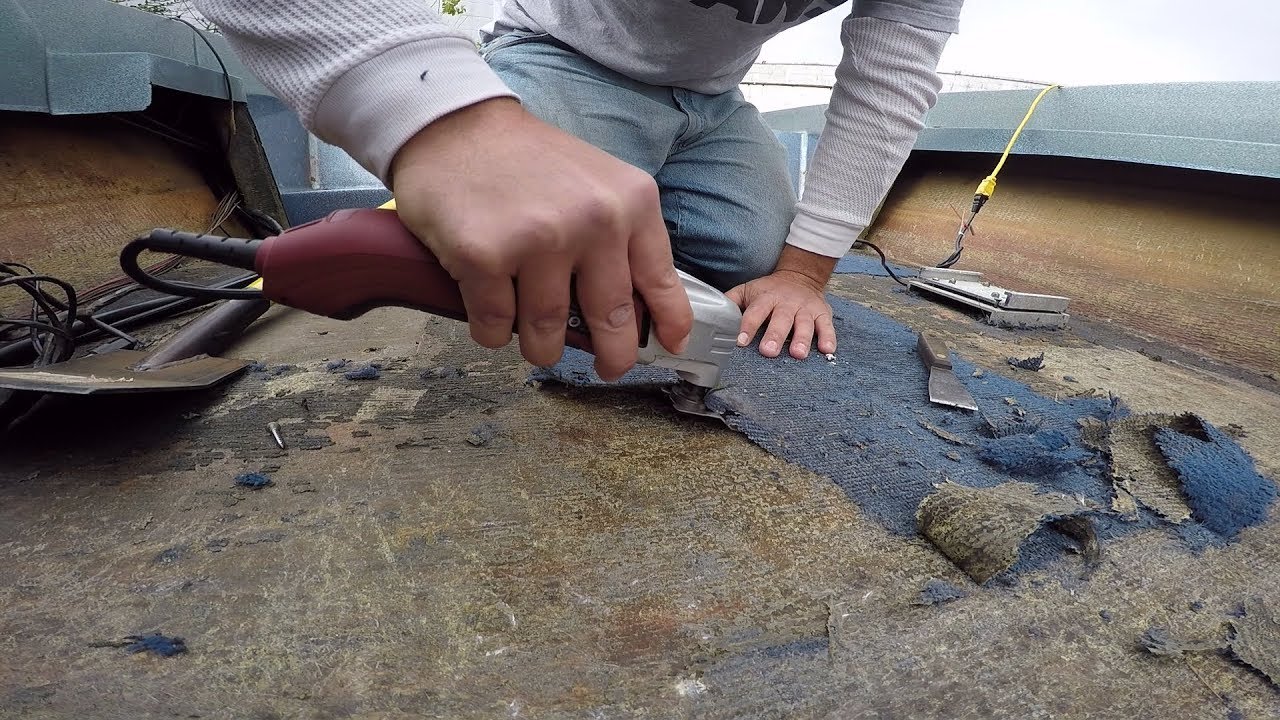
- Use a plastic scraper or spatula to gently scrape off the softened glue from the carpet surface. Be careful not to press too hard or scrape aggressively, as this can damage the carpet fibers.
- Work in a slow and controlled manner, starting from the outer edges of the glue stain and gradually moving toward the center.
- If the glue is resistant to scraping or there are remnants left, apply more adhesive remover or solvent to further soften the glue.
- Continue scraping and repeating the application of the adhesive remover as necessary until the majority of the glue is removed.
- Be patient and avoid rushing the process. It may take some time to completely remove the Gorilla Glue, especially if it has seeped deep into the carpet fibers.
- Remember to periodically clean the scraper or spatula to prevent the transferred glue from being spread back onto the carpet.
While scraping off the glue, it’s important to avoid using sharp or abrasive tools that could harm the carpet. Stick to plastic scrapers or spatulas to minimize the risk of causing additional damage.
If you encounter any challenges during the scraping process or find that some glue remains on the carpet, don’t worry. The next steps will address further removal techniques to ensure a clean and glue-free carpet.
Once you’ve completed the scraping process, it’s time to move on to the next step: applying the adhesive remover or solvent to further dissolve any remaining glue stains.
Step 5: Apply Adhesive Remover
After scraping off the majority of the Gorilla Glue, it’s time to tackle any remaining glue stains on the carpet. Applying an adhesive remover or solvent will help dissolve and loosen the stubborn glue, making it easier to remove.
Follow these steps to apply the adhesive remover:
- Read the instructions on the adhesive remover product carefully and follow any specific guidelines or safety precautions.
- Apply a small amount of the adhesive remover directly onto the remaining glue stains. Use a clean cloth or sponge to gently dab and work the solution into the carpet fibers.
- Allow the adhesive remover to sit and penetrate the glue stains for the recommended amount of time indicated on the product label.
- During this waiting period, avoid stepping on the treated area and keep children and pets away.
- Use a clean cloth or sponge to gently blot and agitate the glue stains. This will help break down the remaining adhesive and lift it from the carpet fibers.
- You may need to repeat the application of the adhesive remover and blotting process multiple times to completely remove the remaining glue stains.
Be patient during this step, as it may take some time and effort to effectively dissolve and remove the glued residue. The adhesive remover will gradually break down the glue, allowing it to release from the carpet fibers.
Remember to always follow the safety instructions provided on the adhesive remover product and avoid using excessive force or aggressive rubbing, which could damage the carpet.
Once you have successfully removed the remaining glue stains, it’s time to move on to the next step: cleansing the carpet to ensure a thorough cleaning.
Step 6: Blot the Area
After applying the adhesive remover and loosening the Gorilla Glue stains, it’s important to blot the treated area to remove any remaining residue. This step helps to lift the dissolved glue and the adhesive remover from the carpet fibers.
Follow these steps to effectively blot the area:
- Take a clean white cloth or paper towels and gently blot the treated area. Avoid rubbing or scrubbing, as this can spread the glue and potentially damage the carpet fibers.
- Continue blotting until the cloth or paper towel no longer picks up any residue or until the area feels dry.
- If necessary, you can dampen a clean cloth with water and gently blot the area once again to rinse any remaining adhesive remover from the carpet.
- Repeat the blotting process with a fresh cloth or paper towels until no more residue is transferred.
Blotting is an important step to remove the dissolved glue and the adhesive remover from the carpet fibers. It helps to prevent any potential reattachment of the glue and ensures that the carpet is thoroughly cleaned.
Take your time during this step and be patient. Depending on the severity of the glue stains, you may need to repeat the blotting process several times to achieve the desired outcome.
Once you have successfully blotted the area and removed all traces of the adhesive remover, it’s time to move on to the next step: cleansing the carpet to leave it fresh and clean.
Step 7: Cleanse the Carpet
After removing the Gorilla Glue and blotting the treated area, it’s time to cleanse the carpet to ensure a thorough cleaning. This step helps to remove any remaining residue and restore the carpet’s appearance.
Follow these steps to effectively cleanse the carpet:
- Fill a bucket with warm water and add a mild detergent suitable for use on carpets. Mix well to create a soapy solution.
- Take a clean sponge or cloth and dip it into the soapy solution. Gently wring out any excess water to avoid oversaturating the carpet.
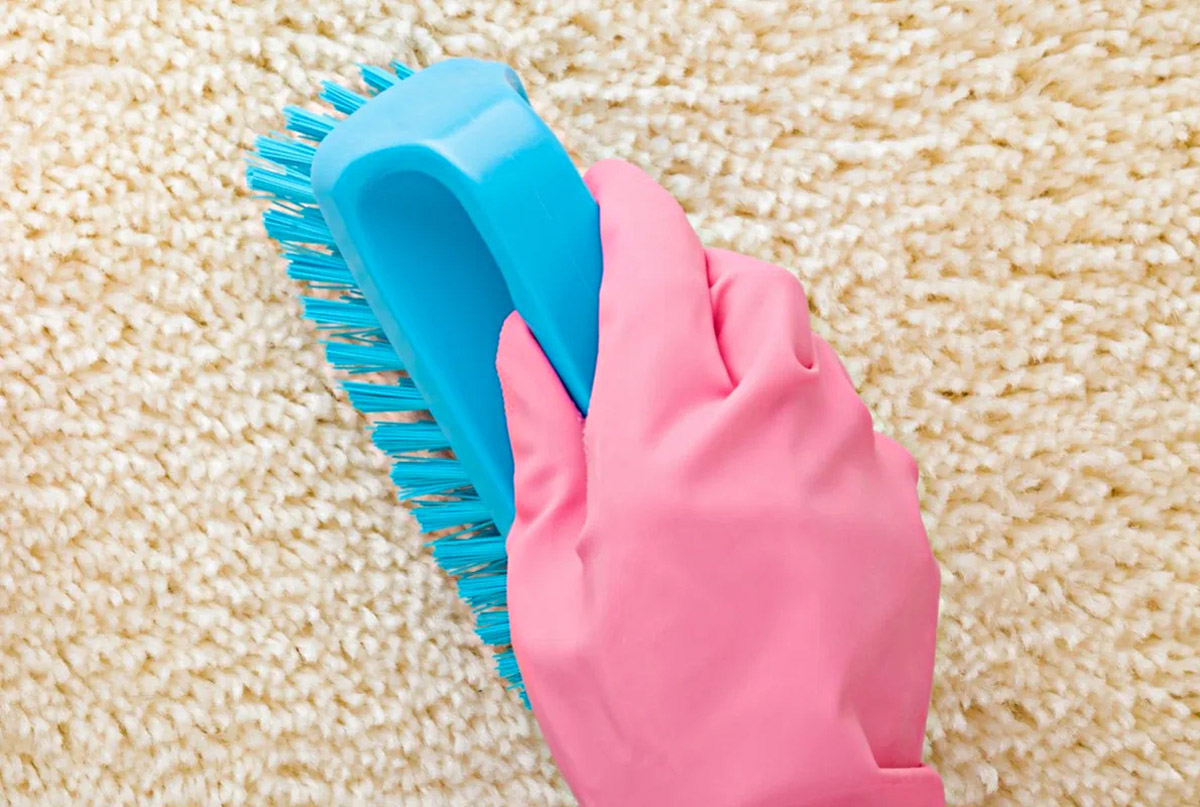
- Using the damp sponge or cloth, lightly scrub the treated area in circular motions. Pay particular attention to any spots where the glue stains were present.
- Continue to scrub the area until all residues, including the adhesive remover and any remaining glue, are removed from the carpet.
- Rinse the sponge or cloth with clean water and go over the treated area once more to remove any soapy residue.
- Blot the area with a clean, dry cloth or paper towels to absorb excess moisture.
During the cleansing process, avoid using excessive water, as it can potentially damage the carpet or cause it to become saturated. The goal is to cleanse the carpet gently while ensuring that it doesn’t get overly wet.
It’s important to be thorough and ensure that all residues, soapy or otherwise, are removed from the carpet. Any leftover residue can attract dirt and debris, leading to potential future stains.
Once the carpet is cleansed and free of any residues, move on to the final step: drying and inspecting the carpet to ensure its complete restoration.
Step 8: Dry and Inspect the Carpet
The final step in removing Gorilla Glue from your carpet is to dry and inspect the area to ensure that the glue is completely gone and the carpet is restored to its original condition.
Follow these steps to effectively dry and inspect the carpet:
- Use a clean, dry cloth or paper towels to blot the treated area and absorb any remaining moisture. Avoid rubbing the carpet, as this can potentially damage the fibers.
- Allow the carpet to air dry naturally. Open windows or use fans to promote airflow in the room and expedite the drying process.
- Once the carpet is dry, carefully inspect the treated area to ensure that all traces of the Gorilla Glue have been successfully removed. Look for any remaining glue residue or discoloration.
- If you notice any leftover residue, repeat the necessary steps in the removal process, focusing on the specific areas that still have glue stains.
- If the carpet appears to be clean and free of any glue residues, give it a thorough vacuuming to remove any loose debris or fibers.
Take your time during the drying and inspection process to ensure that the carpet is completely dry and free from any remaining glue. Any lingering residue can attract dirt and debris, potentially causing future stains or damage.
Once you are satisfied that the carpet is clean and dry, you can resume regular use of the area without any concerns about the Gorilla Glue stain.
Congratulations! You have successfully removed Gorilla Glue from your carpet and restored it to its original condition. Remember, prompt action and patience are key when dealing with adhesive spills, and following the proper techniques and using the right materials will help you achieve the desired result.
By following these steps and taking care of your carpet, you can enjoy a clean and glue-free environment once again.
Conclusion
Removing Gorilla Glue from a carpet can be a challenging task, but with the right approach and materials, it is possible to successfully restore your carpet to its original condition. By following the step-by-step process outlined in this guide, you can effectively remove the glue stains and enjoy a clean and glue-free carpet.
Throughout the removal process, it’s important to take precautions, such as ensuring good ventilation, wearing gloves, and following the instructions provided on the adhesive remover or solvent. Testing a small, inconspicuous area of the carpet before proceeding is also essential to avoid any potential damage or discoloration.
The key steps to remove Gorilla Glue from your carpet include assessing the glue stain, softening the glue, scraping off the glue, applying adhesive remover, blotting the area, cleansing the carpet, and finally, drying and inspecting the carpet. Each step plays a vital role in the overall success of the removal process.
Remember to be patient and thorough during the removal process, as removing Gorilla Glue from a carpet may require multiple attempts or repeating certain steps. It’s important to allow sufficient time for the adhesive remover or solvent to work and to ensure that all residue is effectively removed.
After following the steps and ensuring the glue is completely removed, make sure to dry and inspect the carpet carefully. This final step will give you peace of mind knowing that your carpet is restored and ready for regular use.
By being proactive and taking immediate action when Gorilla Glue spills or drips onto your carpet, you can save your carpet from long-lasting stains and maintain its pristine appearance. However, if you are uncertain about removing the glue yourself or if the glue stain is extensive, it’s always recommended to seek professional help.
With the information and techniques provided in this guide, you have the knowledge and tools to successfully remove Gorilla Glue from your carpet, ensuring that your living space remains clean and glue-free.
Remember, accidents happen, but with the right approach, you can overcome them and restore your carpet to its former glory.
Frequently Asked Questions about How To Remove Gorilla Glue From A Carpet
Was this page helpful?
At Storables.com, we guarantee accurate and reliable information. Our content, validated by Expert Board Contributors, is crafted following stringent Editorial Policies. We're committed to providing you with well-researched, expert-backed insights for all your informational needs.
