Articles
How To Glue Down A Carpet
Modified: August 17, 2024
Learn how to properly glue down a carpet with these informative articles. Step-by-step guide and expert tips to ensure a successful installation.
(Many of the links in this article redirect to a specific reviewed product. Your purchase of these products through affiliate links helps to generate commission for Storables.com, at no extra cost. Learn more)
Introduction
When it comes to installing or repairing a carpet, one important step to ensure its longevity and durability is to properly glue it down. Gluing down a carpet not only prevents it from shifting or bunching up but also provides a smooth and secure surface underfoot. Whether you’re replacing an old carpet or installing a new one, knowing how to glue down a carpet is a valuable skill that can save you time and money in the long run.
In this comprehensive guide, we will take you through the step-by-step process of gluing down a carpet. From preparing the subfloor to applying the adhesive, we’ll cover all the necessary tools and materials you’ll need, as well as important tips and techniques to ensure a successful installation.
Before we dive into the details, it’s important to note that gluing down a carpet requires some physical effort and attention to detail. Make sure to follow all safety precautions, such as wearing protective gloves and eye goggles, and consult the manufacturer’s guidelines for specific instructions related to your carpet type.
So, let’s grab our tools and materials and get ready to transform your space with a professionally glued-down carpet!
Key Takeaways:
- Properly preparing the subfloor, applying adhesive, and securing the carpet are crucial for a successful glued-down carpet installation. Attention to detail and following manufacturer’s instructions are key for a professional result.
- Ensuring proper adhesion, trimming excess carpet, and performing thorough clean-up are essential final steps for a polished and long-lasting carpet installation. Enjoy your beautiful new carpet and maintain it for years to come!
Read more: How To Lay Down Carpet
Tools and Materials Needed
Before you start gluing down your carpet, it’s important to gather all the necessary tools and materials. Here is a list of what you’ll need:
- Carpet adhesive: Choose an adhesive that is specifically designed for your type of carpet and subfloor.
- Trowel or adhesive spreader: This tool will be used to evenly spread the adhesive over the subfloor.
- Knee kicker or power stretcher: These tools are essential for stretching the carpet and ensuring a tight fit.
- Hammer and carpet tacks: Used for securing the carpet along the edges and trim areas.
- Utility knife or carpet cutting tool: This will be used to trim the carpet to the desired size and shape.
- Measuring tape: To accurately measure the dimensions of the room and the carpet.
- Safety gloves and goggles: Protect your hands and eyes while working with adhesive and cutting tools.
- Vacuum cleaner: Clean the subfloor and remove any debris or dust before installation.
- Notched trowel or adhesive comb: Use this tool to create grooves in the adhesive for better adhesion.
- Carpet seam roller: This tool helps to flatten the seams and create a smooth surface.
It’s important to ensure that all of your tools are in good condition and functioning properly before you start the installation process. This will help you complete the job efficiently and achieve professional results.
In addition to the tools listed above, you’ll also need the following materials:
- Carpet padding: This provides an extra layer of cushioning and insulation beneath the carpet.
- Tack strips: Used to secure the carpet along the edges.
- Seam tape: If you’re installing a carpet with seams, seam tape is needed to join the edges together.
- Carpet gripper adhesive: This adhesive is used to secure the tack strips to the subfloor.
- Staples or nails: Depending on the type of subfloor, you may need staples or nails to secure the tack strips.
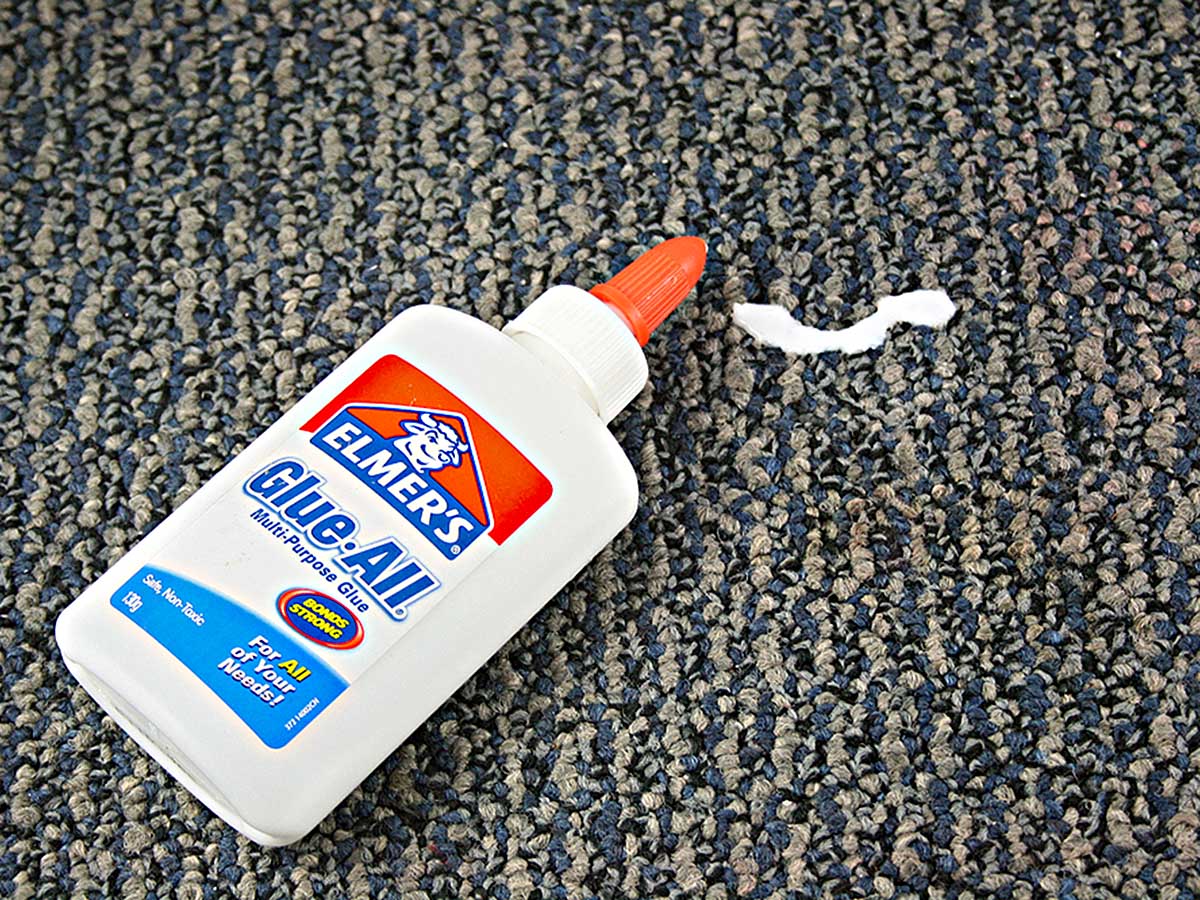
- Carpet seam adhesive (if needed): If you’re installing a carpet with seams, you’ll need seam adhesive to join the seams together.
Having all the necessary tools and materials prepared before you start will make the carpet gluing process smoother and more efficient. Now that you have everything you need, it’s time to move on to preparing the subfloor.
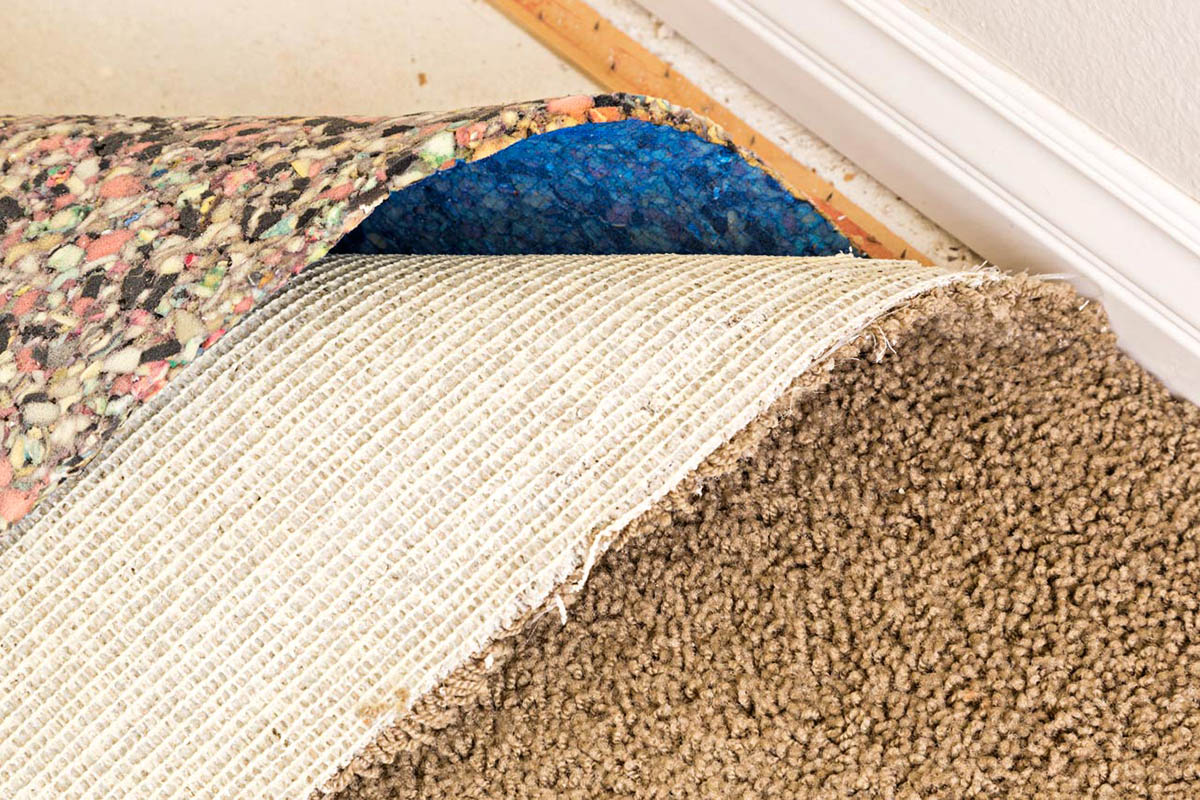
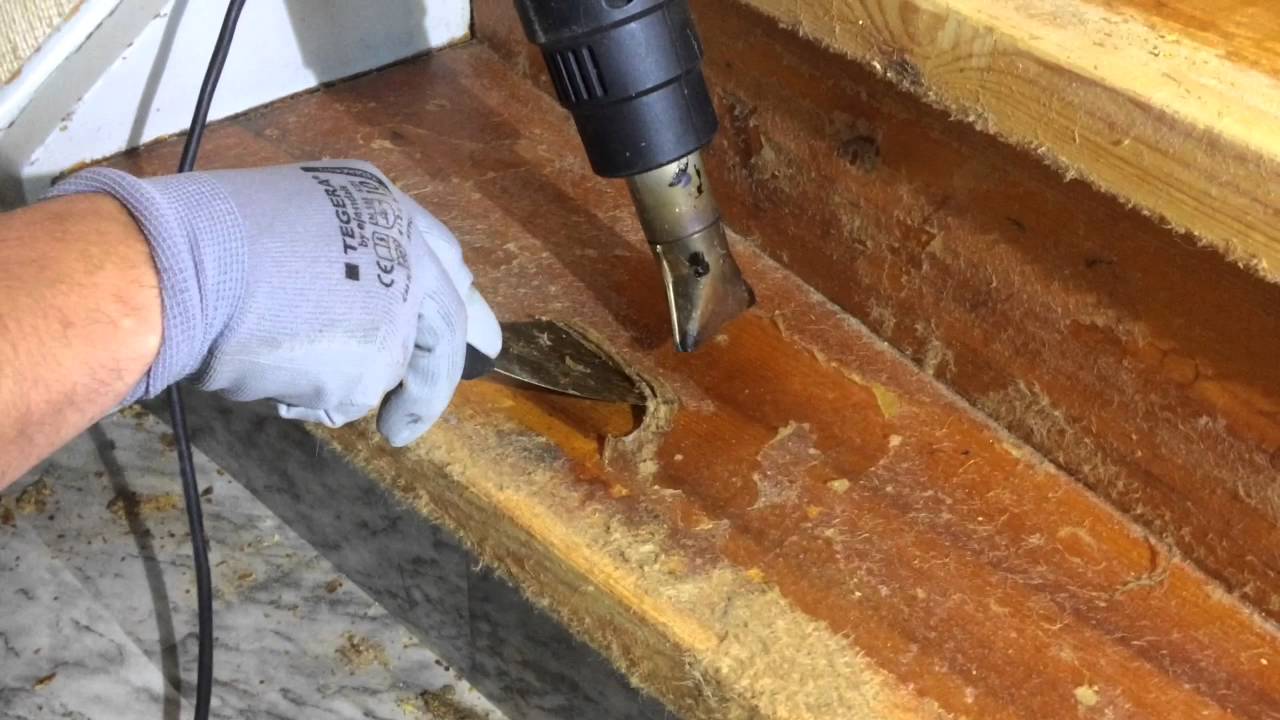
Preparing the Subfloor
Before you can begin gluing down your carpet, it’s important to properly prepare the subfloor to ensure a smooth and long-lasting installation. Here are the steps to follow:
- Clean the Subfloor: Start by thoroughly cleaning the subfloor. Remove any dirt, dust, or debris that may be present. Use a vacuum cleaner to ensure a clean and smooth surface.
- Repair any Damage: Inspect the subfloor for any damages, such as cracks or uneven areas. Repair these areas as needed, ensuring that the subfloor is in good condition.
- Check for Moisture: It’s crucial to check the subfloor for any moisture issues. Excess moisture can lead to mold and mildew growth, which can damage the carpet and affect indoor air quality. Use a moisture meter to test the subfloor’s moisture levels. If moisture is present, address the issue before proceeding with the installation.
- Smooth Out Uneven Areas: If there are any high or low spots on the subfloor, use a leveling compound or self-leveling underlayment to create a level surface. This will ensure that the carpet lays flat and reduces the chances of wrinkles or bulges.
- Install Carpet Padding: If you’re using carpet padding, now is the time to install it. Lay the padding according to the manufacturer’s instructions and make sure it properly covers the entire subfloor.
By taking the time to properly prepare the subfloor, you’ll create a solid foundation for your carpet installation. This will help prevent any future issues and ensure a professional-looking result.
With the subfloor clean, repaired, and prepared, you’re now ready to move on to the next step: applying the adhesive. Stay tuned for our next section on how to properly apply carpet adhesive for a secure and long-lasting installation.
Applying the Adhesive
Now that you have prepared the subfloor, it’s time to apply the adhesive, which will provide a strong bond between the carpet and the subfloor. Here are the steps to follow:
- Read the Instructions: Carefully read and follow the manufacturer’s instructions for the adhesive you’re using. Each adhesive may have specific application guidelines, so it’s crucial to understand them before proceeding.
- Prepare the Adhesive: Mix the adhesive according to the instructions provided. Most adhesives require mixing with water before application. Use a clean bucket and stir the adhesive thoroughly until it reaches a smooth consistency.
- Apply the Adhesive: Using a notched trowel or adhesive spreader, apply the adhesive to the subfloor. Start in one corner of the room and work your way towards the opposite corner. Be sure to spread the adhesive evenly and consistently, covering the entire surface area. Pay extra attention to the edges and corners.
- Create Grooves: After applying the adhesive, run the notched trowel or adhesive comb over the adhesive in a crosshatch pattern. This will create grooves in the adhesive, allowing for better adhesion between the carpet and the subfloor.
- Allow the Adhesive to Set: Follow the recommended drying time specified by the manufacturer before moving on to the next step. This will allow the adhesive to set and become tacky, ensuring a strong bond.
It’s important to work efficiently and avoid letting the adhesive dry before laying the carpet. Refer to the adhesive manufacturer’s instructions for specific drying times and recommendations.
With the adhesive applied and set, you’re ready to move on to the next step: laying and securing the carpet. In the following section, we’ll guide you through the process of properly positioning the carpet and securing it in place. Stay tuned!
Laying and Securing the Carpet
Now that the adhesive has been applied and set, it’s time to lay and secure the carpet in place. Follow these steps for a successful installation:
- Measure and Cut the Carpet: Start by measuring the dimensions of the room and the carpet. Allow some extra inches on each side for trimming. Use a measuring tape and a straight edge to mark the carpet accordingly. Then, use a utility knife or carpet cutting tool to make clean and precise cuts.
- Position the Carpet: Begin by positioning the carpet in one corner of the room, aligning it with the edges. Make sure the carpet is centered and covers the entire surface area. If you’re working with multiple pieces of carpet, position the seams according to your desired layout.
- Smooth out the Carpet: Use a carpet roller to smooth out any wrinkles or bubbles in the carpet. Start from the center and work your way towards the edges, applying firm pressure to ensure a flat and even surface.
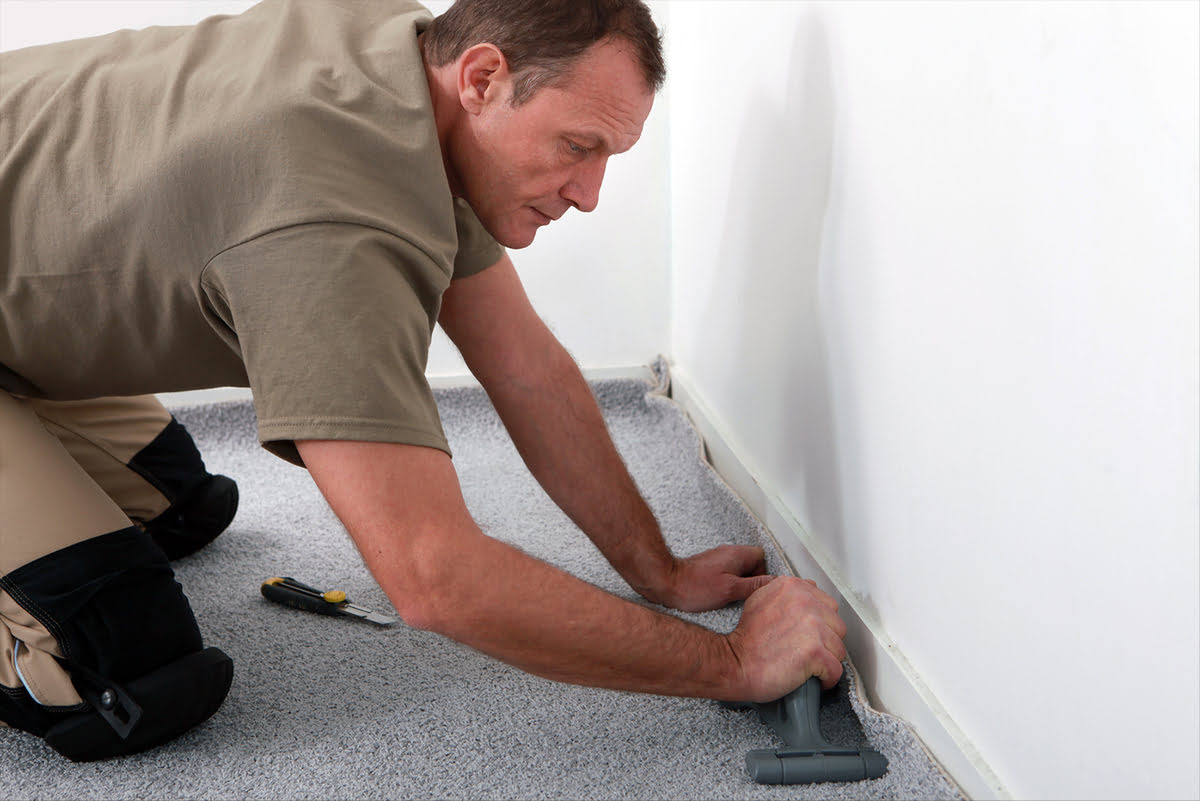
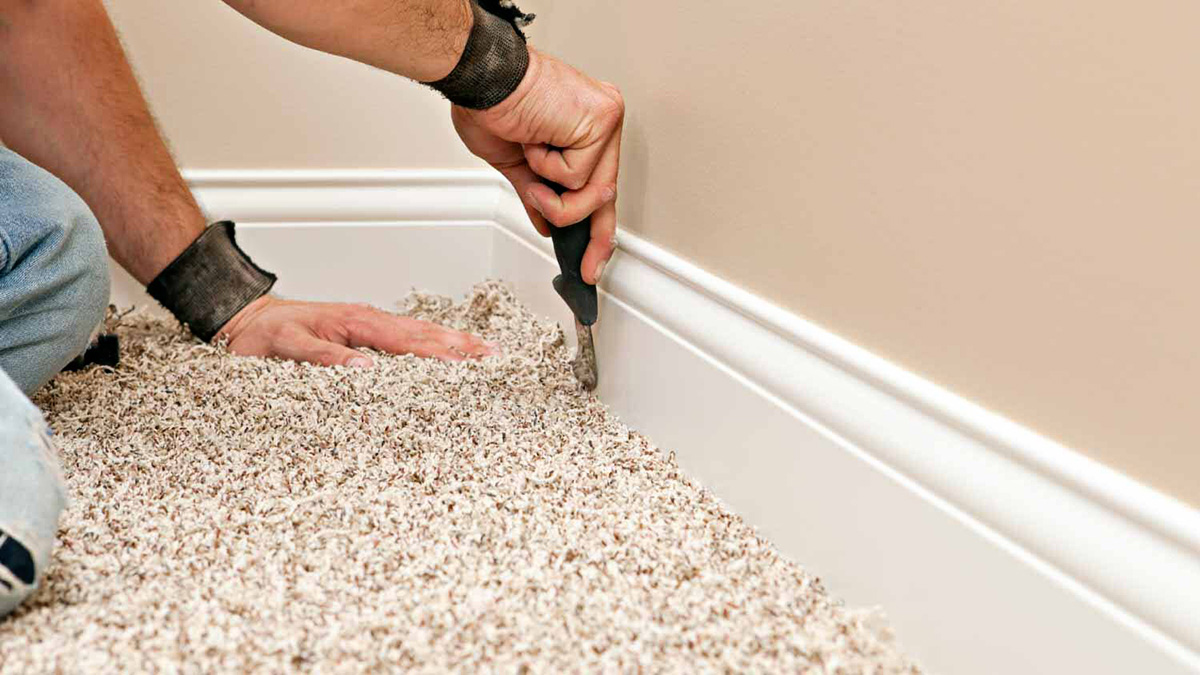
- Secure the Edges: Along the perimeter of the room, use a knee kicker or power stretcher to stretch the carpet towards the walls. Make sure the carpet is snug and taut. Then, use a hammer and carpet tacks to secure the edges of the carpet along the baseboard. Space the tacks about every 6-8 inches for a secure hold.
- Secure the Seams: If you’re working with multiple pieces of carpet, use a carpet seam adhesive or double-sided carpet tape to join the seams together. Apply the adhesive or tape along the edges of the carpet pieces, then carefully press them together. Use a carpet seam roller to flatten the seams and ensure a seamless appearance.
Properly laying and securing the carpet is crucial for a professional-looking installation. Take your time to ensure that the carpet is aligned, smooth, and securely fastened.
With the carpet laid and secured, the next step is to ensure proper adhesion. In the following section, we’ll discuss ways to further enhance the bond between the carpet and the subfloor. Continue reading to learn more!
Before gluing down a carpet, make sure the subfloor is clean, dry, and free of debris. Use a high-quality carpet adhesive and apply it evenly to the subfloor before pressing the carpet into place. Smooth out any wrinkles or bubbles to ensure a secure bond.
Read more: How To Remove Boat Carpet Glue
Ensuring Proper Adhesion
After laying and securing the carpet, it’s important to ensure proper adhesion between the carpet and the subfloor. This will prevent any shifting or movement of the carpet over time. Here are a few tips to enhance the bond and ensure a long-lasting installation:
- Apply Pressure: Once the carpet is laid and secured, use a carpet roller or a hand-held roller to apply pressure to the entire surface. This will help the carpet fibers to fully contact the adhesive, ensuring a strong bond.
- Allow Time for Adhesion: It’s important to allow sufficient time for the adhesive to fully dry and cure. Follow the manufacturer’s recommendations for the specific adhesive you’re using. Avoid walking on the carpet or placing heavy furniture on it until the adhesive has fully set.
- Monitor Temperature and Humidity: Fluctuations in temperature and humidity can affect the adhesion of the carpet. Maintain a stable environment during and after installation. Avoid exposing the carpet to extreme temperature changes or moisture, as this can weaken the adhesive bond.
- Check for Loose Edges: Periodically inspect the carpet edges to ensure they haven’t become loose. If you notice any lifting or separation, reapply adhesive and use a carpet roller to press the edges firmly against the subfloor.
- Address Any Issues Promptly: If you notice any areas of the carpet starting to lift or come loose, address the issue promptly. The sooner you address the problem, the easier it will be to fix and maintain a secure carpet installation.
By following these tips, you can ensure proper adhesion between the carpet and the subfloor, prolonging the lifespan of your carpet and enhancing its performance.
With proper adhesion in place, it’s time to move on to the next steps: trimming and finishing touches. In the following section, we’ll guide you through the process of trimming the carpet and adding the final touches to achieve a polished and professional look. Keep reading!
Trimming and Finishing Touches
Now that the carpet is securely glued down and properly adhered to the subfloor, it’s time to focus on trimming any excess carpet and adding the finishing touches to achieve a polished look. Follow these steps for the final stages of your carpet installation:
- Trim Excess Carpet: Use a utility knife or carpet cutting tool to carefully trim any excess carpet along the edges of the room. Make sure to cut along the baseboard or trim line for a clean and precise finish. Take your time and use a straight edge as a guide to ensure straight cuts.
- Install Edge Trim: If desired, you can install edge trim along the perimeter of the room to provide a finished and professional appearance. Simply measure and cut the edge trim to match the length of each wall. Then, use a staple gun or adhesive to secure the trim in place.
- Clean up the Area: Remove any carpet scraps, debris, or adhesive residue from the installation area. Vacuum the carpet thoroughly to ensure it’s clean and free of loose fibers.
- Replace Furniture: If you had to temporarily move furniture during the installation process, now is the time to replace it. Be cautious when moving heavy furniture to avoid damaging the carpet.
- Inspect the Carpet: Take a moment to inspect the entire carpet installation. Check for any loose edges, visible seams, or areas that may require additional adhesive. Make any necessary adjustments to ensure a flawless and seamless finish.
By paying attention to these trimming and finishing touches, you can elevate the overall appearance of your newly installed carpet and create a clean and professional look in your space.
With the carpet properly trimmed and all the finishing touches in place, it’s time to move on to the final steps of your carpet installation. In the next section, we’ll guide you through the final steps and touch upon the importance of clean-up. Let’s keep going!
Final Steps and Clean-up
Congratulations! You’re in the final stages of your carpet installation project. Now, it’s time to complete the last few steps and perform some clean-up to leave your space looking pristine. Follow these final steps for a successful carpet installation:
- Secure Carpet Transitions: If your carpet transitions to another type of flooring, such as tile or hardwood, it’s important to secure the transition. Use transition strips or transition adhesive to ensure a seamless and secure connection between the different flooring types.
- Take Safety Measures: Remove any trip hazards, such as tools or excess carpet scraps, from the installation area. Ensure that all corners and edges are smooth and properly secured to prevent any accidents or injuries.
- Perform a Final Inspection: Take a few moments to thoroughly inspect the carpet installation. Check for any loose edges, visible seams, or areas that may need touch-ups. Make any necessary adjustments to achieve a flawless finish.
- Dispose of Waste Properly: Dispose of any carpet scraps, adhesive containers, or other installation-related waste responsibly. Follow your local waste disposal guidelines to ensure you’re properly disposing of any materials.
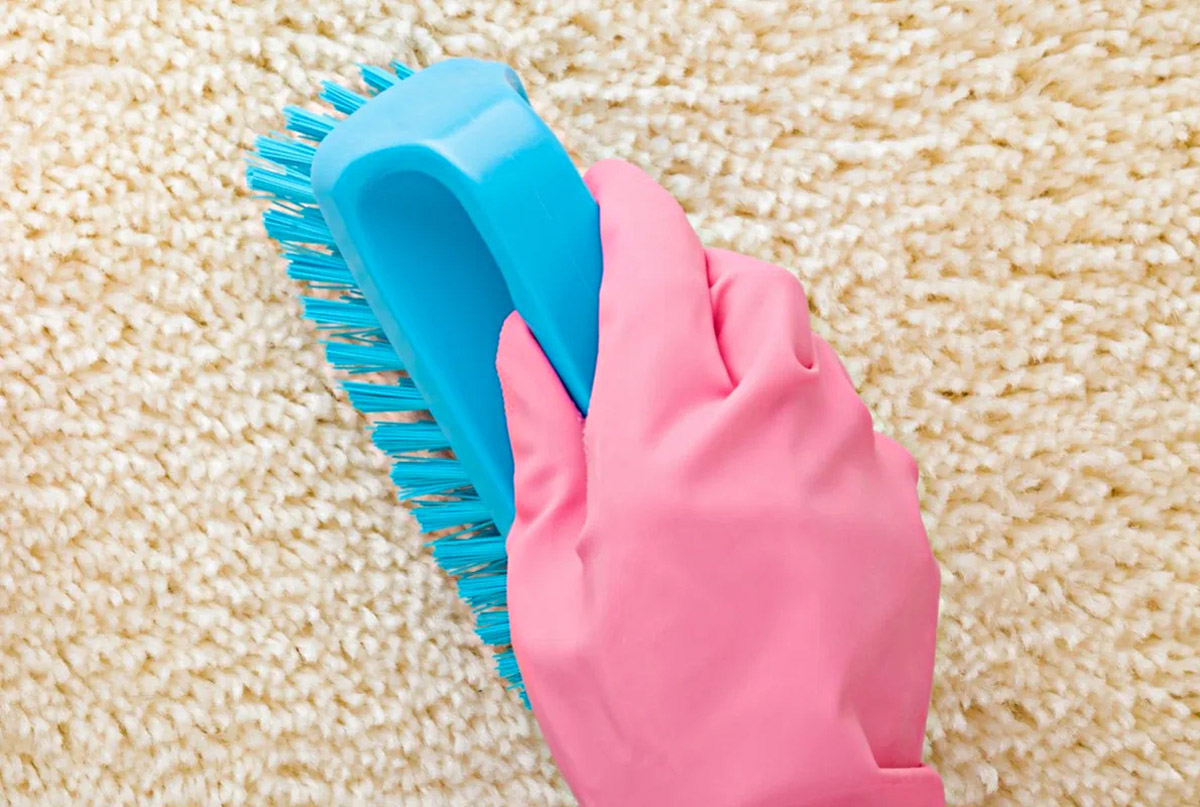
- Clean and Vacuum: Give your newly installed carpet a thorough cleaning by vacuuming it to remove any loose fibers or debris. This will help maintain its appearance and prolong its lifespan. Use a vacuum cleaner suitable for your carpet type.
- Enjoy Your Beautiful Carpet: After completing the installation and clean-up, take a moment to admire your new carpet! Enjoy the comfort, beauty, and functionality it adds to your space.
By completing these final steps and performing the necessary clean-up, you can ensure your carpet installation project is a success. Remember, proper maintenance and regular cleaning will help keep your carpet looking its best for years to come.
With the installation complete and the clean-up done, you can now relax and enjoy your beautiful new carpet. Congratulations on your successful carpet installation!
If you have any questions or need further assistance with your carpet or any other home improvement projects, feel free to consult a professional or refer to manufacturer guidelines for specific recommendations. Happy living in your newly carpeted space!
Conclusion
Gluing down a carpet is a crucial step in ensuring its longevity, durability, and a professional-looking installation. By following the steps outlined in this guide, you can successfully glue down your carpet and create a beautiful and comfortable space.
We started by discussing the tools and materials needed for the project, emphasizing the importance of having everything prepared before starting the installation. Properly preparing the subfloor was highlighted as a crucial step to create a solid foundation for the carpet.
Next, we covered the process of applying the carpet adhesive, emphasizing the need to carefully follow the manufacturer’s instructions. Our guide then continued with laying and securing the carpet, ensuring proper positioning and smoothness of the carpet surface.
To enhance the bond between the carpet and the subfloor, we discussed tips for ensuring proper adhesion, including applying pressure and monitoring temperature and humidity levels. Trimming and finishing touches were then explained as important steps to achieve a polished and professional appearance.
Lastly, we concluded with the final steps of the installation process, including securing carpet transitions, performing a final inspection, and addressing clean-up. Taking these steps will help ensure a successful carpet installation and provide you with a beautiful and functional space.
Remember, while gluing down a carpet requires attention to detail and effort, the end result is well worth it. Enjoy the comfort, aesthetics, and durability of your newly installed carpet and make sure to properly maintain it through regular cleaning and care.
If you ever need further assistance or have specific questions related to your carpet installation, always consult professionals or refer to manufacturer guidelines for guidance tailored to your specific situation.
Now, take a moment to step back and admire your work. You’ve successfully installed a glued-down carpet, transforming your space into a cozy and inviting haven.
Frequently Asked Questions about How To Glue Down A Carpet
Was this page helpful?
At Storables.com, we guarantee accurate and reliable information. Our content, validated by Expert Board Contributors, is crafted following stringent Editorial Policies. We're committed to providing you with well-researched, expert-backed insights for all your informational needs.