Furniture
How To Remove Nail Glue From A Dresser
Modified: December 7, 2023
Learn how to remove nail glue from a dresser without damaging your furniture. Follow our step-by-step guide to safely remove glue residue and restore your dresser's original beauty.
(Many of the links in this article redirect to a specific reviewed product. Your purchase of these products through affiliate links helps to generate commission for Storables.com, at no extra cost. Learn more)
Introduction
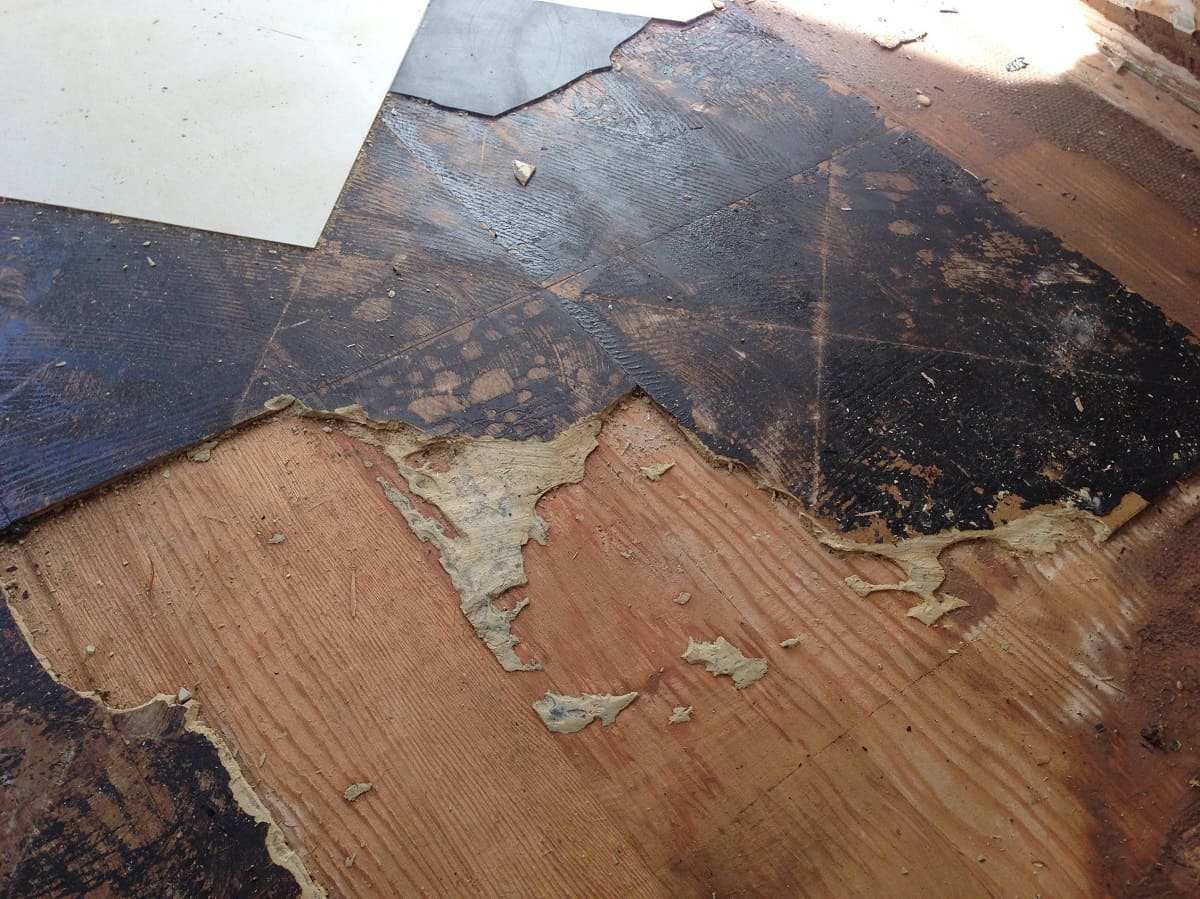
So, you’ve recently tackled a DIY furniture project and now find yourself with a pesky problem – nail glue splattered all over your beautiful dresser. Don’t panic! While it may seem like a daunting task to remove nail glue from wood furniture, with the right approach and a bit of patience, you can restore your dresser to its former glory.
In this guide, we will take you through the step-by-step process of safely and effectively removing nail glue from your dresser. Whether you accidentally spilled the glue during a crafting project or inherited a piece of furniture with dried-on glue, we’ve got you covered.
Before we dive into the removal process, it’s important to note that different types of wood finishes may require specific handling techniques. Always test any products or methods on a small, inconspicuous area of your dresser first to ensure compatibility and prevent any damage.
Now, let’s gather the necessary materials and get ready to bid farewell to that stubborn nail glue!
Key Takeaways:
- Safely remove nail glue from a dresser by preparing the surface, applying a gentle solvent, and carefully scraping off the softened glue. Repeat if necessary for a glue-free and polished finish.
- Gather materials such as a gentle solvent, soft cloth, and plastic scraper to effectively remove nail glue from your dresser. Take your time, be patient, and prioritize safety throughout the process.
Read more: How To Remove Nail Polish From A Dresser
Materials Needed
Before beginning the process of removing nail glue from your dresser, it’s important to gather the necessary materials. Here’s what you’ll need:
- Gentle solvent: Look for a solvent that is safe for use on wood and suitable for removing adhesive or glue. Acetone or rubbing alcohol are commonly used options, but always check the product label and do a patch test first.
- Soft cloth or sponge: Choose a cloth or sponge that is gentle on the wood surface to avoid scratches or damage.
- Plastic scraper or putty knife: You’ll need a non-metallic tool to scrape away the softened glue without scratching the wood.
- Cleaning solution: Prepare a mild soap and water solution to clean the surface after removing the glue.
- Microfiber cloth: This will help dry and polish the dresser after cleaning.
- Protective equipment: To ensure your safety, it’s recommended to wear gloves and work in a well-ventilated area when using solvents.
Once you have gathered these materials, you’re ready to move on to the step-by-step process of removing nail glue from your dresser.
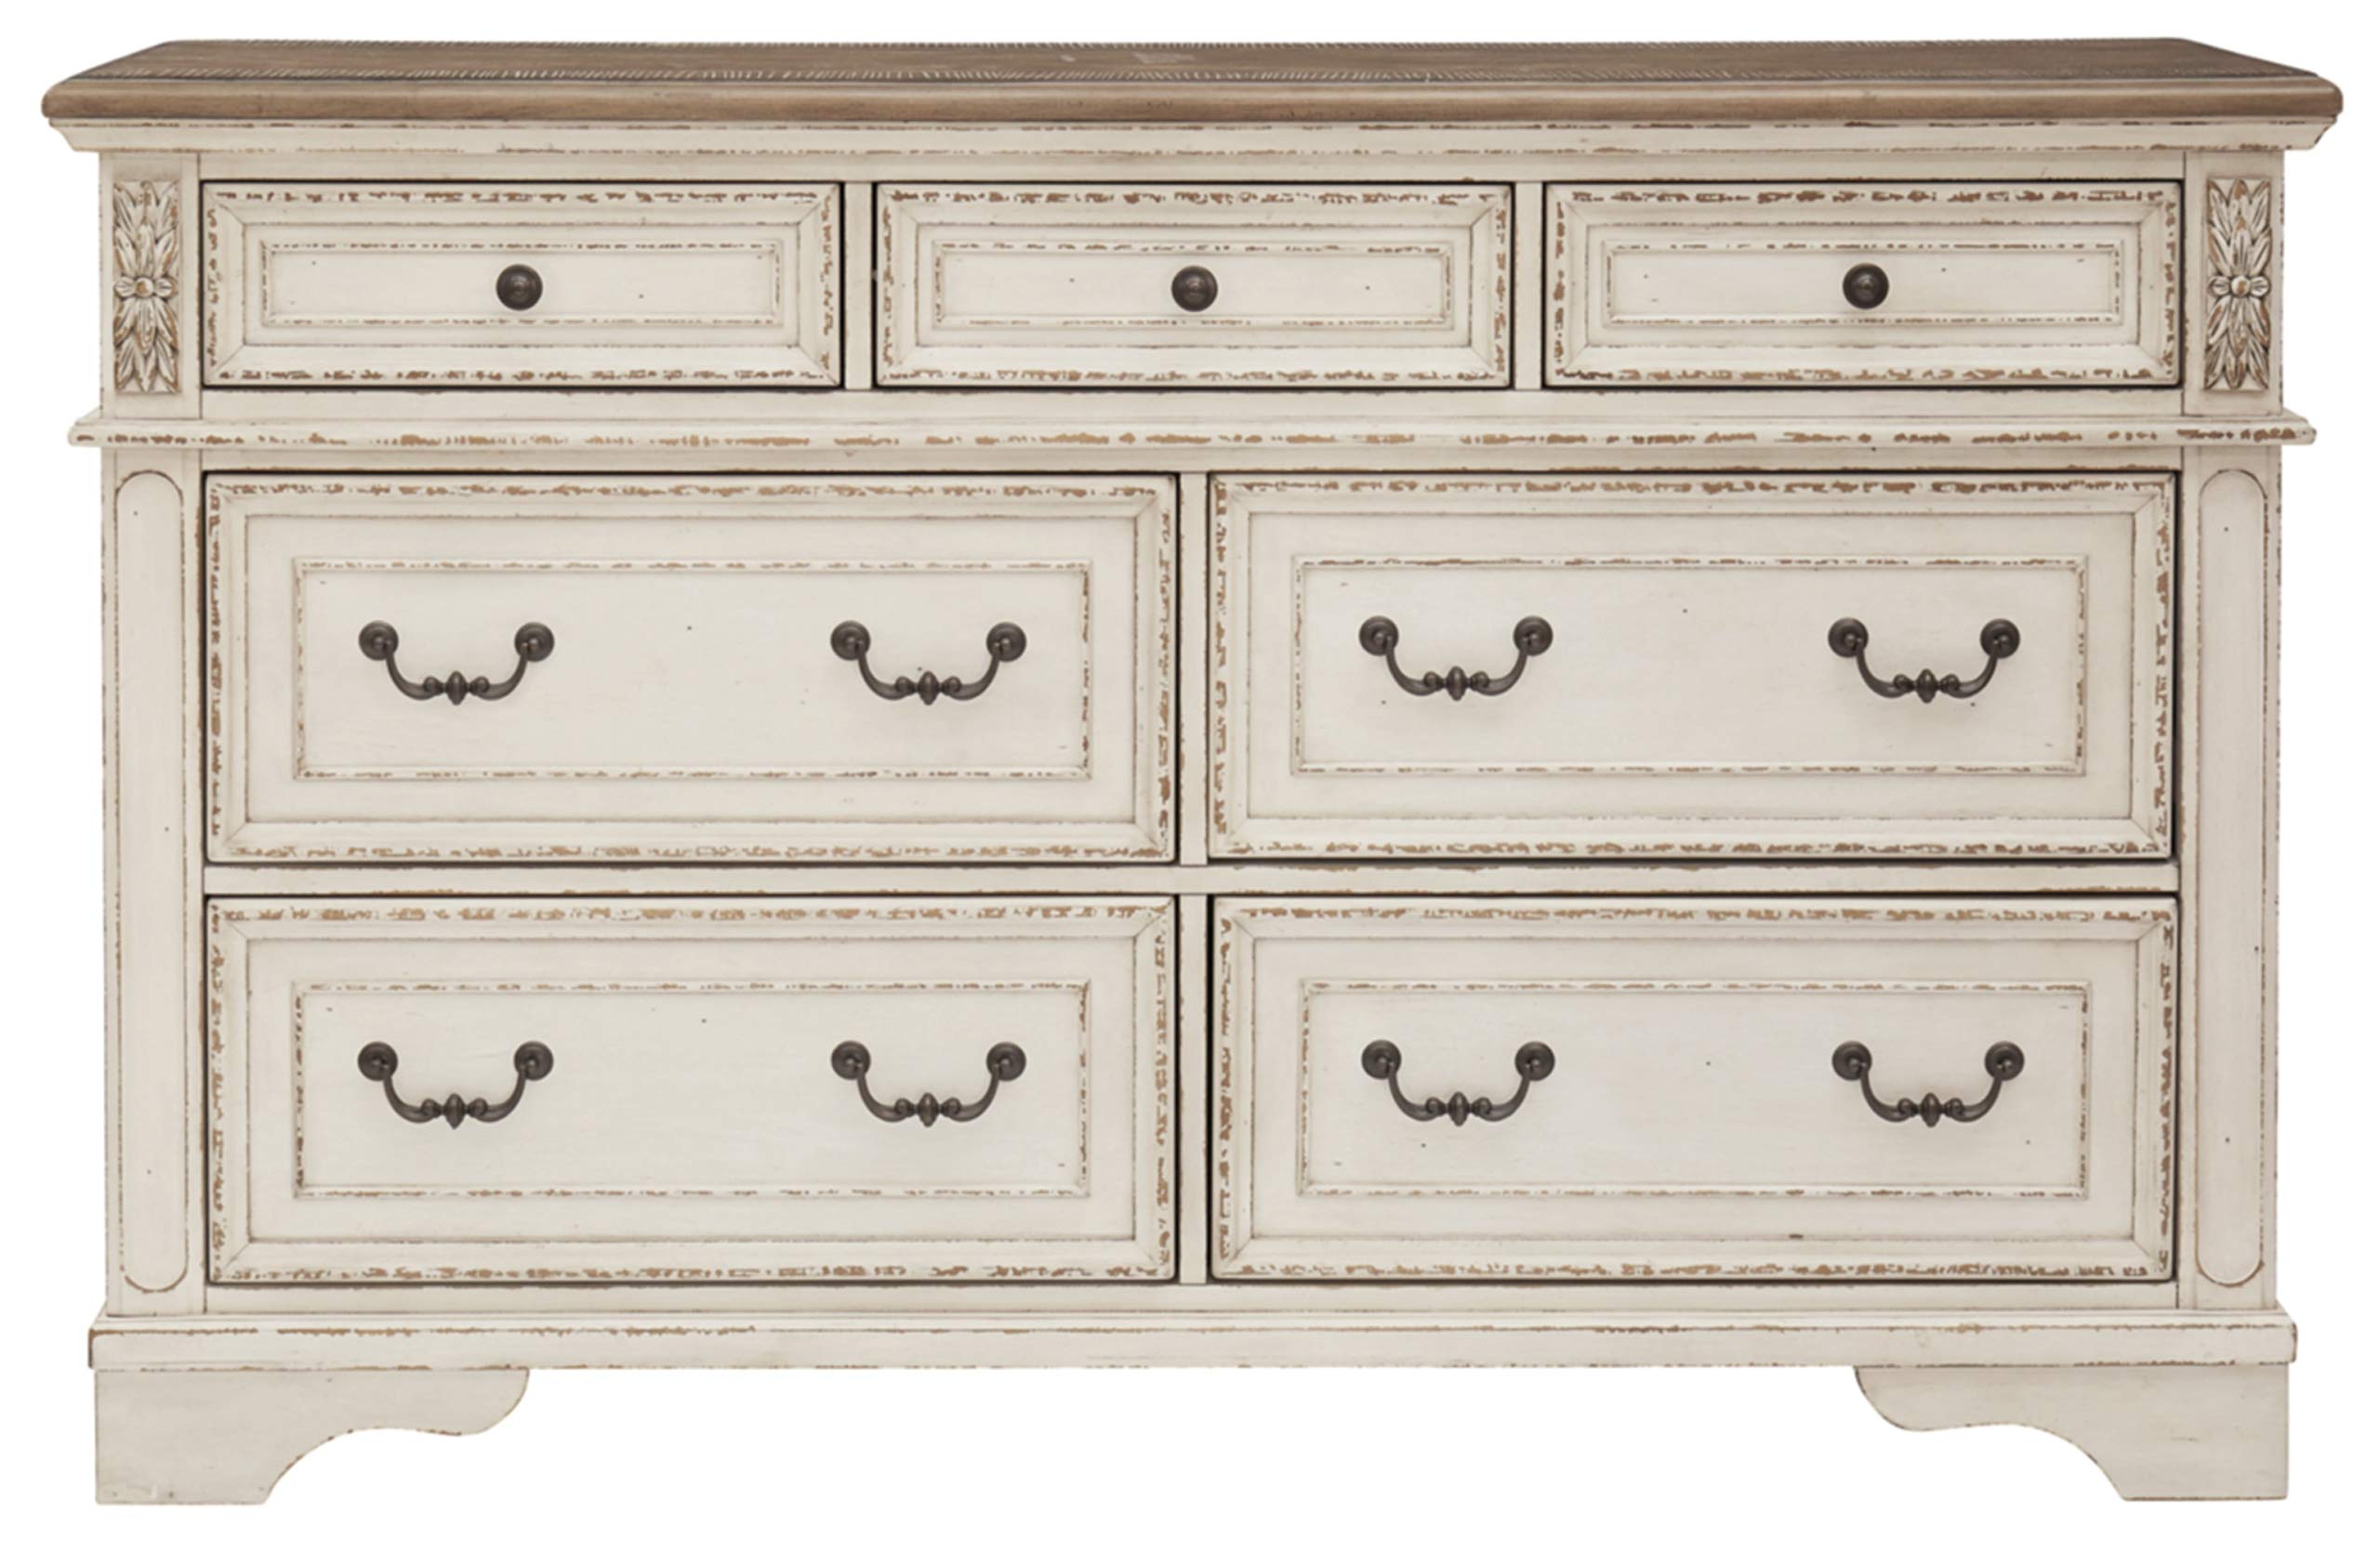
Step 1: Preparing the Dresser
Before you begin removing the nail glue from your dresser, it’s essential to prepare the surface properly. Follow these steps to ensure the best results:
- Start by clearing the area around the dresser. Remove any objects or decorations that might get in the way as you work.
- Next, gently dust off the dresser’s surface using a soft cloth or a feather duster. This will help to remove any loose particles and ensure a clean working area.
- If there are any rough edges or splinters on the dresser, lightly sand them down with fine-grit sandpaper. This will prevent any further damage when removing the glue.
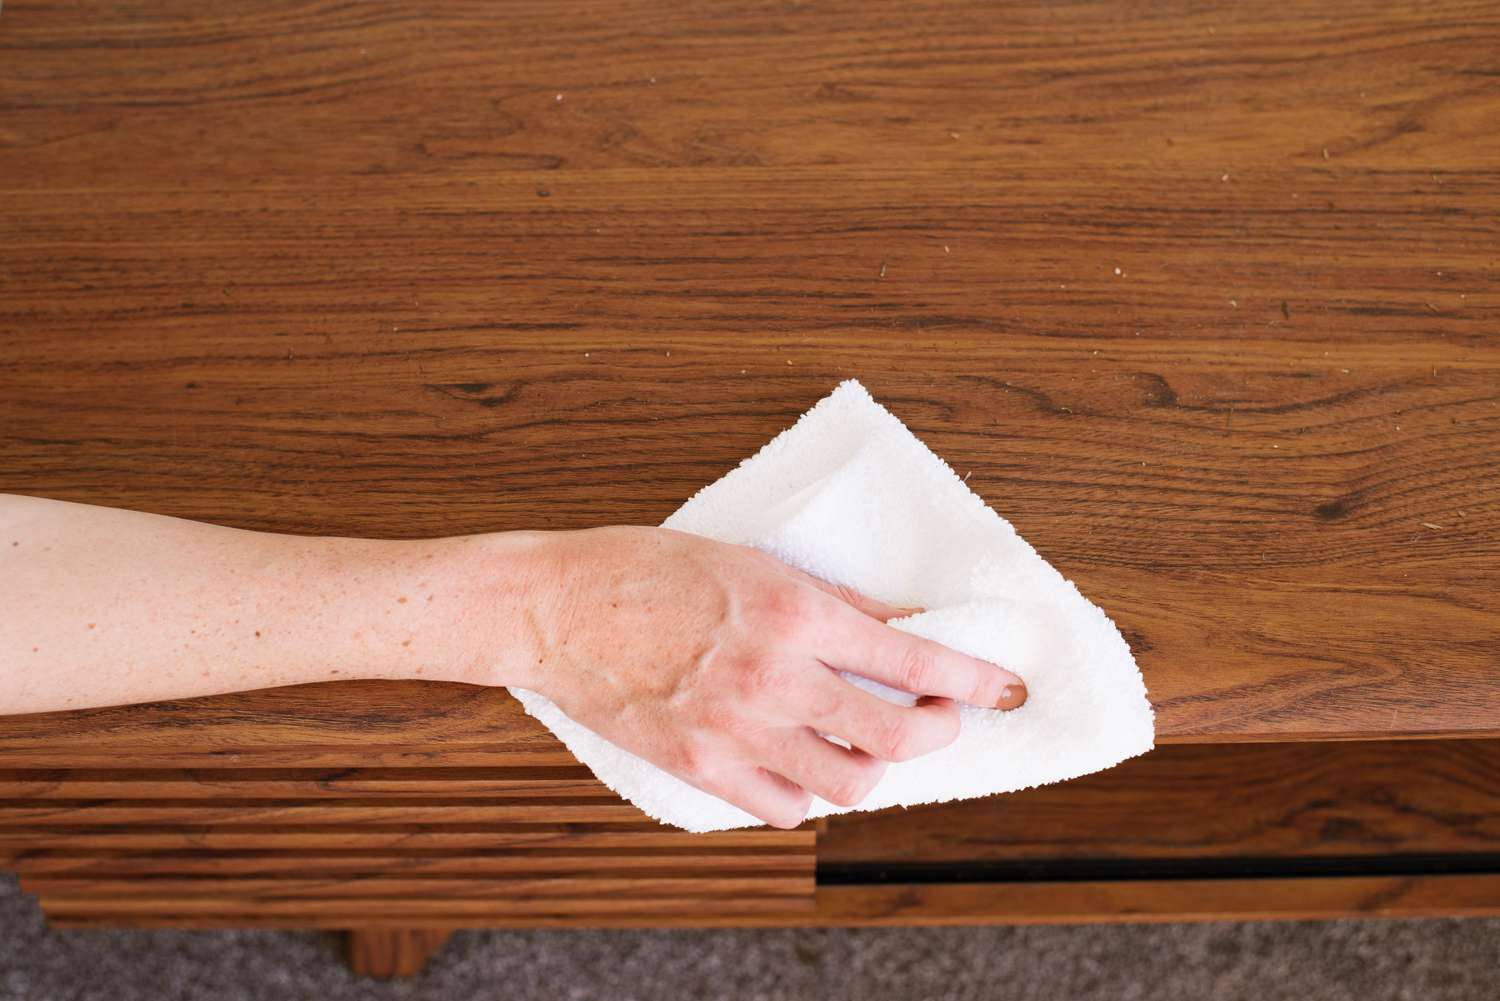
- Once the surface is smooth, take a damp cloth and wipe down the dresser to remove any remaining dust or debris. Make sure the cloth is only slightly damp, as excessive moisture can damage the wood.
By properly preparing the dresser, you create the ideal foundation for effectively removing the nail glue. Now it’s time to move on to the next step: applying the solvent.
Step 2: Applying the Solvent
With the dresser properly prepared, it’s time to apply the solvent to dissolve the nail glue. Follow these steps to ensure effective removal:
- Put on your protective gloves and work in a well-ventilated area.
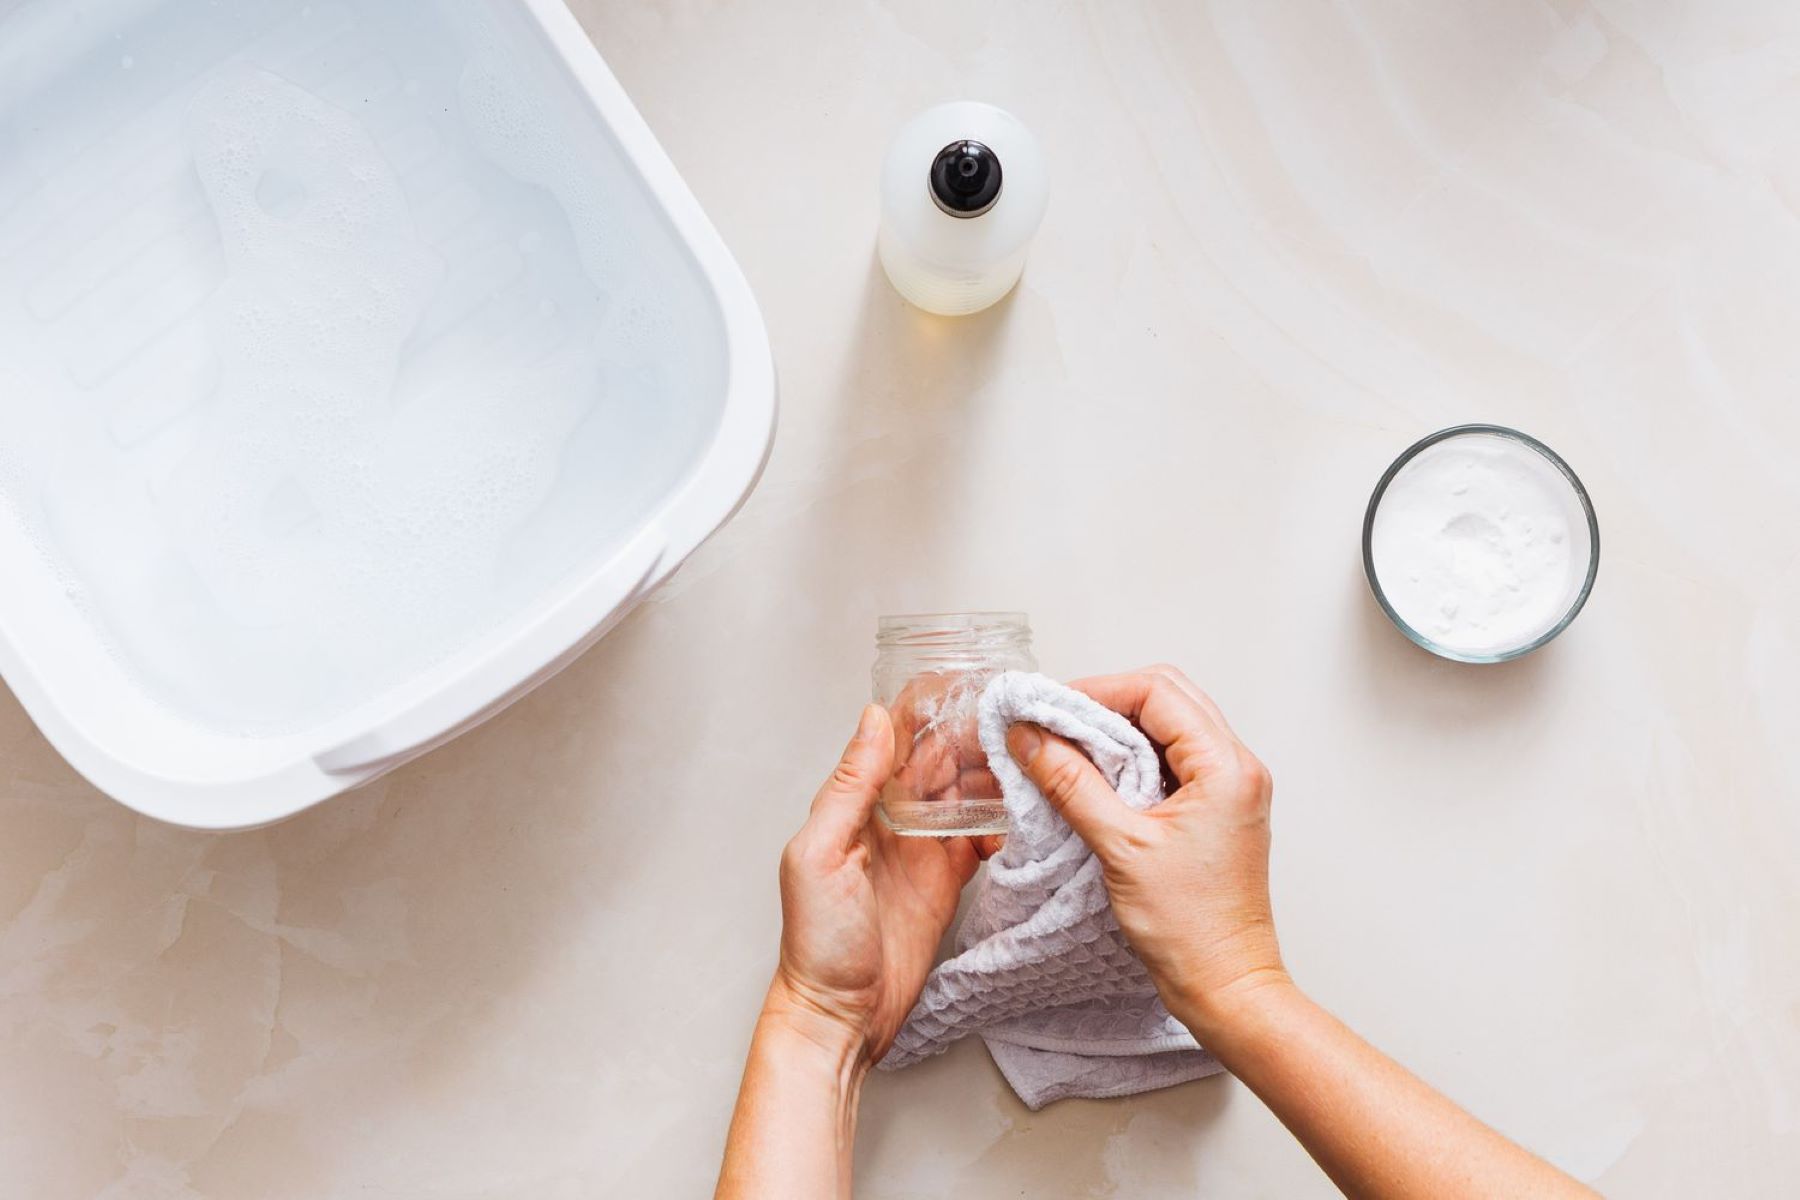
- Dampen a soft cloth or sponge with the gentle solvent of your choice. Be careful not to saturate it; a little goes a long way.
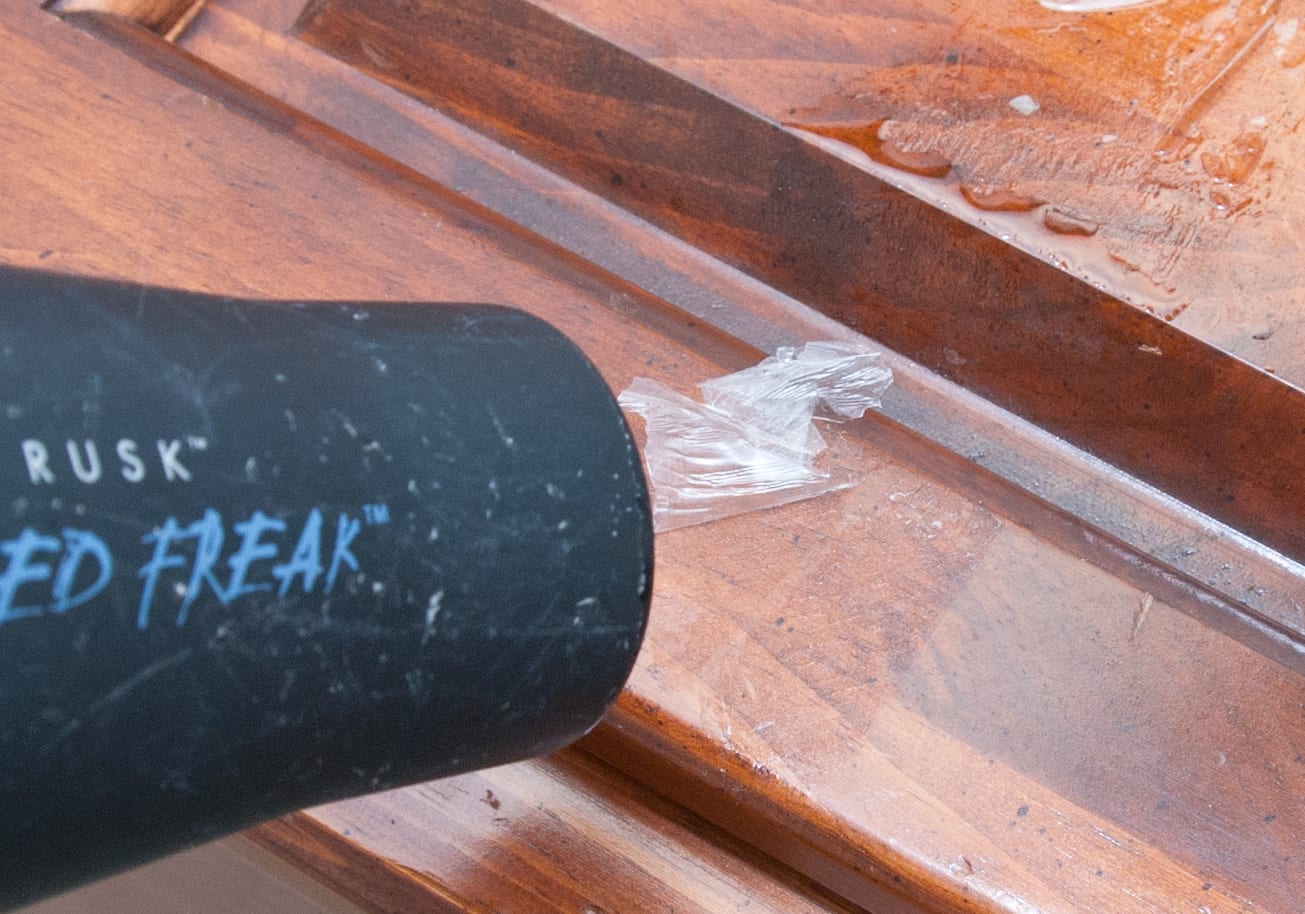
- Gently dab the solvent-soaked cloth onto the nail glue. Allow the solvent to penetrate and soften the glue for a few minutes.
- If the glue is thick or there are multiple layers, you may need to reapply the solvent and let it sit for a bit longer.
- While waiting, avoid touching the solvent-soaked section to prevent any accidental transfer to other parts of the dresser.
The solvent will work to break down the adhesive properties of the nail glue, making it easier to remove. Once you’ve allowed enough time for the solvent to work its magic, it’s time to move on to the next step: scraping off the glue.
Use acetone or nail polish remover to soften the nail glue. Gently scrape it off with a plastic scraper or credit card. Wipe the area with a clean cloth and repeat if necessary.
Step 3: Scraping Off the Glue
Once the nail glue has been softened by the solvent, it’s time to carefully scrape it off the surface of the dresser. Follow these steps for effective removal:
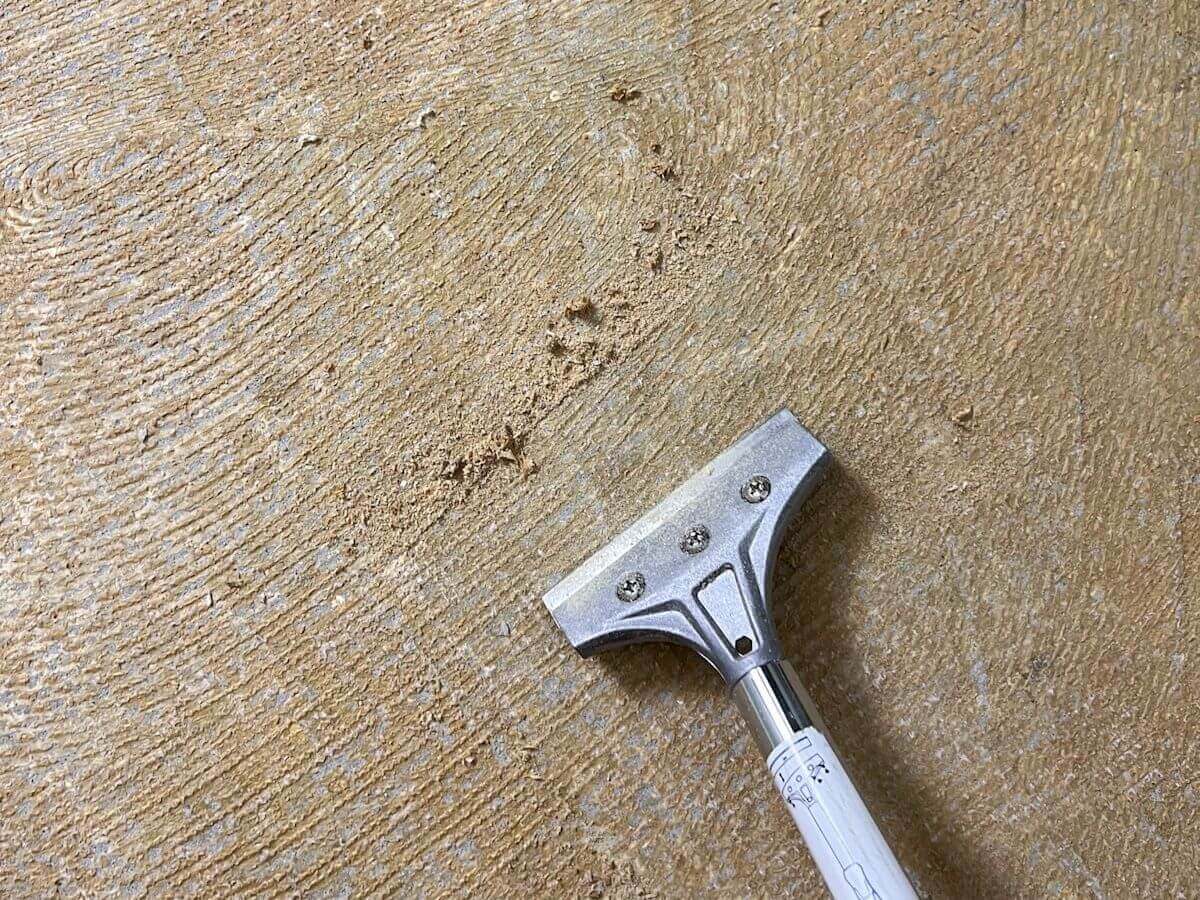
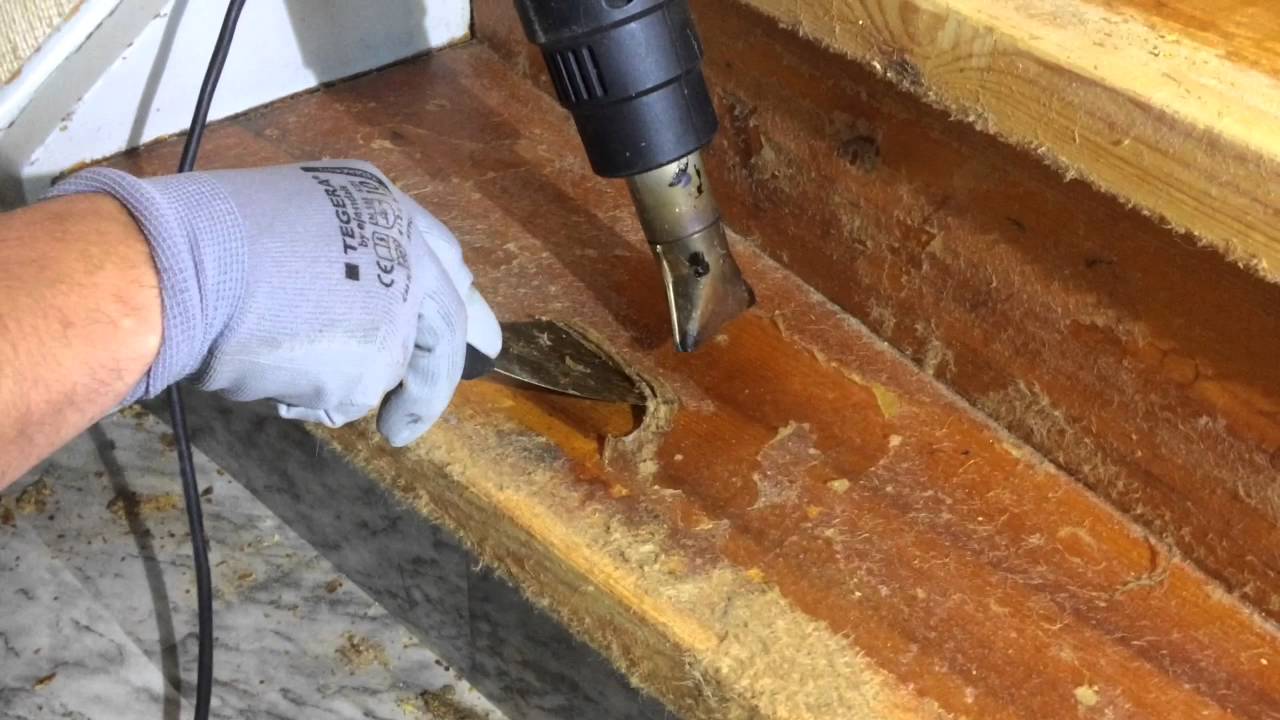
- Take a plastic scraper or putty knife and gently scrape away the softened glue. Be sure to use a plastic tool to avoid scratching or damaging the wood.
- Work in small, controlled motions, applying gentle pressure to remove the glue without causing any harm to the dresser.
- If there are stubborn or thick layers of glue, you may need to repeat the application of the solvent and allow it more time to soften the adhesive.
- Continue scraping until all visible traces of the nail glue have been removed. Take your time and be patient, as rushing the process might lead to damage.
- As you remove the glue, periodically wipe the scraper or putty knife clean with a cloth to prevent the glue from being transferred back onto the dresser.
By using a plastic scraper or putty knife and taking your time, you can safely and effectively remove the nail glue without causing any damage to the dresser. Once all visible glue has been scraped off, it’s time to proceed to the next step: cleaning and adding finishing touches.
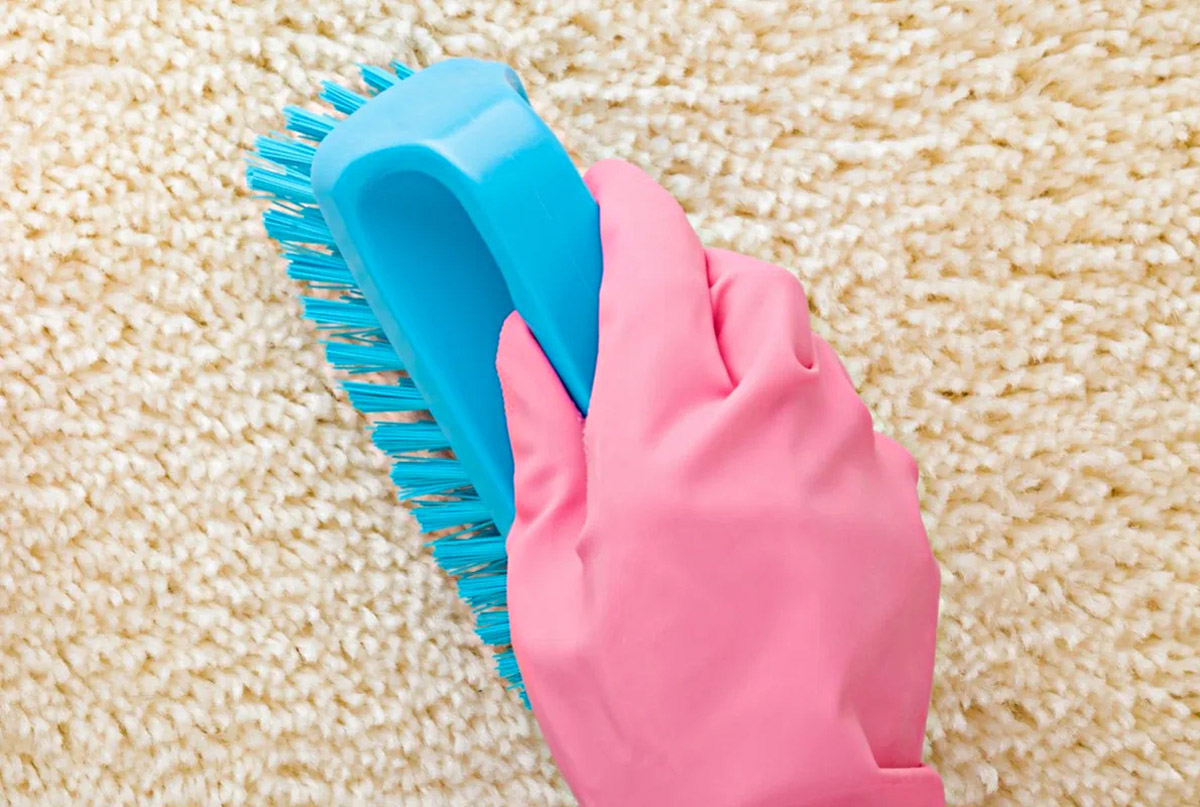
Read more: How To Remove Dry Nail Glue From Carpet
Step 4: Repeat if Necessary
In some cases, especially if the nail glue is particularly stubborn or if there are multiple layers, you may need to repeat the solvent and scraping process. Here’s what you should do:
- If there are still traces of nail glue remaining on the dresser after the initial removal attempt, reapply the solvent to the affected area.
- Allow the solvent to sit and penetrate the remaining glue for a few more minutes. This additional time will help to further soften and dissolve the adhesive.
- Gently scrape off the remaining glue using the plastic scraper or putty knife, following the same technique as before. Be patient and take care to avoid damaging the wood.
- If necessary, repeat the process of applying the solvent, allowing it to sit, and scraping off the glue until no traces of nail glue remain.
- Remember to regularly clean the scraper or putty knife with a cloth to prevent any transfer of glue back onto the dresser.
Don’t be discouraged if you need to repeat this process. Removing nail glue can be a patience-testing task, especially for stubborn deposits. By being thorough and persistent, you’ll eventually achieve a glue-free and beautiful finish on your dresser!
Once you’ve successfully removed all the nail glue, it’s time to move on to the final step: cleaning and adding finishing touches.
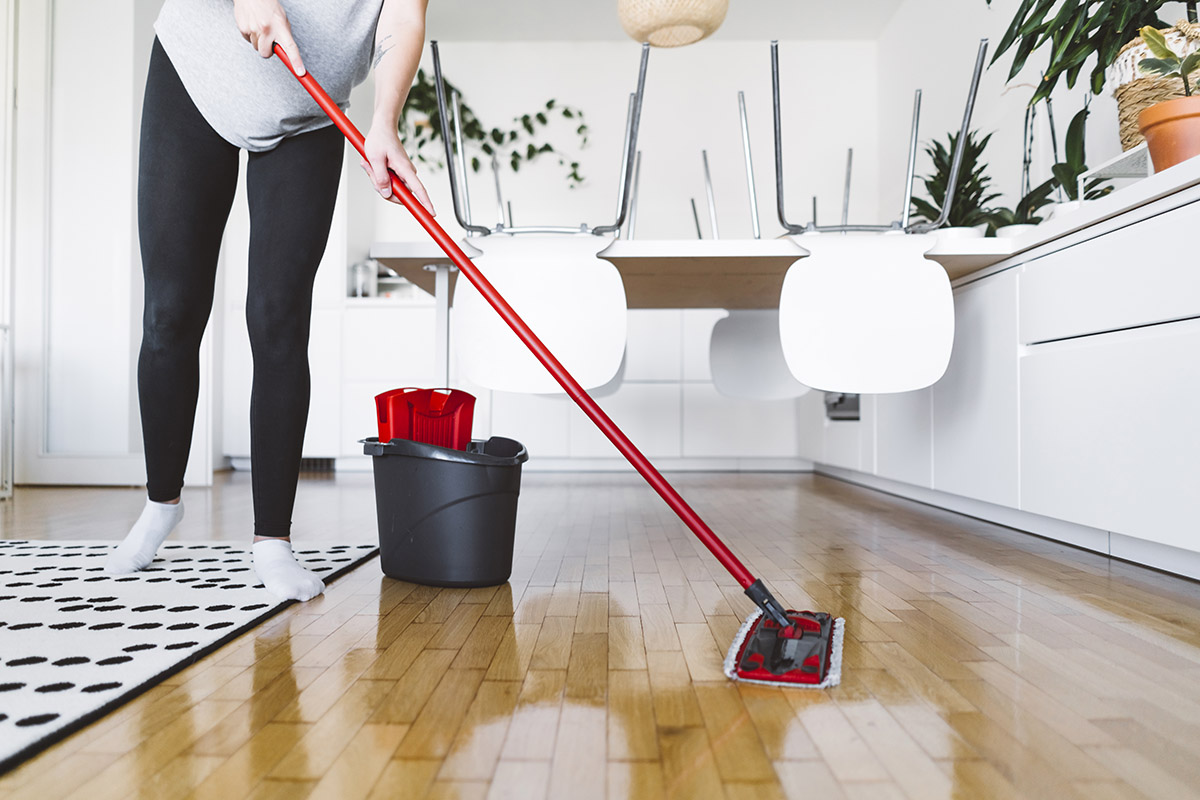
Step 5: Cleaning and Finishing Touches
With the nail glue removed, it’s time to clean the dresser and add some finishing touches to restore its beauty. Follow these steps to complete the process:
- Prepare a mild soap and water solution by mixing a few drops of gentle dish soap with warm water.
- Dampen a clean cloth in the soapy solution and gently wipe down the entire surface of the dresser. This will help remove any residue from the solvent and ensure the wood is clean.
- Rinse the cloth thoroughly and wipe down the dresser again, this time with plain water, to remove any soap residue.
- Once the dresser is clean, use a microfiber cloth to dry and polish the surface. This will give the wood a beautiful shine and remove any remaining moisture.
- Inspect the dresser for any signs of damage or scratches. If necessary, apply a suitable wood polish or wax to restore and protect the finish. Follow the instructions on the product for the best results.
After completing these steps, step back and admire your refreshed and glue-free dresser. You’ve successfully removed the nail glue and restored its original beauty.
Remember, prevention is always better than cure. In the future, take precautions when working with nail glue near furniture to avoid any accidental spills or splatters. But if you do find yourself in a sticky situation again, you now have the knowledge and steps to tackle it with confidence!
With a little patience and the right techniques, you can handle any sticky situation and keep your furniture looking its best.
Note: Always follow the instructions and safety precautions provided by the manufacturer of the solvent and cleaning products. Test any products or techniques on a small, inconspicuous area of the dresser before applying them to the entire surface to prevent any potential damage.
Happy cleaning and restoring!
Conclusion
Removing nail glue from a dresser may seem like a daunting task, but with the right approach and a bit of patience, it can be achieved successfully. By following the step-by-step guide outlined in this article, you can safely and effectively get rid of the pesky nail glue and restore the beauty of your furniture.
Remember to start by preparing the dresser, ensuring that the surface is clean and free from debris. Then, apply a gentle solvent to soften the glue, allowing it to penetrate and dissolve the adhesive. With a plastic scraper or putty knife, carefully scrape off the softened glue, taking care not to damage the wood.
If necessary, repeat the process to remove any remaining traces of nail glue. Persistence and attention to detail are key in achieving a glue-free surface. Once the glue is completely removed, clean the dresser using mild soap and water, and dry it thoroughly to leave a clean and polished finish.
Throughout the process, remember to prioritize your safety by wearing protective gloves and working in a well-ventilated area. Always test any products or techniques on a small, inconspicuous area of the dresser first to avoid any potential damage.
With these steps in mind, you can confidently tackle the removal of nail glue from your dresser and restore it to its former glory. Keep in mind that prevention is better than cure, so take precautions in the future to avoid any accidental spills or splatters.
Now that you have the knowledge and techniques to handle any sticky situation, get ready to save your furniture from unsightly nail glue and enjoy the beauty of your freshly restored dresser. Happy cleaning and restoring!
Frequently Asked Questions about How To Remove Nail Glue From A Dresser
Was this page helpful?
At Storables.com, we guarantee accurate and reliable information. Our content, validated by Expert Board Contributors, is crafted following stringent Editorial Policies. We're committed to providing you with well-researched, expert-backed insights for all your informational needs.


0 thoughts on “How To Remove Nail Glue From A Dresser”