Articles
How To Remove Grass From Garden
Modified: October 19, 2024
Learn how to remove grass from your garden with these gardening tips and tricks. Create a beautiful and weed-free space for your plants.
(Many of the links in this article redirect to a specific reviewed product. Your purchase of these products through affiliate links helps to generate commission for Storables.com, at no extra cost. Learn more)
Introduction
Gardening is a rewarding hobby for many people. It allows you to connect with nature, beautify your surroundings, and grow your own plants and flowers. However, when it comes to creating a new garden or revamping an existing one, one of the first tasks is often to remove the grass. While grass is great for lawns, it may not be desirable in certain areas of your garden. Whether you want to create a vegetable garden, a flower bed, or a stone pathway, removing the grass is the first step towards achieving your gardening goals.
Removing grass from your garden is a process that requires some effort and planning. It involves cutting the grass, removing the sod, digging up the roots, and preparing the soil for planting. In this article, we will guide you through the step-by-step process of removing grass from your garden and provide you with helpful tips along the way.
Before we dive into the details, let’s explore some of the reasons why you might need to remove grass from your garden.
Key Takeaways:
- Removing grass from your garden opens up opportunities to create new planting areas, expand existing beds, reduce maintenance, and eliminate invasive species, allowing you to shape your garden according to your vision.
- Properly preparing the soil after grass removal sets the foundation for successful plant growth, contributing to a healthy and thriving garden environment. Happy gardening!
Read more: How To Remove Grass From The Sidewalk
Reasons for Removing Grass in the Garden
There are several reasons why you might want to remove grass from your garden:
- Creating new planting areas: Grass can be a hindrance when you want to create new beds for planting flowers, vegetables, or shrubs. Removing the grass allows you to have a clean slate to work with and design the garden of your dreams.
- Expanding existing planting areas: If you already have a garden but need more space for your plants, removing the grass is necessary. This allows you to enlarge your existing beds and accommodate more plants.
- Creating pathways or walkways: Grass may not be the ideal surface for pathways in your garden, especially in areas with heavy foot traffic. By removing the grass, you can create pathways using materials like gravel, stepping stones, or mulch.
- Reducing maintenance: Grass requires regular mowing, watering, and fertilizing to keep it looking lush and healthy. If you have a large lawn area that you don’t use or want to minimize the amount of lawn maintenance, removing the grass and replacing it with low-maintenance alternatives can save you time and effort.
- Eliminating invasive grass species: Sometimes, certain grass species can take over your garden and become invasive, choking out other desirable plants. Removing these aggressive grasses is necessary to maintain a balanced and thriving garden.
By removing grass from your garden, you have the opportunity to create a space that suits your gardening needs and preferences. Now that you understand why removing grass is beneficial, let’s move on to the tools and materials you’ll need for the task at hand.
Tools and Materials Needed
Before you begin the process of removing grass from your garden, it’s important to gather the necessary tools and materials. Here’s a list of what you’ll need:
- Garden hose or string: This will be used to mark the areas in your garden where you want to remove the grass. It’s essential for creating clear boundaries and guiding your work.
- Lawn mower or grass shears: Depending on the size of the area you’re working on, you can either use a lawn mower or grass shears to cut the grass to a manageable height. A lawn mower is ideal for larger areas, while grass shears provide more precision for smaller sections.
- Spade or shovel: You’ll need a spade or shovel to lift and remove the sod. Choose a sturdy tool that can cut through the grass roots and easily lift the sod from the ground.
- Garden fork: A garden fork can be useful for breaking up compacted soil and loosening the roots of the grass. This will make it easier to remove the roots and prepare the soil for planting.
- Wheelbarrow or tarp: To dispose of the grass, you’ll need a wheelbarrow or tarp to transport it to your compost pile or designated disposal area. This will help keep your garden tidy throughout the process.
- Rake: A rake is essential for leveling the soil after removing the grass. It will also help remove any small roots or debris left behind.
- Compost or topsoil: Depending on the condition of your soil, you may need to amend it with compost or topsoil. This will provide nutrients and create a fertile environment for future plants.
- Garden gloves and knee pads: Protect your hands with gloves and provide cushioning for your knees with knee pads. This will help prevent injuries and make the process more comfortable.
With these tools and materials ready, you’re now prepared to embark on the journey of removing grass from your garden. In the following section, we’ll guide you through the step-by-step process of removing grass effectively.
Step 1: Marking the Area
The first step in removing grass from your garden is to mark the area where you want to remove the grass. This step is crucial to provide clear boundaries and guide your work throughout the process. Here’s how you can do it:
- Begin by deciding the exact boundaries of the area you want to remove the grass from. This can be a specific section of your garden or the entire lawn, depending on your needs.
- Use a garden hose or string to create the outline of the area. Lay it along the desired boundaries, making sure to curve it smoothly around any existing features like trees or flower beds.
- Adjust the position of the hose or string until you’re satisfied with the shape and size of the marked area.
- If you’re working on a large area, consider using stakes or rocks to secure the hose or string in place. This will prevent it from shifting as you proceed with the grass removal.
- Take a step back and visually inspect the marked area. Make any necessary adjustments to ensure that the shape is to your liking before moving on to the next step.
By marking the area, you’ll have a clear visual guide to follow as you proceed with removing the grass. It will prevent any confusion or overlap, ensuring that the end result meets your expectations. Once you’ve completed this step, you’re ready to move on to the next one: cutting the grass.
Step 2: Cutting the Grass
Now that you’ve marked the area where you want to remove the grass, it’s time to start the process by cutting the grass to a manageable height. This step will make it easier to remove the grass and prevent it from regrowing quickly. Follow these steps:
- If you have a large area, consider using a lawn mower to cut the grass. Adjust the cutting height to the lowest setting to ensure a close trim. Mow the entire marked area using parallel rows, overlapping each pass slightly to avoid leaving any uncut patches.
- If you’re working on a smaller area or have obstacles like trees or flower beds, grass shears may be more practical. Use the shears to cut the grass as close to the ground as possible. Take your time to achieve a neat and even cut.
- After cutting the grass, rake the area to remove any clippings or debris. This will help maintain a clean and clear workspace.
Cutting the grass will not only make it easier to remove later but will also prevent the grass from quickly regrowing. By reducing the height of the grass, you’ll have better access to its roots, making the overall removal process more efficient. With the grass cut, you can now move on to the next step: removing the sod.
Read more: How To Remove Moss From Grass
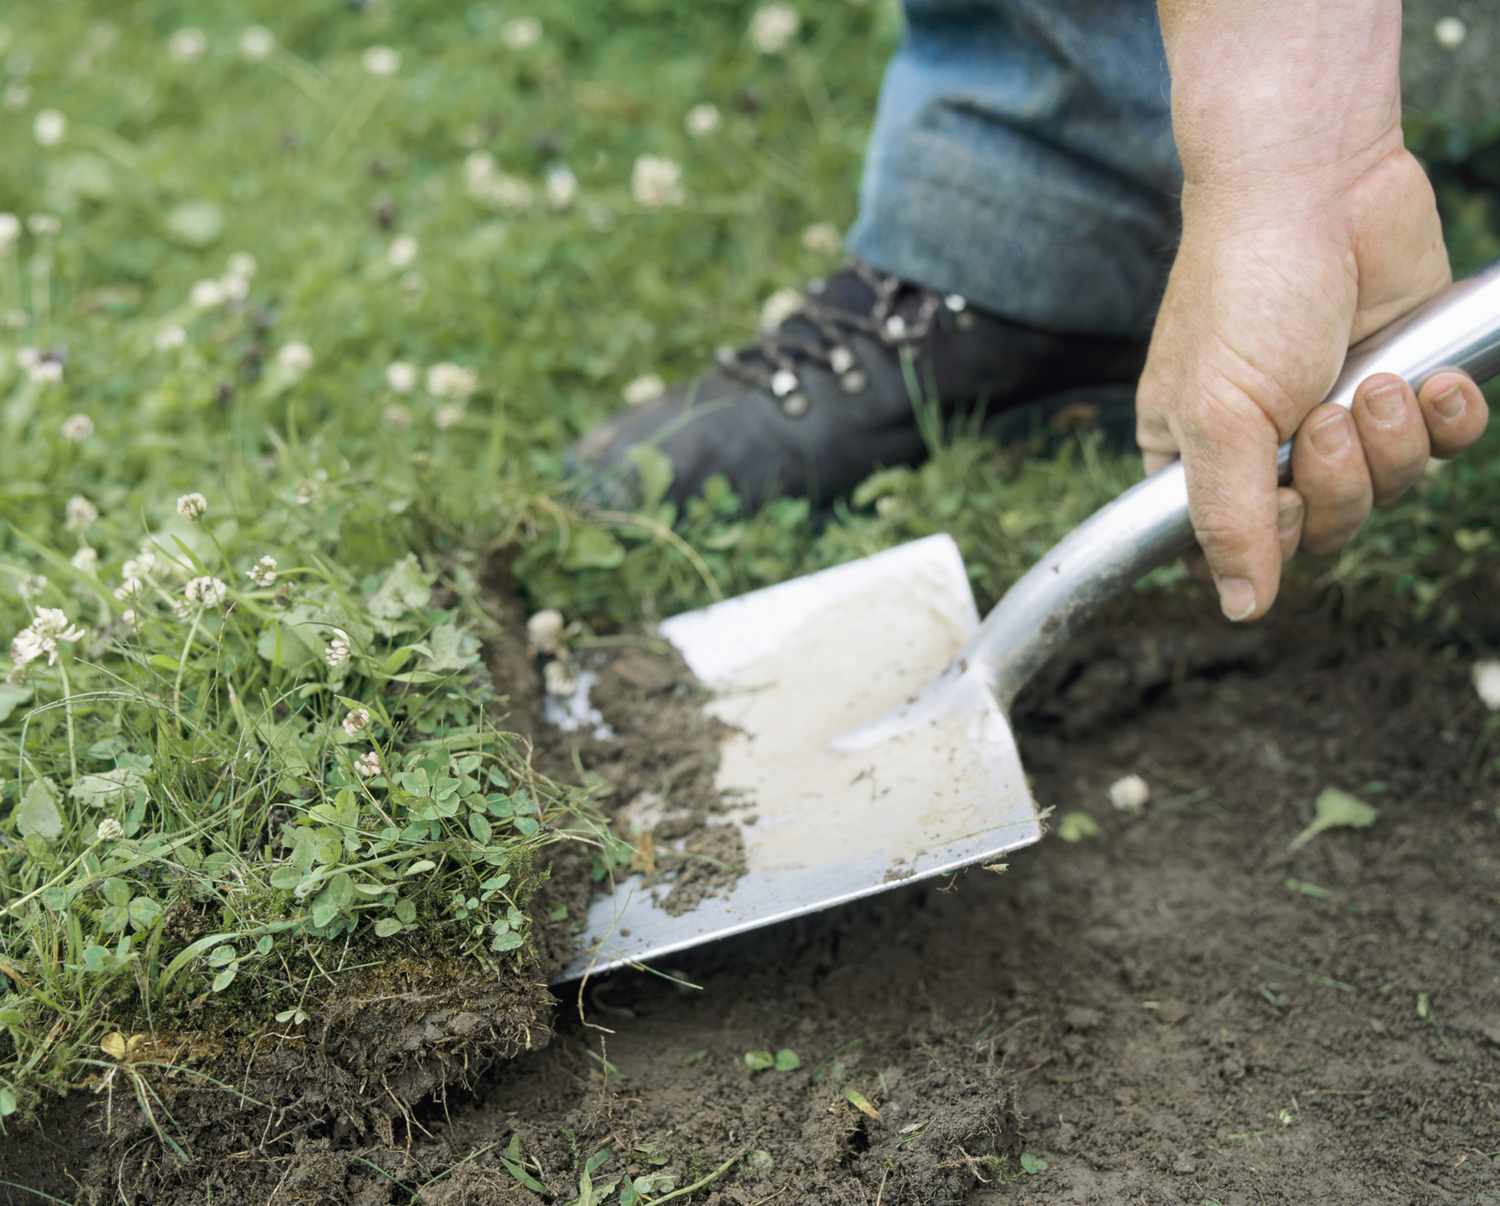
Step 3: Removing the Sod
With the grass cut to a manageable height, it’s time to proceed with removing the sod. The sod refers to the top layer of grass and soil, which needs to be lifted and taken out. Follow these steps to remove the sod effectively:
- Start by using a spade or shovel to cut through the grass along one edge of the marked area. Insert the spade or shovel vertically into the ground, about 4-6 inches deep.
- Push the spade or shovel forward, slicing through the roots and separating the sod from the soil. Repeat this process along the entire edge of the area.
- Once the edge is cut, use the spade or shovel to pry up the section of sod. Lift it carefully, ensuring that both the grass and the underlying soil come out together.
- Continue working your way across the area, cutting and lifting sections of sod. The size of the sections will depend on your comfort and strength. Smaller sections are easier to handle, especially if you’re dealing with a large area.
- Place the removed sod in a wheelbarrow or on a tarp for disposal. If the grass is still in good condition, you can repurpose it by transferring it to another part of your garden or giving it away to someone who can use it.
Removing the sod is a physically demanding task, especially if you’re working on a large area. Take breaks when needed and be mindful of your posture to prevent strain or injury. Once all the sod has been removed, you can move on to the next step: digging up the roots.
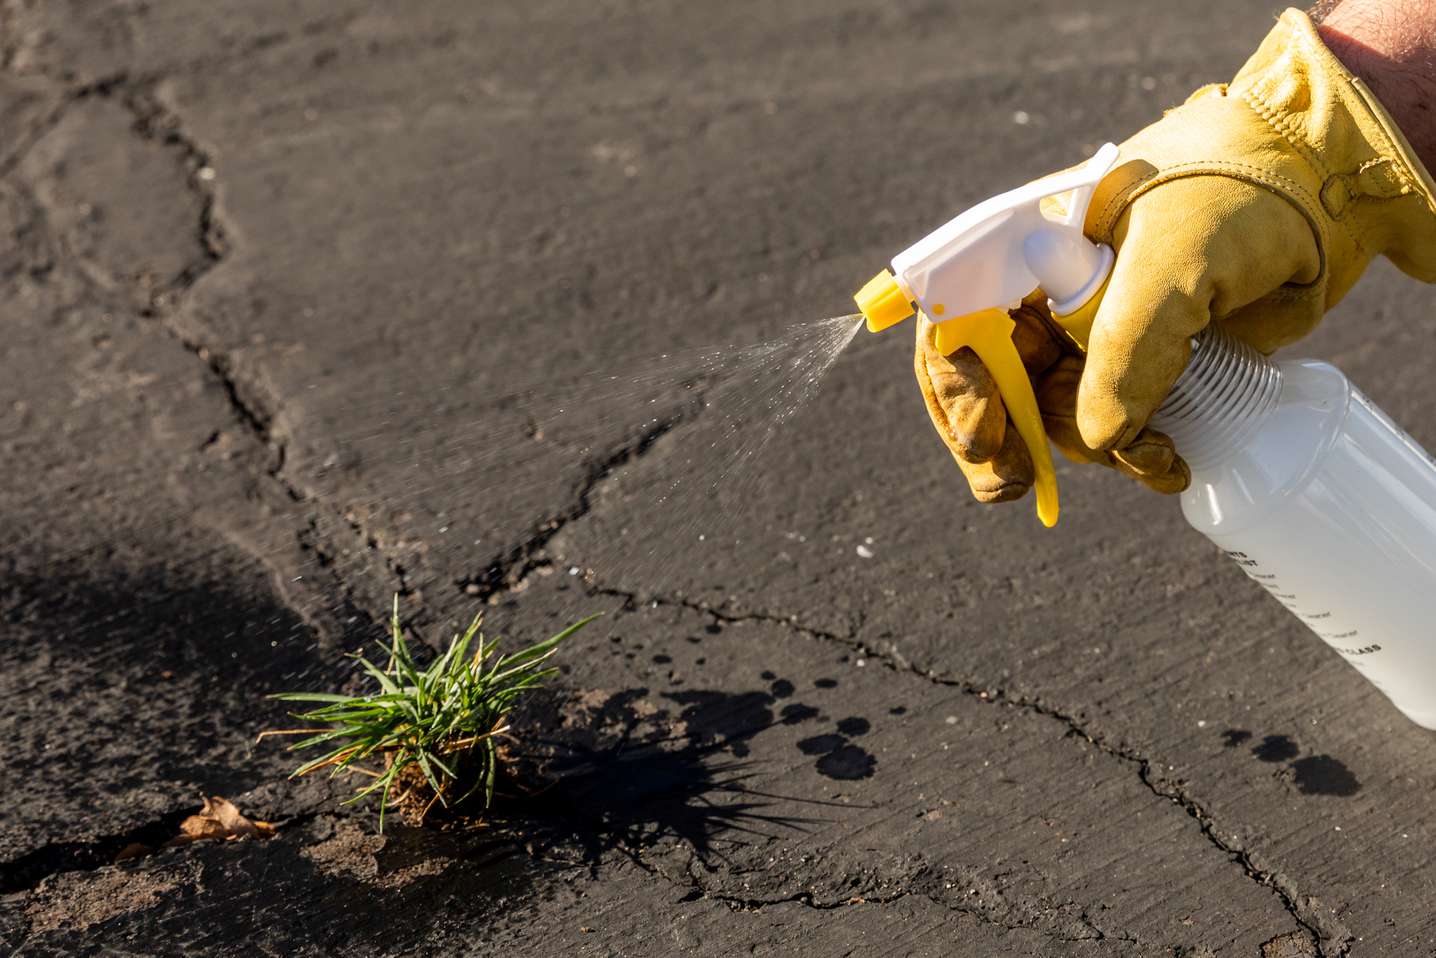
To remove grass from a garden, use a sharp spade to cut through the roots and lift the grass out. You can also use a sod cutter for larger areas. Make sure to remove all the roots to prevent regrowth.
Step 4: Digging up the Roots
Now that the sod has been removed, it’s time to dig up the roots of the grass to ensure it doesn’t regrow. This step is important to create a clean slate for your garden. Follow these steps to effectively dig up the roots:
- Use a garden fork to break up the soil in the marked area. Insert the fork into the ground and gently rock it back and forth to loosen the soil.
- Work your way across the entire area, systematically loosening the soil and breaking up any large clumps. This will help expose the grass roots and make them easier to remove.
- Once the soil is loosened, use your hands or a small gardening tool to dig out the roots. Start near the edge and work your way inward, carefully pulling out the roots as you go. Be thorough to ensure all the roots are removed.
- Inspect the soil after removing the roots. If you notice any remaining small pieces of grass or roots, remove them to prevent regrowth.
Digging up the roots may require some patience and effort, especially if the grass was well-established. Be thorough in your approach to ensure all the roots are removed, as even a small piece left behind can result in regrowth. Once the roots have been cleared, you can move on to the next step: smoothing the soil.
Step 5: Smoothing the Soil
Now that the grass and roots have been removed from your garden, it’s time to prepare the soil for future planting. Smoothing the soil will create a level surface and improve its texture for optimum plant growth. Follow these steps to effectively smooth the soil:
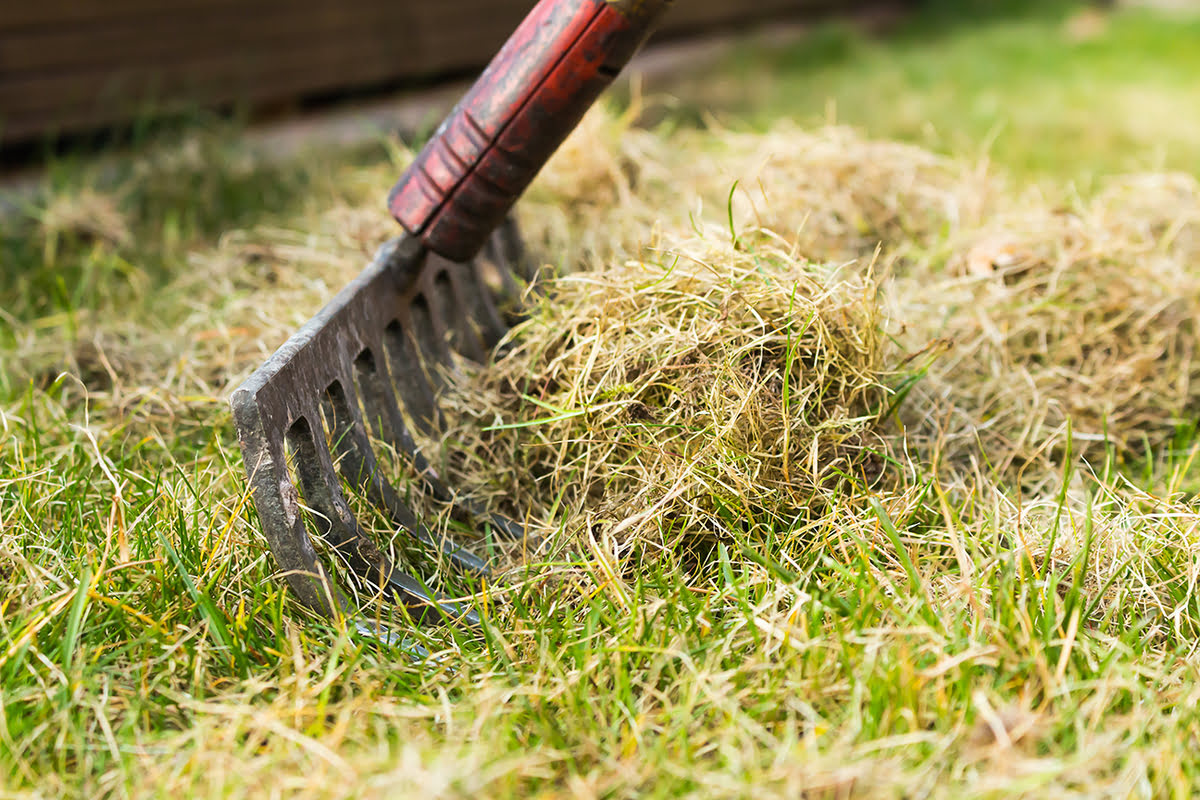
- Start by using a rake to remove any remaining debris, such as small roots or rocks. Clearing the surface will create a clean canvas for your garden.
- Next, use the rake to break up any large clumps of soil. Gently rake over the entire area, working in short, smooth strokes to create an even texture.
- If the soil is compacted, use a garden fork or a tiller to loosen it. Insert the fork or tiller into the soil, then rock it back and forth to break up the compacted layers.
- Rake the soil once more to smooth out any rough spots or uneven areas. Aim for a level surface but avoid over-compacting the soil.
Smoothing the soil is essential for providing an optimal growing environment for your future plants. It helps with water drainage, root development, and overall plant health. Take your time with this step to ensure a well-prepared soil surface. Once the soil is smoothed, you can move on to the next step: disposing of the grass.
Step 6: Disposing of the Grass
After removing the grass and preparing the soil, you’ll need to properly dispose of the grass clippings and sod. Disposing of the grass in an appropriate manner is important for maintaining a tidy and healthy garden environment. Follow these steps to dispose of the grass effectively:
- If the grass you removed is still in good condition and free from any pests or diseases, consider reusing it in your garden. You can relocate it to another area where grass is desired or use it to patch up any bare spots in your lawn.
- If you don’t need to reuse the grass, you can compost it instead. Grass clippings and sod are rich in nitrogen, making them a valuable addition to a compost pile. Layer the grass with other organic materials, such as leaves or kitchen scraps, to create a balanced compost mixture.
- If composting is not an option, you can dispose of the grass in green waste bins provided by your local municipality. Check the guidelines for your area to ensure proper disposal methods.
- If you have a large amount of grass to dispose of, you may need to consider alternative options, such as contacting a local landscaping company that accepts green waste or renting a dumpster specifically for organic waste.
Properly disposing of the grass is essential for maintaining a clean and sustainable garden. By reusing or composting the grass, you can contribute to the health of your garden and reduce waste. Once you’ve disposed of the grass, you’re one step closer to preparing your garden for planting. Let’s move on to the next step: preparing the garden for planting.
Read more: How To Remove Bermuda Grass From Fescue
Step 7: Preparing the Garden for Planting
Now that the grass has been removed and the soil has been smoothed, it’s time to prepare your garden for planting. This step involves the final preparations to ensure your plants have the best conditions for growth. Follow these steps to effectively prepare your garden:
- Assess the soil’s fertility and composition. Depending on your plants’ needs, you may need to amend the soil with organic matter, such as compost or aged manure, to improve its nutrient content and structure.
- Spread a layer of compost or organic matter over the soil and use a garden fork or tiller to work it into the top few inches of soil. This will improve its fertility and enhance drainage and moisture retention.
- Level the soil surface using a rake, making sure it’s even and free of any large clumps or debris. This will provide a smooth and uniform planting bed.
- Consider incorporating organic fertilizers or slow-release granules into the soil to provide additional nutrients for your plants throughout the growing season.
- If you plan to install irrigation systems, now is the time to do so. Lay out drip lines or sprinklers according to the layout of your garden and connect them to a water source.
- Finally, plan the layout of your plants based on their spacing requirements, sun exposure needs, and aesthetic considerations. This will ensure optimal growth and visual appeal in your garden.
Preparing the garden for planting is a crucial step that sets the foundation for successful plant growth. By amending the soil, leveling the surface, and planning your layout, you’ll create an ideal environment for your plants to thrive. Take your time with this step, as proper preparation will greatly contribute to the success of your garden.
Now that you’ve completed all the necessary steps, your garden is ready for planting! With the grass removed and the soil prepared, you can now start enjoying the process of selecting and nurturing your desired plants. Happy gardening!
Conclusion
Removing grass from your garden may seem like a daunting task, but with proper planning and execution, it can be a rewarding endeavor. By following the step-by-step process outlined in this article, you can successfully remove the grass and create a clean slate for your gardening projects.
There are many reasons why you might want to remove grass from your garden, such as creating new planting areas, expanding existing beds, or reducing maintenance. Whatever your motivation, taking the time to remove the grass will allow you to shape your garden according to your vision.
Throughout the process, it’s important to gather the necessary tools and materials, such as a garden hose or string, lawn mower or grass shears, spade or shovel, garden fork, and wheelbarrow or tarp. These tools will assist you in marking the area, cutting the grass, removing the sod, digging up the roots, and smoothing the soil.
After removing the grass and disposing of it responsibly through reuse, composting, or proper disposal methods, you’ll be ready to prepare your garden for planting. This includes assessing the soil, incorporating organic matter, leveling the surface, and planning the layout of your plants.
By taking the time to properly remove the grass and prepare your garden, you’ll create an environment that is conducive to healthy plant growth and gardening success. Remember to be patient and enjoy the process, as gardening is all about connecting with nature and watching your efforts bloom.
Now that you have the knowledge and tools to remove grass from your garden, it’s time to put your plan into action and create the garden of your dreams. Happy gardening!
Now that you've mastered removing grass from your garden, why not consider the next step in beautifying your outdoor space? For those with an eye for design, our article on garden fence ideas offers a wealth of creative options to enclose and enhance your freshly cleared garden. From simple wooden pickets to elaborate metal designs, find the perfect boundary to complement your landscaping efforts and elevate the overall aesthetic of your outdoor sanctuary.
Frequently Asked Questions about How To Remove Grass From Garden
Was this page helpful?
At Storables.com, we guarantee accurate and reliable information. Our content, validated by Expert Board Contributors, is crafted following stringent Editorial Policies. We're committed to providing you with well-researched, expert-backed insights for all your informational needs.


0 thoughts on “How To Remove Grass From Garden”