Home>Garden Essentials>How To Remove Rocks From Landscaping
Garden Essentials
How To Remove Rocks From Landscaping
Modified: May 6, 2024
Learn how to remove rocks from your garden landscaping with these easy and effective methods. Create a beautiful and smooth yard with our step-by-step guide.
(Many of the links in this article redirect to a specific reviewed product. Your purchase of these products through affiliate links helps to generate commission for Storables.com, at no extra cost. Learn more)
Introduction
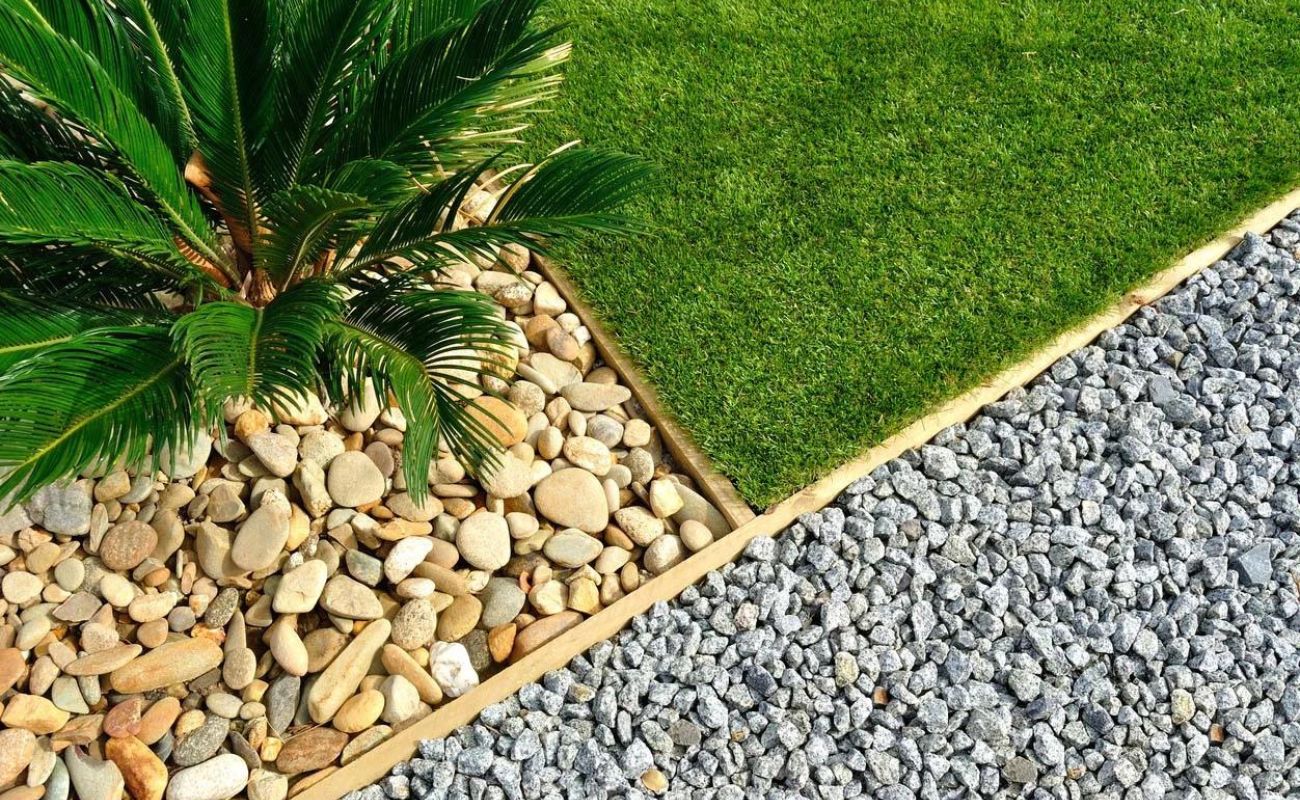
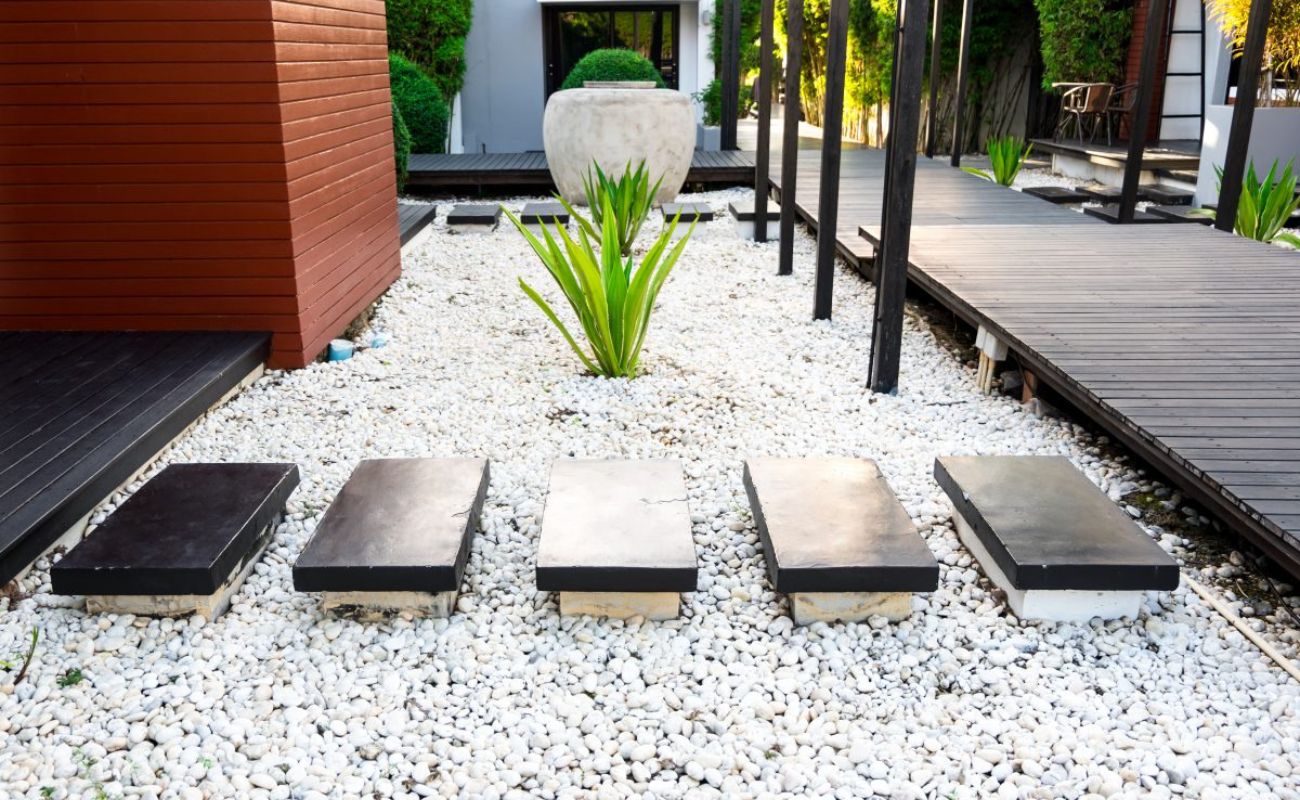
Welcome to the world of landscaping! It’s no secret that a beautiful garden enhances the overall appeal of any property. From vibrant flowers to lush greenery, every element plays a crucial role in creating a serene and inviting outdoor space. However, one challenge that garden enthusiasts often face is dealing with unwanted rocks in their landscape.
Whether you’ve recently purchased a new property, undertaken a landscaping project, or simply want to spruce up your existing garden, removing rocks is a necessary task to ensure a smooth and aesthetically pleasing surface. While it may seem like a daunting endeavor, with the right approach and tools, you can easily conquer this roadblock and transform your garden into a picturesque haven.
In this article, we will guide you through the process of removing rocks from your landscaping. We’ll provide step-by-step instructions, tips, and tricks to make the entire process seamless and efficient. So put on your gardening gloves and let’s get started!
Key Takeaways:
- Say goodbye to unwanted rocks in your garden by assessing, gathering supplies, and clearing larger and smaller rocks with the right tools and techniques. Dispose of rocks responsibly and enjoy your rock-free landscape!
- Transform your garden into a serene haven by following a step-by-step process to remove rocks. From assessing the landscape to cleaning up the area, you’ll create a visually appealing and rock-free space for gardening enjoyment.
Read more: How To Move Landscaping Rocks
Step 1: Assessing the Landscape
Before diving into the rock removal process, it’s important to assess your landscape and understand the scope of the task at hand. Take a comprehensive walk around your garden to identify areas where rocks are concentrated and determine the size and weight of the rocks you’ll be dealing with. This assessment will help you plan your approach and gather the necessary tools for the job.
Keep an eye out for any large rocks that may require heavy machinery or assistance from professionals for removal. These rocks could be embedded deep into the ground or obstructing the path of your garden features. Take note of their exact locations to ensure a systematic approach.
Additionally, pay attention to areas with smaller rocks and pebbles that may have accumulated over time. These can be easily removed with manual tools such as rakes or shovels. Assessing the landscape will give you a clear idea of the overall scope of the project and the time and effort required for successful rock removal.
During this assessment, it’s also important to consider any surrounding plants or delicate garden features that may be affected during the removal process. Take precautions to protect them by covering them with a tarp or carefully working around them. This will ensure that your garden remains unharmed and beautiful throughout the rock removal process.
By taking the time to assess your landscape, you’ll have a better understanding of the work that lies ahead and can proceed with confidence. Let’s move on to the next step to gather the supplies you’ll need for rock removal.
Step 2: Gathering Supplies
Now that you’ve assessed your landscape and have a clear understanding of the rocks you’ll be dealing with, it’s time to gather the necessary supplies for the rock removal process. Having the right tools and equipment will make the task much easier and more efficient.
Here are some essential supplies you’ll need:
- Gloves: Invest in a sturdy pair of gloves to protect your hands from sharp rocks and debris.
- Wheelbarrow or bucket: A wheelbarrow or bucket will come in handy for collecting and transporting the removed rocks.
- Rake: A rake will help you gather smaller rocks and debris, making the removal process smoother.
- Shovel: A sturdy shovel is essential for digging and lifting larger rocks from the ground.
- Tarp or drop cloth: Use a tarp or drop cloth to create a designated area for the removed rocks to prevent them from scattering.
- Protective eyewear: Safety goggles or glasses are important to shield your eyes from flying debris.
- Work boots: Wear sturdy work boots to protect your feet from sharp objects while working.
Take inventory of your gardening tools and ensure they’re in good condition before beginning the rock removal process. If any tools are worn out or missing, make a note to purchase or borrow them before proceeding.
It’s also worth noting that the supplies needed can vary depending on the size and weight of the rocks you’re dealing with. If you anticipate larger and heavier rocks, you may need assistance from a professional landscape company or heavy machinery to ensure safe and efficient removal.
By gathering the necessary supplies beforehand, you’ll be well-prepared to tackle the rock removal process with ease. In the next step, we’ll explore how to clear larger rocks from your landscaping.
Step 3: Clearing Larger Rocks
Once you have assessed your landscape and gathered the necessary supplies, it’s time to focus on clearing the larger rocks from your landscaping. These rocks may be embedded deep into the ground or obstructing the desired layout of your garden.
Here’s how to clear larger rocks:
- Start by using a shovel to dig around the base of the rock. Dig deep enough to create leverage and loosen the rock from the ground.
- Gently rock the shovel back and forth to loosen the rock further. If the rock is too heavy to lift with the shovel alone, use a crowbar or pry bar for added leverage.
- Once the rock is loosened, carefully lift it out of the ground, using your legs and not your back to avoid strain or injury. If the rock is too heavy to lift, call on professional help or use heavy machinery to safely remove it.
- Repeat this process for each large rock in your landscape, ensuring to create a clear and safe pathway as you go.
Keep in mind that removing larger rocks can be physically demanding, so take breaks as needed and listen to your body. If a particular rock seems too difficult to remove on your own, it’s best to seek professional assistance to avoid injury.
As you clear the larger rocks, place them in a designated area, such as a wheelbarrow or a tarp, for easy transportation and disposal later on. Remember to be mindful of any delicate plants or structures nearby to avoid causing any damage.
Once all the larger rocks have been cleared, you can move on to the next step to remove the smaller rocks from your landscaping.
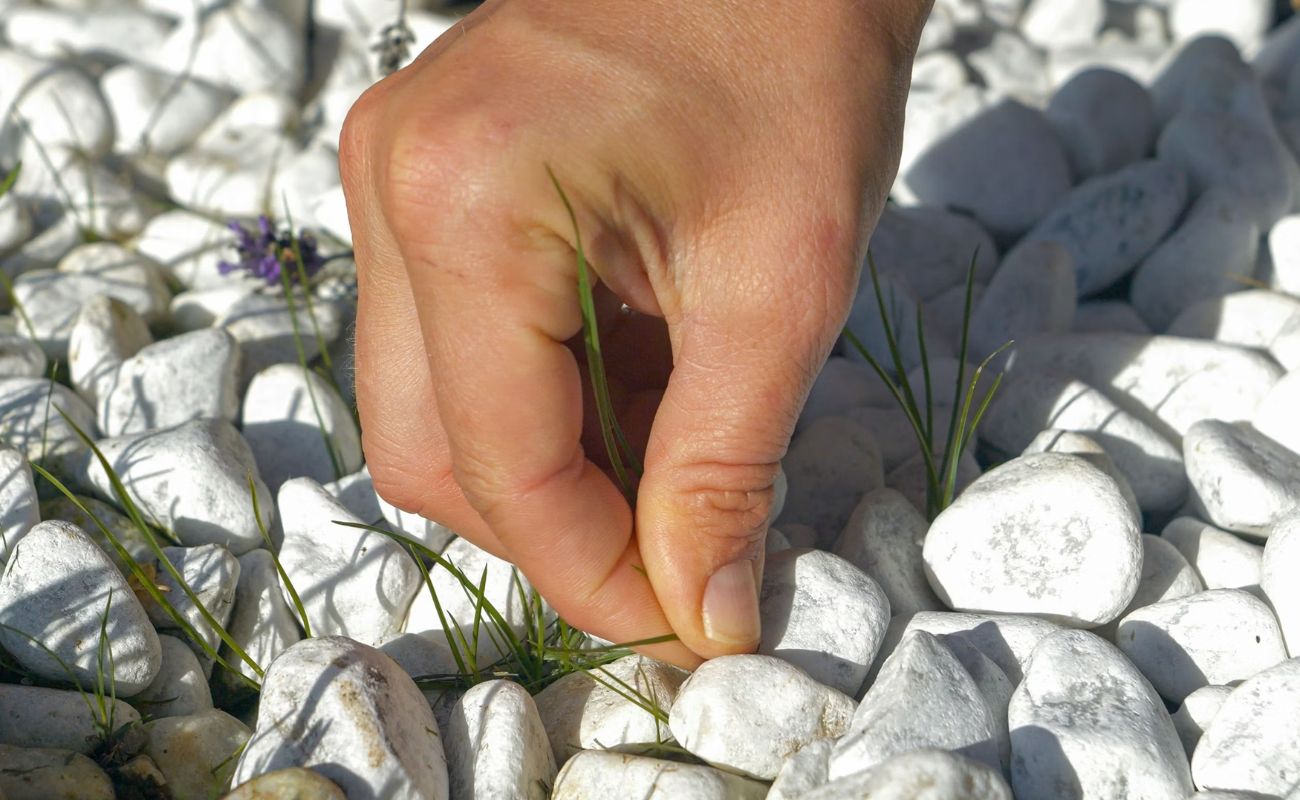
Step 4: Using a Rake or Shovel to Remove Smaller Rocks
After clearing the larger rocks from your landscape, it’s time to focus on removing the smaller rocks. These may include pebbles, gravel, or loose stones that have accumulated over time. Removing these smaller rocks will help create a smoother and more even surface in your garden.
Here’s how to use a rake or shovel to remove smaller rocks:
- Begin by using a rake to gather the smaller rocks into a pile. Move the rake back and forth, gently combing through the soil to collect the rocks.
- Once you have a pile of rocks, use a shovel to scoop them up and transfer them to a designated area, such as a wheelbarrow or a bucket. Be careful not to overload the shovel to avoid straining your back.
- Continue raking and shoveling the smaller rocks in sections, working your way around the garden. Take your time to ensure thorough removal.
- If you encounter any stubborn or embedded rocks that are challenging to remove with a rake or shovel, use a pickaxe or hand trowel to carefully loosen and pry them out of the ground.
- Once you have removed the majority of the smaller rocks, go over the area again with the rake to double-check for any remaining debris.
When using a rake or shovel, be mindful of any plants or delicate features in your garden. Take care not to damage them while removing the rocks.
As you gather the smaller rocks, transfer them to your designated collection area for disposal. Depending on the size of the rocks and local regulations, disposal options may include recycling centers, construction waste collection sites, or reusing the rocks in other areas of your landscaping.
By using a rake or shovel to remove smaller rocks, you’ll be able to achieve a more uniform and visually appealing garden surface. In the next step, we’ll explore how to effectively remove rocks using a wheelbarrow or bucket.
Consider using a landscape rake to gather rocks into piles, then use a shovel or wheelbarrow to remove them. This method is efficient and helps prevent back strain.
Read more: How To Dispose Of Landscaping Rocks
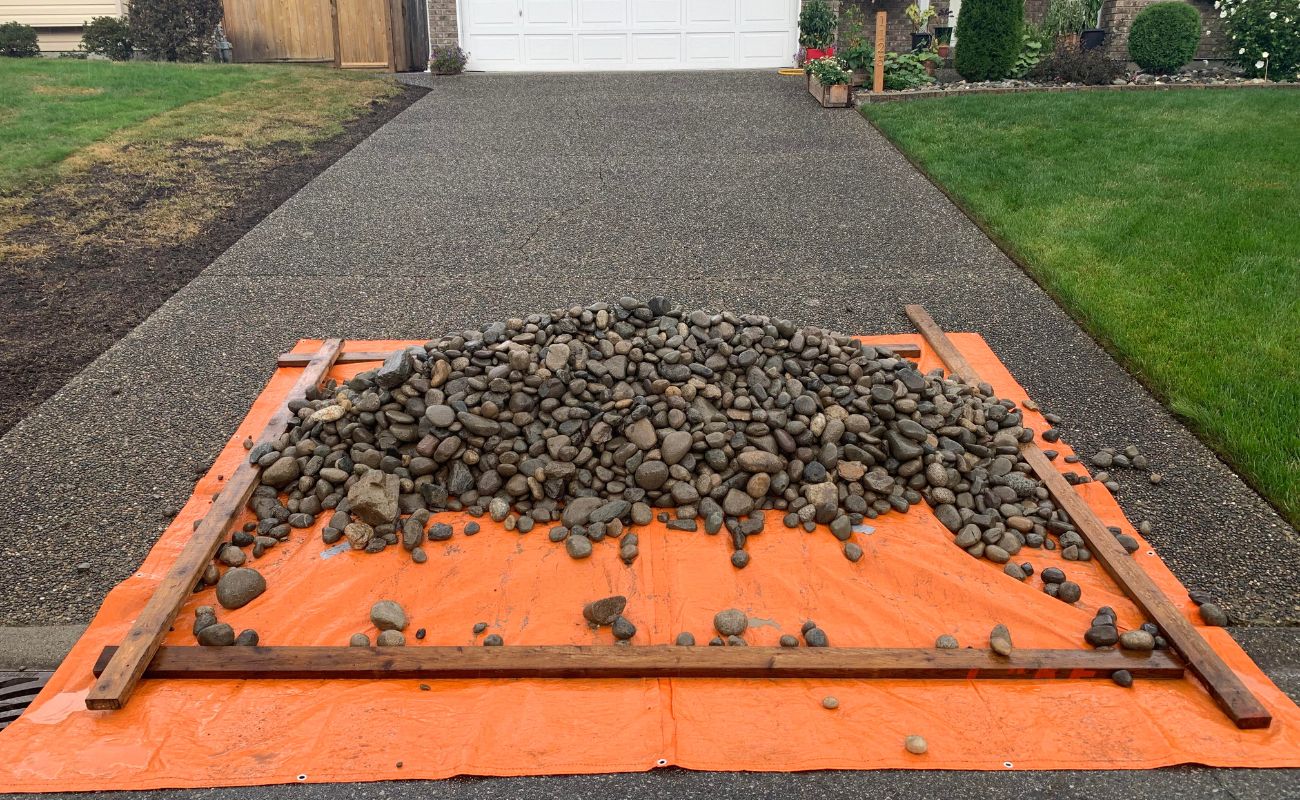
Step 5: Removing Rocks With a Wheelbarrow or Bucket
Once you have gathered the rocks into piles with a rake or shovel, it’s time to remove them from your landscaping using a wheelbarrow or bucket. This step is especially useful for efficiently transporting the rocks to the designated disposal area.
Here’s how to remove rocks with a wheelbarrow or bucket:
- If using a wheelbarrow, position it near the rock piles for easy access. If using a bucket, place it next to the piles.
- Using a shovel, scoop the rocks from the piles and deposit them into the wheelbarrow or bucket. Take care not to overload the wheelbarrow or make the bucket too heavy to handle.
- Move systematically around your garden, filling the wheelbarrow or bucket with rocks and emptying them as needed to maintain a manageable load.
- If using a wheelbarrow, push it to the designated disposal area and carefully unload the rocks. If using a bucket, transport it to the disposal area using a dolly or by hand.
- Once the rocks have been emptied from the wheelbarrow or bucket, return to your garden to continue the process until all rocks have been removed.
Remember to use proper lifting techniques and listen to your body. If the rocks become too heavy to lift, take breaks as needed or seek assistance from others to avoid strain or injury.
As you remove the rocks, keep an eye out for any hidden debris or smaller rocks that may have been missed. Double-check the gathering areas and ensure that the landscape is free of unwanted rocks.
By using a wheelbarrow or bucket, you’ll be able to efficiently remove and transport the rocks from your garden, making the overall rock removal process much easier and more manageable.
In the next step, we’ll discuss how to dispose of the rocks properly.
Step 6: Disposing of the Rocks
Once you have successfully removed the rocks from your landscaping, it’s time to dispose of them responsibly. Proper disposal ensures that the rocks are not left lying around or causing any harm to the environment.
Here are some options for disposing of the rocks:
- Recycling centers: Check if there are any recycling centers in your area that accept construction materials. Many recycling centers accept rocks and aggregates for proper recycling.
- Construction waste collection sites: Some areas have designated sites for disposing of construction waste. Contact your local waste management facility to inquire about such sites and their guidelines for rock disposal.
- Reuse in landscaping: If the rocks are in good condition and can be used for other landscaping projects, consider repurposing them in your own garden or offering them to friends, neighbors, or community members who may have a use for them.
- Landfill: If no other options are available, and if permitted by local regulations, you may need to dispose of the rocks in a landfill. Contact your local landfill or waste management facility for guidance on proper disposal procedures.
It’s crucial to note that rocks should not be dumped in natural areas, bodies of water, or public spaces. Improper disposal of rocks can harm the ecosystem and create safety hazards.
Before disposing of the rocks, ensure that they are free of any dirt, debris, or contaminants. This will make the recycling or disposal process easier and more efficient.
By choosing the appropriate disposal method, you’ll be able to safely and responsibly get rid of the rocks. In the final step, we’ll discuss how to clean up the area to complete the rock removal process.
Step 7: Cleaning Up the Area
Congratulations on successfully removing and disposing of the rocks! Now it’s time to clean up the area and put the finishing touches on your rock removal project. This step is essential for achieving a clean and polished look in your newly transformed landscape.
Here’s how to clean up the area:
- Inspect the garden for any remaining rock fragments or debris. Use a rake or broom to sweep the area, ensuring that you’ve removed all traces of rocks.
- Check for any disturbed or uneven soil. Use a garden rake to level out the soil and create a smooth surface.
- If necessary, add a top layer of fresh soil or compost to enhance the overall appearance and provide a fertile base for future planting or landscaping endeavors.
- Inspect any plants, shrubs, or structures that may have been affected during the rock removal process. Prune any damaged branches or foliage and make necessary repairs.
- Water the garden to settle the soil and promote healthy growth of any remaining plants or newly introduced ones.
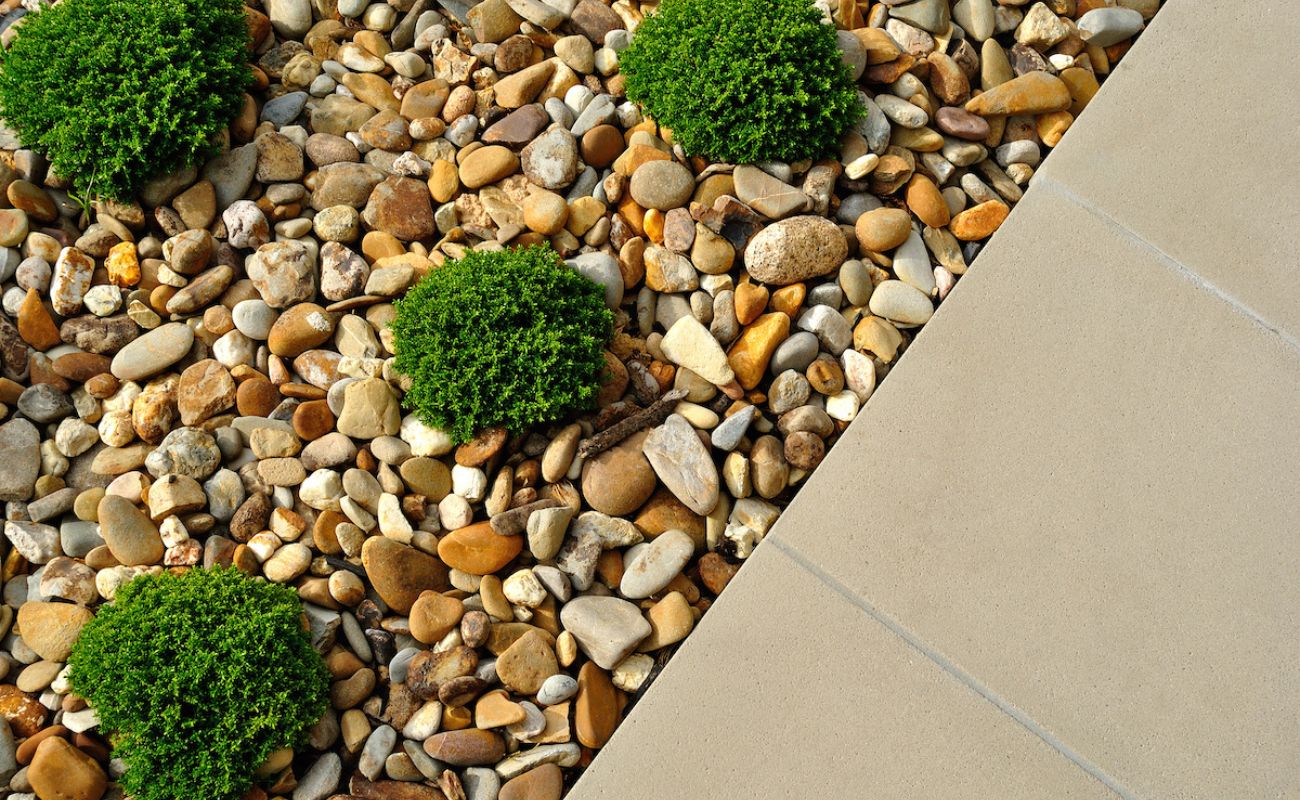
- Consider adding new elements to your landscaping, such as flowers, mulch, or decorative features, to further enhance the beauty of your revamped garden.
Don’t forget to clean and properly store your tools once the project is complete. This will ensure their longevity and be ready for future gardening tasks.
With the area cleaned and tidied up, take a moment to appreciate your hard work and enjoy the newfound beauty and functionality of your rock-free landscape.
Congratulations once again on successfully removing rocks from your landscaping. By following these steps, you’ve transformed your garden into a serene and visually appealing space. Remember to maintain regular maintenance to keep your garden looking its best.
Happy gardening!
Conclusion
Removing rocks from your landscaping may seem like a daunting task, but with careful planning and the right techniques, it can be accomplished efficiently and effectively. By following the step-by-step process outlined in this article, you can transform your garden into a beautiful and rock-free space.
Assessing your landscape, gathering the necessary supplies, and clearing larger rocks are crucial steps in preparing for the rock removal process. Using a rake or shovel to remove smaller rocks allows for a smoother and more even surface. Transporting the rocks using a wheelbarrow or bucket ensures easier disposal.
Proper disposal of the rocks is essential to protect the environment. Consider recycling centers, construction waste collection sites, or reusing the rocks in other landscaping projects. If necessary, consult with your local landfill for proper disposal options.
Once you have successfully removed and disposed of the rocks, cleaning up the area completes the project. Sweeping the garden, leveling the soil, and tending to any affected plants or structures will give your garden a finished and polished look.
Remember, maintaining regular garden maintenance and taking preventive measures, such as installing weed barriers or utilizing proper mulching techniques, can help prevent the accumulation of rocks in the future.
Now armed with the knowledge and techniques to remove rocks from your landscaping, you can create a serene and inviting outdoor space that will be the envy of your neighbors. Step into your garden and enjoy the beauty of your rock-free landscaping!
Now that you've mastered removing rocks from landscaping, why not give your garden an additional touch of charm and privacy? Our next feature offers a slew of creative ideas to enhance your outdoor space. From simple wooden designs to intricate metalwork, you'll find inspiration to transform your garden into a haven of beauty and tranquility. Don't miss out on discovering functional yet stylish ways to define and protect your cherished garden areas.
Frequently Asked Questions about How To Remove Rocks From Landscaping
Was this page helpful?
At Storables.com, we guarantee accurate and reliable information. Our content, validated by Expert Board Contributors, is crafted following stringent Editorial Policies. We're committed to providing you with well-researched, expert-backed insights for all your informational needs.


0 thoughts on “How To Remove Rocks From Landscaping”