Home>Furniture>Outdoor Furniture>How To Remove Glass From A Patio Table
Outdoor Furniture
How To Remove Glass From A Patio Table
Modified: August 23, 2024
Learn how to safely remove broken or cracked glass from your outdoor furniture. Don't let a damaged patio table ruin your outdoor gatherings.
(Many of the links in this article redirect to a specific reviewed product. Your purchase of these products through affiliate links helps to generate commission for Storables.com, at no extra cost. Learn more)
Introduction
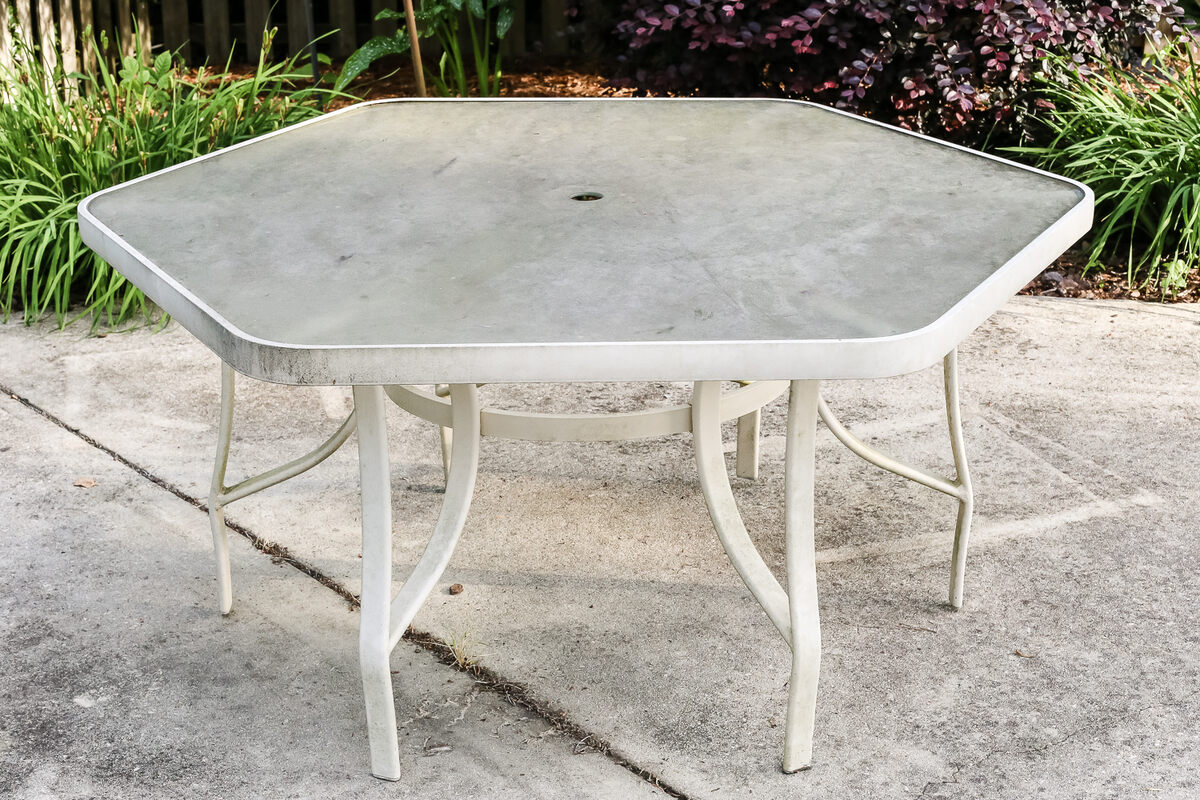
Welcome to our comprehensive guide on how to remove glass from a patio table. Whether you’re looking to replace the glass, clean the table frame, or simply want to enjoy an open-top outdoor experience, removing the glass is a key step. The process may seem daunting, but with the right tools and a little guidance, you’ll have it done in no time.
A patio table with a glass top adds a touch of elegance to any outdoor space. However, over time, the glass can become scratched or damaged, and you may want to replace it. Additionally, removing the glass allows for easier cleaning of the table frame and provides versatility for outdoor meal setups or other activities.
In this article, we will walk you through the step-by-step process of safely and efficiently removing the glass from your patio table. We will also provide tips on how to properly dispose of the glass and clean the table frame for future use. So let’s get started with the essential tools and materials you’ll need.
Key Takeaways:
- Removing glass from a patio table is a manageable process with the right tools and precautions. It allows for cleaning, versatility, and customization of your outdoor space.
- Safety is key when removing glass from a patio table. Clear the table, handle the glass with care, and dispose of it responsibly for a refreshed outdoor experience.
Read more: How To Remove Stickers From Crystal Glasses
Tools and Materials Needed
Before you begin the process of removing the glass from your patio table, gather the necessary tools and materials. Having everything on hand will ensure a smooth and efficient process. Here’s a list of what you’ll need:
- Safety Gloves: Protect your hands from any sharp edges or glass splinters by wearing a pair of sturdy work gloves.
- Safety Glasses: Shield your eyes from any potential debris or glass shards with a pair of safety glasses.
- Screwdriver: Depending on the design of your patio table, you may need a screwdriver to remove retaining clips or screws holding the glass in place.
- Putty Knife or Flathead Screwdriver: A putty knife or flathead screwdriver comes in handy for gently prying the glass away from the table frame.
- Tape: Use masking tape or painter’s tape to secure any loose glass edges and prevent them from causing injury during removal.
- Drop Cloth or Tarp: Place a drop cloth or tarp on the ground to protect the glass from damage and make cleanup easier.
- Storage Container: Have a suitable container ready to safely store and dispose of the glass once it’s removed.
- Cleaning Supplies: Depending on your preference, gather cleaning supplies such as glass cleaner, soap, water, and a sponge or cloth to clean the table frame.
Make sure you have all these tools and materials readily available before you begin. Once you’re prepared, you can move on to the step-by-step process of removing the glass from your patio table.
Step 1: Clear the Table
Before you can remove the glass from your patio table, start by clearing the table of any items or decorations. Remove any dishes, glasses, plants, or other objects that may be on the table surface. It’s essential to have a clear, clutter-free workspace to ensure a smooth and safe glass removal process.
If there are any stubborn or sticky residues on the glass, take a moment to wipe them off with a damp cloth. This will make the glass removal process easier and prevent any unwanted debris from falling onto the table frame or the ground.
During this step, it’s also a good idea to assess the condition of the glass. Look for any cracks, chips, or damage that may require additional safety precautions during removal. If the glass is noticeably cracked or shattered, take extra care to handle it, or consider wearing additional protective gear such as a face shield.
Once you’ve cleared the table and ensured the glass is in a manageable condition, you’re ready to move on to the next step.
Step 2: Locate and Remove Retaining Clips or Screws
Many patio tables have retaining clips or screws that hold the glass securely in place. These clips or screws may be located along the edges of the table or underneath the table frame. Your next task is to locate and remove these fasteners.
Start by carefully inspecting the table frame and feel for any clips or screws that may be holding the glass in place. Depending on the design of your patio table, you may need a screwdriver to remove the screws or simply use your hands to unclip the retaining clips.
If your table has retaining screws, use the appropriate screwdriver to unscrew them. It’s important to keep track of these screws and set them aside safely, as you may need them later if you plan to reinstall the glass.
For tables with retaining clips, locate the clips that are holding the glass in place. Gently lift or push the clips to release them from the table frame. It’s helpful to have a partner hold the glass from the opposite side as you remove the clips to prevent it from sliding or falling.
Take your time during this step and ensure that all retaining clips or screws are fully removed. Once you’ve released all the fasteners securing the glass, you can proceed to the next step of actually removing the glass from the table frame.
Step 3: Loosen and Lift the Glass
Now that you’ve removed the retaining clips or screws, it’s time to loosen and lift the glass from the table frame. This step requires caution and gentle handling to prevent any accidental damage or injuries.
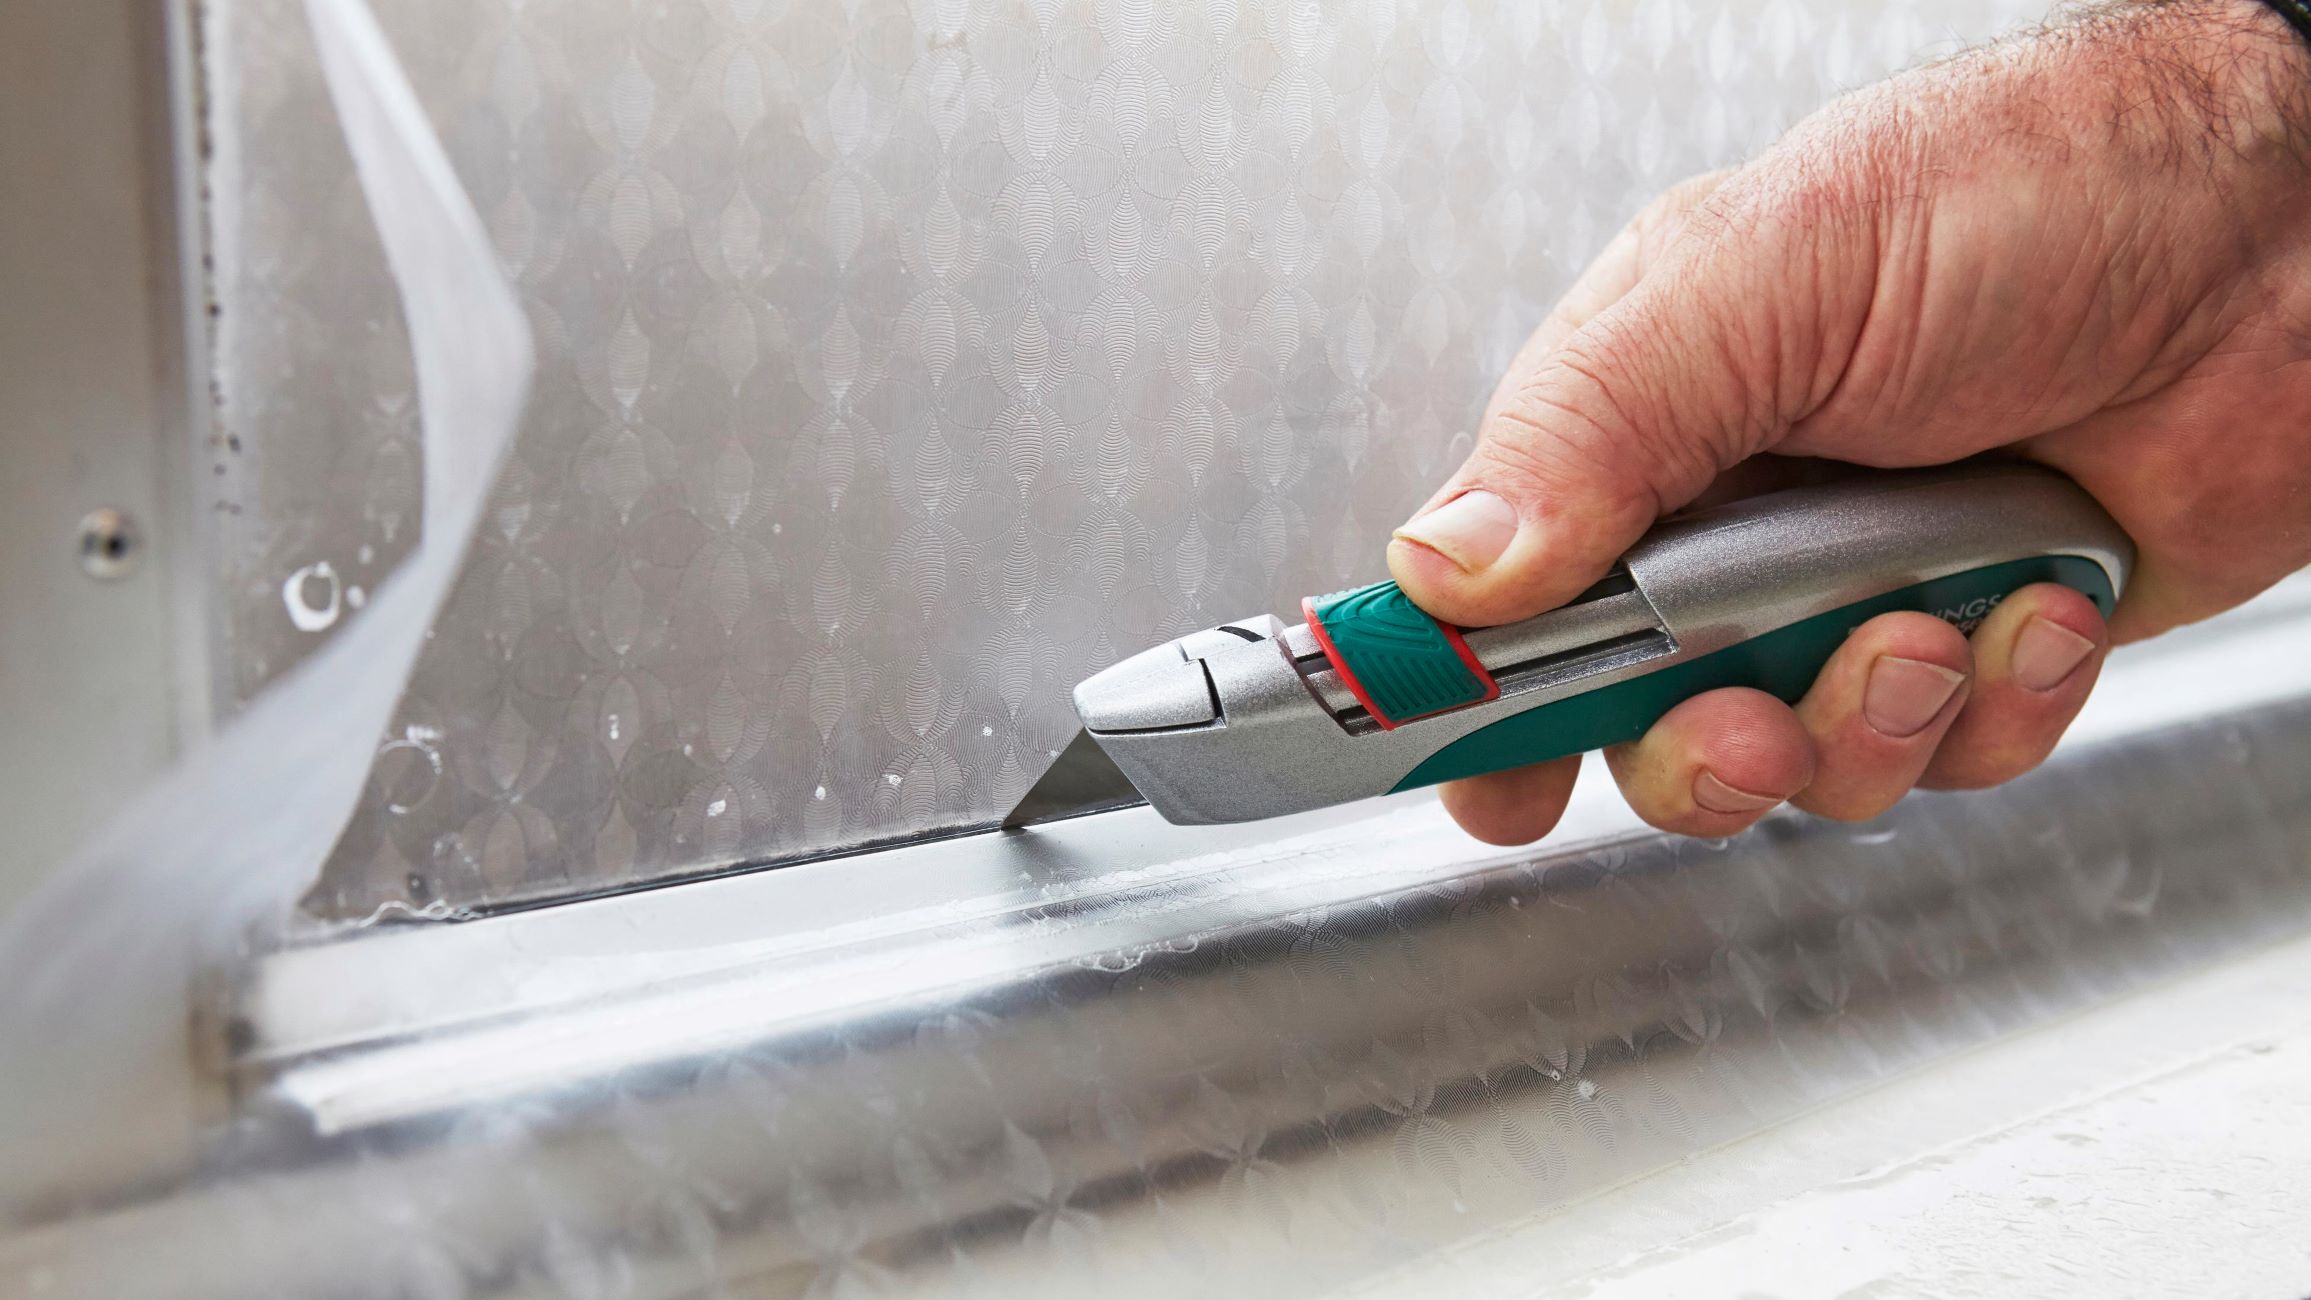
Using a putty knife or a flathead screwdriver, carefully insert the tool between the glass and the table frame. Apply even pressure and gently wiggle the tool back and forth to loosen the bond between the glass and the frame. Be mindful not to exert too much force or use a sharp tool that could scratch or shatter the glass.
Work your way around the table, gradually loosening one side of the glass at a time. If you encounter any areas where the glass seems to be sticking, apply a bit more pressure or gently tap the frame from the opposite side to ease the release. It’s important to go slow and steady to ensure the glass is safely lifted.
Once you’ve successfully loosened one side of the glass, move to the adjacent side and repeat the process. Continue this pattern until all sides of the glass are free from the table frame. Again, it’s helpful to have a partner hold the glass from the opposite side as you lift to provide additional support and prevent it from sliding or falling.
As you lift the glass, be cautious of any loose or jagged edges that could potentially cause harm. If needed, use masking tape or painter’s tape to secure any loose glass edges and minimize the risk of injury during the lifting process.
With a firm grip and steady hands, carefully lift the glass off the table frame and set it aside on a flat and secure surface. Take your time and ensure that the glass is fully lifted before moving on to the next step.
Use heavy-duty gloves to carefully remove the broken glass from the table. Use a vacuum to clean up any small shards. Then, measure the table and order a replacement glass top.
Step 4: Dispose of the Glass Safely
Once you’ve successfully removed the glass from your patio table, it’s important to properly dispose of it to ensure the safety of yourself, others, and the environment. Glass can be sharp and pose a risk if mishandled or improperly disposed of.
If the glass is intact and in good condition, you may consider recycling it. Check with your local recycling facilities to see if they accept glass from patio tables. They may have specific guidelines on how to prepare and drop off the glass for recycling.
If recycling is not an option, you can dispose of the glass as regular waste, but it’s crucial to take precautions to prevent injuries. Make sure the glass is wrapped securely in thick layers of newspaper or bubble wrap to avoid breakage during transportation. Seal it in a sturdy container such as a cardboard box or plastic bin, and label it clearly as “broken glass” or “handle with care.”
If the glass is broken, cracked, or chipped, extra precautions are necessary. Wear heavy-duty gloves to protect your hands and place the broken glass in a puncture-proof plastic bag. Double-bag the glass to prevent any potential leaks or injuries from sharp edges.
Check with your local waste management or sanitation department for their specific guidelines on how to dispose of broken glass. They may have designated drop-off locations or scheduled pick-ups for hazardous waste.
Remember, it’s crucial to handle and dispose of glass responsibly to ensure the safety of yourself, others, and the environment. Take the necessary precautions and follow the guidelines provided by your local authorities.
Step 5: Clean and Prep the Table Frame
Now that you’ve removed the glass from your patio table, it’s a great opportunity to clean and prep the table frame. This step ensures that your table is ready for use without the glass or for the installation of a new glass top at a later time.
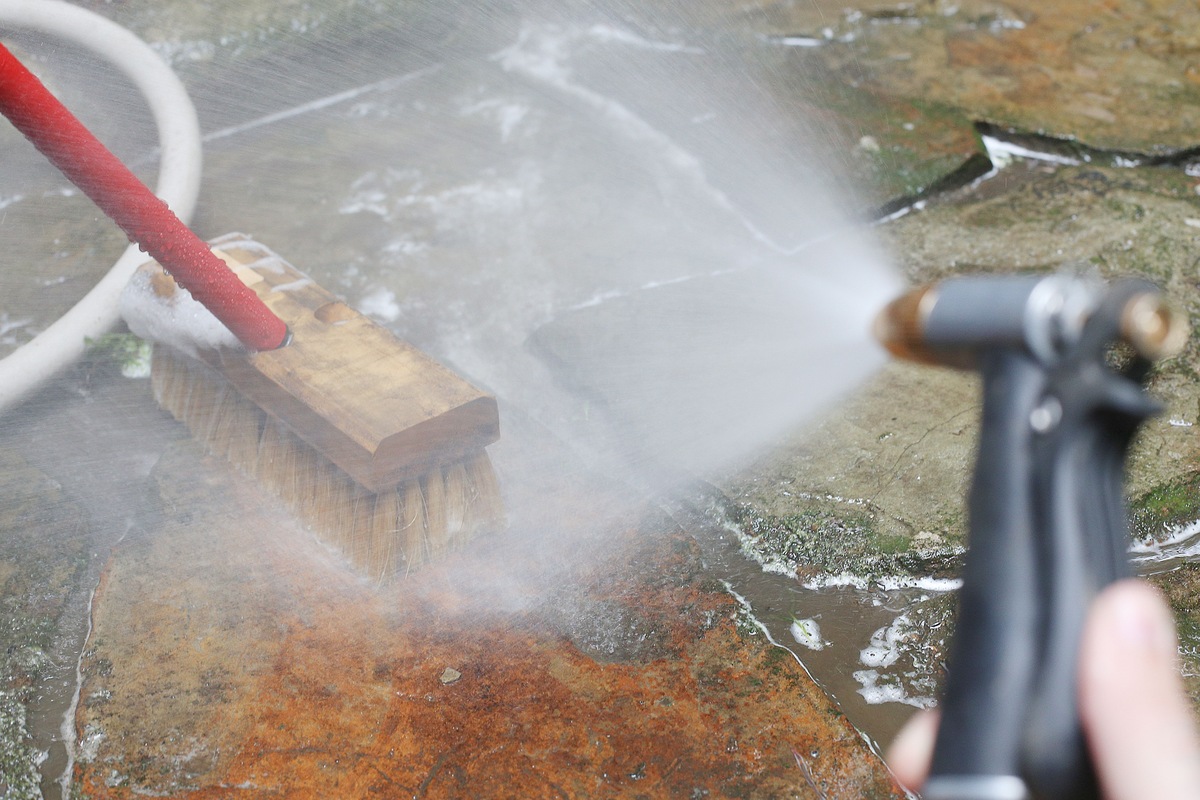
Start by using a soft cloth, sponge, or brush to remove any dirt, dust, or debris from the table frame. Pay attention to the corners, edges, and any intricate details of the frame. If there are stubborn stains or grime, you can use mild soap diluted in water to gently scrub the surface.
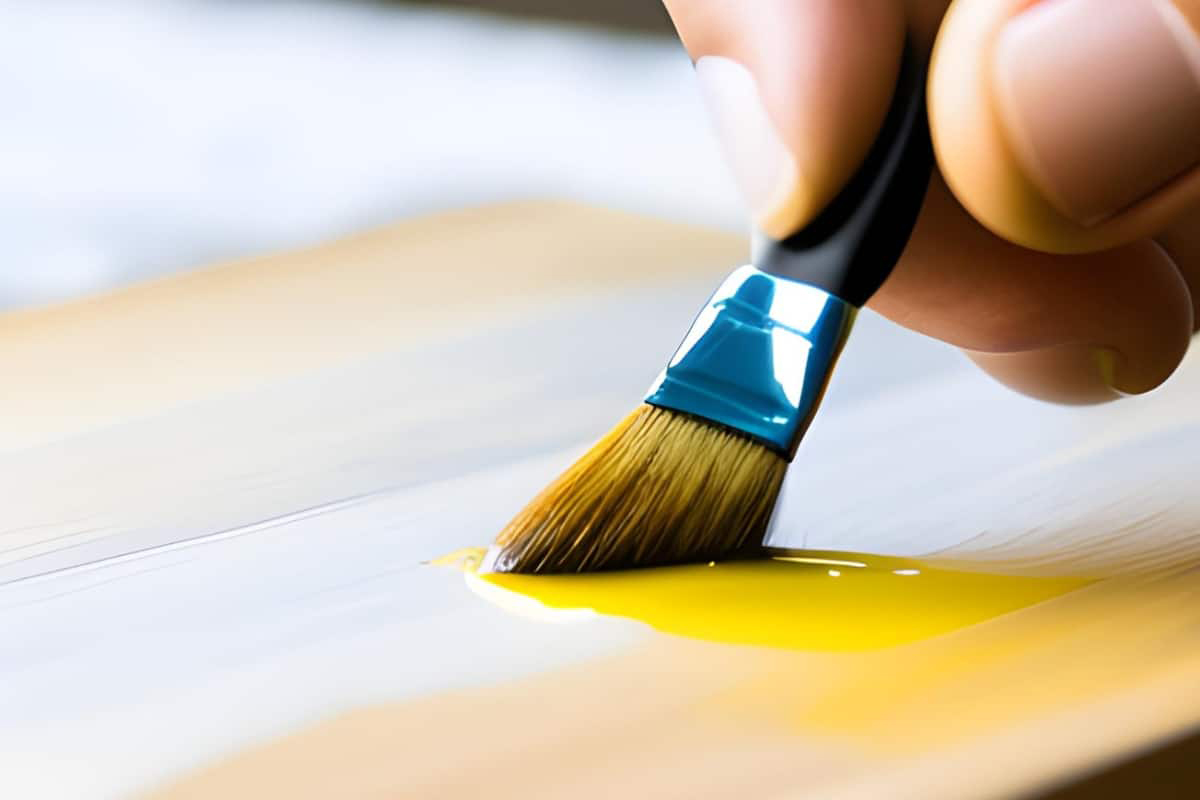
If your patio table has a metal frame, it’s important to dry it thoroughly after cleaning to prevent any potential rusting. Use a clean, dry cloth or towel to remove any moisture from the frame. You can also apply a thin layer of rust-resistant spray or paint if needed.
For wooden frames, make sure to use a cleaner specifically designed for wood surfaces. Avoid using harsh chemicals or abrasive cleaners that can damage the finish. Instead, opt for a gentle wood cleaner or a mixture of mild soap and water. Wipe the surface clean and dry it thoroughly.
Inspect the table frame for any loose or wobbly parts. Tighten any screws or bolts that need attention to ensure the stability of the table. If there are any damaged or missing parts, consider replacing them before continuing to use the table.
Finally, take a moment to assess the overall condition of the table frame. If there are scratches, dents, or imperfections, you may want to consider refinishing or repainting the frame to restore its appearance. This step can give your patio table a fresh and updated look.
By thoroughly cleaning and prepping the table frame, you’ll have it ready for use without the glass or for the installation of a new glass top if desired. It’s a chance to spruce up your patio table and ensure its longevity and functionality.
Step 6: Reinstall or Replace the Glass (Optional)
In this final step, you have the option to either reinstall the glass you removed or replace it with a new one. This step is entirely dependent on your preference and the condition of the glass.
If the glass you removed is in good condition and you want to continue using it, carefully clean it to remove any dust or debris that may have accumulated during the removal process. Use a glass cleaner or a mixture of mild soap and water to wipe the glass clean. Dry it thoroughly with a clean, lint-free cloth to prevent streaks.
Before reinstalling the glass, take the opportunity to inspect the table frame and ensure it’s clean and free of any dirt or residue. If necessary, repeat Step 5 to clean and prep the table frame for the glass installation.
Once both the glass and table frame are clean and ready, carefully place the glass back onto the frame. Line up the edges with the frame and gently lower the glass into place. Make sure it rests evenly on the frame and is centered on the table.
If you choose to replace the glass with a new one, measure the dimensions of the table frame and purchase a new piece of glass that fits properly. Many home improvement stores or glass companies can cut a custom-sized glass top for your patio table.
When installing the new glass, follow the same process as mentioned above. Clean the table frame, position the new glass evenly, and ensure it rests securely on the frame. Take care not to exert too much pressure that could cause the glass to crack or shatter.
Remember, installing or replacing the glass is completely optional. If you prefer an open-top table or want to use alternative materials such as wood or stone for the table surface, this step can be skipped altogether.
Once you have reinstalled or replaced the glass (or opted for an open-top table), take a moment to admire your refreshed patio table. Enjoy the versatility and functionality it offers for outdoor activities and gatherings.
Conclusion
Removing glass from a patio table may seem like a daunting task, but with the right tools, knowledge, and careful handling, it can be a straightforward process. Whether you’re replacing the glass, cleaning the table frame, or opting for an open-top setup, following the step-by-step guide outlined in this article will help you achieve your desired outcome.
Remember to gather all the necessary tools and materials before you start the process. Use safety gloves and glasses to protect yourself during the glass removal. Take your time to clear the table and locate and remove any retaining clips or screws. Then, proceed to loosen and lift the glass from the table frame, ensuring that it’s handled with care.
Once the glass is removed, you have the option to either dispose of it safely or clean and prep it for future use. Take this opportunity to clean and prep the table frame as well, removing any dirt or residue. If desired, you can reinstall the glass or replace it with a new one that fits your specifications.
By following these steps, you can successfully remove the glass from your patio table and customize it to suit your needs. Whether you’re looking for a temporary change or a permanent alteration, this process provides you with the flexibility to adapt your outdoor space to fit your personal preferences.
Remember to handle the glass and other materials safely and dispose of them responsibly. Be mindful of any potential hazards and take precautions to prevent injuries during the process. With proper care and attention, you can transform your patio table and create an inviting outdoor ambiance.
We hope this comprehensive guide has been helpful to you. Enjoy your renewed patio table and make the most of your outdoor living space!
Now that you've mastered removing glass from a patio table, why not spruce up your deck with vibrant decor? Our guide on outdoor living offers plenty of tips to enhance your space. If maintenance is on your mind, our comprehensive checklist on home maintenance ensures your home stays in top shape. Finally, if you're looking to clear out old pieces, find out where to furniture disposal properly, keeping your living area clutter-free and organized.
Frequently Asked Questions about How To Remove Glass From A Patio Table
Was this page helpful?
At Storables.com, we guarantee accurate and reliable information. Our content, validated by Expert Board Contributors, is crafted following stringent Editorial Policies. We're committed to providing you with well-researched, expert-backed insights for all your informational needs.


0 thoughts on “How To Remove Glass From A Patio Table”