Articles
How To Repair Vertical Window Blinds
Modified: December 7, 2023
Learn how to repair vertical window blinds with our informative articles. Find step-by-step guides and expert tips to fix your blinds efficiently.
(Many of the links in this article redirect to a specific reviewed product. Your purchase of these products through affiliate links helps to generate commission for Storables.com, at no extra cost. Learn more)
Introduction
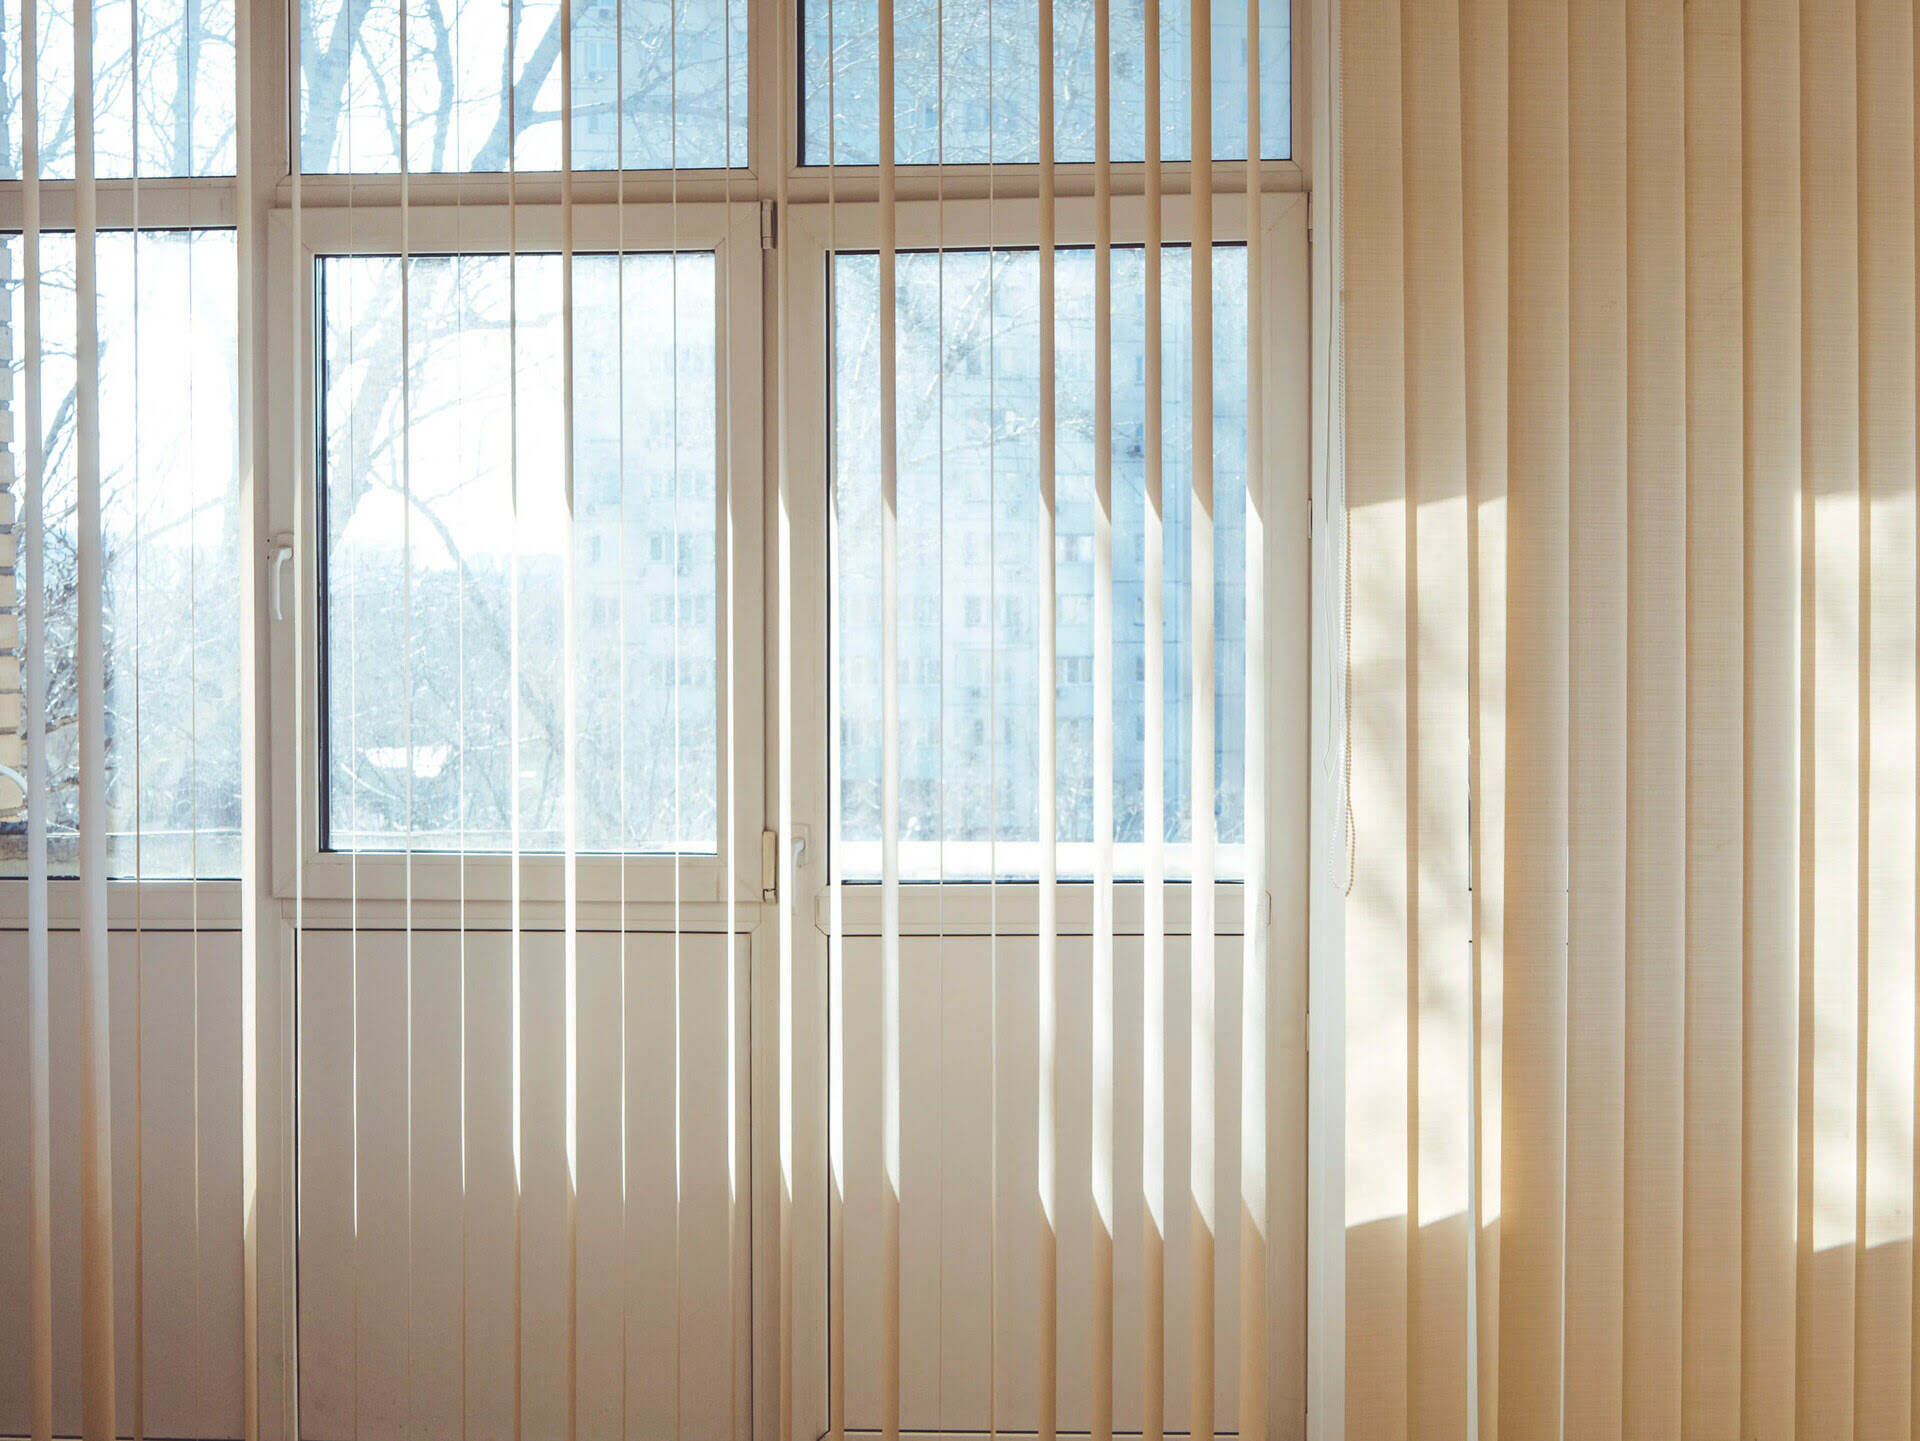
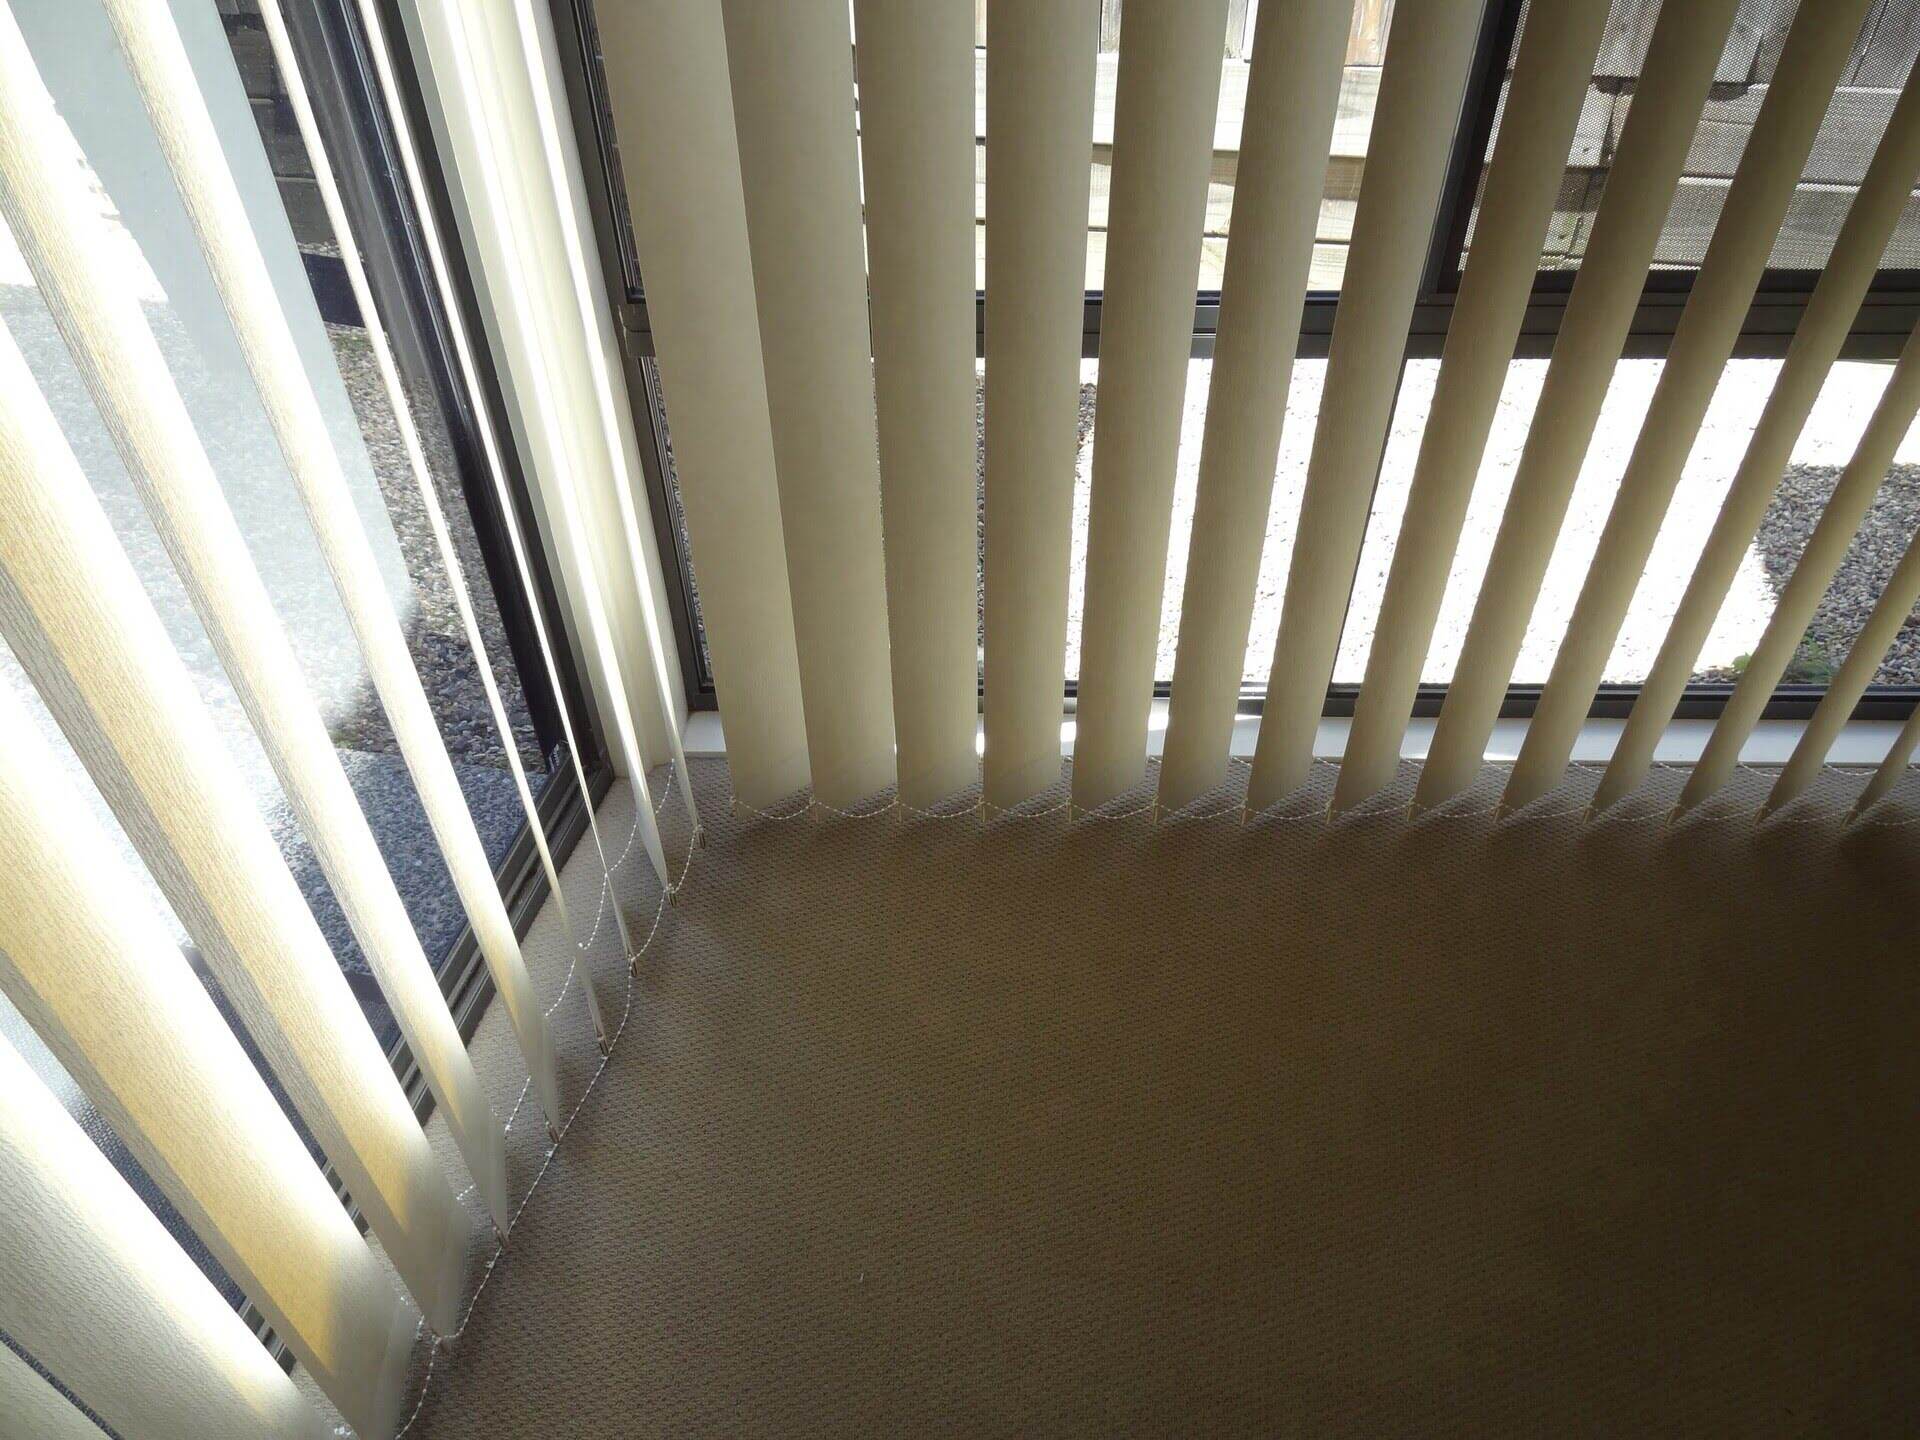
Vertical window blinds are a popular choice for homeowners seeking both privacy and style. These blinds offer a convenient way to control the amount of light that enters a room while adding a touch of elegance to the overall decor. However, as with any household item, vertical window blinds can sometimes face common issues such as broken slats, tangled cords, or malfunctioning mechanisms.
In this article, we will show you step-by-step how to repair vertical window blinds, allowing you to save money by fixing them yourself instead of buying new ones. Whether you have a single blind or a whole set that needs repair, this guide will walk you through the process, starting from assessing the problem all the way to testing the repaired blinds.
Before we dive into the repair process, it’s important to note that depending on the extent of the damage and your level of comfort with DIY projects, some repairs may require professional assistance. However, many common issues can be easily fixed with just a few tools and some patience. So, let’s get started!
Key Takeaways:
- Save money and extend the lifespan of your vertical window blinds by following a DIY repair process. Assess, gather tools, replace slats, adjust tension, and test functionality for optimal results.
- Enjoy the satisfaction of restoring your window blinds to their former glory with a step-by-step repair guide. Test functionality and seek professional assistance for complex issues, ensuring privacy and style.
Read more: How To Hang Vertical Window Blinds
Step 1: Assessing the Problem
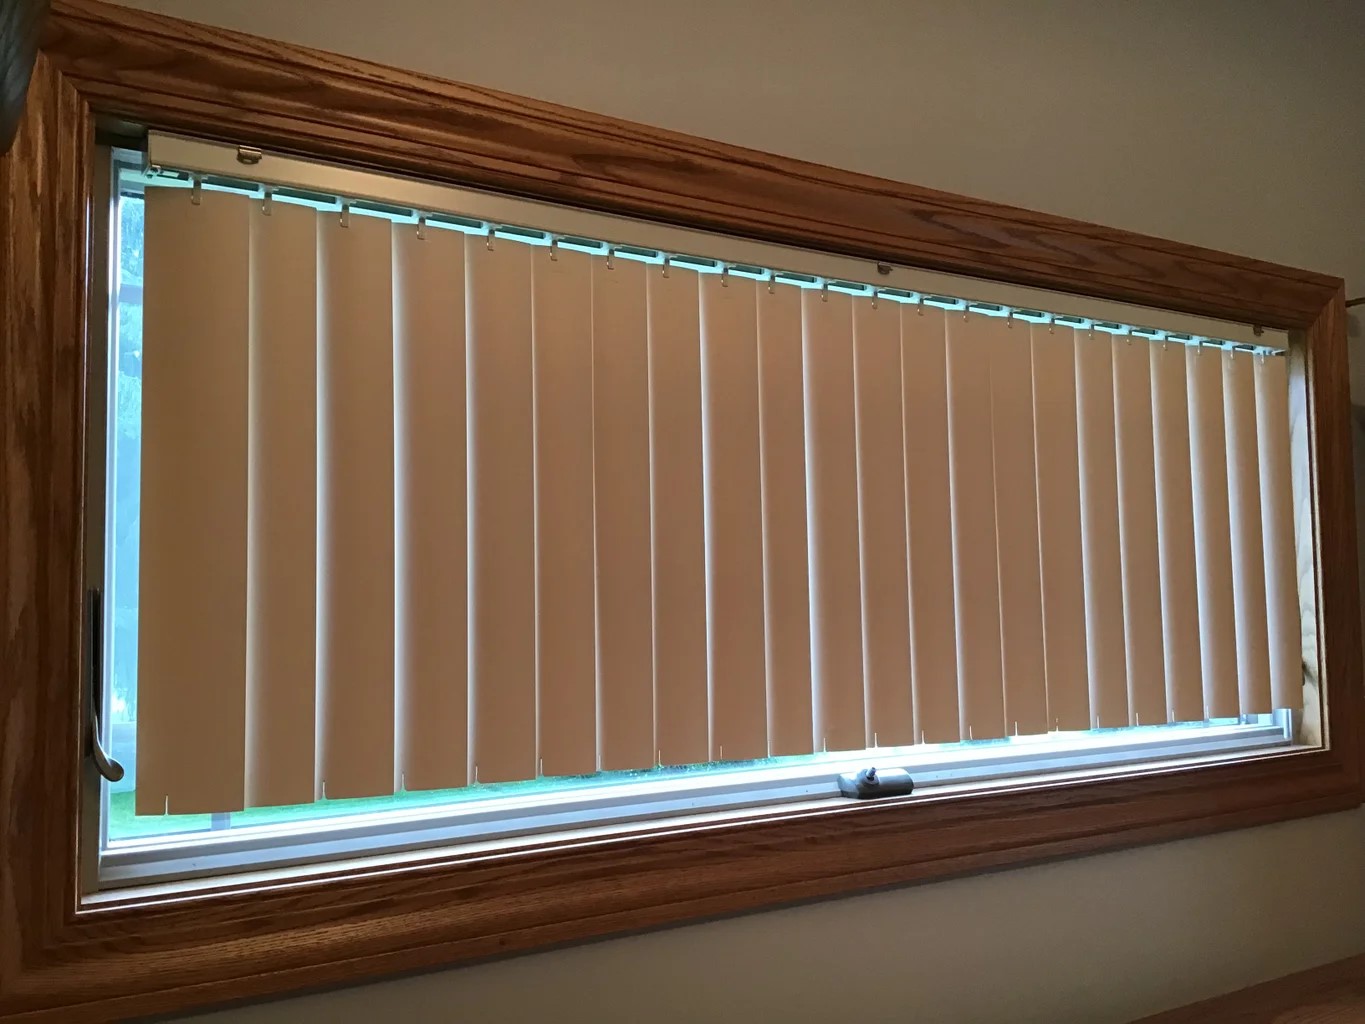
The first step in repairing your vertical window blinds is to assess the problem. Take a careful look at your blinds and identify any issues or areas that need attention. Here are a few common problems you may encounter:
- Broken Slats: Inspect the slats of your blinds and look for any that are cracked, bent, or completely broken. Note the number of slats that need replacement.
- Tangled Cords: Check if the cords that control the movement of the blinds are tangled or stuck. Ensure that they are properly aligned and free of any obstructions.
- Malfunctioning Mechanism: Test the mechanism that opens and closes the blinds. Look for any signs of jamming, excessive force required, or inconsistent movement.
- Uneven Blinds: Check if the blinds are hanging unevenly. This could be an indication of a damaged or misaligned headrail.
Once you have identified the problem, continue to the next step to gather the necessary tools.
Step 2: Gathering the Necessary Tools
Before you begin the repair process, it’s important to gather all the necessary tools. Having the right tools on hand will make the process much smoother and more efficient. Here are the tools you will need:
- Screwdriver: A screwdriver with a variety of interchangeable heads will be useful for removing screws and disassembling parts.
- Pliers: Pliers will come in handy for handling small parts, tightening screws, or adjusting tension.
- Replacement Slats: If you have identified broken slats during the assessment, make sure to have replacement slats ready for installation.
- Scissors: Scissors will be needed to trim the replacement slats to the correct size if necessary.
- Tape Measure: A tape measure will help you ensure that the replacement slats are cut to the correct length.
- Lubricant: A silicone-based lubricant can be used to lubricate the mechanism if it is not functioning smoothly.
- Cord or String: If the cords or strings are damaged and need replacement, make sure to have a suitable replacement cord or string available.
- Step Stool or Ladder: Depending on the height of your blinds, you may need a step stool or ladder to reach them safely.
By gathering these tools in advance, you will be well-prepared to tackle the repair process efficiently. Now that you have all the necessary tools, let’s move on to the next step: removing the slats.
Step 3: Removing the Slats
Now that you have assessed the problem and gathered the necessary tools, it’s time to start the repair process by removing the damaged slats. Follow these steps:
- Open the Blinds: Use the control mechanism to open the blinds fully, exposing all the slats.
- Identify the Broken Slats: Locate the slats that need to be replaced based on your assessment in step 1.
- Remove the Hold-Down Brackets: Some blinds have hold-down brackets at the bottom. Remove them by lifting the catch or releasing the small tab.
- Separate the Slats: Gently separate the damaged slats from the rest. You may need to unhook or release the slats from the carrier clips or chains.
- Remove the Broken Slats: Once the slats are separated, carefully remove the broken slats from the carrier clips or chains by sliding them out.
Continue removing the rest of the broken slats following these steps. If necessary, take note of the order in which the slats are removed to ensure correct reinstallation later on. Once all the broken slats are removed, proceed to the next step: replacing the broken slats.
Step 4: Replacing Broken Slats
Now that you have removed the broken slats, it’s time to replace them with new ones. Follow these steps to replace the broken slats:
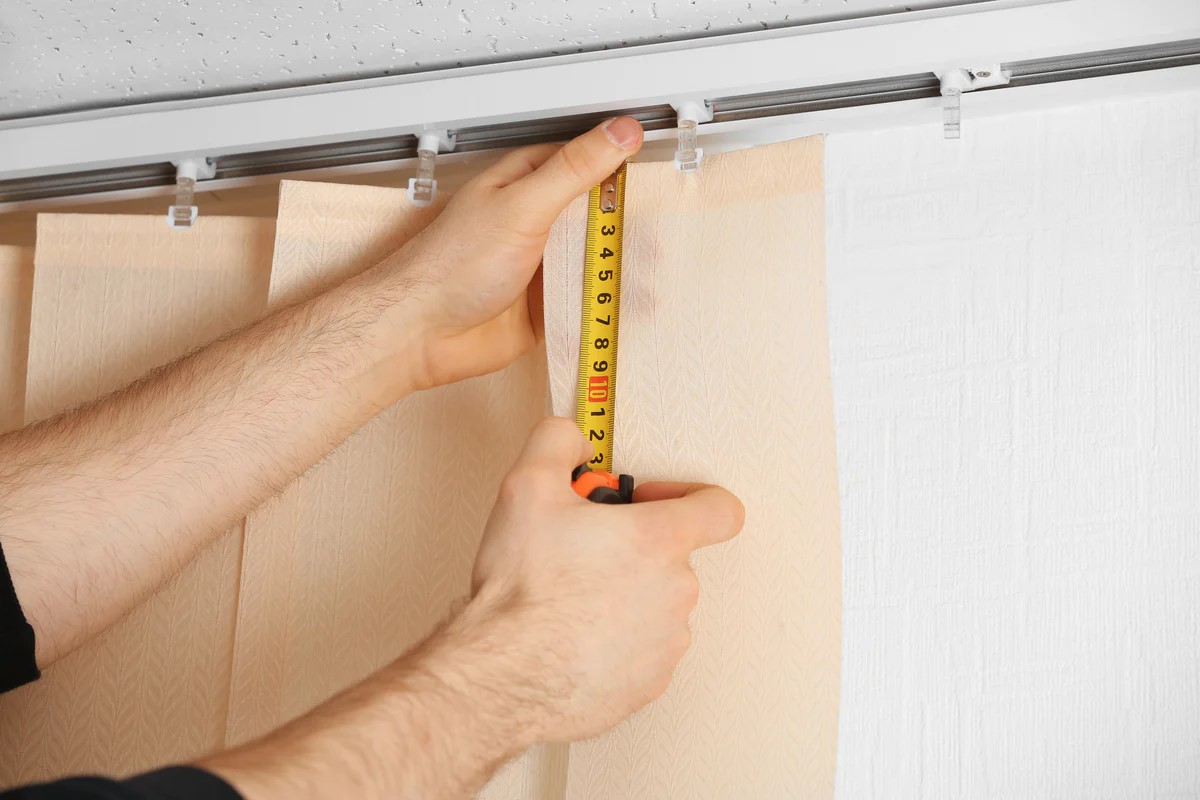
- Measure and Cut: If the replacement slats are longer than the existing ones, use a tape measure to measure the correct length. Trim the replacement slat to the required size using scissors.
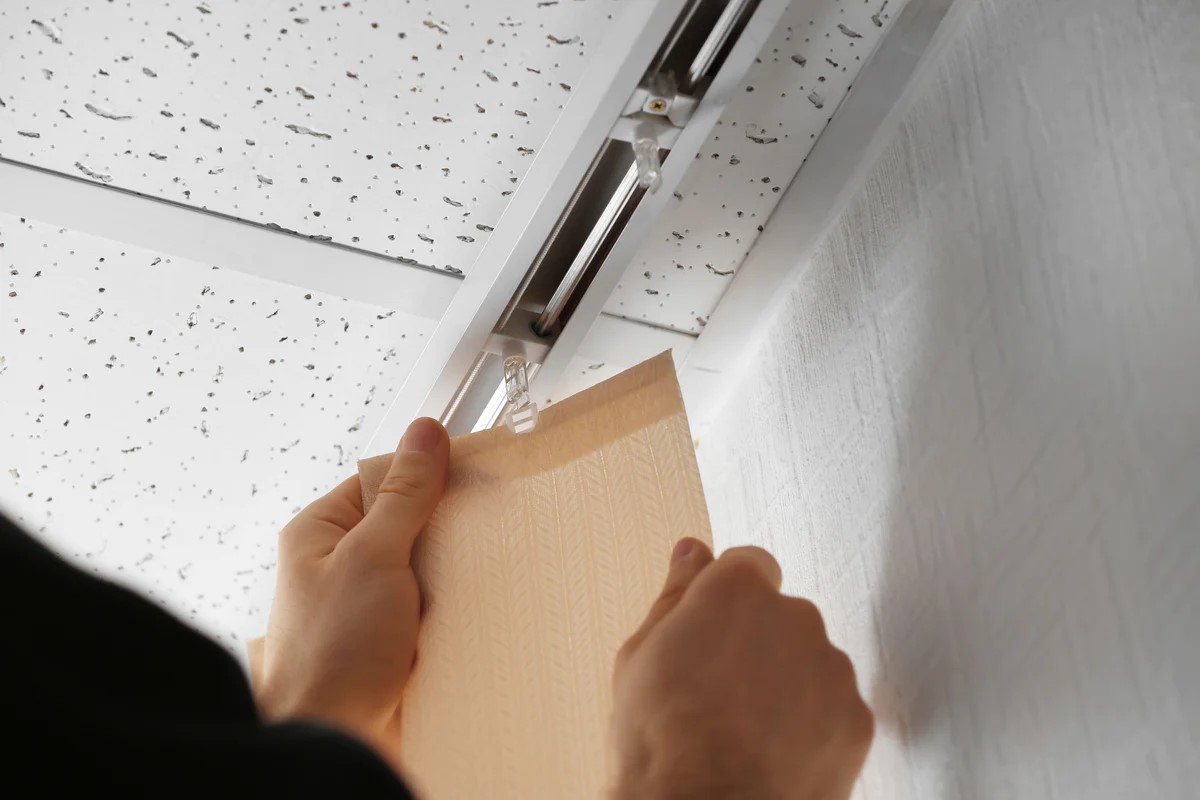
- Insert the Replacement Slats: Slide the trimmed replacement slats into the carrier clips or chains, making sure they are hooked or securely in place.
- Ensure Proper Alignment: Check that the replacement slats are aligning properly with the remaining slats. Adjust their position if necessary.
- Reinstall Hold-Down Brackets: If you removed hold-down brackets in Step 3, reinstall them by aligning and securing them back into place.
Continue replacing all the broken slats in this manner until they are all successfully replaced. Once all the replacement slats are in position, move on to the next step: adjusting the tension.
When repairing vertical window blinds, start by checking the control mechanism and ensuring all slats are properly aligned. If the blinds are still not functioning, inspect the individual slats for damage and replace as needed.
Step 5: Adjusting the Tension
Proper tension is crucial for the smooth operation of your vertical window blinds. Follow these steps to adjust the tension:
- Inspect the Tension Device: Locate the tension device, usually located on the headrail of the blinds. It may be a screw, lever, or other mechanism.
- Loosen or Tighten: Use the appropriate tool, such as a screwdriver or pliers, to adjust the tension. Turning the screw or moving the lever clockwise will tighten the tension, while turning it counterclockwise will loosen it.
- Test the Tension: After making adjustments, test the tension by gently opening and closing the blinds. Ensure that they move smoothly and without any resistance.
- Repeat if Necessary: If the tension is not to your satisfaction, make further adjustments by repeating the previous steps.
Take your time to achieve the desired tension level. Once you are satisfied with the tension, move on to the next step: reinstalling the slats.
Step 6: Reinstalling the Slats
With the broken slats replaced and the tension adjusted, it’s time to reinstall the slats. Follow these steps to reinstall the slats:
- Arrange the Slats: Arrange the remaining slats in the correct order if you took note of their original placement during the removal process. Ensure they are properly aligned.
- Hook the Slats: Starting from the top, hook each slat onto the carrier clips or chains one by one. Slide them through until they are securely in place.
- Ensure Proper Alignment: Check that the slats are evenly spaced and aligned. Adjust their positions if necessary.
- Reinstall Hold-Down Brackets: If you removed hold-down brackets, reinstall them by aligning and securing them back into place at the bottom of the slats.
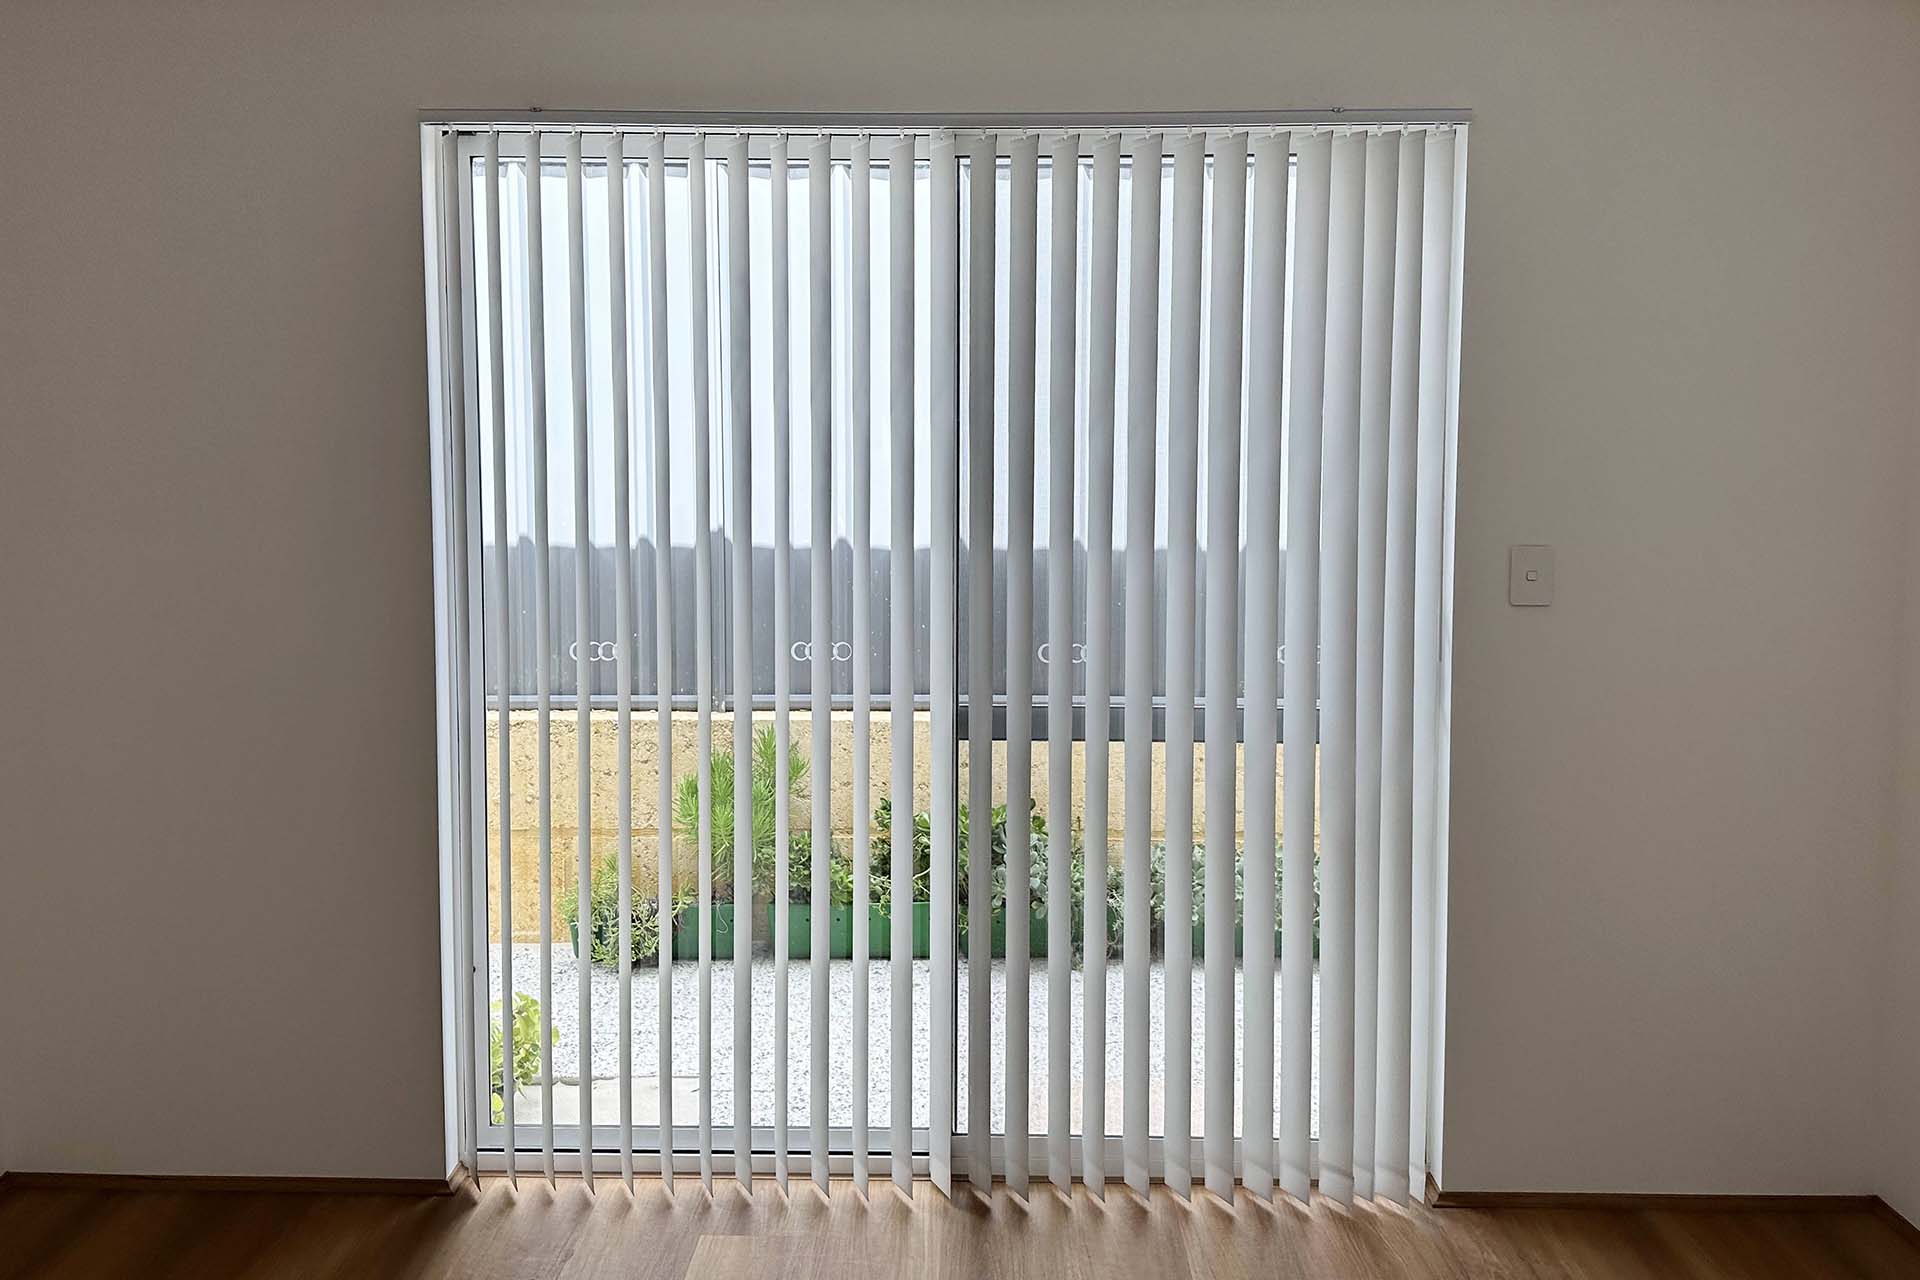
Continue reinstalling all the slats until they are all back in their proper positions. Take a moment to ensure that the slats are aligned and hanging evenly. Now that the slats are reinstalled, move on to the final step: testing the repaired vertical window blinds.
Step 7: Testing the Repaired Vertical Window Blinds
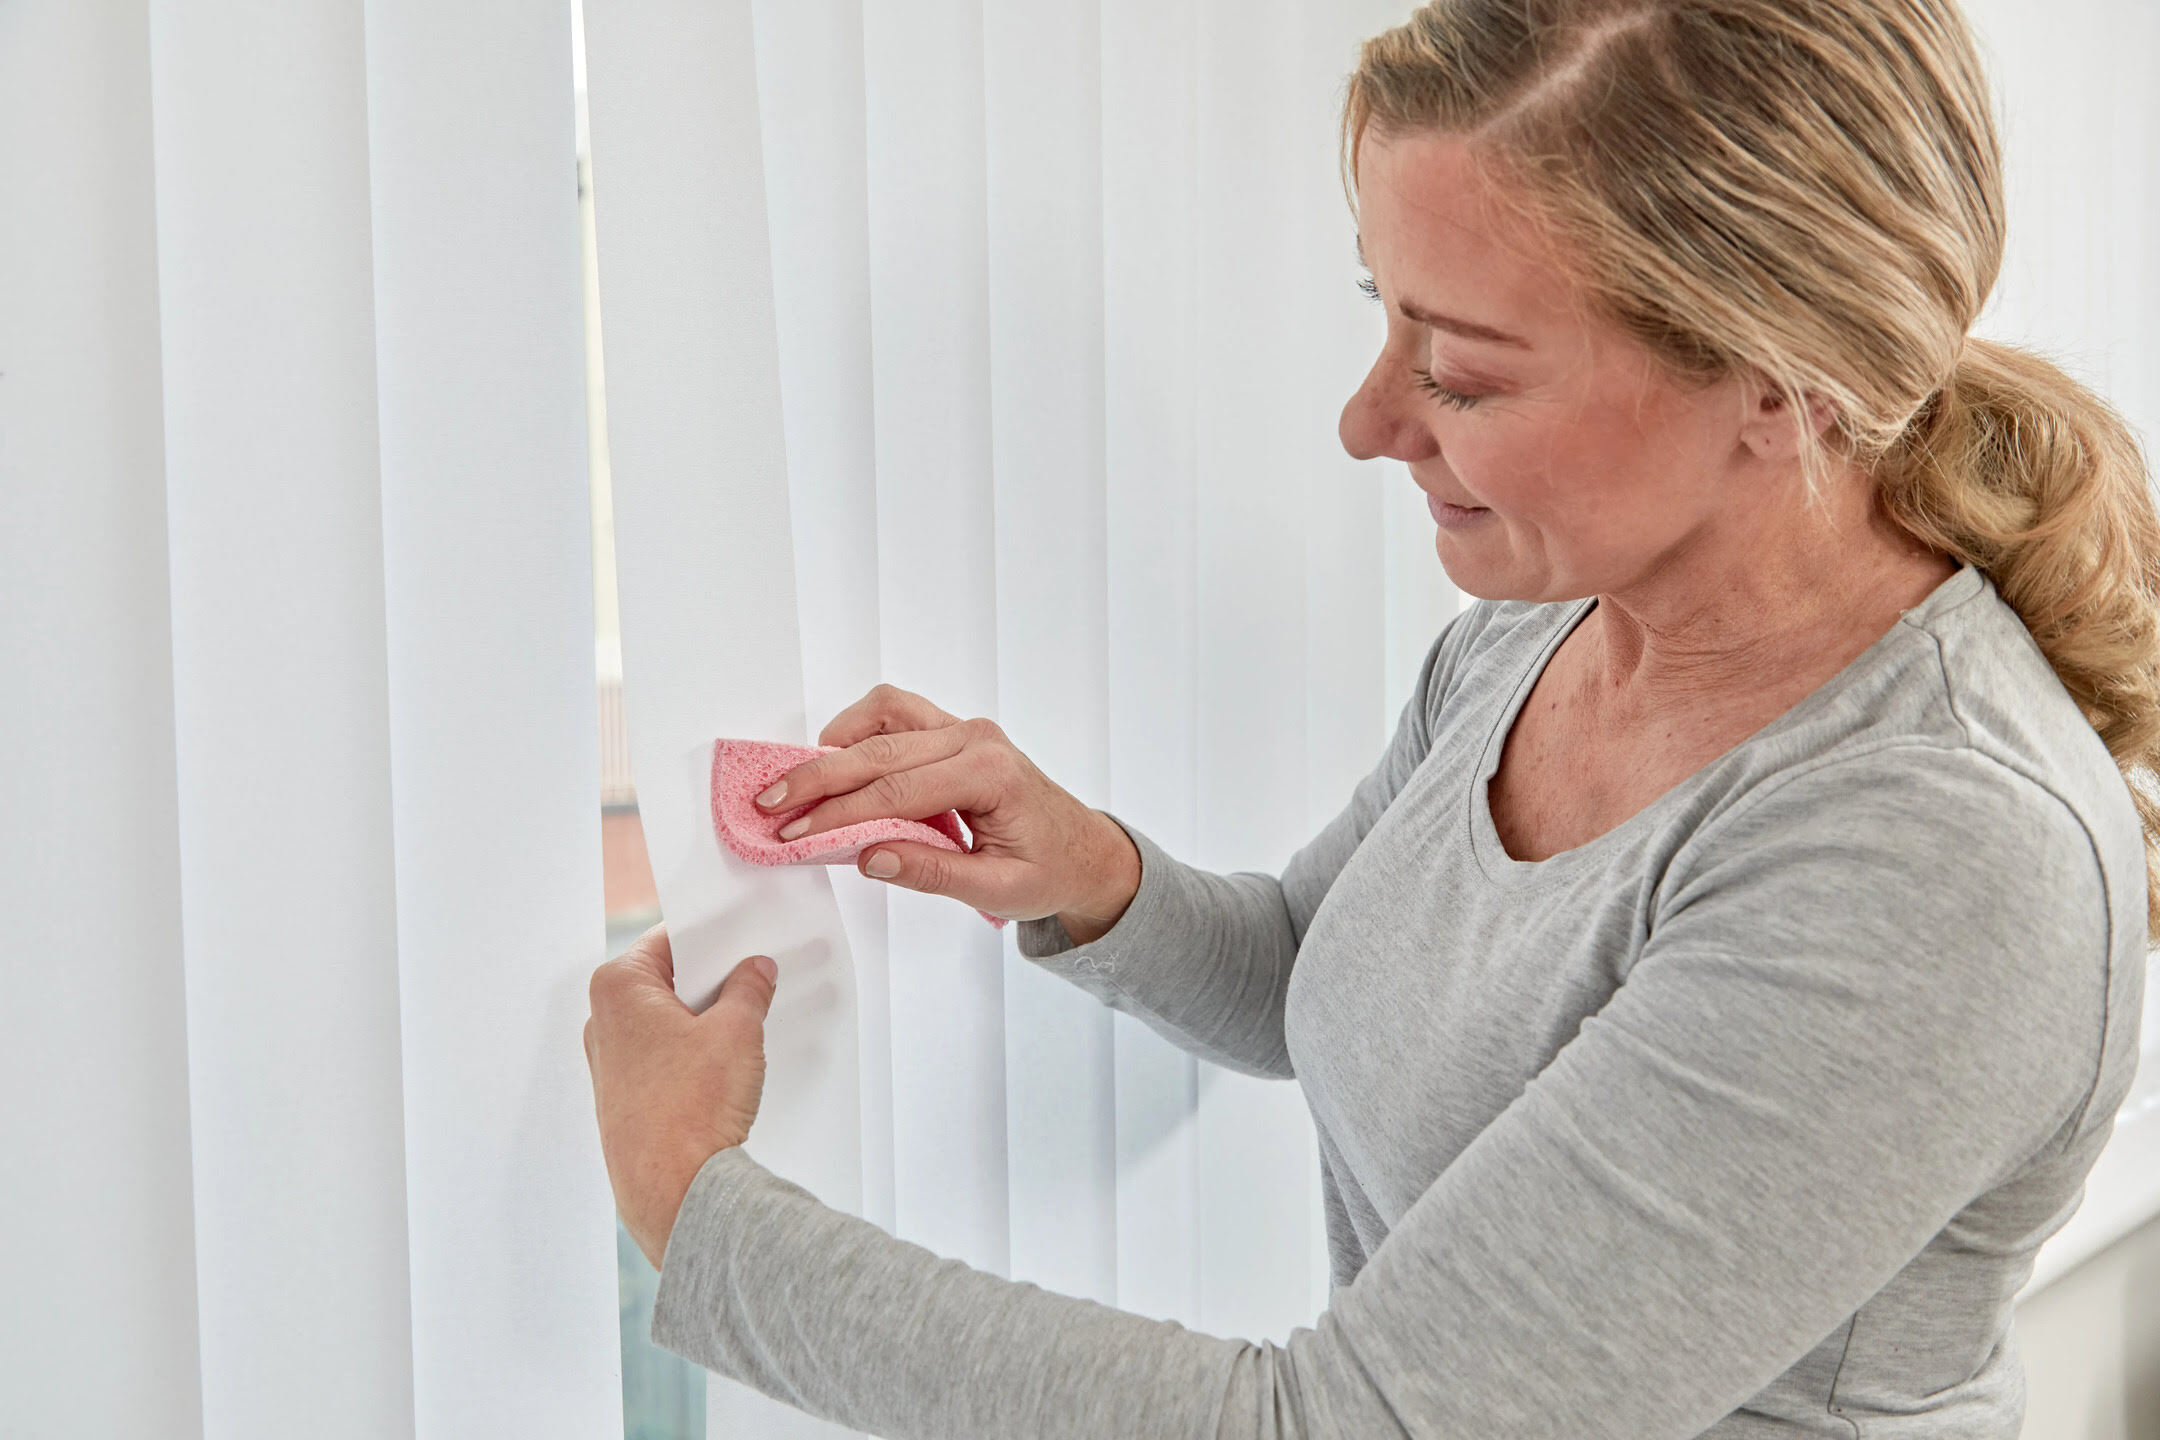
After completing the repair process, it’s important to test the functionality of your vertical window blinds to ensure they are working properly. Follow these steps to test the repaired blinds:
- Open and Close: Use the control mechanism to open and close the blinds. Pay attention to the smoothness of the movement and ensure that all slats are opening and closing properly.
- Check Cord Operation: If you had any issues with tangled cords or damaged strings, check that they are operating smoothly now. Make sure they are not getting stuck or tangled during operation.
- Inspect Mechanism: Test the mechanism that controls the blinds. Look for any signs of jamming, excessive force needed, or inconsistent movement.
- Ensure Even Positioning: Check that the blinds are hanging evenly and aligning properly when opened or closed. Adjust the slats if needed.
If you notice any issues during the testing process, double-check the previous steps to ensure that everything is properly installed and adjusted. If the problem persists, consult a professional for further assistance.
By following these steps, you should be able to successfully repair your vertical window blinds and bring them back to optimal functionality. Not only will this save you money on new blinds, but it will also give you the satisfaction of accomplishing a DIY project. Enjoy your beautifully repaired window blinds!
Conclusion
Repairing vertical window blinds doesn’t have to be a daunting task. By following the step-by-step guide outlined in this article, you can successfully address common issues such as broken slats, tangled cords, and malfunctioning mechanisms. Not only will this save you money, but it will also extend the lifespan of your blinds.
Remember, before starting any repair process, it’s important to assess the problem and gather the necessary tools. Take your time to carefully remove the damaged slats and replace them with new ones. Adjusting the tension ensures smooth operation, and reinstalling the slats in the correct order ensures an even appearance.
Finally, the most important step is to thoroughly test the repaired vertical window blinds. Open and close them, check the cord operation, inspect the mechanism, and ensure even positioning. This will ensure that the blinds are functioning properly and meet your expectations.
If you encounter any challenges during the repair process or feel uncomfortable with certain tasks, don’t hesitate to seek professional assistance. Sometimes, complex issues require the expertise of a trained technician.
By taking the time to repair your vertical window blinds, you can maintain the privacy, style, and functionality they provide. So, grab your tools and get started on restoring your window blinds to their former glory. Enjoy the satisfaction of a DIY project and the beautiful results it brings!
Frequently Asked Questions about How To Repair Vertical Window Blinds
Was this page helpful?
At Storables.com, we guarantee accurate and reliable information. Our content, validated by Expert Board Contributors, is crafted following stringent Editorial Policies. We're committed to providing you with well-researched, expert-backed insights for all your informational needs.