Articles
How To Put Blinds On A Window
Modified: September 1, 2024
Learn how to put blinds on a window with our step-by-step articles. Discover the easiest and most effective methods for installing blinds yourself.
(Many of the links in this article redirect to a specific reviewed product. Your purchase of these products through affiliate links helps to generate commission for Storables.com, at no extra cost. Learn more)
Introduction
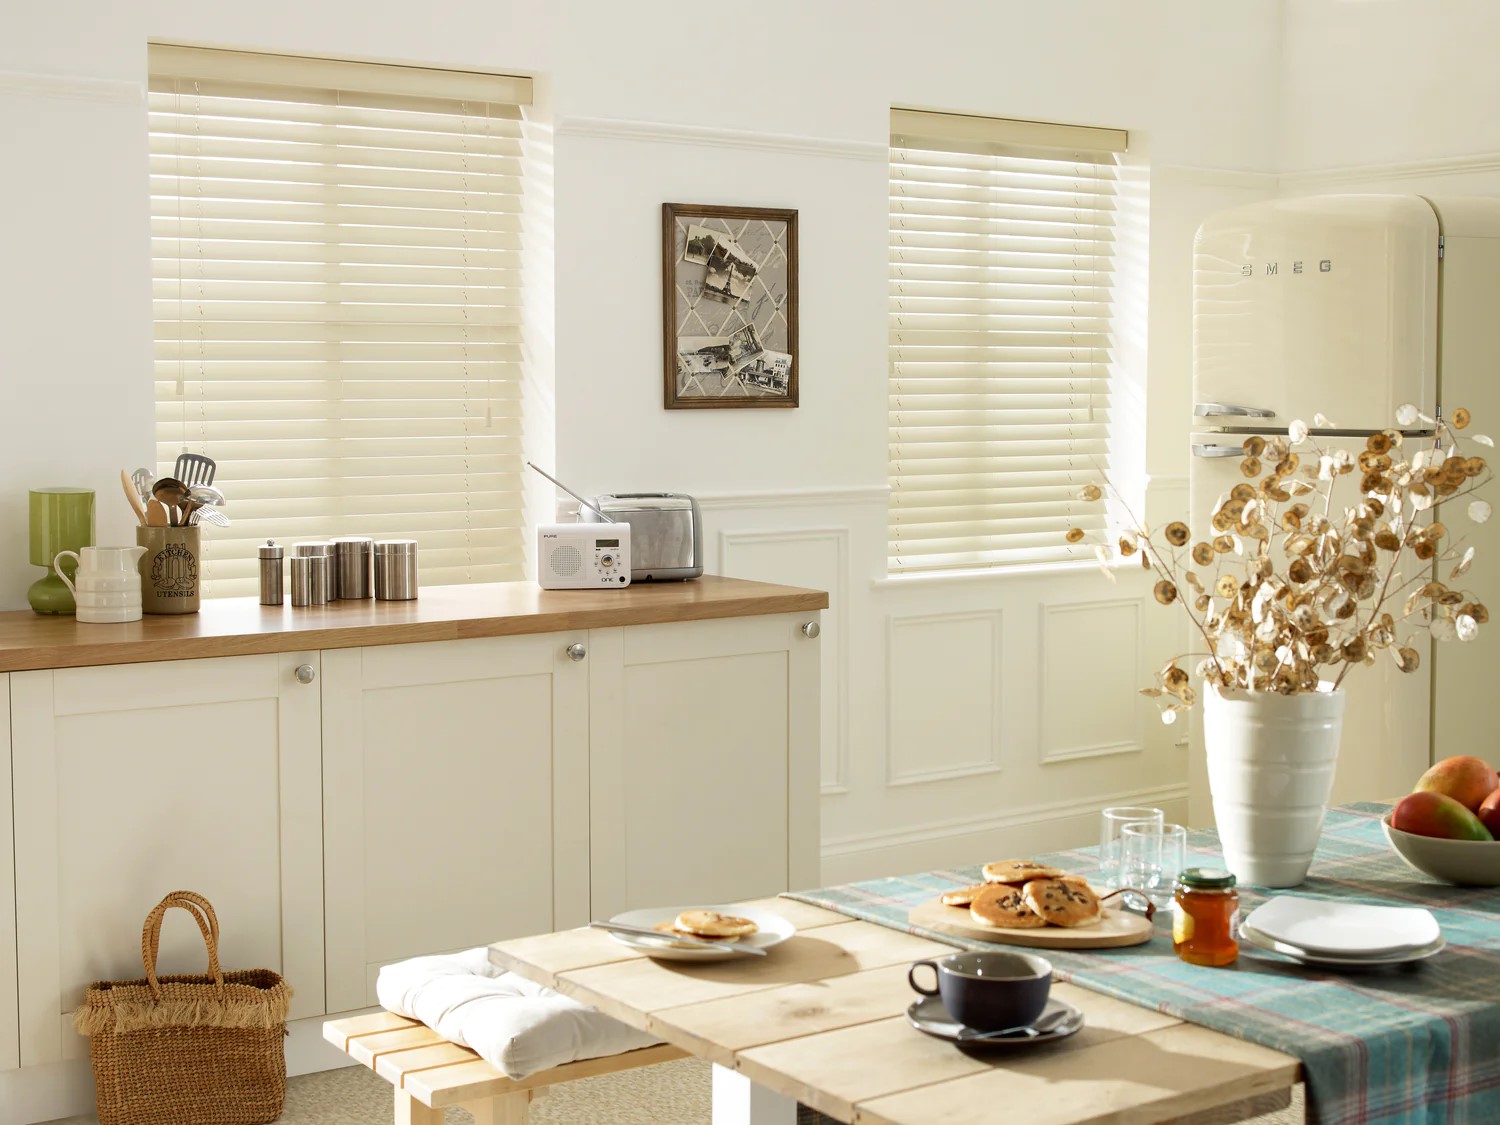
Adding blinds to your windows is a great way to enhance privacy, control natural light, and add a touch of style to your home or office. Whether you’re a seasoned DIY enthusiast or a beginner looking to tackle a new project, installing blinds on a window is a relatively straightforward process that can be accomplished with a few basic tools and materials.
In this article, we will guide you through the step-by-step process of putting blinds on a window. We’ll cover everything from measuring the window and selecting the right blinds to installing the brackets, mounting the blinds, and making final adjustments. So let’s get started!
Key Takeaways:
- Installing blinds on a window is a straightforward DIY project that enhances privacy, controls natural light, and adds style. From measuring to mounting, follow the steps for a seamless and rewarding installation process.
- Choosing the right blinds is crucial for style, light control, privacy, and energy efficiency. Take time to research and explore options before installing to maximize the benefits for your space.
Read more: How To Put Plastic On Windows With Blinds
Step 1: Gather the necessary tools and materials
Before you begin installing blinds on your window, it’s important to make sure you have all the necessary tools and materials handy. Here’s a list of items you’ll need:
- Measuring tape
- Pencil or marker
- Screwdriver (flathead or Phillips, depending on the screws)
- Level (optional, but useful for ensuring your blinds are straight)
- Blinds (make sure they are the correct size for your window)
- Mounting brackets (usually included with the blinds)
- Screws and anchors (if not included with the blinds)
- Step ladder (if necessary, to reach high windows)
Having these tools and materials ready beforehand will help streamline the installation process and ensure you have everything you need at hand.
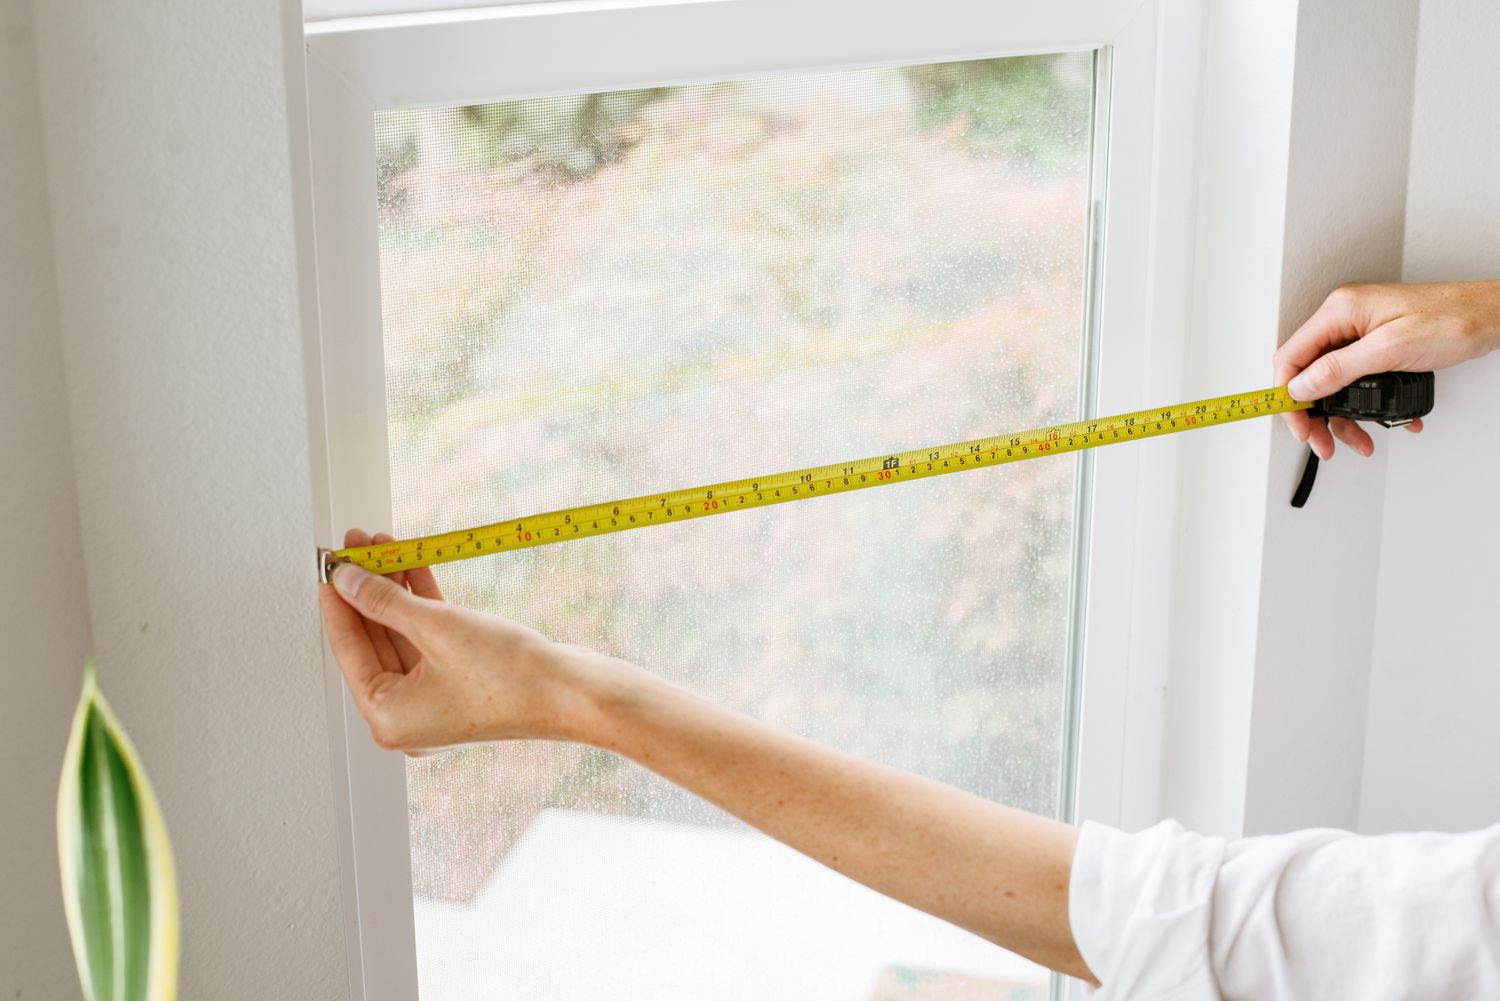
Step 2: Measure the window
Accurate measurements are essential to ensure that your blinds fit properly on your window. Here’s how to measure your window:
- Start by measuring the width of the window frame. Measure from the inside edge of the left frame to the inside edge of the right frame. Note down this measurement.
- Next, measure the height of the window frame. Measure from the top inside edge of the frame to the bottom inside edge of the frame. Note down this measurement as well.
- If you plan to mount the blinds outside the window frame, add a few inches on each side and the top to get the final width and height measurements. This will ensure that the blinds cover the entire window and provide maximum privacy and light control.
Make sure to double-check your measurements to avoid any errors. It’s a good idea to measure twice to be sure. If there are any discrepancies in the measurements, go with the smallest measurement to ensure the blinds will fit properly.
Once you have your measurements, you’re ready to move on to the next step of selecting the right blinds for your window.
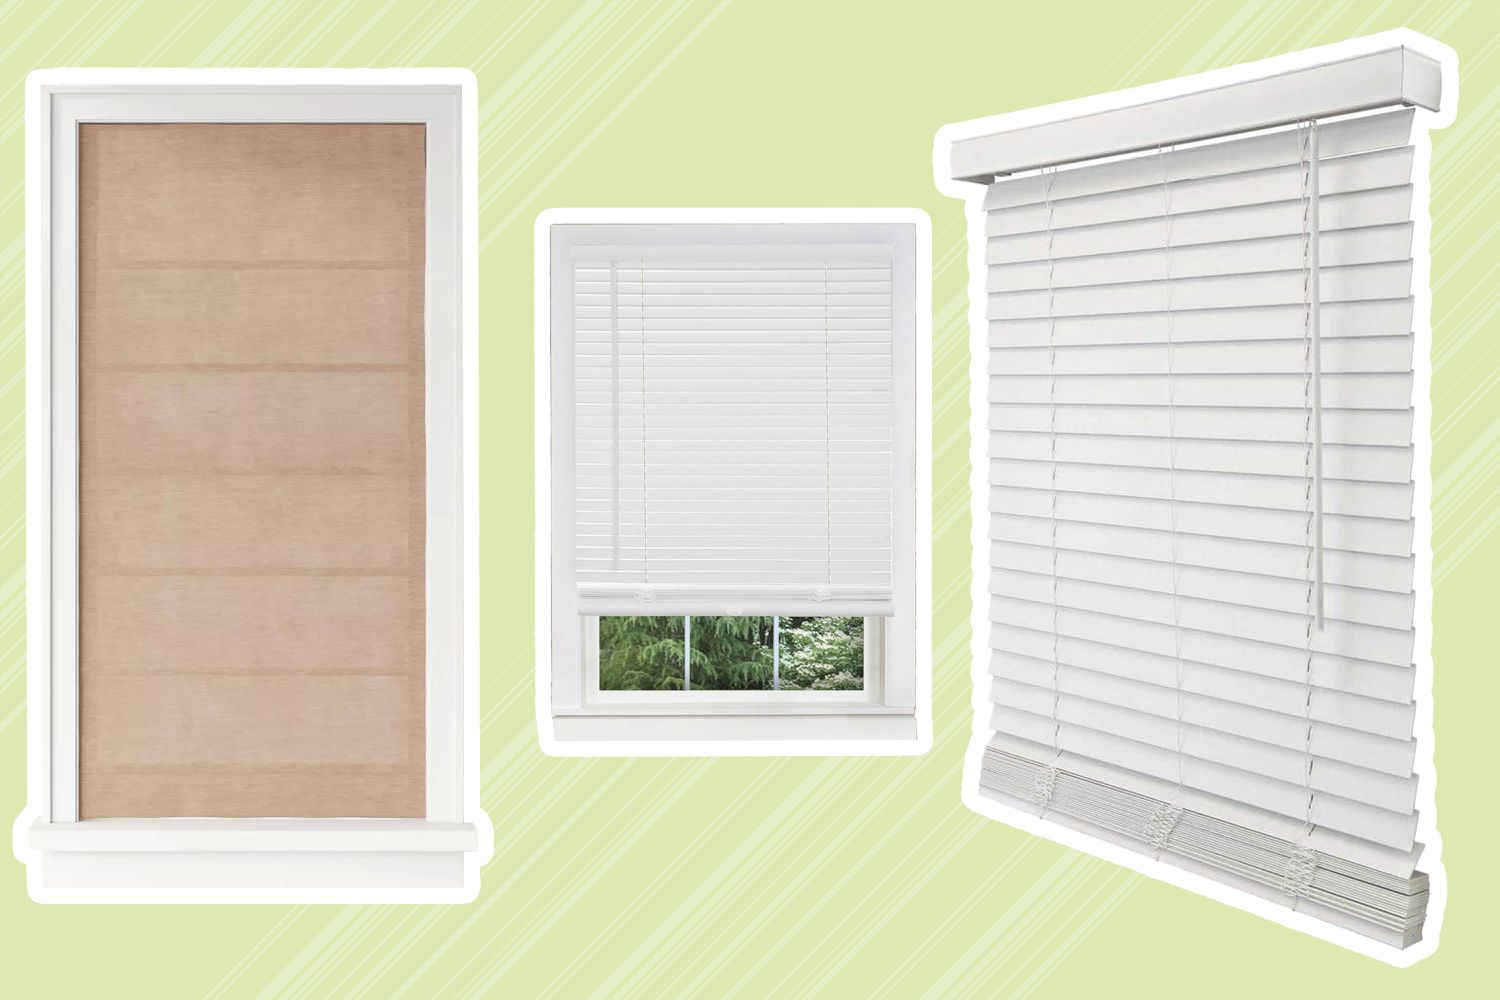
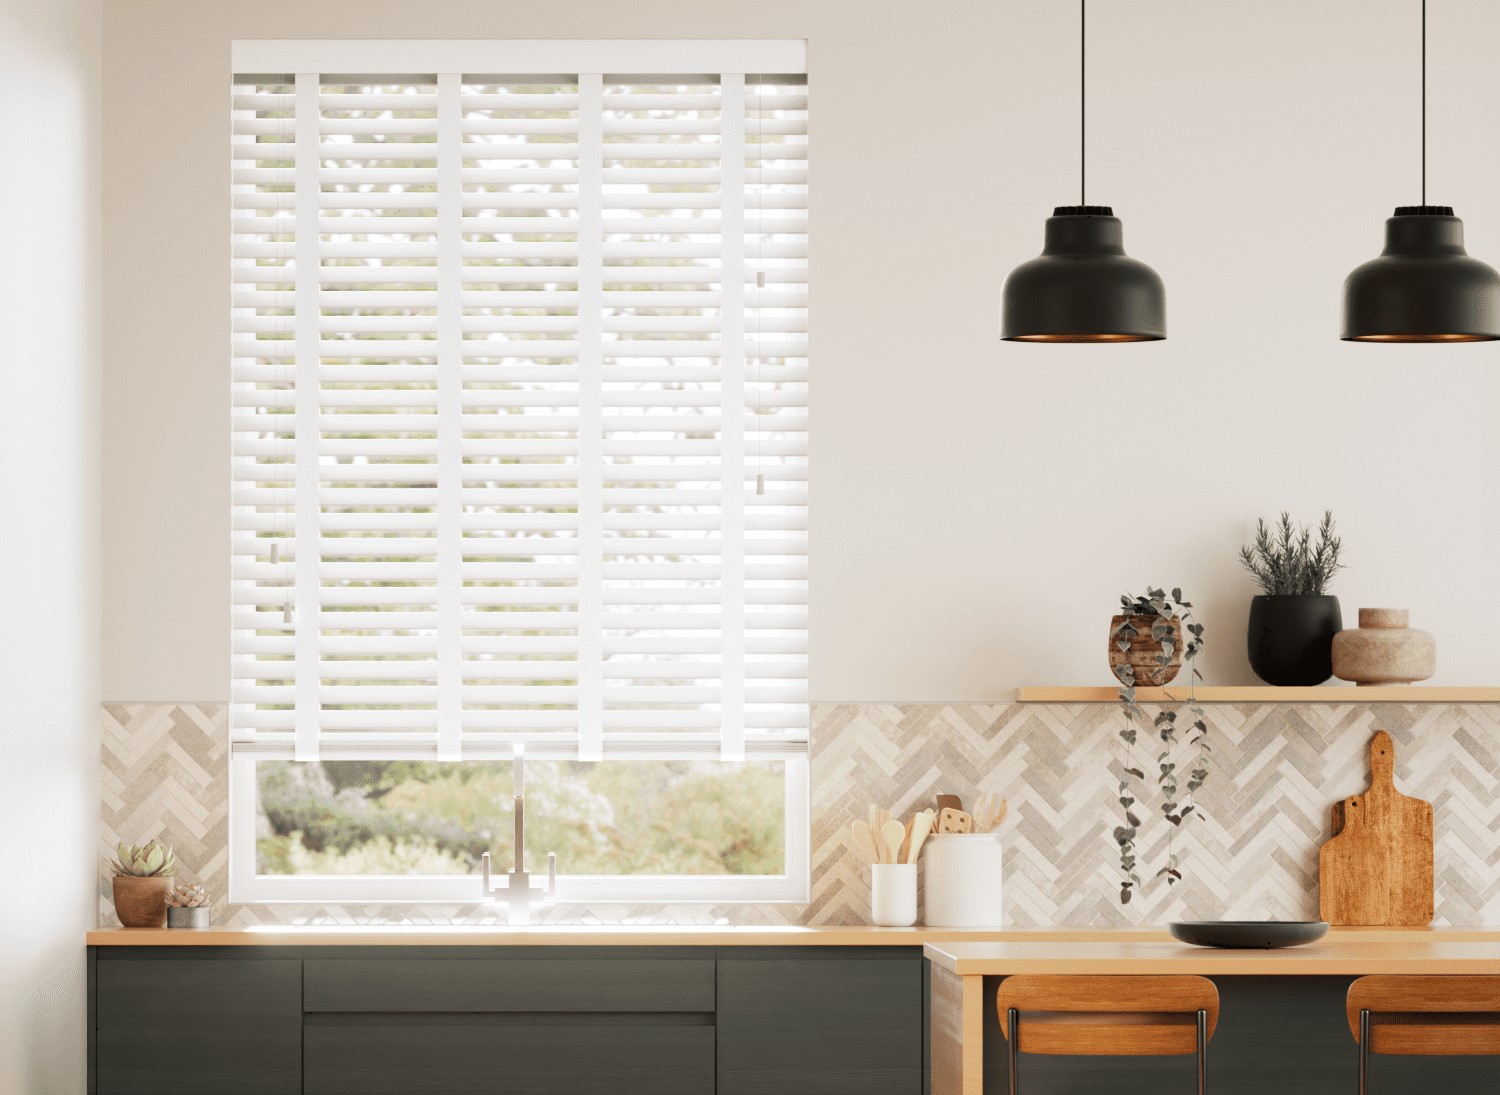
Step 3: Choose the right blinds
When it comes to blinds, there are a variety of options to choose from. Consider the following factors to help you select the right blinds for your window:
- Style: Blinds come in various styles such as Venetian blinds, roller blinds, vertical blinds, and cellular shades. Choose a style that complements the overall aesthetic of your space.
- Material: Blinds can be made from materials like wood, aluminum, faux wood, or fabric. Consider the durability, maintenance requirements, and visual appeal of different materials.
- Light control: Decide how much light control you desire. Certain blinds offer better light-blocking properties, while others allow for more natural light to filter through.
- Privacy: Consider the level of privacy you want. Some blinds offer better privacy by completely blocking the view from outside.
- Energy efficiency: If energy efficiency is a priority, look for blinds with insulating properties that can help regulate temperature and reduce energy consumption.
Additionally, consider your budget and any specific requirements you may have, such as child safety features or motorized blinds. Take your time to research and explore the options available before making a decision.
Once you have chosen the blinds that best suit your needs and preferences, you’re ready to move on to the next step of the installation process.
Step 4: Install the brackets
Now that you have gathered the tools, measured the window, and selected the right blinds, it’s time to install the brackets. The brackets are what hold the blinds in place on the window frame or wall. Here’s how to install them:
- Position the first bracket on one side of the window frame or wall, following the manufacturer’s instructions. Use a level to ensure it is perfectly straight.
- Mark the screw holes with a pencil or marker.
- Using a screwdriver, attach the bracket to the frame or wall using the provided screws. If the screw holes do not line up with a stud, use anchors for added stability.
- Repeat the process for the second bracket on the opposite side of the window.
Make sure the brackets are aligned and level with each other to ensure the blinds will hang straight.
If you are installing blinds with multiple brackets, such as for larger window treatments, be sure to space them evenly apart according to the manufacturer’s guidelines.
Once the brackets are securely installed, you’re ready to move on to the next step of mounting the blinds.
When installing blinds on a window, make sure to measure the width accurately and use a level to ensure they are straight. Also, always follow the manufacturer’s instructions for installation.
Read more: How To Put Blinds In A Bay Window
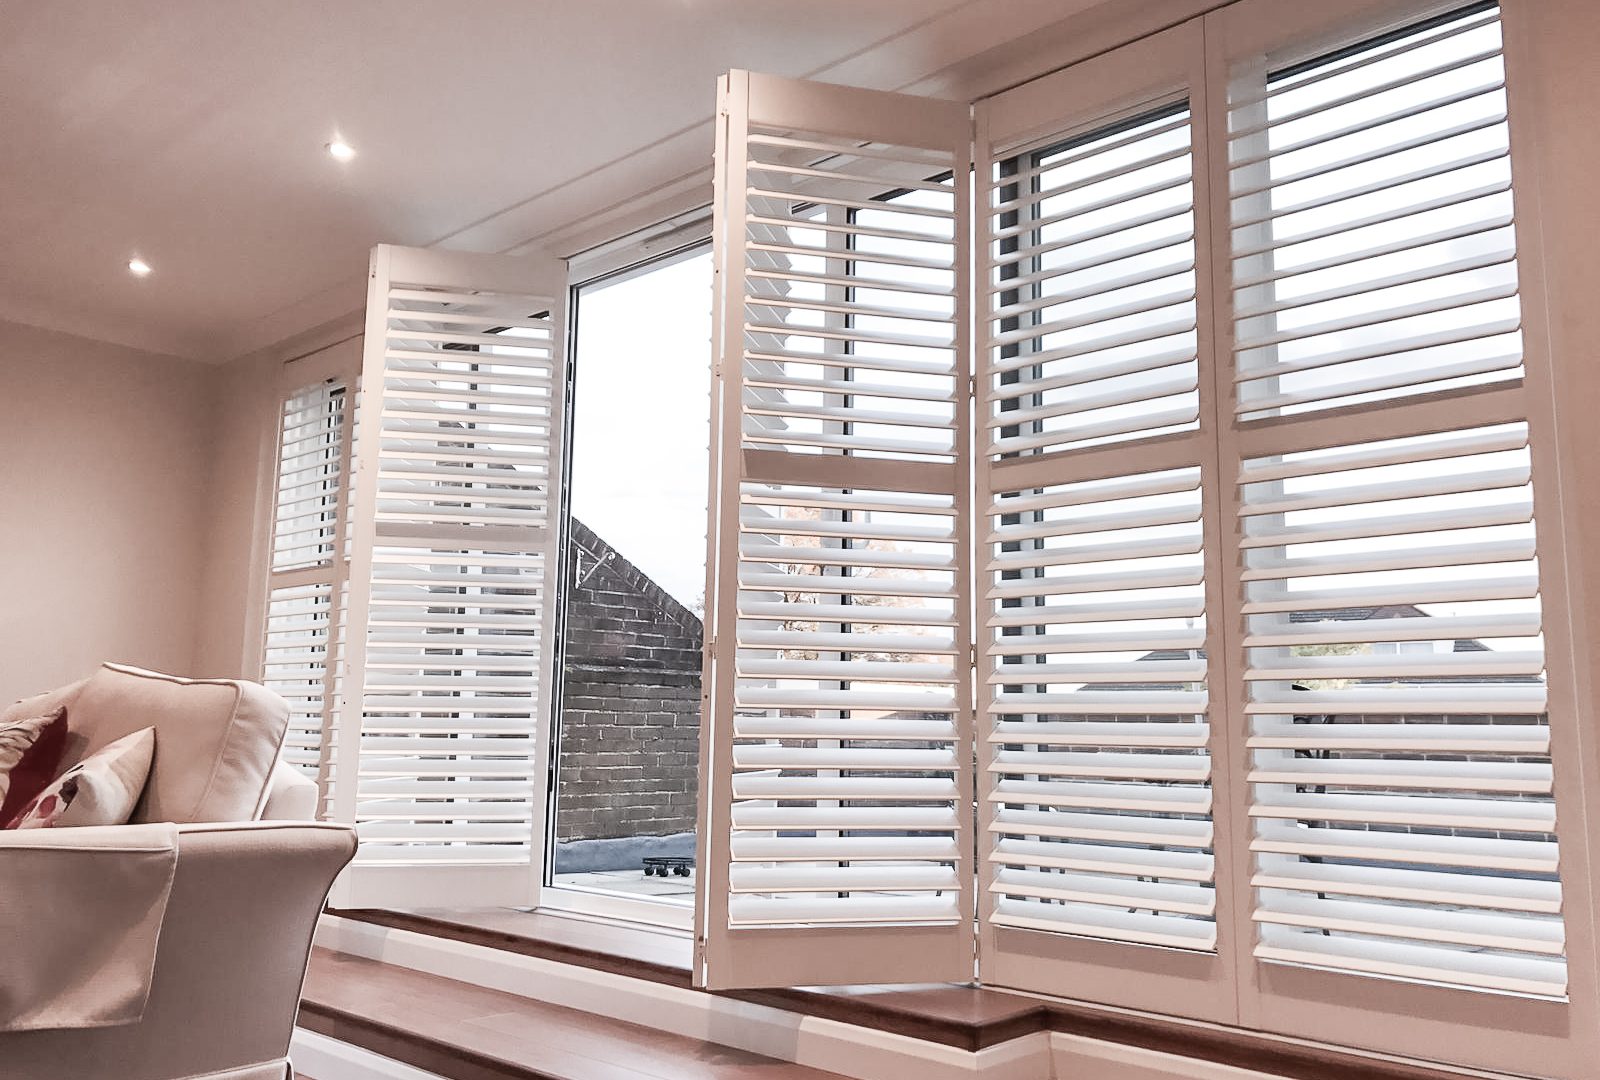
Step 5: Mount the blinds
With the brackets in place, it’s time to mount the blinds onto the window. Depending on the type of blinds you have chosen, the mounting process may vary. Here are the general steps to follow:
- Remove any packaging or protective coverings from the blinds.
- Hold the blinds at an angle, aligning the headrail with the installed brackets.
- Insert the front lip of the headrail into the brackets. You may need to apply a bit of pressure to securely snap it into place.
- Once the front of the headrail is secure, push the back of the headrail into the brackets until it clicks into position.
Ensure that the blinds are parallel to the window and that they hang evenly. If necessary, adjust the position of the brackets or the placement of the blinds to achieve a balanced appearance.
If you are installing corded blinds, make sure the cord is accessible and properly positioned for smooth operation.
Once the blinds are securely mounted, you’re ready to move on to the next step of adjusting them to the desired position.
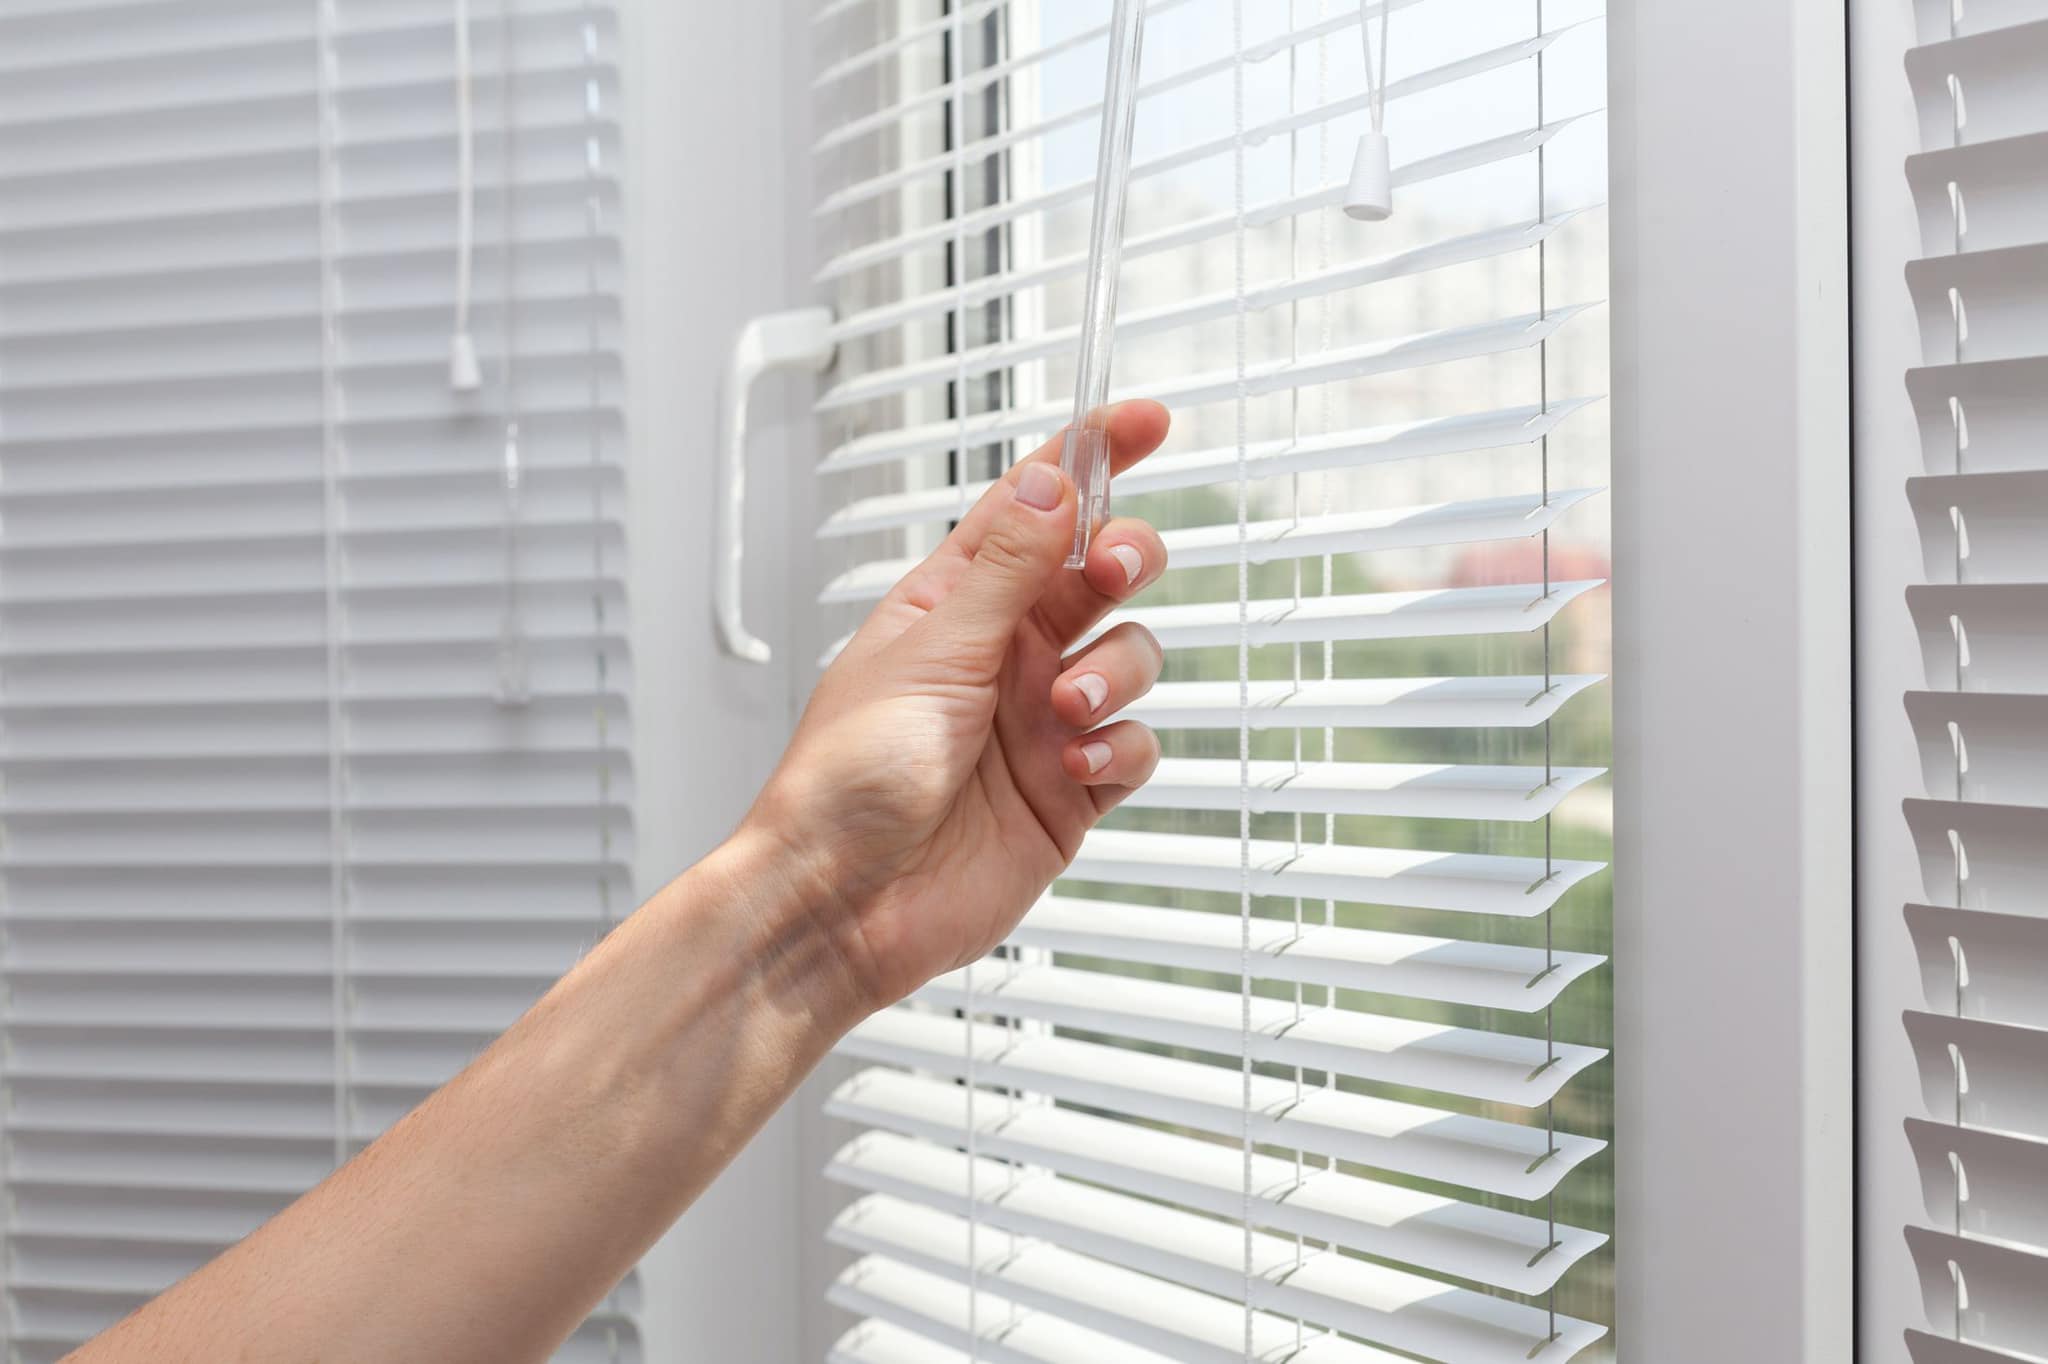
Step 6: Adjust the blinds
Now that the blinds are mounted, it’s time to adjust them to the desired position. Here’s how to do it:
- If you have horizontal blinds, use the tilt mechanism to adjust the angle of the slats. This allows you to control the amount of light and privacy you desire.
- For vertical blinds, you can adjust the vanes using the control chain or wand. Tilt them to the desired angle or pull the chain or wand to completely open or close the blinds.
- If your blinds have a cord or string, use it to raise or lower the blinds to the desired height. Make sure to pull the cord straight down and avoid pulling it at an angle to prevent any twisting or misalignment.
- For cordless blinds, simply use the bottom rail to raise or lower the blinds. Gently push up or pull down on the rail to adjust the position.
- Take your time to adjust the blinds until you achieve the desired amount of light, privacy, and aesthetic appeal for your space.
If any of the blinds are tilting unevenly or not operating smoothly, double-check the installation and make any necessary adjustments to the brackets or headrail.
Remember to handle the blinds with care and avoid forcing any adjustments. If you encounter any difficulties, consult the manufacturer’s instructions or seek professional assistance.
Once your blinds are properly adjusted, it’s time to move on to the final step of testing and making any necessary final adjustments.
Step 7: Test and make final adjustments
The final step in installing blinds on your window is to test their functionality and make any necessary final adjustments. It’s important to ensure that the blinds are operating smoothly and meeting your desired specifications. Here’s what you can do:
- Test the tilt mechanism: If you have horizontal blinds, test the tilt mechanism to make sure the slats are adjusting properly. Open and close the slats to ensure they move smoothly and evenly.
- Test the lifting mechanism: For blinds with a cord or string, test the lifting mechanism by raising and lowering the blinds. Pay attention to any resistance or uneven movement. If needed, adjust the cord tension or alignment of the blinds.
- Test the control chain or wand: If you have vertical blinds, test the control chain or wand to ensure the vanes are moving smoothly. Adjust the vanes to different angles and check for any obstructions or irregularities.
- Check for any gaps or misalignment: Inspect the blinds and the window frame to ensure there are no gaps or misalignment. Make any necessary adjustments to the brackets or the blinds themselves to ensure a proper fit.
- Make final aesthetic adjustments: Step back and take a look at the blinds as a whole. If you notice any visual imbalances or inconsistencies, make minor adjustments to ensure a cohesive and aesthetically pleasing appearance.
By thoroughly testing and making any final adjustments, you can ensure that your blinds are functioning properly and enhance the overall look of your window.
Congratulations! You have successfully installed blinds on your window. Now sit back, relax, and enjoy the enhanced privacy and controlled natural light in your space.
Conclusion
Installing blinds on a window is a rewarding project that can transform both the functionality and aesthetics of your space. By following the step-by-step process outlined in this article, you can successfully put blinds on your window with ease.
From gathering the necessary tools and materials to measuring the window, choosing the right blinds, installing the brackets, mounting the blinds, adjusting them, and making final adjustments, each step is crucial in ensuring a seamless installation process.
Remember to take your time, double-check your measurements, and follow the manufacturer’s instructions for your specific blinds. Whether you’re looking to maximize privacy, control natural light, or add a touch of style to your home or office, blinds offer a practical and customizable solution.
With the right blinds installed, you can enjoy the benefits of increased privacy, adjustable light control, and an enhanced aesthetic appeal. Take pride in your DIY accomplishment and relish in the improved functionality and ambiance of your space.
So go ahead and put your blinds on the window, and let them elevate your living or working environment to new heights of comfort and style!
Frequently Asked Questions about How To Put Blinds On A Window
Was this page helpful?
At Storables.com, we guarantee accurate and reliable information. Our content, validated by Expert Board Contributors, is crafted following stringent Editorial Policies. We're committed to providing you with well-researched, expert-backed insights for all your informational needs.