Home>Home Security and Surveillance>How To Adjust Motion Detector Light Switch

Home Security and Surveillance
How To Adjust Motion Detector Light Switch
Modified: March 6, 2024
Learn how to adjust your motion detector light switch for improved home security and surveillance. Find step-by-step instructions and tips
(Many of the links in this article redirect to a specific reviewed product. Your purchase of these products through affiliate links helps to generate commission for Storables.com, at no extra cost. Learn more)
Introduction
Welcome to our comprehensive guide on how to adjust motion detector light switches. Motion detector light switches are a popular and effective way to enhance home security and provide convenient outdoor lighting. These devices automatically turn on the lights when they detect motion, providing added safety and deterrence against intruders.
Understanding how to adjust these motion detector light switches is essential to ensure they are functioning optimally. By customizing the sensitivity, duration, and range settings, you can tailor the lighting system to your specific needs and preferences. In this article, we will walk you through the step-by-step process of adjusting a motion detector light switch, providing you with the knowledge and confidence to make the necessary adjustments on your own.
Before we dive into the specifics, it’s important to note that each motion detector light switch may have slightly different settings and features. Always refer to the manufacturer’s instructions for your particular model to ensure proper adjustment procedures. With that said, we will outline a general process that should be applicable to most motion detector light switches.
So, if you’re ready to take control of your home’s security and lighting system, let’s get started with understanding motion detector light switches and the tools and materials you’ll need for the adjustment process.
Key Takeaways:
- Takeaway 1: Adjusting motion detector light switches allows you to customize sensitivity, duration, and range for enhanced security and convenience, providing automated lighting that responds to your movements.
- Takeaway 2: Prioritize safety by turning off power, using protective gear, and consulting a professional if unsure. Regular maintenance ensures continued performance of your motion detector light switch.
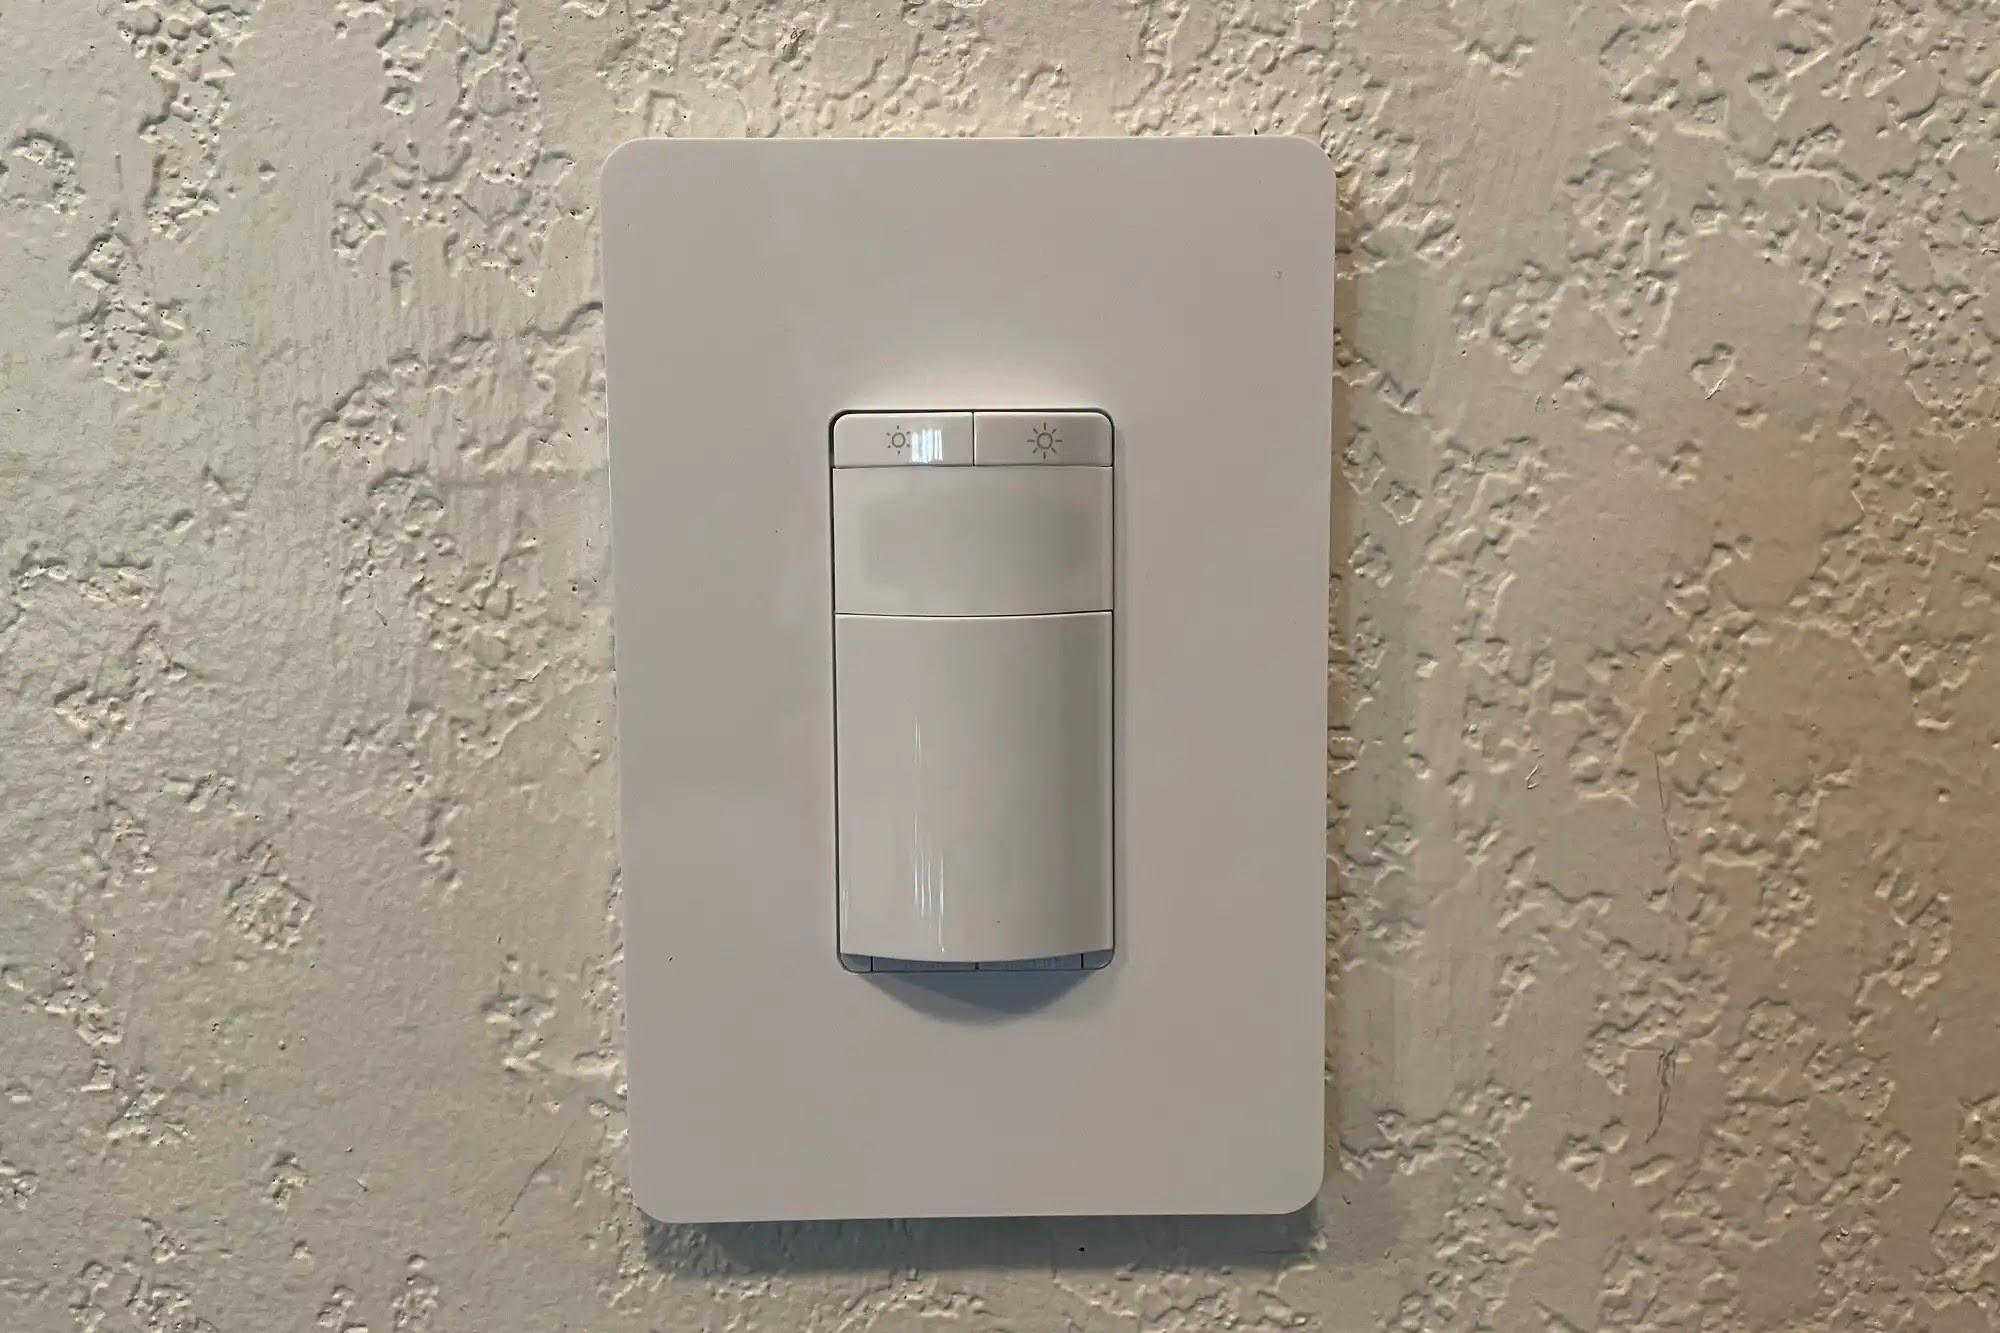
Understanding Motion Detector Light Switches
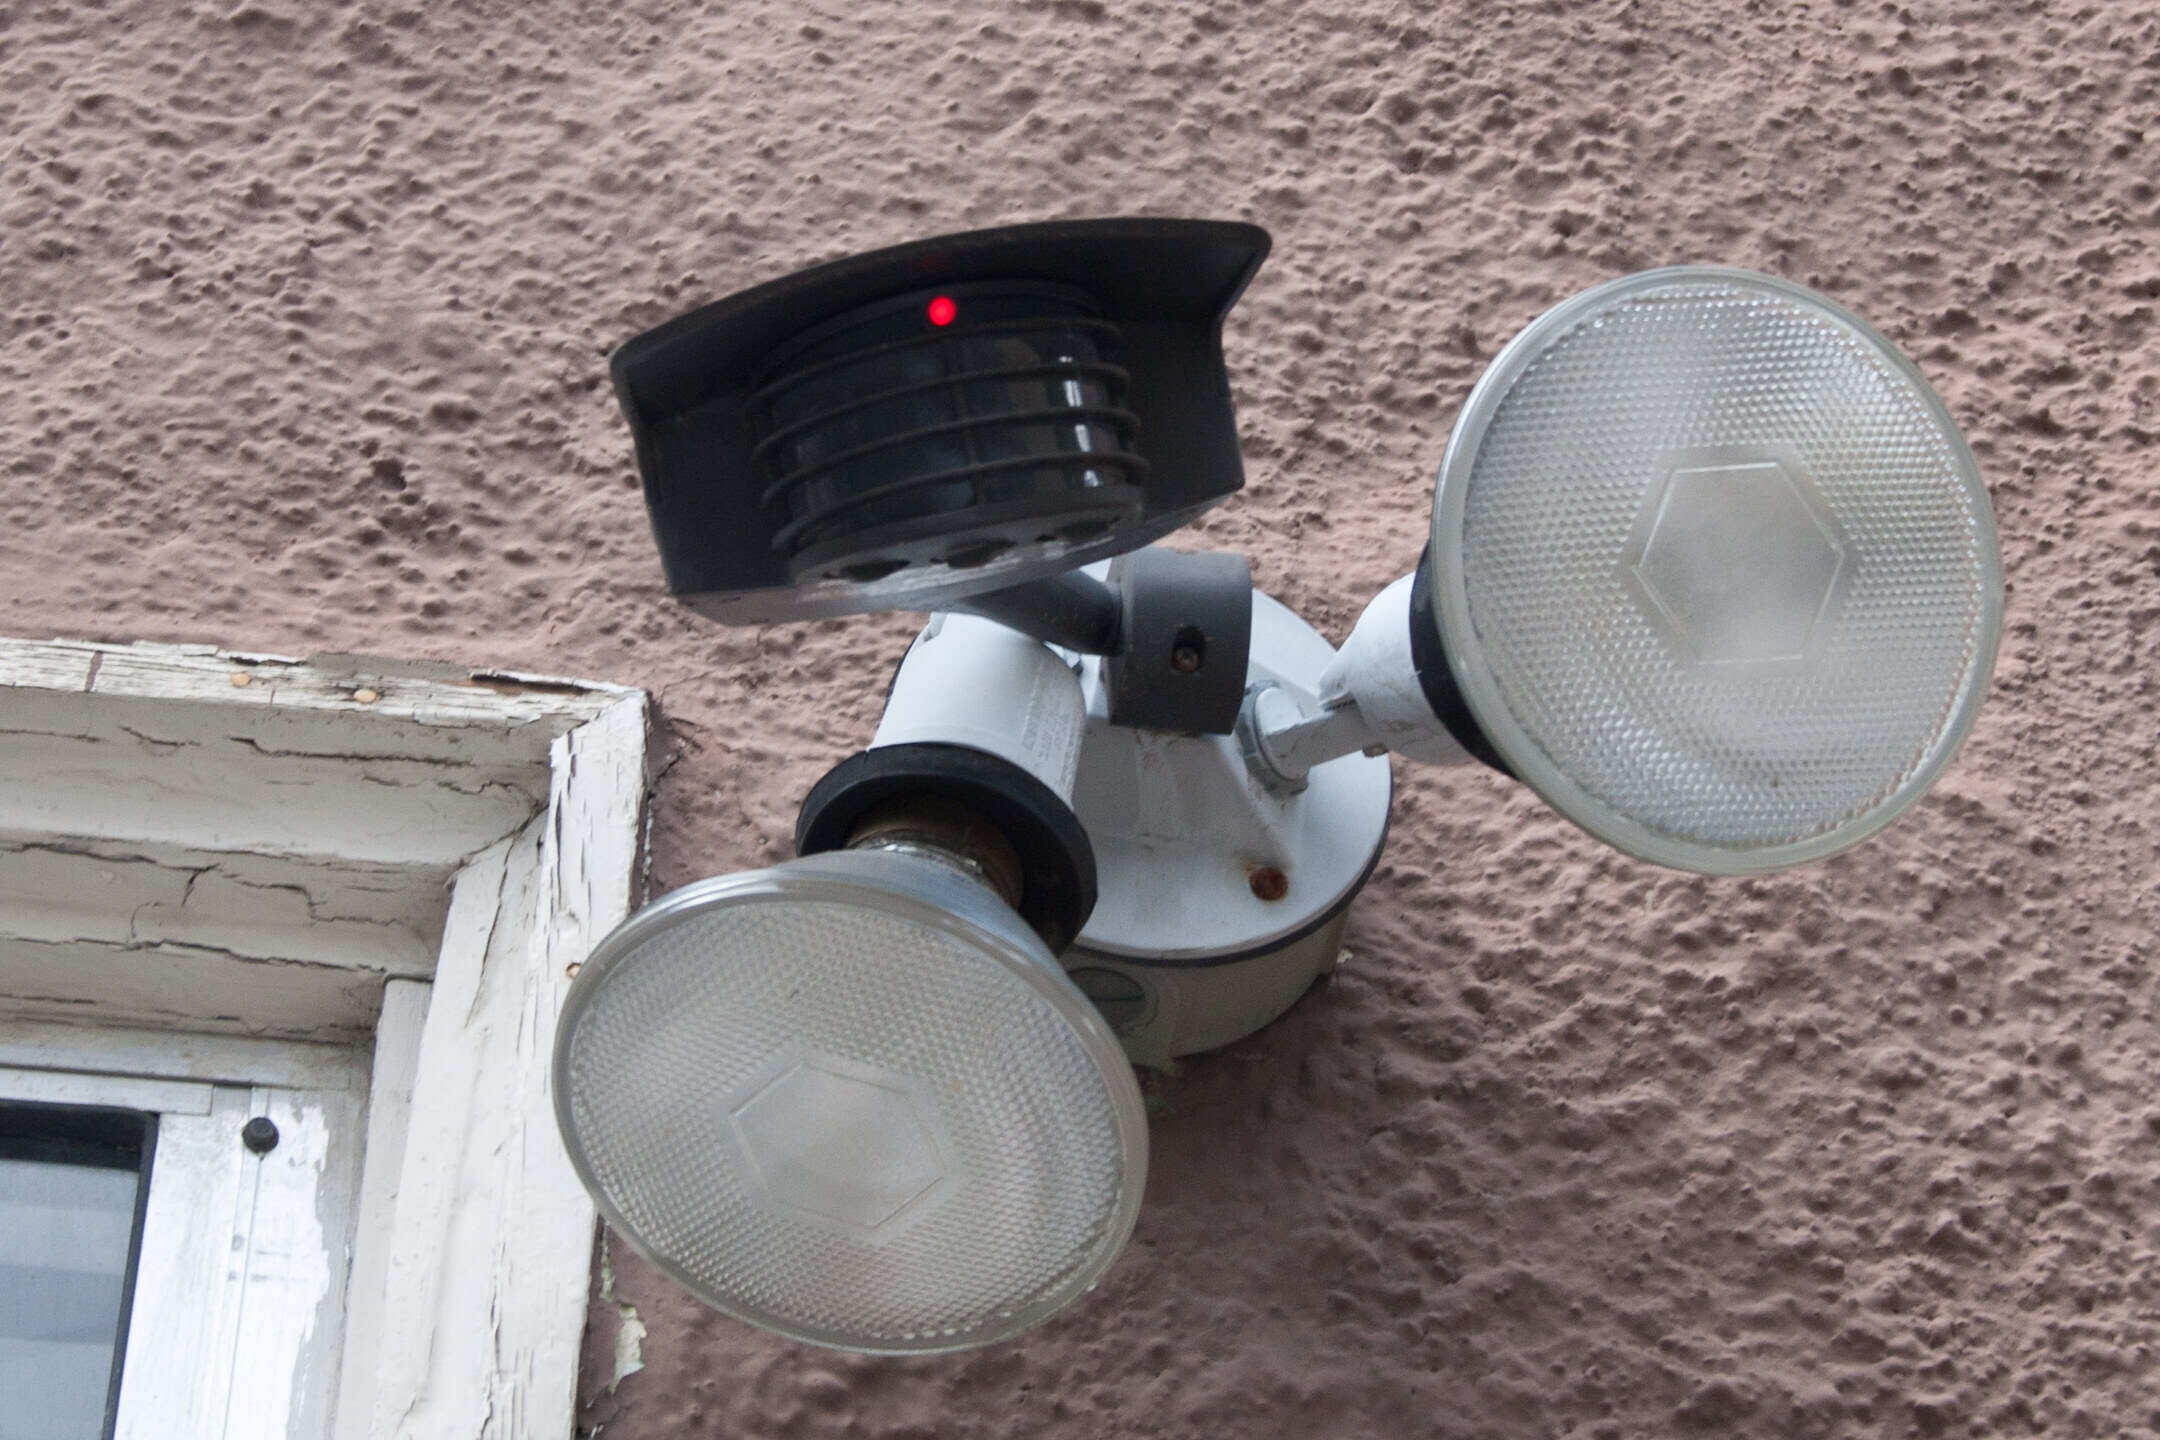
Motion detector light switches, also known as occupancy sensors or motion sensors, are devices that detect movement in their vicinity and activate the connected lighting system. These switches use various technologies, such as infrared, ultrasonic, or microwave, to detect motion and trigger the lights accordingly.
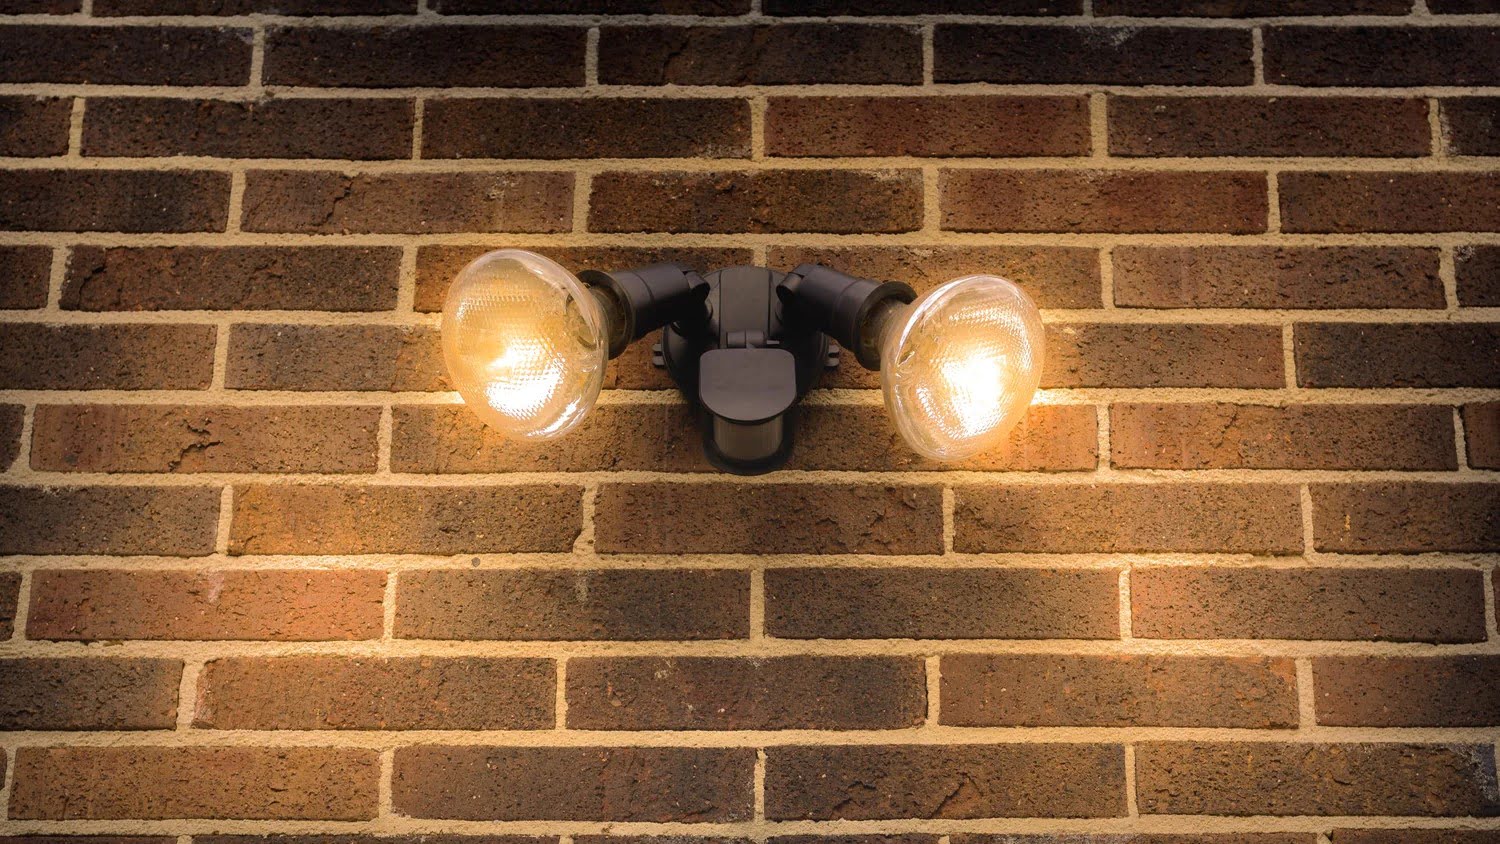
The primary purpose of installing motion detector light switches is to provide enhanced security and convenience. When properly adjusted, they can automatically turn on the lights when someone enters the area, allowing for improved visibility and discouraging potential intruders or trespassers.
One of the key features of motion detector light switches is the ability to adjust their sensitivity. Sensitivity refers to the level of movement required to activate the lights. Higher sensitivity settings will detect even the slightest movements, while lower sensitivity settings may require more pronounced motion before triggering the lights.
In addition to sensitivity, motion detector light switches also allow you to adjust the duration for which the lights will stay on after motion has been detected. This feature is particularly useful for energy conservation, as it prevents the lights from staying on unnecessarily for extended periods.
Another aspect to consider is the range of the motion detector. The range indicates how far the sensor can detect motion. By adjusting the range, you can ensure that the motion detector covers the desired area without detecting motion from outside the intended range.
Understanding these key aspects of motion detector light switches will empower you to customize and optimize their settings to suit your specific needs. In the following sections, we will guide you through the step-by-step process of adjusting the sensitivity, duration, and range of your motion detector light switch.
Now that we have a solid understanding of motion detector light switches, let’s move on to discussing the tools and materials you’ll need for the adjustment process.
Tools and Materials
Before you can begin adjusting your motion detector light switch, you’ll need a few tools and materials to ensure a smooth and successful process. Here’s a list of what you’ll need:
- A screwdriver (either flathead or Phillips, depending on the screws used to secure the switch)
- Wire strippers (if necessary, depending on the specific model of the switch)
- Electrical tape
- A voltage tester
- A ladder or step stool (if the light switch is located in a higher position)
Make sure to gather all these tools and materials before you start working on your motion detector light switch. This will help you avoid interruptions and ensure that you have everything you need at your disposal.
It’s also important to prioritize safety during this process. Ensure that the power is turned off before working with any electrical components. Additionally, always exercise caution when working with electrical wiring, and if you’re unsure about any step or procedure, consult a professional electrician.
With the necessary tools and materials on hand and safety precautions in place, you’re ready to move on to the next step: turning off the power.
Safety Precautions
When working with motion detector light switches or any electrical components, it’s crucial to prioritize safety to prevent accidents and ensure a smooth adjustment process. Here are some important safety precautions to keep in mind:
- Turn off the power: Before beginning any work on your motion detector light switch, make sure to turn off the power at the main electrical panel. This will prevent the risk of electric shock or damage to the switch or other electrical components.
- Use a voltage tester: Even after turning off the power, it’s essential to use a voltage tester to confirm that there is no electricity flowing to the switch. This will provide an extra layer of safety and assurance before you start working on the switch.
- Wear protective gear: Whenever working with electrical components, it’s advisable to wear protective gear such as gloves and safety glasses. These items will protect you from any potential hazards or accidents.
- Read the manufacturer’s instructions: Different motion detector light switches may have specific instructions and guidelines for adjustment. Always refer to the manufacturer’s documentation to ensure you are following the correct procedures and safety measures.
- Avoid overloading the circuit: Be mindful of the electrical load on the circuit when connecting or adjusting the motion detector light switch. Overloading the circuit can cause overheating or power disruptions. If you have any concerns, consult a professional electrician.
- Keep children and pets away: During the adjustment process, it’s best to keep children and pets at a safe distance. This will minimize the risk of them accidentally coming into contact with any exposed wires or electrical components.
- If unsure, consult a professional: If at any point you are unsure about a step or procedure, or if you encounter any unexpected issues or complications, it’s always best to consult a professional electrician. They have the expertise and knowledge to handle electrical work safely and effectively.
By following these safety precautions, you can minimize risks and ensure a safe environment as you adjust your motion detector light switch. Now that we’ve covered the necessary safety measures, let’s proceed to the step-by-step process of adjusting the motion detector settings.
Step 1: Turn off the Power
Before you begin any work on your motion detector light switch, it’s crucial to turn off the power to ensure your safety. Follow these steps to turn off the power:
- Locate the main electrical panel in your home. This is usually found in a basement, garage, or utility room.
- Open the panel door by removing the screws or latches that secure it.
- Inside the panel, you will see rows of circuit breakers or fuses. Look for the circuit breaker that controls the circuit connected to your motion detector light switch.
- Flip the switch of the corresponding circuit breaker to the “off” position. This will disconnect the power to the switch and ensure there is no live electricity flowing to it.
- Ensure that the power is indeed turned off by using a voltage tester. Place the voltage tester against the bare wires connected to the motion detector light switch. If the tester does not indicate any voltage, it is safe to proceed. However, if it does, return to the electrical panel and double-check that you have turned off the correct circuit breaker.
It’s important to note that some homes may have older electrical systems with fuses instead of circuit breakers. If this is the case for your home, you will need to unscrew the fuse connected to the circuit of your motion detector light switch to cut off the power.
Once you have confirmed that the power to the motion detector light switch is off, you can proceed with the next steps of adjusting the settings. Always remember to prioritize safety and take necessary precautions throughout the process.
Read more: How To Adjust Motion Detector Light Settings
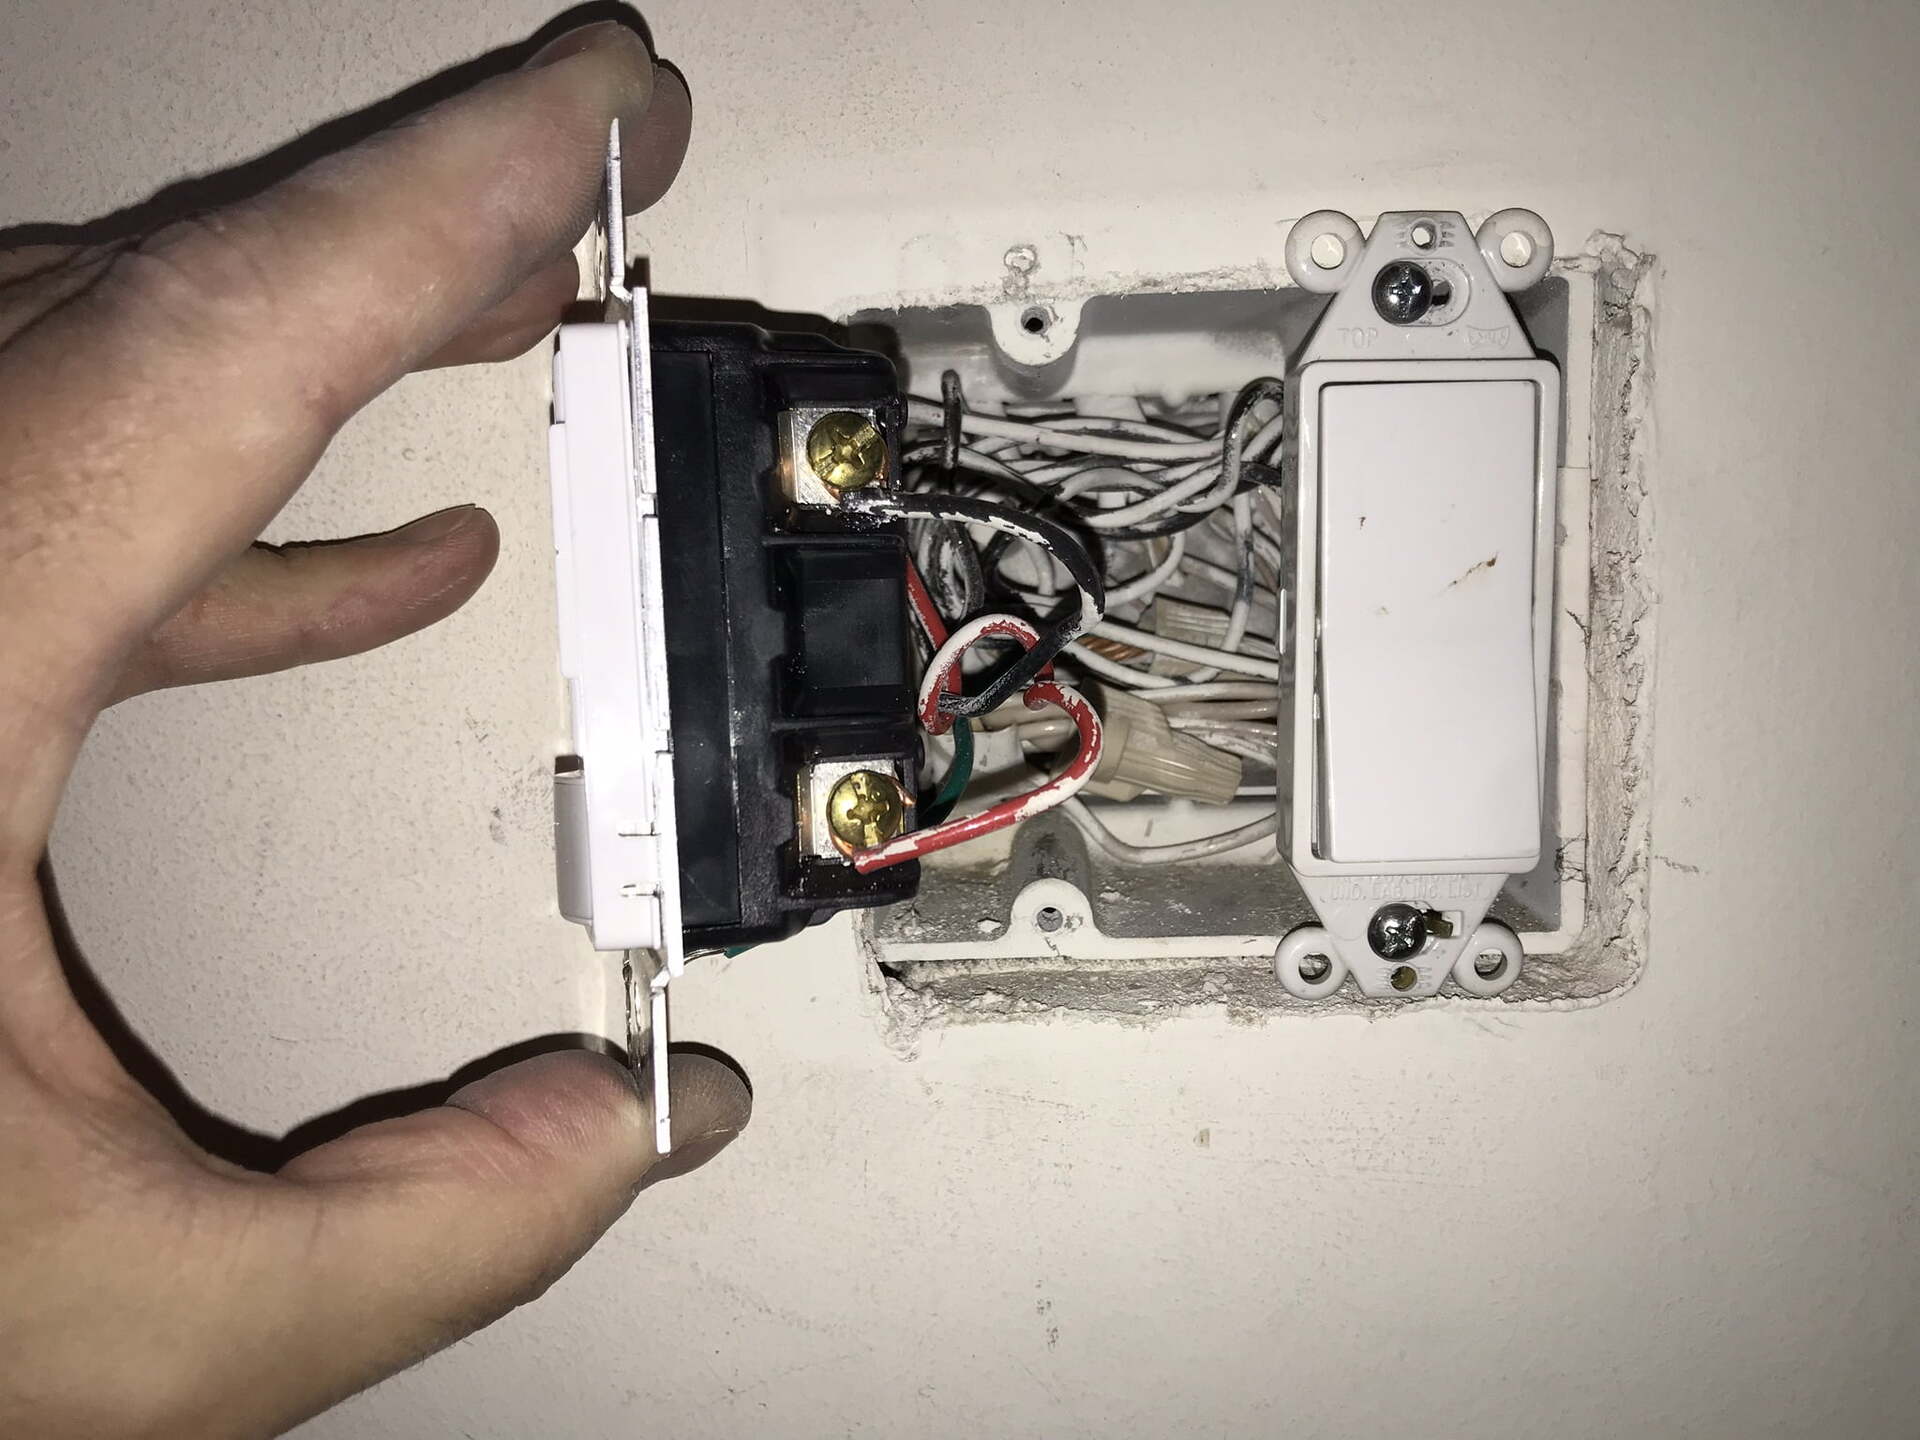
Step 2: Remove the Old Light Switch
Now that the power is safely turned off, you can proceed to remove the old light switch before adjusting the settings of your motion detector. Follow these steps to remove the old light switch:
- Using a screwdriver, unscrew the screws that hold the switch plate cover in place. Set aside the cover and screws for reinstallation later.
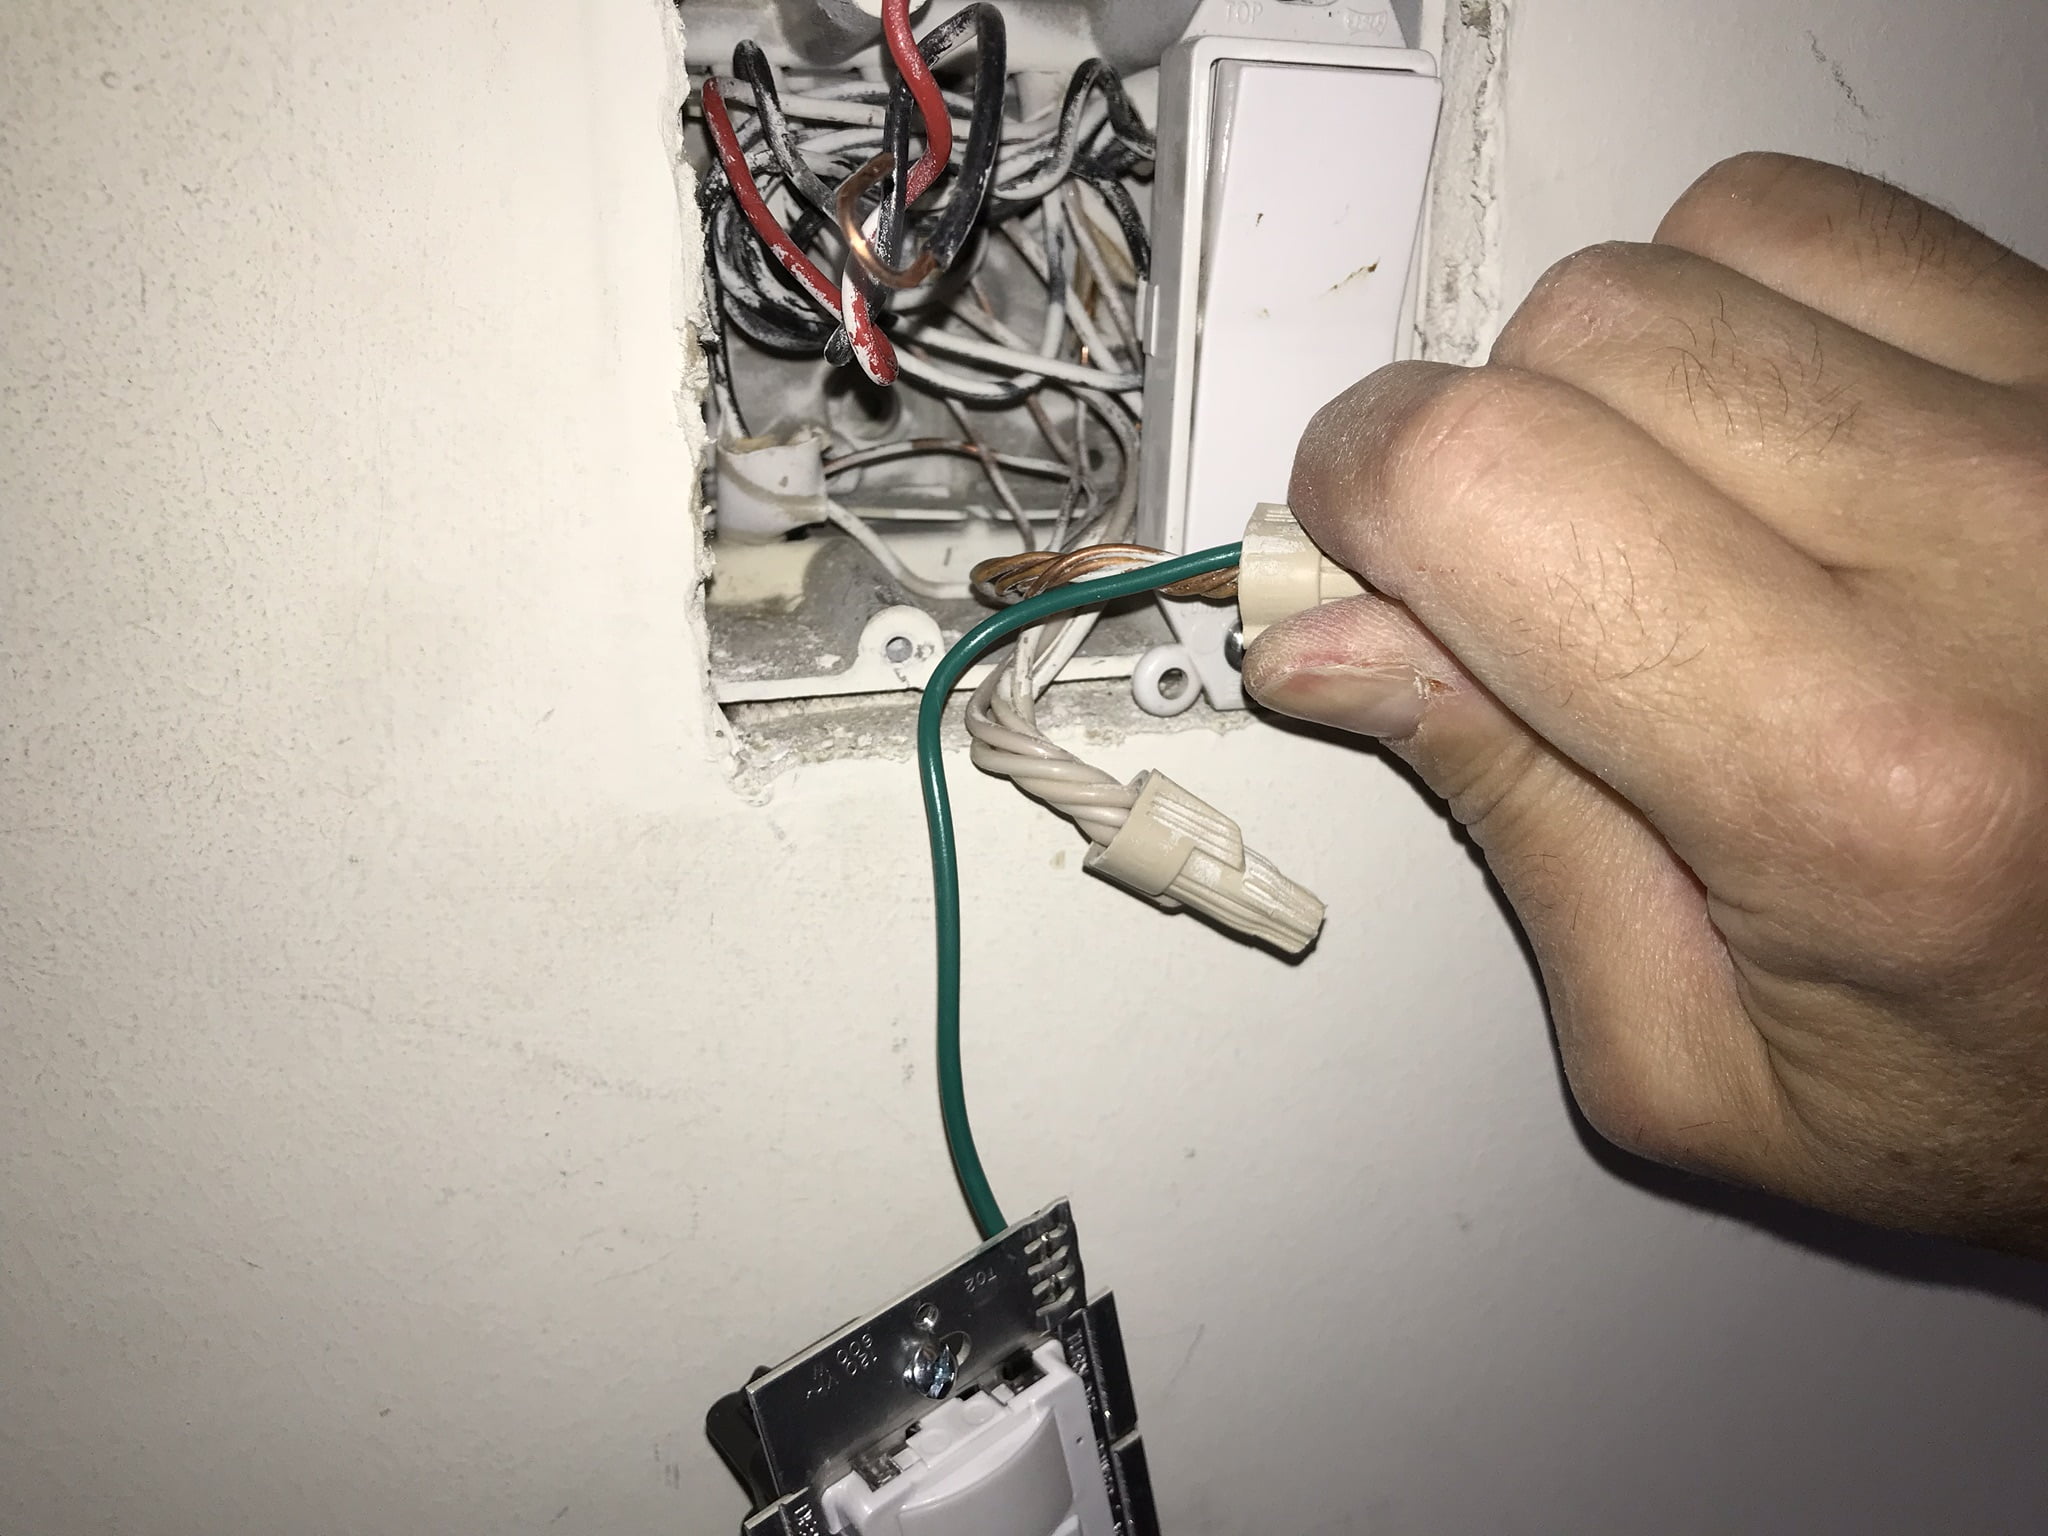
- Remove the screws that secure the old light switch to the electrical box in the wall. Carefully pull the switch out from the wall, exposing the wiring.
- Take note of how the wires are connected to the old light switch. You may want to take a photo or draw a diagram for reference when installing the new motion detector later.
- Using wire strippers, carefully strip about ½ inch of insulation off the ends of the wires connected to the old light switch. This will prepare them for connection to the new motion detector switch.
- Disconnect the wires from the old switch by loosening the terminal screws or undoing the wire connectors. Gently pull the wires out of the switch.
- Once all the wires are free, remove the old light switch from the electrical box and set it aside.
It’s important to handle the old light switch with care and avoid touching any exposed wires. Always practice caution to prevent any accidental electrical shocks.
Now that you have successfully removed the old light switch, you’re ready to move on to the next steps of adjusting the settings on your motion detector. In the following steps, we will guide you through the process of adjusting the sensitivity, duration, and range to meet your preferences and needs.
Make sure the motion detector is positioned correctly and not obstructed by objects. Adjust the sensitivity and timer settings to your preference. Test the light after each adjustment to ensure it’s working as desired.
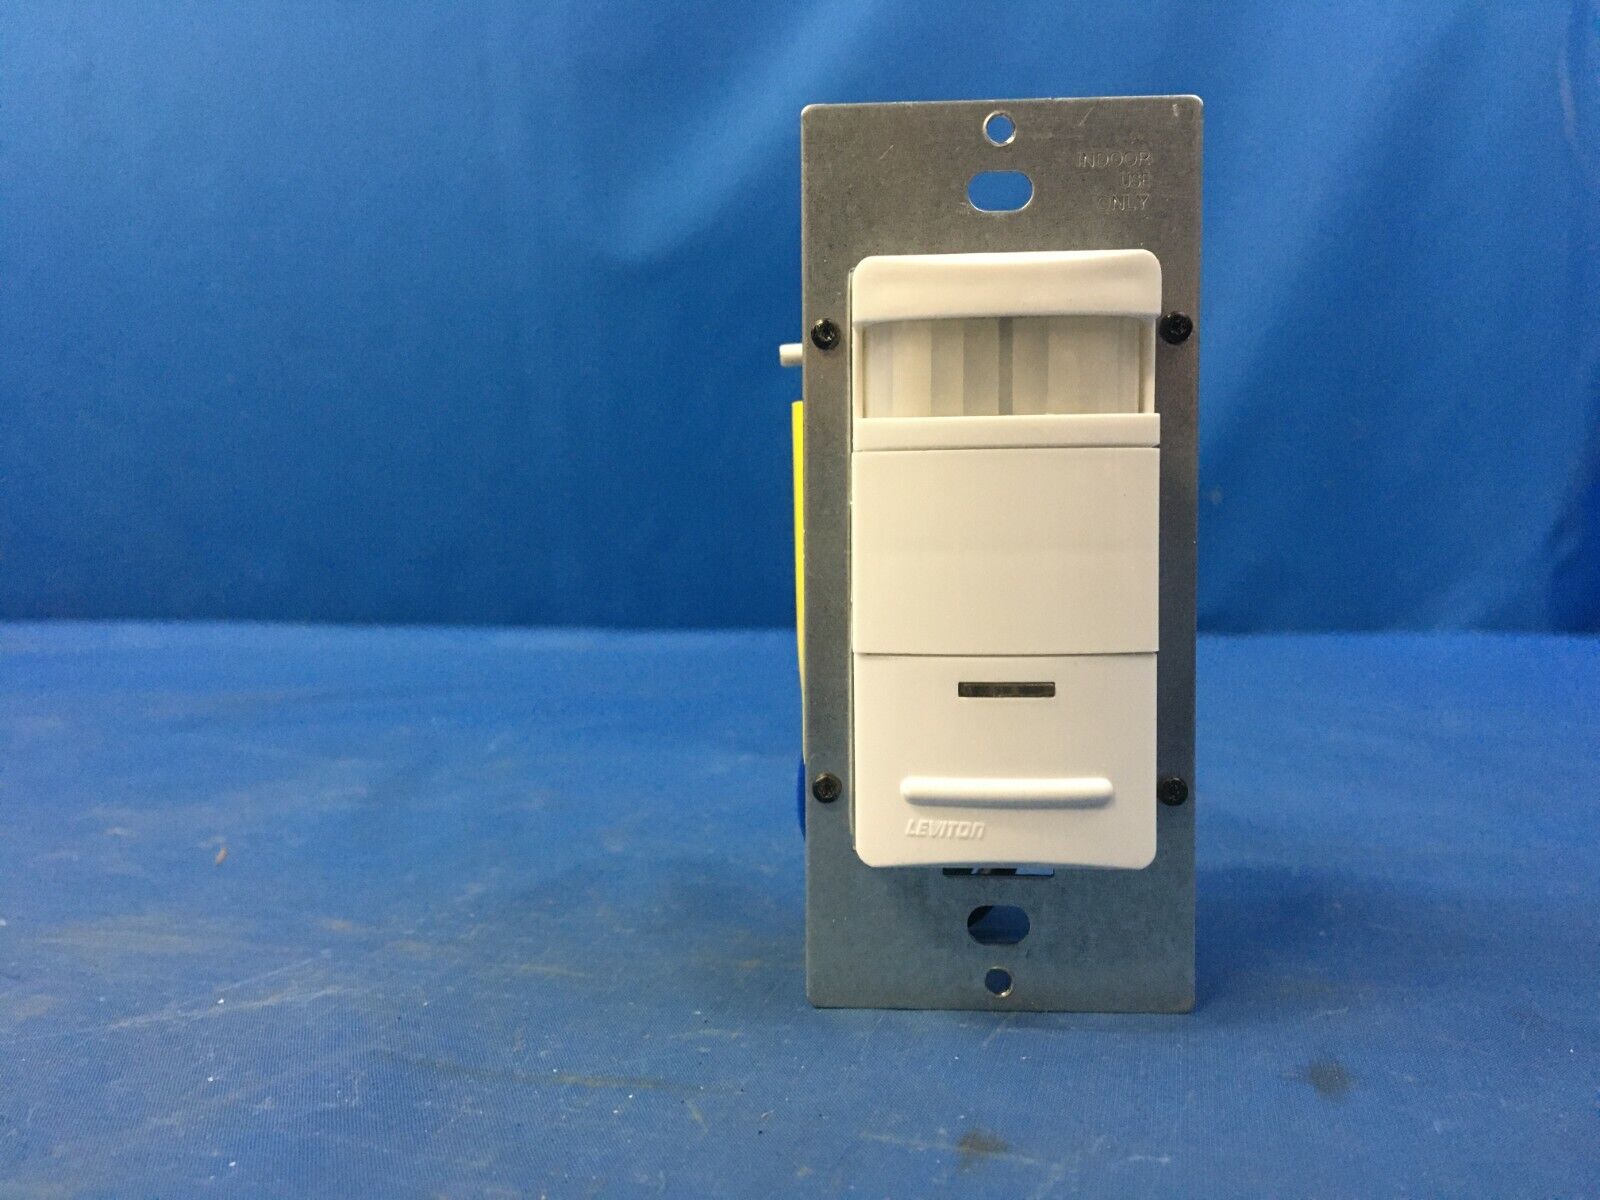
Step 3: Adjust the Sensitivity
Adjusting the sensitivity of your motion detector is crucial to ensure that it detects motion accurately and reliably. Follow these steps to adjust the sensitivity of your motion detector:
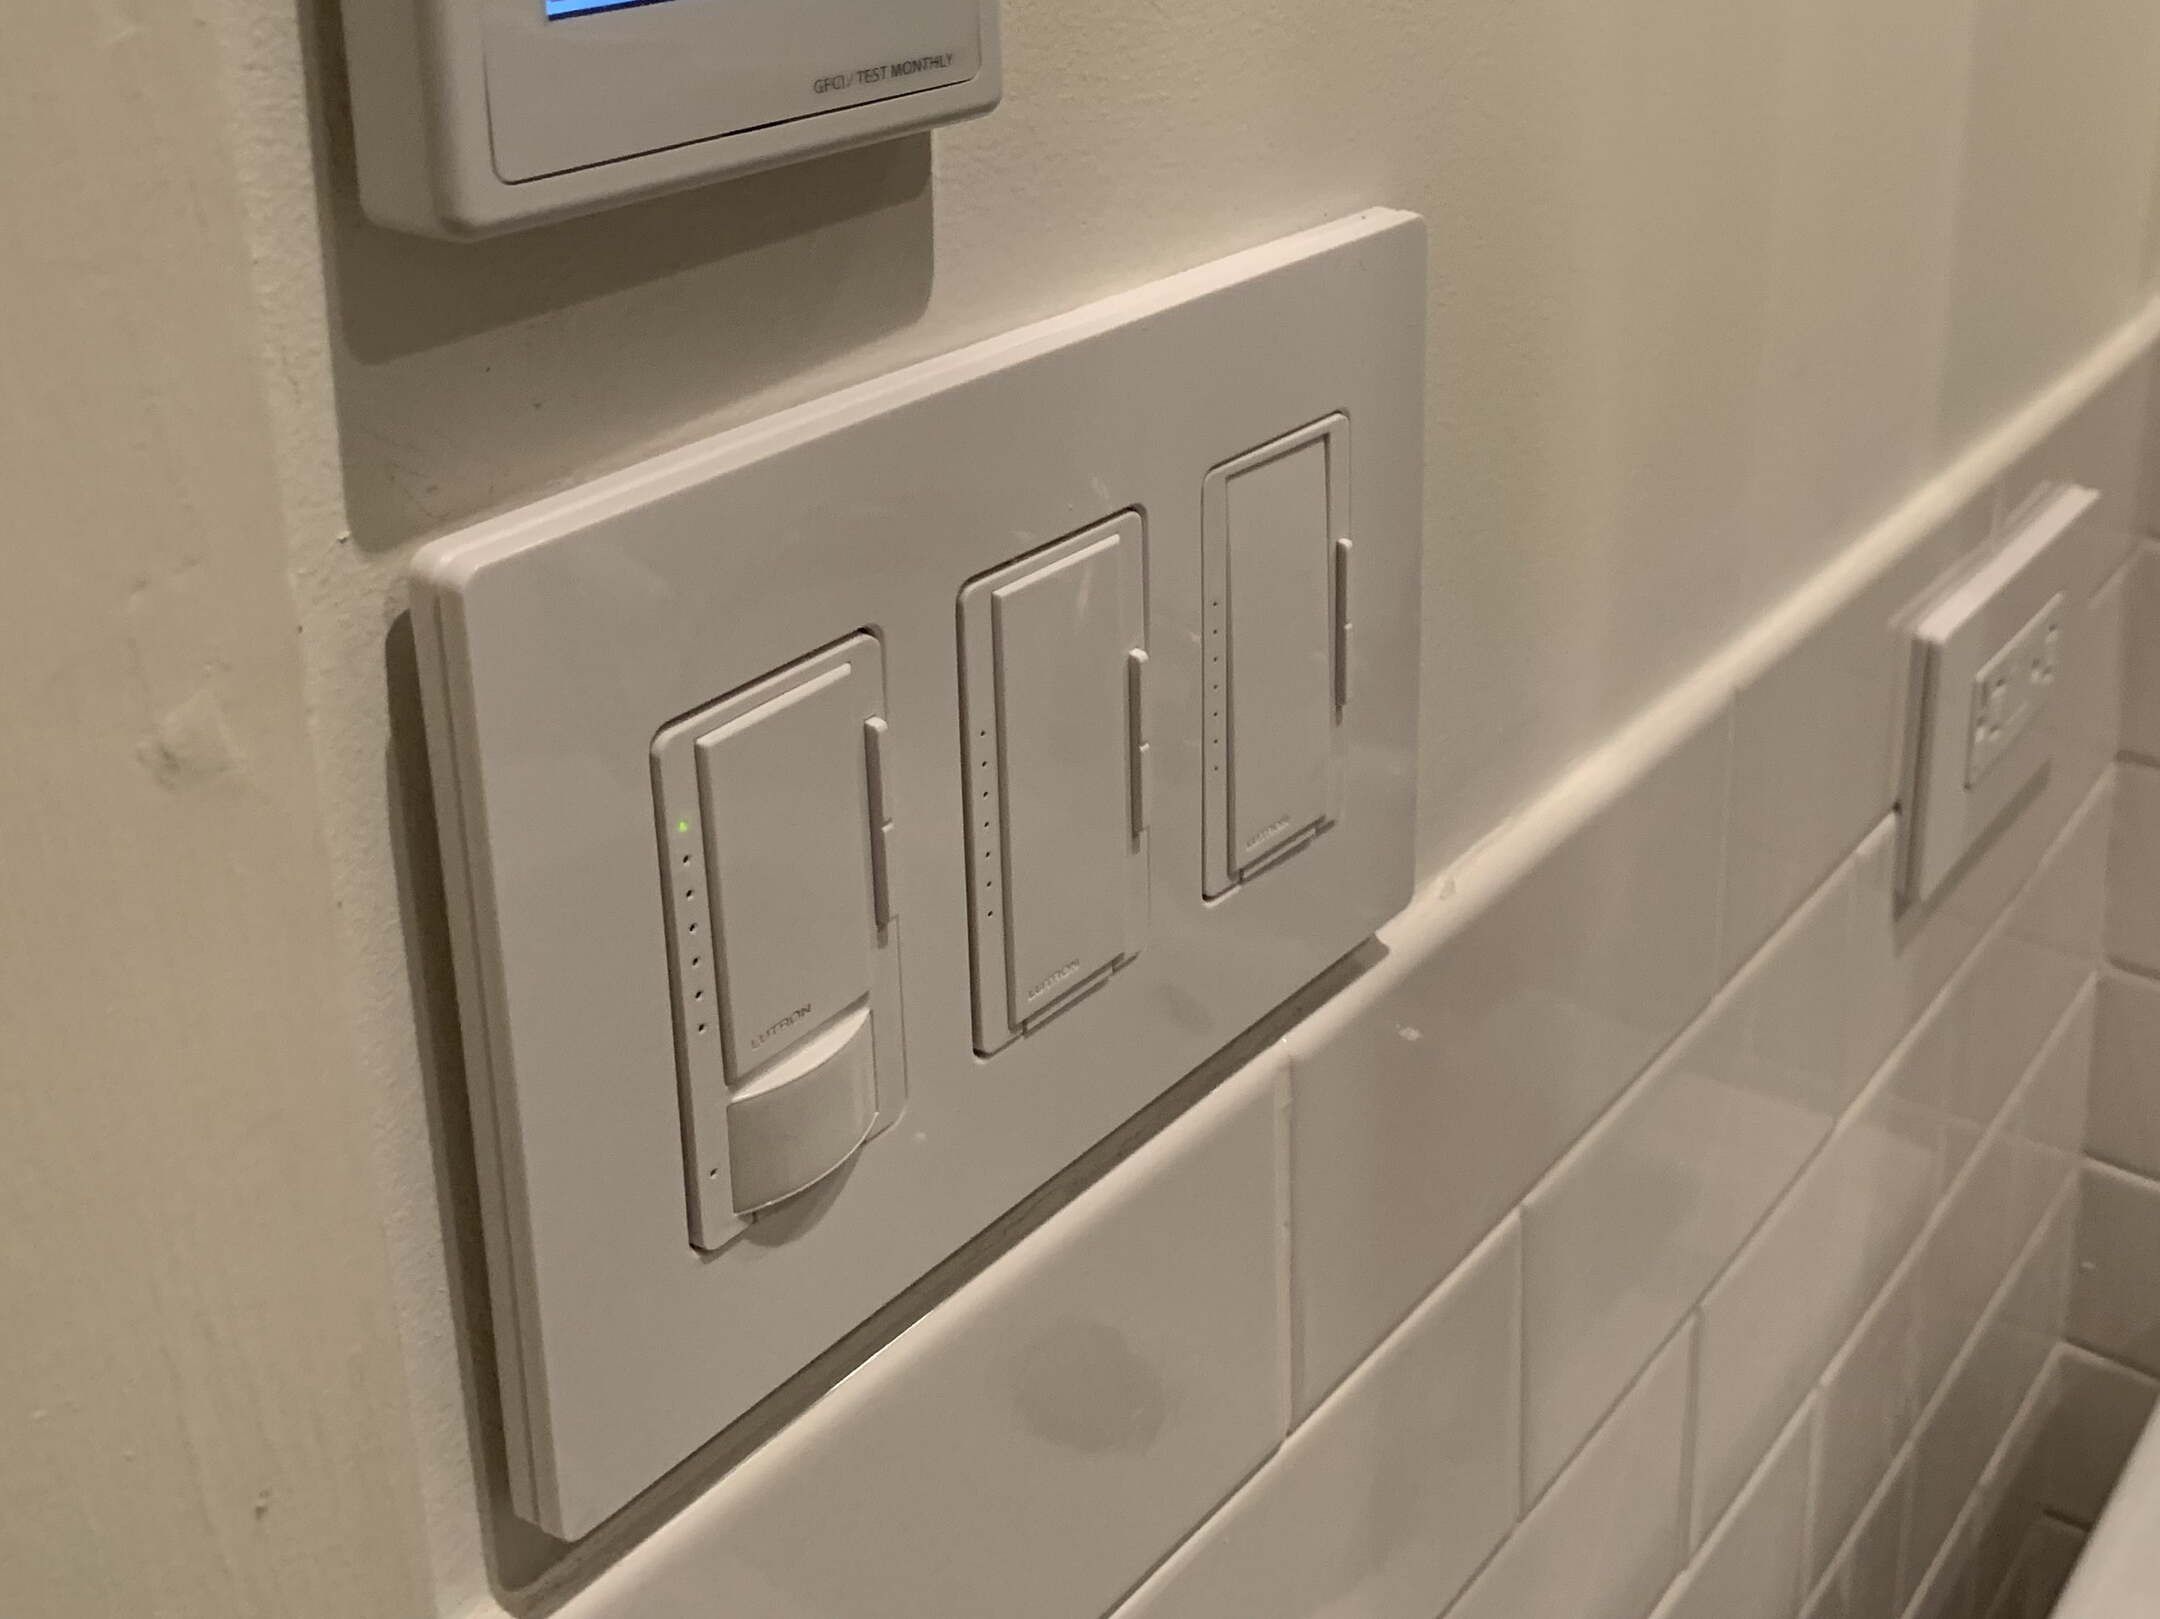
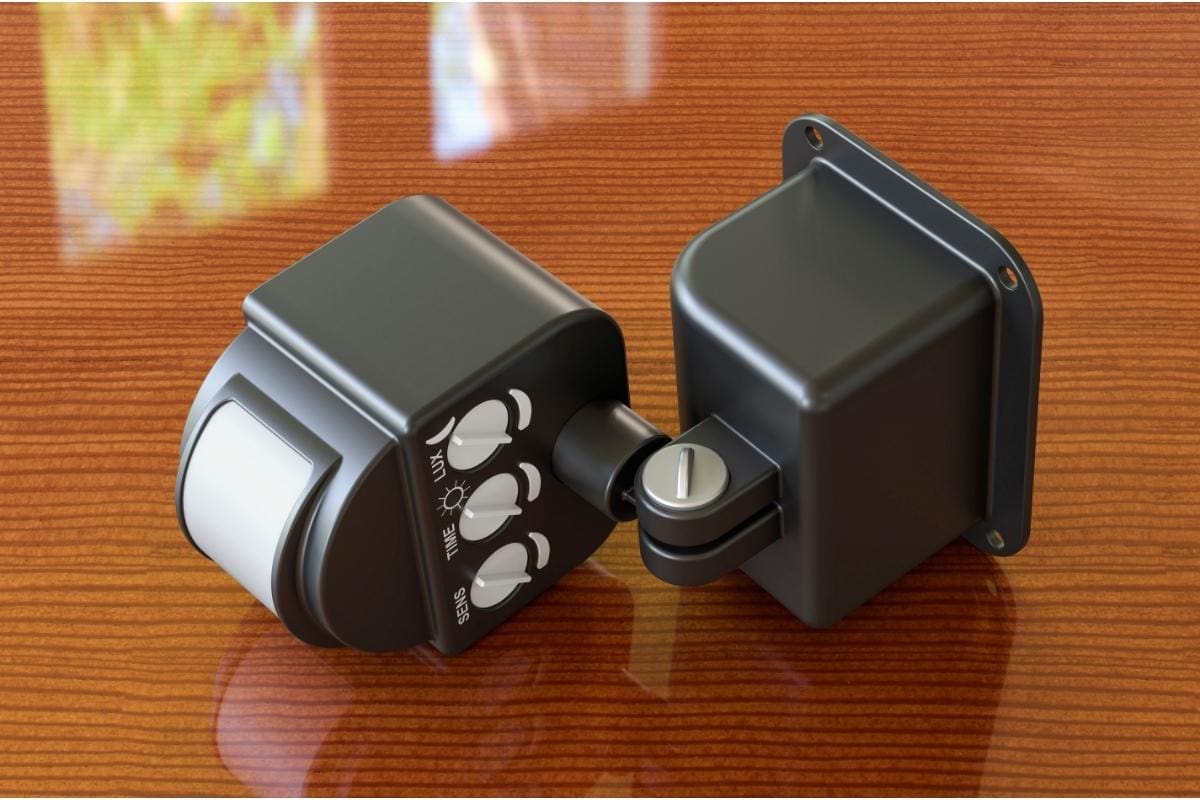
- Take a look at your motion detector switch. Locate the sensitivity adjustment feature, which is typically a dial or switch labeled with “Sensitivity” or “Range.”
- Refer to the manufacturer’s instructions for your specific model, as the adjustment mechanism may vary. Some switches may require rotating a dial, while others may have a switch with multiple sensitivity levels.
- Start by setting the sensitivity to a moderate level, allowing for a good balance between detecting small movements and avoiding false triggers from factors like strong winds or small animals.
- Once you have adjusted the sensitivity, it’s time to test the motion detector. Turn the power back on at the electrical panel and ensure that the area is clear of any movement.
- Gradually introduce movement into the detection area by walking or waving your hand within the motion sensor’s range.
- Observe how the motion detector responds. If it detects your movement promptly and reliably, you have set the sensitivity at an appropriate level. However, if it fails to detect your movement or consistently triggers from minor disturbances, you may need to adjust the sensitivity higher or lower accordingly.
- Repeat the adjustment process as needed until you find the optimal sensitivity for your specific environment and preferences.
- Once you are satisfied with the sensitivity setting, turn off the power again at the electrical panel to prepare for the next adjustment.
By adjusting the sensitivity of your motion detector, you can ensure that it accurately detects the desired movements while minimizing false triggers. This will help optimize the functionality and efficiency of your motion detector light switch.
Now that you have successfully adjusted the sensitivity, it’s time to move on to the next step: adjusting the duration of the lights when motion is detected.
Step 4: Adjust the Duration
Adjusting the duration of how long the lights stay on after motion is detected is an important aspect of optimizing your motion detector light switch. Follow these steps to adjust the duration:
- Locate the duration adjustment feature on your motion detector switch. This is typically a dial or switch labeled with “Duration” or “Time Delay.”
- Refer to the manufacturer’s instructions for your specific model, as the adjustment mechanism may vary. Some switches may have a continuous range of duration options, while others may have predefined time settings.
- Start by setting the duration to a moderate length, such as 1-3 minutes. This will give you enough time to navigate a particular area before the lights turn off.
- Turn the power back on at the electrical panel and ensure that the area is clear of any movement.
- Trigger the motion detector by walking or waving your hand within its range. Observe how long the lights stay on after the motion has stopped.
- If the lights turn off too quickly, increase the duration setting. If they stay on for an unnecessarily long time, decrease the duration accordingly.
- Repeat the adjustment process, gradually fine-tuning the duration until you find the ideal setting for your needs.
- Once you are satisfied with the duration adjustment, turn off the power at the electrical panel to prepare for the final adjustment: setting the range of your motion detector.
Adjusting the duration of the lights ensures that they stay on for the appropriate length of time, providing necessary visibility and security. By customizing this setting, you can optimize the functionality of your motion detector light switch for your specific requirements.
Now that you have successfully adjusted the duration, let’s move on to the next step: adjusting the range of your motion detector.
Step 5: Adjust the Range
Adjusting the range of your motion detector is essential to ensure that it covers the desired area without detecting motion from outside the intended range. Follow these steps to adjust the range of your motion detector:
- Locate the range adjustment feature on your motion detector switch. This may be a dial, a slider, or a switch labeled with “Range” or “Distance.”
- Consult the manufacturer’s instructions for your specific model to understand how the range adjustment works. Some switches may allow you to adjust the range by increasing or decreasing the distance, while others may have predefined range settings.
- Start by setting the range to a moderate distance that covers the area you want to monitor.
- Turn the power back on at the electrical panel and ensure that the area is clear of any movement.
- Walk or move within the range of the motion detector and observe its response. If it detects your movement accurately without triggering from activity outside the desired range, the range is correctly set.
- If the motion detector fails to detect your movement or triggers from activity outside the desired range, adjust the range accordingly.
- Repeat the adjustment process, gradually fine-tuning the range until you achieve the optimal coverage for your specific needs.
- Once you are satisfied with the range adjustment, turn off the power at the electrical panel to ensure safety during the final steps of the adjustment.
Adjusting the range of your motion detector ensures that it covers the desired area effectively. By customizing this setting, you can prevent false triggers and maximize the efficiency and accuracy of your motion detector light switch.
With the range now properly adjusted, you’re ready to move on to the next step: testing your motion detector light switch to ensure it is functioning as desired.
Read more: How To Install Motion Detector Light Switch
Step 6: Test the Motion Detector Light Switch
Testing your motion detector light switch is a crucial step to ensure that it is functioning properly after making adjustments. Follow these steps to test your motion detector light switch:
- Turn the power back on at the electrical panel to supply electricity to the motion detector light switch.
- Ensure that the area in which the motion detector is located is clear of any movement.
- Wait for a few seconds to allow the motion detector to calibrate and adjust to its new settings.
- Introduce movement within the range of the motion detector by walking, waving your hand, or using any other means to trigger its sensors.
- Observe the response of the motion detector light switch. It should promptly activate the lights upon detecting motion.
- Walk around the area covered by the motion detector to confirm that the lights remain on as long as movement continues within its range.
- Test the sensitivity by varying the speed and distance of your movement. The motion detector should consistently and accurately detect motion without being overly sensitive or missing any significant movements.
- If there are any issues or inconsistencies with the performance of your motion detector light switch, refer to the manufacturer’s instructions for troubleshooting guidance or consult a professional electrician if necessary.
- Once you are satisfied with the performance of your motion detector light switch, turn off the power at the electrical panel to prepare for the final step of reinstallation.
Testing your motion detector light switch ensures that it is working correctly and responding to motion as expected. By thoroughly testing its performance, you can address any potential issues and ensure that your home security and lighting system is functioning optimally.
Congratulations! You have successfully tested your motion detector light switch. Now, let’s move on to the final step: securing and reinstalling the light switch.
Step 7: Secure and Reinstall the Light Switch
After adjusting and testing your motion detector light switch, it’s time to secure and reinstall it to complete the process. Follow these steps to properly secure and reinstall the light switch:
- Double-check that the power is turned off at the electrical panel to ensure your safety while working with the electrical components.
- Take the new motion detector light switch and carefully insert it into the electrical box in the wall. Make sure the wires are neatly tucked inside the box and not pinched or tangled.
- Align the screw holes of the new switch with the holes on the electrical box and use the screws that came with the switch to secure it in place.
- Tighten the screws just enough to hold the switch securely, but avoid overtightening to prevent damage to the switch or electrical box.
- If necessary, connect the wires to the corresponding terminals on the new motion detector light switch. Refer to the photo or diagram you took during the removal process to ensure correct wiring.
- Once the wires are connected, use wire nuts or terminal screws to tightly secure the connection. Ensure that there are no loose or exposed wires.
- Double-check all the connections and make sure they are secure and properly insulated with electrical tape. This will prevent any potential electrical hazards.
- Attach the switch plate cover back onto the motion detector light switch using the screws you removed earlier. Ensure that the cover is aligned properly and sits flush against the wall.
- Finally, turn on the power at the electrical panel to supply electricity to the motion detector light switch.
- Test the motion detector light switch one final time to confirm that all adjustments have been implemented correctly and that it is functioning as desired.
By securely reinstalling the motion detector light switch, you ensure its stability and proper function. Take your time to double-check all the connections and ensure that everything is secure and properly insulated.
Congratulations! You have successfully adjusted, tested, and reinstalled your motion detector light switch. Enjoy the enhanced security and convenience provided by this efficient lighting solution!
If you encounter any issues during the installation process or if your motion detector light switch is still not functioning properly, it is recommended to seek assistance from a professional electrician.
With your motion detector light switch installed and optimized, you can now feel confident in your home’s security and enjoy the convenience of automated lighting. Keep in mind that regular maintenance and periodic checks of your motion detector light switch are important to ensure its continued performance. Stay safe and enjoy the benefits of a well-adjusted motion detector light switch!
Conclusion
Congratulations on completing the process of adjusting your motion detector light switch! By customizing the sensitivity, duration, and range settings, you have optimized your home’s security and convenience. Understanding how to adjust these settings allows you to tailor the functionality of your motion detector light switch to your specific needs and preferences.
Throughout this comprehensive guide, we have discussed the importance of motion detector light switches, the tools and materials needed for adjustment, and the crucial safety precautions to observe during the process. We walked you through each step, from turning off the power and removing the old light switch to adjusting the sensitivity, duration, and range settings, and ultimately securing and reinstalling the new switch.
By following these steps, you have taken control of your home’s lighting system and enhanced its security. With a properly adjusted motion detector light switch, you can enjoy the convenience of automated lighting that responds to your movements and acts as a deterrent against potential intruders or trespassers.
Remember, each motion detector light switch may have slight variations in terms of features and adjustment procedures. Always refer to the manufacturer’s instructions for your specific model to ensure accurate adjustment and safe installation.
Regularly check and maintain your motion detector light switch to ensure its continued performance. Periodically test its functionality and make any necessary adjustments as environmental conditions and your needs may change over time.
Thank you for choosing our comprehensive guide on how to adjust motion detector light switches. We hope this article has provided you with the knowledge and confidence to optimize the settings of your motion detector light switch and improve your home’s security and convenience.
Stay safe and enjoy the peace of mind that comes with a well-adjusted motion detector light switch!
Frequently Asked Questions about How To Adjust Motion Detector Light Switch
Was this page helpful?
At Storables.com, we guarantee accurate and reliable information. Our content, validated by Expert Board Contributors, is crafted following stringent Editorial Policies. We're committed to providing you with well-researched, expert-backed insights for all your informational needs.