
Articles
How To Remove Window Blinds
Modified: August 28, 2024
Learn how to easily remove window blinds with these helpful articles. Find step-by-step guides and tips for a hassle-free process.
(Many of the links in this article redirect to a specific reviewed product. Your purchase of these products through affiliate links helps to generate commission for Storables.com, at no extra cost. Learn more)
Introduction
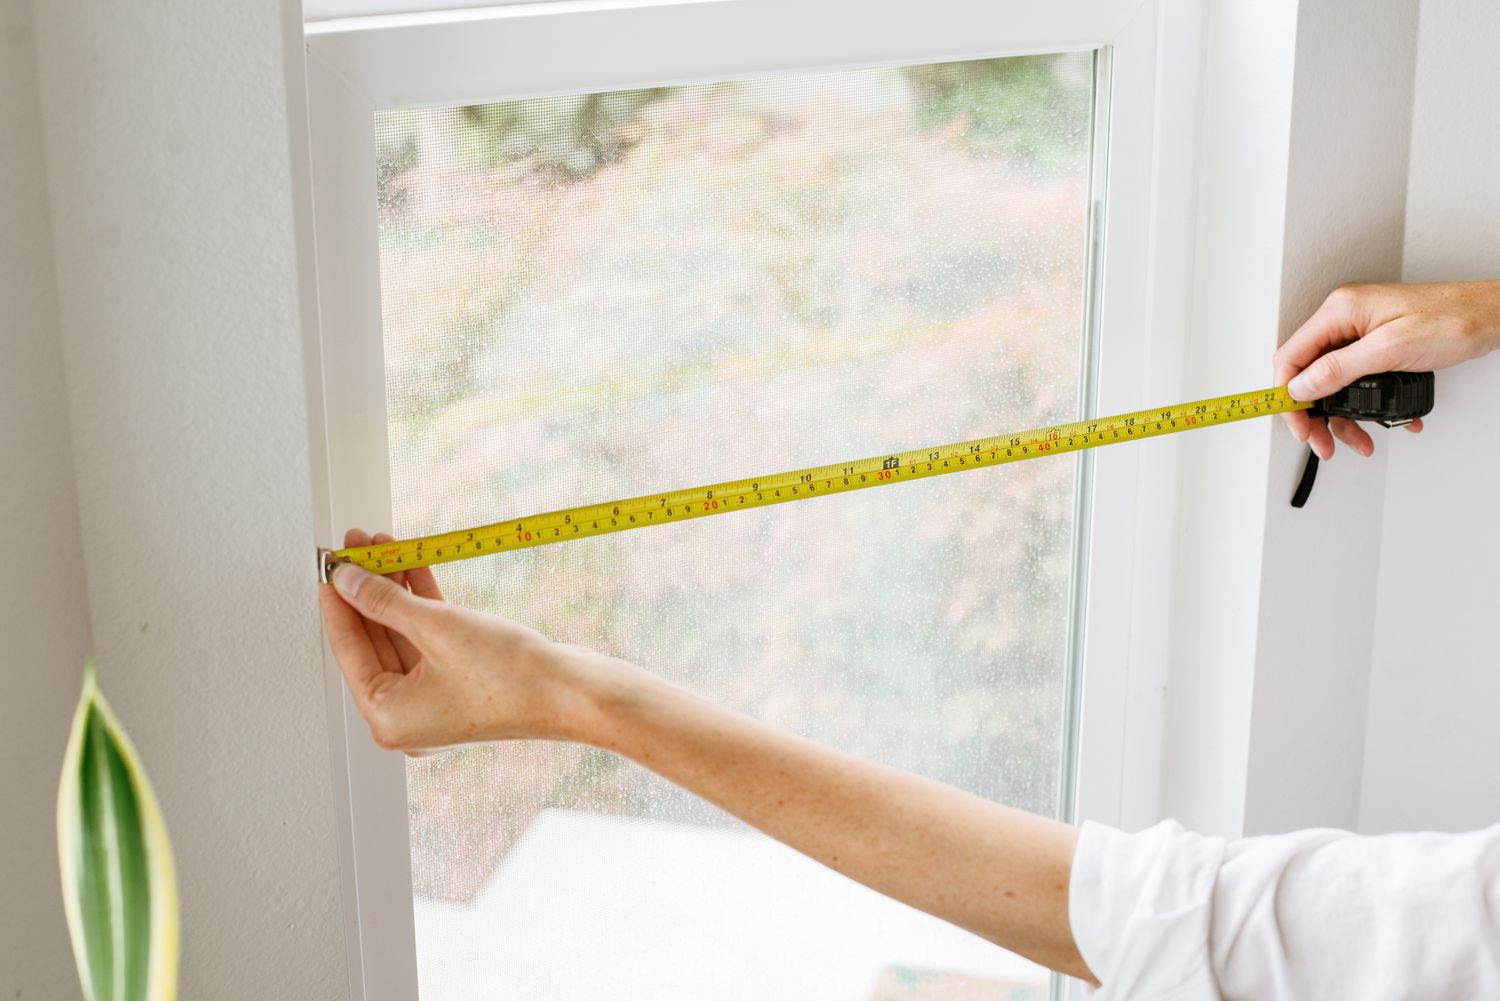
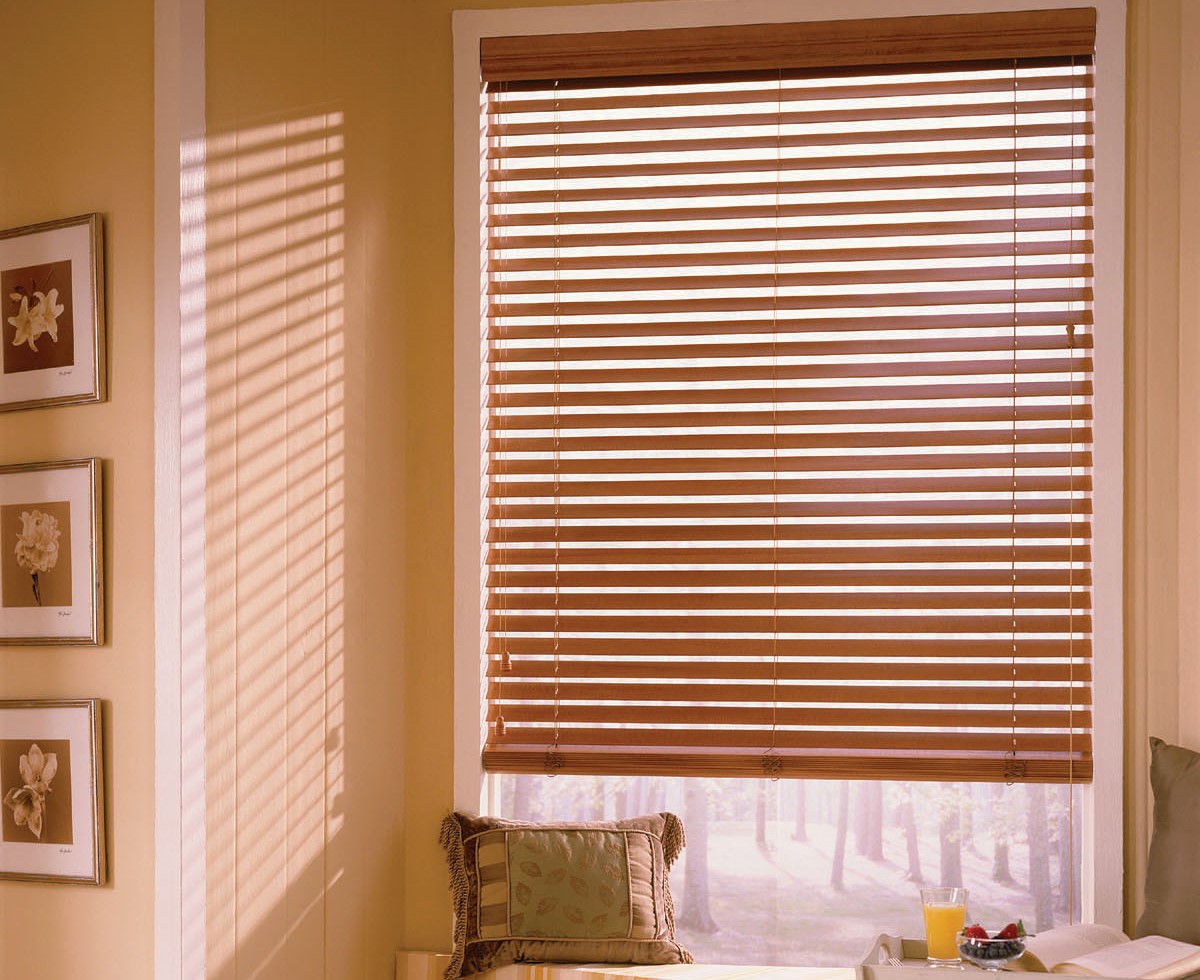
Window blinds are a popular choice for homeowners who want to control the amount of light and privacy in their space. Whether you’re looking to upgrade to a new style or need to remove your blinds for cleaning or repairs, knowing how to properly remove window blinds is essential.
Removing window blinds may seem like a daunting task, but with the right tools and techniques, it can be a relatively simple process. In this article, we will guide you through the step-by-step process of removing window blinds, ensuring that you can complete the task efficiently and without any damage to your windows or blinds.
Before we dive into the details, make sure you have the necessary tools and materials on hand. This will ensure that you have everything you need to safely and successfully remove your window blinds. Let’s take a look at what you’ll need.
Key Takeaways:
- Removing window blinds is a manageable task with the right tools and knowledge. Clear the area, handle components with care, and store them properly for hassle-free reinstallation.
- Understanding the type of blinds and following step-by-step instructions is crucial for safe and efficient removal. Clean and store the blinds to maintain their condition for future use.
Read more: How To Remove Levolor Window Blinds
Tools and Materials Needed
Before you start removing your window blinds, gather the following tools and materials:
- Screwdriver (flathead or Phillips, depending on the screws used)
- Pliers (optional, if needed for removing brackets or other hardware)
- Step ladder or stool (if your windows are high and out of reach)
- Clean cloth or microfiber towel
- Container or bag for storing screws and small parts
Having these tools and materials on hand will make the process of removing your window blinds much easier and more efficient. Now that you’re prepared, let’s move on to the step-by-step instructions.
Step 1: Determine the Type of Window Blinds
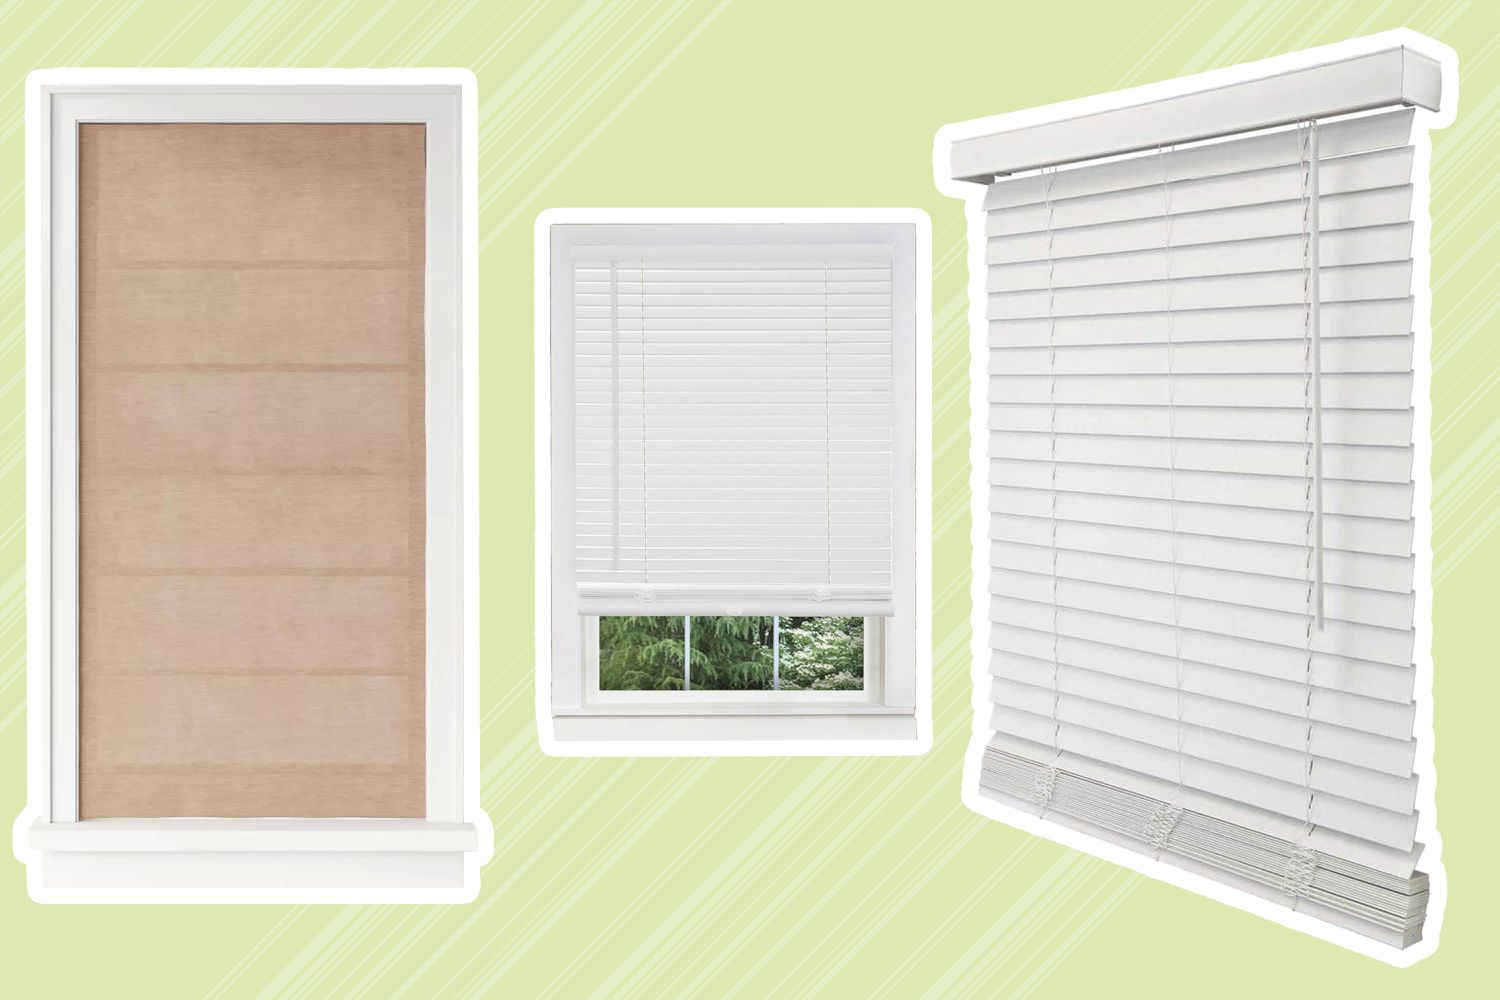
Before you begin removing your window blinds, it’s important to determine the type of blinds you have. This will help you understand the specific steps and methods required for removal. Here are some common types of window blinds:
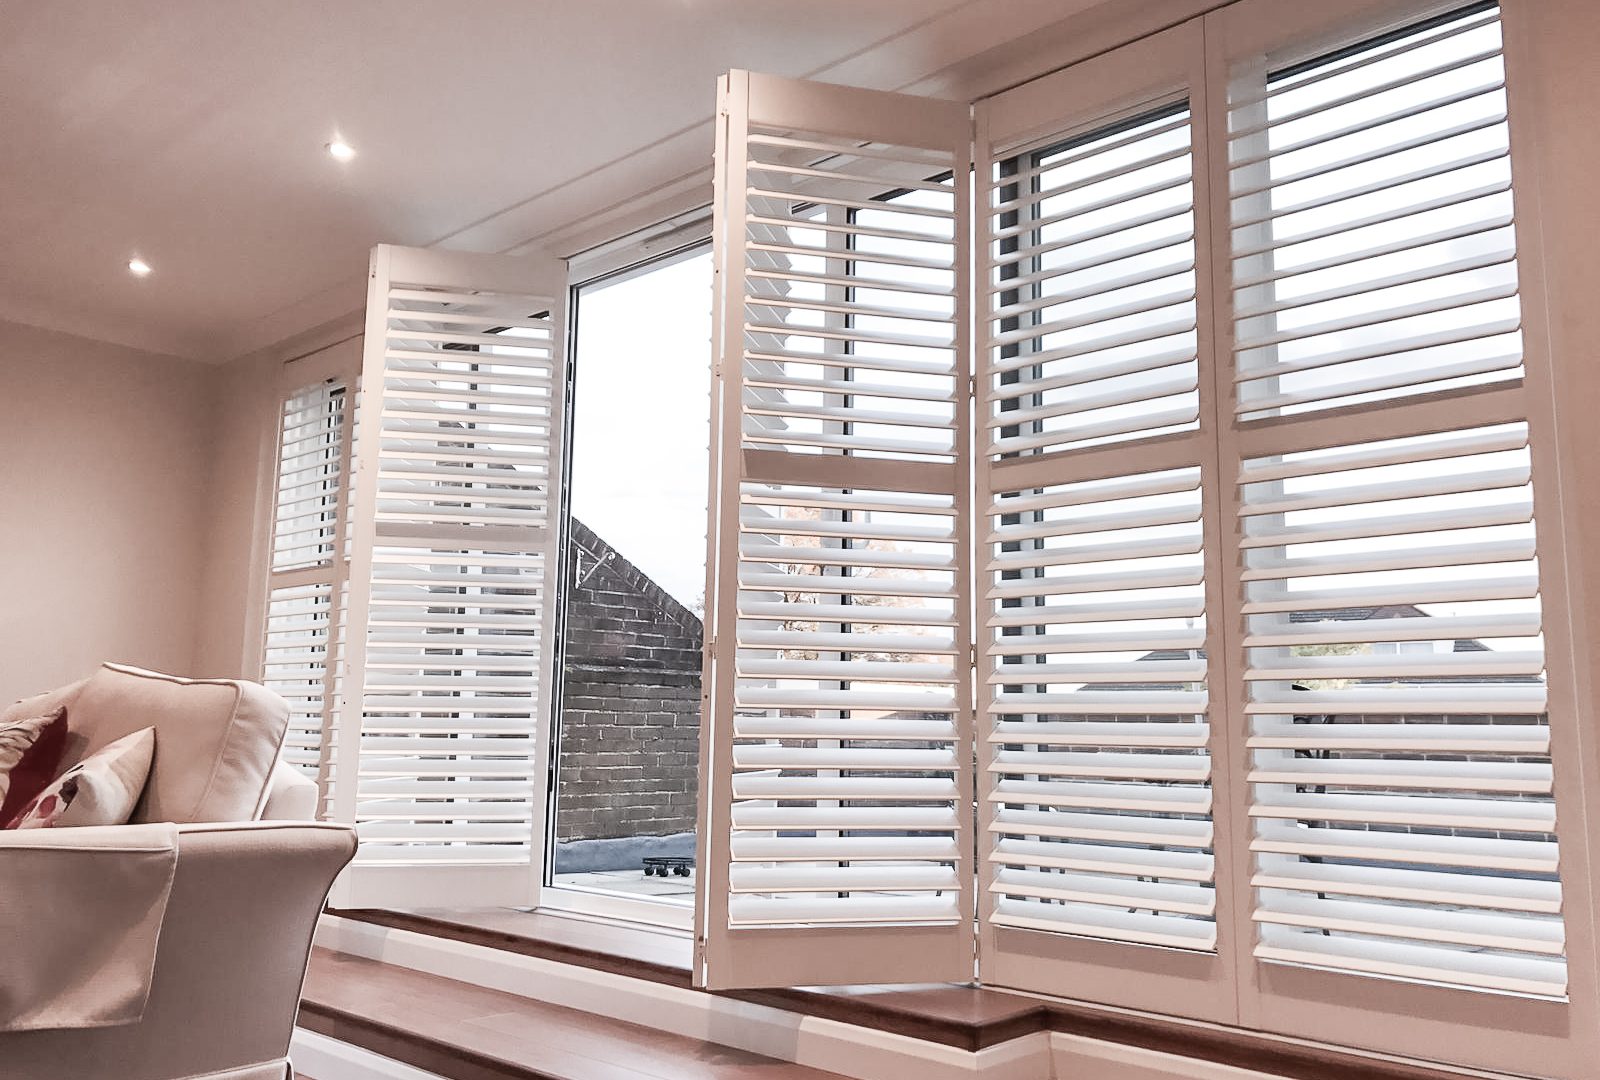
- Vertical Blinds: These blinds have slats that run vertically and can be rotated to control light and privacy. They are typically controlled by a wand or cord.
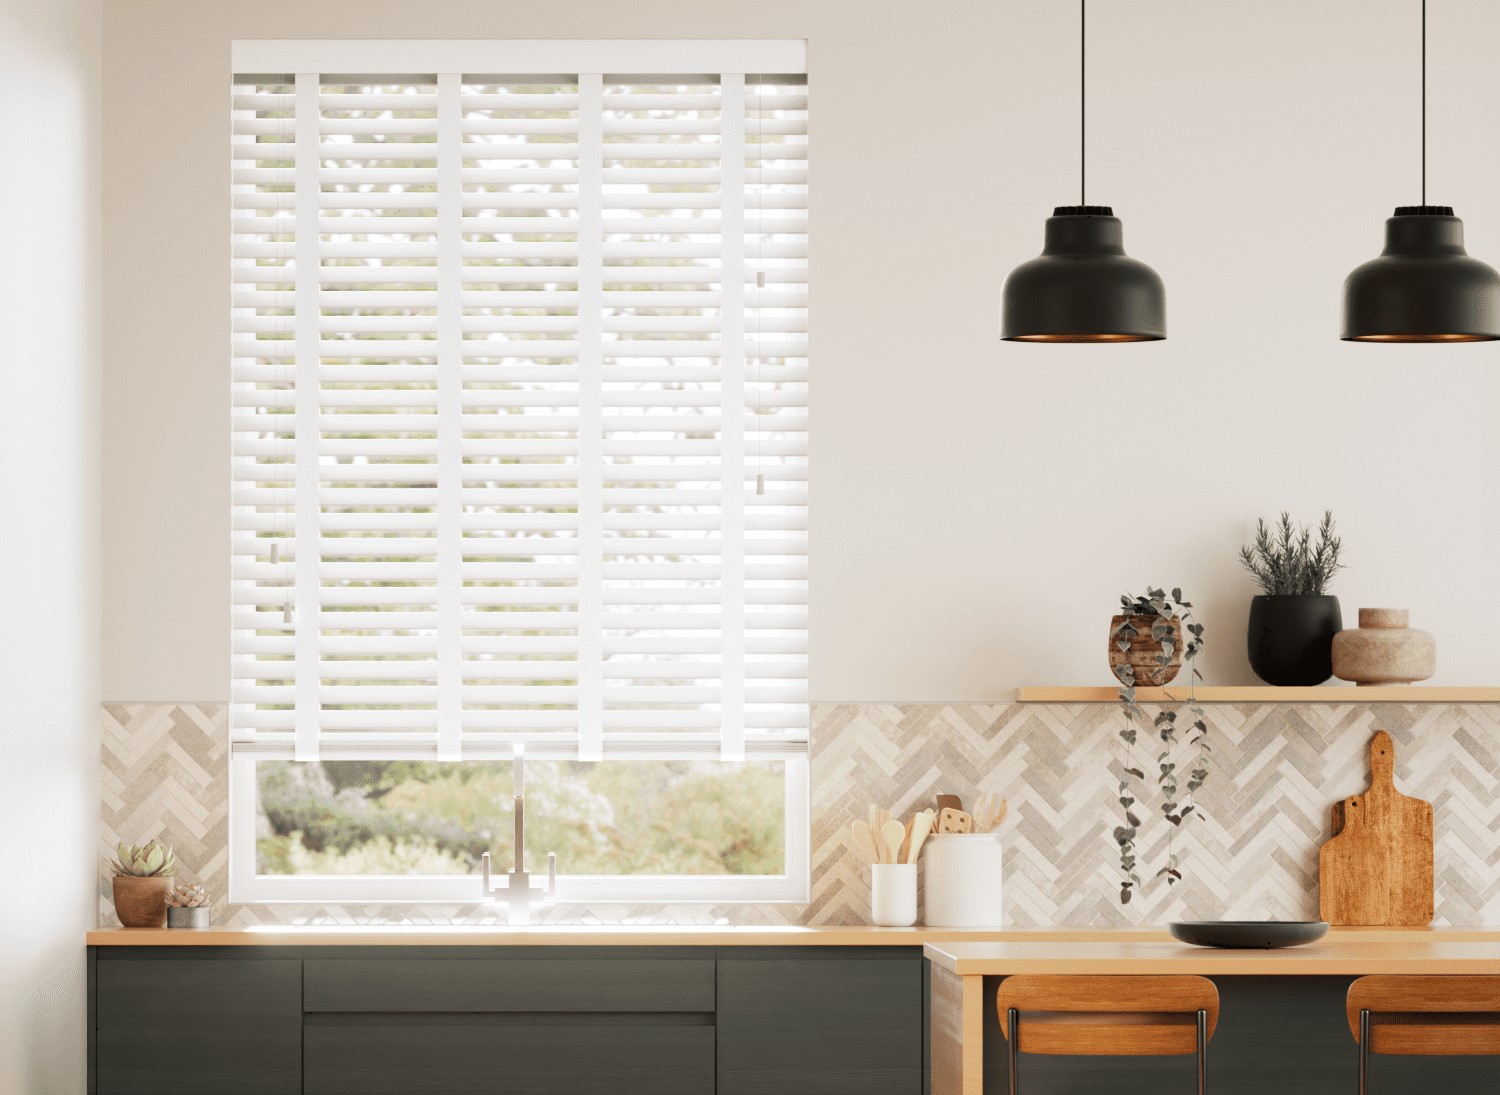
- Horizontal Blinds: Also known as Venetian blinds, these feature horizontal slats that can be tilted up or down. They are often operated by a cord or wand.
- Roller Blinds: These blinds consist of a single sheet of fabric that rolls up and down. They are controlled by a cord or beaded chain.
- Roman Blinds: Similar to roller blinds, these blinds have fabric panels that fold onto each other as they are raised. They are often operated by a cord or chain.
- Pleated Blinds: These blinds have a pleated fabric design and function similarly to roller blinds. They are controlled by a cord or tab.
Once you have identified the type of blinds you have, refer to the manufacturer’s instructions, if available. These instructions may provide specific guidance on how to remove your blinds.
If you do not have access to the manufacturer’s instructions, don’t worry. The following steps will guide you through the general process of removing window blinds, regardless of the type. However, it’s important to exercise caution and adapt these steps as needed depending on the specific design of your blinds.
Step 2: Remove Any Obstructions
Before you can begin removing your window blinds, it’s important to clear the area around the window and remove any obstructions that may hinder the process. This will ensure a safe and efficient removal process. Here’s what you need to do:
- Clear the Window Sill: Remove any objects or decorations from the window sill to create a clear workspace.
- Move Furniture: If there is any furniture near the window, move it out of the way to give yourself enough space to work comfortably.
- Remove Curtains or Drapes: Take down any curtains or drapes that may be covering the window blinds. This will make it easier to access and remove the blinds.
By clearing the area around the window, you’ll have a better view of the blinds and more room to maneuver during the removal process.
Additionally, make sure to take safety precautions while removing any obstructions. Use a step ladder or stool for high windows to avoid straining yourself or causing injury.
Once you’ve cleared the area and removed any obstructions, you’re ready to move on to the next step: removing the valance or headrail.
Step 3: Remove the Valance or Headrail
Now that you have cleared the area around the window and removed any obstructions, it’s time to remove the valance or headrail. The valance is the decorative covering at the top of the blinds, while the headrail is the main component that holds the blinds together. Follow these steps to remove it:
- Identify the Attachment Method: Examine the valance or headrail to determine how it is attached to the window frame. It may be secured with clips, brackets, or screws.
- Remove the Valance Clips or Brackets: If the valance is attached with clips or brackets, gently pry them off using a flathead screwdriver or your fingers. Be careful not to damage the valance or surrounding areas.
- Unscrew the Headrail: If the headrail is attached with screws, use a screwdriver (flathead or Phillips, depending on the screws used) to remove them. Slowly and carefully unscrew each screw, ensuring that the headrail remains stable during the process.
- Gently Lower the Valance or Headrail: Once all the attachments are removed, lower the valance or headrail gently from the window frame. Be cautious not to damage the blinds or any surrounding objects.
It’s important to handle the valance or headrail with care to avoid any accidental damage. If the valance or headrail is stuck or difficult to remove, refer to the manufacturer’s instructions for guidance or consult a professional if necessary.
Now that you have successfully removed the valance or headrail, it’s time to move on to removing the blind slats.
Read more: What Is Window Blinds
Step 4: Remove the Blind Slats
With the valance or headrail removed, it’s time to move on to removing the blind slats. Follow these steps to remove them:
- Locate the Retention Clips: Look for the retention clips that hold the blind slats in place. These clips are usually located at the bottom of each slat.
- Release the Retention Clips: Using your fingers or a small flathead screwdriver, gently press or pry the retention clips to release each slat. Start at the top and work your way down.
- Remove the Blind Slats: Once the retention clips are released, carefully remove each blind slat by sliding it out from the ladder strings or track. Take your time and ensure that the slats are not tangled or twisted.
- Set Aside the Removed Slats: Place the removed blind slats in a safe and flat surface to prevent them from getting damaged. Keep them organized to make reinstallation easier.
It’s important to handle the slats with care to avoid bending or breaking them. If any slats are damaged during removal, note down the measurements to replace them later.
Once all the blind slats are removed, you can proceed to the next step of removing the mounting brackets.
Note: If you have a roller blind, pleated blind, or Roman blind, the process of removing the slats may be different. Refer to the manufacturer’s instructions specific to your type of blind for guidance.
To remove window blinds, start by raising the blinds fully. Then, locate the brackets on each end of the headrail and release them by pressing the tab or sliding the latch. Once the brackets are released, lift the headrail out of the brackets and remove the blinds from the window.
Step 5: Remove the Mounting Brackets
Now that you have removed the blind slats, it’s time to remove the mounting brackets. These brackets are attached to the window frame or wall and hold the blinds in place. Follow these steps to remove them:
- Inspect the Mounting Brackets: Take a close look at the mounting brackets and identify how they are secured. They may be screwed into the window frame, snapped in place, or held with tension.
- Unscrew the Brackets: If the brackets are secured with screws, use a screwdriver to gently unscrew them. Be cautious as you remove the screws to prevent any accidental damage or injury.
- Release Snap-in Brackets: If the brackets are snapped in place, use a flathead screwdriver or your fingers to release the tabs or clips that hold them. Apply gentle pressure to detach the brackets from the window frame.
- Release Tension Brackets: If the brackets are held with tension, carefully pull them away from the window frame while applying gentle pressure to release the tension. Take care not to damage the surrounding area or the blinds.
Make sure to keep track of all the screws and small parts that you remove. Keep them in a container or bag so you can easily find them when it’s time to reinstall the blinds.
Once all the mounting brackets are removed, you’re ready to move on to the next step: removing the bottom rail or cord.
Step 6: Remove the Bottom Rail or Cord
With the mounting brackets removed, it’s time to remove the bottom rail or cord of your blinds. The method will depend on the type of blinds you have. Follow these instructions accordingly:
If you have horizontal blinds:
- Release the Bottom Rail: Look for any clips or locks that hold the bottom rail in place. Release them by pressing the clips or unlocking the locks.
- Slide out the Bottom Rail: Once the clips or locks are released, gently slide out the bottom rail from the ladder strings or track. Take care not to bend or twist the rail.
Read more: How To Close Window Blinds
If you have roller blinds, pleated blinds, or Roman blinds:
- Locate the Cord Lock: Look for the cord lock located on either side of the blinds.
- Release the Cord Lock: Gently press or release the cord lock to loosen the tension and allow the blind to unroll or unfold completely.
- Remove the Bottom Rail or Cord: Once the blind is fully extended, carefully remove the bottom rail or cord from the blind mechanism. Take your time and ensure that it’s disengaged properly.
Be cautious when handling the bottom rail or cord to prevent any accidental damage or injury. If you encounter any difficulties or are unsure about the removal process, refer to the manufacturer’s instructions or seek professional assistance.
Now that the bottom rail or cord is removed, you’re almost done! Keep reading to learn how to clean and store your blinds.
Step 7: Clean and Store the Blinds
After removing the blinds from your windows, it’s a good opportunity to give them a thorough cleaning before storing them. Proper cleaning will help maintain the longevity and appearance of your blinds. Follow these steps to clean and store your blinds:
- Dust or Vacuum: Use a soft cloth, feather duster, or a vacuum cleaner with a brush attachment to remove any dust, dirt, or debris from the blinds. Pay attention to both sides of the slats or fabric panels.
- Spot Clean: If your blinds have any stains or spots, use a mild detergent or cleaning solution mixed with warm water. Dampen a cloth or sponge with the solution and gently scrub the affected areas. Be sure to follow the manufacturer’s guidelines for cleaning specific types of blinds.
- Rinse and Dry: Rinse the blinds with clean water to remove any soap residue. Allow them to air dry completely before storing to prevent any moisture-related issues, such as mold or mildew.
- Store Properly: Once your blinds are clean and dry, it’s time to store them. You can either roll them up or fold them neatly, depending on the type of blinds. Make sure to secure them with ties or bands to prevent any shifting or damage during storage. Find a cool, dry place to store the blinds where they will be protected from extreme temperatures, humidity, and sunlight.
When it’s time to reinstall your blinds, refer back to the manufacturer’s instructions or follow the reverse process of removing the blinds in order to install them properly.
By following these steps to clean and store your blinds, you can maintain their condition and ensure that they will be ready to use when you need them again. Enjoy the clean and refreshing look of your windows once your blinds are reinstalled!
Conclusion
Removing window blinds may seem like a daunting task, but with the right tools and knowledge, it can be a relatively simple process. By following the step-by-step instructions outlined in this article, you can safely and efficiently remove your window blinds without causing any damage to your windows or blinds themselves.
Remember to start by determining the type of blinds you have, as this will help you understand the specific steps required for removal. Clear the area around the window and remove any obstructions to create a safe workspace. Remove the valance or headrail, followed by the blind slats, taking care not to damage them in the process.
Once the blinds are dismantled, you can proceed to remove the mounting brackets and finally the bottom rail or cord. Be gentle and cautious when handling the blinds and their components to avoid any accidents or unnecessary damage.
After removal, take the opportunity to clean your blinds thoroughly before storing them. Dust or vacuum them to remove any dirt or debris, spot clean any stains, rinse them with clean water, and allow them to dry completely. Finally, store them in a cool, dry place where they will be protected from extreme temperatures and sunlight.
By following these steps, you can successfully remove your window blinds, keep them in good condition, and ensure hassle-free reinstallation when the time comes. Whether you’re upgrading to a new style, cleaning your blinds, or making repairs, knowing how to remove window blinds is a valuable skill for any homeowner.
So go ahead, confidently tackle the task of removing your window blinds, and enjoy a fresh new look for your windows!
Frequently Asked Questions about How To Remove Window Blinds
Was this page helpful?
At Storables.com, we guarantee accurate and reliable information. Our content, validated by Expert Board Contributors, is crafted following stringent Editorial Policies. We're committed to providing you with well-researched, expert-backed insights for all your informational needs.


0 thoughts on “How To Remove Window Blinds”