Home>Articles>10 Best LED Replacement For Halogen Bulb for 2025
Articles
10 Best LED Replacement For Halogen Bulb for 2025
Modified: June 10, 2025
Looking for the best LED replacement for halogen bulbs in 2025? Check out our top 10 picks for energy-efficient and long-lasting lighting solutions.
(Many of the links in this article redirect to a specific reviewed product. Your purchase of these products through affiliate links helps to generate commission for Storables.com, at no extra cost. Learn more)
Introducing the ultimate guide to the "10 Best LED Replacement For Halogen Bulb for 2025." As technology continues to advance at a rapid pace, LED lighting has become increasingly popular due to its energy efficiency, longevity, and superior performance. In this comprehensive review, we will explore the top LED Replacement options available in the market for halogen bulbs, ensuring you make an informed decision when it comes to upgrading and maximizing your lighting solutions for the year ahead. Stay tuned to discover the best LED replacements that will not only enhance your space but also save you money in the long run.

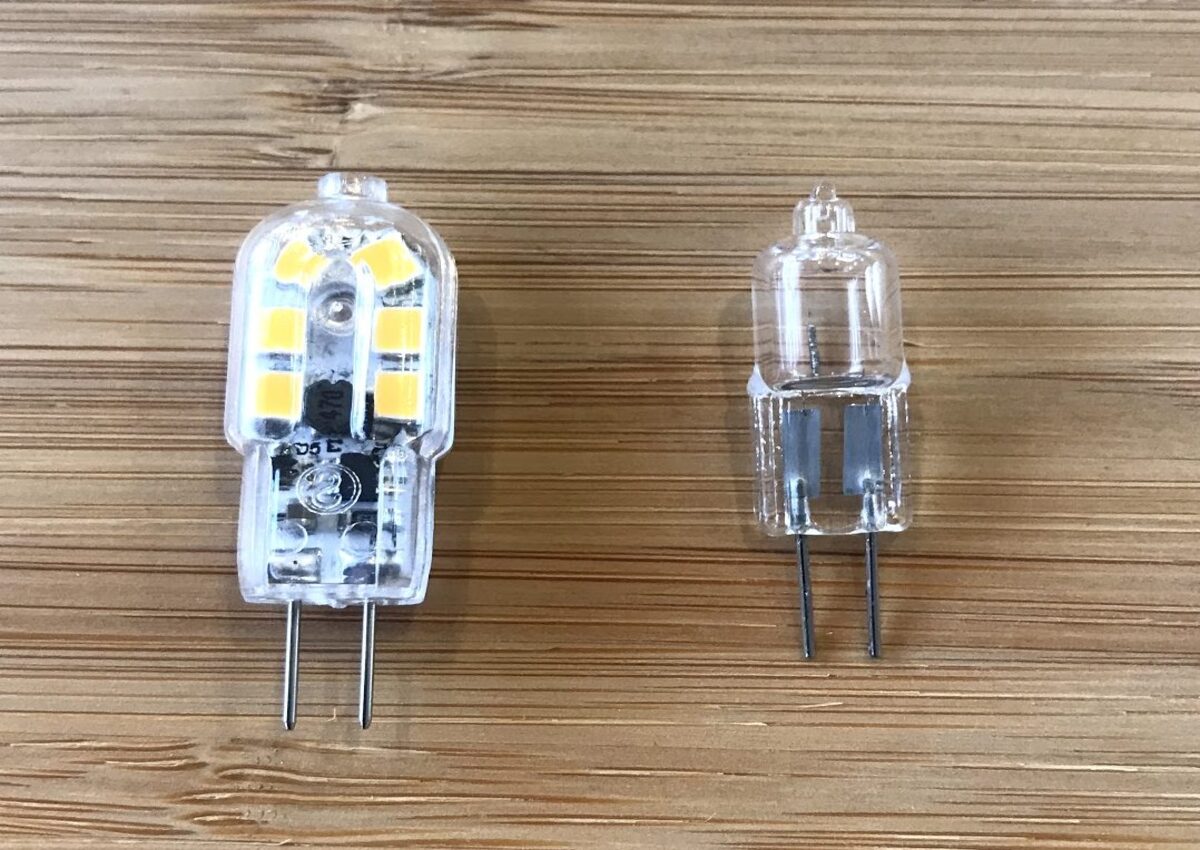
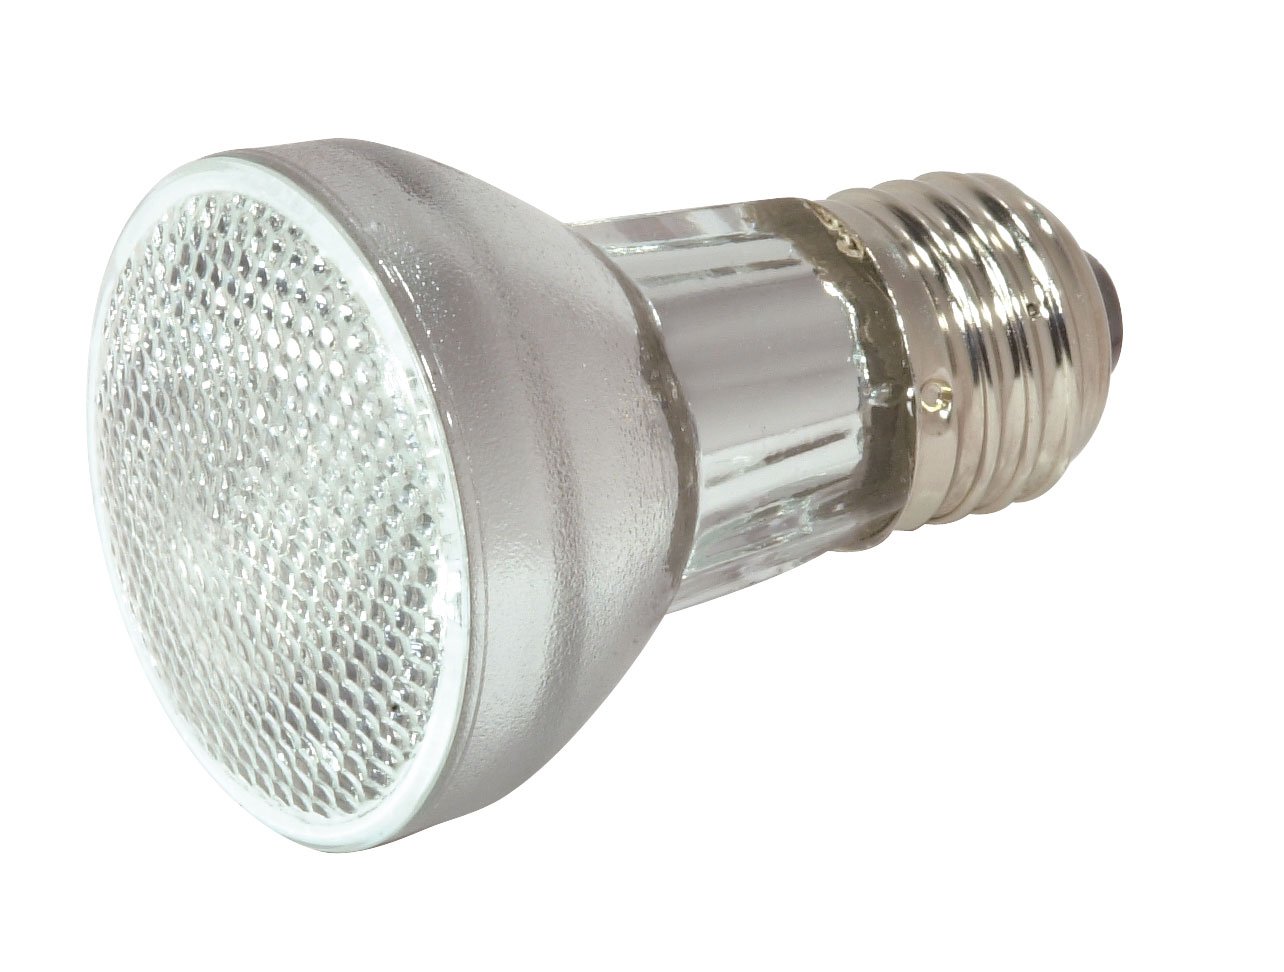
Overall Score: 8.5/10
The Amazing power G4 LED Bulb is a non-dimmable AC/DC 12V bulb that provides bright daylight white light. With a 360-degree beam angle, this bulb instantly brightens up any space, making it ideal for various applications such as landscape lighting, under cabinet lighting, and more. By replacing a 20W G4 light bulb with this 1.5W LED bulb, you can save up to 93% on your energy bill. The high color rendering of over 80 ensures vivid and natural colors without any buzzing or humming. The standard G4 bi pin base makes it easy to replace existing G4 light bulbs. Overall, this LED bulb offers energy efficiency, durability, and a bright lighting solution.
Key Features
- Not dimmable AC/DC 12V g4 LED bulb
- 360° beam angle
- Daylight white 6000K color temperature
- Save up to 93% on energy bill
- High color rendering (CRI > 80)
- Ideal for landscape lighting and more
Specifications
- Color: Daylight White 6000k
- Dimension: 1.46Lx0.47Wx1.46H
- Size: 10 Count (Pack of 1)
Pros
- Energy-saving
- Vivid and natural color
- Easy to install
- Eco-friendly
Cons
- Slightly bluish hue
- May not fit in all fixtures
The Amazing power G4 LED Bulb is a cost-effective replacement for traditional 20W G4 halogen bulbs. With its energy-saving features and bright daylight white light, it provides a refreshing upgrade to any space. While some users have noted a slightly bluish hue, the overall performance and efficiency of this LED bulb are commendable. Its easy installation and eco-friendly nature make it a practical choice for various lighting applications. Whether you need landscape lighting or under cabinet illumination, this G4 LED bulb offers a reliable and long-lasting solution. Upgrade your lighting while reducing energy consumption with the Amazing power G4 LED Bulb.

Overall Score: 7.5/10
The Bonlux R7S LED Bulb 78mm is a versatile and energy-efficient lighting solution. This bulb is designed to replace 50W incandescent bulbs, providing significant energy savings of over 90%. It features a 360-degree beam angle, ensuring ample illumination for various applications such as floodlights, work and security lights, and floor lamps. The bulb has a good heat dissipation system, thanks to its glass bulb cover and COB LED, making it durable and safe to use. Before purchasing, make sure to remove or bypass the ballast in your fixture. With its daylight 6000K color temperature, this bulb offers a bright and crisp light. Despite a few fitting issues reported by some customers, the Bonlux R7S LED bulb proves to be a reliable and efficient lighting solution.
Key Features
- -NOTICE – Ballast need to removed or bypassed before you install this 78mm R7S led bulb.
- -TECHNICAL FEATURES – 5W 78mm R7S double ended base j type led bulb, 360-degree beam angle, AC100-130V input voltage, 1pcs super bright COB LEDs.
- -WIDELY APPLICATION – T3 R7S 78mm led bulb use for floodlight replacement bulb, work and security lights, workshop lighting, stage and studio lighting, floor lamp, speciality lights, general lighting, etc.
- -ENERGY EFFICIENT – Replace 50W incandescent bulb by 5W R7S J78 double ended led light bulb, save over 90% on electricity bill of lighting.
- -GOOD SAFETY – 78mm R7S floor lamp has glass bulb cover and good COB LED, makes it has good heat dissipation, safer and more durable.
Specifications
- Color: 5w 78mm Cw 2 Pack
- Dimension: 0.55Lx0.55Wx3.07H
- Size: 2 Count (Pack of 1)
Pros
- Energy-efficient with over 90% electricity bill savings
- 360-degree beam angle for optimal illumination
- Durable and safe with good heat dissipation system
- Ideal for various applications and lighting needs
Cons
- Fitting issues reported by some customers
- Color described as daylight white, but appears more yellowish
- Occasional flickering issues with some bulbs
The Bonlux R7S LED Bulb 78mm provides an energy-efficient and durable lighting solution for a wide range of applications. With its 360-degree beam angle and bright daylight white light, it offers ample illumination for floodlights, work lights, and more. While some customers have reported issues with fitting and color consistency, overall, this bulb proves to be a reliable choice for those seeking to replace traditional incandescent bulbs. It is particularly beneficial for its excellent heat dissipation system, ensuring safety and durability. The Bonlux R7S LED Bulb 78mm is a cost-effective and environmentally friendly choice for upgrading your lighting setup.

Overall Score: 8/10
The SSQY G8/GY8.6 LED Light Bulb is a 3-watt warm white bulb that is perfect for under-cabinet lighting. It provides clear and comfortable light in a 360-degree beam angle without flickering or dazzling. With a base G8 LED bulb, it fits well in traditional G8 sockets and other lamp holders. The flat ceramic base allows for excellent heat dissipation. It is an energy-saving bulb, using only 3 watts of power and replacing 20-25W halogen bulbs. It has a long lifespan of 25000 hours, saving you money on frequent bulb replacements. This bulb is not dimmable and comes with a 3-month refund and 1-year warranty from SSQY.
Key Features
- Base G8 LED bulb with 360-degree beam angle
- CRI 85 for vibrant and natural colors
- Flat Ceramic Base for heat dissipation
- Energy-saving, uses only 3 watts of power
- Long lifespan of 25000 hours
- Wide application in living rooms, kitchens, and more
- 3-month refund and 1-year warranty
Specifications
- Color: Warm White 3000k
Pros
- Clear and comfortable light
- No flickering or dazzling
- Fits well in various lamp holders
- Excellent heat dissipation
- Energy-saving
- Long lifespan
- Wide application
- Warranty
Cons
- Not dimmable
The SSQY G8/GY8.6 LED Light Bulb is a reliable and energy-efficient solution for under-cabinet lighting. With its clear and comfortable light, wide beam angle, and excellent heat dissipation, it is a versatile choice for various applications. The energy-saving feature and long lifespan add value by saving money on electricity bills and frequent bulb replacements. However, it is important to note that this bulb is not dimmable. Overall, the SSQY G8/GY8.6 LED Light Bulb offers great performance and functionality, making it a recommended choice for those in need of a high-quality and efficient lighting solution.

Overall Score: 7/10
The Lustaled 118MM R7S COB LED Bulbs are a great replacement option for traditional halogen floodlights. These 9W LED bulbs have a daylight color temperature of 6000K and a transparent glass housing, providing high brightness and durability. They consume significantly less energy compared to their 100W halogen counterparts, making them an energy-saving choice. With their instant on full brightness, good radiating properties, and environmental-friendly design, these LED bulbs are perfect for various applications, including floodlight replacement, floor lamps, reading lights, security lights, and more. However, some customers have reported issues with the brightness and durability of the bulbs. Overall, the Lustaled 118MM R7S COB LED Bulbs offer a cool and efficient lighting solution for your specialized lighting needs.
Key Features
- 9 Watts J118 R7S LED COB Light Bulbs
- Daylight 6000k, AC 100-130V
- Durable and transparent glass housing
- Energy-saving replacement for 100W halogen floodlights
- Ideal for various applications
Specifications
- Color: Daylight
- Dimension: 4.65Lx0.59Wx0.59H
- Size: 2 Count (Pack of 1)
Pros
- Durable and transparent glass housing
- Energy-saving and environmentally friendly
- Instant on full brightness
- Suitable for various applications
Cons
- Brightness may not meet expectations
- Durability issues reported by some customers
- Not as bright as advertised
Overall, the Lustaled 118MM R7S COB LED Bulbs provide a cool and efficient lighting solution for specialized lighting needs. The bulbs offer high brightness and durability with their transparent glass housing. They are energy-saving and environmentally friendly, making them a great replacement option for 100W halogen floodlights. However, some customers have reported issues with the brightness and durability of the bulbs. Despite these concerns, the Lustaled LED bulbs are suitable for various applications, providing instant on full brightness. Whether you need lighting for floodlight replacement, floor lamps, or security lights, these LED bulbs are a viable choice.

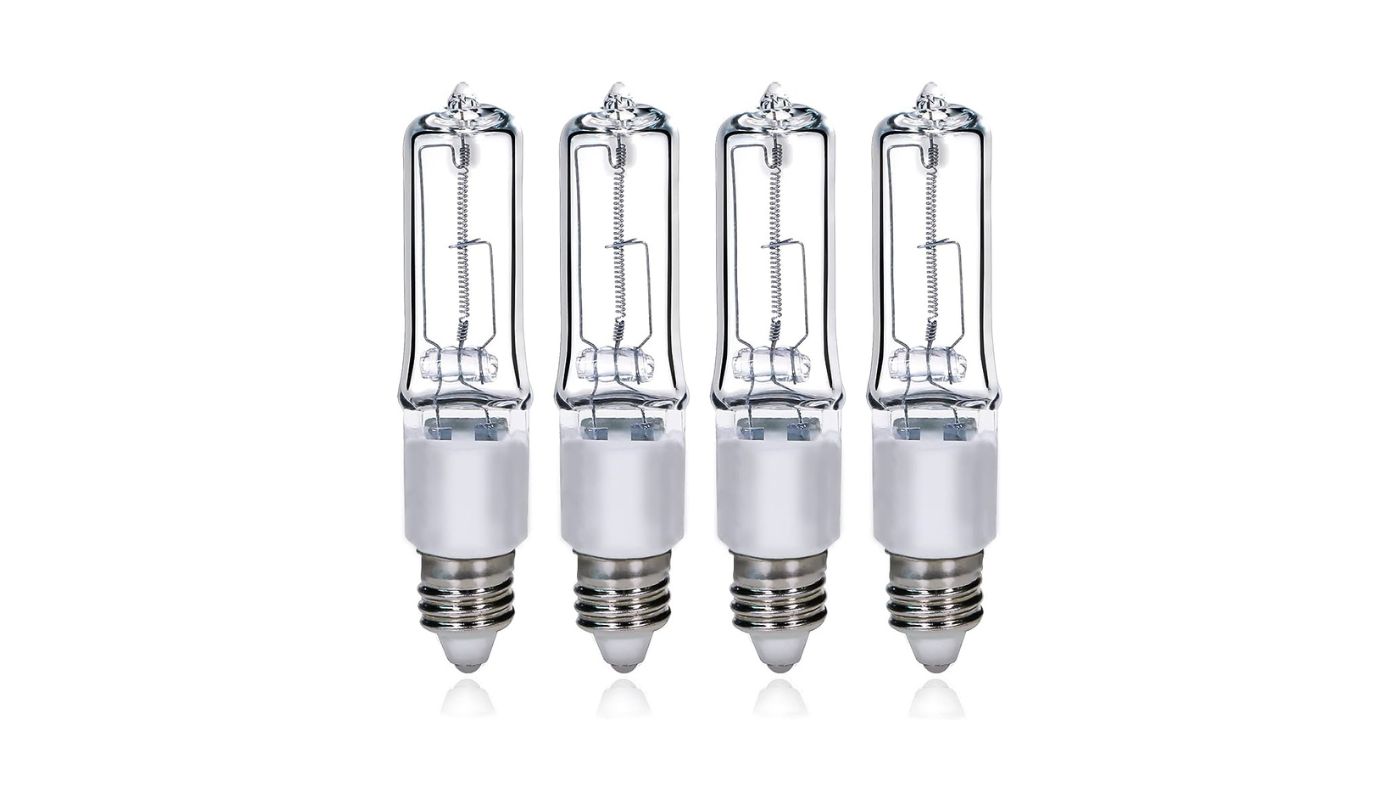
Overall Score: 7.8/10
The 118mm 20W R7S LED Bulb is a high-performance lighting option that is perfect for a variety of applications. With a 360-degree beam angle and a cool white 6000K color temperature, this bulb provides bright and efficient lighting. It is dimmable and easy to install with a standard R7S 118 base. Plus, it uses less energy than traditional halogen bulbs, helping you save money on your electric bills. The bulb has a lifespan of around 30,000 hours, ensuring long-lasting performance. It is suitable for floodlights, work and security lights, workshop lighting, stage and studio lamps, LED ceramic metal halide lamps, floor lamps, specialty lights, and general lighting. If you have any questions or issues, the manufacturer offers excellent customer service and is always available to assist you. Upgrade your lighting with the 118mm 20W R7S LED Bulb!
Key Features
- High-performance 20W R7S LED bulbs
- 360-degree beam angle
- Cool white 6000K color temperature
- Dimmable
- Easy to install with a standard R7S 118 base
Specifications
- Color: Cool White
- Dimension: 0.63Lx0.01Wx4.65H
- Size: 2 Count (Pack of 1)
Pros
- Energy-saving
- Long lifespan
- Instant on full brightness
- Good radiating
- No radiation
- Environmental protection
Cons
- Flickering issue reported by some customers
- Not as bright as traditional bulbs
The 118mm 20W R7S LED Bulb offers a high-performance and energy-efficient lighting solution for a wide range of applications. With its dimmable feature and easy installation, it is a convenient choice for both residential and commercial settings. The bulb’s cool white color temperature creates a bright and refreshing atmosphere, while its 360-degree beam angle ensures efficient light distribution. Customers appreciate the long lifespan of the bulb, as well as the excellent customer service provided by the manufacturer. However, a few customers have reported flickering issues and the bulb may not be as bright as traditional halogen bulbs. Overall, the 118mm 20W R7S LED Bulb is a reliable option that delivers on both performance and energy savings.

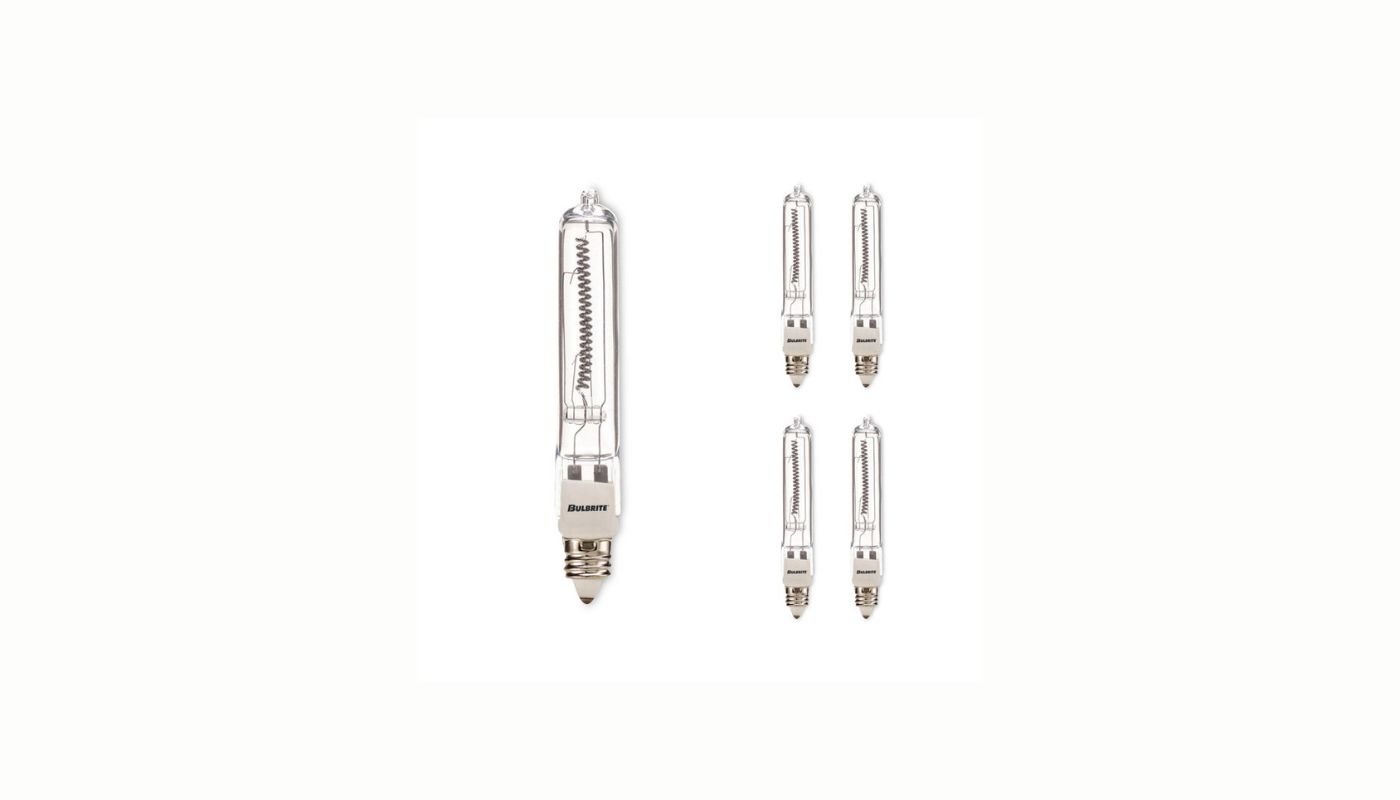
Overall Score: 7.5/10
The 118mm 20W R7S LED Bulb is a high-performance lighting solution that offers bright, energy-saving illumination. With a 360-degree beam angle and a cool white color temperature of 6000K, this bulb is perfect for floodlight replacement, workshop lighting, and more. It has a long lifespan of about 30,000 hours, which means it will save you time and money on replacements. The bulb is easy to install with a standard R7S 118 base and is non-dimmable. It also comes with excellent customer service for any questions or concerns. Overall, this LED bulb provides high-quality lighting with energy efficiency and convenience.
Key Features
- High-performance 20W 118mm R7S LED Bulbs
- 360-degree beam angle
- Cool White 6000K color temperature
- Energy-saving and long lifespan of 30,000 hours
- Suitable for floodlights, work lights, and more
- Easy to install with a standard R7S 118 base
- Non-dimmable
- Excellent customer service
Specifications
- Color: Cool White
- Dimension: 0.63Lx0.01Wx3.07H
- Size: 4 Count (Pack of 1)
Pros
- Bright lighting with a cool white color temperature
- Energy-saving and long-lasting
- Wide beam angle for comprehensive illumination
- Versatile for various lighting applications
- Easy installation with a standard base
- Responsive customer service
Cons
- Length may be an issue for certain fixtures
- Packaging could be improved for better product protection
- Limited options for light color
The 118mm 20W R7S LED Bulb is a reliable and energy-efficient lighting solution for a variety of applications. Its high-performance output, long lifespan, and easy installation make it a convenient choice for both residential and commercial spaces. The bulb’s cool white color temperature provides bright and clear illumination, while its non-dimmable feature ensures consistent lighting. Although there may be some minor drawbacks, such as length compatibility and packaging concerns, the overall quality of the product and responsive customer service make it a worthwhile purchase. Upgrade your lighting setup with this LED bulb and enjoy superior brightness and energy savings.
")
Overall Score: 7/10
The CTKcom 78 mm/3.1 in R7S LED Bulb is a 2-pack of 10 Watt LED bulbs that serve as halogen replacements. With a bright 6000K white light and a 360-degree beam angle, these bulbs provide instant full brightness and save over 85% in energy consumption. They are dimmable, environmentally friendly, and have a high color index and power factor. While suitable for various lighting purposes, they cannot be used in totally enclosed fixtures. The bulbs come with transparent glass housing for durability and high brightness. However, some customers have reported a short lifespan and flickering issues. Overall, the CTKcom R7S LED Bulb offers a cost-effective and energy-efficient lighting solution.
Key Features
- 2-pack of 10W R7S LED bulbs
- 6000K white light, dimmable
- 360-degree beam angle, instant full brightness
- 85% energy savings, high color index
- Transparent glass housing for durability
Specifications
- Color: White
- Dimension: 0.51Lx0.01Wx3.07H
- Size: 2 Count (Pack of 1)
Pros
- Energy-saving and environmentally friendly
- High brightness and color index
- Durable transparent glass housing
Cons
- Short lifespan reported by some customers
- Flickering issues in certain cases
- Cannot be used in totally enclosed fixtures
The CTKcom 78 mm/3.1 in R7S LED Bulb is a cost-effective and energy-efficient alternative to halogen bulbs. With its high brightness, dimmable feature, and 360-degree beam angle, it provides ample lighting for various applications. However, some customers have experienced a shorter lifespan and flickering issues, which may be a concern for long-term use. If you’re looking for a reliable LED replacement for your halogen bulbs and don’t mind occasional flickering, the CTKcom R7S LED Bulb is worth considering.

Overall Score: 7/10
The CTKcom 118mm/4.65In 15W White 6000K R7S LED Bulb is a pack of 3 high-quality LED bulbs that are perfect for replacing halogen bulbs. With a double-ended design and dimmable feature, these bulbs are versatile and offer a cool white light. They consume only 15W of power while providing the same brightness as a 150W halogen bulb, resulting in more than 85% energy savings. The bulbs have a 360-degree beam angle, instant full brightness, and high color index. They are suitable for various applications such as floodlights, work lights, and household lighting. However, some users have reported that the bulbs are not as bright as expected and may experience flickering issues.
Key Features
- 3-pack 15 Watt Double Ended R7S J118 LED Light Bulb /Halogen Replacement Bulb; 6000K Cool white, Dimmable, 120V Input
- Super Bright: 15W consumption 150W equivalent halogen/incandescent. Double ended R7S floodlight halogen LED replacement bulb; lower consumption and high brightness, save more than 85%
- 360 Degree beam angle instant on full brightness, Instant on full 1000 lumen brightness, Energy saving, Good radiating, No radiation, Environmental protection. With CE Ro Hs certificated. High color index, high power factor
- Widely use: Use in floodlight replacement bulb, work and security lights, workshop lighting, stage and studio lamp, LED metal halide lamp, floor Lamps. Household lighting, night lighting, advertising lighting, General Lighting; not suitable for use in totally enclosed fixture
- Please remember to remove the ballast if you replace your metal halide lamp with our r7s LED. Otherwise, the lamp will flicker. TRANSPARENT HOUSING: Our T3 J type LED lamp is made of durable and transparent glass, bring you high brightness
Specifications
- Color: White
- Dimension: 0.51Lx0.01Wx4.65H
- Size: 3 Count (Pack of 1)
Pros
- Energy-saving: Consumes 15W while equivalent to 150W halogen bulb
- High brightness: Instant on full 1000 lumen brightness
- Environmentally friendly: No radiation, CE Ro Hs certified
- Wide usage: Suitable for various applications including floodlights, work lights, and more
- Durable construction: Made of transparent glass for better brightness
Cons
- Not as bright as a 150 watt halogen bulb
- Some users reported flickering issues
- Color temperature may not match the description
The CTKcom 118mm/4.65In 15W White 6000K R7S LED Bulb is a reliable and energy-efficient alternative to halogen bulbs. With its high brightness and dimmable feature, it offers versatility in various lighting applications. The bulbs’ durable construction and environmentally friendly design make them a practical choice for both residential and commercial use. However, it’s important to note that the brightness may not be on par with a 150W halogen bulb, and some users have experienced flickering. Overall, this LED bulb pack provides good value for money and contributes to reducing energy consumption.

Overall Score: 7.2/10
The KIMROO 15W 118mm R7S LED Bulbs are an excellent replacement for 150W halogen bulbs. With a 360-degree beam angle, dimmable capability, and AC110-140V input, these LED bulbs provide high brightness and can help you save money on your electricity bill with their low energy consumption. Made of durable and transparent glass, these bulbs have a long lifespan of about 30,000 hours, reducing the need for frequent replacements. Installing these bulbs is easy with their standard R7S base. They are suitable for various applications such as floodlights, work lights, stage and studio lamps, and more. The bulbs are available in a warm white color.
Key Features
- 118mm r7s cob led bulbs
- Dimmable (use with triac dimmer)
- AC110-140V input
- 360-degree beam angle
- Durable and transparent glass
- Energy-saving (15W replaces 150W halogen)
- Easy to install with standard R7S base
- Suitable for various lighting applications
Specifications
- Color: Warm White
Pros
- High brightness
- Energy-efficient
- Long lifespan
- Easy installation
Cons
- Inconsistent color/temperature in some packs
- Extremely bright for some users
- Flickering issues reported
- Brightness may be lower than expected
The KIMROO 15W 118mm R7S LED Bulbs offer a cost-effective and energy-efficient solution for replacing traditional halogen bulbs. They provide excellent performance with their high brightness and dimmable capability. Although some users have experienced issues with inconsistent color or flickering, these bulbs have generally received positive reviews. With their long lifespan and easy installation, they are a reliable choice for various lighting applications. However, it’s important to note that the brightness may not be equal to a 150W incandescent bulb. Overall, if you’re looking for a durable and energy-saving lighting option, the KIMROO LED Bulbs are worth considering.
 - Dimmable R7S Double Ended Flood Light")
Overall Score: 7/10
The KIMROO 15W 118mm R7S LED Bulbs offer excellent performance and energy savings. With a 150W halogen equivalent, these dimmable LED bulbs consume 90% less energy and provide high brightness. They have a long lifespan of approximately 30,000 hours, reducing replacement frequency and saving time and money. Installation is easy with their standard R7S base. These bulbs are suitable for use in floodlights, work and security lights, workshop lighting, stage and studio lamps, and more. However, some customers have reported issues with dimming compatibility and broken insulators. Overall, the KIMROO 15W 118mm R7S LED Bulbs are a cost-effective and energy-efficient lighting solution.
Key Features
- EXCELLENT PERFORMANCE with 360 degree beam angle
- SAVING MONEY with 90% less energy use
- LONG LIFE with a lifespan of 30,000 hours
- EASY TO INSTALL with standard R7S base
- VERSATILE for various lighting applications
Specifications
- Color: White
- Dimension: 1.89Lx0.01Wx4.65H
- Size: 2 Count (Pack of 1)
Pros
- High brightness
- Energy savings
- Long lifespan
- Easy installation
- Versatile usage
Cons
- Incompatibility with some dimmers
- Reports of broken insulators
- Not as bright as expected
The KIMROO 15W 118mm R7S LED Bulbs are a cost-effective and energy-efficient lighting solution. They provide excellent performance with high brightness and consume 90% less energy than halogen bulbs. With a long lifespan and easy installation, these bulbs offer convenience and savings. However, there have been reports of compatibility issues with certain dimmers and broken insulators. While they may not be as bright as expected for some users, they are still adequate for most lighting needs. Overall, the KIMROO 15W 118mm R7S LED Bulbs are a reliable choice to replace traditional halogen bulbs and save on electricity bills.
Buyer's Guide: LED Replacement for Halogen Bulb
Read also: 10 Best Par20 Halogen Bulb for 2025
Key Factors to Consider
When buying an LED replacement for a halogen bulb, keep the following factors in mind to ensure you make an informed decision:1. Bulb Type
- Determine the specific halogen bulb type you currently use (e.g., MR16, PAR20, GU10) to find the corresponding LED replacement.
- Ensure the LED replacement is compatible with your existing fixtures to avoid any installation issues.
2. Brightness and Color Temperature
- Consider your lighting needs and preferences when selecting the brightness level of the LED replacement.
- Look for the desired color temperature, ranging from warm white (2700K-3500K) to cool white (5000K-6500K), to create the desired ambiance.
3. Energy Efficiency
- Choose an LED bulb with the highest lumen output per watt (lm/W) to maximize energy efficiency.
- Look for Energy Star or other certifications to ensure the LED replacement meets energy-saving standards.
4. Lifespan and Durability
- Consider the longevity of the LED replacement. LEDs typically have a longer lifespan than halogen bulbs, reducing the frequency of replacements.
- Look for LED bulbs with robust construction, shock resistance, and warranties to ensure durability and peace of mind.
5. Dimmability
- Check whether the LED replacement is dimmable if you plan to use it with a dimmer switch. Not all LEDs have this capability, so verify compatibility.
6. Compatibility with Transformers
- If you're replacing halogen bulbs that are using low-voltage transformers, ensure that the LED replacements are specified for use with these transformers.
7. Heat Dissipation
- LEDs generate less heat compared to halogen bulbs. Check if the LED replacement has effective heat dissipation features, such as heat sinks, to maintain optimal performance.
Frequently Asked Questions about 10 Best LED Replacement For Halogen Bulb For 2025
Yes, LED replacements can provide comparable brightness while consuming less energy. Make sure to check the lumen output indicated on the LED packaging to choose an appropriate replacement.
In most cases, yes. LED replacements are available for various bulb types and are compatible with standard fixtures. However, it’s important to verify compatibility, especially for unique or specialized fixtures.
Absolutely! LED replacements are highly energy-efficient and can save you a significant amount of money in the long run. By consuming less energy and having a longer lifespan, they reduce both electricity costs and the frequency of bulb replacements.
Not all LED replacements are dimmable, so it’s crucial to check the packaging or product specifications to ensure compatibility with your dimmer switch. Dimmable LED replacements are available but may require specific dimmers for optimal performance.
LED replacements generally last much longer than halogen bulbs. While the lifespan may vary depending on usage, quality, and other factors, LED replacements can typically last up to 25 times longer than halogen bulbs.
Yes, LED replacements generate significantly less heat than halogen bulbs. LEDs are more efficient at converting electricity into light, resulting in minimal heat production. Nonetheless, it is still important to ensure proper ventilation and avoid using LED replacements in enclosed fixtures without proper heat dissipation.
Was this page helpful?
Trust Storables.com for unbiased and honest product reviews. Our reviews are rigorously assessed by our Expert Board Contributors and adhere to strict Editorial Standards. We ensure that each review is transparent and trustworthy, helping you make informed purchasing decisions.

0 thoughts on “10 Best LED Replacement For Halogen Bulb for 2025”