Articles
How To Change A Halogen Light Bulb
Modified: March 1, 2024
Discover step-by-step instructions and expert tips in our comprehensive guide on changing a halogen light bulb. Read more articles on home lighting solutions.
(Many of the links in this article redirect to a specific reviewed product. Your purchase of these products through affiliate links helps to generate commission for Storables.com, at no extra cost. Learn more)
Introduction
Changing a halogen light bulb may seem like a simple task, but it’s important to approach it with caution to ensure your safety and prevent any damage to the bulb or fixture. Halogen light bulbs are known for their bright and focused light, making them a popular choice for various lighting applications.
In this article, we will guide you through the process of changing a halogen light bulb step by step. From the necessary safety precautions to the tools and materials needed, we’ve got you covered. So, let’s shed some light on how to change a halogen light bulb!
Key Takeaways:
- Prioritize safety by turning off power, allowing the bulb to cool, and using protective equipment when changing a halogen light bulb. Handle the bulb carefully and choose the right replacement for optimal performance.
- Gather necessary tools, follow step-by-step instructions, and dispose of old bulbs safely. Enjoy a well-lit space by confidently changing your halogen light bulb with ease and confidence!
Read more: How To Change A 2 Pin Halogen Light Bulb
Safety Precautions
Before you start changing a halogen light bulb, it’s crucial to ensure your safety. Follow these safety precautions to minimize the risk of accidents and injuries:
- Turn off the power: Before you begin, make sure to turn off the power to the light fixture. This will help prevent electric shocks or short circuits. If you’re not sure which circuit breaker controls the specific light fixture, it’s best to turn off the main power for added safety.
- Allow the bulb to cool down: Halogen bulbs can become extremely hot when in use. Give the bulb enough time to cool down before attempting to replace it. This will reduce the risk of burning yourself and ensure that the glass of the bulb is not fragile or prone to shattering.
- Use protective equipment: To protect yourself from any broken glass or potential burns, consider wearing gloves and safety glasses. This will provide an extra layer of protection while handling the bulb.
- Handle the bulb carefully: Halogen bulbs are delicate and can be easily damaged if mishandled. Avoid touching the glass of the bulb with your bare hands as the oils from your skin can cause the bulb to heat unevenly, leading to premature failure.
- Be aware of the bulb’s wattage: Make sure that the replacement bulb you use has the same wattage as the original one. Using a higher wattage bulb can overload the fixture and potentially cause a fire hazard.
By following these safety precautions, you can ensure a safer and more efficient process when changing a halogen light bulb. Remember, safety should always be your top priority when working with any electrical components.
Tools and Materials Needed
Before you can start replacing your halogen light bulb, gather the following tools and materials:
- Gloves: Disposable gloves or utility gloves can help protect your hands from any accidental cuts or burns.
- Safety glasses: Safety glasses provide an extra layer of protection for your eyes in case the bulb shatters during the removal process.
- Step ladder: If the light fixture is out of reach, a step ladder will come in handy to safely access it.
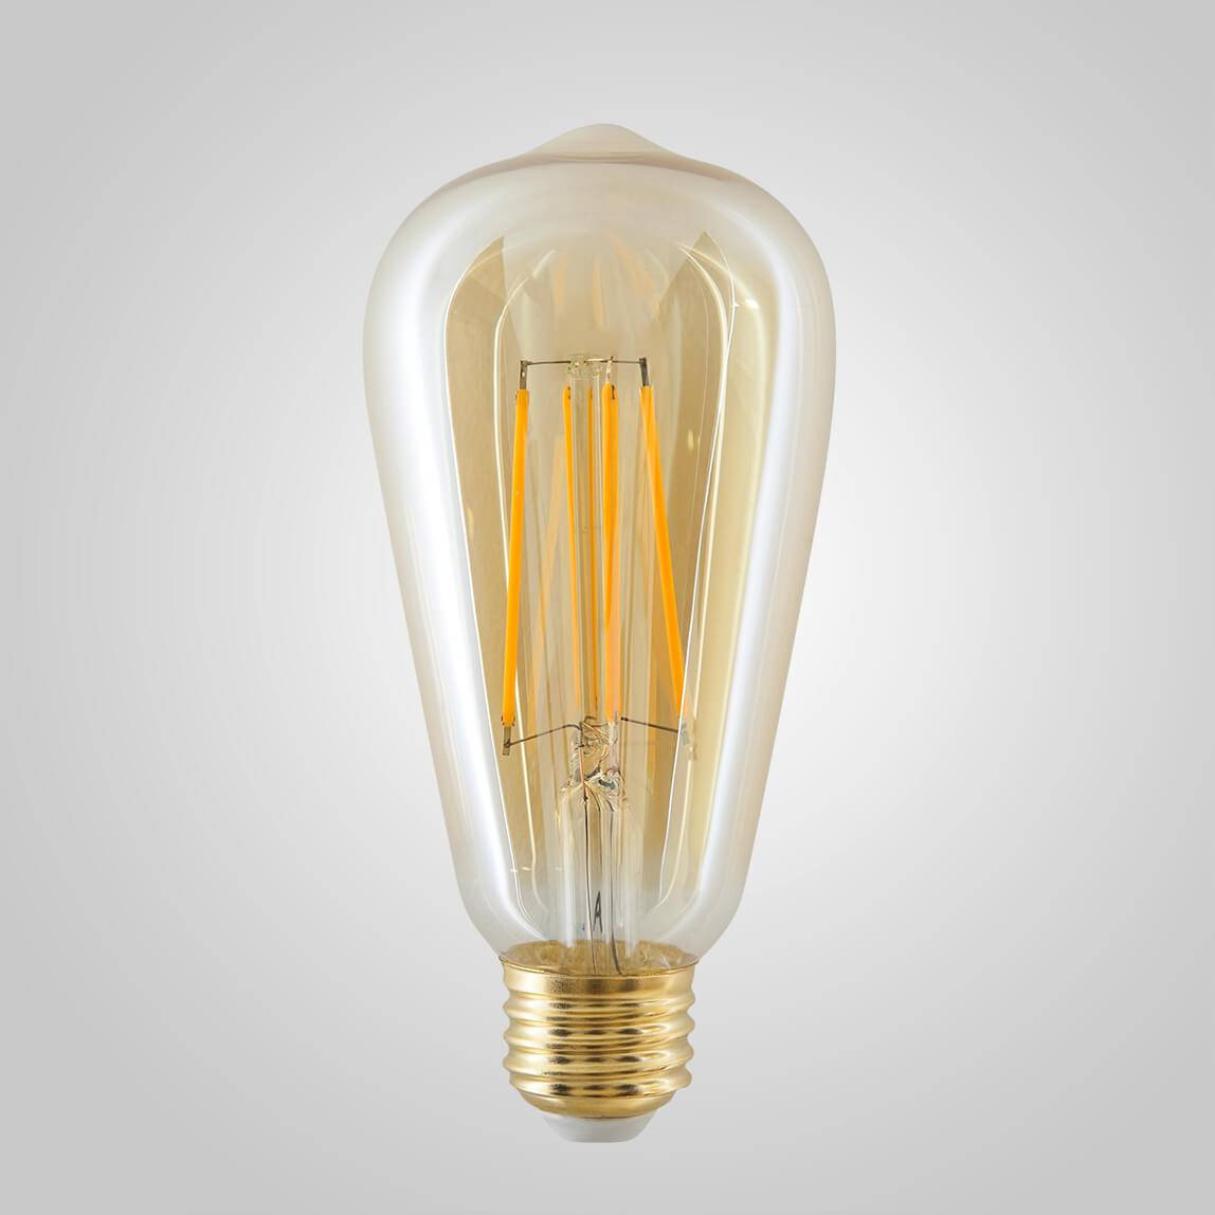
- Replacement bulb: Make sure to purchase a compatible replacement halogen bulb with the appropriate wattage and base type for your fixture.
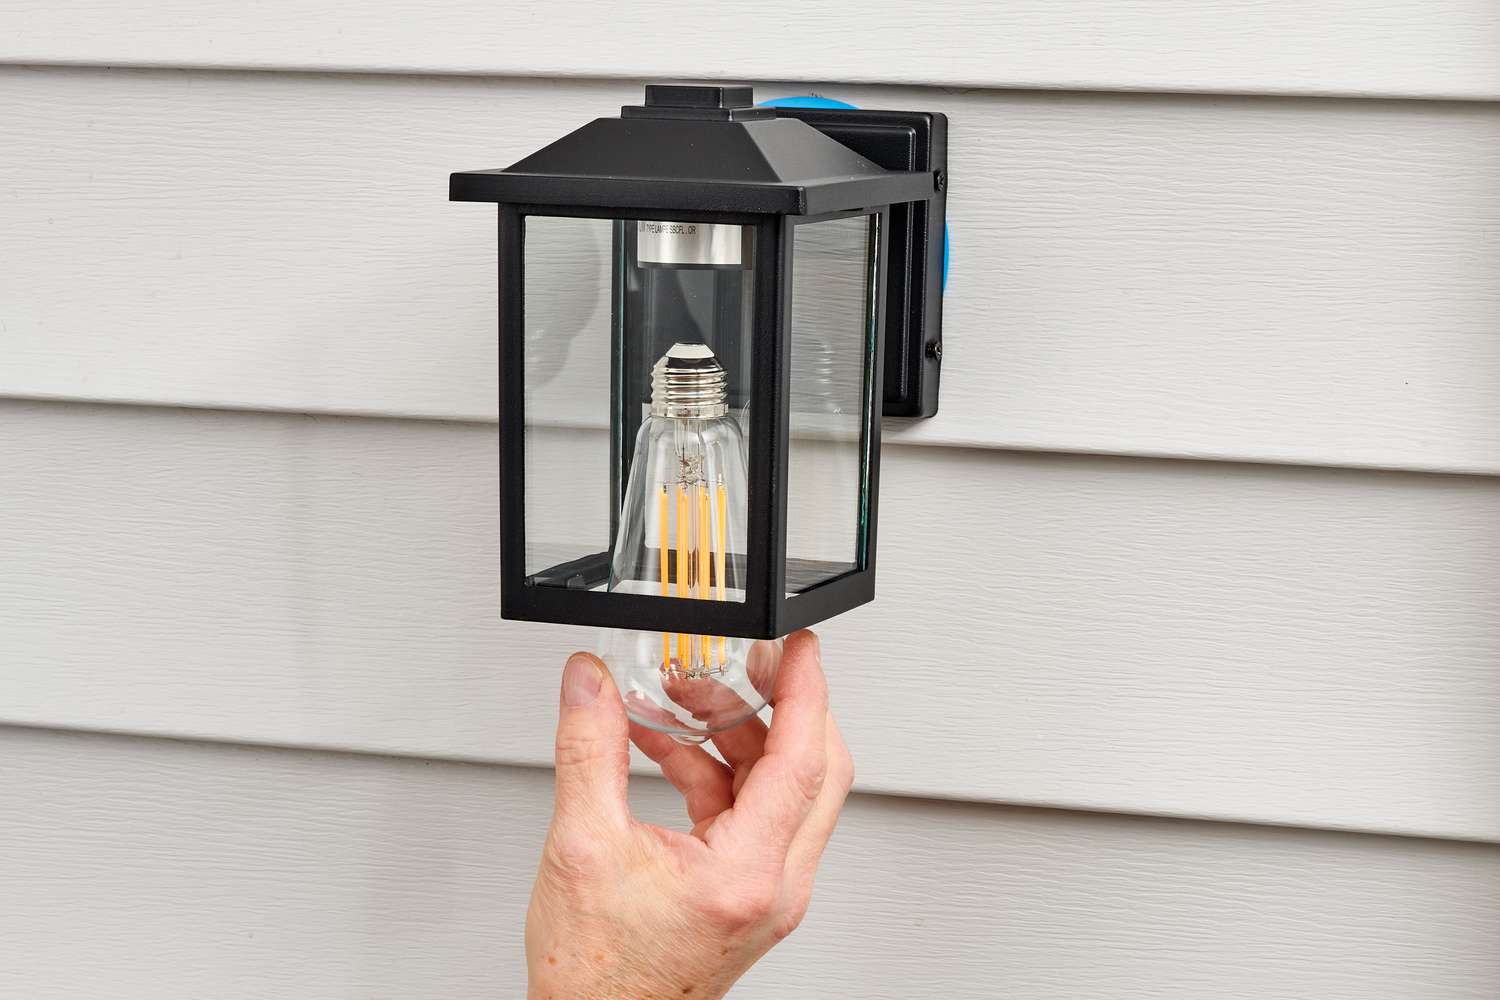
- Clean cloth or paper towel: Using a clean cloth or paper towel will help ensure that your fingers don’t come into direct contact with the glass of the new bulb, reducing the likelihood of damage or premature failure.
Having these tools and materials ready will not only make the process easier but also help protect you and the bulb from any potential harm. Always remember to prioritize safety and take your time when replacing the halogen light bulb.
When changing a halogen light bulb, be sure to let the bulb cool down before attempting to remove it. Halogen bulbs can get very hot and may cause burns if handled too soon after use.
Step-by-Step Instructions
Now that you have gathered the necessary tools and materials, follow these step-by-step instructions to change your halogen light bulb:
- Turn off the power: Begin by turning off the power to the light fixture at the circuit breaker or main power supply.
- Allow the bulb to cool: Give the halogen bulb enough time to cool down before attempting to remove it. This will help prevent burns or injuries.
- Put on gloves and safety glasses: As an added precaution, put on gloves and safety glasses to protect your hands and eyes during the replacement process.
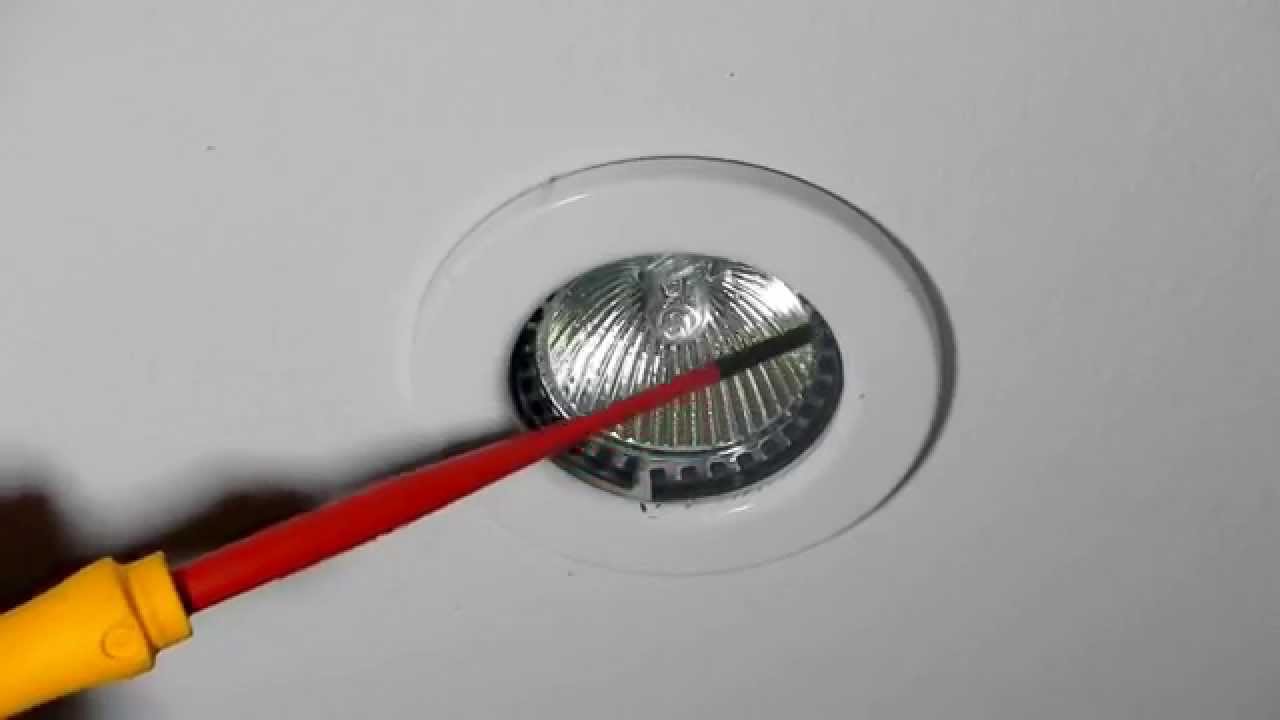
- Locate the bulb: Depending on the type of light fixture, the bulb may be easily accessible or enclosed within a glass cover. Take note of the bulb’s location and any protective coverings.
- Remove the protective cover (if applicable): If there is a protective cover or lens over the halogen bulb, carefully remove it by unscrewing it or releasing any clips or fasteners holding it in place.
- Remove the old bulb: Gently grasp the base of the halogen bulb, twisting it counterclockwise to loosen it. Once loose, carefully pull the bulb straight out of the socket.
- Dispose of the old bulb safely: Since halogen bulbs contain a small amount of mercury, it’s essential to dispose of them properly. Check your local regulations for the appropriate disposal method, such as recycling programs or designated collection centers.
- Clean the socket: Before inserting the new bulb, use a clean cloth or paper towel to wipe the socket clean. This will help ensure a good electrical connection.
- Insert the new bulb: Take the new halogen bulb, making sure not to touch the glass with your bare hands. Use a clean cloth or paper towel to handle the bulb, aligning the base with the socket. Rotate the bulb clockwise to secure it into place.
- Replace the protective cover (if applicable): If you removed a protective cover or lens earlier, carefully place it back over the new bulb and secure it with screws or clips.
- Turn on the power: Once you have completed the bulb replacement, turn on the power to the light fixture and test the new bulb to ensure it is working properly.
Please remember that these instructions are general guidelines. If you encounter any difficulties or have a unique light fixture design, refer to the manufacturer’s instructions or consider seeking professional assistance.
Conclusion
Changing a halogen light bulb may seem like a daunting task, but with the right precautions and step-by-step instructions, it can be a straightforward process. By following the safety precautions, gathering the necessary tools and materials, and carefully navigating through the steps, you can successfully replace your halogen light bulb.
Remember, safety should always be a priority when dealing with any electrical components. Take the time to turn off the power, allow the bulb to cool down, and use protective equipment to minimize the risk of accidents or injuries. Additionally, handling the bulb with care and choosing the right replacement with the correct wattage is crucial for optimal performance and longevity.
By following the step-by-step instructions, you can confidently change your halogen light bulb and enjoy the benefits of a well-lit space. However, if you are unsure or encounter any difficulties, it’s always wise to consult the manufacturer’s instructions or seek professional assistance.
With your newfound knowledge, go ahead and brighten up your space by changing your halogen light bulb with ease and confidence!
Frequently Asked Questions about How To Change A Halogen Light Bulb
Was this page helpful?
At Storables.com, we guarantee accurate and reliable information. Our content, validated by Expert Board Contributors, is crafted following stringent Editorial Policies. We're committed to providing you with well-researched, expert-backed insights for all your informational needs.


0 thoughts on “How To Change A Halogen Light Bulb”