Articles
How To Replace Light Bulb In Microwave
Modified: February 27, 2024
Learn how to replace a light bulb in your microwave with step-by-step instructions and helpful tips. Find articles on microwave maintenance and repair to keep your appliance working efficiently.
(Many of the links in this article redirect to a specific reviewed product. Your purchase of these products through affiliate links helps to generate commission for Storables.com, at no extra cost. Learn more)
Introduction
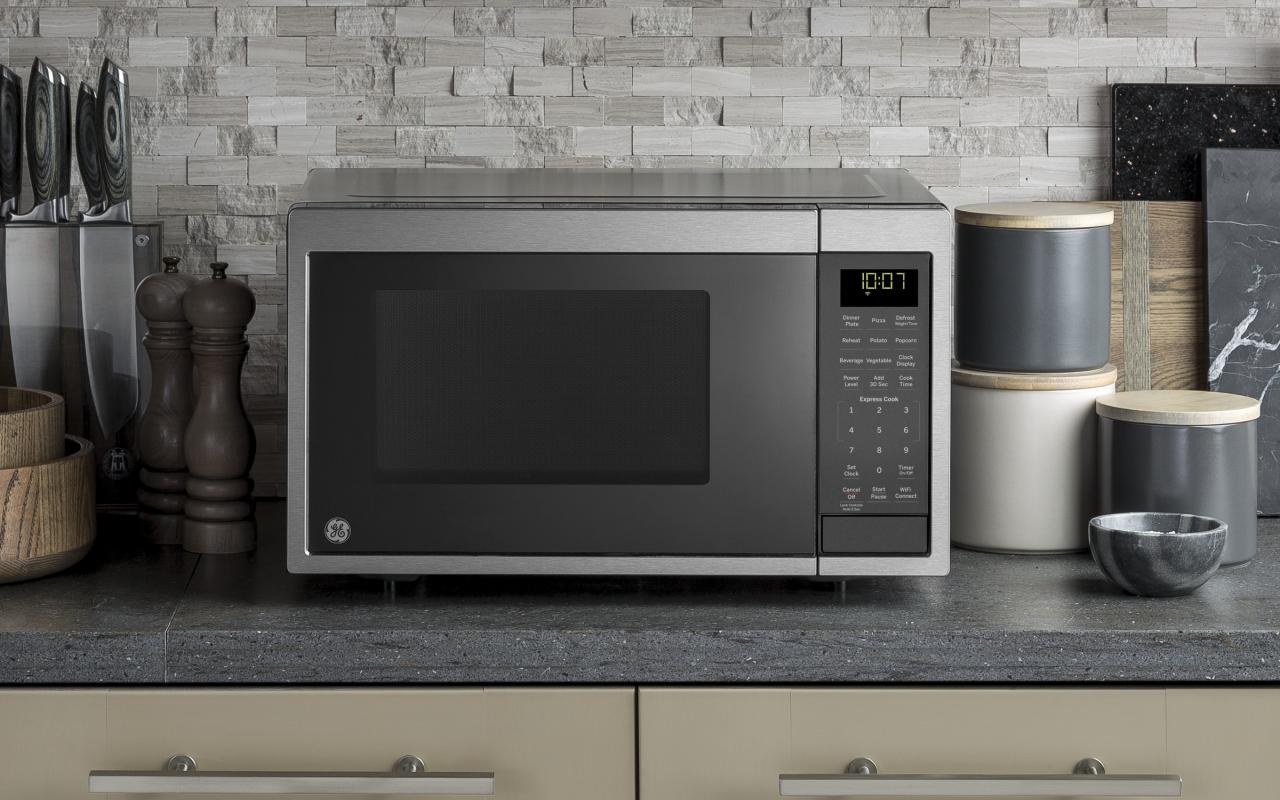
Welcome to our comprehensive guide on how to replace the light bulb in a microwave. A microwave is an essential appliance in most households, providing quick and convenient heating and cooking options. However, with regular use, the light bulb inside the microwave can burn out, leaving you in the dark while preparing your meals. In this article, we will take you through the step-by-step process of replacing the light bulb in your microwave, ensuring it continues to serve you well for years to come.
Before we begin, it is important to mention that safety should always be your top priority when working with electrical appliances. Make sure to unplug the microwave before attempting any repairs, wear protective gloves, and proceed with caution at all times. If you are not confident in your abilities, it is best to seek professional help. With that said, let’s dive into the process of replacing the light bulb in your microwave!
Key Takeaways:
- Safety is paramount when replacing a microwave light bulb. Unplug the appliance, wear protective gloves, and follow manufacturer instructions to ensure a smooth and safe process.
- Consider LED light bulbs for energy efficiency and maintain a spare bulb for quick replacement. Regularly clean the light bulb area to ensure optimal visibility in your microwave.
Read more: How To Change Whirlpool Microwave Light Bulb
Safety Precautions
Before you start replacing the light bulb in your microwave, it’s crucial to take some safety precautions to ensure your well-being and prevent any accidents. Here are some essential safety tips to keep in mind:
- Unplug the microwave: Before you begin any repair work, make sure to unplug the microwave from the power source. This will protect you from electric shock and prevent any accidental mishaps while working on the appliance.
- Allow the microwave to cool down: Microwaves can get hot while in use. Give it some time to cool down before attempting any repairs. This will help avoid burns and other potential injuries.
- Wear protective gloves: To protect your hands from cuts and potential electrical shocks, it’s important to wear protective gloves while working on the microwave.
- Avoid contact with internal components: The interior of a microwave can contain high-voltage components that pose a risk of electrical shock. Avoid touching any parts other than the light bulb socket.
- Follow manufacturer instructions: Different microwave models may have specific instructions for replacing the light bulb. Refer to the user manual or manufacturer’s guidelines to ensure you follow the correct procedure.
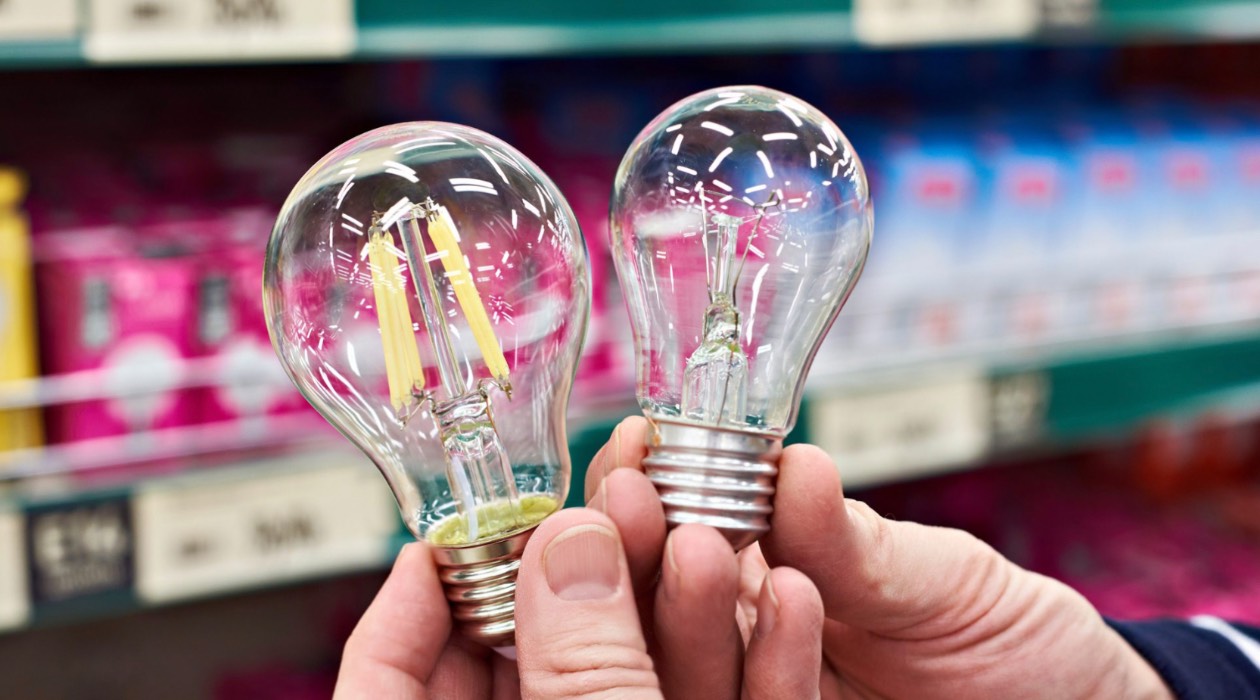
- Replace with the correct bulb: Make sure to use a replacement light bulb that is specifically designed for microwaves. Using a standard incandescent bulb can lead to performance issues or even cause damage to the appliance.
- Double-check the circuit breaker: Before plugging the microwave back in after the repair, ensure that the circuit breaker is working correctly. This will provide an added layer of protection against electrical issues.
By following these safety precautions, you can minimize the risk of accidents and ensure a smooth and safe light bulb replacement process in your microwave. Let’s now proceed to the steps involved in replacing the light bulb.
Steps to Replace the Light Bulb in a Microwave
Replacing the light bulb in a microwave may vary depending on the make and model of your appliance. However, the following general steps should guide you through the process:
- Gather the necessary tools: Before getting started, make sure you have the required tools on hand. Typically, you will need a screwdriver, a replacement microwave light bulb, and possibly a pair of pliers.
- Locate the light bulb: Open the microwave door and inspect the interior for the location of the light bulb. It is usually positioned near the top, often behind a protective cover or lens.
- Remove the cover: Using a screwdriver, carefully remove the screws or clips that secure the cover over the light bulb. Set the screws aside in a safe place to avoid losing them.
- Remove the old light bulb: Once the cover is off, gently twist the old light bulb counterclockwise to remove it from the socket. If the bulb is stuck, you may need to use pliers for a better grip. Be careful not to apply excessive force to avoid shattering the bulb.
- Prepare the new light bulb: Unpack the replacement light bulb and ensure it is the correct wattage and size for your microwave model. Do not touch the glass surface of the bulb with your bare hands, as the oils from your skin can cause it to burn out prematurely. Use a cloth or wear gloves to handle the new bulb.
- Insert and twist the new light bulb: Align the base of the new light bulb with the socket in the microwave and gently twist it clockwise to secure it in place. Ensure it is snug but avoid over-tightening to prevent damage.
- Replace the cover: Once the new light bulb is in place, reattach the cover by inserting the screws or securing the clips you removed earlier. Tighten them securely, but again, be careful not to overtighten and risk damaging the cover.
- Plug in and test: With the new light bulb installed and the cover back in place, plug the microwave back into the power source. Close the door and turn on the light to ensure the new bulb works properly.
Following these steps should result in a successful light bulb replacement in your microwave. However, it’s important to refer to your microwave’s user manual or consult the manufacturer’s guidelines for any specific instructions or nuances that may pertain to your particular model.
Before replacing the light bulb in your microwave, make sure to unplug the appliance to avoid any electrical accidents. Use a screwdriver to remove the cover and carefully unscrew the old bulb, then replace it with a new one of the same wattage.
Conclusion
Replacing the light bulb in a microwave is a relatively simple process that can restore illumination to your appliance, making it easier to monitor your food as it cooks. By following the steps outlined in this guide and adhering to the necessary safety precautions, you can confidently replace the light bulb in your microwave without any hassle.
Remember to unplug the microwave, allow it to cool down, and wear protective gloves to ensure your safety throughout the process. Take note of the specific instructions for your microwave model and make sure to use a replacement light bulb suitable for microwaves to avoid any performance issues or damage to the appliance.
With the new light bulb in place, you can once again enjoy a well-lit microwave interior, making it easier to monitor your food and ensuring optimal cooking results. If you have any concerns or difficulties in replacing the light bulb, it is always recommended to consult the user manual or seek professional assistance.
We hope this article has provided you with the guidance you need to successfully replace the light bulb in your microwave. Remember, safety should always come first, so take the necessary precautions and proceed with care. Happy cooking!
Additional Tips and Advice
While the steps outlined above should help you replace the light bulb in your microwave, here are some additional tips and advice to ensure a smooth and successful process:
- Check the warranty: Before attempting any repairs, check if your microwave is still under warranty. If it is, contact the manufacturer or authorized service center for assistance.
- Document the process: Consider taking pictures or making notes as you disassemble the microwave to replace the light bulb. This can be helpful when it comes time to reassemble the appliance.
- Clean the interior: While the microwave cover is off, take the opportunity to clean the interior of the appliance. Wipe down any grease or food residue with a mild detergent solution and a soft cloth.
- Test the light bulb before reassembly: Before reattaching the cover, it’s a good idea to test the new light bulb to ensure it is functioning properly. This saves you the trouble of having to disassemble everything again if the bulb needs to be replaced.
- Maintain a spare light bulb: It’s always a good idea to have a spare light bulb on hand in case the one in your microwave suddenly burns out. This way, you can quickly replace it without having to wait or rush to find a replacement.
- Consider LED light bulbs: LED light bulbs are a popular choice for microwaves due to their energy efficiency and longer lifespan. If your microwave allows it, consider replacing the traditional light bulb with an LED alternative.
- Regularly clean the light bulb area: Over time, dirt and grease can accumulate around the light bulb area, reducing the brightness of the illumination. Make it a habit to clean this area regularly, ensuring optimal visibility while using your microwave.
By following these additional tips and advice, you can prolong the lifespan of your microwave and maintain its functionality. Remember, always prioritize your safety and refer to the user manual or seek professional assistance if needed. Happy cooking and may your microwave always shine brightly!
Frequently Asked Questions about How To Replace Light Bulb In Microwave
Was this page helpful?
At Storables.com, we guarantee accurate and reliable information. Our content, validated by Expert Board Contributors, is crafted following stringent Editorial Policies. We're committed to providing you with well-researched, expert-backed insights for all your informational needs.


0 thoughts on “How To Replace Light Bulb In Microwave”