Articles
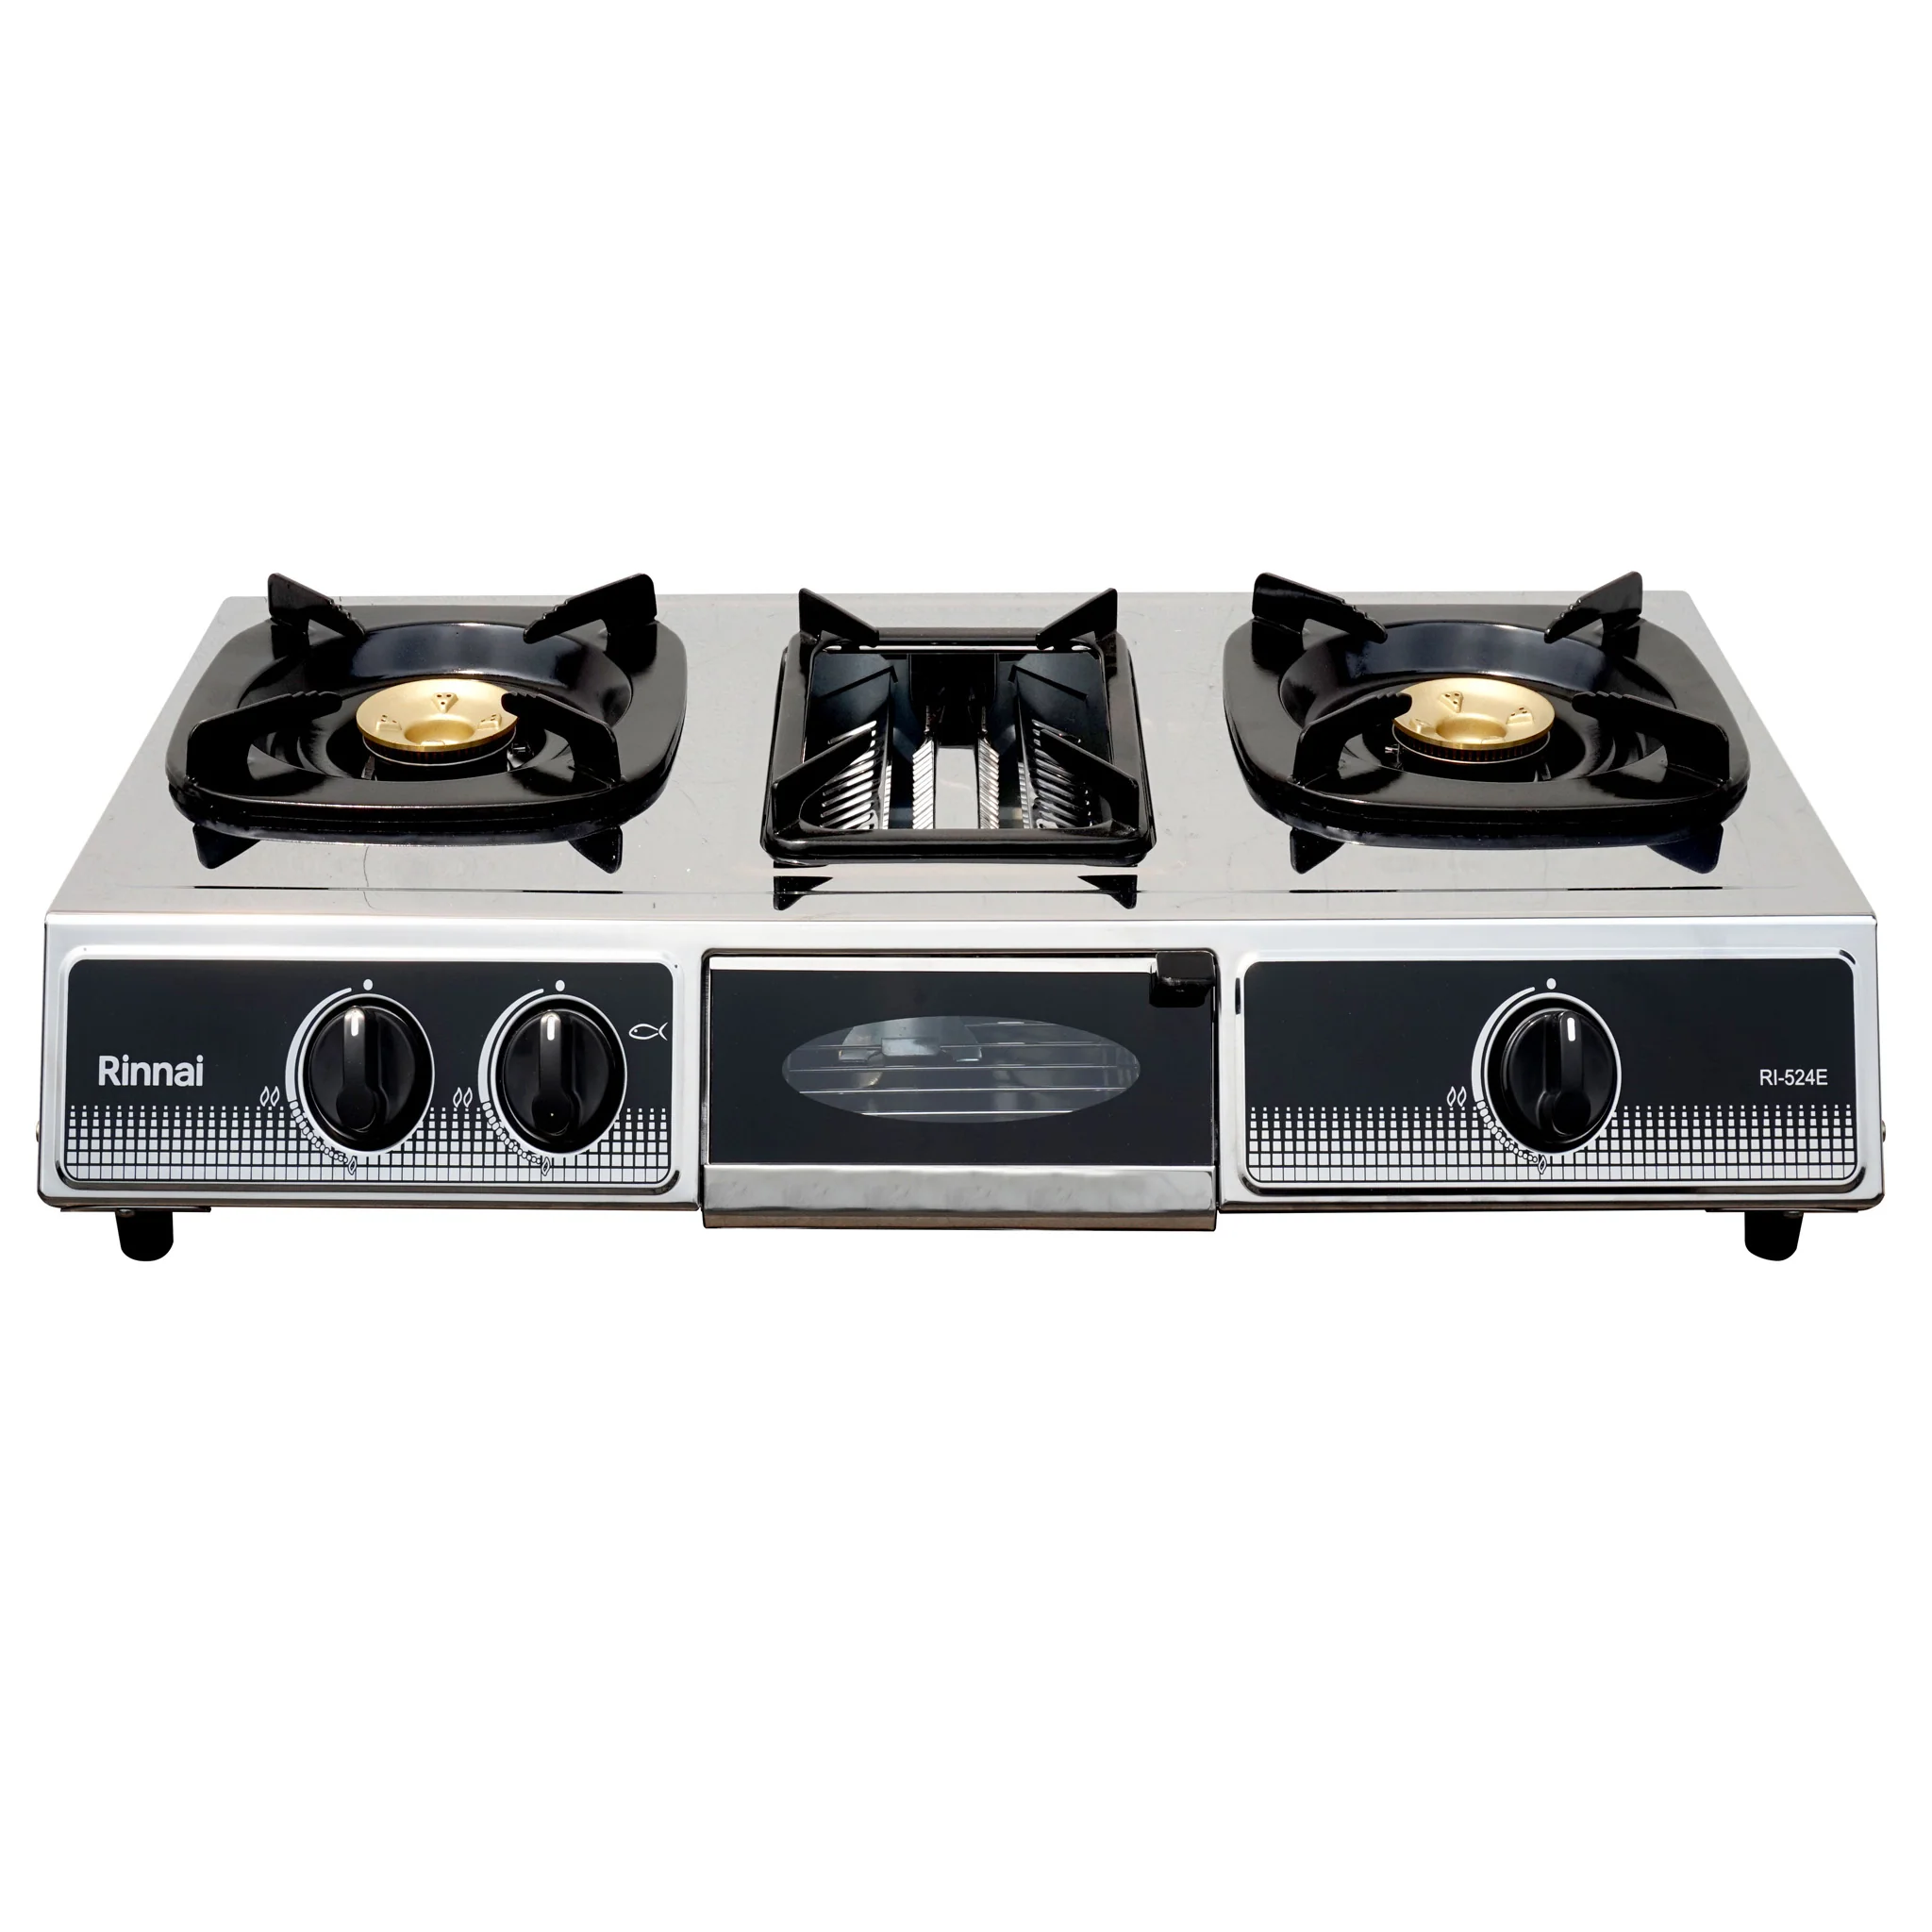
How To Replace A Gas Cooktop
Modified: August 16, 2024
Learn how to replace a gas cooktop with step-by-step instructions and expert tips. Read our informative articles to master this DIY project today!
(Many of the links in this article redirect to a specific reviewed product. Your purchase of these products through affiliate links helps to generate commission for Storables.com, at no extra cost. Learn more)
Introduction
Replacing a gas cooktop can be a daunting task, but with the right knowledge and tools, you can do it yourself and save some money. Whether you’re upgrading to a new model or your old cooktop has become worn out, this article will guide you through the process step by step. Before you begin, it’s important to ensure your safety by taking necessary precautions and gathering the necessary tools and materials.
Throughout this article, we will provide you with detailed instructions on how to safely remove the old gas cooktop and install the new one. We will also cover important steps such as shutting off the gas supply, disconnecting the gas line, preparing the new cooktop, and checking for leaks to ensure everything is functioning properly. By following these guidelines, you can successfully replace your gas cooktop and enjoy cooking on a fresh and efficient appliance.
Please note that gas appliances should be handled with caution, and if you’re not comfortable performing these tasks yourself, it’s always best to seek professional assistance. Additionally, it’s important to consult the manufacturer’s instructions for your specific cooktop model, as the installation process may vary slightly.
Now let’s dive into the step-by-step process of replacing a gas cooktop to help you achieve a seamless and successful installation.
Key Takeaways:
- Prioritize safety by shutting off the gas supply, wearing protective gear, and checking for leaks when replacing a gas cooktop. Following manufacturer’s instructions and proper preparation are essential for a successful installation.
- Gather necessary tools and materials, disconnect the old cooktop, and carefully install the new one to enjoy a fresh and efficient appliance. Thorough testing and maintenance will ensure a safe and enjoyable cooking experience.
Read more: How To Clean Gas Cooktop
Safety Precautions
Working with gas appliances can be dangerous if proper safety precautions are not followed. Before you begin replacing your gas cooktop, it’s important to prioritize safety. Here are some key safety precautions to keep in mind:
- Turn off the gas supply: Locate the gas shut-off valve near the cooktop and turn it off. This will prevent any gas leaks during the installation process.
- Ensure proper ventilation: Open windows or turn on exhaust fans to ensure proper ventilation in the kitchen. Gas appliances produce carbon monoxide, so it’s important to have adequate airflow to avoid any potential health risks.
- Wear protective gear: Before starting any work, put on safety gloves and safety goggles to protect your hands and eyes from any potential injuries.
- Use the right tools: Make sure you have the necessary tools for the job, such as a adjustable wrench, pipe wrench, screwdriver, and gas leak detector. Using the right tools will make the process easier and safer.
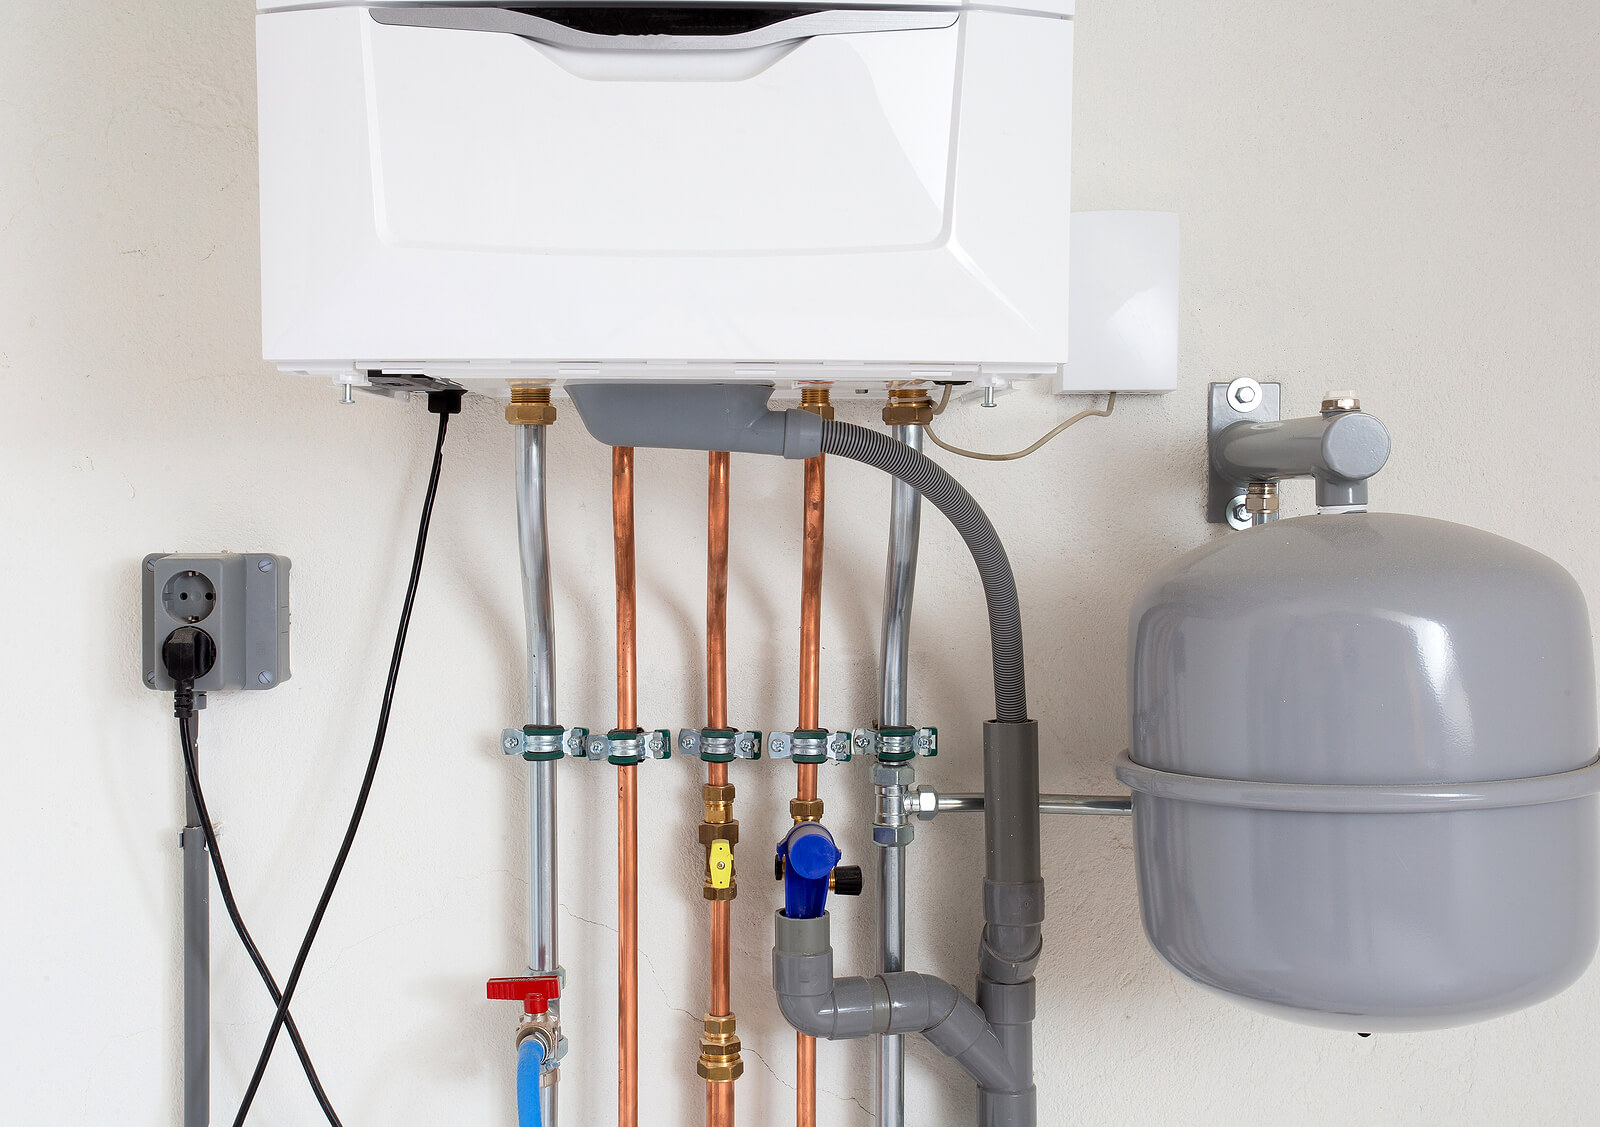
- Inspect the gas line: Before disconnecting the gas line, inspect it for any signs of wear or damage. If you notice any issues, it’s best to consult a professional to ensure the gas line is in good condition.
- Keep inflammables away: Clear the area around the cooktop of any flammable materials, such as curtains or paper towels, to minimize the risk of fire.
- Check for gas leaks: Once the installation is complete, it’s crucial to check for gas leaks. Apply a mixture of soapy water to the connections – if you see any bubbles forming, it indicates a gas leak. In this case, turn off the gas supply and seek professional assistance.
- Follow manufacturer’s instructions: Always refer to the manufacturer’s instructions for your specific cooktop model. They will provide specific guidelines and safety precautions that should be followed.
By following these safety precautions, you can minimize the risks associated with replacing a gas cooktop and ensure a safer and smoother installation process.
Tools and Materials Needed
Before you begin replacing your gas cooktop, it’s important to gather all the necessary tools and materials. Having everything prepared in advance will make the installation process much smoother. Here’s a list of the tools and materials you’ll need:
Tools:
- Adjustable wrench
- Pipe wrench
- Screwdriver
- Gas leak detector
- Tape measure
Materials:
- New gas cooktop
- Flexible gas connector
- Thread sealant or gas-approved tape
- Gas supply shut-off valve
- Gas supply line
- Soap and water mixture (for checking gas leaks)
With these tools and materials on hand, you’ll have everything you need to replace your gas cooktop. It’s important to ensure that the new cooktop is compatible with your gas supply, so check the specifications and requirements before making a purchase. Additionally, make sure to choose a flexible gas connector that meets the safety standards and regulations in your area.
Remember to take caution when handling the tools, especially when working with gas connections. Use the appropriate wrench for tightening and loosening connections, and do not overtighten or use excessive force.
By having all the necessary tools and materials ready, you’ll be well-prepared to tackle the task of replacing your gas cooktop smoothly and efficiently.
Read more: How To Disconnect A Gas Cooktop
Step 1: Shut Off the Gas Supply
Before you begin the process of replacing your gas cooktop, the first step is to shut off the gas supply. This is crucial for ensuring your safety during the installation process. Follow these steps to shut off the gas supply:
- Locate the gas shut-off valve: The gas shut-off valve is usually located near the cooktop or in the basement. It is a round or square valve connected to the gas line.
- Turn off the gas supply: Rotate the valve clockwise to shut off the gas supply. You may need to use an adjustable wrench to turn the valve if it’s tight. Make sure the valve is fully closed.
- Verify the gas supply is off: To confirm that the gas supply is shut off, turn on one of the burners on your old cooktop. If there is no gas flowing, you have successfully shut off the gas supply. If you still smell gas or notice a flame, immediately contact your gas provider for further assistance.
Remember, it is extremely important to shut off the gas supply before proceeding with the replacement process. Failing to do so can result in gas leaks and potential hazards.
Once you have shut off the gas supply, you can proceed to the next steps of disconnecting the gas line and removing the old cooktop. Make sure to wear protective gloves and goggles throughout the process, and refer to the manufacturer’s instructions for any specific guidelines pertaining to your cooktop model.
By following this step-by-step guide, you’ll be well on your way to replacing your gas cooktop safely and efficiently.
Step 2: Disconnect the Gas Line
Once you have shut off the gas supply, the next step in replacing your gas cooktop is to disconnect the gas line. Follow these steps to disconnect the gas line:
- Inspect the gas line: Before proceeding, visually inspect the gas line for any signs of wear or damage. If you notice any issues, it’s best to consult a professional for further assistance.
- Prepare the area: Clear the area around the cooktop, ensuring there are no obstacles or objects that may interfere with the disconnection process.
- Locate the gas line connection: The gas line connection is typically located at the back of the cooktop. It will have a threaded collar that connects it to the gas supply pipe.
- Use a pipe wrench or adjustable wrench: Place the wrench around the collar of the gas line connection and turn it counterclockwise to loosen it. Gradually unscrew the collar until the gas line is completely disconnected from the cooktop.
- Cap the gas line: To prevent any gas leaks, you can cap the open end of the gas line with a cap fitting specifically designed for this purpose. This will ensure that no gas escapes from the line during the installation process.
Ensure that you handle the gas line with care and avoid any excessive force when disconnecting it. If you encounter any resistance or difficulty, do not force it. Instead, seek professional assistance to avoid any potential damage or safety hazards.
Once the gas line is disconnected and capped, you can proceed to the next step of removing the old gas cooktop. Be cautious, and avoid applying any excessive force or pulling on the gas line to prevent any damage to the line or the surrounding area.
Following these steps will allow you to safely disconnect the gas line and pave the way for the installation of your new gas cooktop.
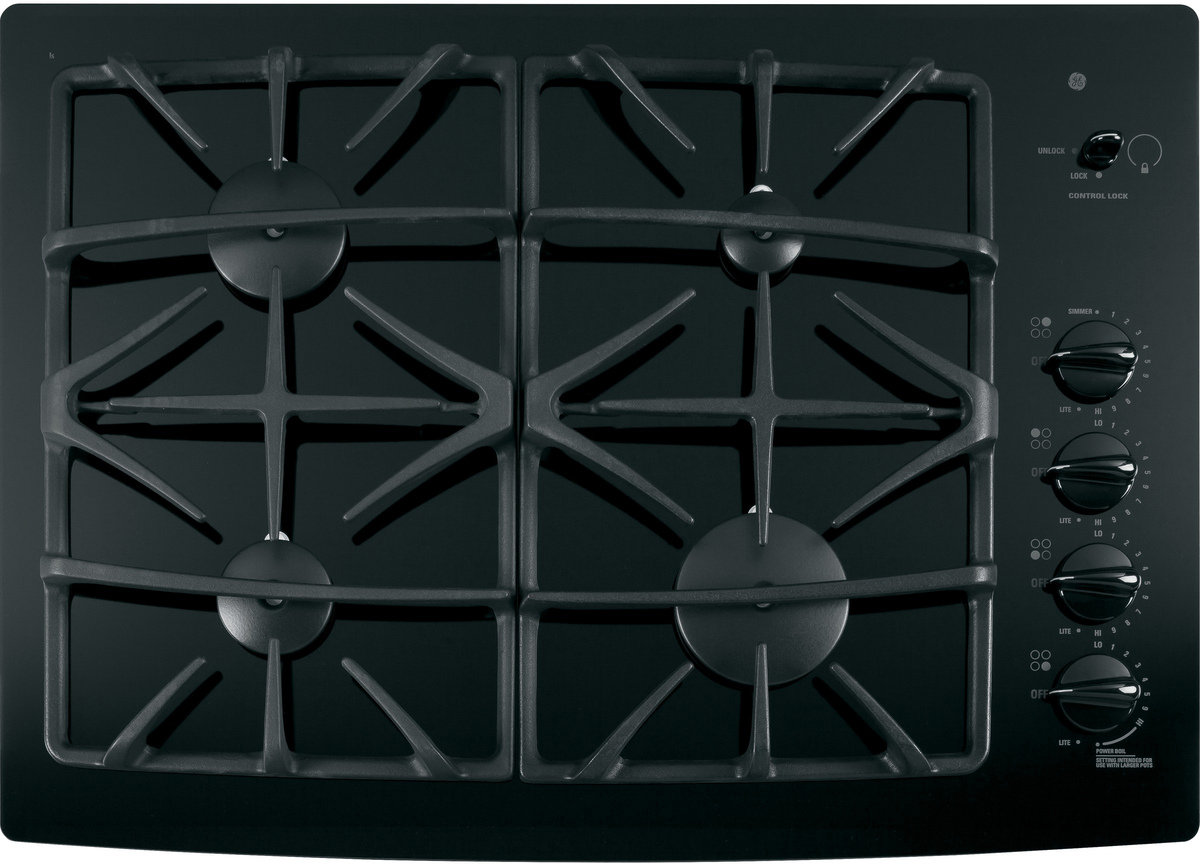
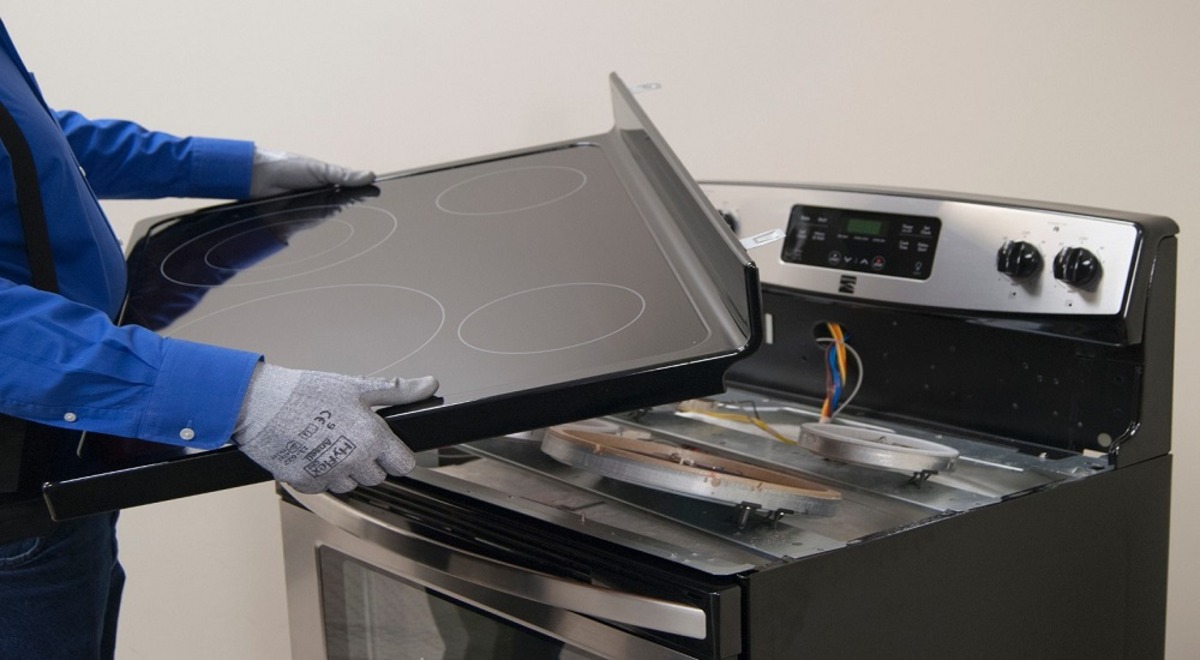
Step 3: Remove the Old Gas Cooktop
With the gas line disconnected, you are now ready to remove the old gas cooktop. Follow these steps to safely remove the old cooktop:
- Turn off the power: Before starting, ensure that the power to the cooktop is turned off at the circuit breaker or main power switch. This will prevent any electrical accidents during the removal process.
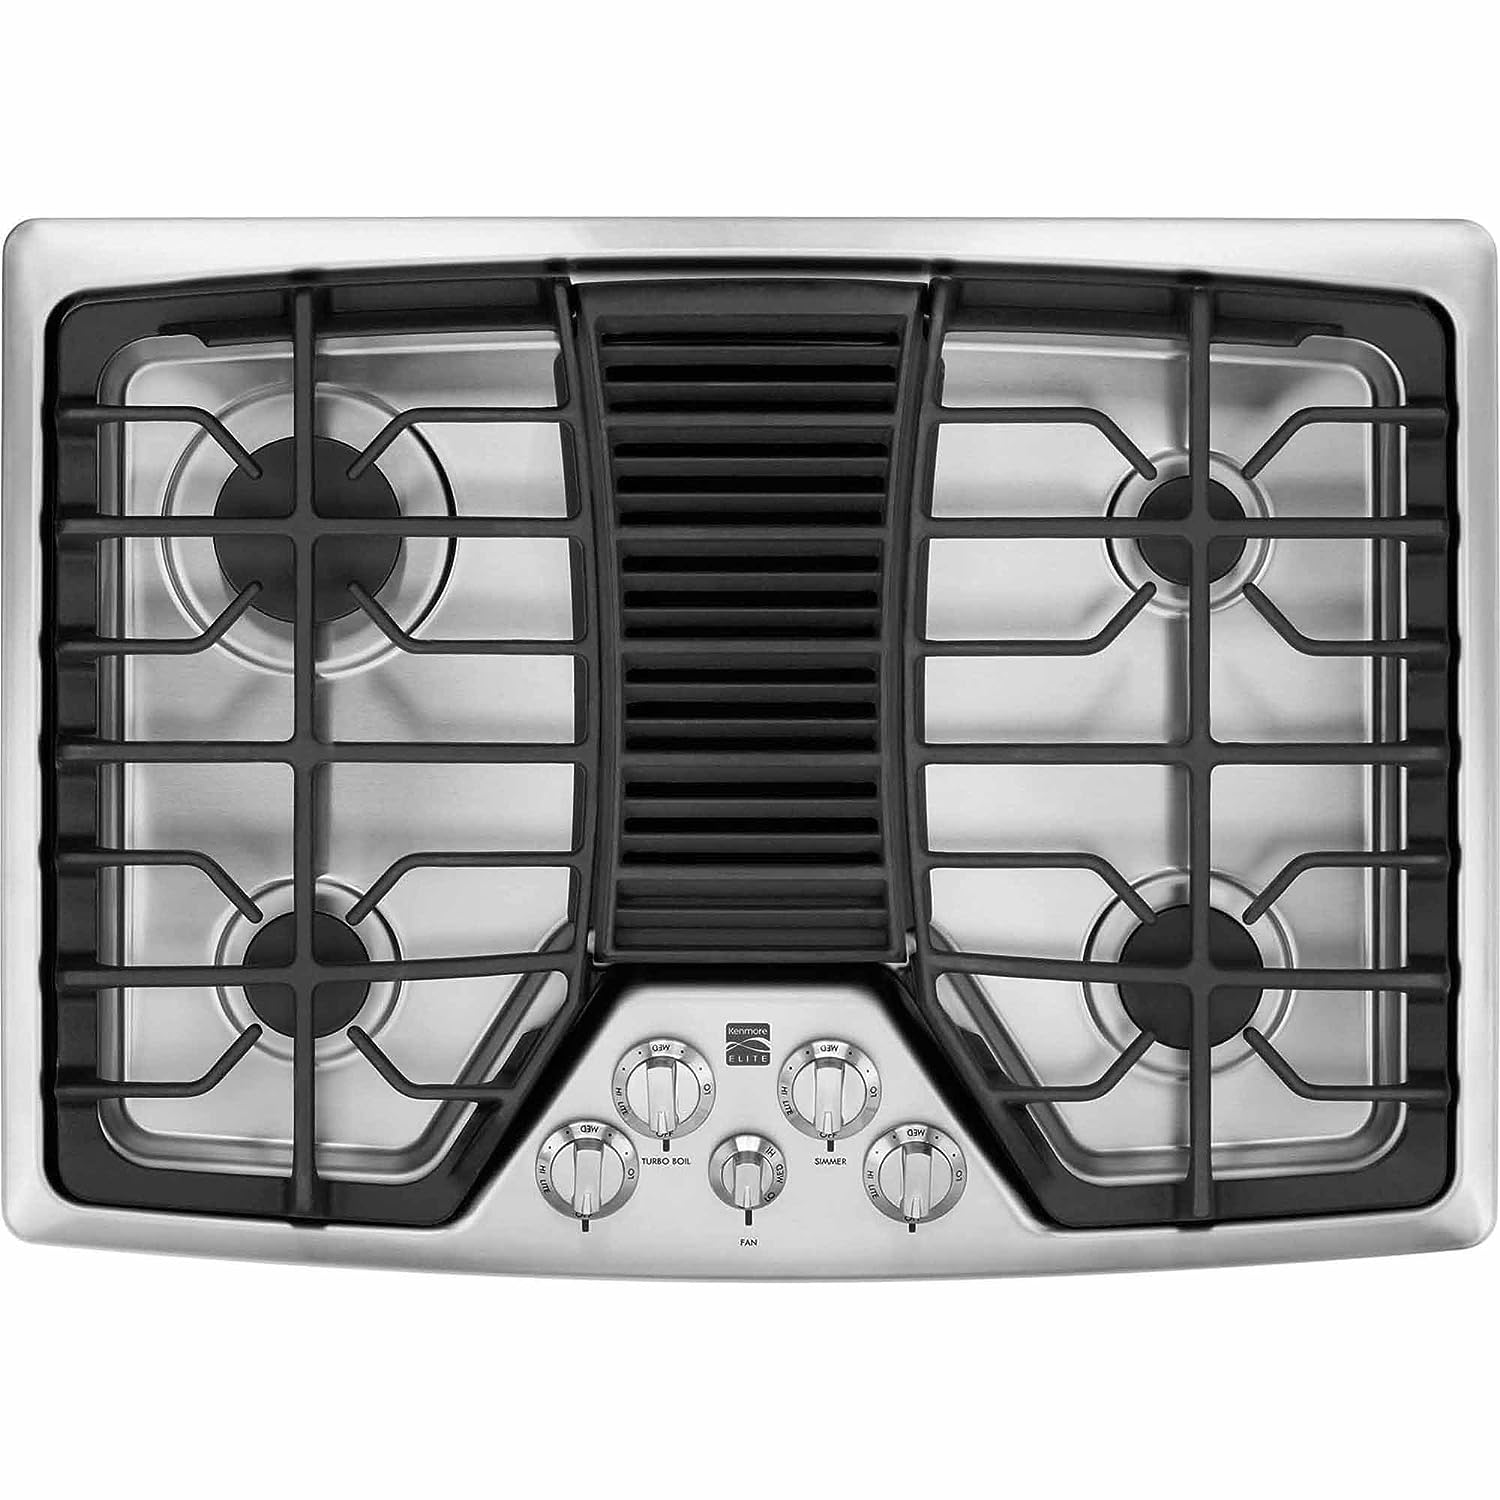
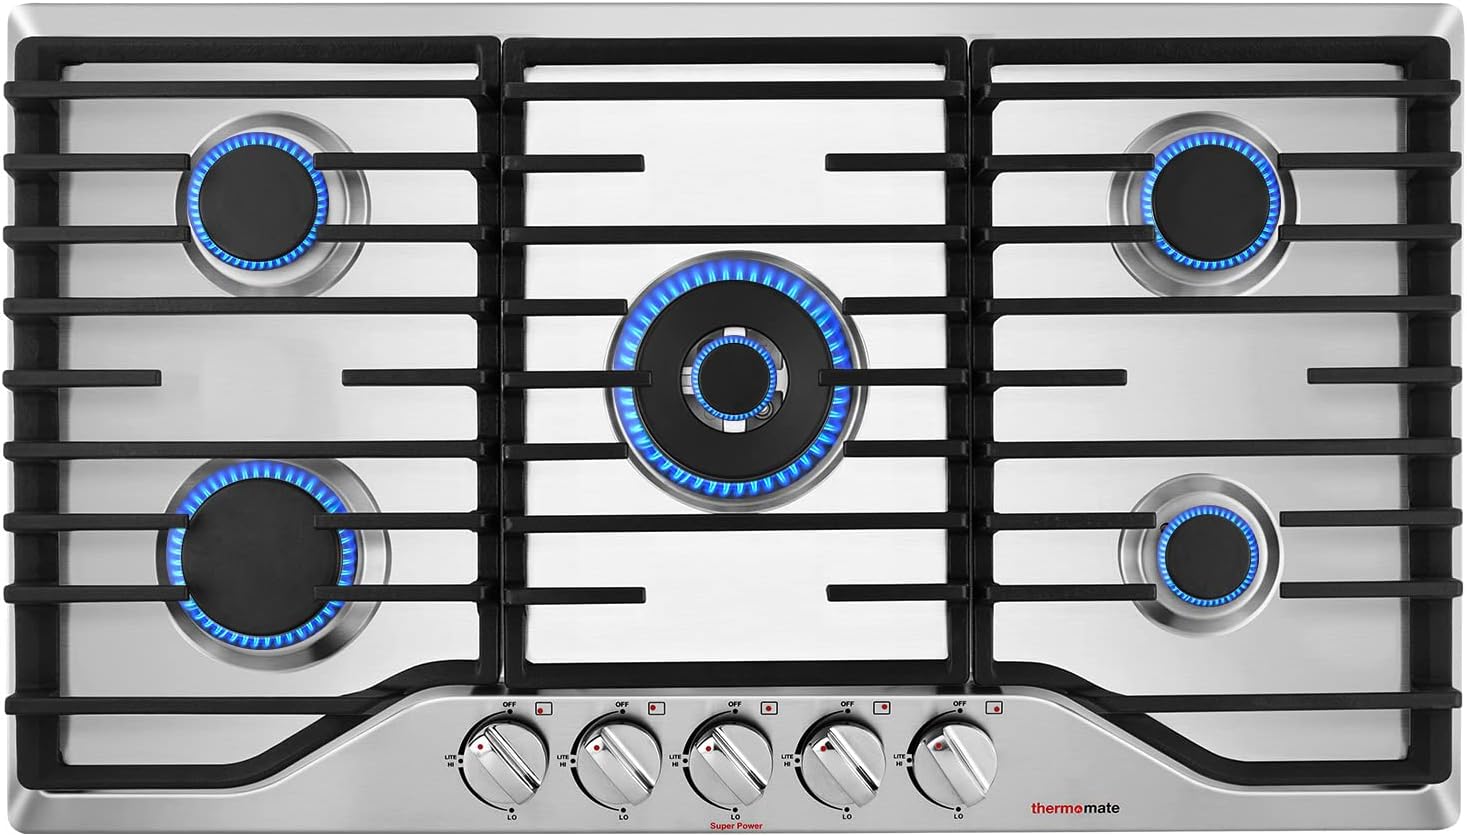
- Remove the burners and grates: Take off the burners and grates from the cooktop surface and set them aside. This will give you greater access to the cooktop itself.
- Disconnect the control knobs and panel: Depending on the model, you may need to detach the control knobs and remove the control panel. Refer to the manufacturer’s instructions for guidance on how to disconnect these components.
- Loosen the mounting brackets: Most gas cooktops are secured in place with mounting brackets. Use a screwdriver to loosen the brackets and separate them from the countertop.
- Gently lift and remove the cooktop: With the brackets loosened, carefully lift the cooktop up from the countertop. Take assistance if needed and place the old cooktop aside.
During this process, be cautious of any sharp edges and corners on the cooktop. Handle the old cooktop with care to avoid any injuries or damage.
Take a moment to inspect the area where the old cooktop was placed. Clean and prepare the space for the installation of the new gas cooktop. Remove any debris or residue left behind by the old cooktop.
Now that you have successfully removed the old gas cooktop, it’s time to move on to the next step of preparing the new cooktop for installation. Refer to the manufacturer’s instructions regarding any specific guidelines for handling and installing the new gas cooktop.
By following these steps, you can safely and efficiently remove the old gas cooktop and prepare the space for the installation of your new appliance.
Step 4: Prepare the New Gas Cooktop
With the old gas cooktop removed, it’s time to prepare the new gas cooktop for installation. Follow these steps to ensure proper preparation:
- Read the manufacturer’s instructions: Before proceeding, carefully review the manufacturer’s instructions that came with your new gas cooktop. These instructions will provide specific guidelines for installation and any additional preparation steps.
- Inspect the new cooktop: Thoroughly inspect the new cooktop for any visible signs of damage or defects. If you notice any issues, contact the manufacturer for assistance.
- Measure the opening: Measure the dimensions of the opening on the countertop where the new cooktop will be placed. Ensure that the new cooktop will fit securely in this space.
- Make necessary adjustments: If the opening does not match the size of the new cooktop, extra adjustments may be required. Consult the manufacturer’s instructions for guidance on how to modify the opening to ensure a proper fit.
- Prepare the gas line connection: Attach the flexible gas connector to the gas line connection on the new cooktop. Use thread sealant or gas-approved tape to create a tight and secure seal. Follow the manufacturer’s instructions for proper sealing techniques.
- Prepare the electrical connection (if applicable): If your new gas cooktop has electrical components, such as electronic controls or ignition systems, follow the manufacturer’s instructions regarding the electrical connection. Ensure that the power supply is turned off before making any electrical connections.
It’s important to follow the manufacturer’s instructions and guidelines for the correct preparation of the new cooktop. This will ensure proper installation and safety.
Take your time to carefully prepare the new gas cooktop, ensuring that all connections are secure and in accordance with the manufacturer’s recommendations. Proper preparation will contribute to a successful installation process and the optimal performance of your new cooktop.
Once the new gas cooktop is properly prepared, you can move on to the next step of installing the cooktop in your kitchen. Stay focused and ensure that all necessary preparations are completed before proceeding with the installation process.
When replacing a gas cooktop, always turn off the gas supply and disconnect the power before starting. It’s also important to carefully follow the manufacturer’s instructions for installation to ensure safety and proper function.
Read more: What Is The Best Gas Cooktop
Step 5: Install the New Gas Cooktop
Now that you have prepared the new gas cooktop, it’s time to install it in your kitchen. Follow these steps for a successful installation:
- Carefully position the new cooktop: Lift the new cooktop and carefully place it into the prepared opening on the countertop. Make sure it is properly aligned and centered.
- Secure the cooktop: Once the cooktop is in position, use the mounting brackets provided by the manufacturer to secure it to the countertop. Use a screwdriver to tighten the brackets, ensuring that the cooktop is securely fastened in place.
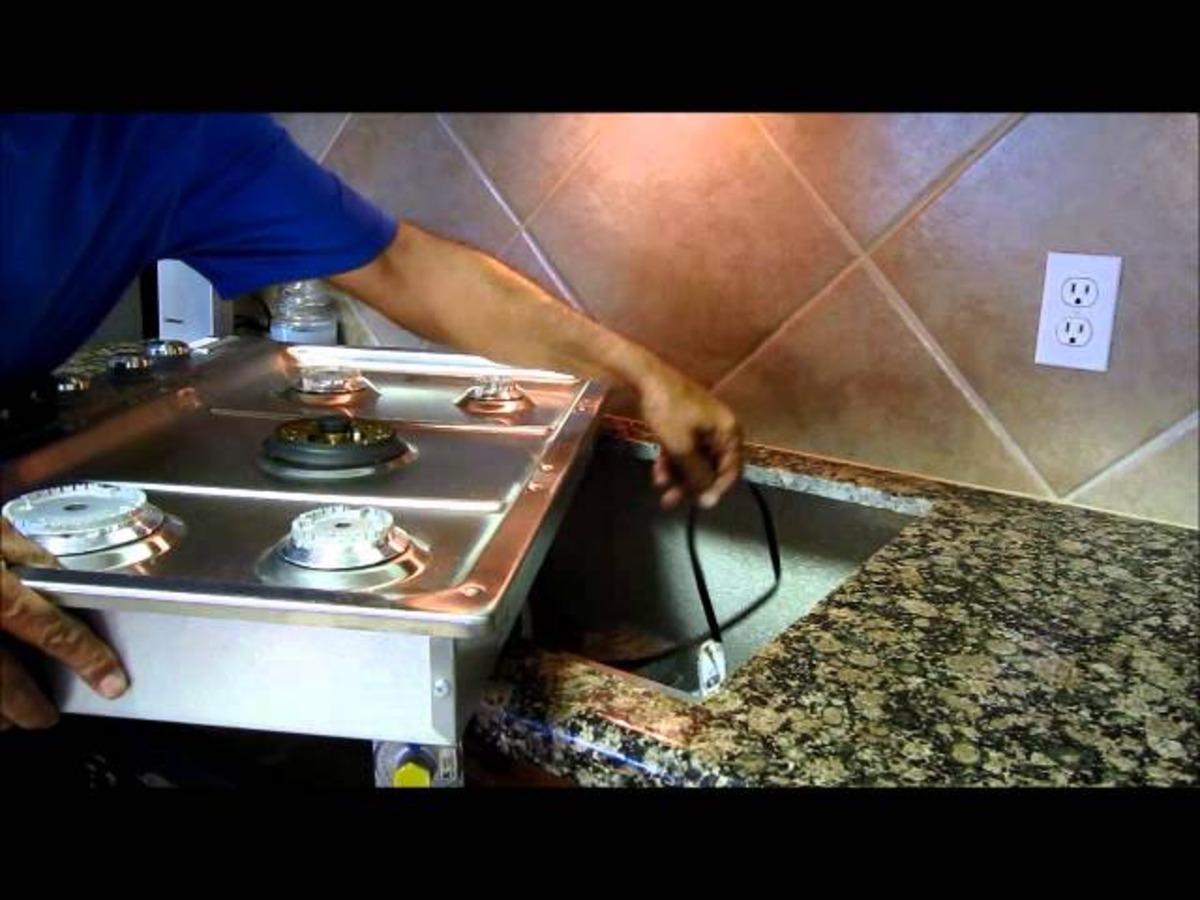
- Connect the gas line: With the cooktop secured, connect the flexible gas connector to the gas line connection on the cooktop. Ensure a tight and secure connection. Use a gas leak detector or a mixture of soapy water to check for any gas leaks. If you detect any leaks, immediately turn off the gas supply and consult a professional.
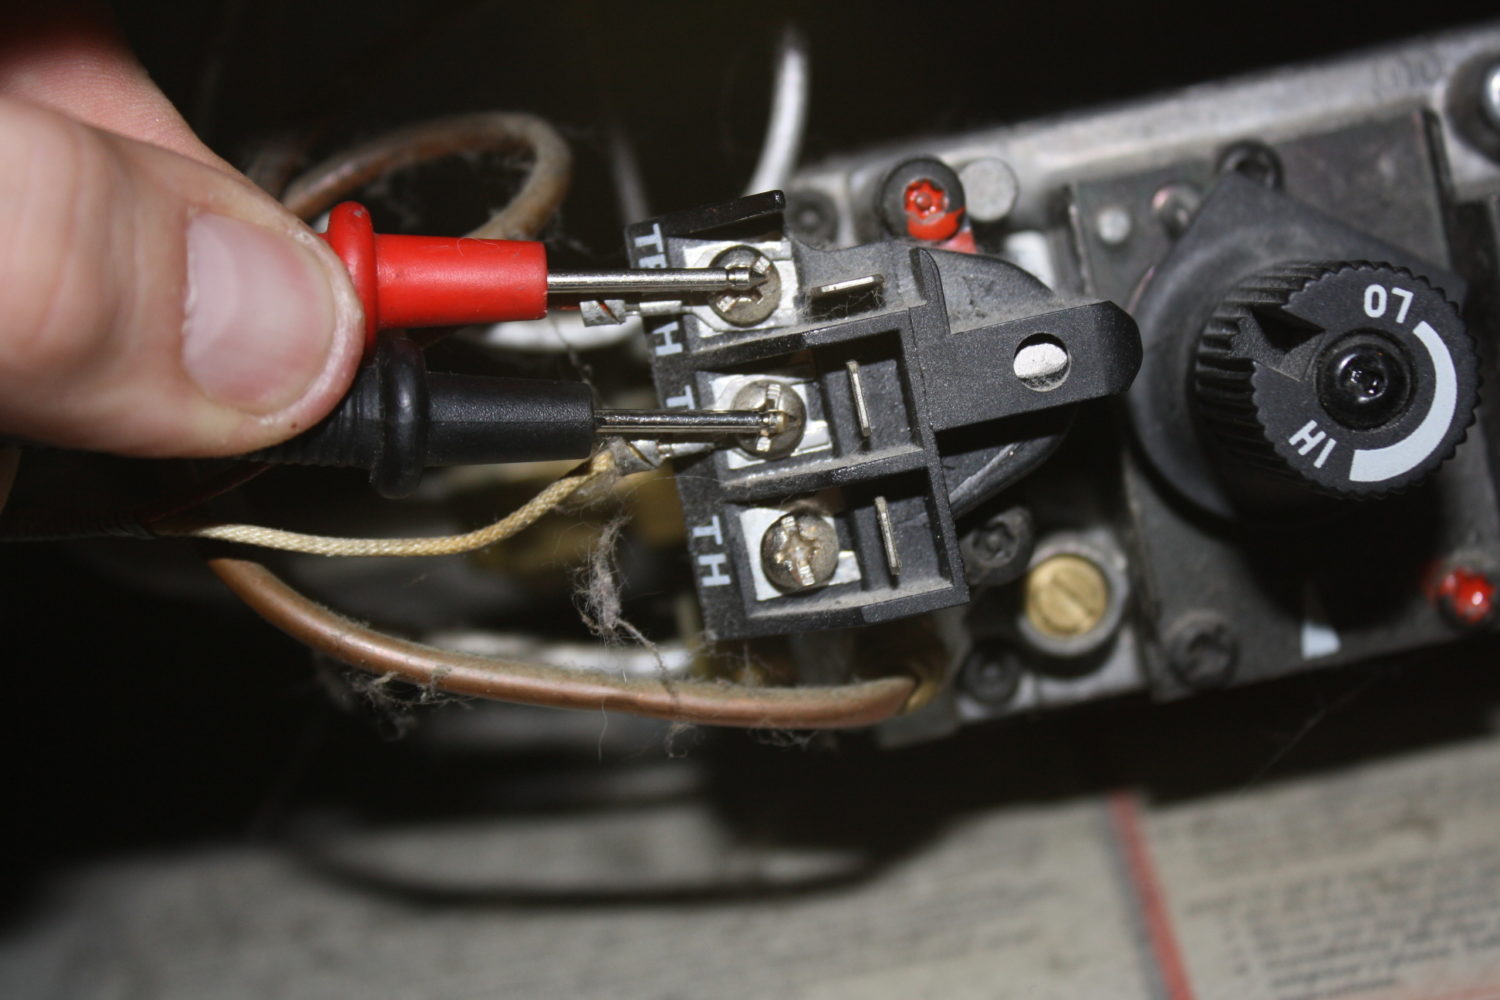
- Make electrical connections (if applicable): If your new cooktop requires electrical connections, carefully follow the manufacturer’s instructions. Connect the wires using wire nuts or other recommended connectors. Ensure that the power supply is turned off before making any electrical connections.
- Secure control knobs and panel: Attach the control knobs and, if applicable, the control panel to the cooktop. Follow the manufacturer’s instructions for properly securing these components.
- Double-check all connections: Before proceeding, double-check all gas and electrical connections to ensure they are secure and properly tightened. Verify that there are no leaks or loose connections.
It’s crucial to meticulously follow the manufacturer’s instructions throughout the installation process. Each cooktop may have specific requirements and guidelines that you should adhere to.
Take your time and ensure that all connections are properly secured and aligned. This will contribute to the safe and efficient operation of your new gas cooktop.
Once the new cooktop is securely installed and all connections are verified, you can proceed to the next step of reconnecting the gas line to complete the installation process. Continue following the remaining steps to ensure a successful replacement of your gas cooktop.
Step 6: Reconnect the Gas Line
After successfully installing the new gas cooktop, it’s time to reconnect the gas line. Follow these steps to ensure a secure and leak-free connection:
- Check the gas line: Before proceeding, inspect the gas line for any signs of damage or wear. If you notice any issues, consult a professional before proceeding.
- Prepare the gas line connection: Apply thread sealant or use gas-approved tape to the male threads of the gas line connection. This will help create a tight and secure seal.
- Align the connection: Carefully align the female end of the flexible gas connector with the gas line connection on the cooktop. Make sure they are properly aligned and fit snugly together.
- Tighten the connection: Using an adjustable wrench, tighten the connection between the flexible gas connector and the gas line connection. Apply firm but gentle pressure to ensure a tight seal. Avoid over-tightening, as it may damage the connections.
- Check for leaks: Once the connection is tightened, it’s crucial to check for any gas leaks. Apply a mixture of soapy water to the connections and look for any bubbles. If you see bubbles forming, it indicates a gas leak. In this case, immediately turn off the gas supply and seek professional assistance.
Properly reconnecting the gas line is essential for safe and efficient operation of your new gas cooktop. Taking the time to ensure a tight and secure connection will help prevent gas leaks and potential hazards.
As you complete this step, keep in mind the manufacturer’s instructions and any specific guidelines they provide for reconnecting the gas line. Following their recommendations will help ensure a successful and problem-free installation.
Once you have reconnecting the gas line and confirmed there are no leaks, you can proceed to the next step of checking for leaks to ensure the safety of your installation before testing your new gas cooktop.
Step 7: Check for Leaks
After reconnecting the gas line, it is crucial to check for any leaks to ensure the safety of your installation. Gas leaks can be hazardous, so it’s important to take the following steps to conduct a thorough leak check:
- Prepare a soapy water solution: Mix a small amount of dish soap with water to create a soapy solution.
- Apply the solution: Using a sponge or brush, apply the soapy water solution to all the gas connections, including the connection between the flexible gas connector and the gas line, as well as any other connection points.
- Observe for bubbles: As you apply the soapy water solution, carefully observe the areas where you applied it. If you see any bubbles or foaming, it indicates a gas leak. Large or persistent bubbles are a sign to immediately turn off the gas supply and seek professional assistance.
- Inspect for odor: Additionally, pay attention to any lingering gas odor in the area. If you still detect a strong gas smell even after reconnecting the gas line, it’s best to turn off the gas supply and consult a professional.
Remember to take your time and thoroughly inspect all connections. Be meticulous and ensure that no leaks are present before moving on to the next step.
If you do detect a gas leak during the leak check, do not attempt to fix it yourself. Turn off the gas supply immediately and contact a qualified professional to address the issue. Gas leaks can be dangerous and should be handled by professionals with the proper expertise and equipment.
Once you have completed the leak check and confirmed that there are no gas leaks, you are ready to move on to the final step of testing your new gas cooktop.
Step 8: Test the New Gas Cooktop
With the installation process nearly complete, it’s time to test your new gas cooktop to ensure it is functioning properly. Follow these steps to conduct a thorough testing:
- Double-check the knobs and controls: Before testing, make sure that all control knobs and buttons are in the off position.
- Turn on the gas supply: Open the gas shut-off valve to supply gas to the cooktop.
- Ignite the burners: Select one burner and turn the corresponding control knob to the ignite position. Listen for the familiar clicking sound of the igniter and watch for the burner to light up. Repeat this step for each burner.
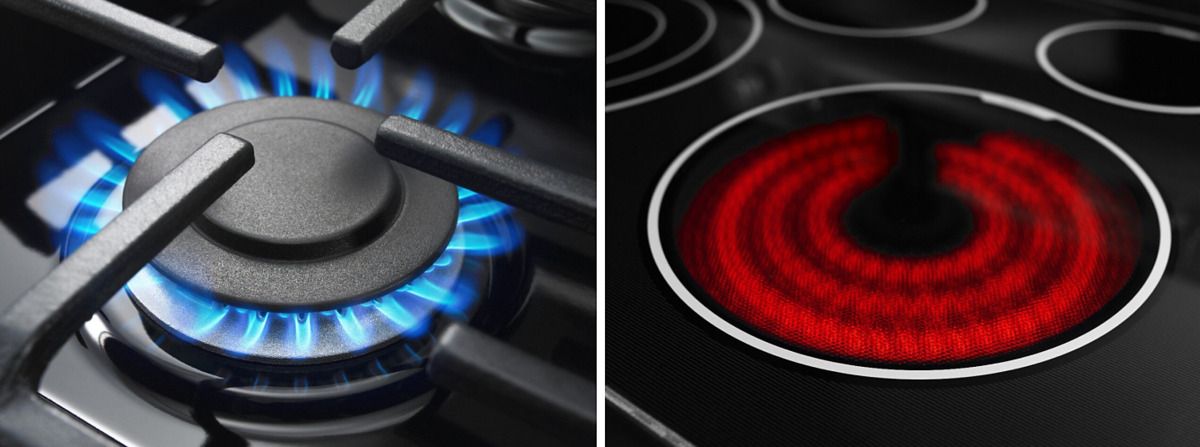
- Check the flame: Observe the flame on each burner. It should be steady, blue in color, and evenly distributed across the burner. If you notice any irregularities, such as a weak flame or yellow/orange color, there may be an issue with the gas flow or burner alignment. In such cases, it’s best to consult a professional.
- Test other features (if applicable): If your new cooktop has additional features such as a griddle or a grill, test them to ensure they are functioning properly.
- Check for any unusual sounds or smells: During the testing process, pay attention to any unusual sounds or smells coming from the cooktop. If you notice any strange or alarming odors or noises, turn off the gas supply immediately and seek professional assistance.
It’s important to give the cooktop a thorough test to ensure everything is working as expected. Taking these steps will help identify any potential issues early on and ensure that your new gas cooktop is safe and efficient to use.
If you encounter any problems or have concerns during the testing process, it’s best to contact the manufacturer’s customer service or a professional technician for further assistance.
Once you’ve completed the testing and everything is functioning properly, congratulations! You have successfully replaced your gas cooktop and can now enjoy cooking with your upgraded appliance.
Remember to keep the manufacturer’s instructions and warranty information in a safe place for future reference. Regularly maintain and clean your gas cooktop to prolong its lifespan and ensure optimum performance.
Read more: How To Install Gas Cooktop On Granite
Conclusion
Replacing a gas cooktop may initially seem like a challenging task, but by following the steps outlined in this guide, you can successfully navigate through the process. From shutting off the gas supply to testing the new cooktop, each step plays a crucial role in ensuring a safe and efficient installation.
Remember, prioritizing safety is of utmost importance throughout the entire process. Always shut off the gas supply and take necessary precautions to protect yourself and your surroundings. If you ever feel unsure or uncomfortable with any step, it’s wise to seek the assistance of a professional.
By carefully preparing the area, disconnecting the old cooktop, and installing the new one with precision and attention to detail, you can enjoy the benefits of a fresh and efficient gas cooktop in your kitchen.
Keep in mind that each gas cooktop model may have specific installation instructions, so always consult the manufacturer’s guidelines for your particular appliance. Additionally, follow local codes and regulations related to gas installation in your area.
With proper maintenance and regular cleaning, your new gas cooktop will continue to serve you well for years to come. Enjoy the joy of cooking and experimenting in your kitchen with confidence and convenience.
We hope this guide has provided you with the knowledge and guidance needed to replace your gas cooktop. Happy cooking!
Frequently Asked Questions about How To Replace A Gas Cooktop
Was this page helpful?
At Storables.com, we guarantee accurate and reliable information. Our content, validated by Expert Board Contributors, is crafted following stringent Editorial Policies. We're committed to providing you with well-researched, expert-backed insights for all your informational needs.

0 thoughts on “How To Replace A Gas Cooktop”