Home>Articles>How To Replace Thermocouple On Gas Water Heater

Articles
How To Replace Thermocouple On Gas Water Heater
Modified: February 22, 2024
Learn how to replace the thermocouple on a gas water heater with our informative articles. Find step-by-step instructions and troubleshooting tips to ensure a smooth process.
(Many of the links in this article redirect to a specific reviewed product. Your purchase of these products through affiliate links helps to generate commission for Storables.com, at no extra cost. Learn more)
Introduction
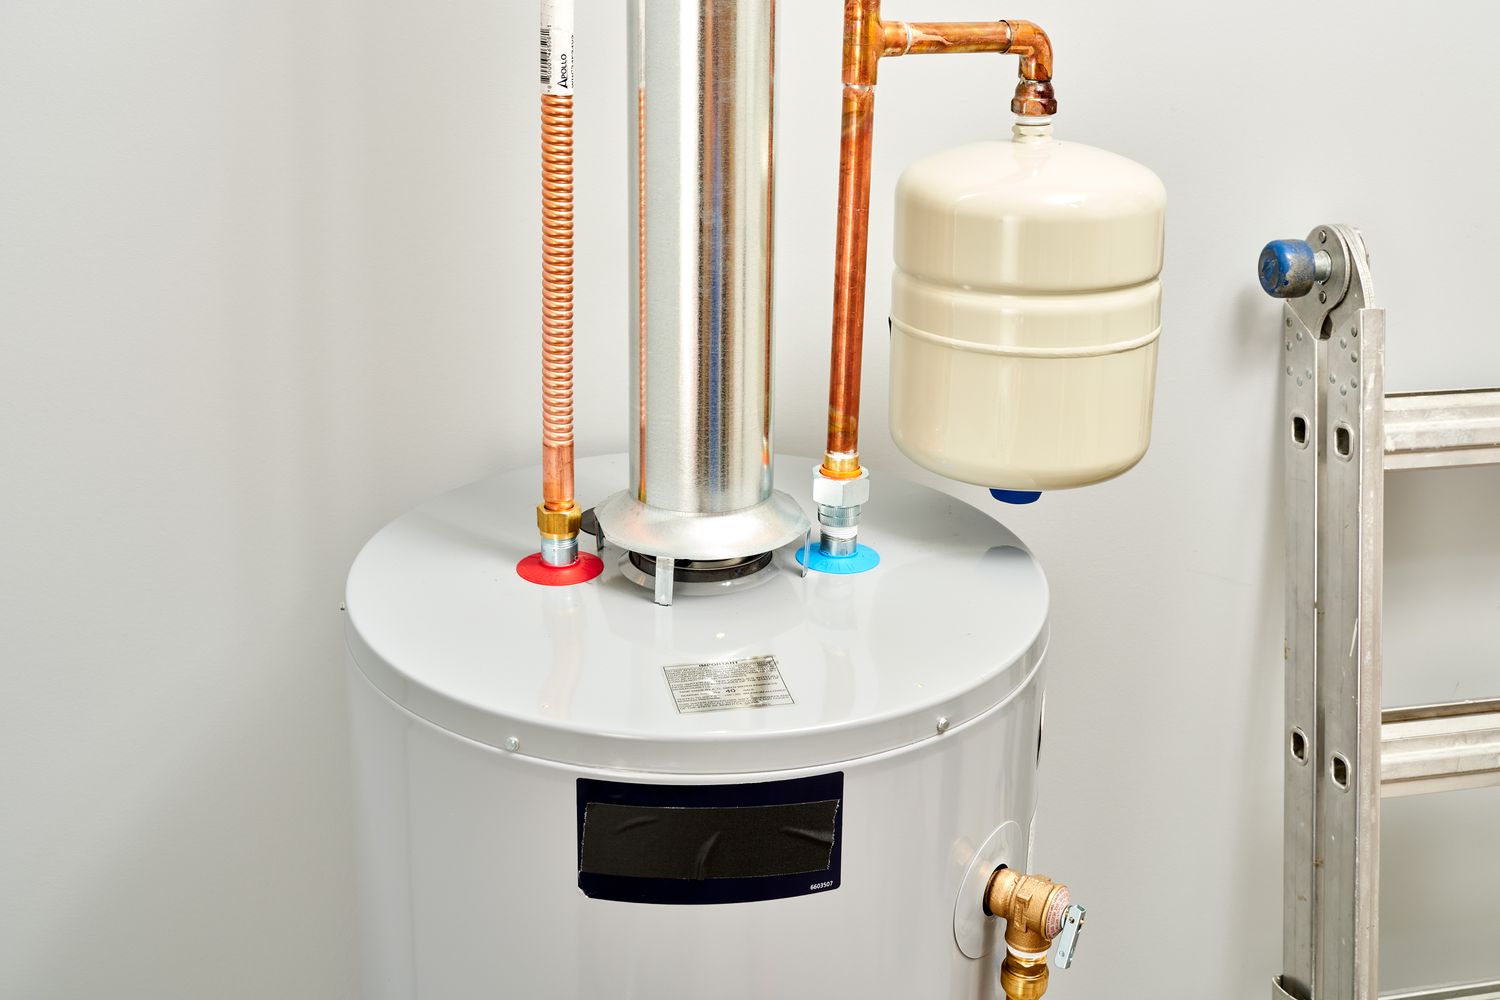
Gas water heaters are a common and efficient way to provide hot water in many households. However, like any appliance, they can experience issues over time. One common problem is a malfunctioning thermocouple, which can cause the pilot light to go out and prevent the water heater from heating the water. Luckily, replacing a thermocouple is a relatively simple task that can be done by homeowners with basic DIY skills and a few tools.
In this article, we will guide you through the step-by-step process of replacing a thermocouple on a gas water heater. We will discuss the tools and materials you will need, as well as provide detailed instructions for each step along the way. By following these instructions, you will be able to confidently replace the thermocouple and get your gas water heater up and running again.
Before we dive into the process, it’s important to note that safety should always be a priority when working with gas appliances. If you are uncomfortable or unsure about any part of the process, it is strongly recommended to consult a professional plumber or technician. They have the knowledge and expertise to handle the task safely and effectively.
Now, let’s gather our tools and materials and get started on replacing the thermocouple on your gas water heater.
Key Takeaways:
- Replacing a thermocouple on a gas water heater is a manageable DIY task that can restore hot water. Prioritize safety, gather the right tools, and follow the step-by-step process for a successful replacement.
- Testing the water heater after replacing the thermocouple is crucial. Ensure the pilot light ignites and stays lit, and that hot water is produced consistently. Regular maintenance will keep your gas water heater running efficiently.
Read more: How To Replace A Gas Water Heater
Tools and Materials Needed
Before you begin replacing the thermocouple on your gas water heater, gather the following tools and materials:
- Adjustable wrench
- Screwdriver
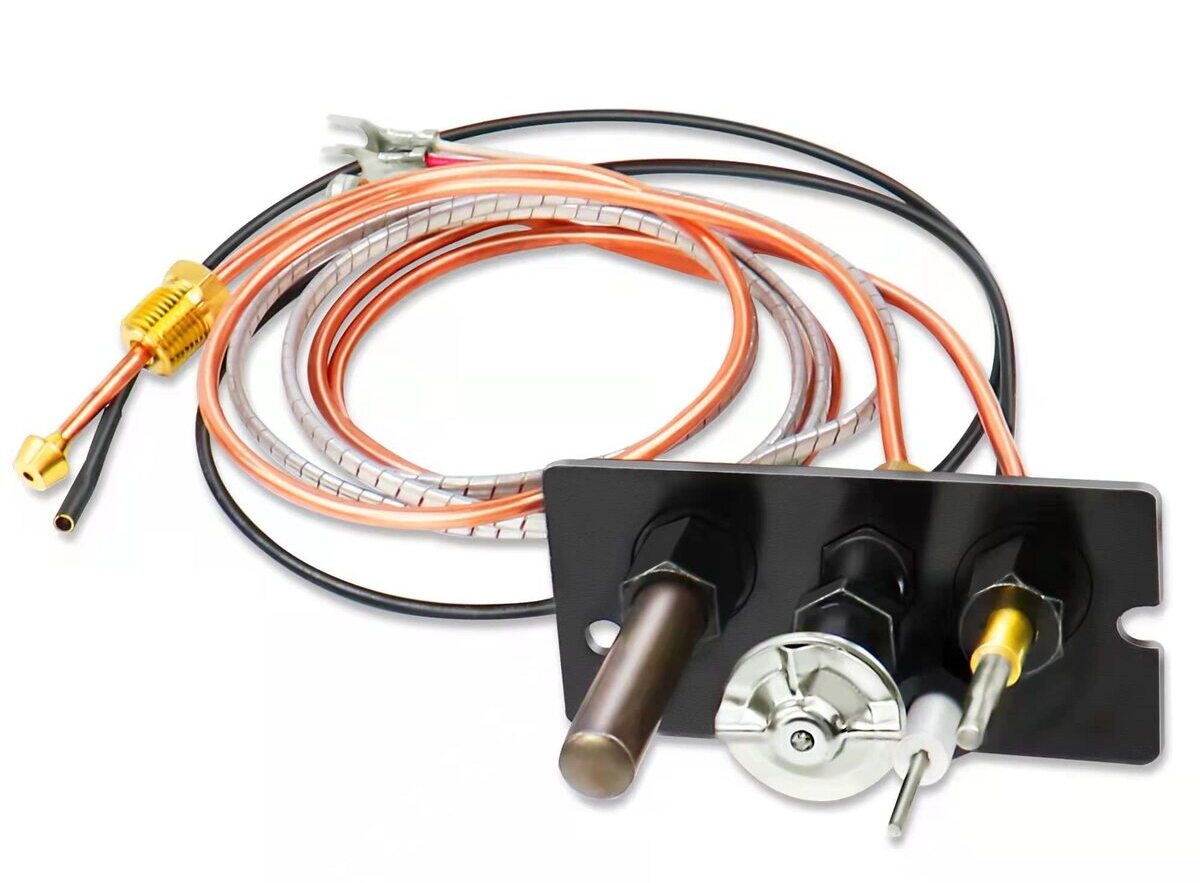
- New thermocouple (make sure it is compatible with your water heater model)
- Flame-resistant cloth or mat
- Teflon tape (optional, for resealing gas connections)
These tools and materials are readily available at most hardware stores and online retailers. It’s important to have all the necessary items on hand before you start the replacement process to ensure a smooth and efficient experience.
The adjustable wrench will be used to disconnect and reconnect the gas supply line, as well as remove and install the thermocouple. The screwdriver is needed to access and remove any panels or covers on the water heater. The new thermocouple is a critical component of the replacement process, so be sure to choose one that is compatible with your specific water heater model.
A flame-resistant cloth or mat is useful to protect surrounding surfaces from any accidental sparks or small flames that may occur during the replacement process. Safety is always a priority, so it’s important to have this protective measure in place.
Teflon tape is optional but can be useful for resealing gas connections. If you notice any leaks or want to ensure a tight seal, applying Teflon tape to the threaded ends of the gas line can provide an extra layer of security. This will help prevent any gas leaks after the replacement is complete.
Now that you have gathered all the necessary tools and materials, you are ready to proceed to the next step: turning off the gas supply.
Step 1: Turn Off the Gas Supply
The first step in replacing the thermocouple on your gas water heater is to turn off the gas supply. This is crucial to ensure your safety during the replacement process.
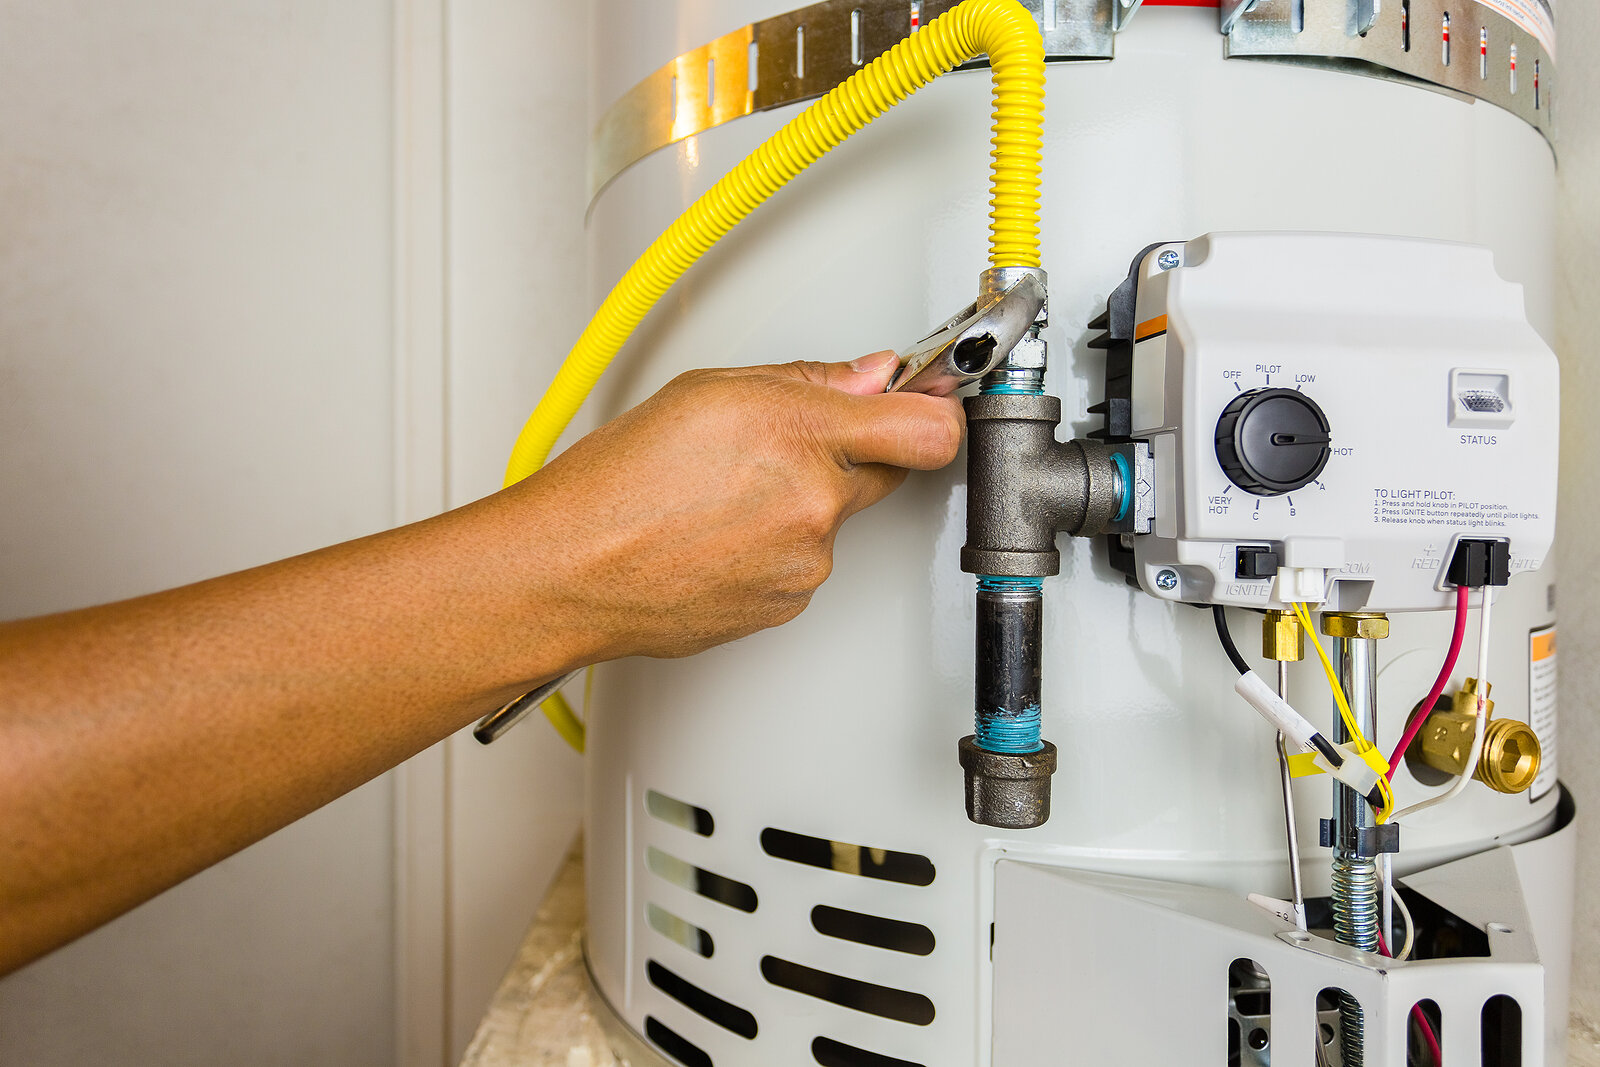
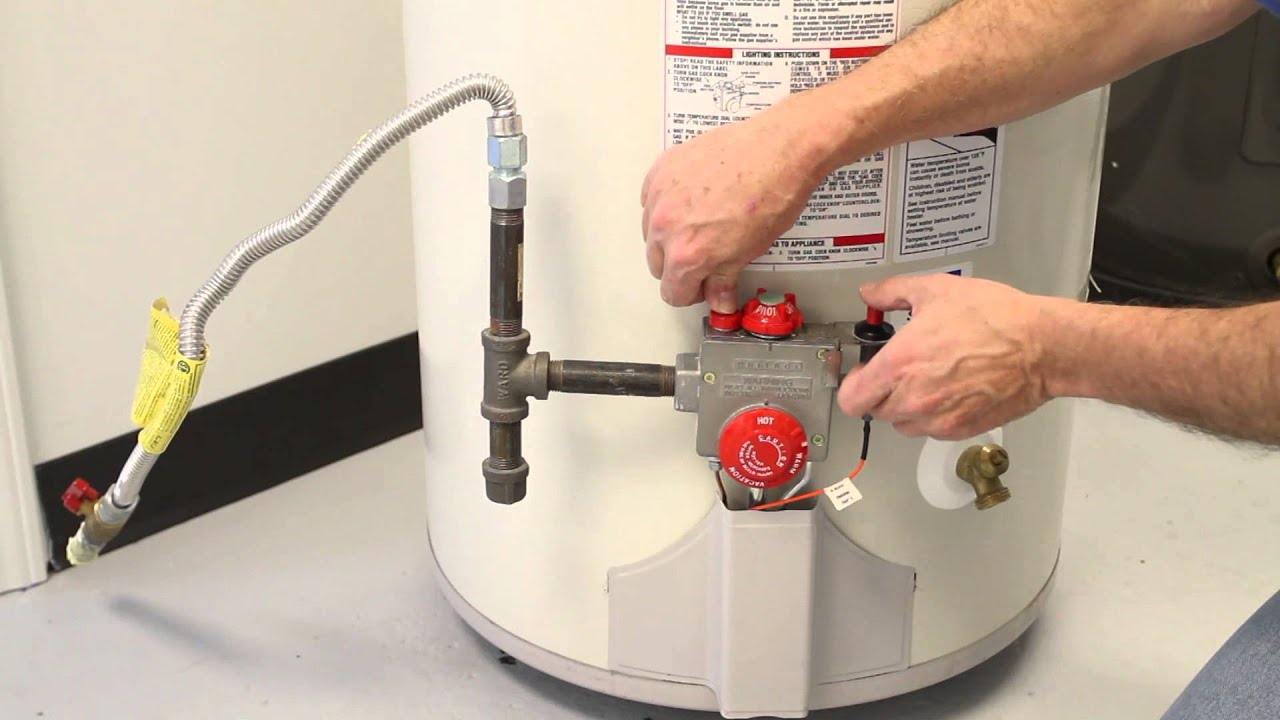
Locate the gas control valve on your water heater. It is typically located near the bottom of the unit or on the side. The gas control valve should have an “On/Off” or “Open/Close” label.
Using caution, turn the control valve clockwise to the “Off” or “Close” position. This will shut off the gas supply to the water heater. It’s important to remember that gas is highly flammable, so exercise caution and avoid any open flames or sparks while working with the gas supply.
Once the gas supply is turned off, wait a few minutes to allow the gas to dissipate. This will reduce the risk of any residual gas in the lines. During this time, it’s a good idea to open a nearby window or door for ventilation.
Now that the gas supply is turned off, you can proceed to the next step: locating the thermocouple on your gas water heater.
Step 2: Locate the Thermocouple
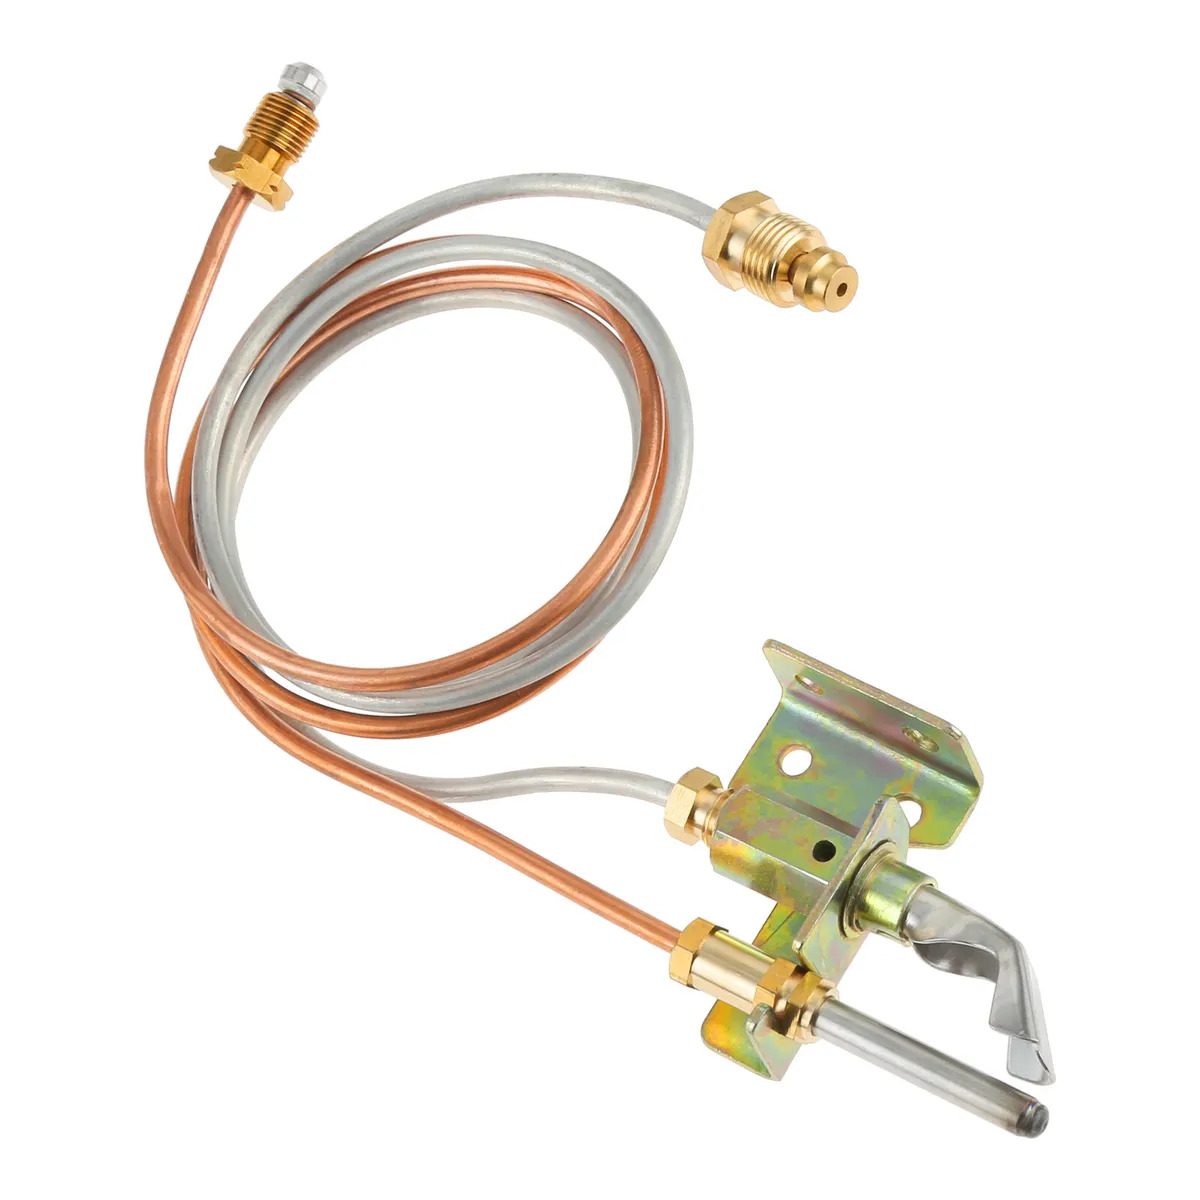
After turning off the gas supply, the next step in replacing the thermocouple on your gas water heater is to locate the thermocouple itself. The thermocouple is a small copper or steel tube that is connected to the gas control valve and positioned near the pilot light.
Start by removing any access panels or covers that may be in place on your water heater. These panels are typically secured with screws or clips and can be easily removed with a screwdriver. Once the panels are removed, you will have clear access to the inner components of the water heater.
Look for a small, thin copper or steel tube leading from the gas control valve to the pilot light. This is the thermocouple. It is usually positioned near the pilot light assembly and is held in place by a retaining nut or bracket.
Take a moment to familiarize yourself with the thermocouple and its positioning within the water heater. This will help when it comes time to disconnect and remove the old thermocouple and install the new one.
Some thermocouples may have a protective cover or sheath surrounding them for added safety. If your thermocouple has a cover, it can usually be easily unscrewed or removed. Set aside the cover for now as it will not be needed during the replacement process.
Now that you have located the thermocouple, you can proceed to the next step: disconnecting the thermocouple from the gas control valve.
Step 3: Disconnect the Thermocouple
With the thermocouple located, the next step in replacing it is to disconnect it from the gas control valve. This will allow you to remove the old thermocouple and prepare for the installation of the new one.
Using an adjustable wrench, carefully loosen the nut that secures the thermocouple to the gas control valve. The nut will be located at the base of the thermocouple where it connects to the valve.
Once the nut is loose, you can disconnect the thermocouple from the gas control valve by gently pulling it out. Be mindful of any other components or wires that may be connected near the thermocouple, and ensure you do not damage them during the process.
As you separate the thermocouple from the gas control valve, you may notice a small copper wire or connector that is attached to the valve. This wire is responsible for delivering the electrical signal generated by the thermocouple to the gas control valve.
Take care not to damage or disconnect this wire as you remove the old thermocouple. The wire should remain connected to the gas control valve, while the thermocouple is completely disconnected and can be safely removed.
Once the old thermocouple is detached, set it aside and proceed to the next step: removing the thermocouple from the water heater.
Note: If you have any difficulties or encounter resistance when trying to disconnect the thermocouple, it’s possible that it may be tightly secured or have accumulated debris over time. In such cases, you may need to use penetrating oil or seek professional assistance to safely disconnect the thermocouple.
Step 4: Remove the Thermocouple
Now that you have disconnected the thermocouple from the gas control valve, the next step is to remove the thermocouple from the gas water heater. This will allow you to make way for the installation of the new thermocouple.
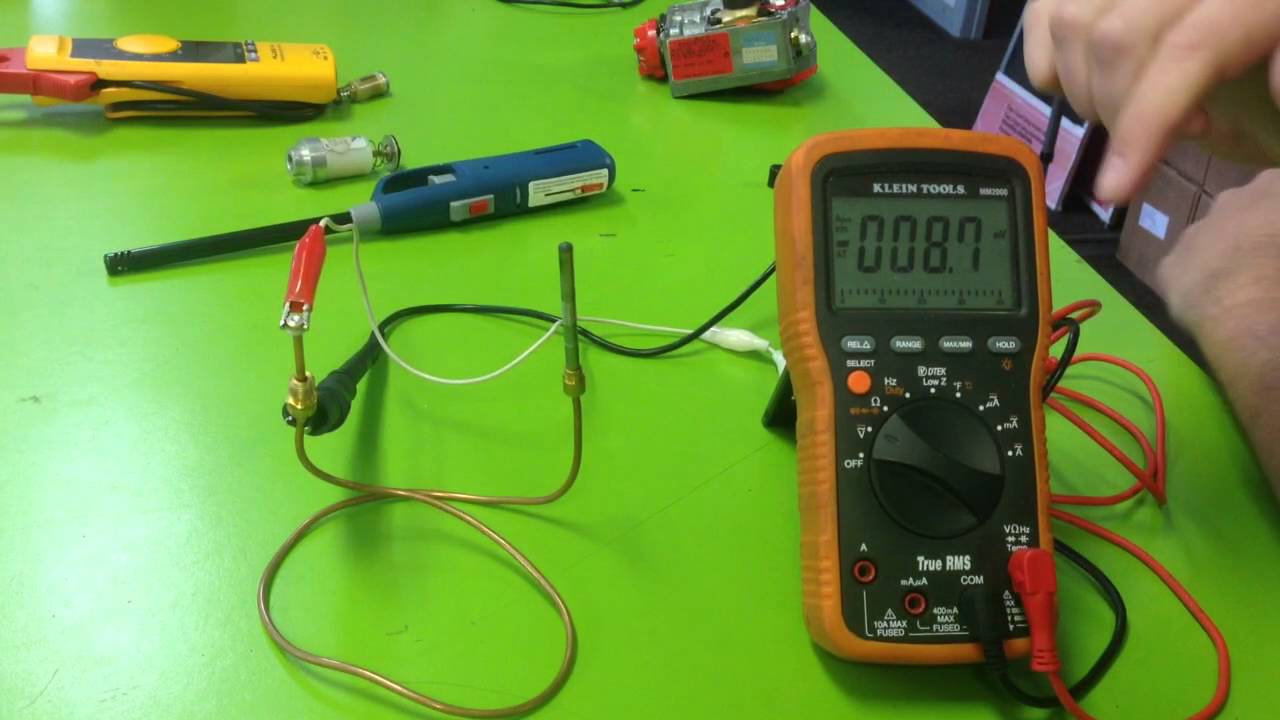
Take a moment to inspect the old thermocouple for any signs of damage or wear. Over time, thermocouples can become corroded or worn out, leading to the malfunctioning of the pilot light. If you notice any obvious signs of damage, such as frayed wires or a bent tube, it is a good idea to replace the thermocouple entirely.
To remove the thermocouple, locate the retaining nut or bracket that is holding it in place. This nut or bracket is typically positioned near the base of the thermocouple where it attaches to the water heater.
Using an adjustable wrench or pliers, carefully loosen and remove the retaining nut or bracket. Take care to keep the nut in a safe place, as you will need it for the installation of the new thermocouple.
With the nut or bracket removed, you can now gently pull the thermocouple out of its position in the water heater. Be cautious not to bend or damage the thermocouple tube as you remove it.
Set the old thermocouple aside, as it will no longer be needed. Take this opportunity to clean the area where the thermocouple was positioned. Use a soft cloth or brush to remove any dust or debris, ensuring a clean surface for the installation of the new thermocouple.
You have now successfully removed the old thermocouple. It’s time to move on to the next step: installing the new thermocouple in your gas water heater.
When replacing a thermocouple on a gas water heater, make sure to turn off the gas supply and allow the unit to cool down before starting the replacement process. Always follow the manufacturer’s instructions and use the correct replacement part for your specific water heater model.
Step 5: Install the New Thermocouple
Now that you have removed the old thermocouple, it’s time to install the new one in your gas water heater. Installing a new thermocouple will help ensure the proper functioning of your pilot light and gas water heater.
Begin by taking the new thermocouple and inspecting it for any signs of damage or defects. Ensure that it is the correct size and type for your specific water heater model. The new thermocouple should have a similar length and configuration to the old one.
Position the new thermocouple in the same location where the old one was removed from. Insert the end of the thermocouple into the thermocouple holder or bracket, making sure it is positioned securely.
Once the thermocouple is in place, take the retaining nut or bracket that you removed earlier and carefully thread it onto the base of the thermocouple. Use an adjustable wrench or pliers to tighten the nut or bracket, ensuring a secure connection.
Take care not to overtighten the nut or bracket, as this can damage the thermocouple or the water heater. A firm but gentle tightening is sufficient to secure the thermocouple in place.
Confirm that the thermocouple is properly aligned and firmly attached. It should not be loose or wobbling. This will ensure that the thermocouple can accurately detect the heat from the pilot light and provide the necessary feedback to the gas control valve.
With the new thermocouple securely installed, you can move on to the next step: reconnecting the thermocouple to the gas control valve.
Note: If you encounter any difficulties during the installation process or are unsure about the proper positioning of the new thermocouple, it is recommended to consult the instructions manual provided by the manufacturer or to seek professional assistance.
Step 6: Reconnect the Thermocouple
After successfully installing the new thermocouple, the next step is to reconnect it to the gas control valve on your gas water heater. Reconnecting the thermocouple will allow it to properly communicate with the gas control valve and ensure the efficient operation of your water heater.
Carefully locate the opening on the gas control valve where the thermocouple will be inserted. The opening is usually marked or labeled with the term “Thermocouple” or a similar indication.
Take the end of the thermocouple that you previously inserted into the thermocouple holder or bracket and align it with the opening on the gas control valve.
Gently push the end of the thermocouple into the opening on the gas control valve. Apply slight pressure while pushing until you feel resistance or until the thermocouple is fully inserted.
Once the thermocouple is inserted into the gas control valve, locate the retaining nut that you removed earlier during the disconnection process. Take the nut and thread it onto the base of the thermocouple where it connects to the gas control valve.
Using an adjustable wrench, tighten the retaining nut securely. Ensure that the thermocouple is held firmly in place and that there is no looseness or wobbling.
Take care not to overtighten the nut, as this can damage the thermocouple or the gas control valve. Tightening the nut with a firm but gentle grip is sufficient to ensure a secure connection.
Confirm that the thermocouple is properly attached to both the gas control valve and the thermocouple bracket. The connection should be tight and secure.
With the thermocouple successfully reconnected, you can now proceed to the next step: turning on the gas supply.
Note: If you are unsure about the proper positioning or connection of the thermocouple, it is recommended to consult the instructions manual provided by the manufacturer or seek the assistance of a professional plumber or technician.
Step 7: Turn On the Gas Supply
Now that the thermocouple is securely reconnected, it’s time to turn on the gas supply to your water heater. This step will allow gas to flow to the pilot light and ultimately provide the necessary heat for heating the water.
Locate the gas control valve on your water heater, which you previously turned off in step 1. It should be in the “Off” or “Closed” position.
Using caution, turn the gas control valve counterclockwise to the “On” or “Open” position. This will allow the gas to flow to the pilot light and the burner in the water heater. Be mindful of any gas smells or leaks during this process, and if you detect a strong gas odor or suspect a leak, immediately shut off the gas supply and consult a professional.
With the gas supply turned on, you may hear a hissing sound as the gas flows through the supply line. This is normal and indicates that the gas is reaching the pilot light area.
It is recommended to perform a visual inspection of the area around the gas control valve and the thermocouple connection. Check for any gas leaks, such as hissing sounds, and also ensure that there are no loose or damaged connections.
Now that the gas supply is turned on and the visual inspection is complete, you can proceed to the next step: testing the water heater to ensure it is functioning properly.
Note: If you are not confident about handling the gas supply or have any concerns about gas leaks, it is advisable to seek the assistance of a professional plumber or technician for this step.
Read more: How To Replace Gas Valve On Water Heater
Step 8: Test the Water Heater
After turning on the gas supply, the final step in replacing the thermocouple on your gas water heater is to test the unit to ensure it is functioning properly. Testing the water heater will verify that the pilot light ignites and stays lit, and that hot water is being produced as expected.
Start by observing the pilot light. With the gas supply turned on, the pilot light should ignite within a few seconds. If the pilot light doesn’t ignite, try relighting it following the manufacturer’s instructions. If the pilot light still doesn’t ignite or stay lit, there may be an issue with the gas control valve or other components, and it is recommended to contact a professional for further assistance.
Once the pilot light is lit, observe it for a few minutes to ensure that it remains steadily burning. If the pilot light flickers or goes out, it may indicate a problem with the thermocouple or another component. In this case, you may need to revisit the installation process or seek professional help.
After confirming that the pilot light is functioning properly, you can check the operation of the water heater by turning on a hot water faucet in your home. Allow the water to run for a few minutes to ensure that hot water is being produced by the water heater.
During this process, pay attention to the temperature of the water. If the water is not heating up as expected or if the temperature is inconsistent, there may be an issue with the water heater’s burner or thermostat. It is recommended to consult a professional to diagnose and resolve the problem.
If the pilot light remains lit and the water heater is producing hot water, congratulations! You have successfully replaced the thermocouple and restored the proper functioning of your gas water heater.
Remember to monitor the water heater in the following days to ensure its continued performance and to address any issues that may arise. Regular maintenance, such as checking for gas leaks and inspecting the pilot light, is also recommended to keep your water heater running efficiently.
By following these steps and conducting proper maintenance, you can enjoy a reliable and efficient gas water heater for years to come.
Conclusion
Replacing the thermocouple on your gas water heater is a simple yet essential task that can restore the proper functioning of your appliance. By following the step-by-step instructions in this guide, you can confidently replace the thermocouple and have your gas water heater up and running again.
Throughout the process, remember to prioritize safety. Ensure the gas supply is turned off before starting the replacement, and be cautious of any gas leaks or odors. If you encounter any difficulties or are unsure about any step, it is always best to seek the assistance of a professional plumber or technician.
Gathering the necessary tools and materials, locating and removing the old thermocouple, installing the new thermocouple, and reconnecting it to the gas control valve are all important steps that need to be followed carefully. Take your time and ensure that each step is completed accurately.
Once the new thermocouple is installed and reconnected, turn on the gas supply and test the water heater. Verify that the pilot light ignites and stays lit, and that hot water is produced consistently.
Regular maintenance, such as monitoring for gas leaks and inspecting the pilot light periodically, is recommended to keep your water heater functioning at its best. If you notice any issues or inconsistencies, it is advisable to consult a professional for further assistance.
By replacing the thermocouple on your gas water heater, you can enjoy consistent hot water and the peace of mind that comes with a fully functioning appliance. With proper maintenance and care, your gas water heater will continue to provide you with hot water for years to come.
Remember, if you ever feel uncertain or uncomfortable with performing the replacement yourself, it is always best to consult a professional. They have the expertise and knowledge to handle the task safely and effectively.
Now that you have the knowledge and guidance, you are ready to embark on the journey of replacing the thermocouple on your gas water heater. Good luck!
Frequently Asked Questions about How To Replace Thermocouple On Gas Water Heater
Was this page helpful?
At Storables.com, we guarantee accurate and reliable information. Our content, validated by Expert Board Contributors, is crafted following stringent Editorial Policies. We're committed to providing you with well-researched, expert-backed insights for all your informational needs.
0 thoughts on “How To Replace Thermocouple On Gas Water Heater”