
Articles
How To Reset AC After Power Outage
Modified: October 20, 2024
Learn how to reset your AC unit after a power outage with our informative articles. Stay cool and keep your HVAC system running smoothly.
(Many of the links in this article redirect to a specific reviewed product. Your purchase of these products through affiliate links helps to generate commission for Storables.com, at no extra cost. Learn more)
Introduction
Power outages are a common occurrence, and they can have an impact on various appliances and devices in our homes, including air conditioners. If you’ve experienced a power outage and your AC unit is not functioning properly, it may require a reset to restore its normal operation.
In this article, we will guide you through the steps to reset your AC unit after a power outage. These steps are relatively simple and can be followed by anyone, even if you have limited technical knowledge. By following these steps, you can ensure that your air conditioner is back up and running efficiently.
It’s important to note that while these steps are generally applicable to most air conditioner models, it’s always a good idea to consult your AC unit’s user manual for specific instructions. This will help you determine any additional steps or precautions that may be necessary for your particular model.
Now, let’s dive into the step-by-step process of resetting your AC unit after a power outage.
Key Takeaways:
- Stay Safe: Always turn off the power supply and wait for at least 5 minutes before resetting your AC unit after a power outage. This ensures safety and a complete shutdown for a successful reset.
- Test and Adjust: After resetting, test your AC unit for consistent cooling and airflow. Adjust temperature and mode settings as needed for optimal comfort. If issues persist, seek professional assistance.
Read more: How To Reset Garage Door After Power Outage
Step 1: Turn off the Power
The first step in resetting your AC unit after a power outage is to ensure that the power supply to the unit is completely turned off. This is an important safety precaution that will protect you from any electrical hazards while working on the unit.
To turn off the power supply, locate the electrical panel or circuit breaker box in your home. It is usually found in the basement, utility room, or garage. Open the panel door to reveal the circuit breakers.
Look for the breaker that controls your AC unit. It is typically labeled as “air conditioner” or “AC.” Flip the switch to the “off” position to cut off the power supply to the unit.
It is important to note that some homes may have a separate disconnect box located outside near the AC unit itself. If this is the case, you may need to turn off the power supply at this disconnect box as well.
Once you have turned off the power supply, double-check to ensure that the AC unit is indeed powered off. You can do this by attempting to turn on the thermostat or checking for any operating sounds from the unit. If you are unsure, you may want to consider contacting a professional for assistance.
With the power supply to the AC unit turned off, you can now move on to the next step of the reset process.
Step 2: Wait for at least 5 minutes
After turning off the power supply to your AC unit, it’s important to give it some time to fully shut down and reset. This waiting period allows any residual electrical charge to dissipate and ensures that the unit is completely powered off before proceeding with the reset process.
It is recommended to wait for at least 5 minutes before moving on to the next step. This duration may vary depending on the specific model of your AC unit, so refer to the user manual if you are unsure of the recommended waiting time.
During this waiting period, take the opportunity to inspect the AC unit for any visible signs of damage or debris. Clear any obstructions around the unit, such as leaves or branches, to ensure proper airflow once the unit is reset.
While waiting, it’s also a good idea to check the thermostat and ensure that it is functioning properly. Make sure the thermostat is set to the “off” position and that the temperature settings are at a comfortable level.
By waiting for a few minutes, you allow the AC unit to undergo a complete power cycle, which can help resolve any temporary issues that may have occurred during the power outage. This waiting period serves as a crucial step in resetting your AC unit.
Once the waiting time has elapsed, you can proceed to the next step of the reset process, which involves resetting the circuit breaker.
Step 3: Reset the Circuit Breaker
Now that you have waited for at least 5 minutes after turning off the power supply, it’s time to reset the circuit breaker for your AC unit. This step is necessary to ensure that the electrical flow to the unit is properly restored.
Start by locating the circuit breaker panel in your home. Open the panel door to reveal the circuit breakers. Look for the breaker that controls your AC unit – it is typically labeled as “air conditioner” or “AC.”
If the breaker is in the “off” position, flip it to the “on” position. Sometimes, a breaker may trip during a power outage, causing the power to the AC unit to be cut off. Resetting the breaker will restore the power flow and allow the AC unit to function again.
However, if the breaker is already in the “on” position, it’s still a good practice to turn it off first and then back on again. This ensures a complete reset of the breaker and helps resolve any potential issues.
Once you have reset the circuit breaker, wait for a few seconds to allow the electrical flow to stabilize. This will ensure a smooth transfer of power to the AC unit when it is turned on. Then, move on to the next step of the reset process.
It’s important to note that if the circuit breaker continues to trip or if you encounter any other issues, it may be a sign of an underlying problem with your electrical system or the AC unit itself. In such cases, it is recommended to seek professional assistance to address the issue.
After a power outage, turn off the thermostat and the AC unit at the breaker for at least 5 minutes. Then, turn the breaker back on and reset the thermostat.
Step 4: Turn on the Power
After resetting the circuit breaker, the next step in the process of resetting your AC unit after a power outage is to turn the power back on. This step will restore the electrical supply to the AC unit and allow it to resume normal operation.
Start by going back to the electrical panel or circuit breaker box in your home. Locate the breaker that controls your AC unit and flip the switch to the “on” position. This will restore the power supply to the unit.
Once you have turned on the power, wait for a few seconds to allow the AC unit to receive the electrical current and stabilize. During this time, you may hear a soft humming sound as the unit powers up.
While waiting, make sure you observe the AC unit for any visible signs of irregularities, such as sparks or smoke. If you notice any unusual behavior or if the unit does not respond after a few minutes, it may indicate an underlying issue that requires professional attention.
After the AC unit has had a few moments to power up, you can proceed to the next step, which involves setting the temperature and mode.
It’s important to note that if you had previously set any specific temperature or mode settings on your AC unit, they may have been reset during the power outage. You will need to adjust these settings to your desired preferences once the unit is turned on.
Step 5: Set the Temperature and Mode
Now that you have turned on the power to your AC unit, it’s time to set the temperature and mode to ensure optimal comfort in your home. This step allows you to customize the cooling settings based on your preferences and the current weather conditions.
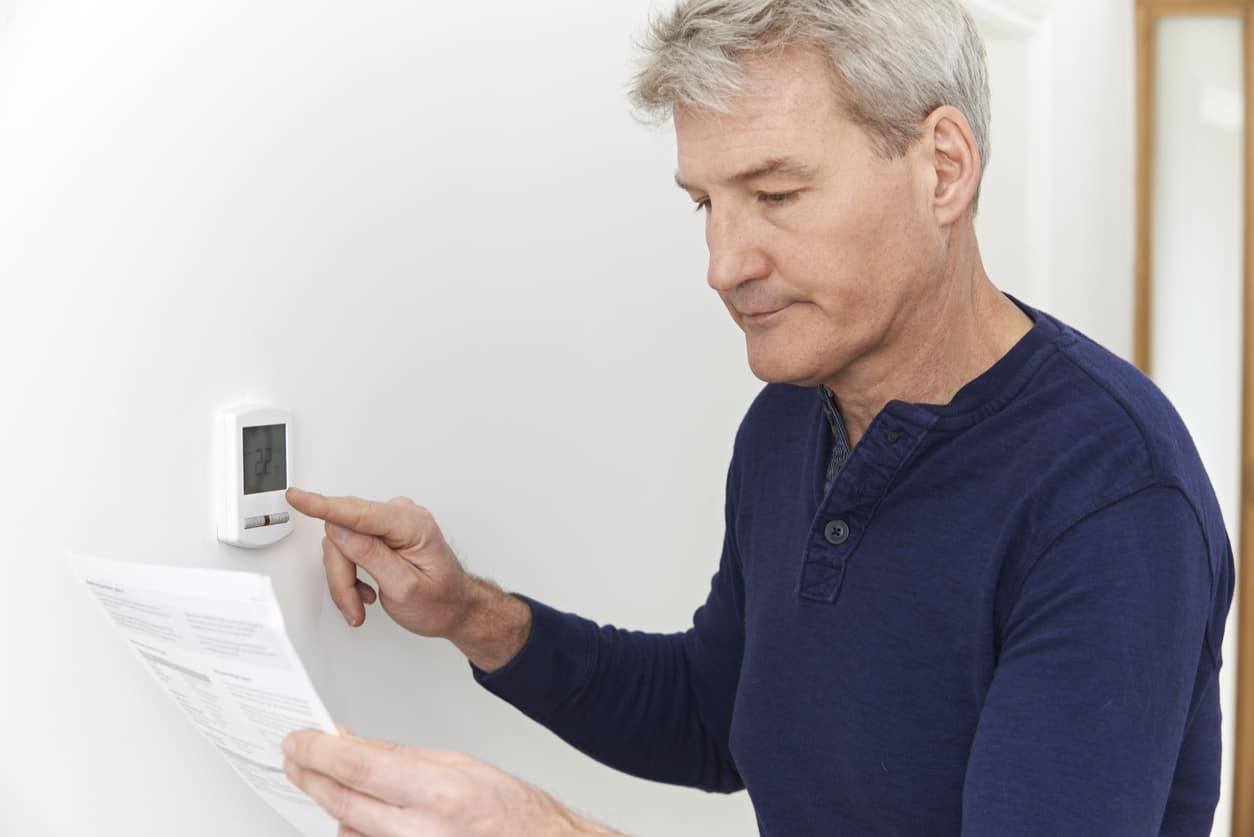
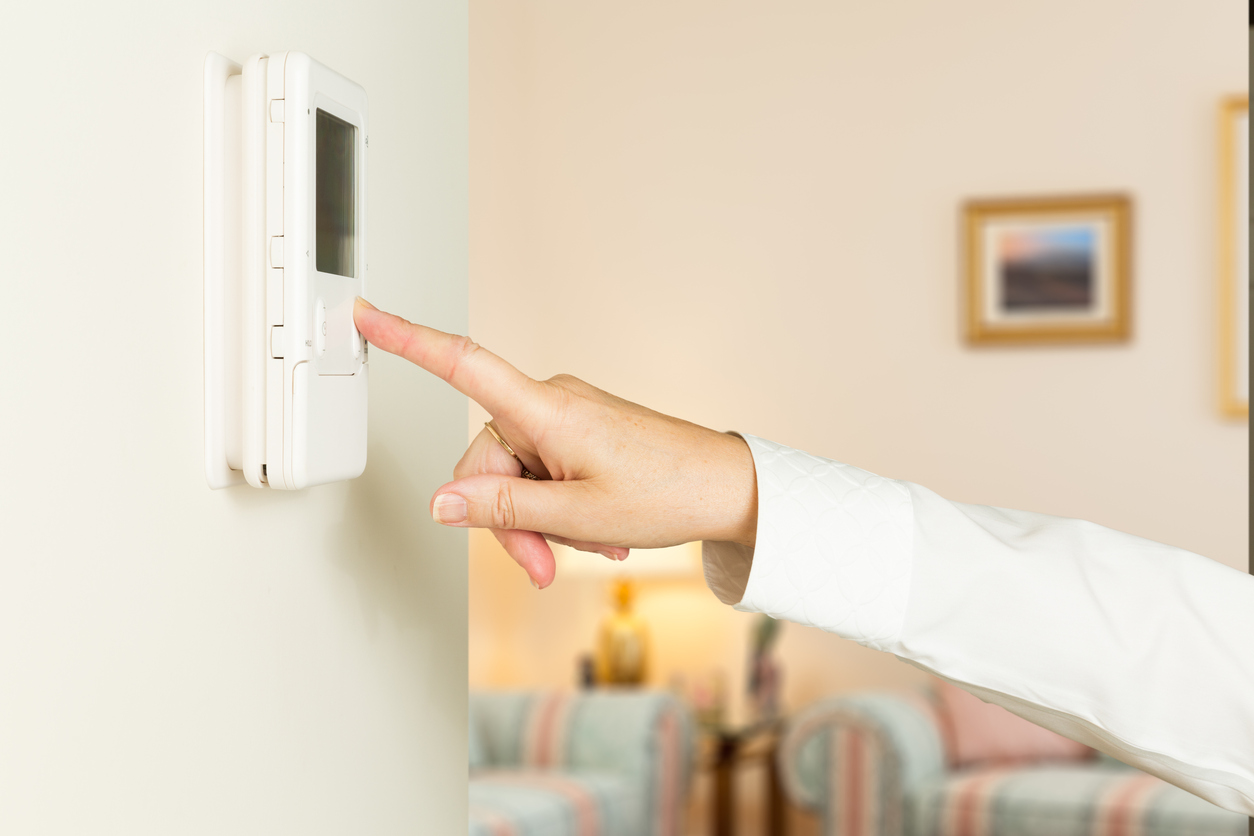
Start by locating the thermostat for your AC unit. The thermostat is typically mounted on a wall inside your home, away from direct sunlight and heat sources. It allows you to control the temperature and mode of your AC unit.
Depending on your thermostat model, use the controls or buttons to adjust the temperature to your desired level. You can increase or decrease the temperature in increments until you reach a comfortable setting.
In addition to setting the temperature, you may also have the option to select different cooling modes, such as “cool,” “fan,” or “auto.” The specific modes available can vary depending on your AC unit model.
If you prefer a specific mode, such as “cool,” select it using the controls on the thermostat. This will instruct the AC unit to cool the air and maintain the desired temperature. If you choose the “fan” mode, the unit will circulate air without cooling it. The “auto” mode allows the AC unit to automatically adjust the cooling based on the temperature settings.
Make sure to allow the AC unit some time to adjust to the new temperature and mode settings. It may take a few minutes for the unit to reach the desired temperature and distribute the cool air evenly throughout your home.
Once you have set the temperature and mode, you can move on to the final step of the reset process, which involves testing the AC unit.
Step 6: Test the AC Unit
After setting the temperature and mode on your AC unit, it’s important to test it to ensure that it is functioning properly and providing the desired cooling in your home. This step allows you to confirm that the reset process was successful and that your AC unit is back to its optimal performance.
Start by giving the AC unit some time to run and cool the air in your home. It may take a few minutes for the unit to reach the set temperature and for you to feel the cool air circulating.
During this time, walk around your home and check each room for the presence of cool air. Make sure that the airflow from the vents is consistent and that the temperature in each room is comfortable. If you notice any rooms with poor airflow or uneven cooling, it may indicate a problem with the AC unit or the air ducts.
Additionally, listen for any unusual noises coming from the AC unit. While some noise is normal during operation, excessive or strange sounds could be an indication of a malfunctioning component. If you notice any such noises, it is advisable to contact a professional HVAC technician for further diagnosis and repair.
Finally, check the thermostat to ensure that the AC unit is maintaining the set temperature. If the temperature is not consistent or if the unit is constantly running, it may require further adjustments or attention from a professional.
By thoroughly testing your AC unit after the reset process, you can ensure that it is working efficiently and providing the desired cooling in your home. This step allows you to address any potential issues and make any necessary adjustments to optimize its performance.
With the AC unit properly tested and functioning, you have successfully completed the reset process after a power outage.
Conclusion
Experiencing a power outage can disrupt the functioning of various appliances in our homes, including air conditioners. However, by following the steps outlined in this article, you can easily reset your AC unit and restore its normal operation.
Remember to start by turning off the power supply and waiting for at least 5 minutes to ensure a complete shutdown. Then, reset the circuit breaker to restore the electrical flow to the unit. After that, turn on the power and set the temperature and mode on your AC unit according to your preferences. Finally, test the AC unit to confirm that it is working properly and providing the desired cooling in your home.
It is important to note that while these steps are generally applicable to most AC units, it’s always a good idea to consult your unit’s user manual for specific instructions. This will help you navigate any model-specific differences or additional steps that may be necessary.
By following these resetting procedures, you can ensure the efficient and reliable operation of your AC unit even after a power outage. However, if you encounter any persistent issues or if the AC unit does not respond to the reset process, it is advisable to seek professional assistance from an HVAC technician.
Remember, proper maintenance and regular servicing of your AC unit can help prevent issues and ensure its longevity. It is recommended to schedule regular maintenance checks to keep your AC unit in optimal condition.
With a well-functioning and reset AC unit, you can enjoy continuous comfort and a cool environment in your home, regardless of any power outages that may occur.
Frequently Asked Questions about How To Reset AC After Power Outage
Was this page helpful?
At Storables.com, we guarantee accurate and reliable information. Our content, validated by Expert Board Contributors, is crafted following stringent Editorial Policies. We're committed to providing you with well-researched, expert-backed insights for all your informational needs.


0 thoughts on “How To Reset AC After Power Outage”