Home>Home Maintenance>How To Install A Hisense Window Air Conditioner
Home Maintenance
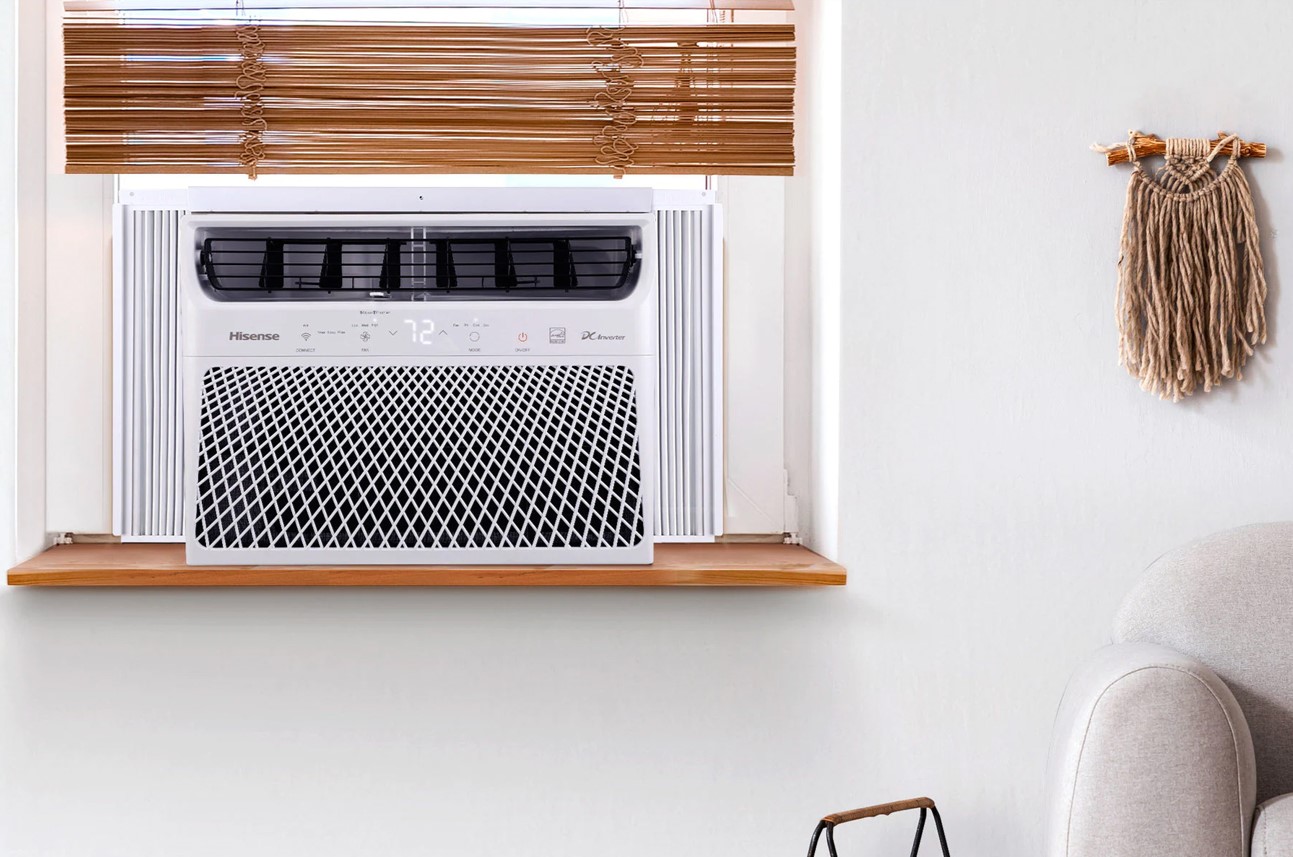
How To Install A Hisense Window Air Conditioner
Modified: March 7, 2024
Learn how to easily install a Hisense window air conditioner yourself with our step-by-step guide. Improve your home's comfort and do proper home maintenance.
(Many of the links in this article redirect to a specific reviewed product. Your purchase of these products through affiliate links helps to generate commission for Storables.com, at no extra cost. Learn more)
Introduction
Welcome to our comprehensive guide on how to install a Hisense window air conditioner. Whether you’re looking to beat the summer heat or regulate the temperature in a specific room, installing a window air conditioner can be a cost-effective and efficient solution.
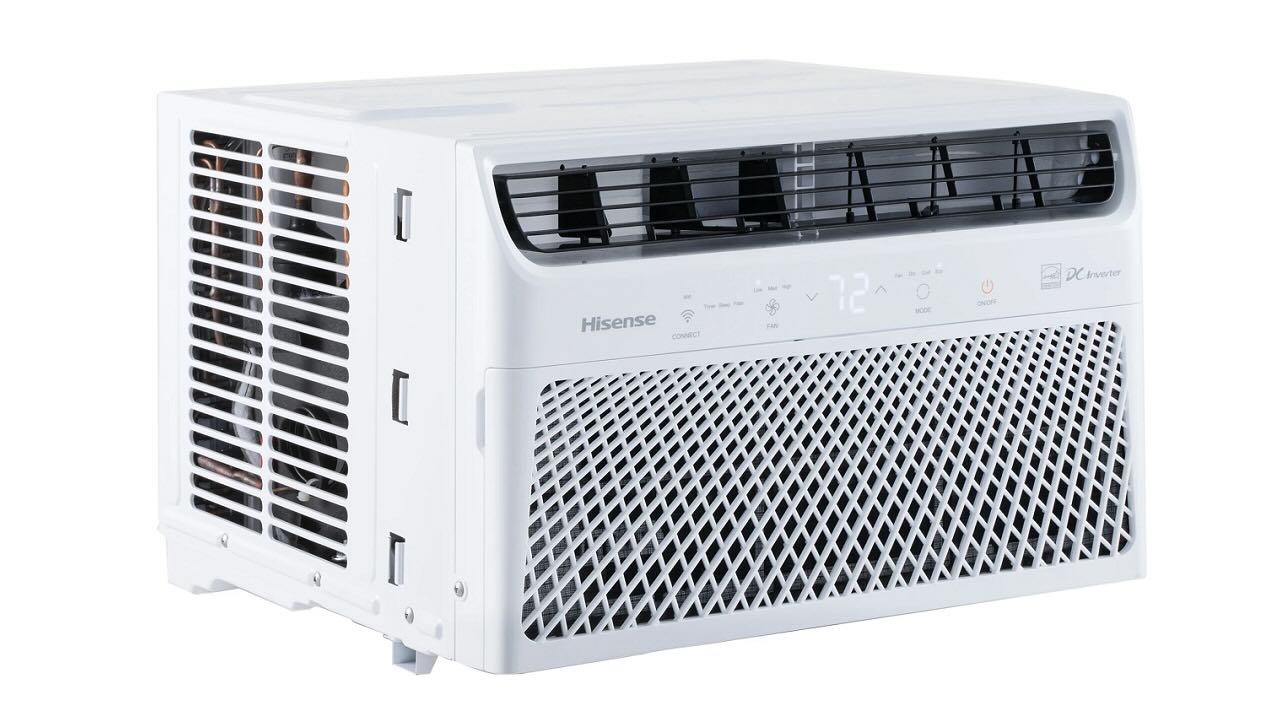
A Hisense window air conditioner is a popular choice for many homeowners due to its reliable performance and user-friendly features. By following the step-by-step instructions in this article, you’ll be able to install your Hisense window air conditioner with ease and enjoy a comfortable living environment.
Before you begin the installation process, it’s important to gather all the necessary tools and materials. This will help ensure a smooth installation and minimize any potential delays. Let’s dive into the details of each step.
Key Takeaways:
- Installing a Hisense window air conditioner is easy! Just gather tools, choose the right location, prepare the window, and secure the unit. Then, connect the power and adjust settings for a cool home.
- To keep your Hisense window air conditioner working well, remember to clean the filter, inspect the coils, and maintain the drainage system. Regular maintenance ensures efficient cooling all summer long!
Step 1: Gather necessary tools and materials
Before you start the installation process, it’s crucial to gather all the necessary tools and materials. Having everything prepared will save you time and frustration during the installation. Here’s a list of what you’ll need:
- Hisense window air conditioner unit
- Window mounting kit (included with the air conditioner)
- Tape measure
- Pencil or marker
- Screwdriver
- Masking tape or weatherstripping
- A level
- Power drill (optional, depending on the window configuration)
Make sure to have all of these items easily accessible before you start the installation process. This will ensure a smoother and more efficient installation.
Once you have gathered all the necessary tools and materials, you’re ready to move on to the next step: choosing the right location for installation.
Step 2: Choose the right location for installation
Choosing the right location for installing your Hisense window air conditioner is crucial for efficient cooling and optimal performance. Here are a few factors to consider:
- Choose a window that is close to an electrical outlet. This will allow for easy access to power the unit.
- Select a window that is centrally located in the room to ensure even distribution of cool air throughout the space.
- Ensure that there is enough clearance around the window for proper installation and ventilation.
- Avoid placing the air conditioner near any heat sources or objects that may obstruct the airflow.
Once you have chosen the ideal location, measure the dimensions of the window opening to ensure that your Hisense window air conditioner will fit perfectly. This will help you determine if any modifications need to be made to the window or mounting kit.
Once you’ve selected the right location and measured the dimensions, you’re ready to move on to the next step: preparing the window for installation.
Step 3: Prepare the window for installation
Preparing the window for the installation of your Hisense window air conditioner is essential for a secure and stable setup. Follow these steps to properly prepare the window:
- Start by cleaning the area around the window and removing any obstructions. This will ensure a clean and smooth installation process.
- Inspect the window frame for any damages or defects. Repair or replace any damaged parts to ensure a sturdy installation.
- If your window has a screen, remove it and keep it in a safe place. You will reinstall it once the air conditioner is properly installed.
- Check the window opening for any gaps or air leaks. Use masking tape or weatherstripping to seal any openings. This will prevent air from escaping and improve energy efficiency.
Additionally, ensure that the window is structurally sound and capable of supporting the weight of the air conditioner. If necessary, reinforce the window frame or consult a professional for assistance.
Once you have prepared the window, you’re ready to move on to the next step: installing the support brackets.
Step 4: Install the support brackets
Installing the support brackets is an important step in securing your Hisense window air conditioner and ensuring its stability. Follow these steps to install the support brackets:
- Refer to the instructions provided by Hisense to determine the correct placement of the support brackets. Typically, this will involve attaching the brackets to the window sill or window frame.
- Using a screwdriver or power drill, securely fasten the support brackets in place. Ensure that they are level and parallel to each other to provide proper support for the air conditioner.
- Double-check the stability and alignment of the brackets to ensure they can bear the weight of the air conditioner.
It’s important to note that the specific installation process may vary depending on the model of your Hisense window air conditioner. Always refer to the manufacturer’s instructions for the most accurate and up-to-date information.
Once the support brackets are securely installed, you’re ready to move on to the next step: inserting the air conditioner into the window.
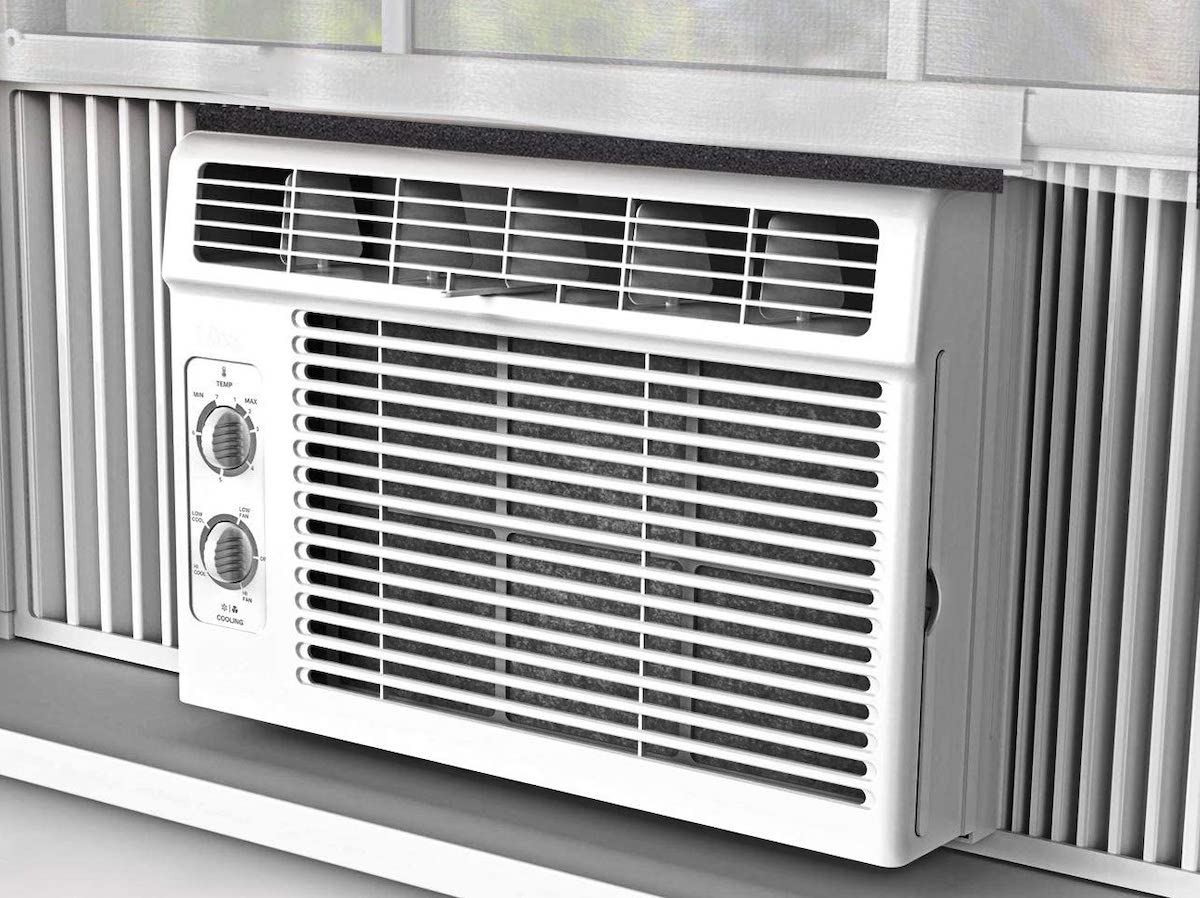
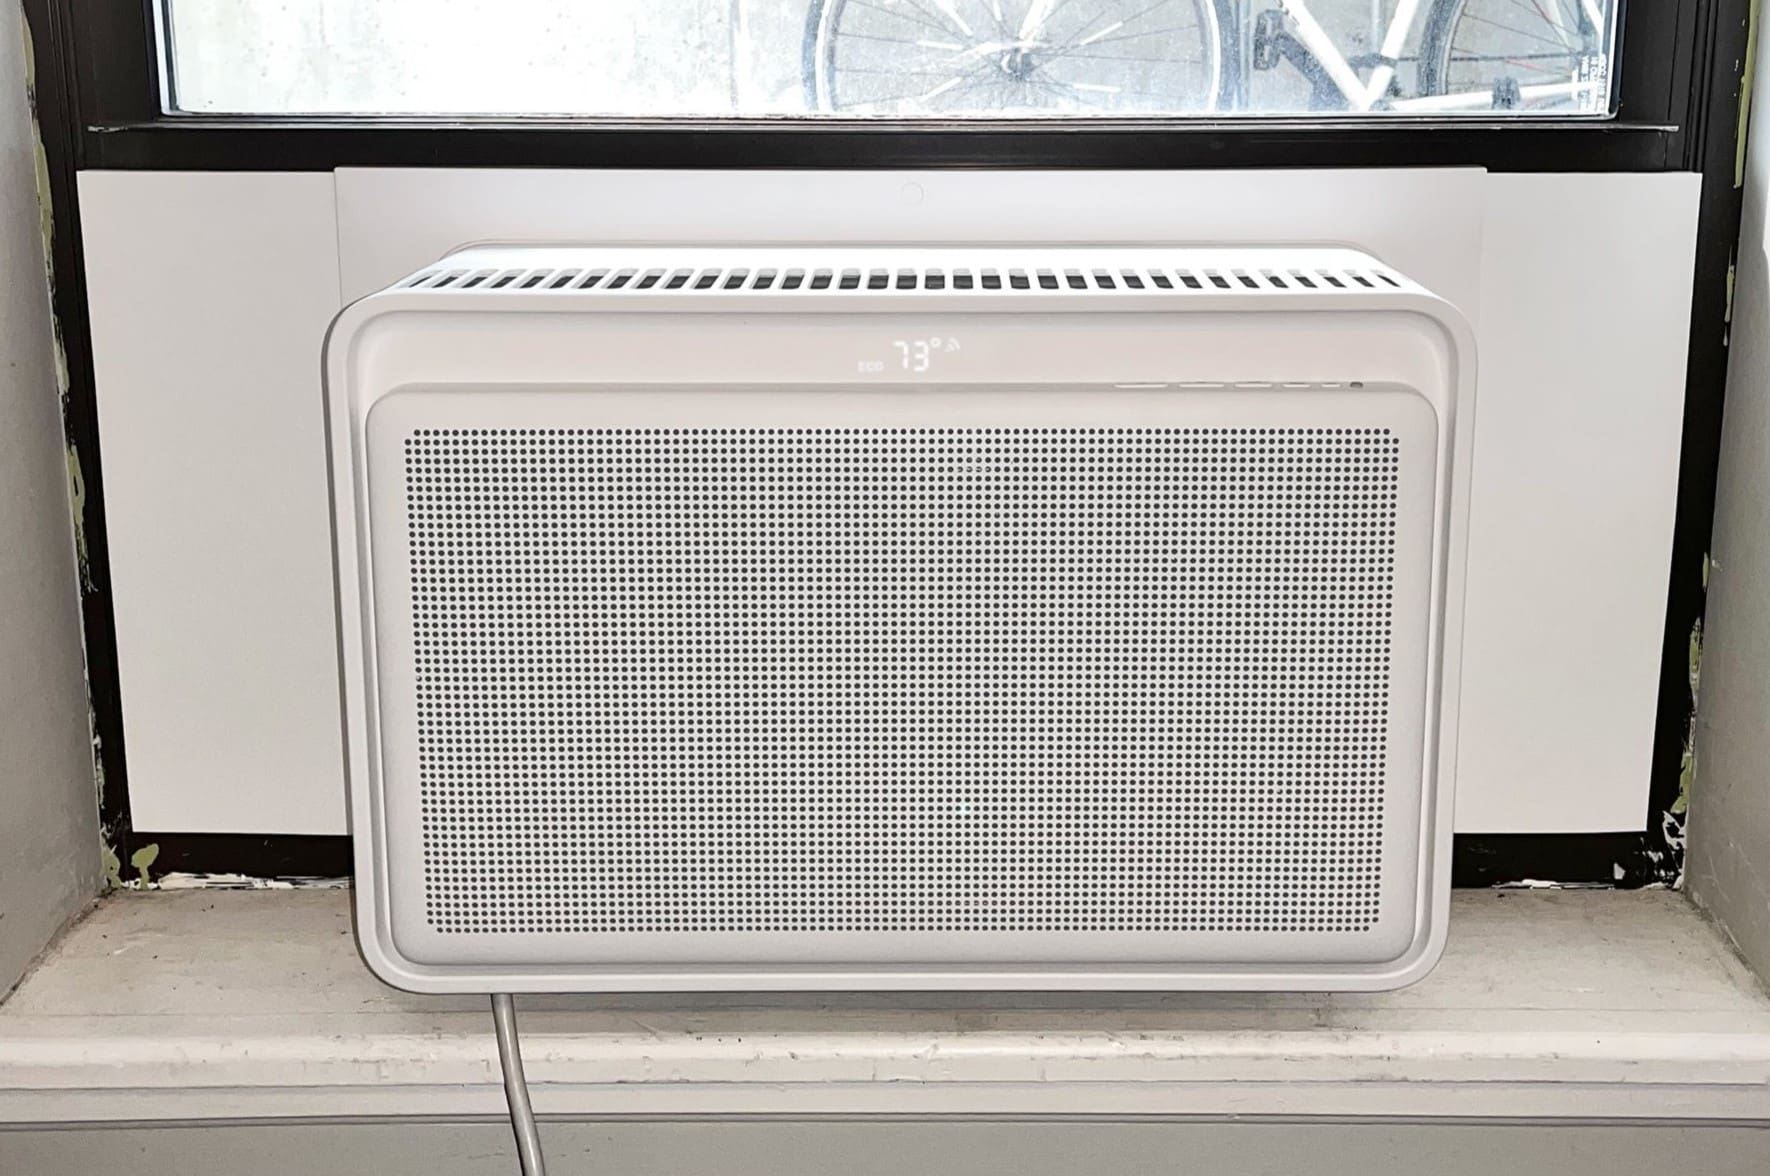
Step 5: Insert the air conditioner into the window
Now that you have the support brackets in place, it’s time to insert your Hisense window air conditioner into the window. Follow these steps for a seamless installation:
- Carefully lift the air conditioner unit and position it on the windowsill, aligning it with the support brackets.
- Gently slide the air conditioner into the window opening until it is centered and flush with the window frame.
- Ensure that the unit is level by using a spirit level. Adjust the positioning of the air conditioner as necessary.
- Once the air conditioner is in position, lower the window sash onto the top of the unit. This will help secure it in place.
It’s important to note that the weight of the air conditioner should be supported by the brackets, not the window itself. Make sure the unit is securely positioned and does not wobble or shift.
If you have a sliding window, refer to the specific instructions provided by Hisense for installing the air conditioner on this type of window. Additional steps may be required to ensure a proper fit and secure installation.
With the air conditioner inserted into the window, you’re ready to move on to the next step: securing the unit in place.
Make sure to properly measure the window opening before installing the air conditioner to ensure a proper fit. This will help prevent any gaps that could let hot air in and reduce the unit’s efficiency.
Step 6: Secure the unit in place
Securing your Hisense window air conditioner in place is essential to prevent any accidental movement or dislodging. Follow these steps to ensure a stable and secure installation:
- Locate the brackets or mounting hardware provided with your Hisense air conditioner. These are designed to secure the unit in place.
- Attach the brackets or mounting hardware to the window frame or wall, depending on the specific instructions provided by Hisense.
- Use screws or other provided fasteners to secure the air conditioner to the brackets or mounting hardware. Make sure the unit is tightly secured and cannot be easily moved.
- Check all connections and fasteners to ensure they are secure.
It’s important to follow the manufacturer’s instructions and recommendations when securing the unit. Improper installation or failure to secure the air conditioner can lead to safety hazards or inefficient operation.
Once the air conditioner is securely in place, you’re ready to move on to the next step: connecting the power supply.
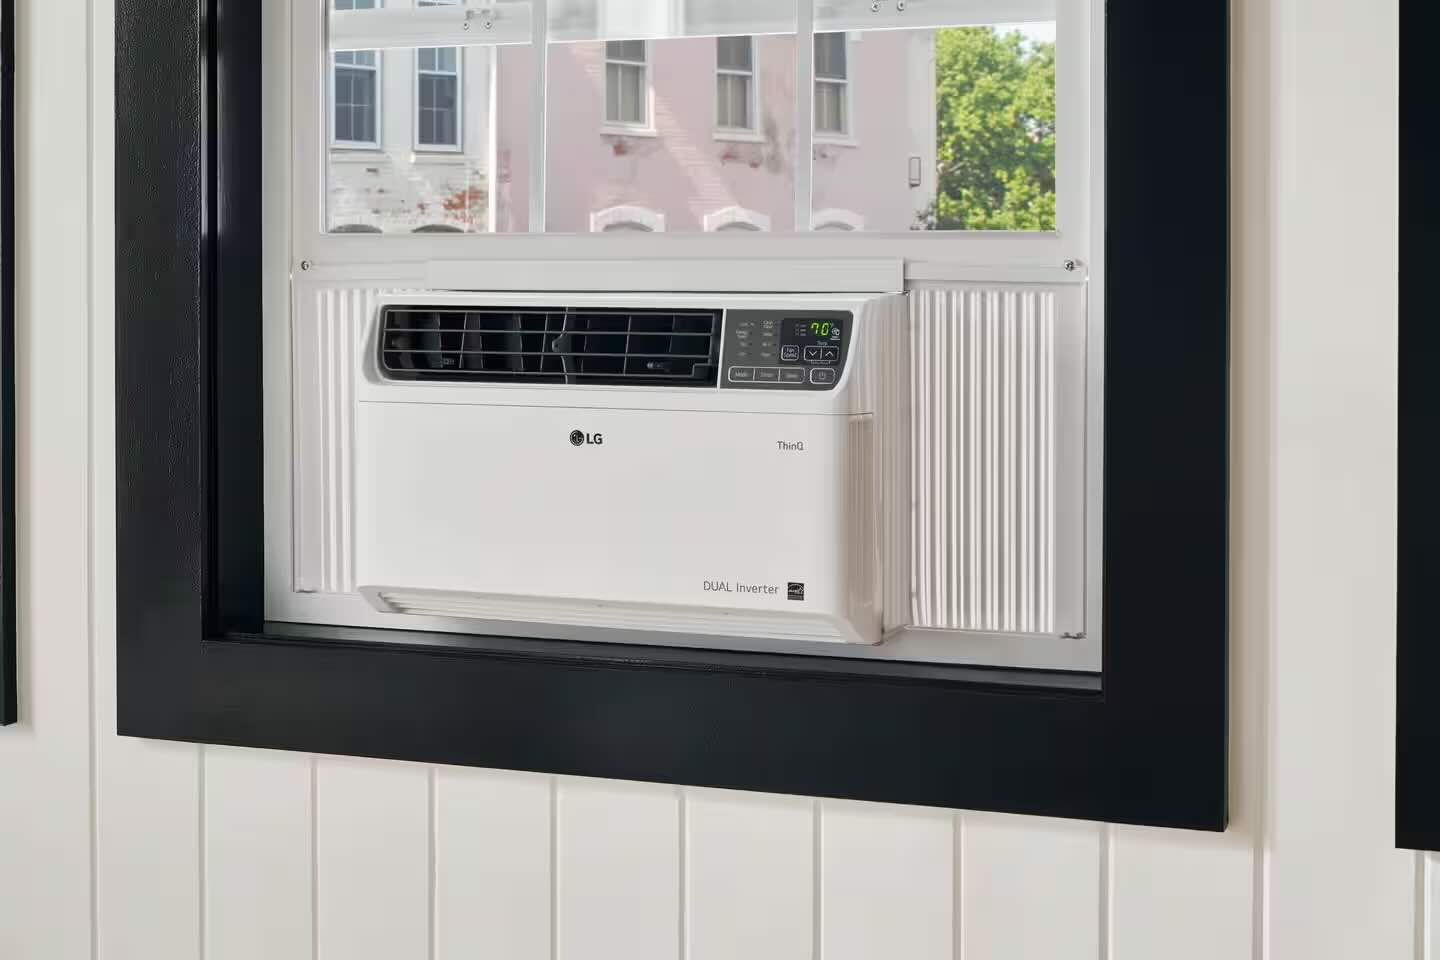
Step 7: Connect the power supply
Now that your Hisense window air conditioner is securely installed, it’s time to connect the power supply. Follow these steps to ensure a safe and proper connection:
- Locate the power cord attached to the air conditioner. Make sure it is in good condition and free from any damages.
- Locate the nearest electrical outlet that can handle the power requirements of your air conditioner.
- Carefully plug the power cord into the electrical outlet. Ensure that the plug is fully inserted and secure.
- Check the power supply and make sure it is providing consistent and stable electricity to the air conditioner.
- If necessary, consider using a surge protector to protect your air conditioner from any power surges.
Always be cautious when dealing with electrical connections. If you are uncertain about the electrical setup or if you experience any issues, consult a professional electrician for assistance.
Once the power supply is connected, you’re ready to move on to the next step: adjusting the settings and testing the air conditioner.
Step 8: Adjust the settings and test the air conditioner
After connecting the power supply, it’s time to adjust the settings of your Hisense window air conditioner and test its functionality. Follow these steps to ensure optimal cooling and comfort:
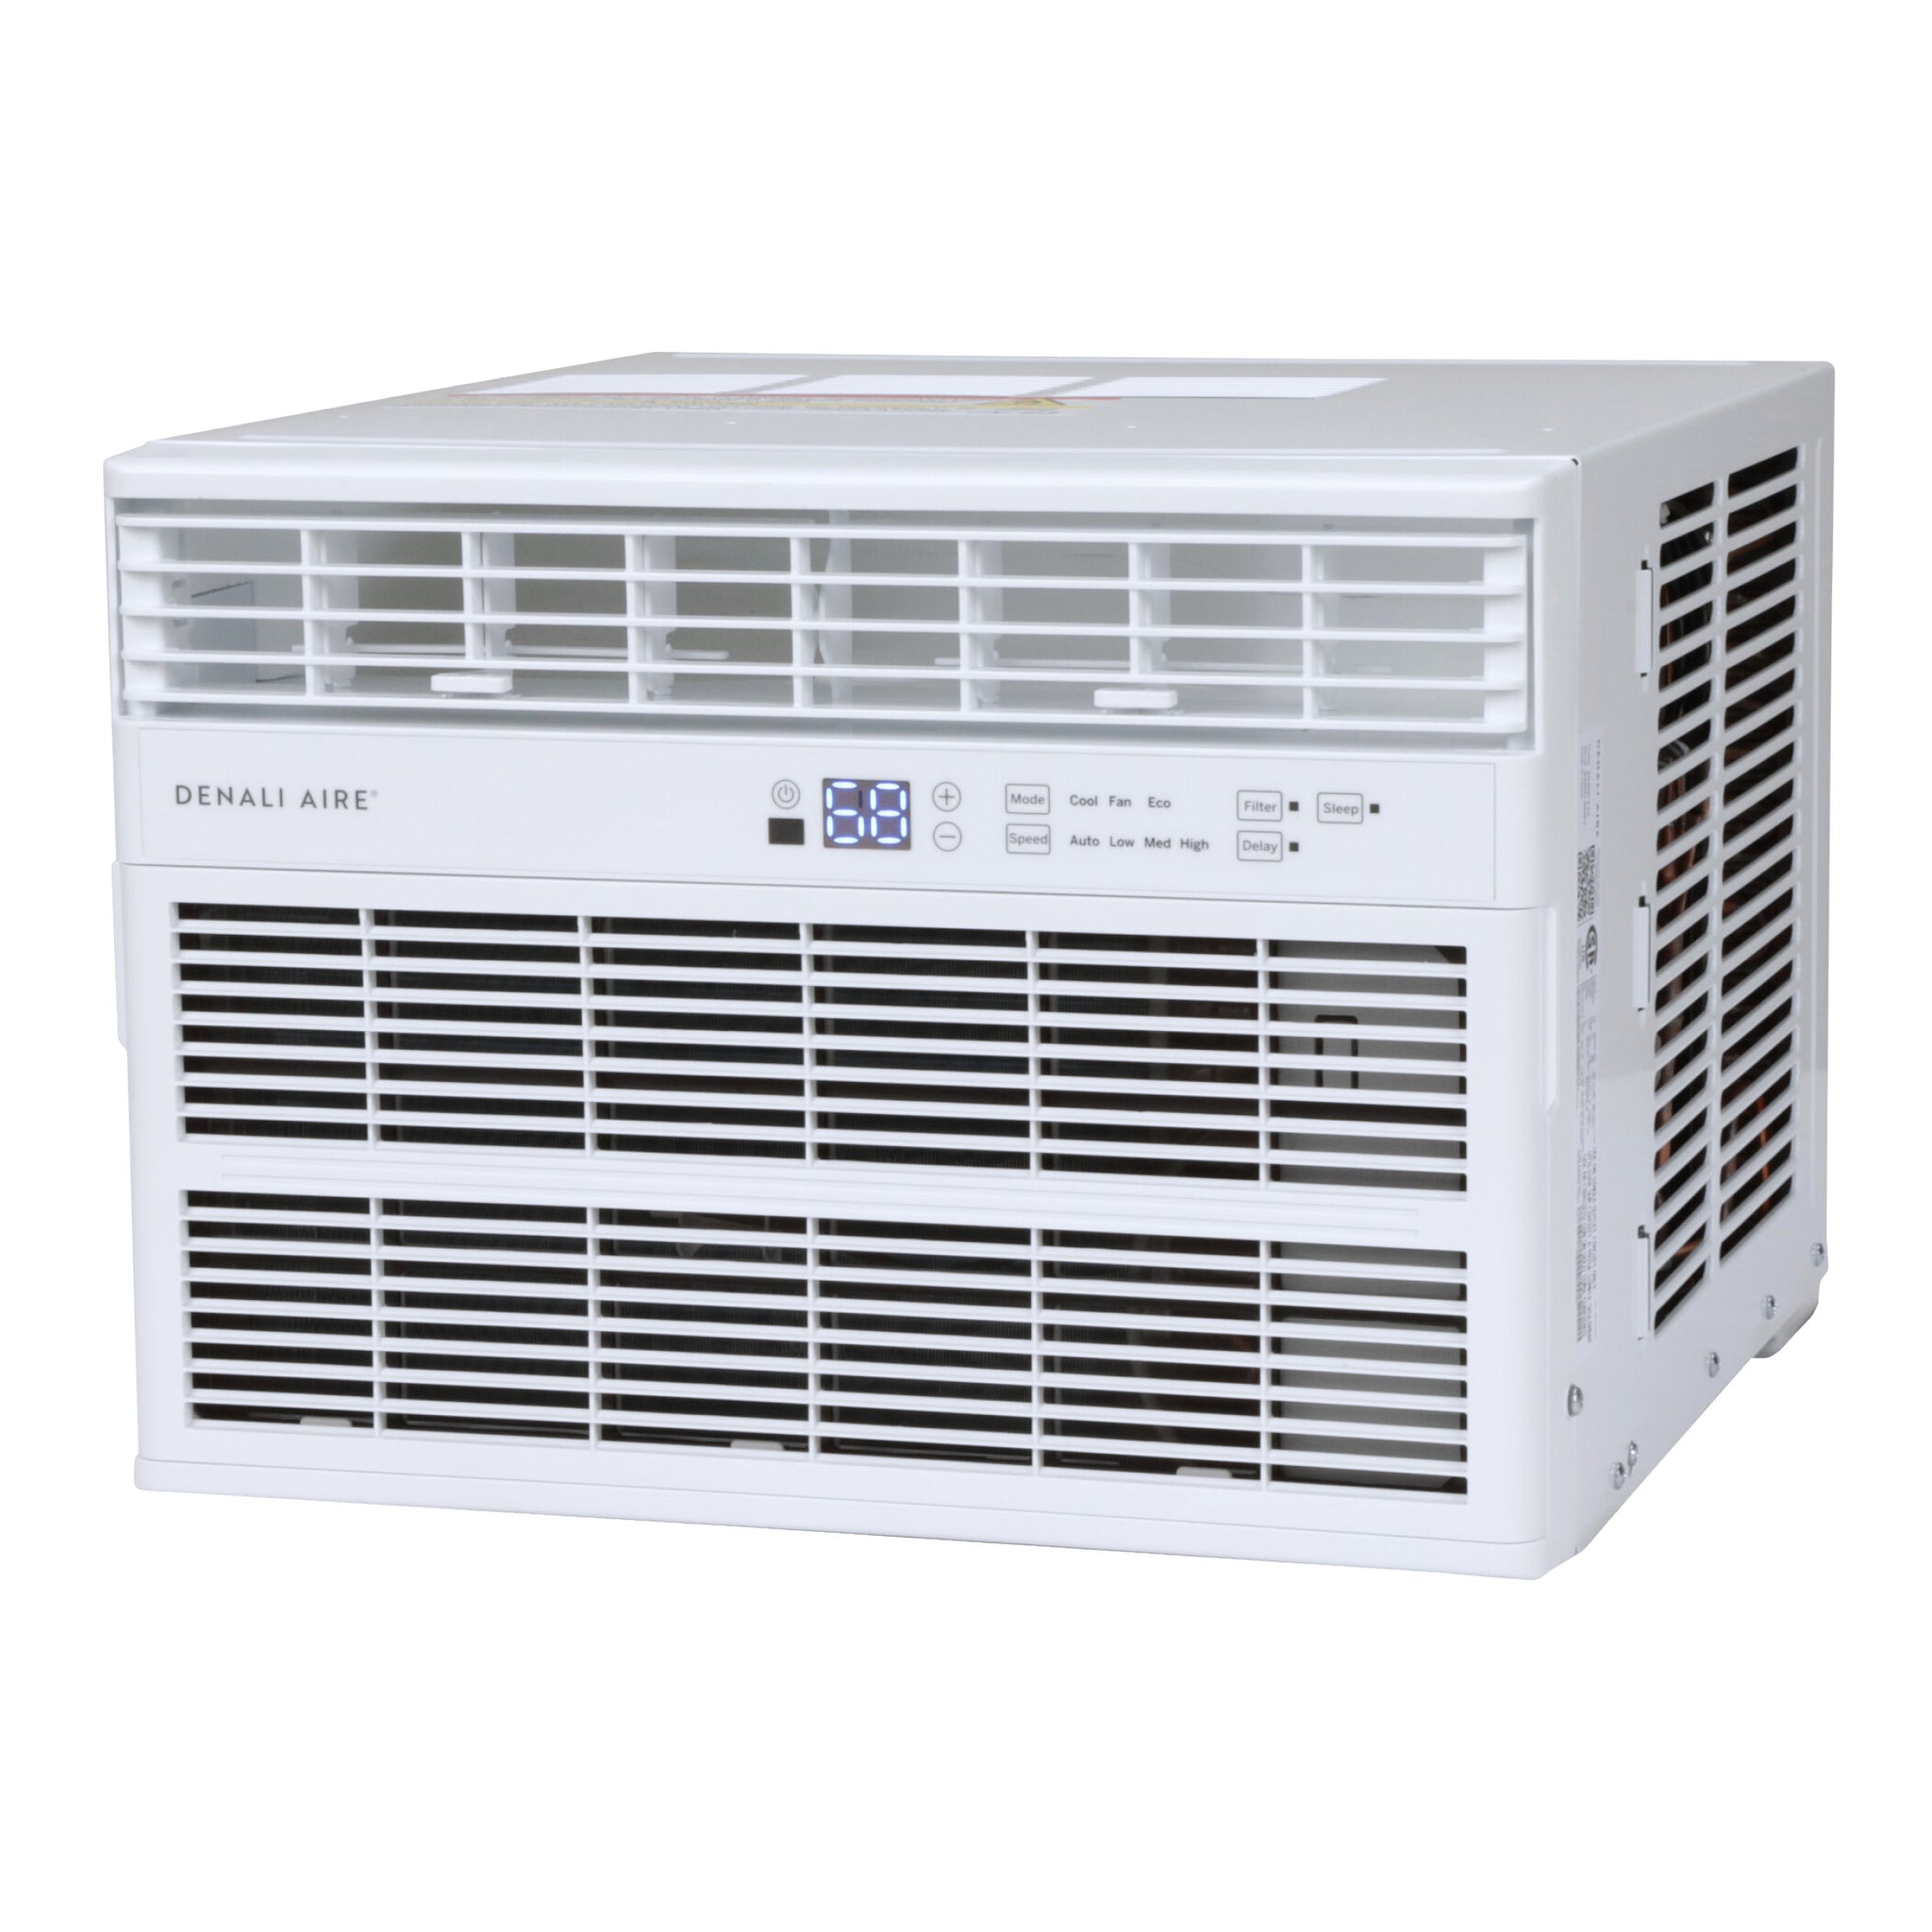
- Locate the control panel on your air conditioner. Depending on the model, this may be a digital or mechanical interface.
- Set the desired cooling temperature by adjusting the thermostat or temperature controls. It’s recommended to start with a higher temperature setting and gradually decrease it until you reach your desired comfort level.
- Adjust the fan speed to set the airflow intensity. Choose from low, medium, or high settings based on your preference.
- Experiment with other available settings such as the sleep mode or energy-saving features, depending on your air conditioner model.
- After setting your preferred temperature and fan speed, allow the air conditioner to run for a few minutes to gauge its cooling effectiveness. Make sure cold air is being circulated properly.
- Check for any unusual noises or vibrations during operation. If you notice any issues, refer to the troubleshooting section in the air conditioner’s manual or contact Hisense customer support for assistance.
It’s important to familiarize yourself with the specific features and functions of your Hisense window air conditioner. Reading the user manual will provide more detailed instructions on adjusting settings and optimizing its performance.
Once you have adjusted the settings and tested the air conditioner, you’re ready to move on to the final step: properly maintaining and cleaning the air conditioner.
Step 9: Properly maintain and clean the air conditioner
To ensure optimal performance and longevity of your Hisense window air conditioner, regular maintenance and cleaning are essential. Follow these steps to properly maintain and clean your air conditioner:
- Turn off the air conditioner and unplug it from the power supply before performing any maintenance or cleaning.
- Remove the air filter from the unit. Depending on the model, the filter may be located on the front or back of the air conditioner. Refer to the user manual for specific instructions.
- Carefully clean the air filter with mild soap and water or a vacuum cleaner. Rinse it thoroughly and allow it to dry completely before re-installing it.
- Inspect the condenser coils at the back of the air conditioner. If they appear dirty or clogged, use a soft brush or cloth to gently clean them. Avoid using harsh chemicals or abrasive materials that may damage the coils.
- Check the drainage system for any clogs or obstructions. Clear any debris or blockages to ensure proper drainage.
- Wipe down the exterior surfaces of the air conditioner with a soft, damp cloth to remove dust and dirt.
- Regularly check the window seals and weatherstripping for any gaps or damages. Replace or repair them as needed to maintain proper insulation and energy efficiency.
- Refer to the recommended maintenance schedule provided by Hisense for specific instructions on filter replacement and other maintenance tasks.
By following these maintenance practices, you can maximize the performance and lifespan of your Hisense window air conditioner.
It’s important to note that these general maintenance steps may vary slightly from model to model. Always refer to the specific instructions and recommendations provided by Hisense in your air conditioner’s user manual.
With proper maintenance and cleaning, your Hisense window air conditioner will continue to provide efficient cooling and comfort for years to come.
Conclusion
Congratulations! You have successfully installed your Hisense window air conditioner. By following the step-by-step guide in this article, you have created a comfortable and cool living environment.
Remember, proper installation is crucial for the efficient operation of your air conditioner. By choosing the right location, preparing the window, and securing the unit in place, you have ensured a stable setup. Connecting the power supply and adjusting the settings allows you to enjoy customized cooling based on your preferences.
To maintain the performance of your Hisense window air conditioner, regular maintenance and cleaning are necessary. By keeping the air filter clean, removing debris, and inspecting the drainage system, you can enhance its efficiency and prolong its lifespan.
If you ever encounter any issues or have questions about your Hisense window air conditioner, consult the user manual or contact Hisense customer support for assistance.
Now that your Hisense window air conditioner is installed and properly maintained, you can enjoy a cool and comfortable home all summer long!
Frequently Asked Questions about How To Install A Hisense Window Air Conditioner
Was this page helpful?
At Storables.com, we guarantee accurate and reliable information. Our content, validated by Expert Board Contributors, is crafted following stringent Editorial Policies. We're committed to providing you with well-researched, expert-backed insights for all your informational needs.