
Articles
How To Put Up A Fence Post
Modified: January 6, 2024
Learn how to put up a fence post with our informative articles. Get expert tips and tricks for a sturdy and secure fence installation.
(Many of the links in this article redirect to a specific reviewed product. Your purchase of these products through affiliate links helps to generate commission for Storables.com, at no extra cost. Learn more)
Introduction
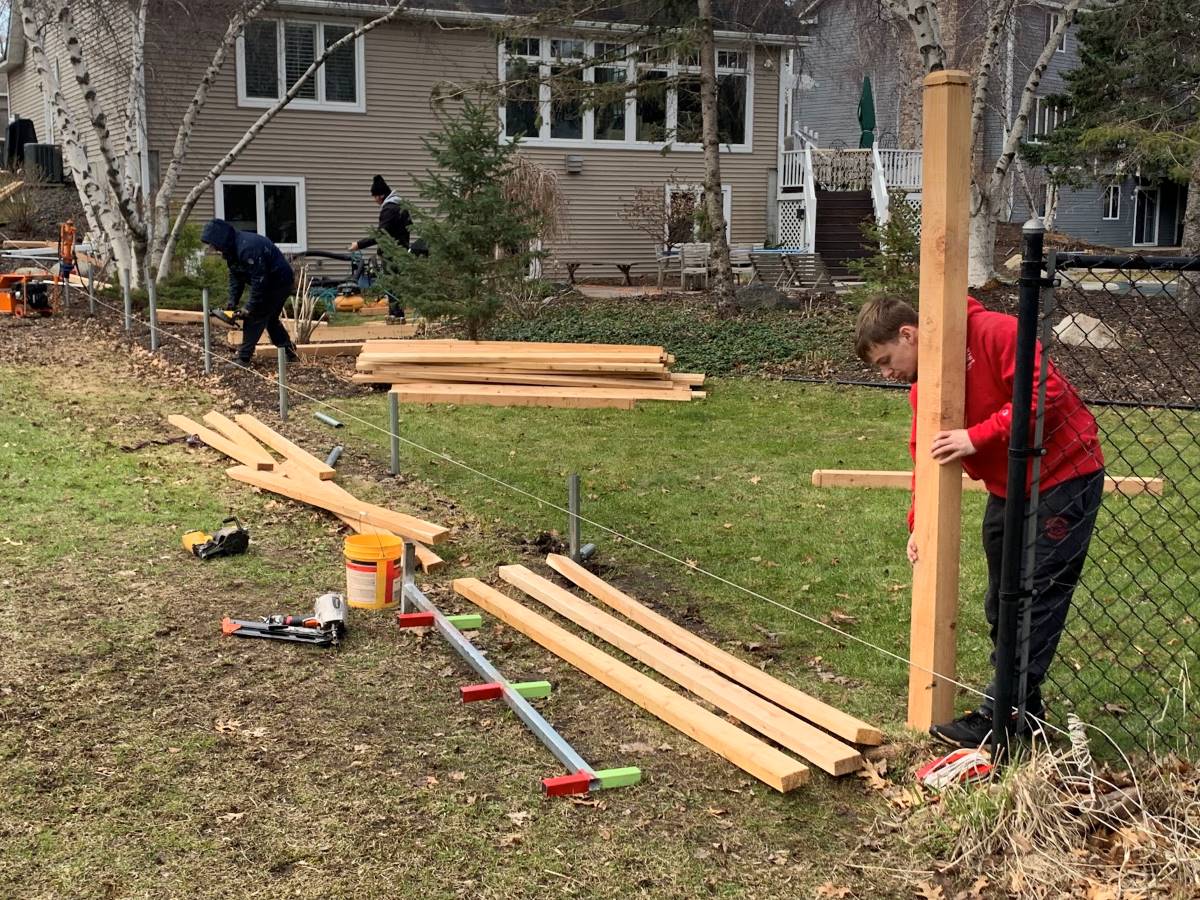
Putting up a fence post is an essential task when it comes to building a fence. Whether you’re securing your property, creating a boundary for your garden, or keeping livestock in, a sturdy fence post is the foundation of a successful fence installation.
While it may seem like a simple task, there are several crucial steps involved in ensuring that your fence post is properly installed. From gathering the necessary materials and tools to marking the location and digging the hole, each step plays a significant role in the stability and durability of your fence.
In this comprehensive guide, we’ll walk you through each step of the process, providing you with the knowledge and guidance needed to put up a fence post correctly. By following these steps, you can ensure that your fence will stand the test of time and provide the desired level of security and privacy.
Before we dive into the details, it’s worth mentioning that safety should always be your top priority. Make sure to wear appropriate protective gear, such as gloves and safety glasses, and exercise caution when handling tools and working near the hole.
So, let’s get started and learn how to put up a fence post like a pro!
Key Takeaways:
- Proper preparation, including gathering materials, marking the location, and digging the hole, is crucial for a stable and visually appealing fence post installation.
- Securing the fence post with concrete, backfilling the hole, and repeating the process for multiple posts ensures a cohesive and reliable fence structure.
Read more: How To Line Up Fence Posts
Step 1: Gather the necessary materials and tools
Before you begin putting up a fence post, it’s essential to gather all the necessary materials and tools. Having everything ready in advance will save you time and frustration during the installation process.
Here’s a list of the materials and tools you’ll need:
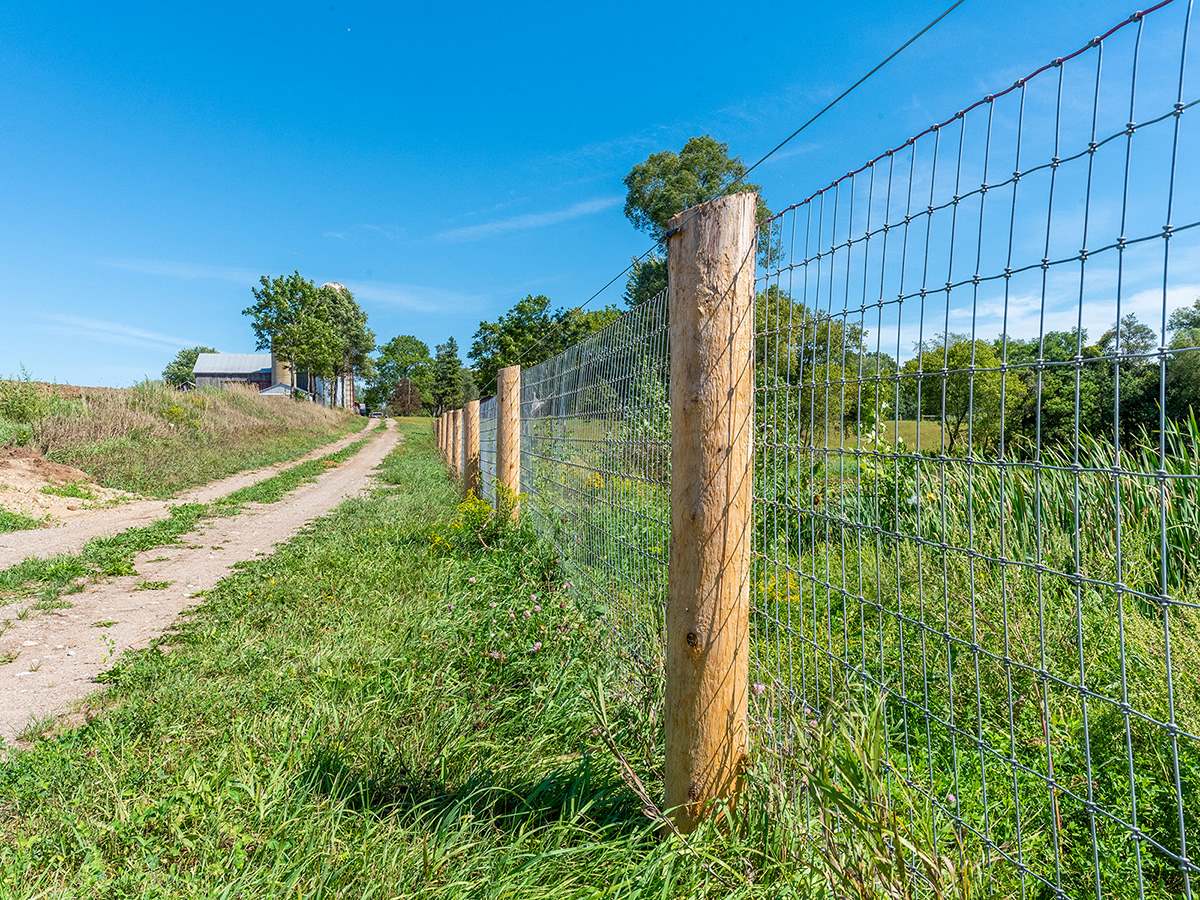
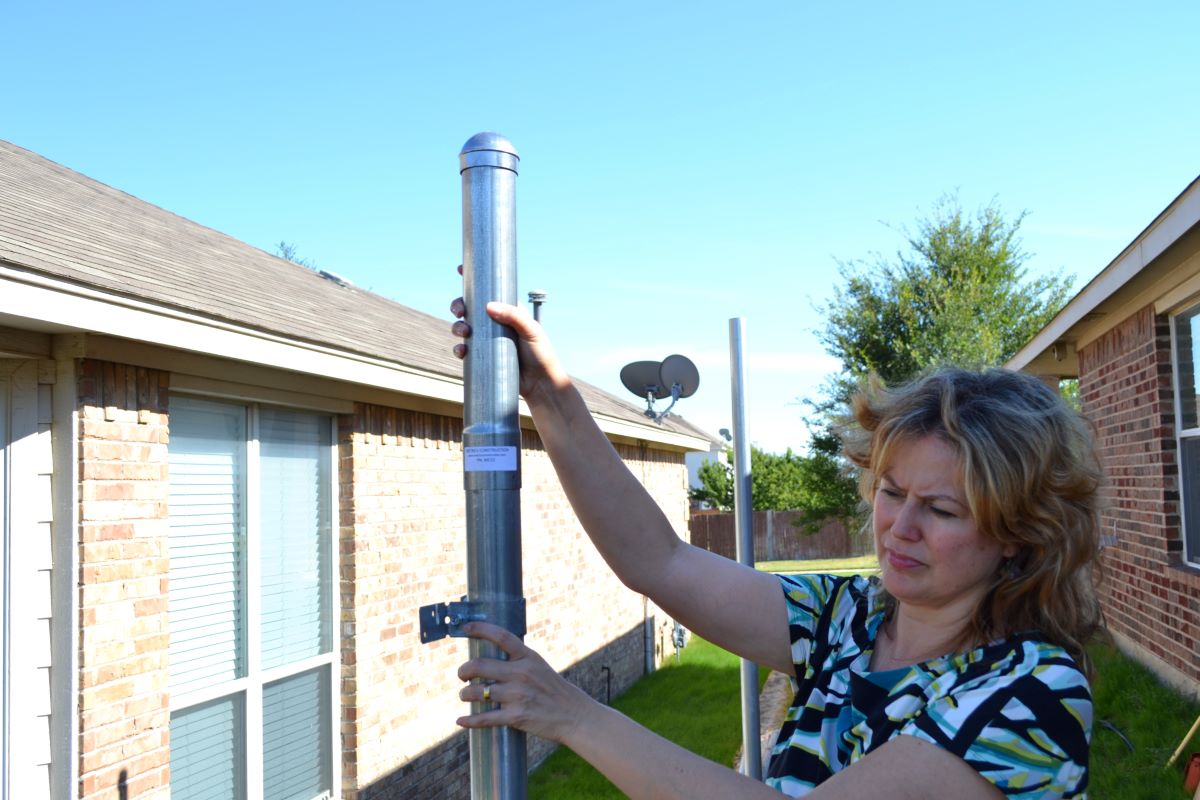
- Fence post – Choose a post made of a durable material such as wood, metal, or vinyl. The size and length of the post will depend on the type of fence you’re building and the terrain.
- Concrete mix – This will be used to secure the fence post in the ground and provide stability.
- Gravel or crushed stone – Adding a layer of gravel or crushed stone at the bottom of the hole will help with drainage and prevent the post from rotting.
- Anchors or brackets – Depending on the type of fence you’re installing, you may need anchors or brackets to attach the fence panels to the posts.
- Nails or screws – These will be used to secure the fence panels to the posts.
- Level – A level will help you ensure that the fence post is straight and vertical.
- Tape measure – Use a tape measure to determine the height and spacing of the fence posts.
- Shovel – A shovel is necessary for digging the hole for the fence post.
- Post hole digger – This specialized tool makes it easier to dig deep, narrow holes for the posts.
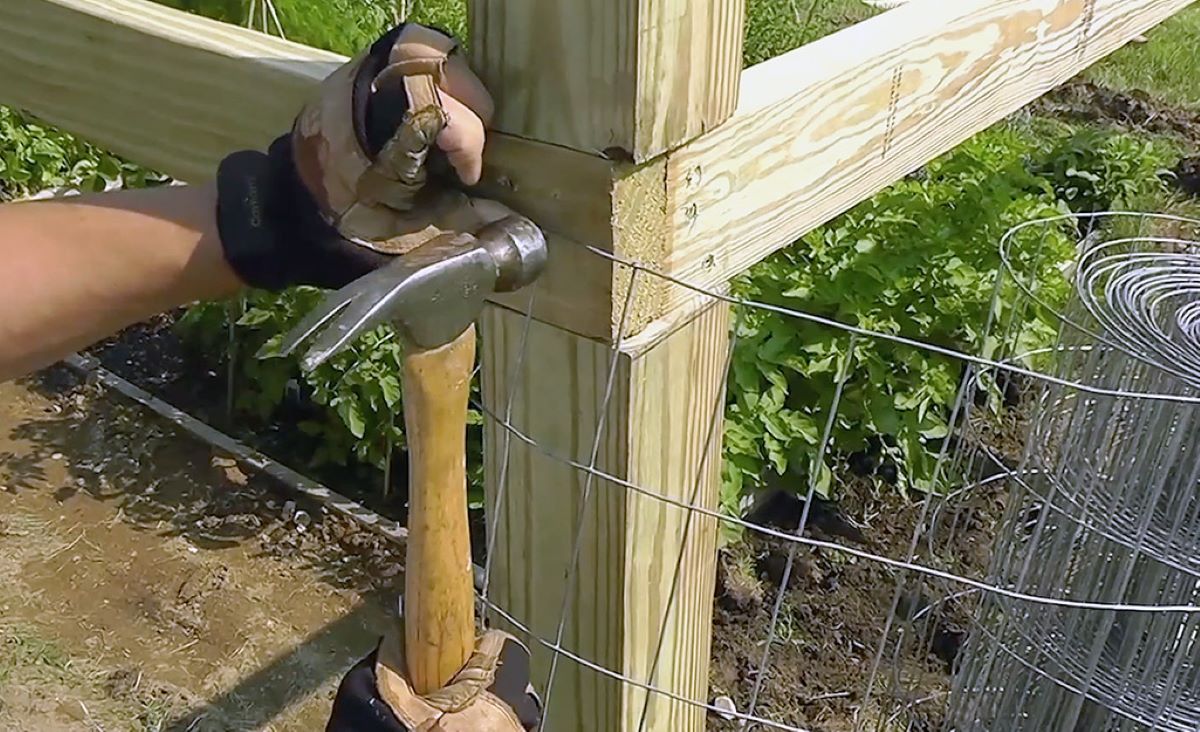
- Hammer – You’ll need a hammer to drive nails or screws into the post and attach the brackets or anchors.
- Safety gear – Don’t forget to wear safety gloves and glasses to protect yourself during the installation process.
Once you have gathered all the materials and tools, double-check that everything is in good condition and ready to use.
By having everything on hand, you’ll be well-prepared to tackle the next steps in putting up your fence post.
Step 2: Mark the location for the fence post
Before you start digging the hole for your fence post, it’s crucial to accurately mark the location. Properly marked positions will ensure that your fence is straight, evenly spaced, and aligned with your desired boundaries.
Here’s how to mark the location for your fence post:
- Check property lines: Begin by identifying your property lines and any specific regulations or guidelines for fence installation in your area. This will help you determine where you can place your fence and ensure compliance with local regulations.
- Measure and plan: Use a tape measure to mark the spacing between each fence post. The distance will depend on the size of your fence panels and the level of privacy or security you desire. Additionally, measure the height at which you want to install the fence panels.
- Use stakes and string: Place wooden stakes at the marked locations for each fence post. Tie a string between the stakes to create a straight line, ensuring that the string is level. This will serve as a guide for the installation.
- Double-check: Take a step back and visually inspect the marked locations. Ensure that they align with your desired boundaries, are evenly spaced, and provide the necessary level of privacy or security.
Properly marking the location for your fence post is crucial to achieving a professional-looking and structurally sound fence. Taking the time to measure and plan will save you from potential headaches later on.
Once you’re satisfied with the location markings, you’re ready to move on to the next step: digging the hole for the fence post.
Step 3: Dig the hole for the fence post
Now that you have marked the location for your fence post, it’s time to start digging the hole. The depth and diameter of the hole will depend on the type and height of your fence, as well as the soil conditions in your area.
Here’s a step-by-step guide on how to dig the hole for your fence post:
- Start with a post hole digger: Use a post hole digger to break into the ground at the marked location. Begin by digging a hole that is roughly one-third of the planned height of your fence post.
- Dig deeper: Continue digging the hole, ensuring that it is wide enough to accommodate the base of the fence post and provide stability. Typically, the hole should be at least 10-12 inches in diameter.
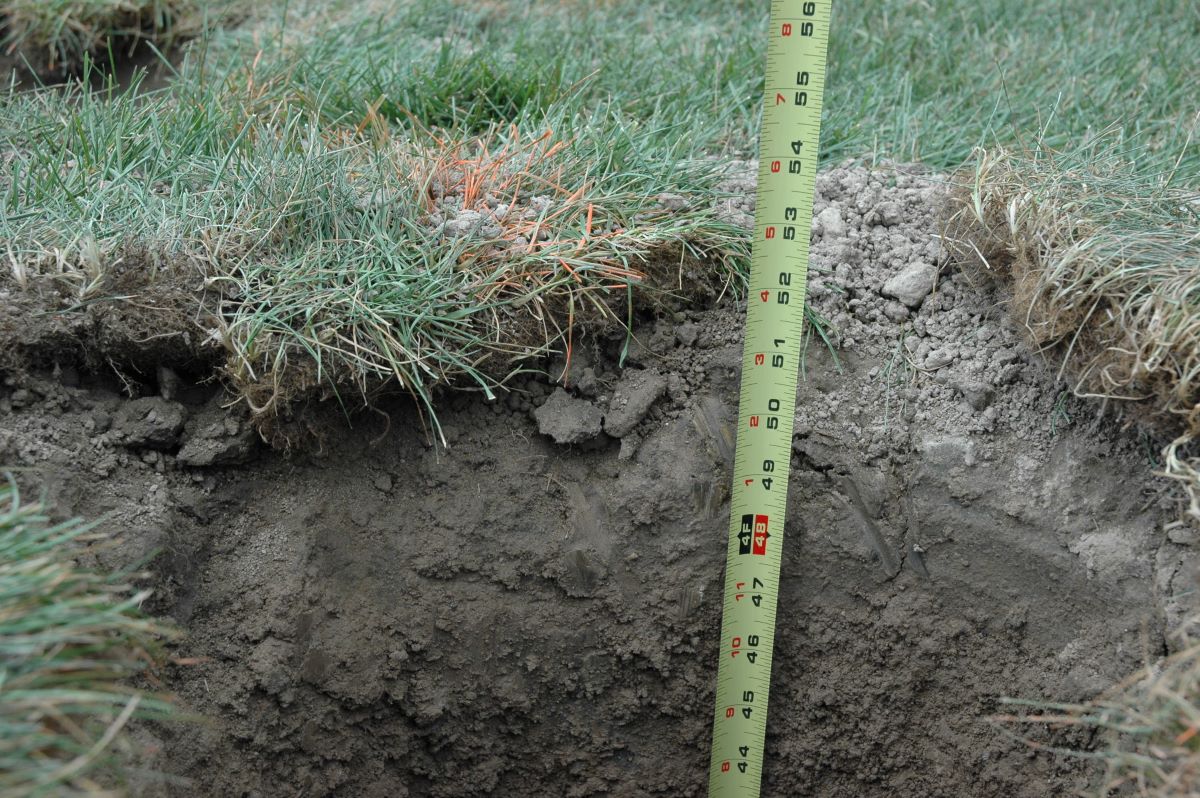
- Check the depth: Use a tape measure to check the depth of the hole. Measure from the bottom of the hole to the desired height at which the fence post will be installed. Adjust the depth as needed.
- Consider the terrain and soil conditions: If you’re dealing with sandy or loose soil, it’s advisable to dig the hole slightly deeper and wider to account for potential settling. For clay or rocky soil, use a digging bar or a clamshell digger to break through any obstacles.
- Remove excess soil: As you dig, place the excess soil onto a tarp or in a wheelbarrow to make for easier cleanup. This will also prevent the soil from getting into the hole when you lower the fence post.
Remember to take breaks and stay hydrated while digging the hole, especially if you encounter challenging soil conditions. The process may require some physical effort, but it’s crucial to create a stable foundation for your fence post.
Once you have finished digging the hole, you’re ready to move on to the next step: preparing the fence post.
Step 4: Prepare the fence post
After digging the hole for your fence post, it’s important to properly prepare the post before installing it. This step will ensure that the post is secure and properly aligned with the fence line.
Here’s what you need to do to prepare the fence post:
- Check the post for any damage: Inspect the fence post for any signs of damage or defects. Look for cracks, splintered wood, or rust on metal posts. If you notice any issues, consider replacing the post to ensure the stability and longevity of your fence.
- Trim the post if necessary: Depending on the height of your fence and the depth of the hole, you may need to trim the fence post to the appropriate length. Use a saw or a reciprocating saw to make any necessary cuts.
- Treat the post (optional): If you’re using a wooden post, you may consider treating it with a wood preservative or stain to protect it from weathering, rot, and insects. Follow the manufacturer’s instructions for the specific product you’re using.
- Apply gravel or crushed stone: To improve drainage and prevent the post from rotting, add a layer of gravel or crushed stone at the bottom of the hole. This will help water drain away from the base of the post.
By preparing the fence post properly, you’ll ensure that it is in optimal condition for installation. Taking the time to inspect, trim if necessary, and protect the post will contribute to the overall stability and longevity of your fence.
Once you have prepared the fence post, you’re ready to move on to the next step: putting the fence post in the hole.
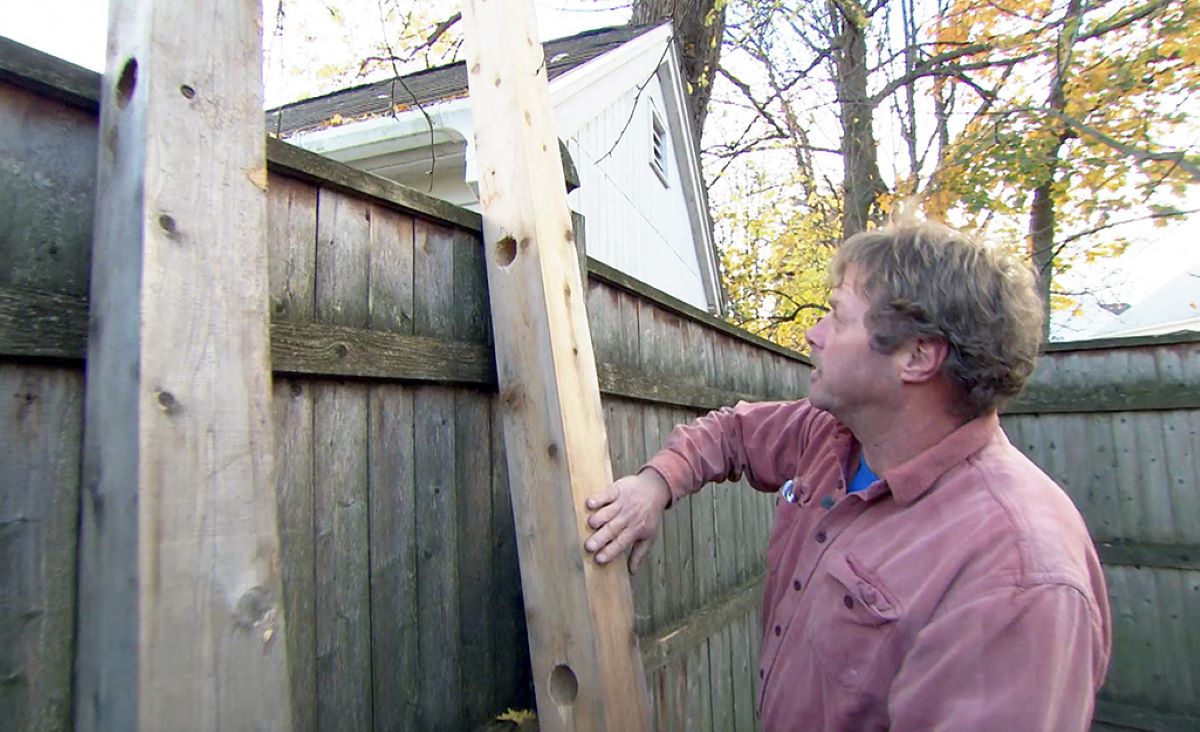
Make sure to dig the hole at least one-third the length of the fence post and use a level to ensure it’s straight before filling the hole with concrete.
Read more: How To Put Up A Snow Fence
Step 5: Put the fence post in the hole
With the hole prepared and the fence post ready, it’s time to put the post into the hole. This step requires careful positioning and alignment to ensure a stable and straight fence.
Here’s how to put the fence post in the hole:
- Lower the post into the hole: Carefully lower the fence post into the hole, ensuring that it is centered and aligned with the marked location. Take your time to make any necessary adjustments to achieve the desired position.
- Check for plumb: Use a level to check if the post is plumb (vertical) in both directions. Adjust the post as needed to achieve proper alignment.
- Have a helper assist you: Depending on the size and weight of the fence post, it may be helpful to have a helper hold the post while you make adjustments and check for alignment.
- Double-check the position: Step back and visually inspect the post to ensure it is in the correct position. Check that it is aligned with the string guide and neighboring posts if applicable.
Properly positioning the fence post in the hole is crucial for a straight and visually appealing fence. Taking the time to check for plumb and make adjustments will ensure the post is stable and durable.
Once the fence post is securely positioned in the hole, you’re ready to move on to the next step: securing the post.
Step 6: Secure the fence post
After placing the fence post in the hole, the next step is to secure it to ensure stability and prevent it from shifting or leaning. Properly securing the fence post will ensure that your fence stands strong, even in harsh weather conditions.
Here’s how to secure the fence post:
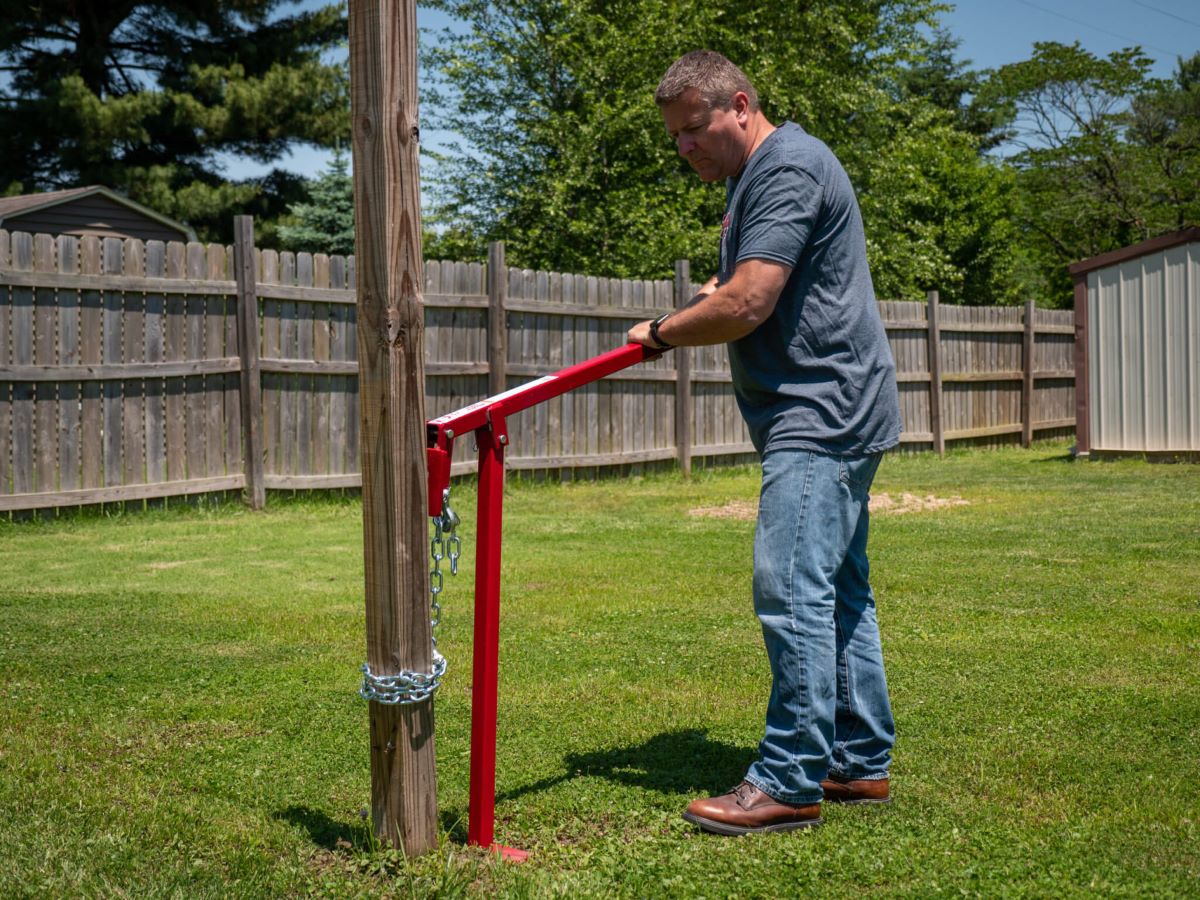
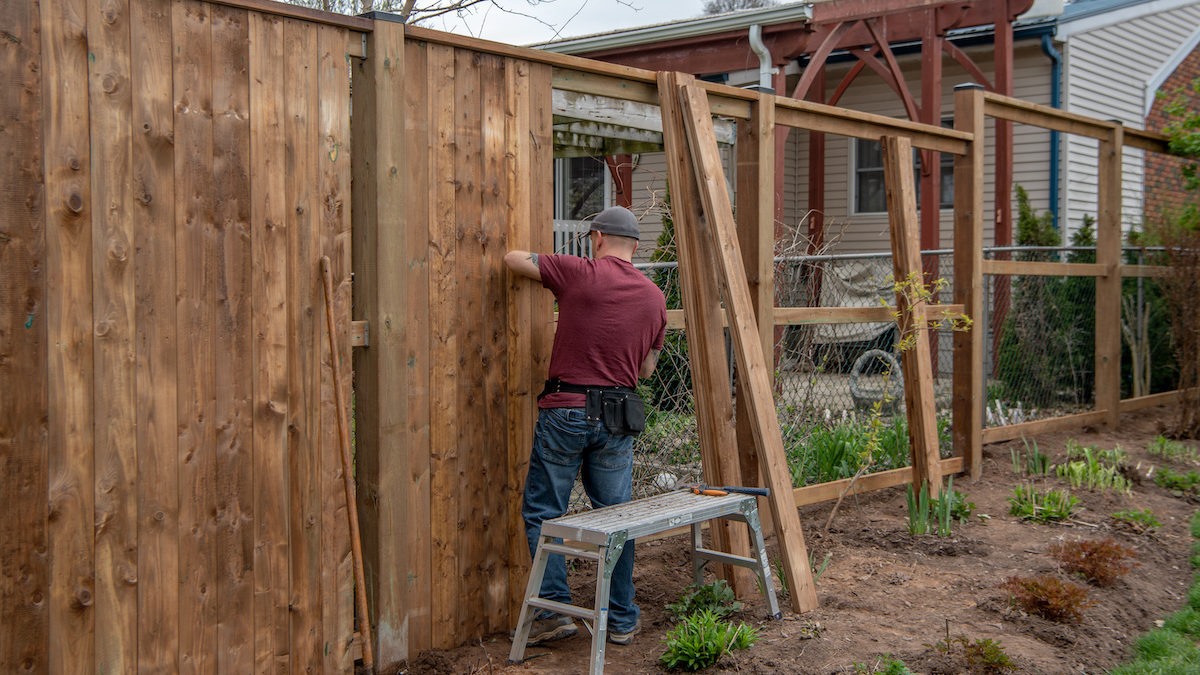
- Use braces or supports: For added support, consider using braces or supports to hold the fence post in position while you secure it. This step may be especially necessary if you are working alone or if the post is heavy.
- Fill the hole with concrete: Start filling the hole with concrete mix, ensuring that the post remains plumb and centered. Gradually add concrete around the post until the hole is completely filled. Follow the manufacturer’s instructions for mixing and pouring the concrete.
- Compact the concrete: Use a stick or metal rod to gently tap on the sides of the hole to help the concrete settle and remove any air pockets. Continue this process until the concrete is compacted and level with the surrounding soil.
- Check for plumb and alignment: While the concrete is still wet, double-check that the post is plumb and aligned with the string guide or neighboring posts. Make any necessary adjustments before the concrete fully sets.
- Allow the concrete to cure: Give the concrete ample time to cure and set, following the manufacturer’s recommended curing time. During this period, avoid placing any strain or weight on the post.
Securing the fence post with concrete is an effective way to ensure its stability and longevity. The solid foundation created by the concrete will prevent the post from shifting or leaning over time.
Once the concrete has fully cured, you can move on to the next step: backfilling the hole and leveling the post.
Step 7: Backfill the hole and level the post
With the fence post securely in place and the concrete cured, it’s time to backfill the hole and level the post. This step involves adding soil back into the hole and ensuring that the post is properly aligned and stable.
Here’s how to backfill the hole and level the post:
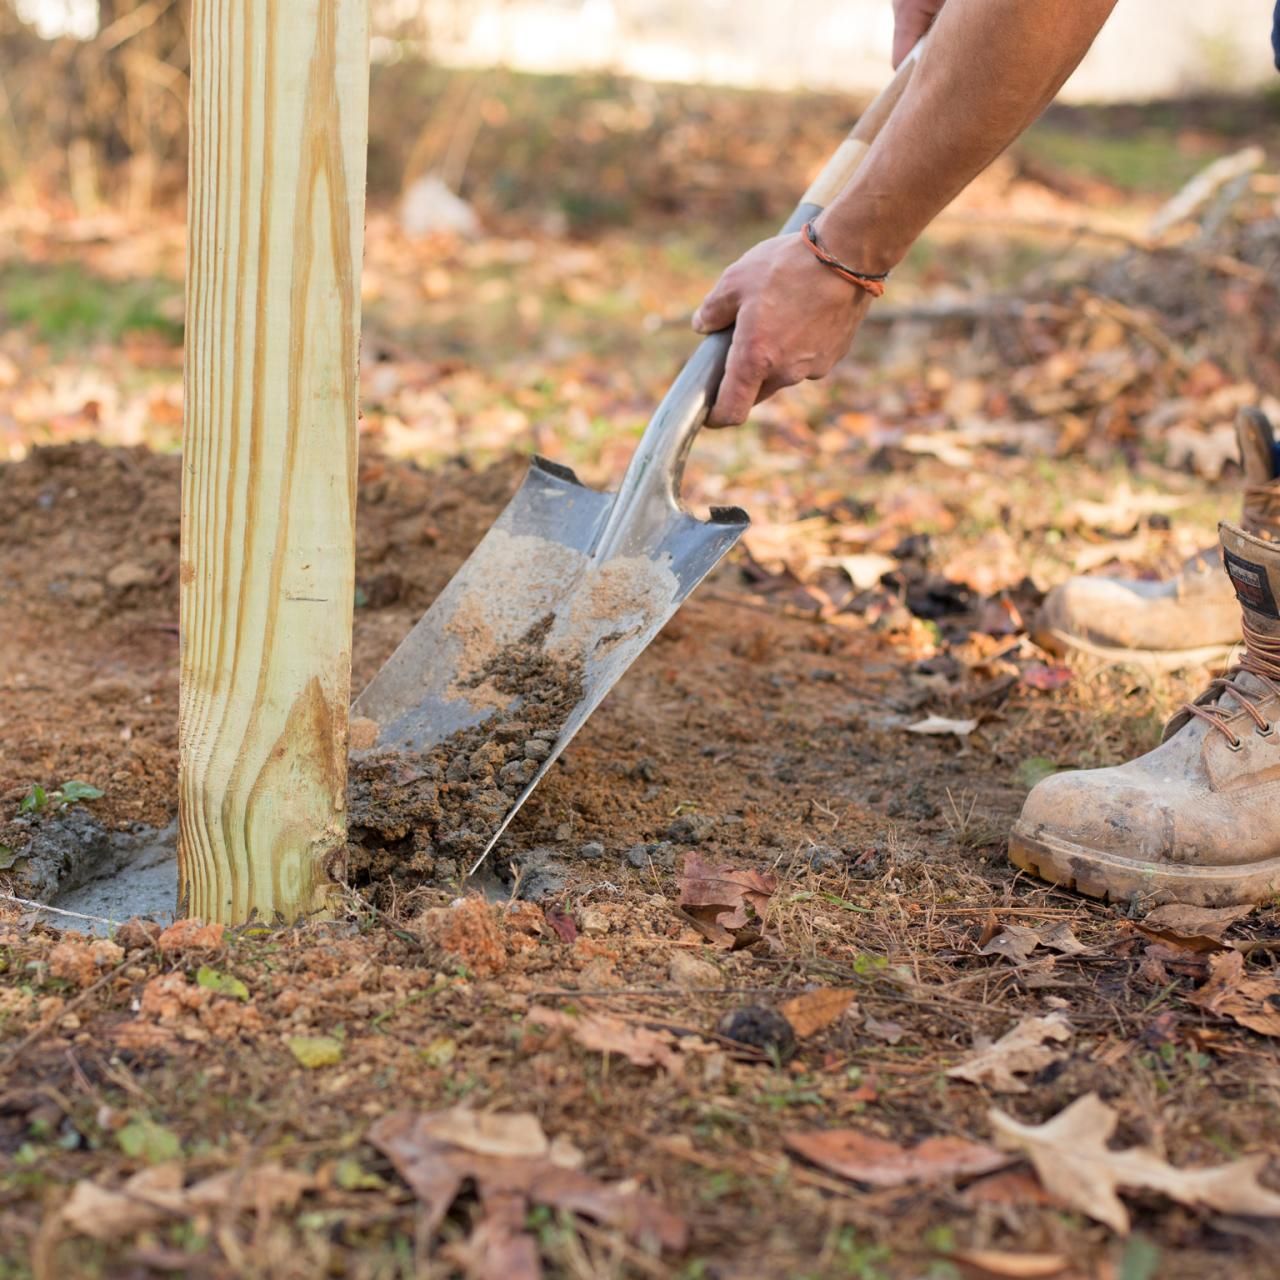
- Start by adding soil: Begin by adding soil back into the hole around the fence post. Use a shovel or your hands to carefully fill in the hole, ensuring that the soil is evenly distributed.
- Tamp down the soil: Use a tamper or the back of a shovel to gently tamp down the soil around the fence post. This will help compact the soil and provide additional stability.
- Check for post levelness: Use a level to confirm that the fence post is still plumb and level. Make any necessary adjustments by adding or removing soil around the post.
- Continue backfilling: Continue adding soil and compacting it around the post until the hole is completely filled. Ensure that the soil is level with the surrounding ground.
- Water the soil: After backfilling, lightly water the soil around the base of the fence post. This will help settle the soil and provide moisture for the newly added soil.
Backfilling the hole and leveling the post is essential for the overall stability and appearance of your fence. By ensuring that the post is level and the hole is properly filled, you can create a strong and visually pleasing fence.
Once you have completed this step, you can move on to the final step: repeating the process for additional fence posts.
Step 8: Repeat the process for additional fence posts
If you’re installing multiple fence posts, it’s important to repeat the same process for each post to ensure consistency and uniformity throughout the fence line. This step allows you to establish a strong and cohesive fence structure.
Here’s how to repeat the process for additional fence posts:
- Measure and mark the locations: Use a tape measure and stakes to mark the positions for each additional fence post along the string guide or desired fence line.
- Dig the holes: With the marked locations, dig the holes for each additional fence post following the same steps as described in Step 3.
- Prepare the posts: Trim, treat (if applicable), and add gravel or crushed stone to each fence post before inserting them into the respective holes (Step 4).
- Put the posts in the holes: Lower each fence post into their designated holes, ensuring they are plumb and aligned with the string guide or adjacent posts (Step 5).
- Secure the posts: Use braces or supports if needed, fill the holes with concrete, and check for plumb and alignment before allowing the concrete to cure (Step 6).
- Backfill and level: Backfill the holes with soil, tamp it down, and check for levelness of each post. Continue adding soil until the hole is completely filled and level with the surrounding ground (Step 7).
- Repeat the process: Repeat these steps for each additional fence post, ensuring consistency in the installation process.
By repeating the process for each additional fence post, you can ensure that the entire fence line is structurally sound and visually appealing. Taking the time to accurately measure, dig, prepare, secure, and level each post will contribute to the overall success of your fence installation.
With all the fence posts securely in place, you’re now ready to move forward with the next steps of your fencing project, such as attaching the fence panels and completing any finishing touches.
Read more: How To Put Up Garden Fence
Conclusion
Putting up a fence post is a crucial step in building a fence that is sturdy, secure, and visually appealing. By following the steps outlined in this guide, you can ensure a successful fence post installation process.
We began by emphasizing the importance of gathering the necessary materials and tools. Having everything ready in advance will save you time and ensure a smooth installation process. We then discussed the importance of marking the location for the fence post accurately. Proper marking ensures a straight fence and adherence to property boundaries.
Next, we covered the steps involved in digging the hole for the fence post. Digging the right depth and diameter hole is crucial to creating a stable foundation. We then moved on to preparing the fence post, including inspecting for damage, trimming if necessary, and applying treatments to protect the post.
The next step involved carefully putting the fence post into the hole and ensuring it was plumb and aligned. We then discussed the process of securing the fence post with concrete, providing added stability and preventing shifting or leaning.
After securing the post, we learned the importance of backfilling the hole and leveling the post. Properly compacting the soil and ensuring levelness contribute to the overall stability and appearance of the fence.
Lastly, for those installing multiple fence posts, we outlined the steps for repeating the process. Consistency and uniformity throughout the fence line are crucial for achieving a cohesive and professional-looking fence.
In conclusion, by diligently following these steps, you can successfully put up a fence post and lay the foundation for a reliable and visually pleasing fence. Remember to prioritize safety throughout the process and consult any local regulations or guidelines specific to your area.
Now that you have the knowledge and guidance on how to put up a fence post, it’s time to bring your fencing project to life. Enjoy the rewards of your hard work and reap the benefits of a functional and beautiful fence.
Frequently Asked Questions about How To Put Up A Fence Post
Was this page helpful?
At Storables.com, we guarantee accurate and reliable information. Our content, validated by Expert Board Contributors, is crafted following stringent Editorial Policies. We're committed to providing you with well-researched, expert-backed insights for all your informational needs.


0 thoughts on “How To Put Up A Fence Post”