Articles
How To Set Up Projector In Living Room
Modified: October 20, 2024
Learn how to set up a projector in your living room with our informative articles. Discover the best tips and tricks for creating a cinema-like experience at home.
(Many of the links in this article redirect to a specific reviewed product. Your purchase of these products through affiliate links helps to generate commission for Storables.com, at no extra cost. Learn more)
Introduction
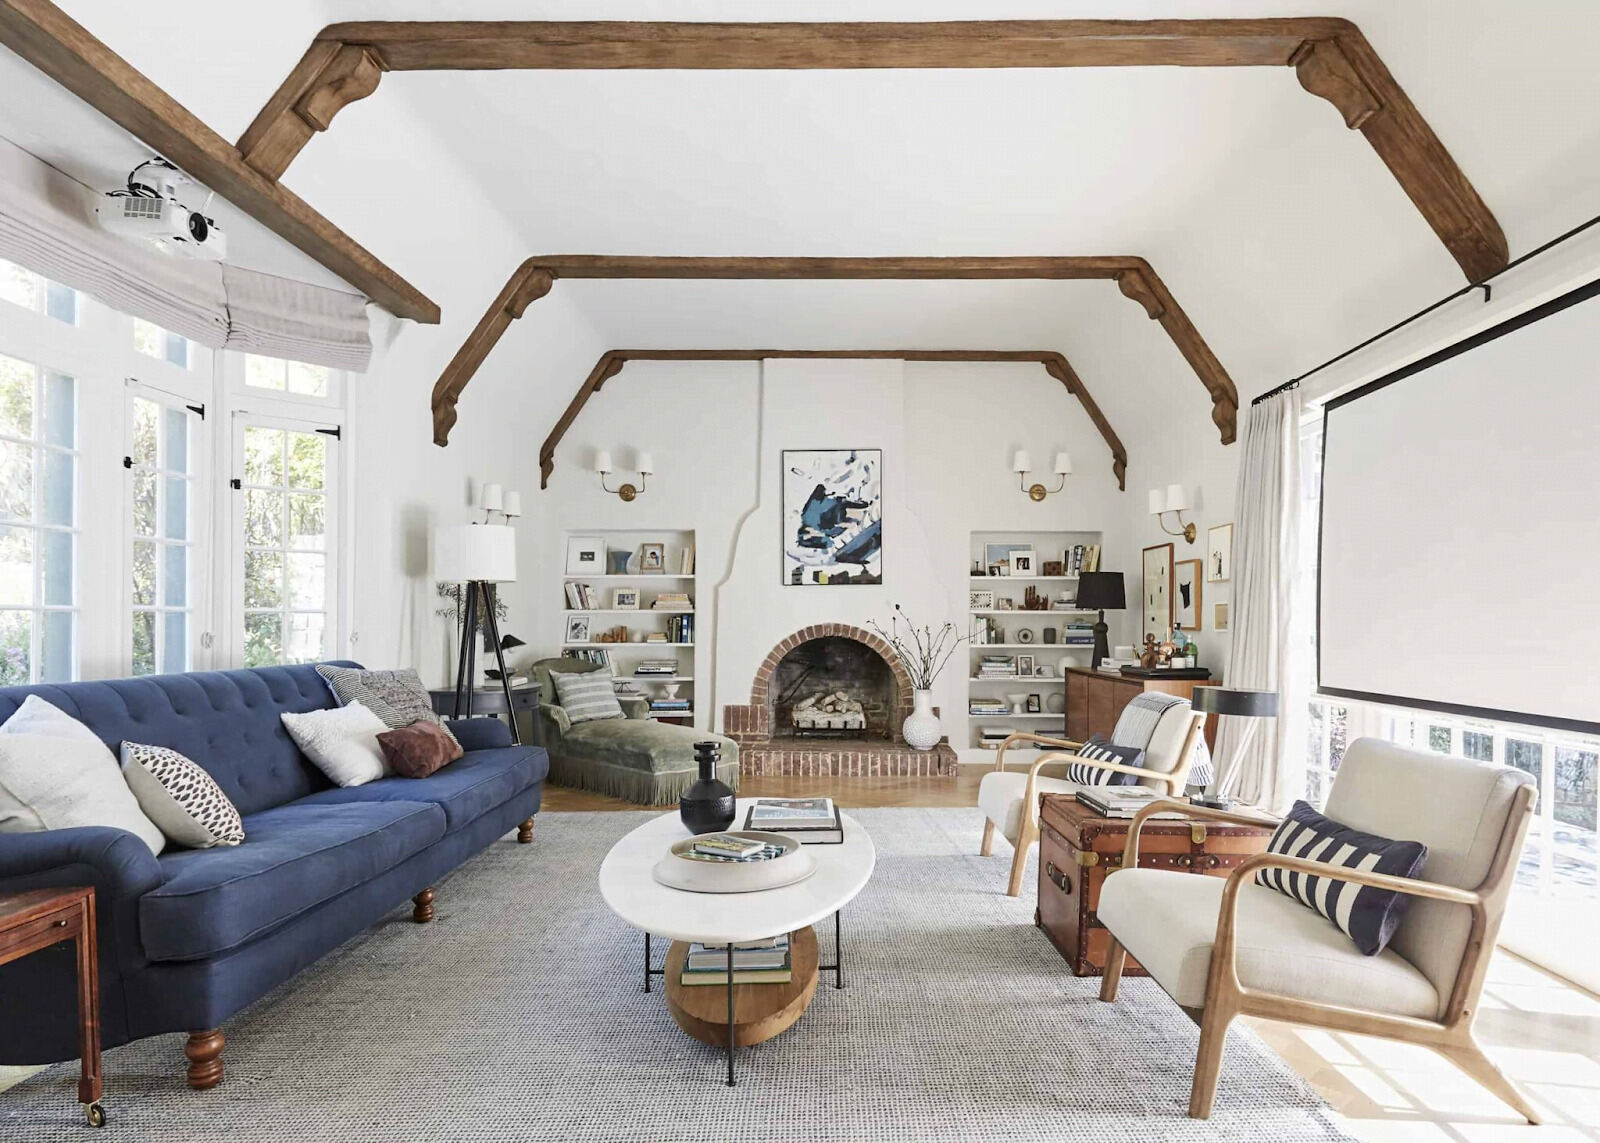
Welcome to the world of home entertainment! If you’re looking to create a cinematic experience in your living room, setting up a projector can be a game-changer. Whether you want to enjoy your favorite movies, binge-watch TV shows, or play video games on a big screen, a projector can transform your living room into a mini theater.
Setting up a projector may feel intimidating at first, but with a little guidance, it can be a breeze. In this article, we’ll walk you through the step-by-step process of setting up a projector in your living room. From choosing the right projector to adjusting the image for optimal viewing, we’ve got you covered.
Before we dive into the nitty-gritty details, let’s quickly address the benefits of having a projector in your living room. Unlike traditional televisions, projectors offer a significantly larger screen size, allowing you to immerse yourself in your favorite content. Imagine watching a thrilling action movie or a mesmerizing documentary on a screen that spans the entire wall of your living room. It’s a truly immersive experience that can enhance your entertainment pleasure.
Additionally, projectors provide flexibility in terms of screen size and placement. You can choose to have a small screen for an intimate viewing experience or go all out with a massive screen for a movie theater-like feel. Plus, projectors can be easily moved and set up, making them ideal for those who like to rearrange their living room setup frequently.
Now that we’ve established the advantages of having a projector, let’s begin our journey of setting one up in your living room. So sit back, grab a popcorn, and let’s get started with the first step: choosing the right projector.
Key Takeaways:
- Transform your living room into a cinematic haven by choosing the right projector, setting up the screen, and connecting audio and video sources. Calibrate the image for optimal viewing and enjoy an immersive home entertainment experience.
- Thoroughly test your projector to ensure optimal performance and address any potential issues. Periodic maintenance and cleaning are essential to keep your projector in top-notch condition for an uninterrupted cinematic experience.
Read more: How To Light Up Living Room
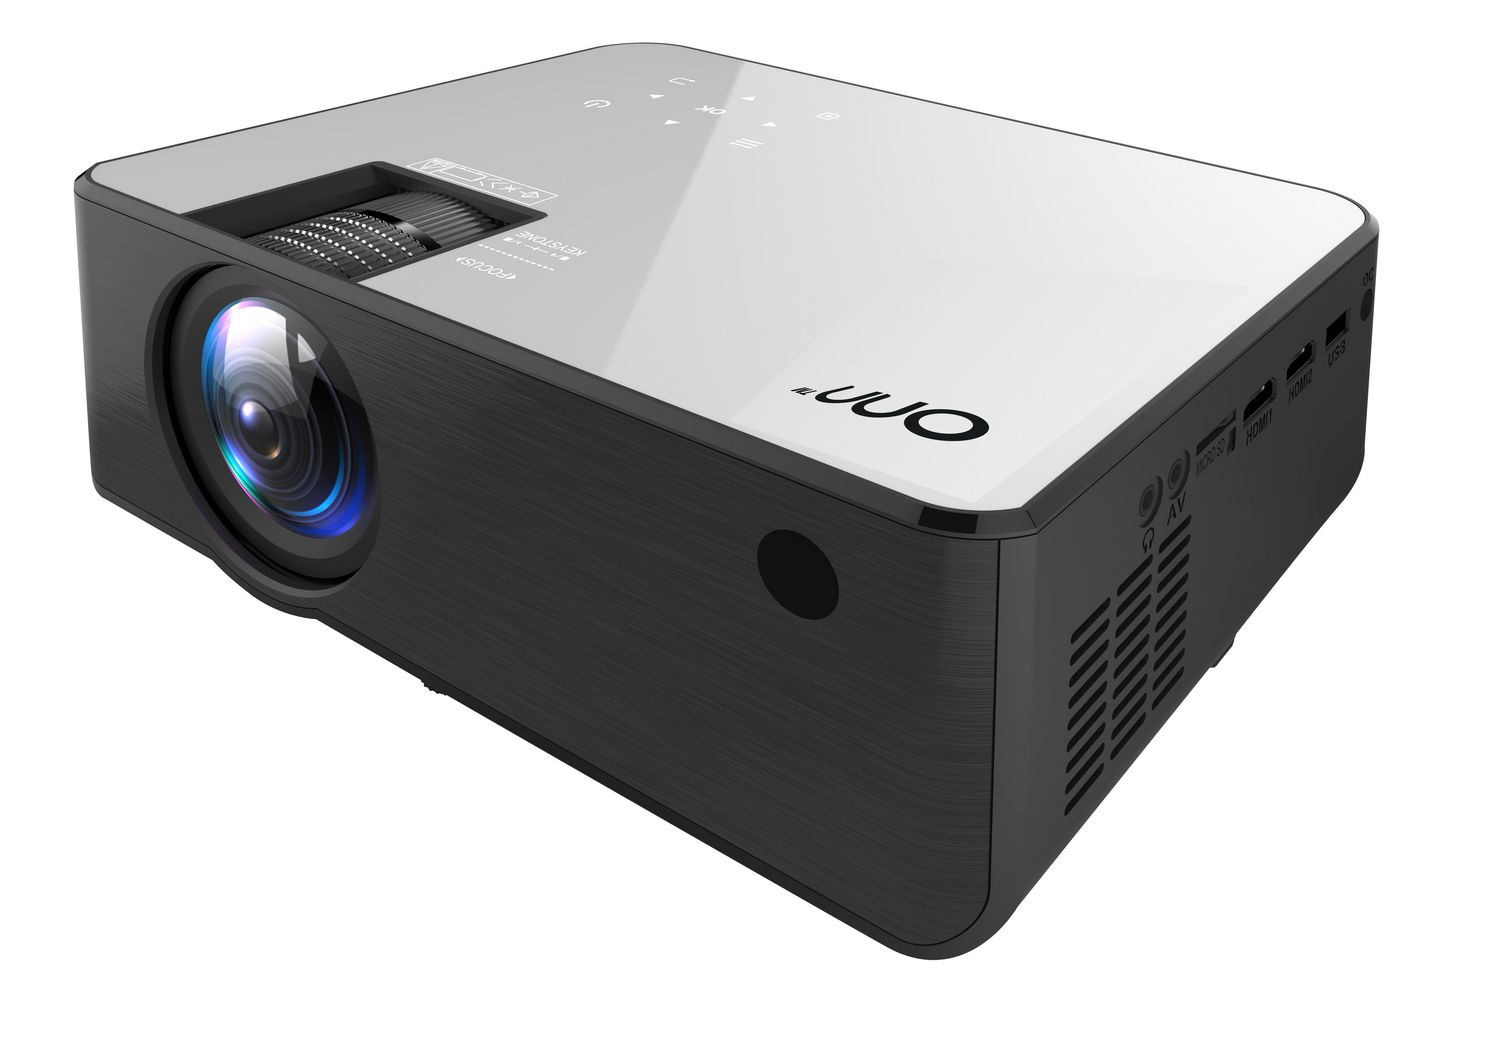
Step 1: Choosing the Right Projector
Choosing the right projector is crucial for a top-notch viewing experience in your living room. With so many options available on the market, it’s important to consider a few key factors before making your decision.
First and foremost, consider the brightness of the projector. The brightness of a projector is measured in lumens, and you’ll want to ensure that the projector you choose can produce enough brightness to display a clear picture in your living room. The amount of ambient light in the room will also play a role in determining the required brightness. If your living room has large windows or is brightly lit, you’ll need a projector with higher lumens.
Next, think about the resolution of the projector. Higher resolutions will provide sharper and more detailed images. If you want the best picture quality, consider a projector with a resolution of 1080p or even 4K. Keep in mind that higher resolution projectors will come with a higher price tag.
Another important factor to consider is the throw distance of the projector. The throw distance refers to the distance between the projector and the screen or wall where the image will be displayed. Measure the available space in your living room and choose a projector with a throw distance that suits your setup. Some projectors offer zoom and lens shift capabilities, allowing you to adjust the image size and position without moving the projector itself.
Connectivity options are also worth considering. Look for a projector that offers multiple inputs such as HDMI, VGA, or USB, to connect various devices like Blu-ray players, gaming consoles, or streaming devices. This will ensure that you can easily connect your preferred media sources to the projector.
Lastly, don’t forget to check customer reviews and ratings of the projectors you are considering. This will give you valuable insights into the performance and reliability of the projector from real users. Look for projectors with positive feedback and high ratings to ensure you’re choosing a quality product.
Once you’ve considered these factors and narrowed down your options, you’ll be ready to make an informed decision and choose the right projector for your living room. With the right projector in hand, we can move on to the next step: determining the placement of the projector.
Step 2: Determining the Placement
Now that you have chosen the perfect projector for your living room, it’s time to determine the optimal placement for the projector. The placement will depend on various factors such as the size of your living room, the desired screen size, and the distance between the projector and the screen.
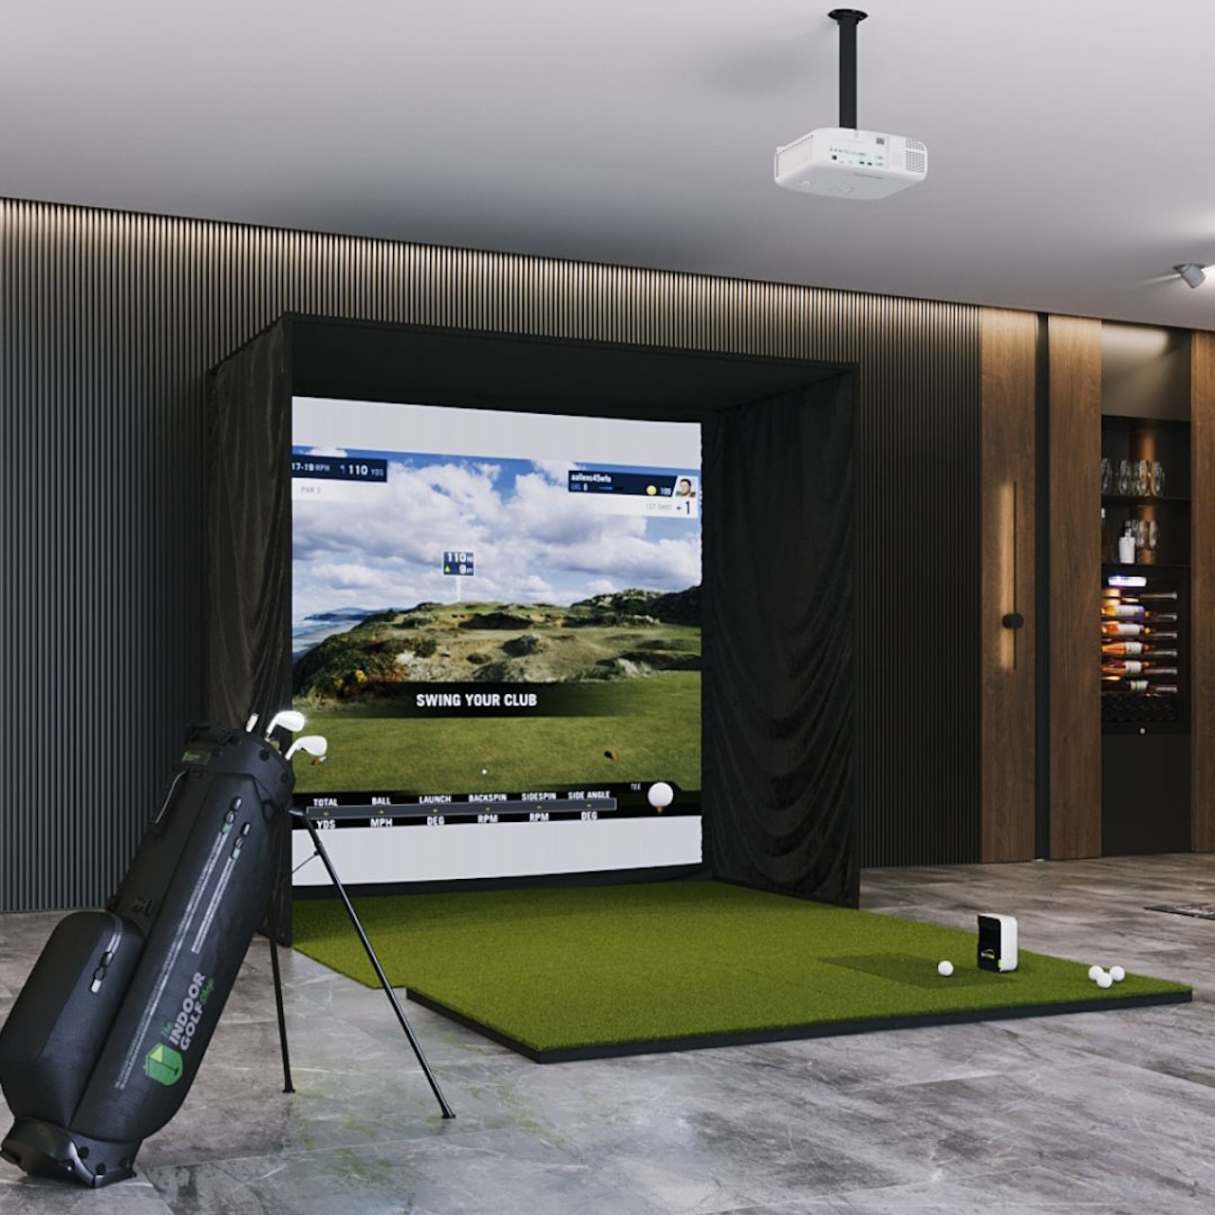
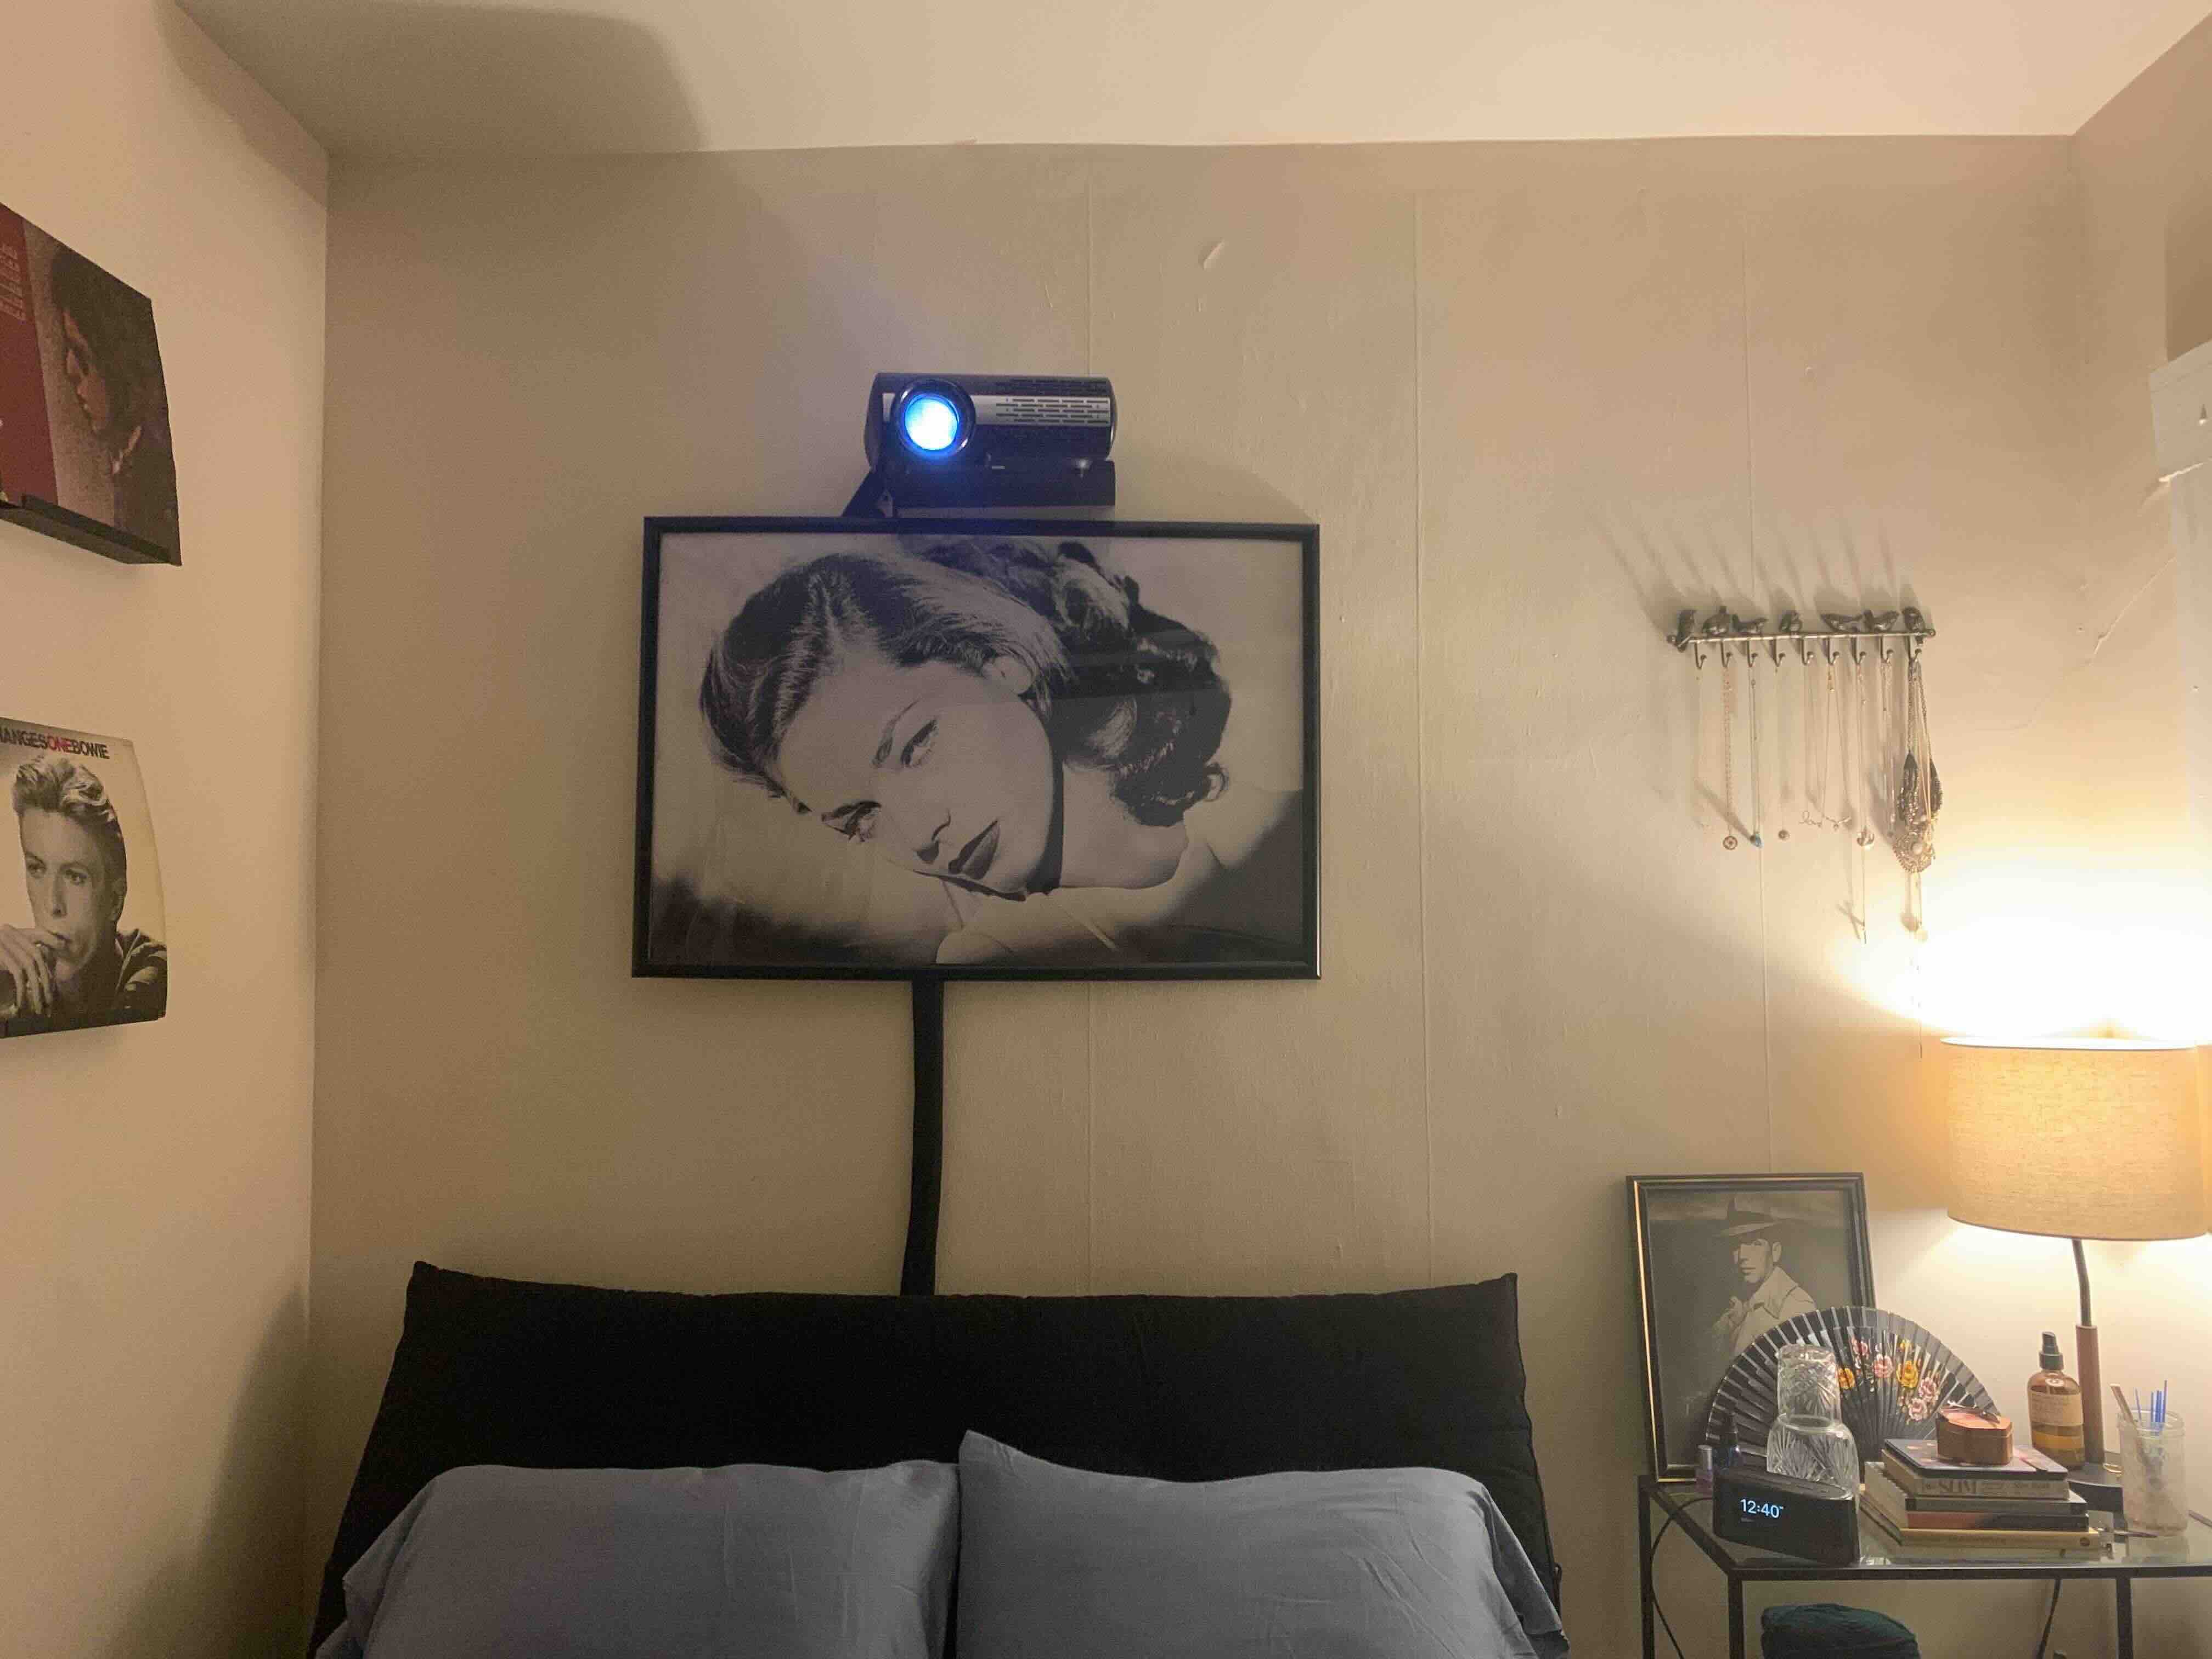
The ideal placement for the projector is typically on a coffee table or mounted on the ceiling. If you choose to place the projector on a coffee table, make sure it’s sturdy and can support the weight of the projector. Ensure that there is enough space in front of the screen for the projector to project the image without any obstructions.
If you decide to mount the projector on the ceiling, consider using a projector mount that provides stability and allows for easy adjustment of the projection angle. Mounting the projector on the ceiling can free up space in your living room and provide a clean and professional look.
When determining the placement, you’ll also need to consider the throw distance, which is the distance between the projector and the screen. Measure the throw distance based on the specifications of your projector to ensure that it’s suitable for your living room setup.
In addition to the throw distance, you should also consider the vertical placement of the projector. Depending on the height of the screen or wall where the image will be projected, you may need to use keystone correction to adjust the shape of the image and prevent distortion. Some projectors also offer lens shift functionality, allowing you to vertically or horizontally adjust the image without relying on keystone correction.
It’s important to keep in mind that the placement of the projector will have a direct impact on the size of the projected image. The farther the projector is from the screen, the larger the image will be. Use this information to determine the desired screen size and adjust the placement accordingly.
Once you have determined the optimal placement for your projector, you’re ready to move on to the next step: setting up the screen. Whether you’re using a dedicated projector screen or projecting onto a blank wall, we will guide you through the process to ensure the best possible viewing experience.
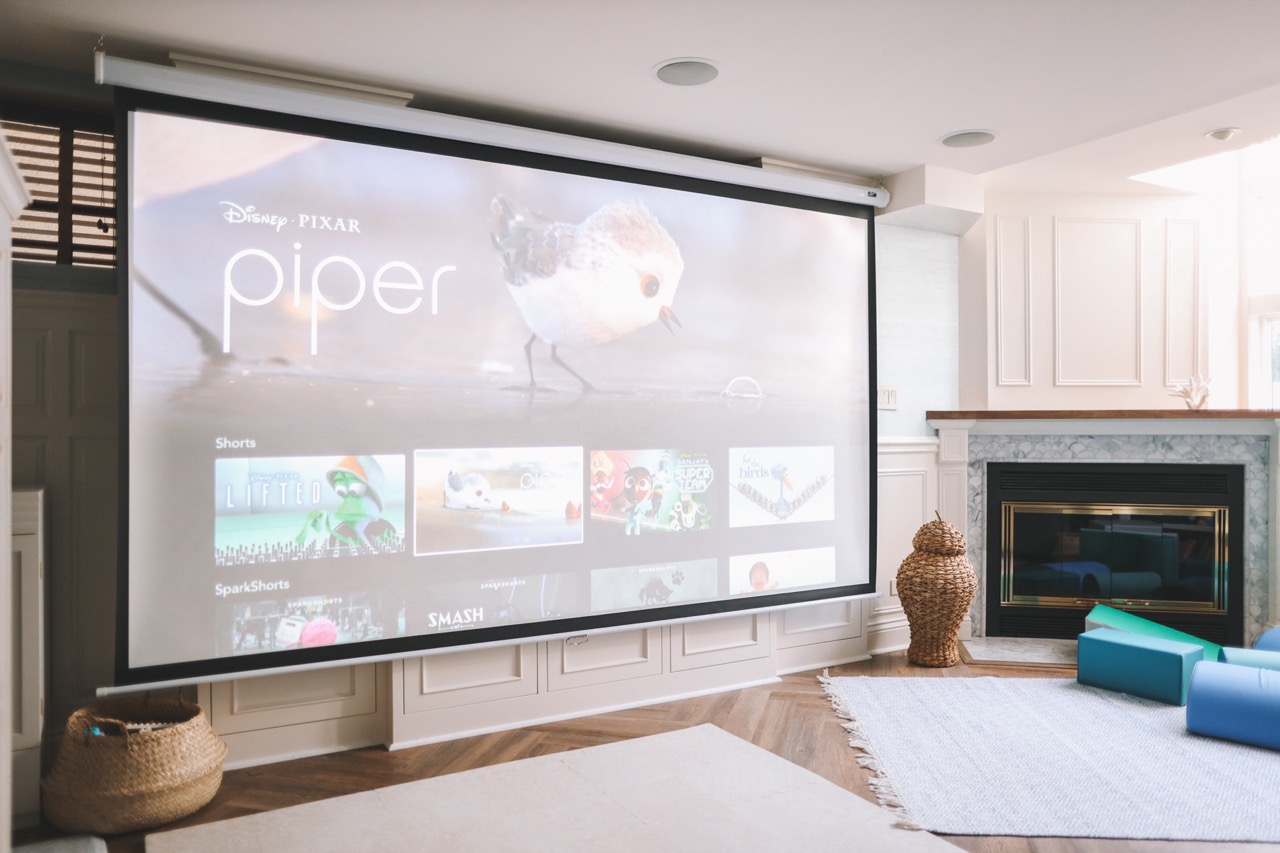
Step 3: Setting up the Screen
Now that you have determined the placement of the projector, it’s time to set up the screen. The screen is where the image will be projected, and it plays a crucial role in delivering a high-quality and immersive viewing experience in your living room. While you have the option to project onto a blank wall, using a dedicated projector screen will provide better image quality and color accuracy.
If you decide to go for a projector screen, there are a few factors to consider. First, determine the size of the screen based on your desired viewing experience and the available space in your living room. Measure the width and height of the wall or area where you will be mounting the screen to ensure the screen fits properly.
Next, consider the aspect ratio of the screen. The aspect ratio refers to the ratio of the width to the height of the screen. The most common aspect ratios are 16:9 (widescreen) and 4:3 (standard). Choose the aspect ratio that is compatible with the content you will be watching and the native resolution of your projector.
When it comes to mounting the screen, you have a few options. You can choose to mount the screen on the wall using brackets or mounts, or you can opt for a freestanding screen that can be easily set up and taken down as needed. Make sure to follow the manufacturer’s instructions for proper installation and consider the weight and stability of the screen to prevent any accidents.
Once the screen is mounted or set up, make sure it is pulled taut and free of any wrinkles or creases. This will ensure a smooth and flat surface for optimal image projection. Adjust the height and angle of the screen if necessary to achieve the desired viewing position.
It’s worth mentioning that if you choose to project onto a blank wall, make sure the wall is smooth and has a neutral color. Avoid projecting onto textured or brightly colored walls, as they may impact the overall image quality and color accuracy.
Now that you have your screen set up, it’s time to move on to the next step: connecting the projector to a power source. Ensuring a reliable power connection is essential for the proper functioning of your projector. We’ll guide you through the process to make it as seamless as possible.
Step 4: Connecting the Projector to a Power Source
Now that you have your projector and screen set up in your living room, it’s time to connect the projector to a power source. A reliable power connection is essential for the proper functioning of your projector. Here’s how you can do it:
- Locate the power cable that came with your projector.
- Identify an available power outlet near your projector’s placement.
- Insert the power cable into the power input port on the back or side of the projector.
- Plug the other end of the power cable into the power outlet.
- Ensure that the power cable is securely connected at both ends.
- Switch on the power button on the projector or use the remote control to power it on.
Once the projector is connected to a power source, you should see the indicator lights or the projector’s power LED light up. This indicates that the projector has successfully powered on.
It’s important to note that some projectors may have additional power settings or features that need to be configured. Refer to the user manual or manufacturer’s guidelines for specific instructions on power settings and any power-saving features that may be available.
If you’re using an extension cord or power strip, ensure that it can handle the power requirements of your projector. Avoid overloading the extension cord or power strip with multiple devices to prevent any electrical issues.
Connecting your projector to a stable and uninterrupted power source is crucial for uninterrupted viewing enjoyment. Now that your projector is powered on, let’s move on to the next step: connecting the projector to the audio source.
Read more: How To Brighten Up A Dark Living Room
Step 5: Connecting the Projector to the Audio Source
Now that your projector is powered on, it’s time to connect it to an audio source to ensure an immersive sound experience. While projectors usually come with built-in speakers, they may not provide the best audio quality. Therefore, connecting the projector to an external audio source such as a sound system or speakers is recommended. Here’s how you can do it:
- Identify the audio output options on your projector. Common options include a 3.5mm headphone jack or an HDMI ARC (Audio Return Channel) port.
- If your projector has a 3.5mm headphone jack, you can connect it directly to a sound system or speakers using a compatible audio cable. Simply insert one end of the cable into the projector’s audio output and the other end into the audio input of the sound system or speakers.
- If your projector has an HDMI ARC port, you can use an HDMI cable to connect it to a compatible sound system or audio receiver. Connect one end of the HDMI cable to the HDMI ARC port on the projector and the other end to the HDMI ARC port on the sound system or audio receiver.
- Ensure that the audio cable or HDMI cable is securely connected at both ends.
- Switch on the sound system or speakers and set it to the appropriate audio input/source. This may vary depending on your specific sound system or speakers.
- Adjust the volume on both the projector and the sound system to achieve the desired audio level.
Once the projector is connected to the audio source, you should hear the audio coming from the external speakers or sound system instead of the projector’s built-in speakers. This will provide a much better audio experience, enhancing the overall enjoyment of your movie nights or gaming sessions.
If you prefer a wireless audio setup, you can explore options such as Bluetooth speakers or wireless audio transmitters. These devices allow you to connect your projector wirelessly to compatible speakers or sound systems without the need for physical cables.
With the projector connected to the audio source, we’re now ready to move on to the next step: connecting the projector to the video source. This step will enable you to display your favorite movies, shows, or games on the big screen.
When setting up a projector in your living room, make sure to position it at the right distance from the screen or wall to achieve the desired image size. Use a level surface or mount to ensure stability and adjust the projector settings for optimal image quality.
Step 6: Connecting the Projector to the Video Source
Now that your projector is connected to the audio source, it’s time to connect it to the video source. The video source can be a DVD player, Blu-ray player, gaming console, streaming device, or even a laptop. Here’s how you can connect the projector to the video source:
- Identify the available video input ports on your projector. Common options include HDMI, VGA, and component video ports. Choose the one that matches the output port of your video source.
- If your video source has an HDMI output, use an HDMI cable to connect it to the HDMI input port on the projector. Simply insert one end of the HDMI cable into the HDMI port on the video source and the other end into the HDMI port on the projector.
- If your video source has a VGA output, use a VGA cable to connect it to the VGA input port on the projector. Insert one end of the VGA cable into the VGA port on the video source and the other end into the VGA port on the projector. Note that VGA cables only transmit video signals, so you’ll need a separate audio cable to connect the audio output of the video source to the audio input of the sound system or speakers.
- If your video source has a component video output, use a component video cable (usually color-coded red, blue, and green) to connect it to the corresponding component video input ports on the projector. Make sure to match the colors and insert each end of the cable into the corresponding color-coded port.
- Ensure that the video cable is securely connected at both ends.
- If you’re using a laptop as the video source, you may need to adjust the display settings on your laptop to enable the external display. This can be done by pressing the appropriate function key along with the “F” key that corresponds to display options (e.g., “Fn + F8”).
- Switch on the video source and select the appropriate input/source on the projector to display the video signal.
Once the projector is connected to the video source, you should see the video content being displayed on the screen. Make sure to adjust the settings on the video source (e.g., resolution, aspect ratio) to ensure the best possible image quality.
Keep in mind that some projectors have built-in media playback capabilities or support wireless connection options. These features allow you to directly play content from USB drives, SD cards, or wirelessly stream from compatible devices without the need for additional video sources.
With the projector connected to the audio and video sources, you’re almost there! In the next step, we’ll guide you through adjusting the projector settings to optimize the image quality for your living room setup.
Step 7: Adjusting the Projector Settings
Now that your projector is connected to the audio and video sources, it’s time to fine-tune the settings to optimize the image quality for your living room setup. Adjusting the projector settings will ensure that you achieve the best possible picture quality and enhance your viewing experience. Here’s how you can do it:
- Access the projector’s settings menu. This can usually be done through the remote control or the buttons on the projector itself.
- Adjust the brightness and contrast settings to achieve a balance that suits your room’s lighting conditions. If your living room is well-lit, you may need to increase the brightness. If it’s dark, you can decrease the brightness to avoid oversaturation.
- Next, adjust the color settings to ensure accurate and vibrant colors. Most projectors offer various presets like “Cinema,” “Sports,” or “Game” modes. Experiment with these presets to find the one that best suits your preferences.
- Explore the advanced settings like sharpness, gamma, and color temperature. These settings allow you to fine-tune the image details and adjust the overall color balance to your liking.
- If your projector offers keystone correction, use it to adjust the shape of the projected image. Keystone correction can help correct any distortion caused by the projector’s angle or placement.
- If your projector has lens shift capabilities, use them to adjust the vertical or horizontal position of the image without physically moving the projector. This can be helpful if your projector’s placement is slightly off-center.
- Utilize the aspect ratio settings to match the content you’re watching. If you’re watching a widescreen movie, choose the 16:9 aspect ratio. For standard TV shows or older content, select the 4:3 aspect ratio.
- Save your preferred settings as a custom preset if your projector allows it. This way, you can easily switch to your preferred settings every time you use the projector.
While adjusting the projector settings, it’s a good idea to have a test image or video playing to see the immediate effects of your adjustments. The goal is to achieve a well-balanced and pleasing image quality that enhances your viewing experience.
Remember that the settings may vary depending on your specific projector model and personal preferences. It may take some trial and error to find the perfect settings for your living room setup. Take your time to experiment and make adjustments until you’re satisfied with the projected image quality.
With the projector settings adjusted, you’re almost ready to enjoy the cinematic experience in your living room. However, before you do that, there’s one more important step to take in order to ensure the best possible image quality: calibrating the image.
Step 8: Calibrating the Image
Calibrating the image of your projector is crucial to achieve accurate colors, optimal brightness, and the best possible picture quality. This step involves adjusting the projector settings to ensure that the projected image matches industry standards and delivers a true-to-life viewing experience. Here’s how you can calibrate the image:
- Find a calibration disc or use a calibration tool available online. These tools typically include test patterns and color reference images that can help you calibrate your projector.
- Ensure that the room lighting is consistent and dimmed to avoid any distractions or interference.
- Open the calibration disc or use the online calibration tool and follow the instructions provided. They will guide you through the process of adjusting various settings on your projector.
- Start by adjusting the brightness and contrast settings. The goal is to achieve a black level that is not too dark or too bright, and a white level that is not washed out or overexposed.
- Next, move on to adjusting the grayscale and color temperature settings. The calibration tool will usually provide reference patterns to help you achieve accurate grayscale and color reproduction.
- Adjust the color settings to make sure that colors appear natural and true to life. Use the reference images and test patterns to fine-tune the color balance and saturation levels.
- If available, use the gamma adjustment settings to ensure a smooth and balanced tonal response across the entire grayscale.
- Repeat the calibration process if necessary, making small adjustments to the settings until you achieve optimal results.
- Take note of the calibrated settings or save them as a custom preset on your projector for future use.
Calibrating the image of your projector may require some time and patience, but it’s worth the effort to achieve accurate colors and the best possible picture quality. It ensures that you’re getting the most out of your projector and experiencing movies, TV shows, and games as intended by the creators.
If you’re unfamiliar with the calibration process or find it too technical, consider seeking the help of a professional calibrator or using calibration software that simplifies the process. These options can provide more precise adjustments and ensure optimal image quality.
With the image properly calibrated, you’re now ready to fully enjoy the immersive experience of your projector in your living room. In the final step, we’ll guide you through testing the projector to ensure everything is working as expected.
Read more: How To Set Up A Living Room With Fireplace
Step 9: Testing the Projector
After setting up and calibrating your projector, it’s important to thoroughly test it to ensure that everything is working as expected. Testing the projector will allow you to address any potential issues or make any necessary adjustments before fully enjoying your cinematic experience. Here’s how you can test the projector:
- Choose a variety of content to test, such as movies, TV shows, sports events, and games. Select content that showcases different lighting conditions, colors, and motion.
- Play a movie or TV show and observe the projected image. Look for any issues such as pixelation, blurriness, or color inaccuracies. If you notice any problems, refer back to the previous steps to make necessary adjustments.
- Test different lighting conditions in your living room. Dim the lights, turn them off completely, or introduce some ambient lighting. Ensure that the image remains clear and visible, and the colors stay accurate under different lighting conditions.
- Execute some motion tests by playing fast-paced action scenes or sports events. Look for any motion blur or judder issues. Adjust the projector’s settings or enable any motion enhancement features if available to minimize these effects.
- Check the audio quality to ensure that it is clear, synchronized with the video, and synchronized with any sound effects or dialogue on the screen. Make adjustments as necessary to improve the audio experience.
- Test the connectivity by switching between different video sources. Change inputs to confirm that the projector properly detects and displays the content from all connected devices.
- Verify that the projector’s remote control is functioning properly. Test all the buttons to ensure they perform the intended actions and that there are no responsiveness issues.
- Listen for any unusual noises coming from the projector, such as loud fans or strange vibrations. Contact the manufacturer or seek assistance if you notice any abnormal sounds.
By thoroughly testing your projector, you can identify any potential issues and make any necessary adjustments or troubleshoot them. This ensures that you’re fully prepared to enjoy your movies, shows, and games on the big screen without any interruptions or image quality concerns.
Remember that periodic testing and maintenance are important to keep your projector in optimal working condition. Regularly clean the projector’s lens and ventilation vents to prevent dust buildup and overheating. In addition, refer to the manufacturer’s guidelines for any specific maintenance recommendations.
With the projector successfully tested and all components working as expected, it’s time to sit back, relax, and enjoy your favorite content on the big screen in the comfort of your living room. Happy viewing!
Conclusion
Congratulations! You have successfully set up your projector in your living room and are now ready to embark on a cinematic journey from the comfort of your own home. By following the step-by-step process outlined in this guide, you have learned how to choose the right projector, determine the placement, set up the screen, connect the projector to power and audio sources, and calibrate the image for optimal viewing.
With your projector connected to the audio and video sources, the immersive experience begins. You can now enjoy your favorite movies, TV shows, sports events, and games on a big screen that rivals the experience of a traditional movie theater.
Remember to periodically test your projector and perform any necessary maintenance to ensure optimal performance. Clean the lens and ventilation vents regularly to prevent dust buildup, and refer to the manufacturer’s guidelines for any specific maintenance requirements.
As technology advances, projectors continue to improve, providing higher resolutions, better brightness, and more advanced features. Keep an eye out for any updates or new models that may enhance your viewing experience even further.
Now, sit back, dim the lights, and immerse yourself in the captivating world of home entertainment. Enjoy the stunning visuals, the powerful audio, and the shared experiences with family and friends. Your living room has transformed into a mini-theater where you can create lasting memories.
Thank you for taking the time to follow this guide and set up your projector in your living room. We hope that this article has been informative and helpful, and that it has empowered you to create your own personal cinematic haven. Happy projecting!
Frequently Asked Questions about How To Set Up Projector In Living Room
Was this page helpful?
At Storables.com, we guarantee accurate and reliable information. Our content, validated by Expert Board Contributors, is crafted following stringent Editorial Policies. We're committed to providing you with well-researched, expert-backed insights for all your informational needs.


0 thoughts on “How To Set Up Projector In Living Room”