Home>Technology>Home Entertainment Systems>How To Set Up A Projector Screen
Home Entertainment Systems
How To Set Up A Projector Screen
Modified: October 21, 2024
Learn how to set up a projector screen for your home entertainment system with our step-by-step guide. Create the ultimate movie-watching experience at home.
(Many of the links in this article redirect to a specific reviewed product. Your purchase of these products through affiliate links helps to generate commission for Storables.com, at no extra cost. Learn more)
**
Introduction
**
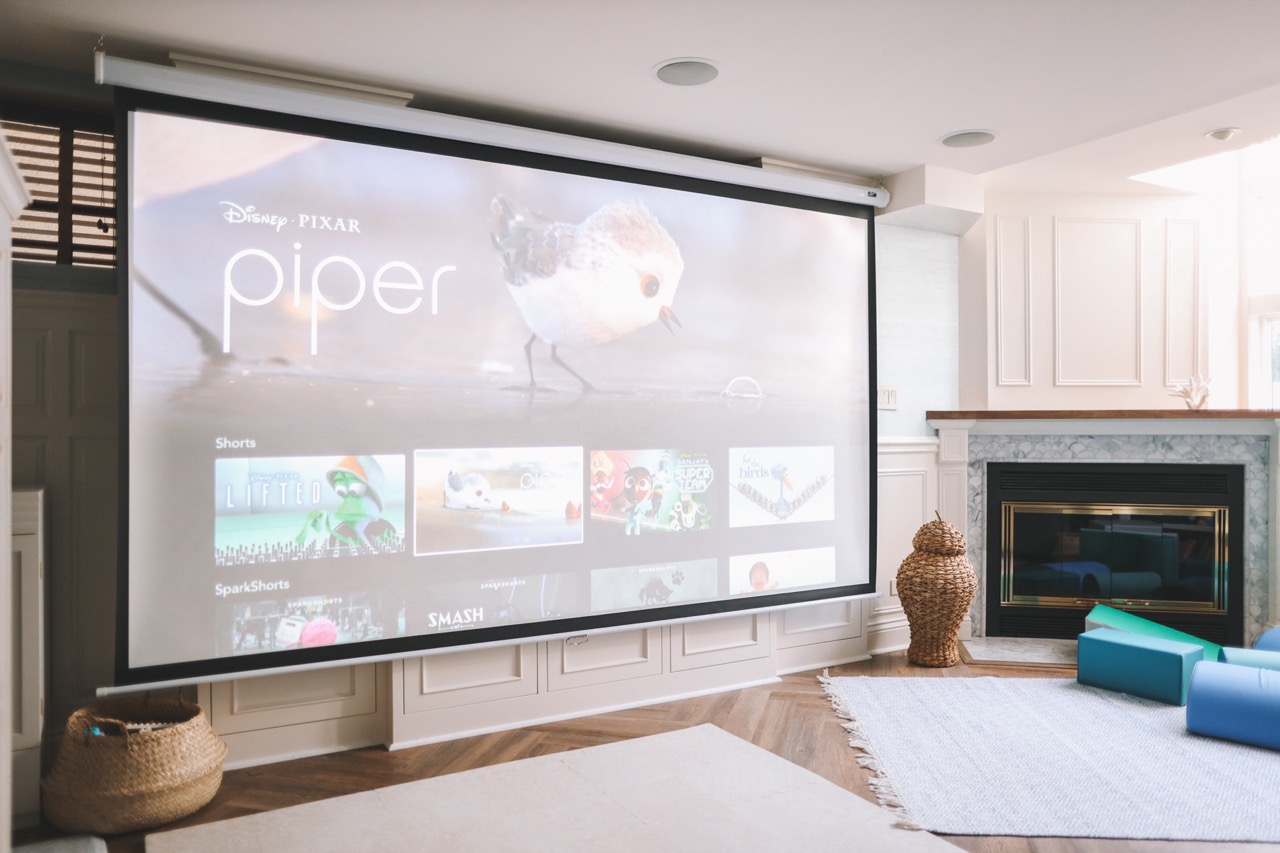
So, you've decided to bring the cinematic experience into your home by setting up a projector screen. Congratulations on taking your home entertainment to the next level! Whether you're a movie buff, a sports enthusiast, or a gaming aficionado, a projector screen can elevate your viewing experience to new heights. With the right setup, you can immerse yourself in larger-than-life visuals and create a captivating atmosphere right in your living room.
In this guide, we'll walk you through the process of setting up a projector screen, from choosing the ideal location to fine-tuning the screen settings. By the end of this journey, you'll be ready to sit back, relax, and enjoy your favorite content on a stunning, larger-than-life display.
Let's dive in and explore the steps to transform your space into a home theater that will impress friends and family alike.
**
Key Takeaways:
- Transform your space into a captivating home theater by carefully choosing the right location, mounting the screen with precision, and connecting the projector seamlessly for an immersive viewing experience.
- Enjoy the magic of cinema within the comfort of your own home as you indulge in captivating visuals and enveloping sound, creating unforgettable moments with family and friends.
Read more: How To Split Screen On A Projector
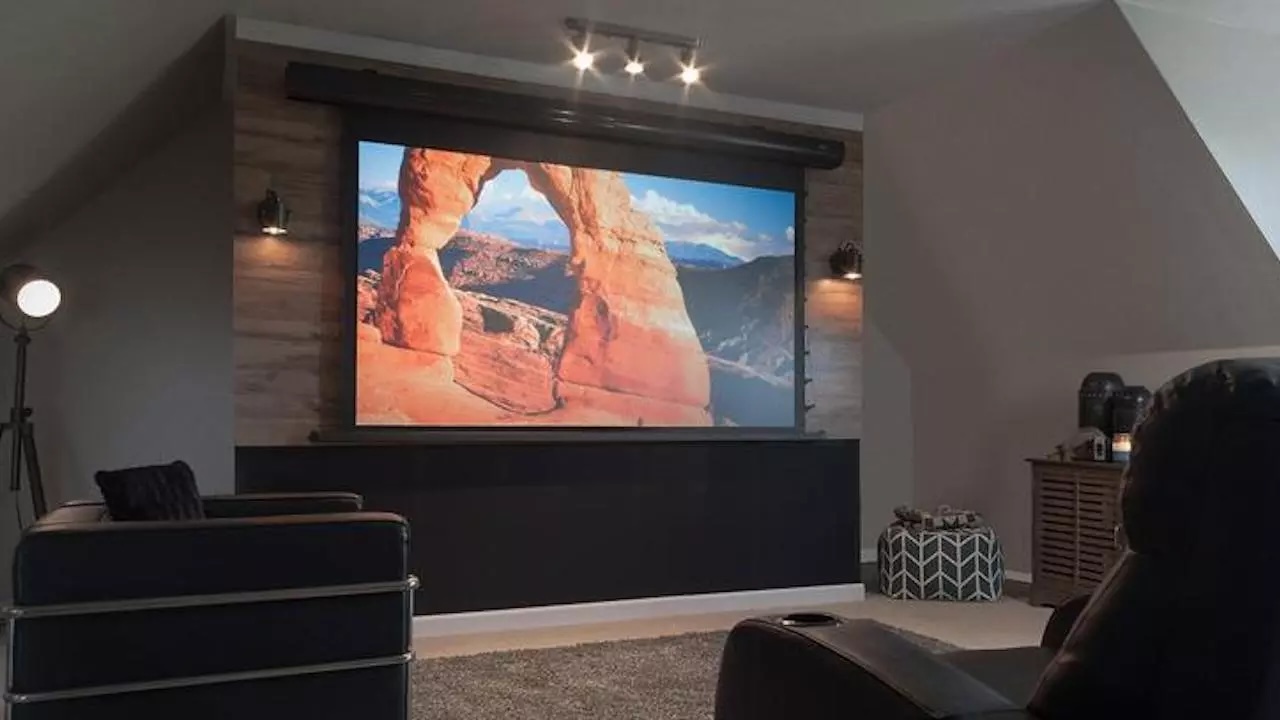
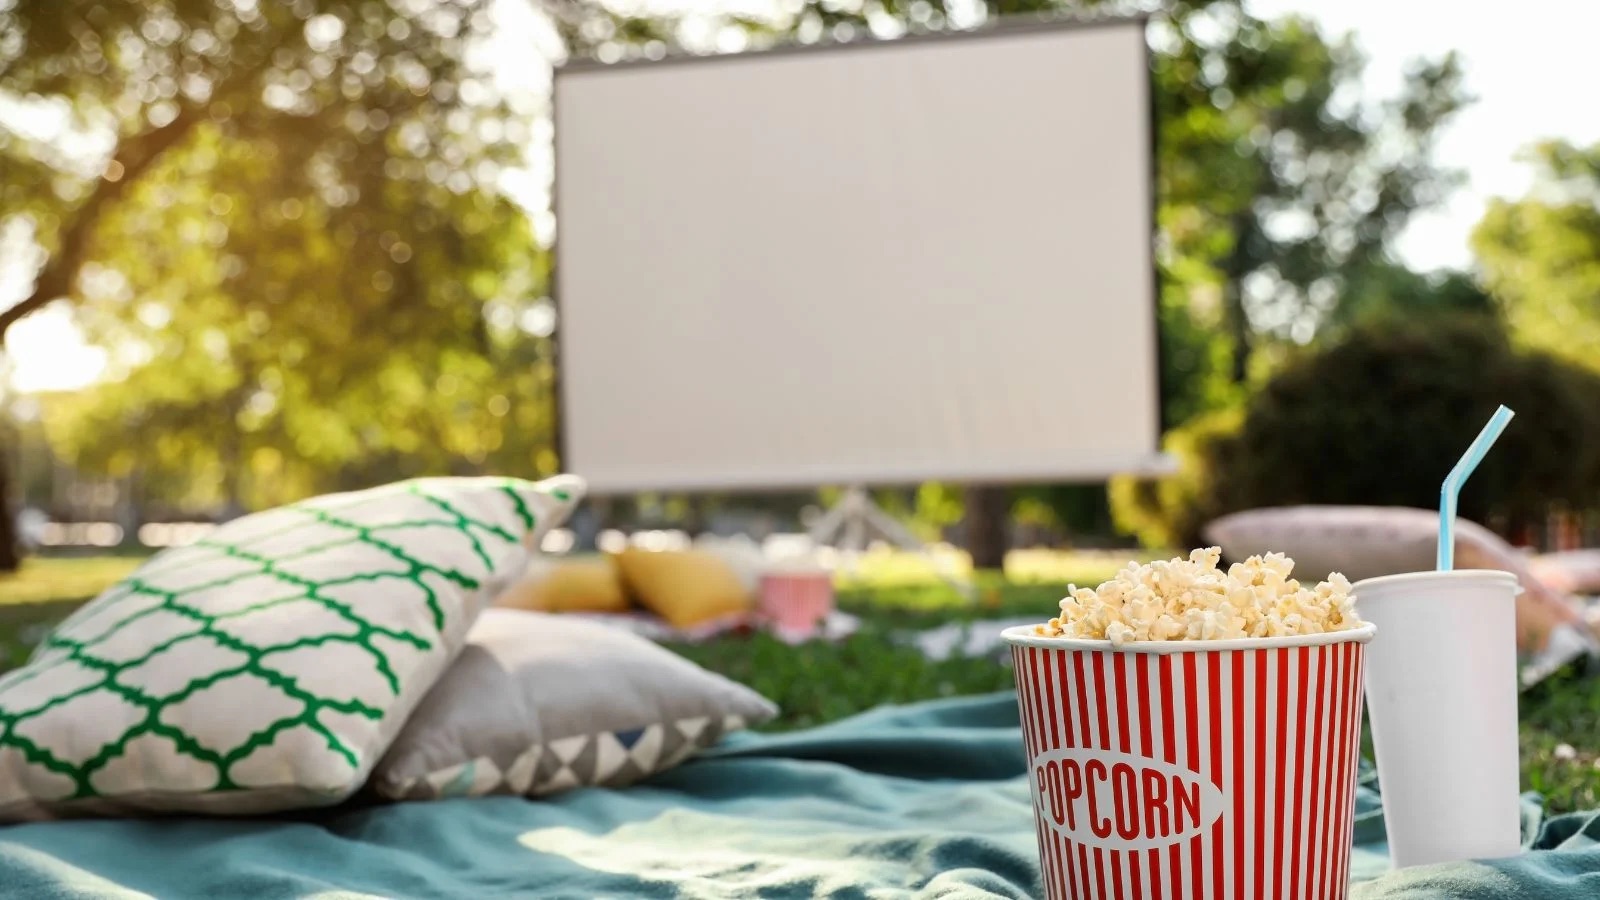
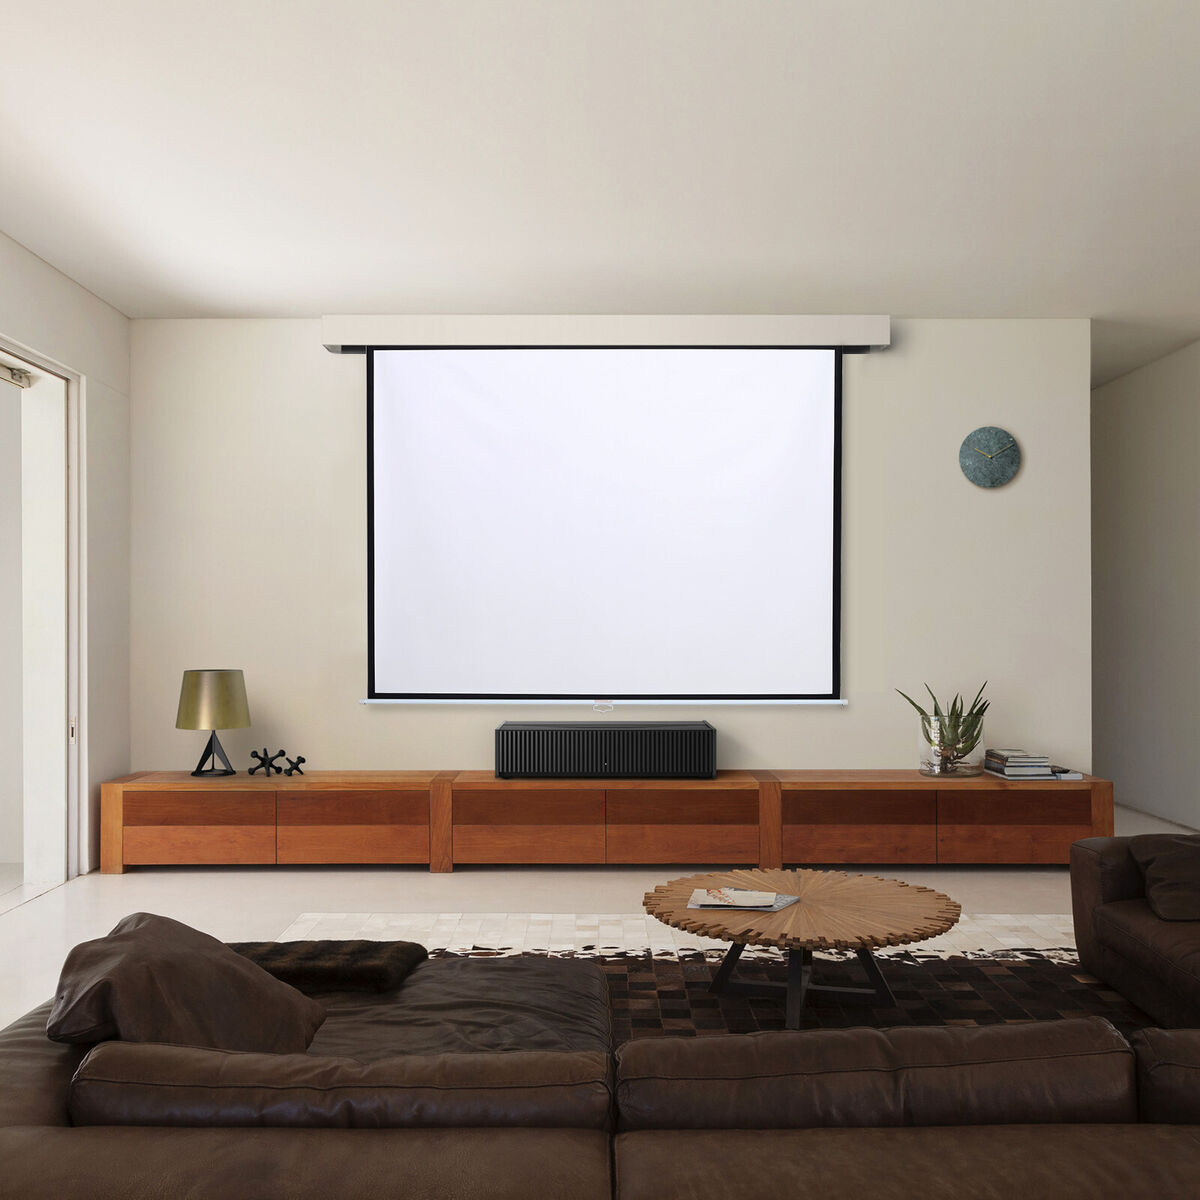
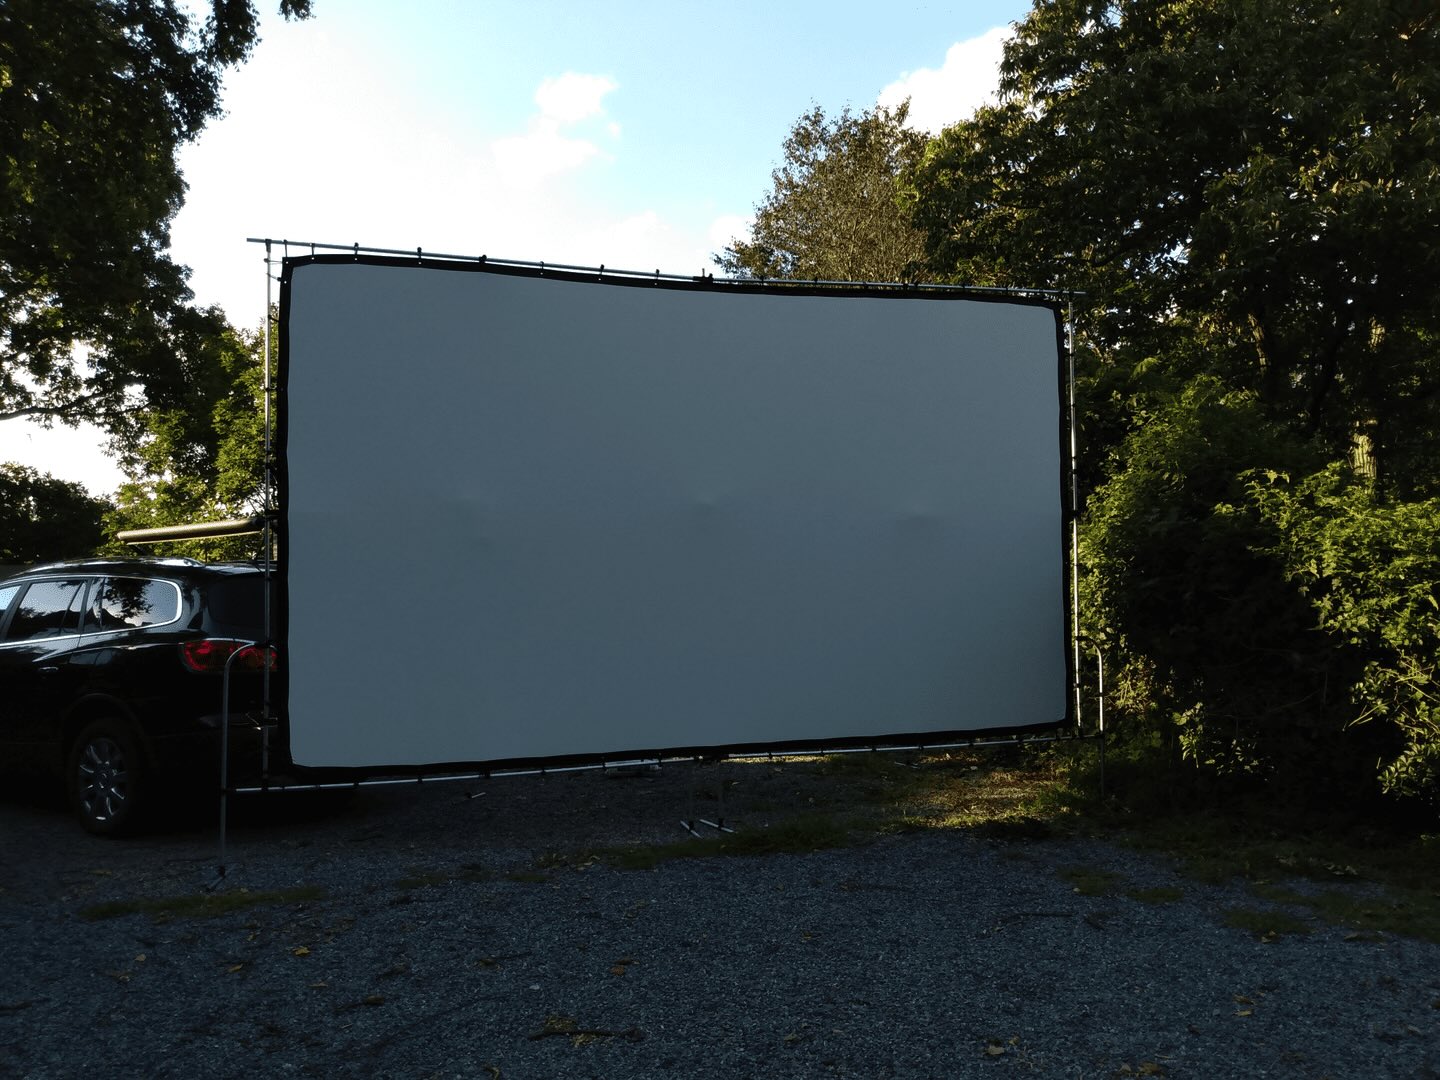
Choosing the Right Location
**
Before you start mounting your projector screen, it’s crucial to select the perfect location for an optimal viewing experience. Consider the following factors when choosing the right spot:
- Room Size and Layout: Assess the dimensions and layout of the room where you plan to install the projector screen. Ensure that there is sufficient space for the screen to fit comfortably while allowing for ample seating arrangements.
- Lighting Conditions: Take note of the ambient light in the room. For the best image quality, opt for a location with minimal glare and controlled lighting. If possible, choose a room with the ability to control natural and artificial light sources.
- Wall Surface: The wall where you intend to mount the screen should be flat and free of any obstructions. A smooth, neutral-colored wall is ideal for projecting clear and vibrant images.
- Viewing Angle: Consider the viewing angle from various seating positions. Aim to position the screen at a height and angle that ensures a comfortable and unobstructed view from all desired seating areas.
Once you’ve evaluated these factors, you can identify the prime location for your projector screen. Remember, the right location can significantly enhance your overall viewing experience, so take the time to carefully assess your options before proceeding to the next steps.
**
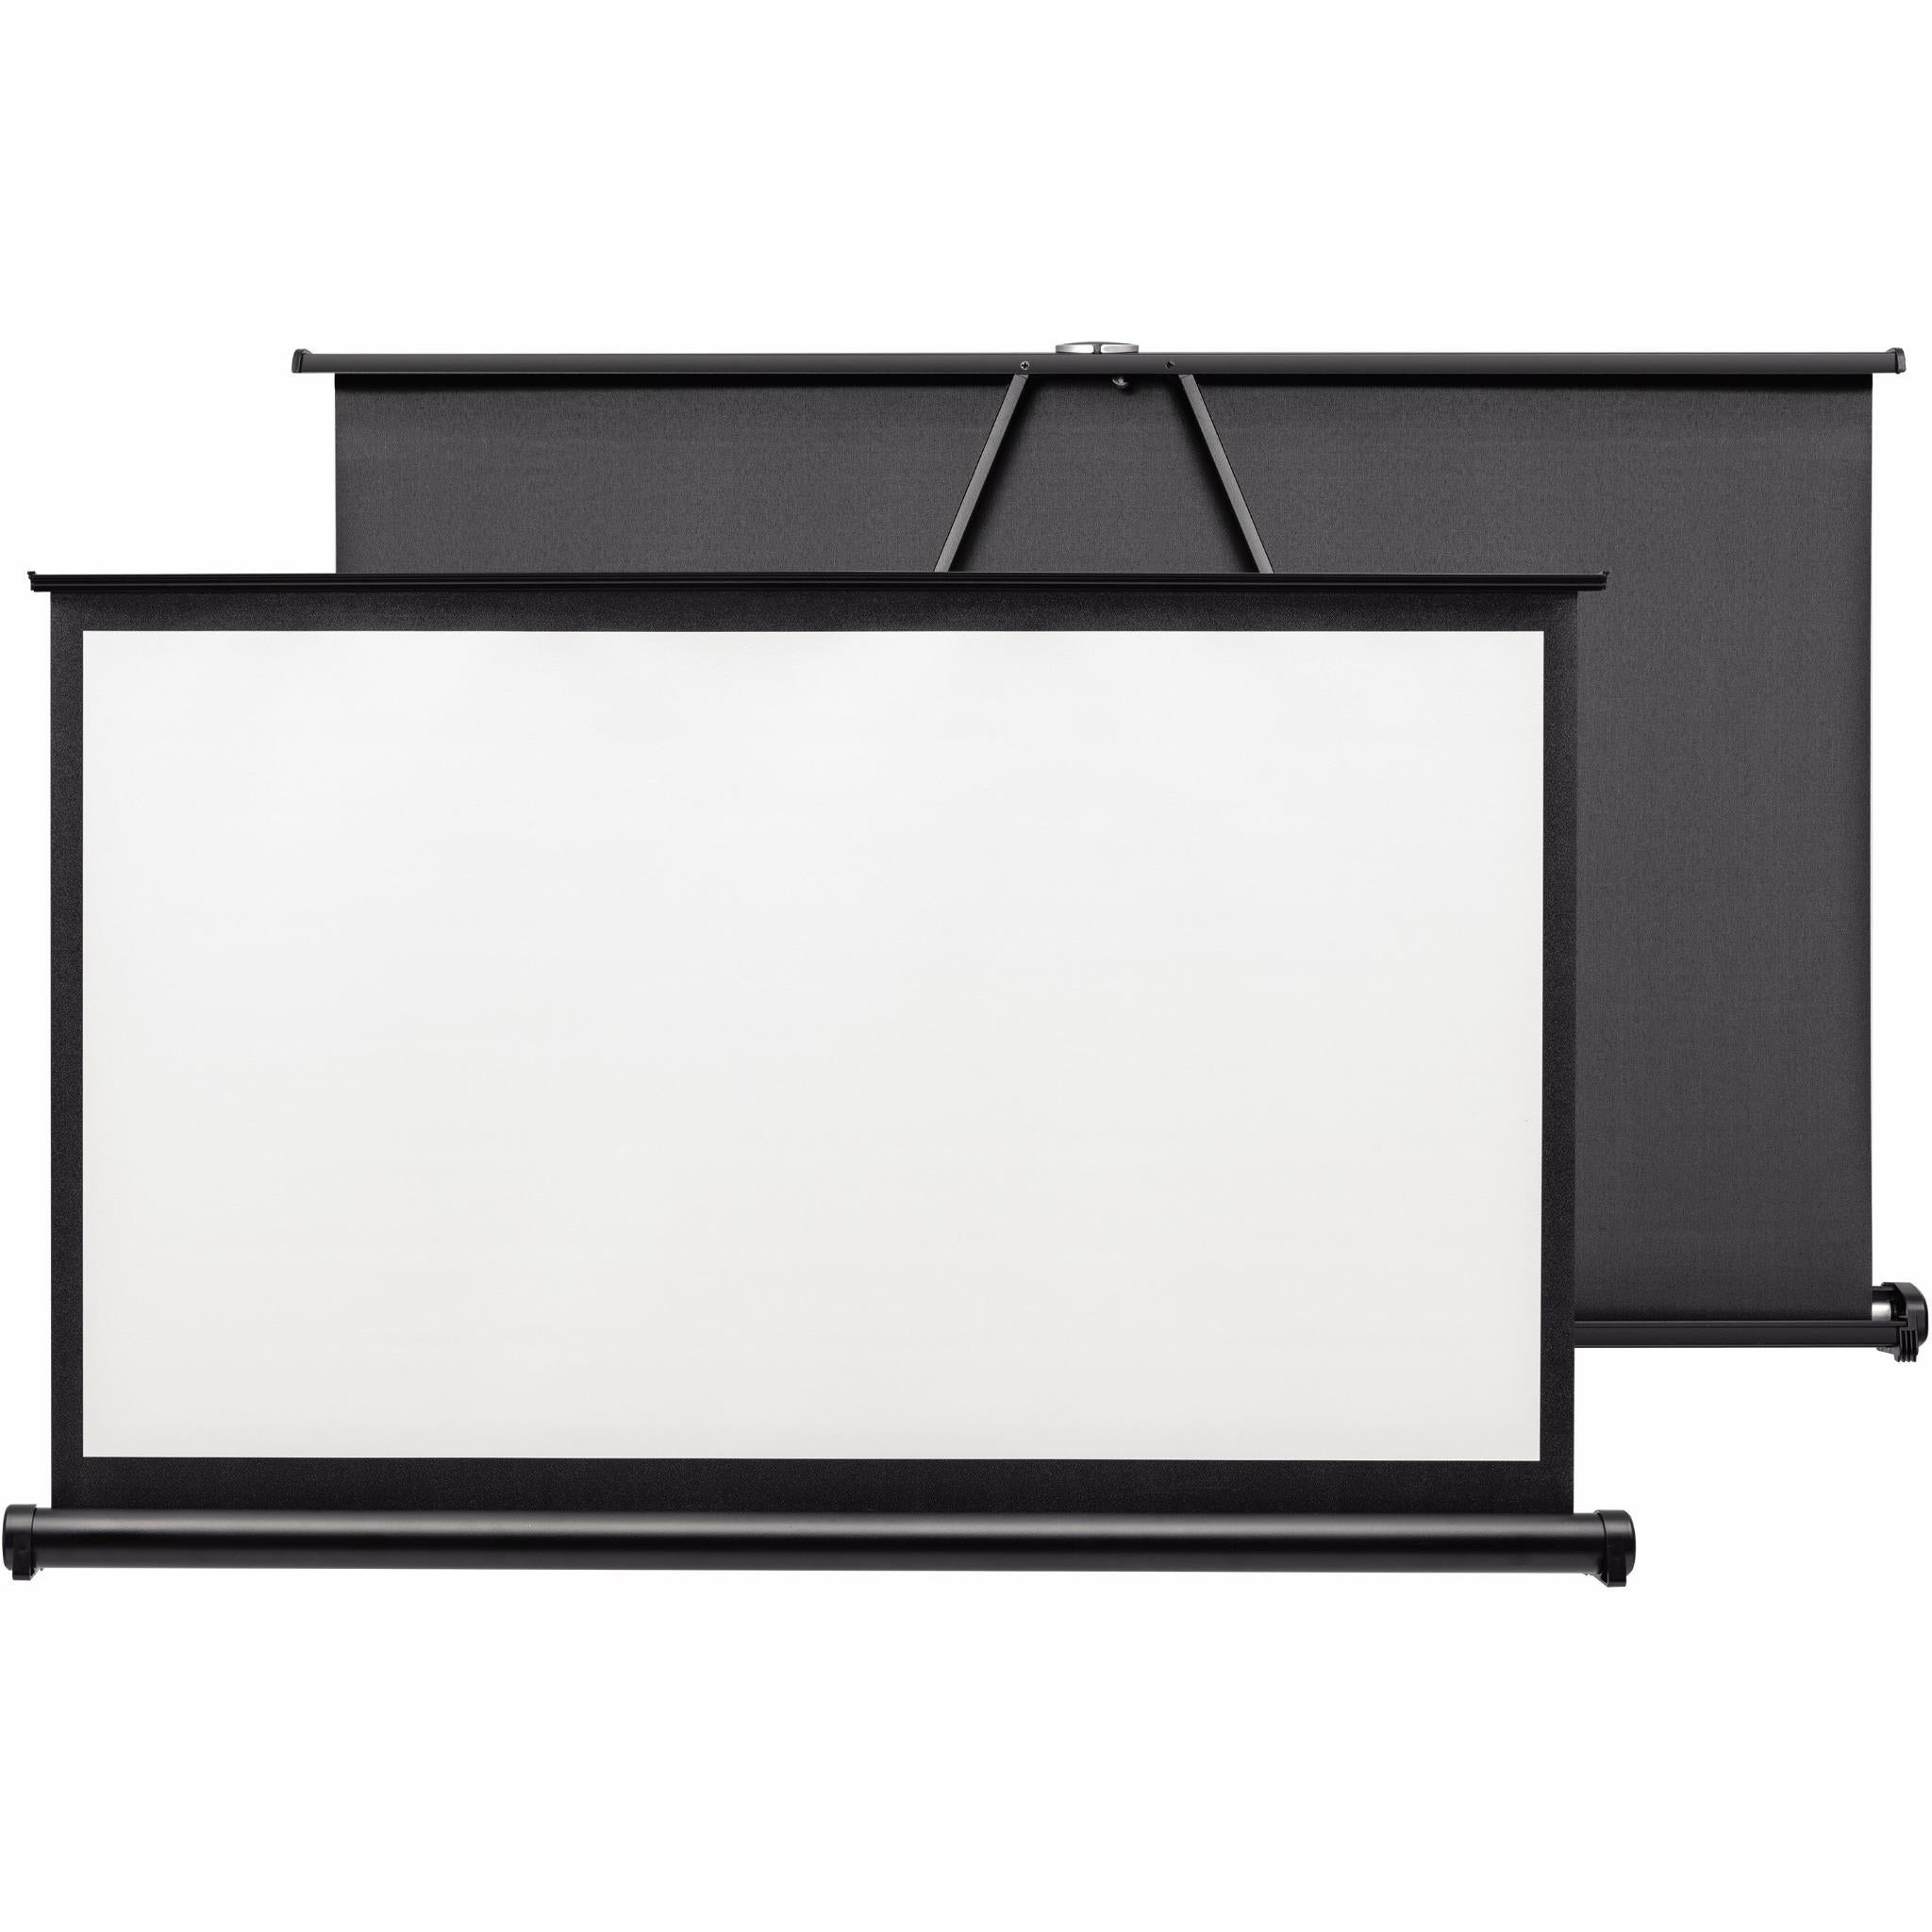
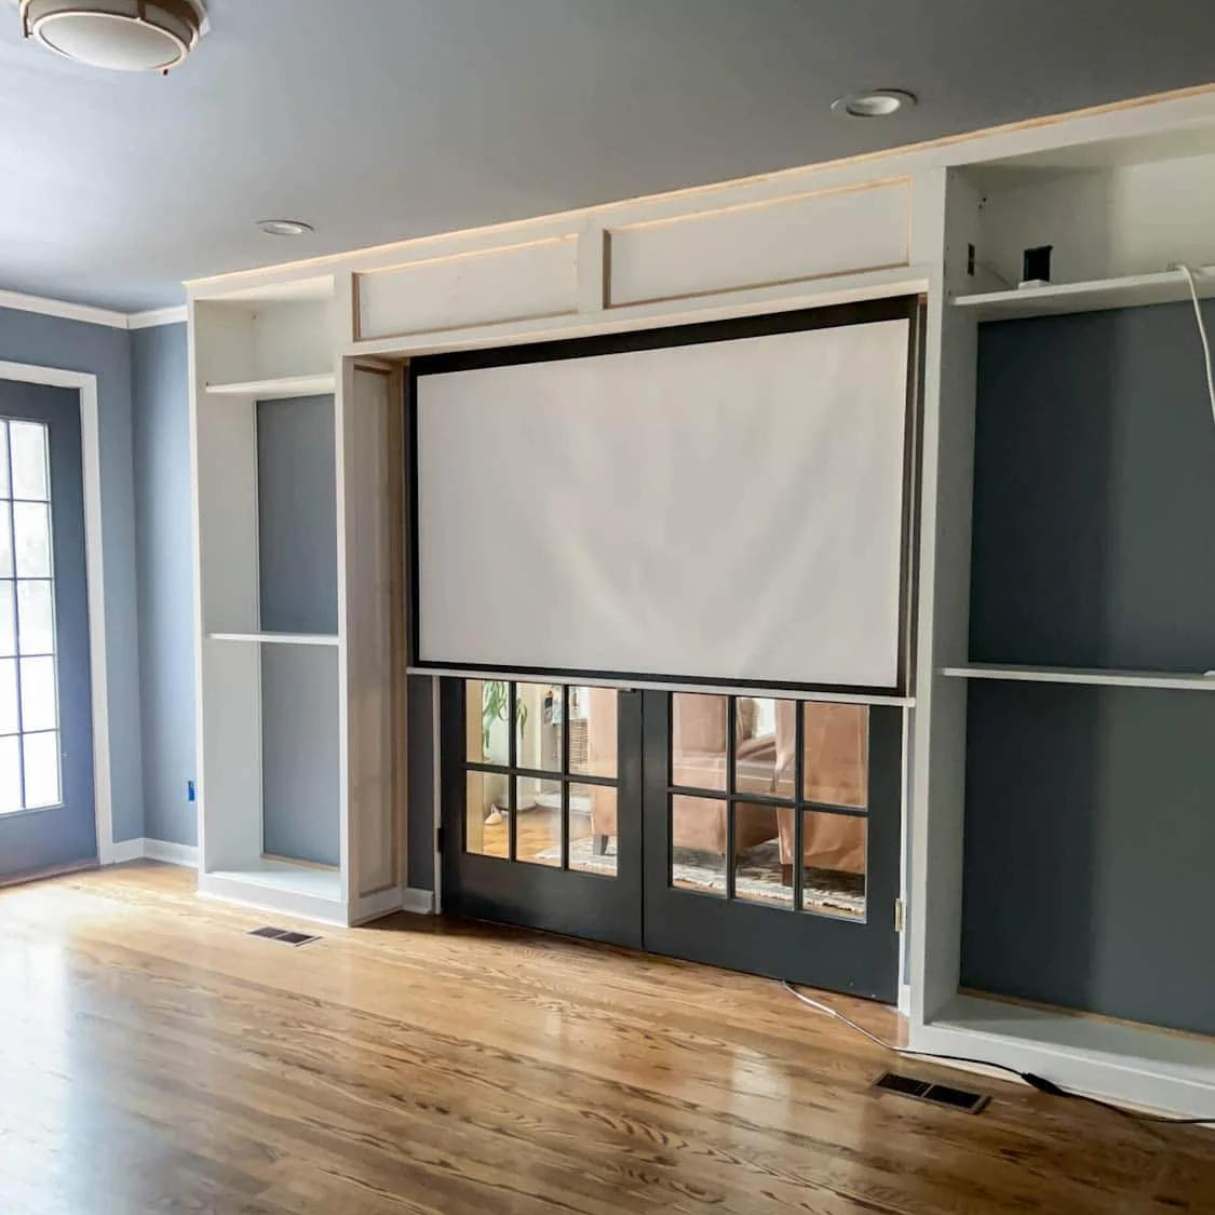
Mounting the Projector Screen
**
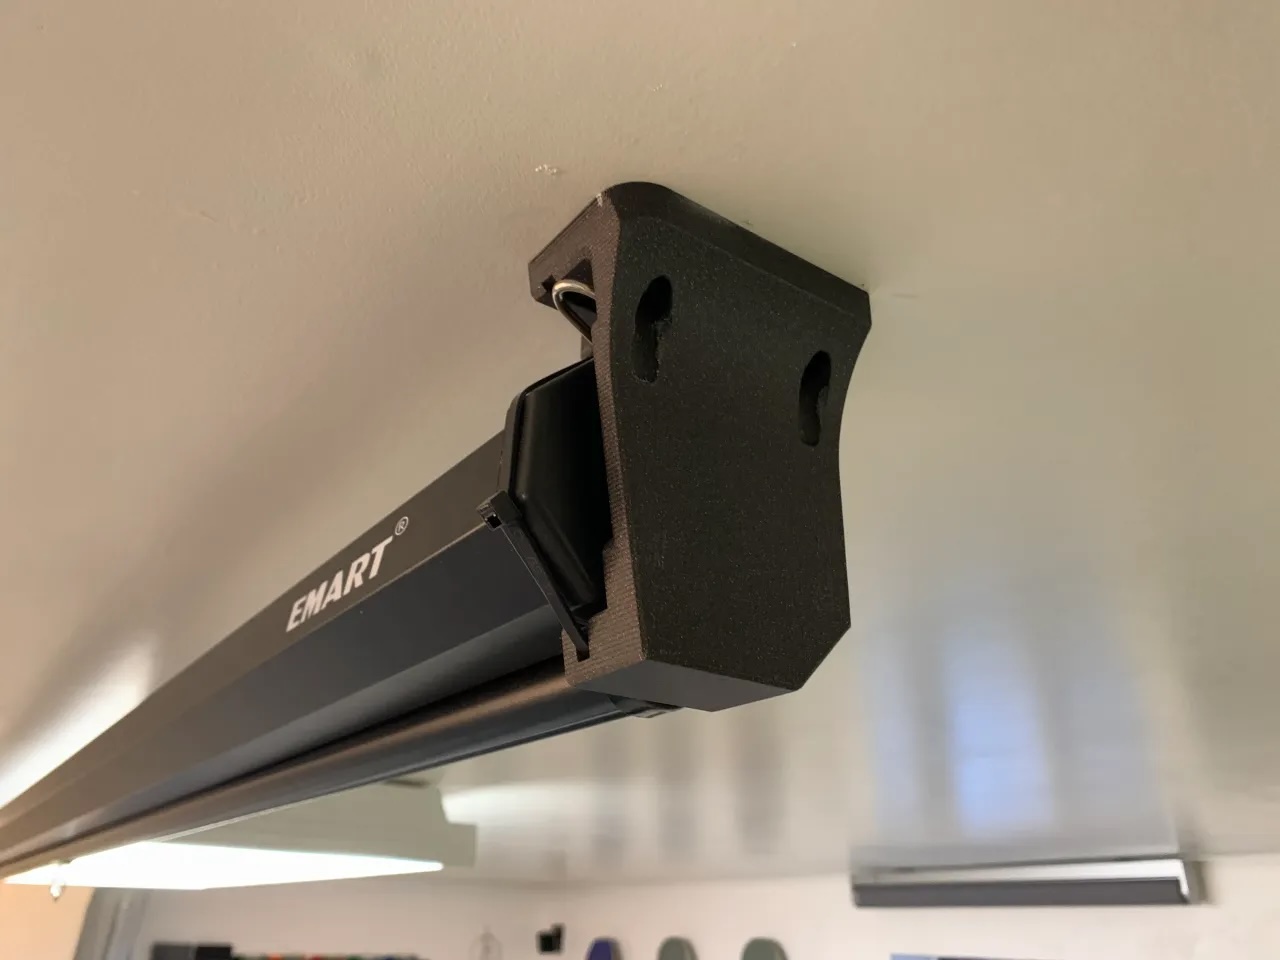
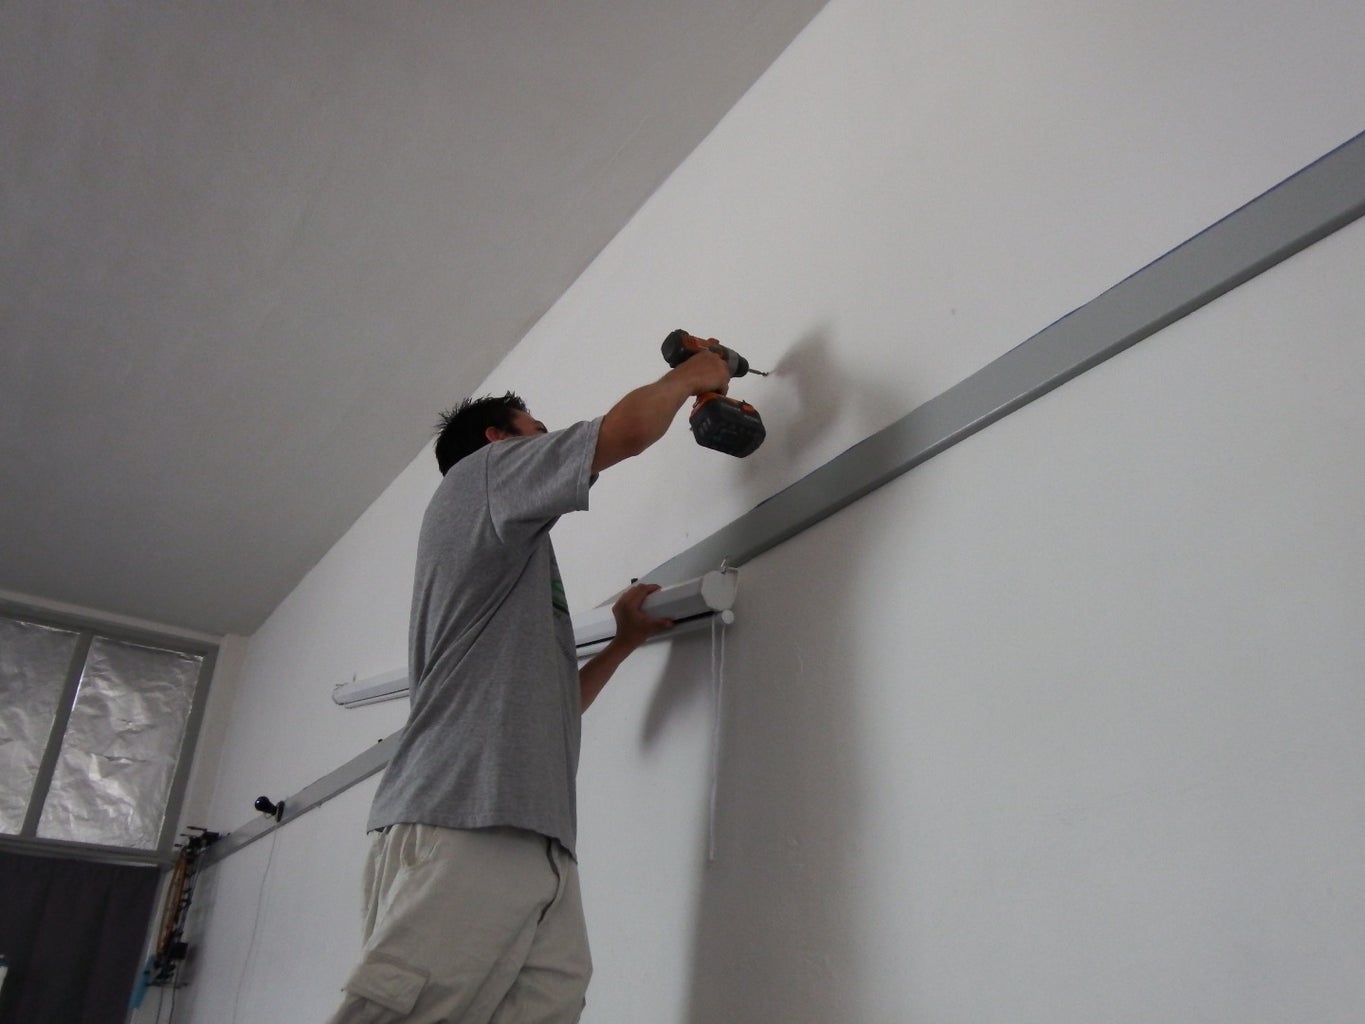
Now that you’ve chosen the perfect location for your projector screen, it’s time to proceed with the mounting process. Follow these steps to ensure a secure and professional installation:
- Gather the Necessary Tools: Before you begin, gather the essential tools for the installation, including a stud finder, a level, a drill, screws, and a screwdriver. Having these tools on hand will streamline the mounting process.
- Locate the Studs: Use a stud finder to locate the studs in the wall where you plan to mount the screen. Securing the screen to the studs will provide the necessary support for a stable installation.
- Mark the Mounting Points: Once you’ve identified the studs, mark the precise points where the mounting brackets will be attached. Use a level to ensure that the markings are aligned correctly for a balanced installation.
- Attach the Mounting Brackets: Securely attach the mounting brackets to the wall using the appropriate screws. Double-check the alignment and stability of the brackets before proceeding.
- Install the Screen: With the mounting brackets in place, carefully lift the projector screen and hang it on the brackets. Ensure that the screen is level and securely positioned before releasing it.
- Test the Stability: After mounting the screen, gently test its stability and adjust if necessary. It’s essential to confirm that the screen is firmly secured and does not wobble or tilt.
By following these steps, you can successfully mount your projector screen, creating a captivating focal point for immersive entertainment in your home. With the screen securely in place, you’re one step closer to enjoying stunning visuals in the comfort of your own space.
**
Connecting the Projector
**
With the projector screen securely mounted, it’s time to connect the projector and prepare it for an extraordinary viewing experience. Follow these steps to ensure seamless connectivity:
- Position the Projector: Determine the optimal location for the projector, considering factors such as throw distance, screen size, and the projector’s mounting options. Place the projector at a suitable distance from the screen to achieve the desired image size and clarity.
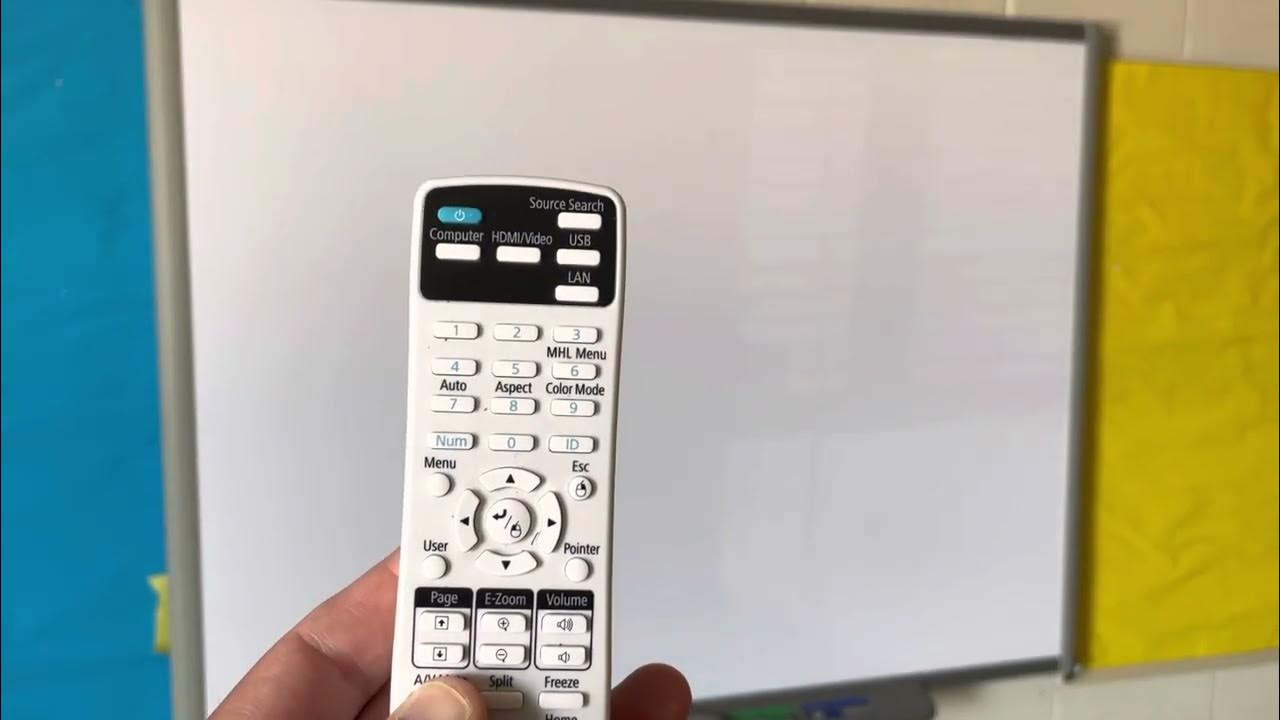
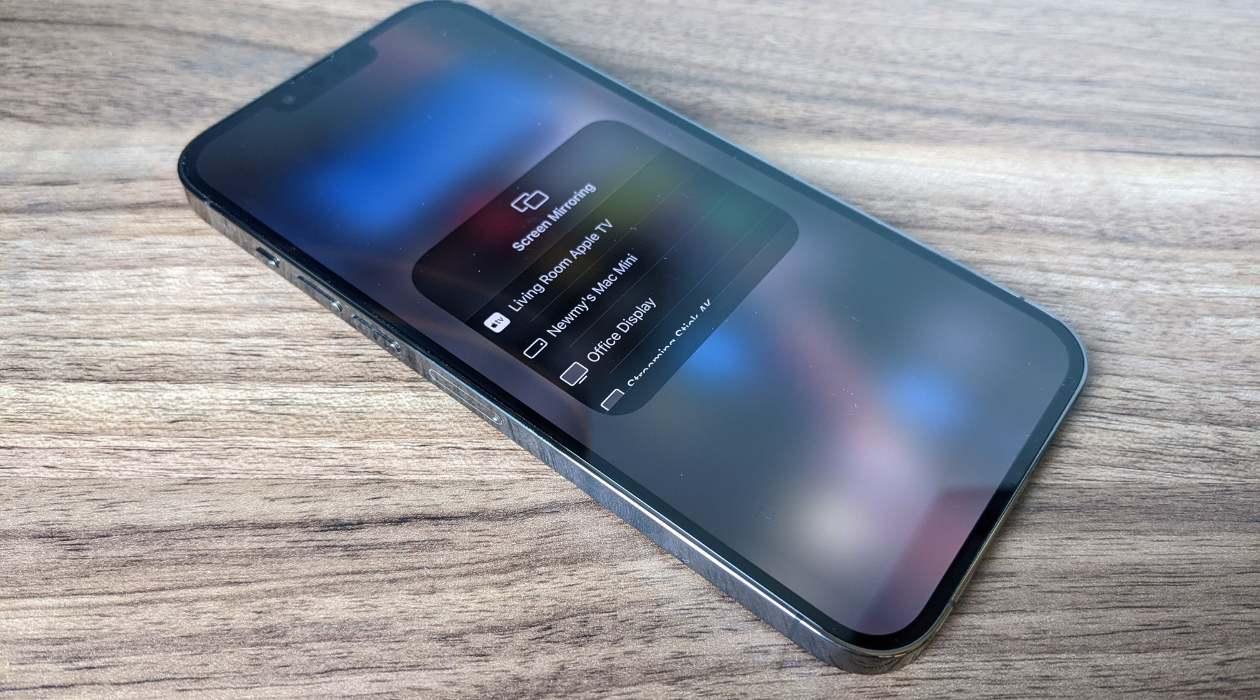
- Power and Signal Connections: Connect the power cord to the projector and plug it into a power outlet. Next, establish the signal connection by connecting the appropriate cables, such as HDMI, VGA, or USB, from the source device (e.g., Blu-ray player, gaming console, or streaming device) to the projector’s input ports.
- Audio Setup: If your projector has built-in speakers or audio output options, ensure that the audio connections are established to deliver synchronized sound with the projected visuals. Alternatively, connect the projector to an external sound system for enhanced audio quality.
- Adjust Projection Settings: Access the projector’s settings menu to configure display options such as aspect ratio, resolution, and keystone correction. Fine-tune the settings to achieve a well-aligned and visually pleasing projection on the screen.
- Power On and Test: Power on the projector and initiate a test projection to verify that the image is displayed correctly on the screen. Make any necessary adjustments to the positioning and settings to optimize the visual output.
By following these steps, you can seamlessly connect your projector to the screen, ensuring that both the audio and visual components are integrated for an immersive viewing experience. With the projector ready to deliver captivating visuals, you’re on the brink of transforming your space into a captivating home theater.
**
When setting up a projector screen, make sure to choose a location with minimal glare and a flat surface. Use a level to ensure the screen is straight and adjust the height to ensure everyone can see it clearly.
Adjusting the Screen Settings
**
Now that the projector is connected and ready, it’s time to fine-tune the screen settings to optimize the visual output. Follow these steps to ensure that the projected images are crisp, vibrant, and perfectly aligned:
- Aspect Ratio and Resolution: Access the projector’s settings menu to adjust the aspect ratio and resolution settings to match the content being displayed. Select the appropriate aspect ratio (e.g., 16:9 for widescreen content) and set the resolution to achieve sharp and detailed imagery.
- Keystone Correction: If the projector is not perfectly aligned with the screen, utilize the keystone correction feature to adjust the projected image and ensure that it appears rectangular and distortion-free. This will help compensate for any vertical or horizontal angle discrepancies.
- Color and Contrast: Fine-tune the color and contrast settings to enhance the vibrancy and richness of the projected visuals. Adjust the color temperature, contrast ratio, and brightness to achieve a balanced and visually appealing display.
- Focus and Sharpness: Utilize the projector’s focus and sharpness controls to achieve a clear and well-defined image. Adjust the focus until the projected content appears sharp and detailed, ensuring that text and fine details are rendered accurately.
- Screen Positioning: If the screen can be adjusted, ensure that it is positioned correctly to align with the projected image. Make any necessary adjustments to the screen’s height and angle to achieve optimal viewing geometry.
By meticulously adjusting the screen settings, you can elevate the visual quality of the projected images, resulting in a captivating and immersive viewing experience. With the settings finely tuned, you’re poised to enjoy stunning visuals that rival the cinematic experience within the comfort of your home.
**
Read more: How To Make A Projector Screen
Testing the Setup
**
With the projector screen mounted, the projector connected, and the screen settings adjusted, it’s time to put the setup to the test. Conduct a comprehensive evaluation to ensure that everything is functioning seamlessly and that the visuals meet your expectations. Here’s how to conduct a thorough test of the setup:
- Content Playback: Initiate the playback of various types of content, including movies, TV shows, sports events, and video games, to assess the performance of the projector and screen. Pay attention to the clarity, color reproduction, and overall visual impact of the projected images.
- Audio Performance: Evaluate the audio output from the projector or the connected sound system to ensure that the sound complements the visuals and delivers an immersive audio-visual experience.
- Interactive Features: If your projector offers interactive features such as 3D projection or interactive touch capabilities, explore these functions to experience the full range of capabilities offered by the setup.
- Ambient Light Testing: Test the setup under various lighting conditions, including both daytime and nighttime settings, to gauge the impact of ambient light on the projected images. Make any necessary adjustments to optimize the viewing experience in different lighting environments.
- User Experience: Sit in different seating positions within the room to assess the viewing angles and overall user experience. Confirm that the visuals are clear and immersive from various vantage points.
By conducting a comprehensive test of the setup, you can identify any potential issues and make the necessary adjustments to optimize the overall performance. Take the time to fine-tune the setup based on the test results, ensuring that every aspect aligns with your vision of a captivating home theater experience.
**
Conclusion
**
Congratulations! You’ve successfully navigated the process of setting up a projector screen, transforming your space into a captivating home theater that promises endless entertainment possibilities. By carefully selecting the ideal location, mounting the screen with precision, connecting the projector seamlessly, adjusting the screen settings, and conducting a thorough test of the setup, you’ve laid the foundation for an immersive viewing experience that rivals the cinematic allure of a movie theater.
As you bask in the captivating visuals and enveloping sound of your newly established home theater, remember that the setup is not just a collection of components; it’s a gateway to a world of entertainment, relaxation, and shared experiences with family and friends. Whether you’re indulging in a movie marathon, cheering on your favorite sports team, or embarking on virtual adventures through gaming, your home theater is poised to deliver unforgettable moments and create lasting memories.
As technology continues to evolve, consider exploring additional enhancements for your home theater, such as ambient lighting solutions, immersive sound systems, and advanced projector features. By staying attuned to the latest innovations, you can further elevate your viewing experience and stay ahead of the curve in home entertainment.
With your projector screen setup now complete, it’s time to sit back, dim the lights, and immerse yourself in the magic of cinema within the comfort of your own home. Let the captivating visuals and enveloping sound transport you to new realms of entertainment, creativity, and relaxation. Your home theater awaits, ready to bring your favorite content to life on a grand scale.
Embrace the possibilities, savor the moments, and let the allure of your home theater enrich your life in ways that only the power of immersive entertainment can achieve.
Frequently Asked Questions about How To Set Up A Projector Screen
Was this page helpful?
At Storables.com, we guarantee accurate and reliable information. Our content, validated by Expert Board Contributors, is crafted following stringent Editorial Policies. We're committed to providing you with well-researched, expert-backed insights for all your informational needs.


0 thoughts on “How To Set Up A Projector Screen”