Home>Technology>Home Entertainment Systems>How To Set Up A Projector In The Living Room
Home Entertainment Systems
How To Set Up A Projector In The Living Room
Modified: January 6, 2024
Learn how to set up a home entertainment system with a projector in your living room. Get expert tips and step-by-step instructions for the perfect setup.
(Many of the links in this article redirect to a specific reviewed product. Your purchase of these products through affiliate links helps to generate commission for Storables.com, at no extra cost. Learn more)
Introduction
Welcome to the world of big-screen entertainment! Setting up a projector in your living room can transform your space into a captivating home theater experience. Whether you’re a movie enthusiast, a gaming aficionado, or a sports fanatic, a high-quality projector can elevate your viewing pleasure to new heights. In this guide, we’ll explore the exciting process of setting up a projector in your living room, from choosing the right projector to optimizing the image and sound for an immersive cinematic adventure.
Imagine cozying up on the sofa with your favorite snacks, dimming the lights, and being instantly transported into the world of your preferred entertainment. With the right equipment and setup, you can recreate the magic of a movie theater right in the comfort of your own home. Let’s embark on this journey to unlock the potential of your living room as a hub for unparalleled visual and audio experiences.
Key Takeaways:
- Transform your living room into a captivating home theater with the right projector, ideal placement, and optimized setup for exceptional visuals and audio.
- Embrace the opportunity to create a personalized viewing environment that caters to your unique preferences, making every entertainment session an immersive journey into the realms of imagination and excitement.
Read more: How To Set Up Projector In Living Room
Choosing the Right Projector
When it comes to selecting a projector for your living room, several factors play a crucial role in ensuring an exceptional viewing experience. Here’s a guide to help you make an informed decision:
- Resolution: The resolution of a projector determines the clarity and sharpness of the images it produces. For a living room setup, consider a projector with at least 1080p resolution for high-definition viewing.
- Brightness: Ambient light in the living room can impact the clarity of the projected image. Opt for a projector with higher lumens to ensure vibrant visuals, especially if your living room receives natural light.
- Throw Distance: Measure the distance between the projector and the screen or wall where the image will be displayed. This will help you determine the ideal throw ratio for the projector based on your living room’s layout.
- Connectivity: Consider the types of devices you intend to connect to the projector, such as gaming consoles, streaming devices, or Blu-ray players. Ensure that the projector offers compatible input options.
- Contrast Ratio: A higher contrast ratio contributes to deeper blacks and brighter whites, enhancing the overall visual quality of the projected images.
- Noise Level: Projectors generate varying levels of noise during operation. Look for models with low noise output to minimize distractions during quiet movie scenes or dialogue-heavy moments.
Additionally, consider the aspect ratio, lens zoom capabilities, and any specific features relevant to your intended usage, whether it’s for movies, gaming, or sports viewing. Researching and comparing different projector models will empower you to find the perfect match for your living room’s entertainment needs.
By carefully evaluating these factors, you can narrow down your options and select a projector that aligns with your preferences, room size, and intended usage, ensuring a stellar visual experience for all your entertainment endeavors.
Finding the Ideal Location
Choosing the right location for your projector is essential for optimizing the viewing experience and ensuring seamless integration into your living room. Here are some key considerations for finding the ideal placement:
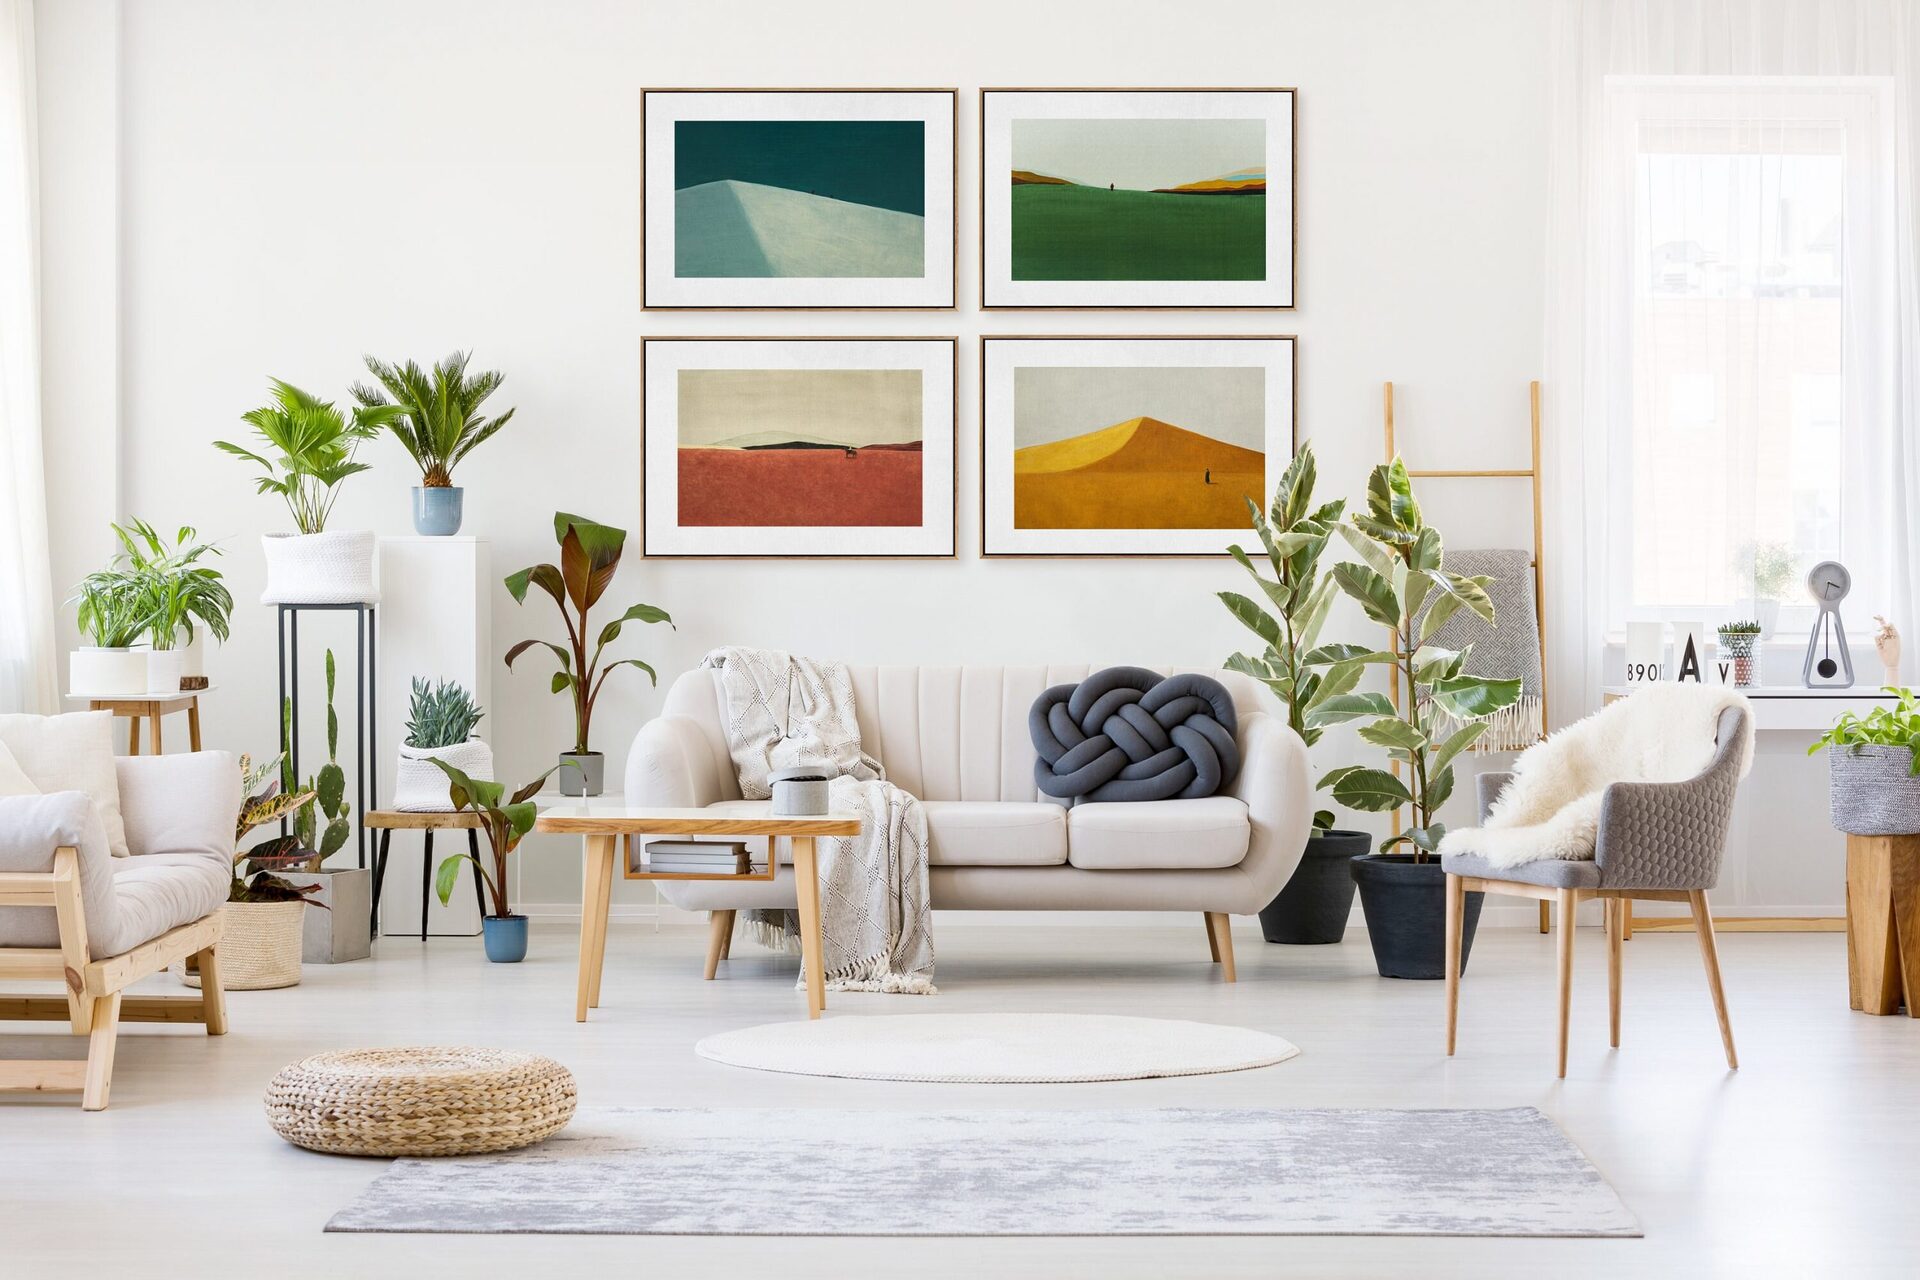
- Wall or Screen Selection: Decide whether you will project the images onto a blank wall or invest in a dedicated projector screen. A high-quality screen can enhance image clarity and color reproduction, while a well-prepared wall can serve as a cost-effective alternative.
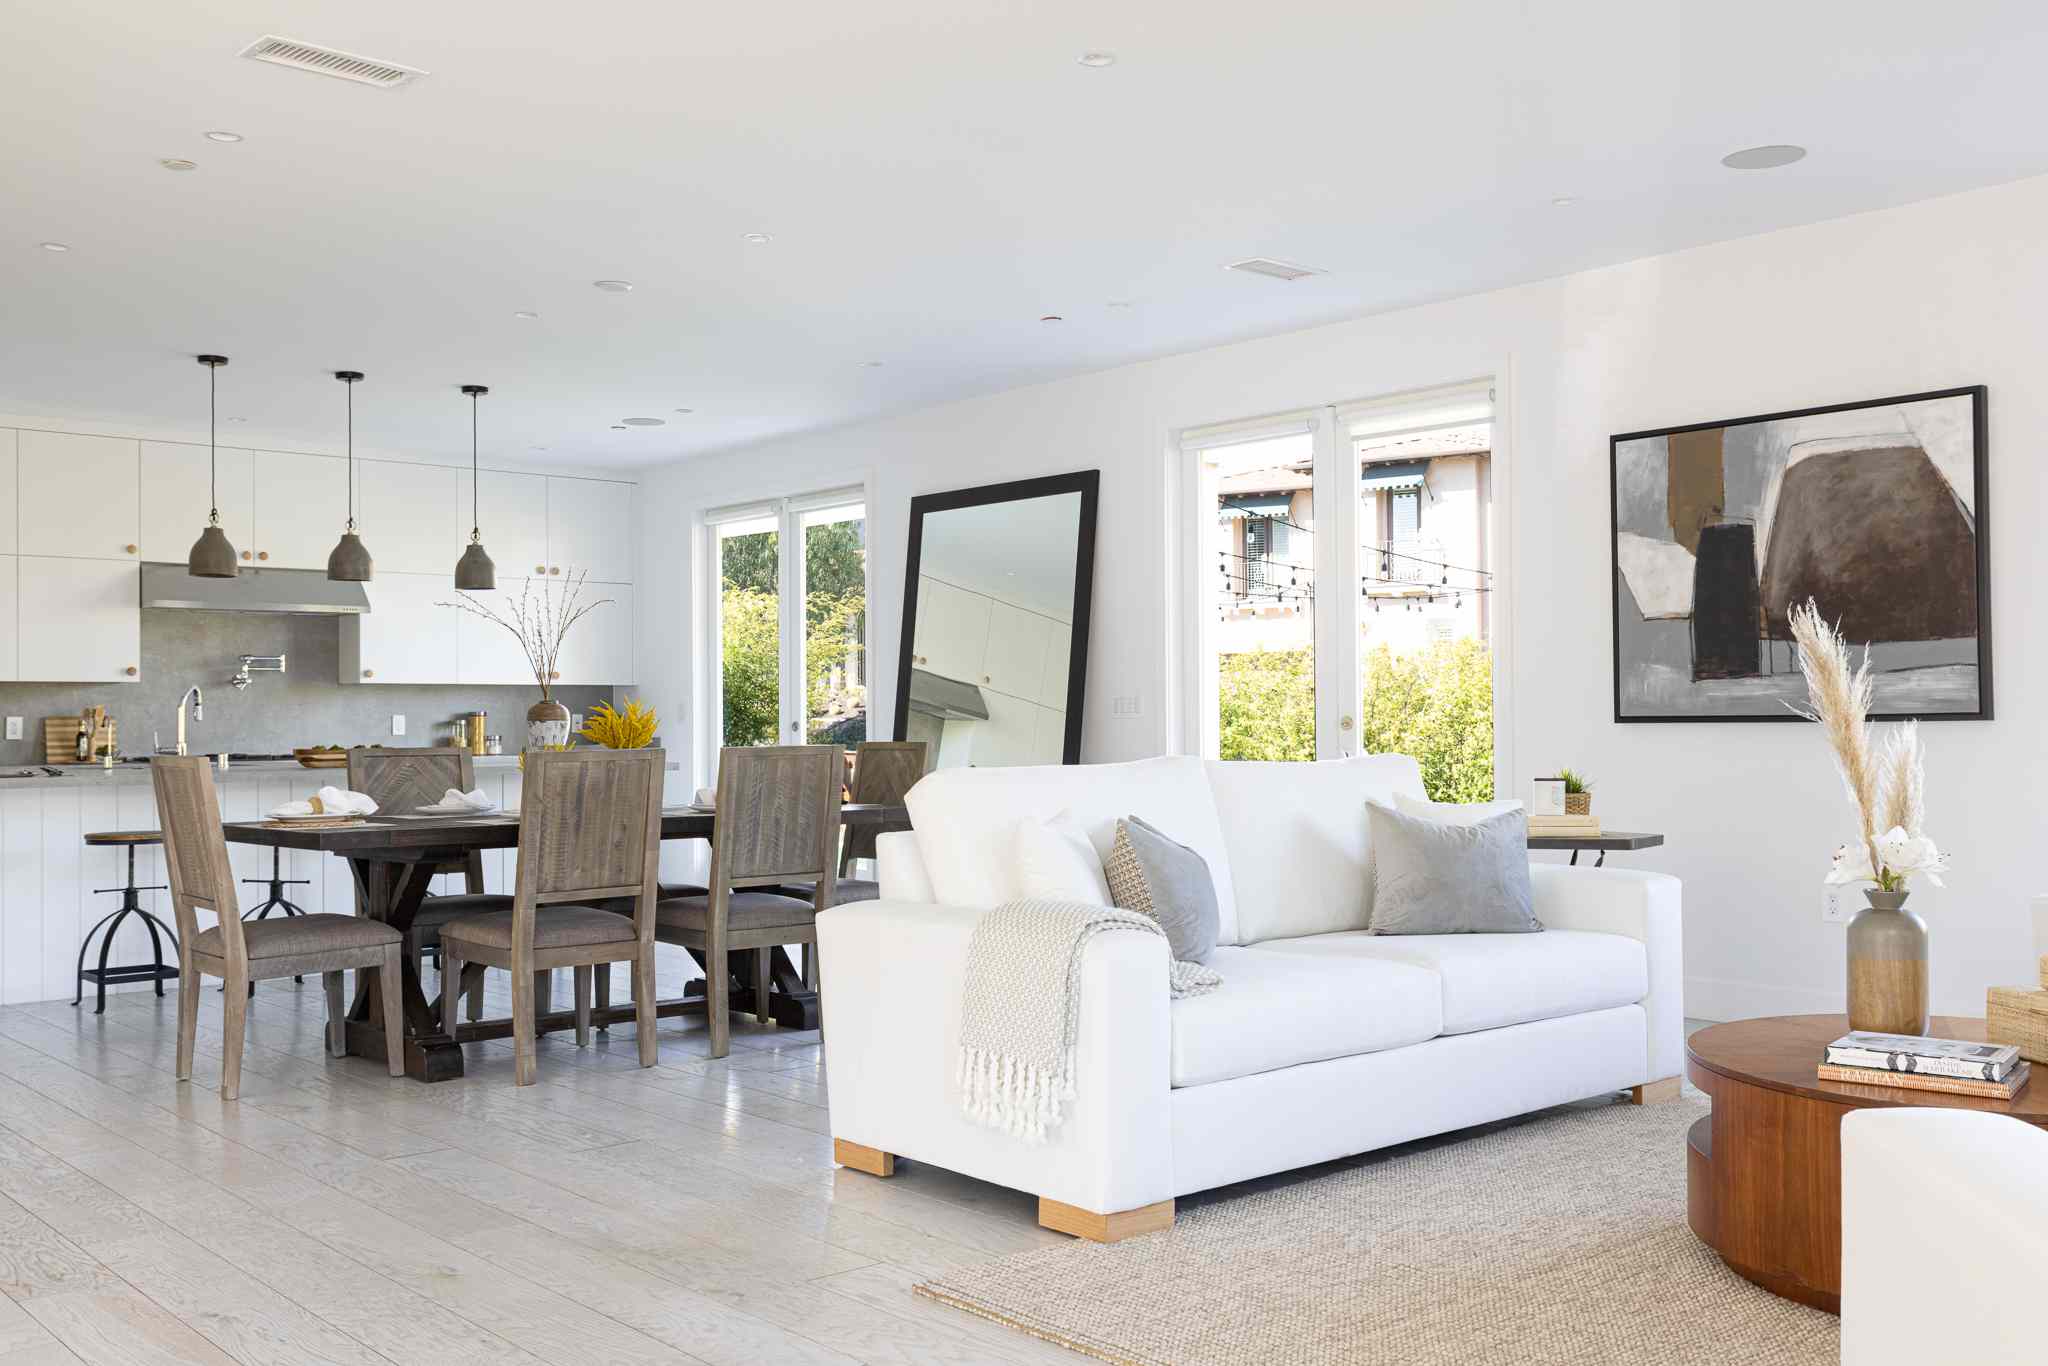
- Room Layout: Assess the layout of your living room to determine the most suitable wall or area for projecting the images. Consider the placement of furniture, windows, and potential obstructions that could affect the viewing angle and overall ambiance.
- Projection Distance: Calculate the throw distance required for your projector based on the screen size and the projector’s throw ratio. This will help you determine the optimal placement of the projector for achieving the desired image size and clarity.
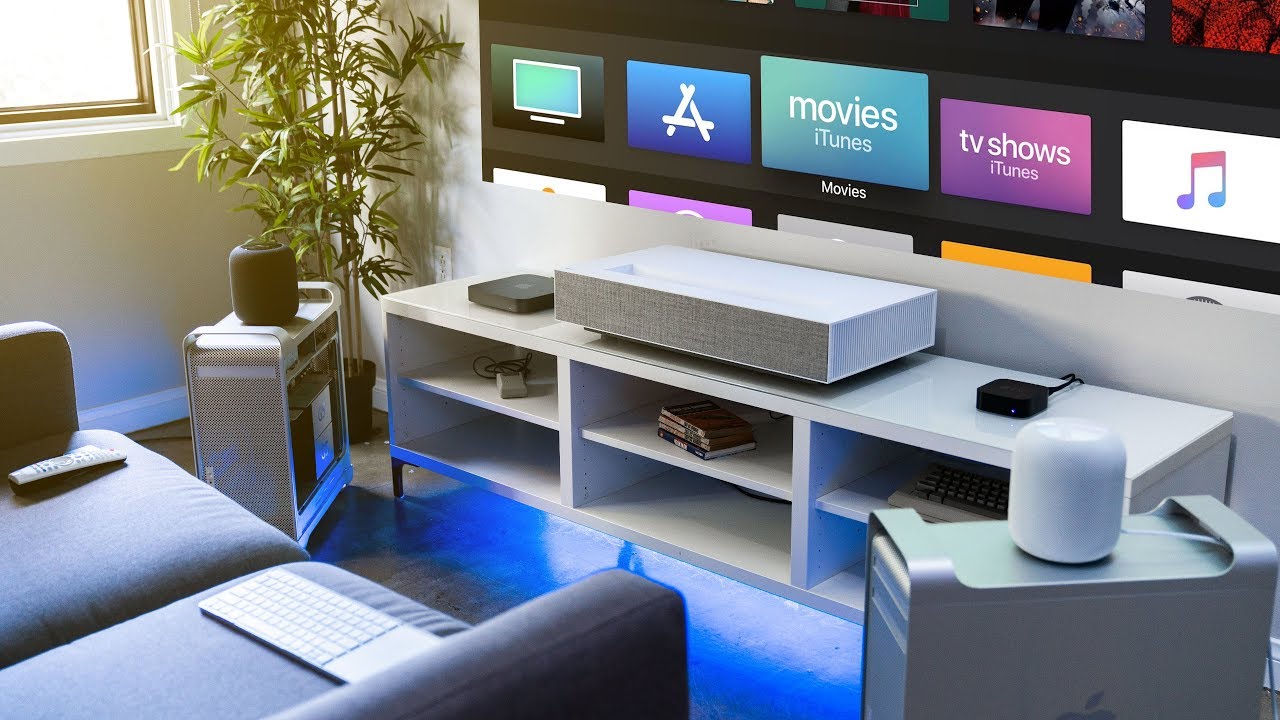
- Ceiling Mount or Table Placement: Decide whether you prefer to mount the projector on the ceiling for a streamlined, space-saving setup or position it on a stable surface such as a table or AV cabinet. Each option has its advantages, so choose based on your room’s layout and personal preferences.
- Cable Management: Plan for cable routing to connect the projector to your media sources and power outlet. Concealing cables within walls or using cable management solutions can contribute to a tidy, uncluttered living room setup.
By carefully evaluating these factors, you can identify the optimal location for your projector, ensuring that it complements your living room’s aesthetics and provides an immersive viewing experience for everyone in the room. Keep in mind that the ideal location should offer a comfortable viewing angle and accommodate the projector’s throw distance requirements, ultimately enhancing the overall enjoyment of your home entertainment setup.
When setting up a projector in the living room, make sure to position it at the right distance from the screen to avoid distortion. Use a level surface and adjust the projector settings for optimal picture quality.
Setting Up the Projector
Now that you’ve chosen the perfect projector and found the ideal location in your living room, it’s time to embark on the exciting process of setting up the projector. Follow these steps to ensure a smooth and successful installation:
- Unboxing and Inspection: Carefully unpack the projector and inspect it for any shipping damages. Verify that all the necessary components, including cables, remote control, and user manual, are present and in good condition.
- Mounting or Placement: If you’ve opted for a ceiling mount, follow the manufacturer’s instructions for securely installing the projector. For table placement, position the projector on a stable surface, ensuring it’s level and stable.
- Connection Setup: Connect the projector to your media sources, such as a Blu-ray player, gaming console, or streaming device, using the appropriate cables. Ensure that the power cord is also connected to a reliable power outlet.
- Power On and Initial Setup: Power on the projector and navigate through the initial setup process, which may include language selection, display adjustments, and network connectivity if applicable.
- Image Adjustment: Use the projector’s keystone correction and lens shift features, if available, to fine-tune the image alignment and focus. Adjust the zoom and focus settings to achieve a crisp, well-defined image on your chosen projection surface.
- Sound System Integration: Connect the projector to your preferred sound system, whether it’s a surround sound setup, soundbar, or standalone speakers, to ensure immersive audio to complement the visuals.
- Calibration and Testing: Access the projector’s settings menu to calibrate the color, brightness, and contrast for optimal image quality. Test different content types, such as movies, games, and sports, to ensure that the projector delivers exceptional performance across various media.
By following these steps, you can set up your projector with confidence, ensuring that it seamlessly integrates into your living room and delivers stunning visuals and immersive audio for all your entertainment needs. A well-executed setup will enhance your viewing experience and provide countless hours of enjoyment in your personalized home theater environment.
Adjusting the Image and Sound
With your projector set up in the living room, it’s time to fine-tune the image and sound to achieve an immersive and captivating home entertainment experience. Here’s how you can optimize the visuals and audio for maximum impact:
- Image Calibration: Access the projector’s settings menu to adjust parameters such as brightness, contrast, color temperature, and sharpness. Calibration tools can help you achieve accurate color reproduction and optimal image clarity for different types of content.
- Screen or Wall Preparation: If you’re projecting onto a wall, ensure that the surface is clean and free of imperfections to maintain image quality. For a dedicated screen, follow the manufacturer’s recommendations for setup and maintenance to preserve its performance.
- Keystone Correction: Use the projector’s keystone adjustment feature to correct any distortion caused by the projection angle, ensuring that the image appears rectangular and true to its original proportions.
- Sound System Optimization: Fine-tune your audio setup to achieve balanced sound distribution across the living room. Adjust speaker placement, volume levels, and equalization settings to create a rich and immersive audio environment.
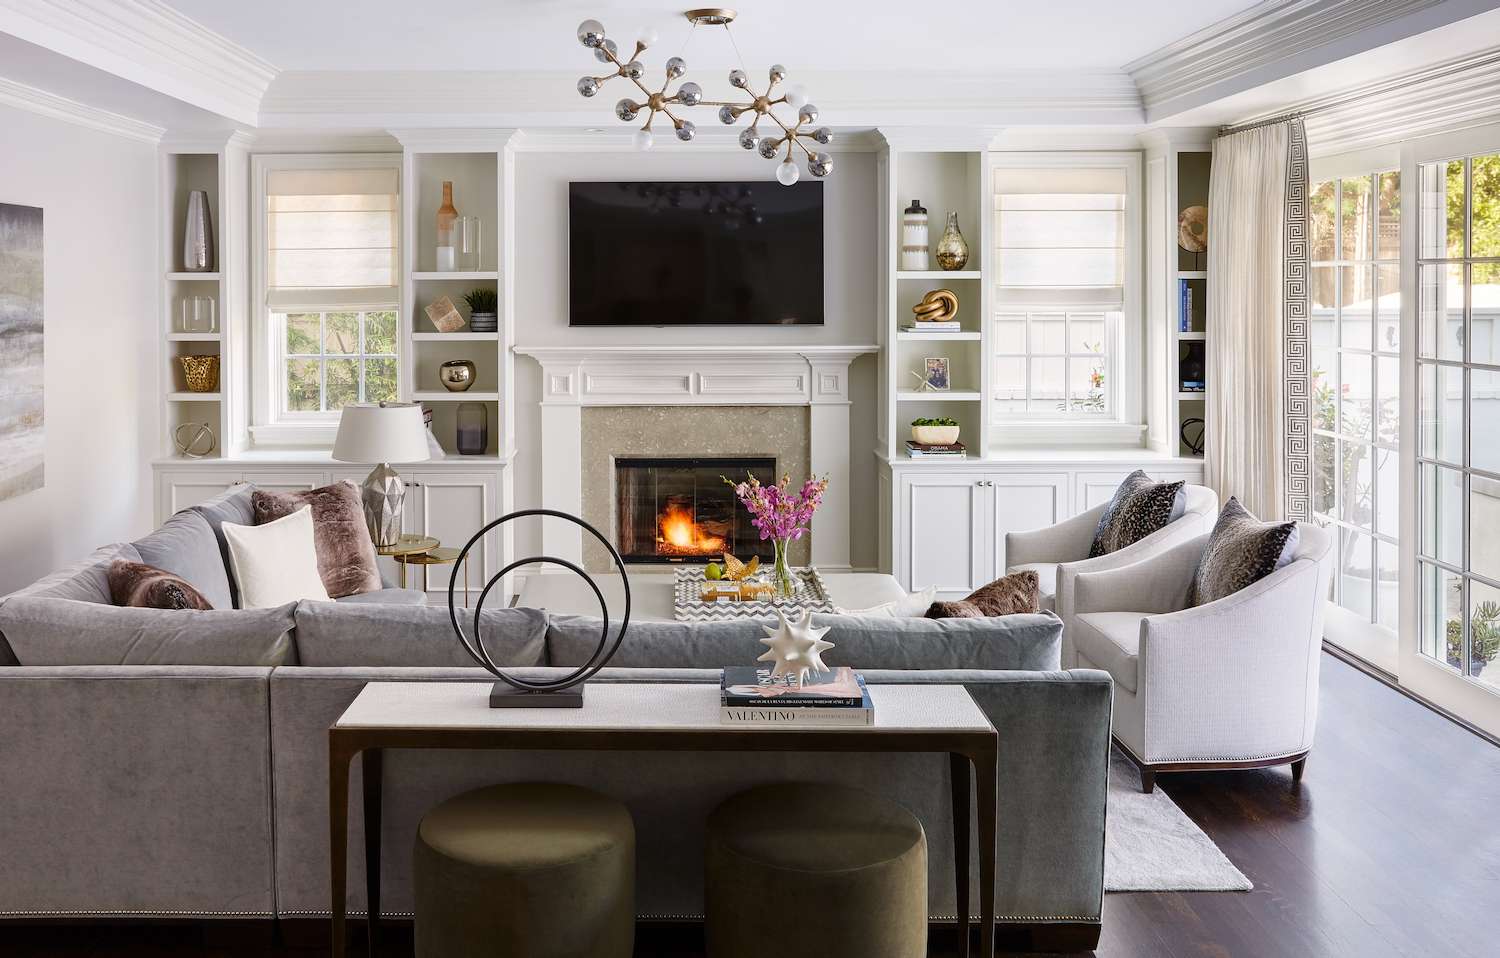
- Ambient Lighting Considerations: Evaluate the impact of ambient lighting on the projected image. Dim the room lights or invest in light-blocking curtains to enhance contrast and color vibrancy, especially during movie nights or gaming sessions.
- Aspect Ratio and Image Size: Ensure that the projector’s aspect ratio matches the content you’re viewing to avoid distortion. Adjust the image size and position to fit your screen or wall, maximizing the viewing area without compromising image quality.
- Audiovisual Synchronization: If you’re using external speakers or a soundbar, check for any audio delay and adjust settings to ensure that the sound is synchronized with the on-screen action for a seamless viewing experience.
By carefully adjusting the image and sound settings, you can create a captivating home theater environment that delivers stunning visuals and immersive audio, elevating your living room into a premier entertainment destination. Take the time to experiment with different settings and configurations to find the perfect balance that suits your preferences and enhances your overall viewing pleasure.
Read more: How To Light Up Living Room
Conclusion
Setting up a projector in your living room opens the door to a world of unparalleled entertainment experiences. By carefully selecting the right projector, finding the ideal location, and optimizing the setup for exceptional visuals and audio, you can transform your living space into a captivating home theater environment. Whether you’re enjoying movie nights with family and friends, immersing yourself in the latest video games, or cheering on your favorite sports teams, a well-configured projector setup can elevate every moment of entertainment.
As you embark on this exciting journey, remember that the key to a fulfilling home theater experience lies in the attention to detail and the seamless integration of technology into your living room. From the crisp clarity of high-definition images to the enveloping embrace of immersive sound, every aspect of the setup contributes to a truly immersive entertainment venture.
Embrace the opportunity to experiment with different settings, fine-tune the visuals and audio, and create a personalized viewing environment that caters to your unique preferences. Whether it’s optimizing the image for vibrant colors and sharp details or calibrating the sound to envelop you in a symphony of audio, the possibilities for customization are boundless.
Ultimately, the goal is to craft a home theater experience that transcends the ordinary, transporting you into the heart of your favorite stories, games, and events. With the right projector setup, your living room becomes a sanctuary of entertainment, where every viewing session is an immersive journey into the realms of imagination and excitement.
So, as you embark on this adventure, let your living room be the stage for unforgettable moments, where the magic of cinema, the thrill of gaming, and the excitement of live events come to life in vivid detail. Your personalized home theater awaits, ready to captivate and inspire, offering endless hours of joy and entertainment for you and your loved ones.
Frequently Asked Questions about How To Set Up A Projector In The Living Room
Was this page helpful?
At Storables.com, we guarantee accurate and reliable information. Our content, validated by Expert Board Contributors, is crafted following stringent Editorial Policies. We're committed to providing you with well-researched, expert-backed insights for all your informational needs.


0 thoughts on “How To Set Up A Projector In The Living Room”