Home>Technology>Home Entertainment Systems>How To Set Up Skytrak With Projector
Home Entertainment Systems
How To Set Up Skytrak With Projector
Modified: October 20, 2024
Learn how to set up your Skytrak with a projector for the ultimate home entertainment system. Step-by-step guide for a seamless setup. Ideal for golf enthusiasts and home entertainment aficionados.
(Many of the links in this article redirect to a specific reviewed product. Your purchase of these products through affiliate links helps to generate commission for Storables.com, at no extra cost. Learn more)
Introduction
Welcome to the ultimate guide on setting up your Skytrak with a projector for an immersive home entertainment experience. Whether you’re a golf enthusiast looking to bring the course to your living room or a movie buff aiming to create a cinematic escape, this comprehensive tutorial will walk you through the process step by step. By following these instructions, you’ll transform your space into a versatile haven for entertainment and leisure.
Combining the cutting-edge technology of Skytrak with the visual impact of a projector opens up a world of possibilities. From honing your golf swing with pinpoint accuracy to enjoying larger-than-life movie nights, this setup offers endless entertainment potential. Embrace the thrill of hitting the virtual links or lose yourself in the captivating visuals of your favorite films, all from the comfort of your home.
Get ready to embark on a journey that will elevate your home entertainment experience to new heights. Let’s dive into the essential equipment needed to bring this innovative setup to life.
Key Takeaways:
- Transform your home into an entertainment haven by seamlessly integrating Skytrak with a projector for immersive golf simulations and cinematic experiences.
- Elevate your leisure activities with a versatile home entertainment system, offering thrilling golf experiences and larger-than-life cinematic visuals.
Read more: How To Set Up Onn Projector
Required Equipment
Before delving into the setup process, it’s crucial to ensure that you have all the necessary equipment on hand. The seamless integration of Skytrak with a projector demands a specific set of tools and devices to guarantee optimal performance and functionality.
Here’s a rundown of the essential equipment:
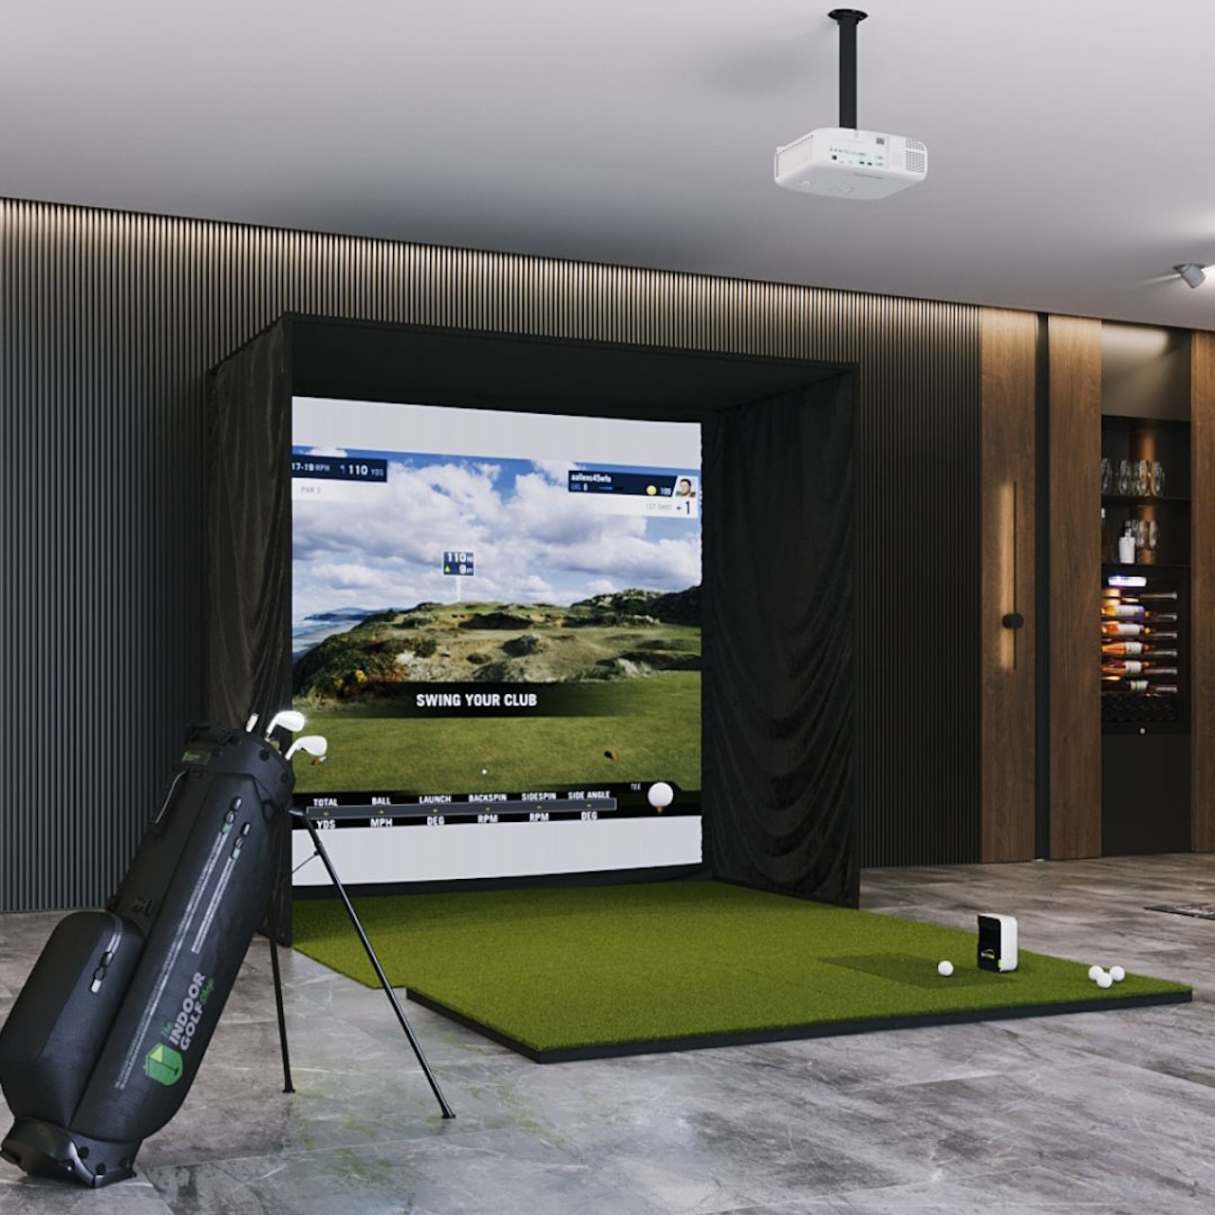
- Skytrak Launch Monitor: This state-of-the-art device serves as the core component of your setup, accurately capturing ball flight data and delivering precise shot analysis.
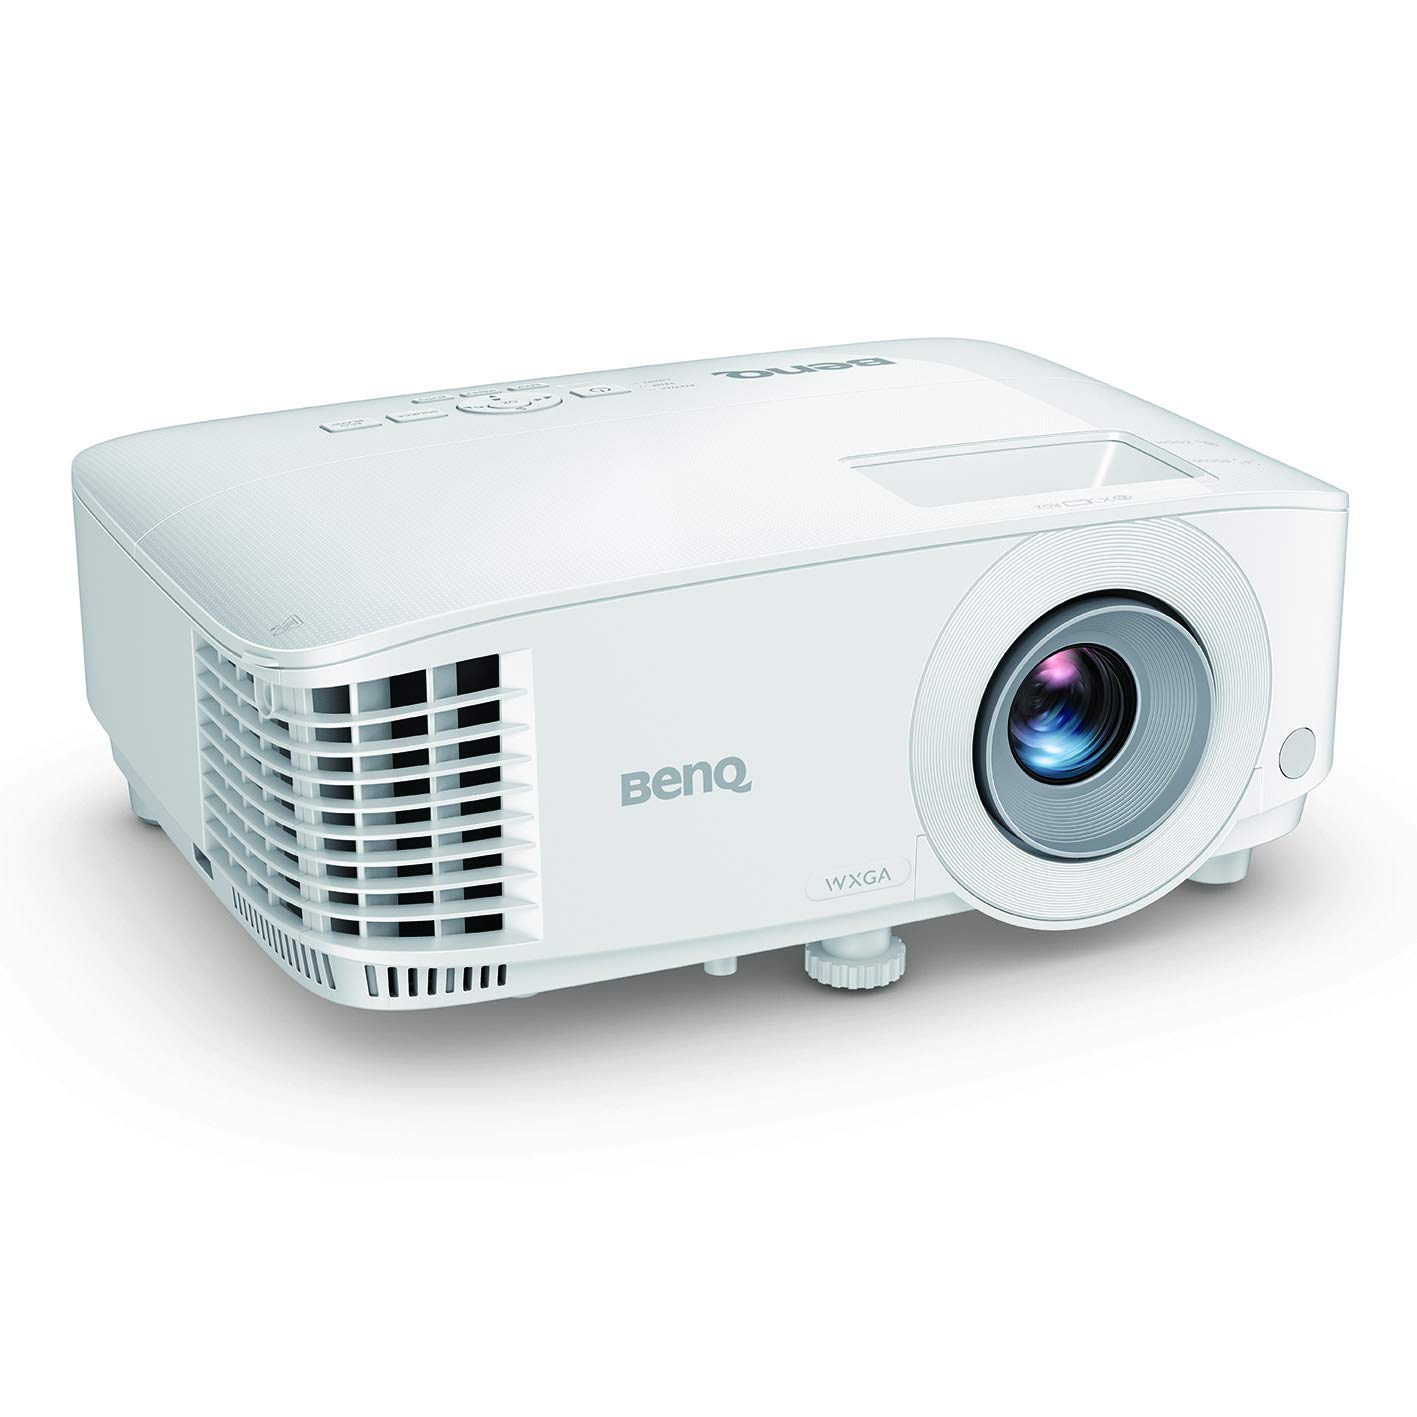
- Projector: Select a high-quality projector with ample brightness and resolution capabilities to render vivid and clear visuals on your designated screen or surface.
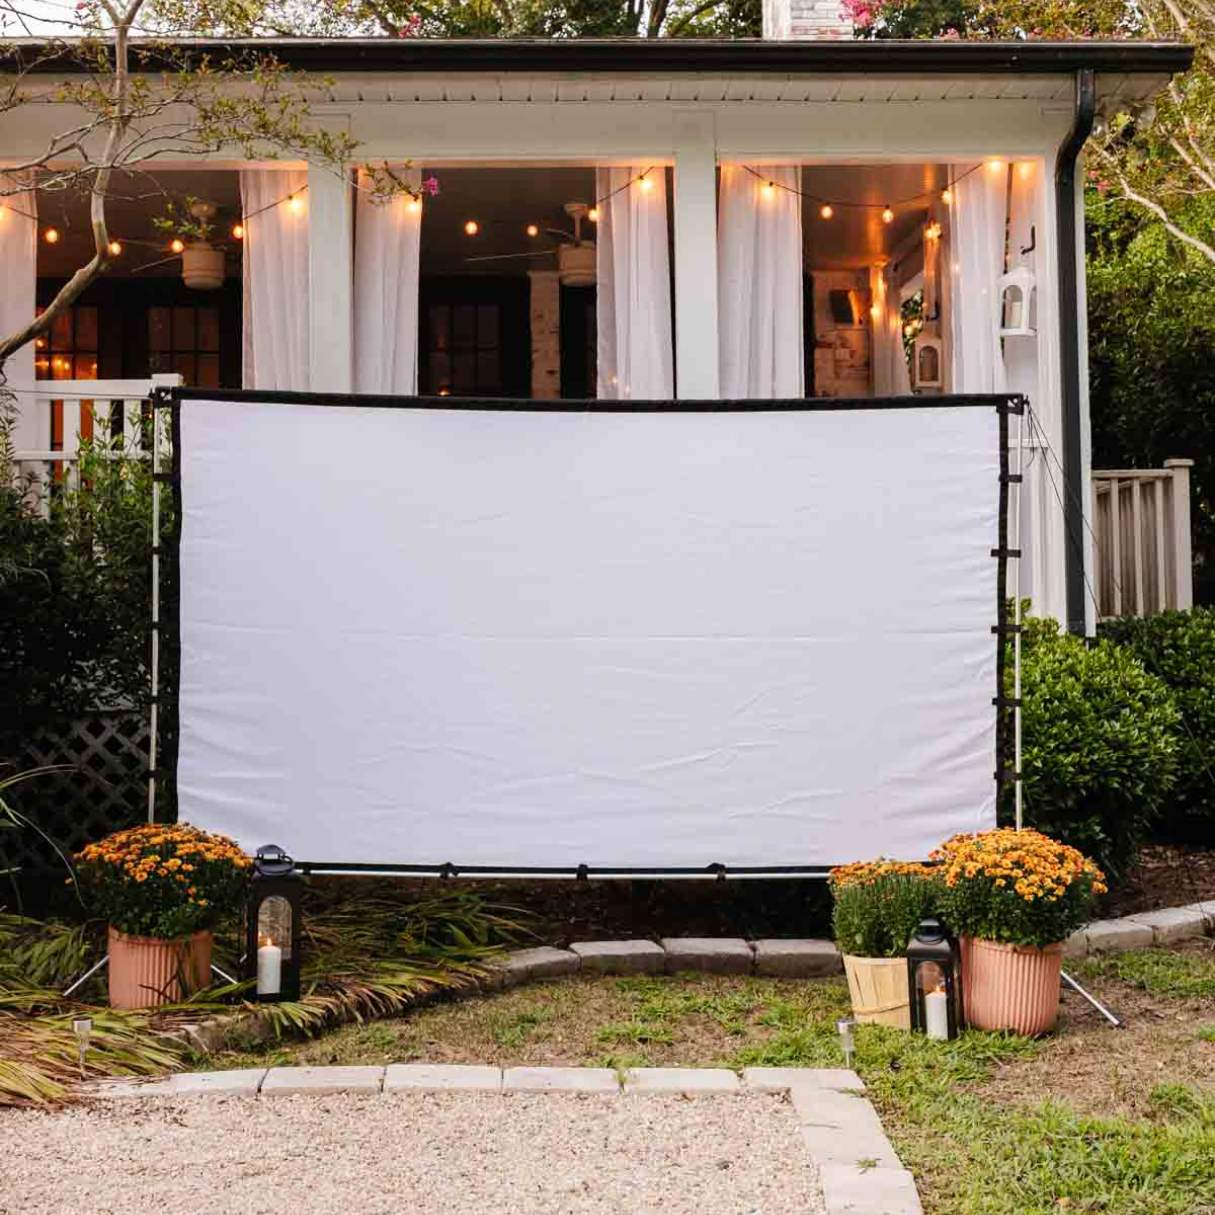
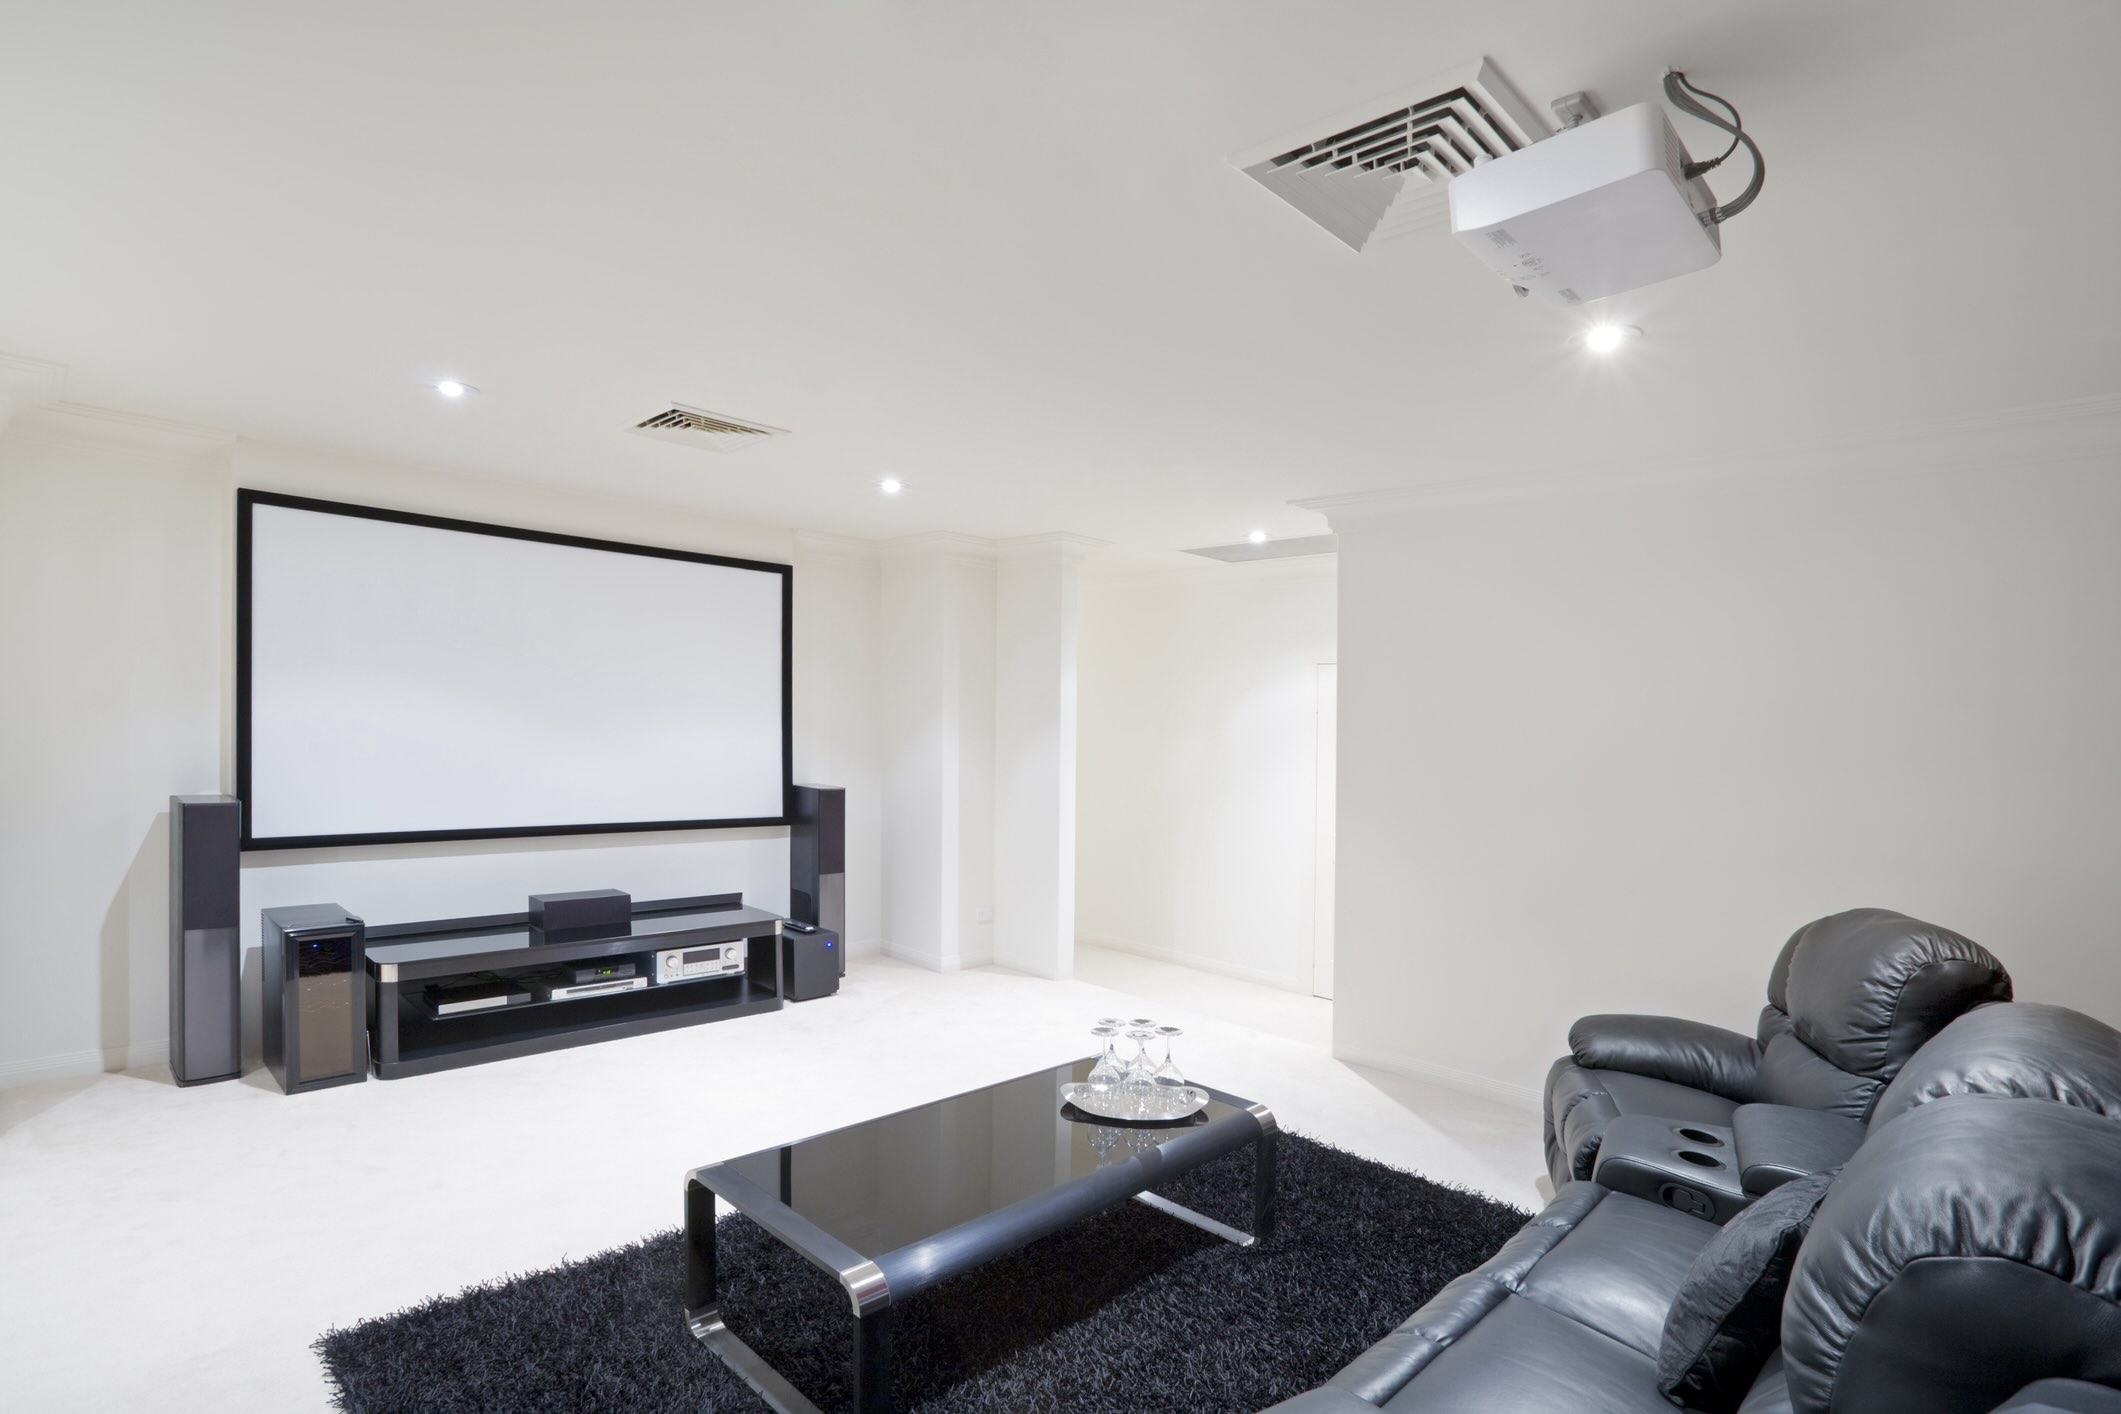
- Projection Screen or Impact Screen: Depending on your preferences, you can opt for a dedicated projection screen or an impact screen designed specifically for golf simulation. Ensure that the screen size and material align with your desired viewing experience.
- Device to Run Skytrak App: Whether it’s a compatible tablet, smartphone, or PC, you’ll need a device to run the Skytrak app, enabling seamless communication with the launch monitor.
- Mounting Hardware: Secure the projector and screen in your designated entertainment area using appropriate mounting hardware, ensuring stability and optimal positioning.
- Audio System (Optional): Enhance the overall experience by integrating an audio system, such as speakers or a soundbar, to accompany the visuals with immersive sound quality.
- Internet Connection: A stable internet connection is essential for initial setup, software updates, and accessing additional features or content related to the Skytrak system.
- Power Strips and Cables: Gather necessary power strips, extension cords, and cables to establish a reliable power supply for all components and ensure seamless connectivity.
By assembling these fundamental elements, you’ll be well-equipped to embark on the installation process, seamlessly merging the capabilities of Skytrak with the visual prowess of a projector. With the required equipment in place, it’s time to move on to the pivotal steps of setting up the projector for optimal performance.
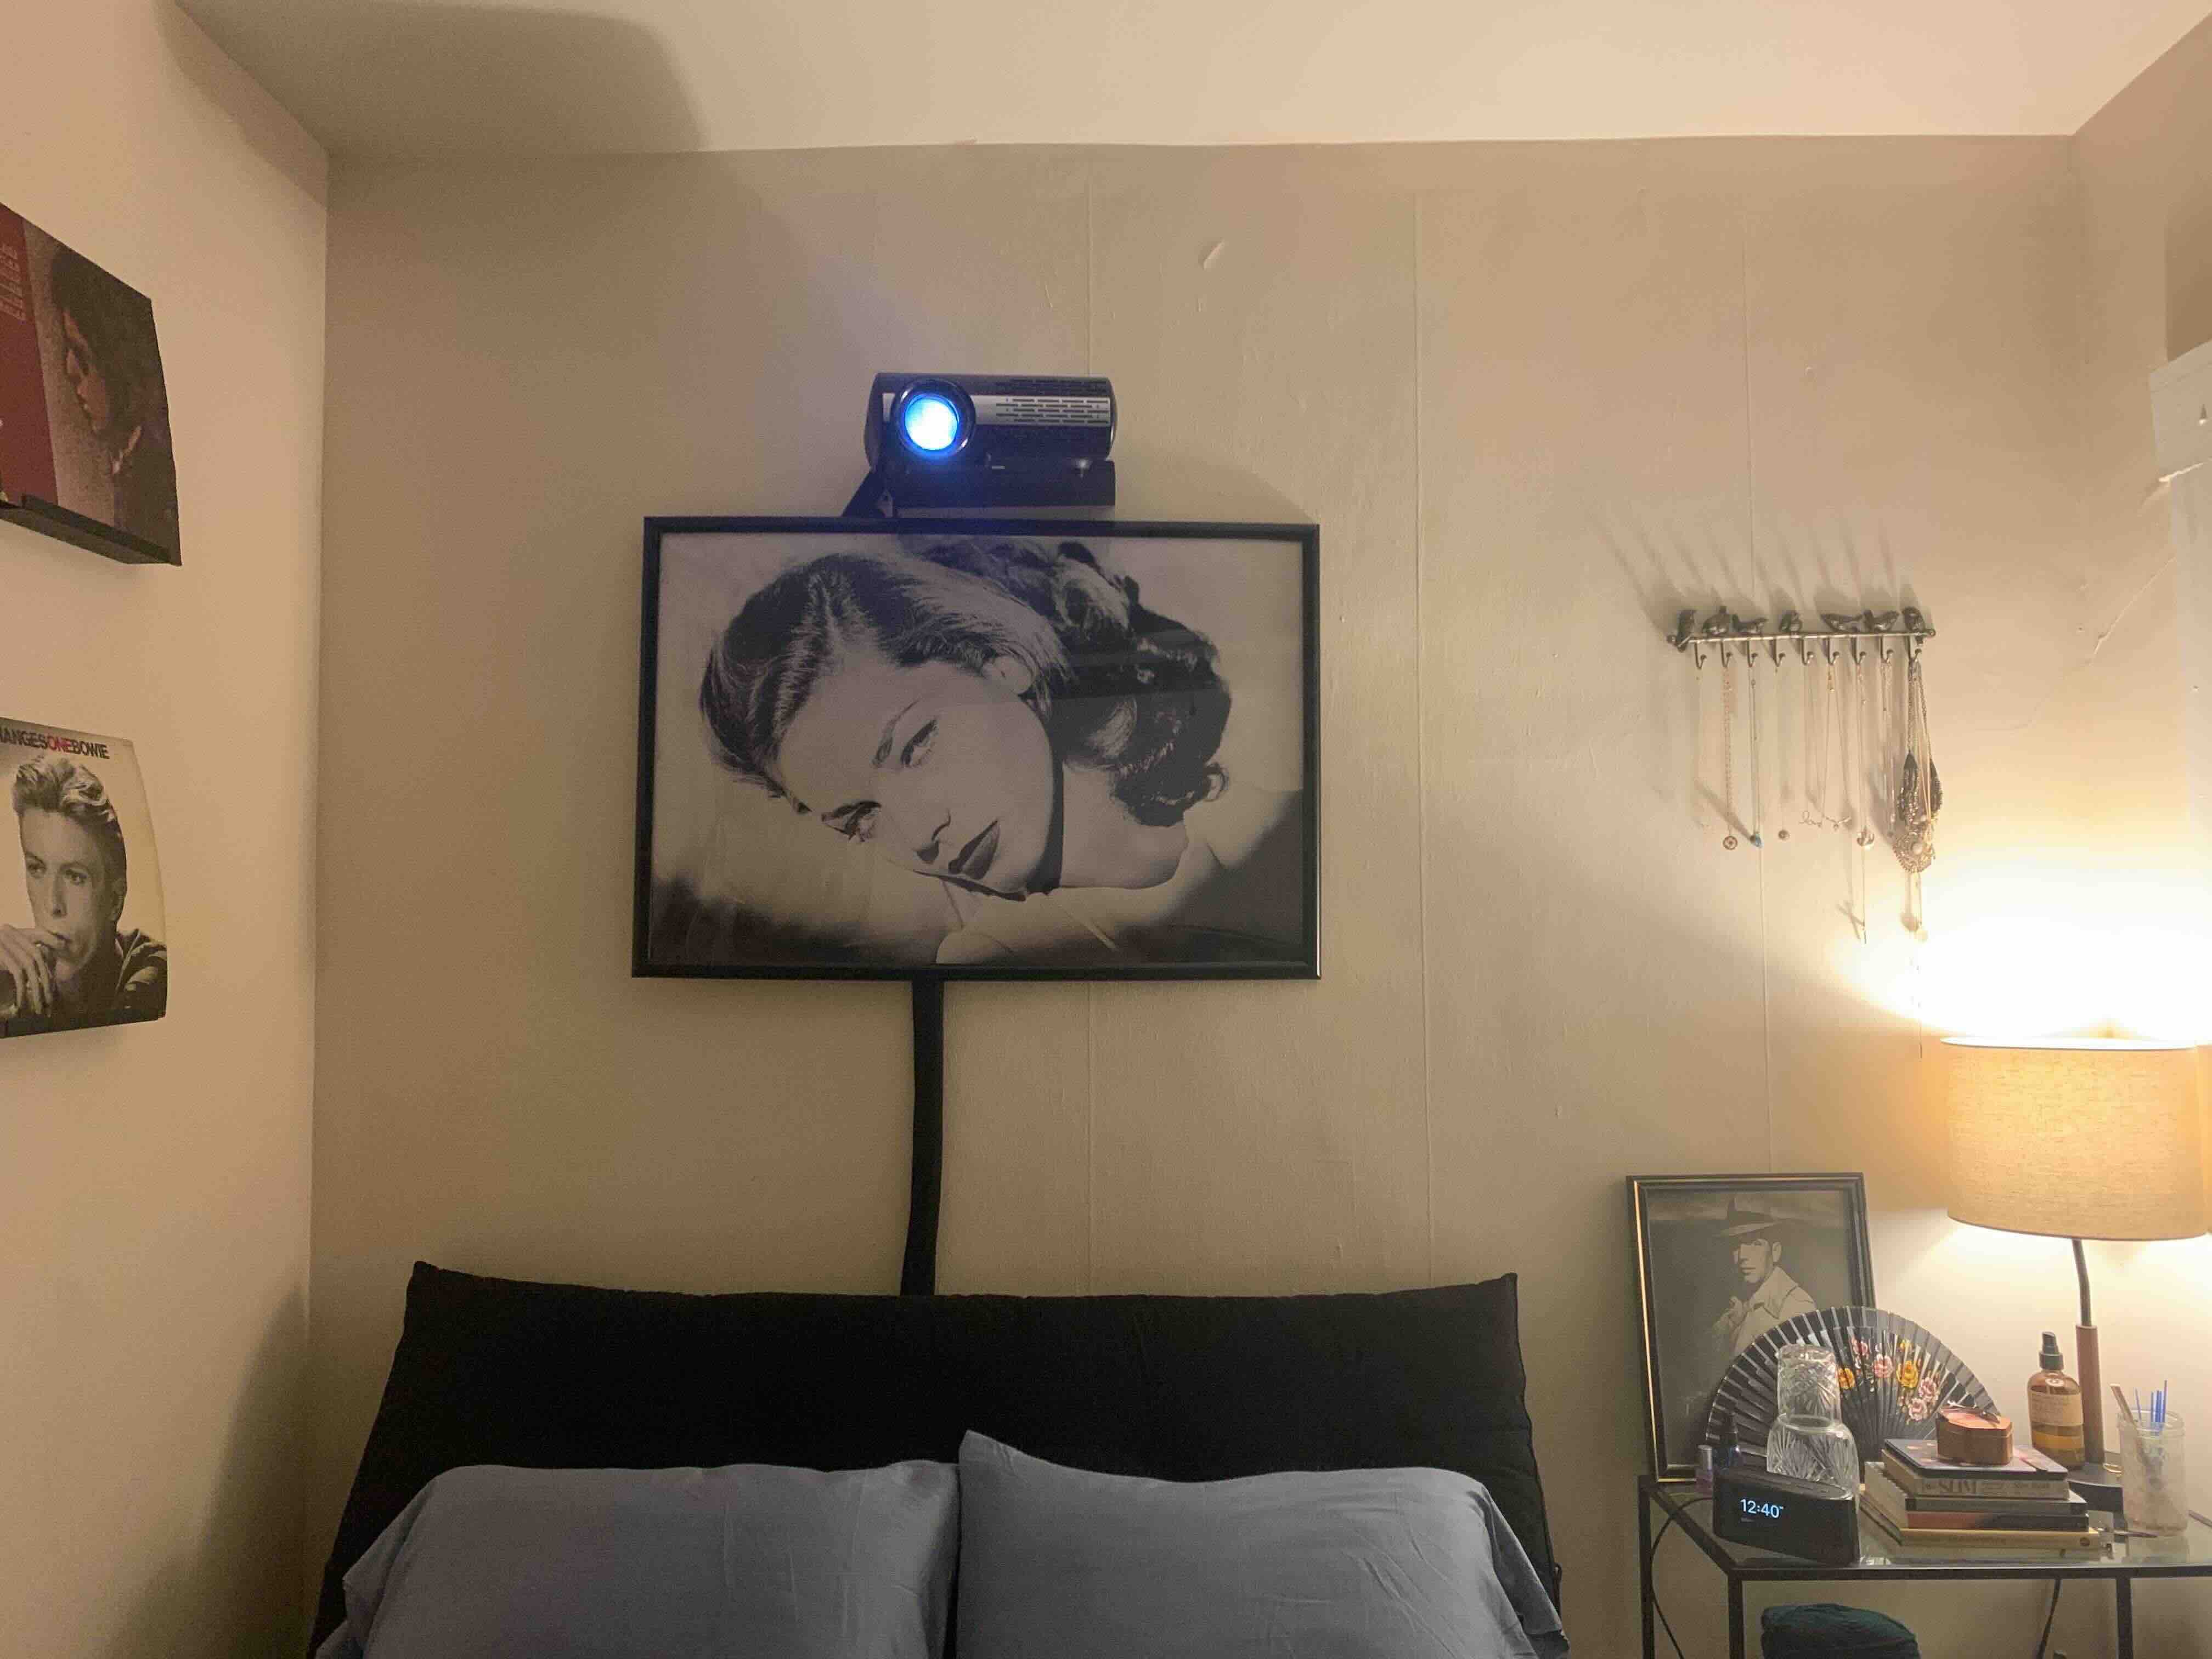
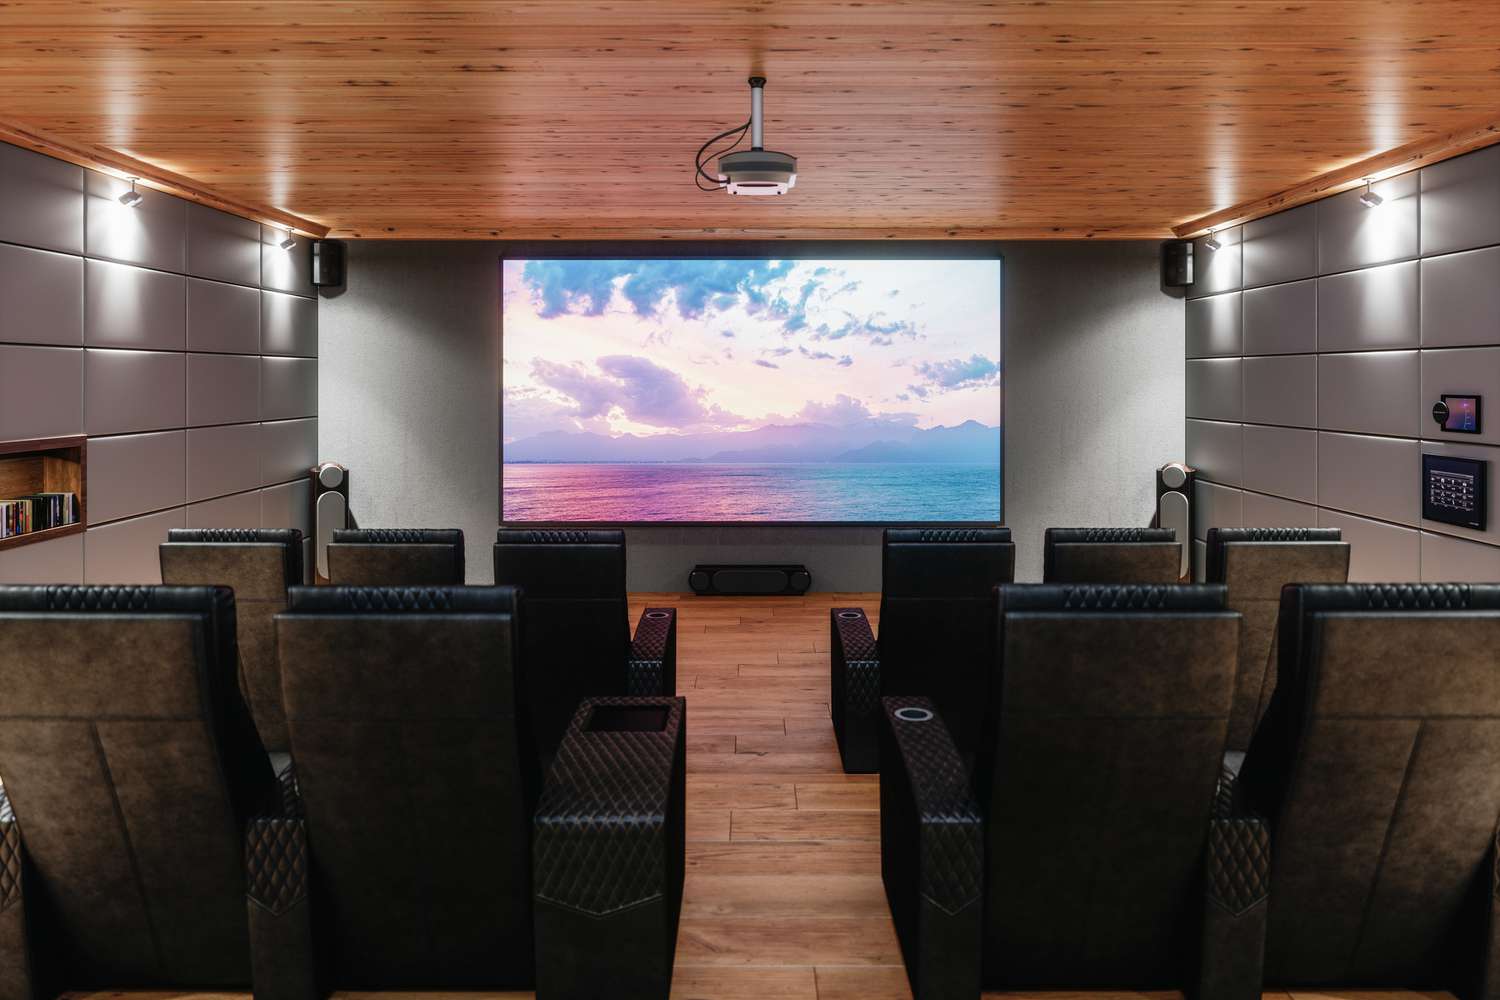
Setting Up the Projector
Setting up the projector forms the cornerstone of your home entertainment system, laying the visual foundation for an immersive experience. Whether you’re aiming to create a captivating cinematic atmosphere or a lifelike golf simulation environment, the proper installation of the projector is essential for achieving stunning visuals.
Follow these steps to set up your projector effectively:
- Choose an Ideal Location: Select a suitable location for the projector, ensuring it’s positioned to deliver a large, clear image on your designated screen or impact surface. Consider factors such as throw distance, ambient light, and viewing angles when determining the optimal placement.
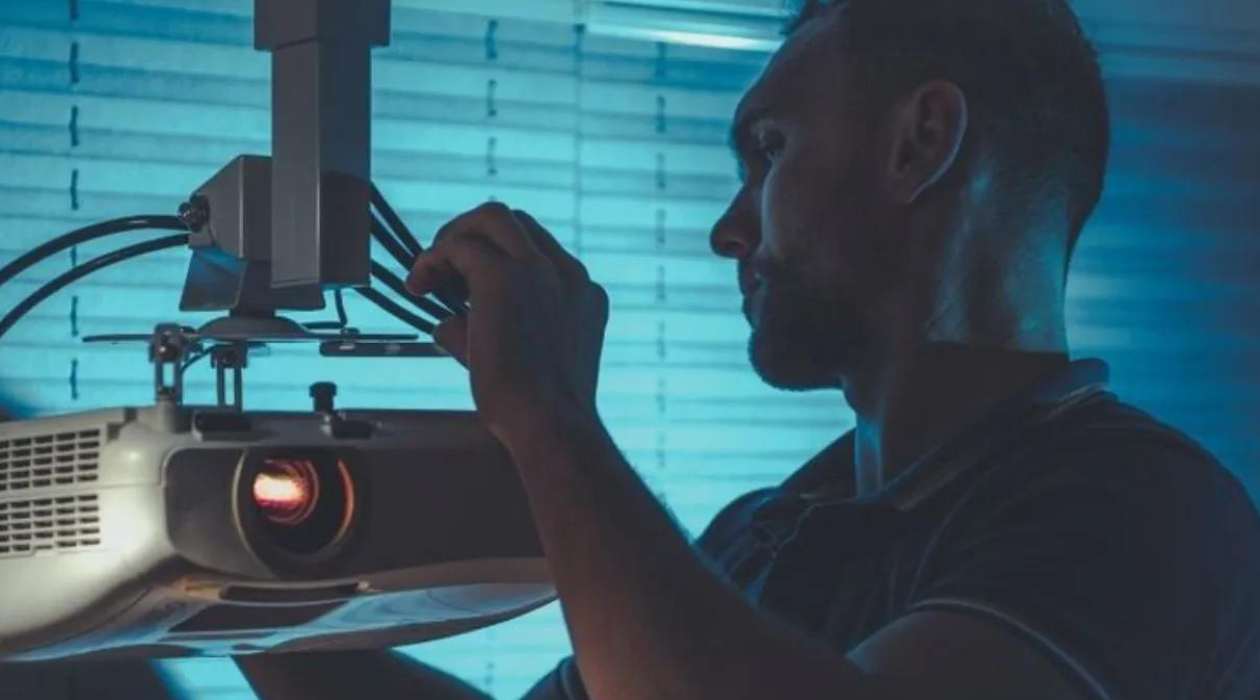
- Mount the Projector: Utilize mounting hardware to securely install the projector in the chosen location, maintaining stability and alignment for consistent image projection. Ensure that the projector is positioned at the appropriate height and angle to achieve optimal screen coverage.
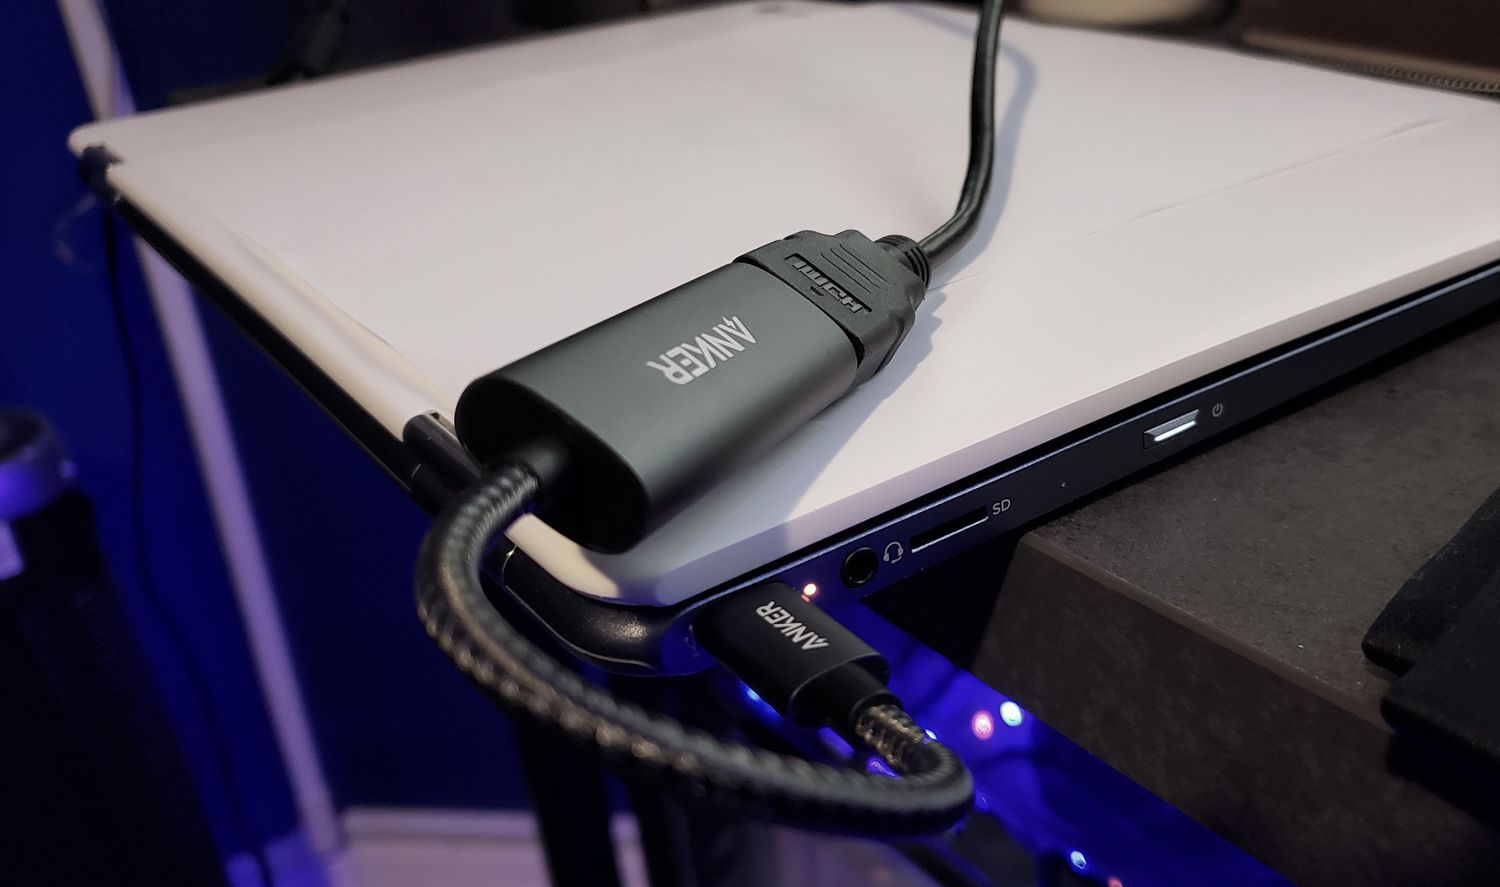
- Connect Power and Input Sources: Establish a reliable power source for the projector, connecting it to a power outlet or surge protector. Additionally, connect the necessary input sources, such as HDMI or VGA cables, to enable signal transmission from your preferred media devices.
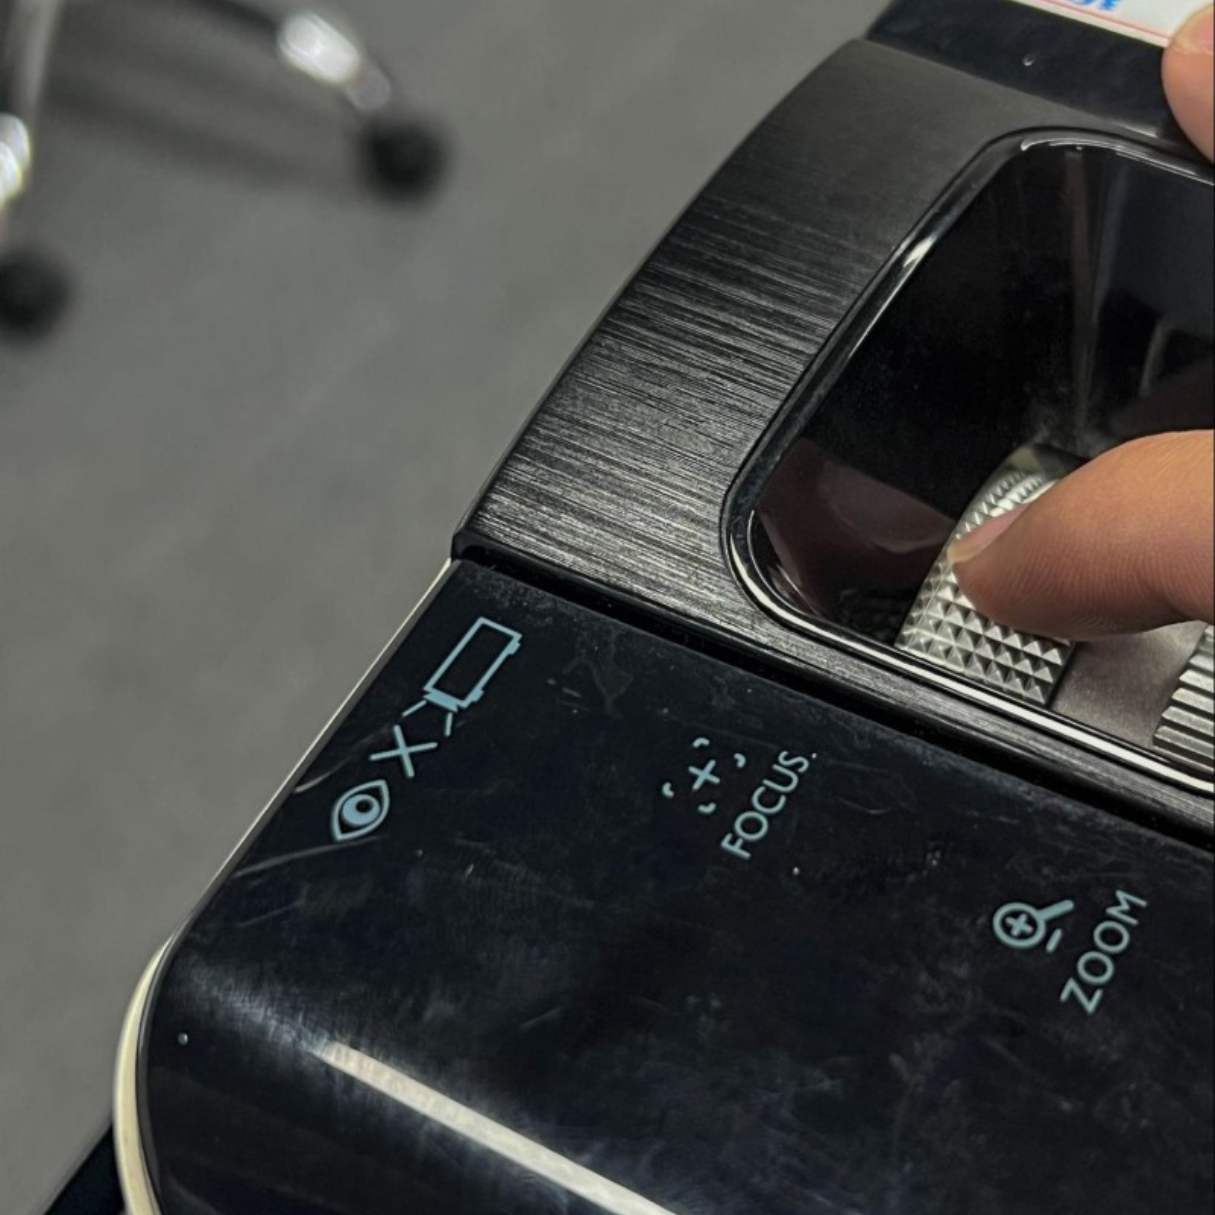
- Adjust Image Settings: Access the projector’s settings menu to fine-tune image parameters, including brightness, contrast, color saturation, and aspect ratio. Calibrate the image to suit your specific preferences and optimize visual quality for an immersive viewing experience.
- Screen Alignment and Calibration: Align the projected image with the designated screen or impact surface, ensuring that it fills the intended viewing area without distortion or overspill. Make precise adjustments to achieve a perfectly aligned and proportionate display.
- Test Projection Quality: Power on the projector and project a test image to assess the overall projection quality, clarity, and color accuracy. Make any necessary adjustments to the image settings or positioning to achieve the desired visual impact.
By following these steps, you’ll establish a robust foundation for your home entertainment system, with the projector poised to deliver stunning visuals that complement the immersive experience provided by Skytrak. With the projector set up and ready to go, it’s time to seamlessly integrate the Skytrak launch monitor into your entertainment space.
Setting Up the Skytrak
With the projector in place, it’s time to integrate the Skytrak launch monitor into your home entertainment system. The Skytrak device serves as the linchpin of your golf simulation experience, capturing crucial shot data and delivering precise feedback to elevate your gameplay. Follow these steps to seamlessly set up your Skytrak:
- Secure Mounting: Position the Skytrak launch monitor in a stable and secure location, ensuring that it’s firmly mounted and aligned with your intended hitting area. Utilize compatible mounting hardware to affix the device, maintaining stability and accuracy during shot analysis.
- Power Connection: Connect the Skytrak launch monitor to a reliable power source, ensuring that it’s powered on and ready for operation. Verify the power supply and make any necessary adjustments to accommodate the device’s power requirements.
- Device Pairing: Use a compatible tablet, smartphone, or PC to pair with the Skytrak launch monitor via the Skytrak app. Establish a seamless connection between the device and the launch monitor to enable real-time shot tracking and data analysis.
- Calibration and Alignment: Calibrate the Skytrak device to align with your hitting area and ensure accurate shot capture. Follow the calibration guidelines provided by Skytrak to optimize the device’s performance and achieve precise shot data feedback.
- Network Connectivity: Connect the Skytrak launch monitor to a stable internet connection to facilitate software updates, access additional features, and enable cloud-based shot history and data storage.
- Test Shot Analysis: Perform test shots to verify the accuracy and consistency of the Skytrak launch monitor’s shot data capture. Analyze the feedback provided by the device to ensure that it aligns with your actual shot performance, making any necessary adjustments to optimize accuracy.
By following these steps, you’ll seamlessly integrate the Skytrak launch monitor into your home entertainment setup, unlocking the full potential of immersive golf simulation and shot analysis. With the projector and Skytrak both set up and operational, the next crucial step is to calibrate the system for optimal performance and accuracy.
Make sure the Skytrak is positioned directly in line with the projector to ensure accurate shot tracking. Use a high-quality HDMI cable to connect the Skytrak to the projector for the best image quality.
Calibrating the System
Calibrating the integrated Skytrak and projector system is essential to ensure accurate shot analysis and seamless visual projection. This crucial step fine-tunes the alignment and performance of both components, laying the groundwork for a cohesive and immersive home entertainment experience. Follow these guidelines to effectively calibrate the system:
- Screen and Skytrak Alignment: Verify that the projected image from the projector aligns precisely with the hitting area and impact screen. Adjust the projector’s position and orientation as needed to achieve seamless integration with the Skytrak launch monitor’s capturing zone.
- Distance and Height Calibration: Measure and adjust the distance and height of the Skytrak launch monitor relative to the hitting area, ensuring that it accurately captures ball flight data and swing dynamics. Follow Skytrak’s recommended guidelines for optimal placement and alignment.
- Image Calibration: Fine-tune the projector’s image settings to achieve optimal visual quality and clarity. Adjust parameters such as brightness, contrast, and color saturation to enhance the projected visuals, creating a captivating and lifelike viewing experience.
- Shot Data Verification: Perform test shots using the integrated system to validate the accuracy of shot data capture and projection. Analyze the consistency and precision of shot analysis, ensuring that the displayed data aligns with your actual swing performance.
- System Synchronization: Verify the seamless synchronization between the Skytrak launch monitor and the projected visuals. Confirm that shot data and visual feedback are presented in real time, creating a cohesive and responsive simulation environment.
- Optimization Iteration: Iterate through the calibration process, making incremental adjustments to the system’s components and settings to achieve optimal performance and alignment. Fine-tune the integration of Skytrak and the projector to deliver a cohesive and immersive entertainment experience.
By meticulously calibrating the integrated system, you’ll establish a harmonious synergy between the Skytrak launch monitor and the projector, creating a seamless and accurate golf simulation environment or cinematic display. With the system calibrated for optimal performance, the final step involves testing and adjusting the setup to ensure a flawless and captivating experience.
Read more: How To Set Up A Projector Screen
Testing and Adjusting
As you near the completion of your Skytrak and projector integration, the testing and adjustment phase plays a pivotal role in fine-tuning the system for an exceptional home entertainment experience. This phase allows you to validate the seamless operation of the integrated components and make any necessary refinements to optimize performance. Follow these steps to effectively test and adjust your setup:
- Functional Testing: Conduct comprehensive functional tests to ensure that both the Skytrak launch monitor and the projector are operating as intended. Verify the accurate capture of shot data by Skytrak and assess the quality and clarity of the projected visuals.
- Shot Analysis Validation: Analyze the shot data provided by Skytrak to confirm its alignment with your actual swing performance. Verify the consistency and precision of shot analysis, ensuring that the data reflects your gameplay accurately.
- Visual Quality Assessment: Evaluate the visual quality and clarity of the projected images, ensuring that the projector delivers vibrant and lifelike visuals on the designated screen or impact surface. Make adjustments to image settings if necessary to optimize visual impact.
- Real-Time Responsiveness: Test the real-time responsiveness of the integrated system by performing simulated swings and observing the immediate feedback provided by Skytrak. Confirm that shot data and visual feedback are presented seamlessly and without noticeable delays.
- Audio-Visual Integration (If Applicable): If an audio system is integrated, assess the synchronization of audio and visual elements to ensure a cohesive and immersive entertainment experience. Fine-tune audio settings to complement the visual impact of the projector.
- User Experience Evaluation: Step into the user’s perspective and experience the integrated system as a participant. Assess the overall user experience, including ease of interaction, feedback clarity, and the immersive nature of the entertainment environment.
Through comprehensive testing and adjustment, you’ll refine the integrated Skytrak and projector system to deliver a seamless and captivating home entertainment experience. Any necessary refinements or optimizations can be implemented during this phase, ensuring that the setup meets your expectations and provides an immersive and engaging platform for golf simulation or cinematic enjoyment.
With the integrated system thoroughly tested and adjusted, you’re now equipped to enjoy the full potential of your Skytrak and projector setup. Whether it’s honing your golf skills with precision shot analysis or immersing yourself in larger-than-life cinematic visuals, this integrated system offers a versatile and thrilling entertainment experience.
Conclusion
Congratulations on successfully setting up your Skytrak with a projector, creating a dynamic and immersive home entertainment system that offers unparalleled versatility. By seamlessly integrating the cutting-edge technology of Skytrak with the captivating visuals of a projector, you’ve unlocked a world of entertainment possibilities within your living space.
Through meticulous planning, precise installation, and comprehensive calibration, you’ve transformed your home into a multifaceted hub for leisure and recreation. Whether you’re refining your golf skills with pinpoint accuracy or indulging in cinematic experiences on a grand scale, this integrated system caters to a diverse range of entertainment preferences.
As you embark on this journey of immersive entertainment, remember that ongoing maintenance and periodic calibration can further enhance the performance and longevity of your integrated setup. Stay attuned to software updates, equipment maintenance, and evolving best practices to ensure that your home entertainment system continues to deliver an exceptional experience.
Embrace the potential for memorable golf simulations, captivating movie nights, and engaging leisure activities, all within the comfort of your home. The seamless integration of Skytrak with a projector has not only expanded the horizons of your entertainment options but also created a space where leisure, recreation, and relaxation converge.
With your integrated system now fully operational, it’s time to immerse yourself in the captivating experiences it offers. Whether you’re perfecting your swing, hosting movie nights, or simply unwinding with immersive visuals, your home entertainment system stands as a testament to the seamless fusion of technology and leisure.
As you embark on this new chapter of entertainment, may your experiences be enriched, your leisure moments be elevated, and your home be transformed into a haven of immersive entertainment.
Frequently Asked Questions about How To Set Up Skytrak With Projector
Was this page helpful?
At Storables.com, we guarantee accurate and reliable information. Our content, validated by Expert Board Contributors, is crafted following stringent Editorial Policies. We're committed to providing you with well-researched, expert-backed insights for all your informational needs.


0 thoughts on “How To Set Up Skytrak With Projector”