Home>Technology>Home Entertainment Systems>How To Set Up Onn Projector
Home Entertainment Systems
How To Set Up Onn Projector
Modified: October 21, 2024
Learn how to set up your Onn projector and create the ultimate home entertainment system with our step-by-step guide. Enjoy cinematic experiences from the comfort of your own home. Discover more today!
(Many of the links in this article redirect to a specific reviewed product. Your purchase of these products through affiliate links helps to generate commission for Storables.com, at no extra cost. Learn more)
Introduction
Welcome to the world of home entertainment systems, where the magic of cinema comes alive in the comfort of your own home. In this guide, we will delve into the exciting realm of setting up an Onn projector, a gateway to immersive movie nights, thrilling gaming experiences, and captivating presentations.
Whether you're a seasoned tech enthusiast or a newcomer to the realm of projectors, fear not! This comprehensive walkthrough will equip you with the knowledge and confidence to transform any space into a captivating viewing environment. From unboxing the projector to troubleshooting common issues, we've got you covered every step of the way.
So, grab your popcorn, dim the lights, and let's embark on a journey to unlock the full potential of your Onn projector. By the end of this guide, you'll be ready to sit back, relax, and bask in the stunning visuals brought to life by your newly set-up projector. Let's dive in!
Key Takeaways:
- Setting up your Onn projector is like embarking on a thrilling adventure, from unboxing to fine-tuning image quality. With patience and attention to detail, you can create your own captivating home theater experience.
- Troubleshooting your Onn projector is like being a tech detective, solving mysteries to ensure uninterrupted entertainment. By mastering setup, optimization, and troubleshooting, you unlock the magic of cinematic visuals in your home.
Read more: How To Set Up Skytrak With Projector
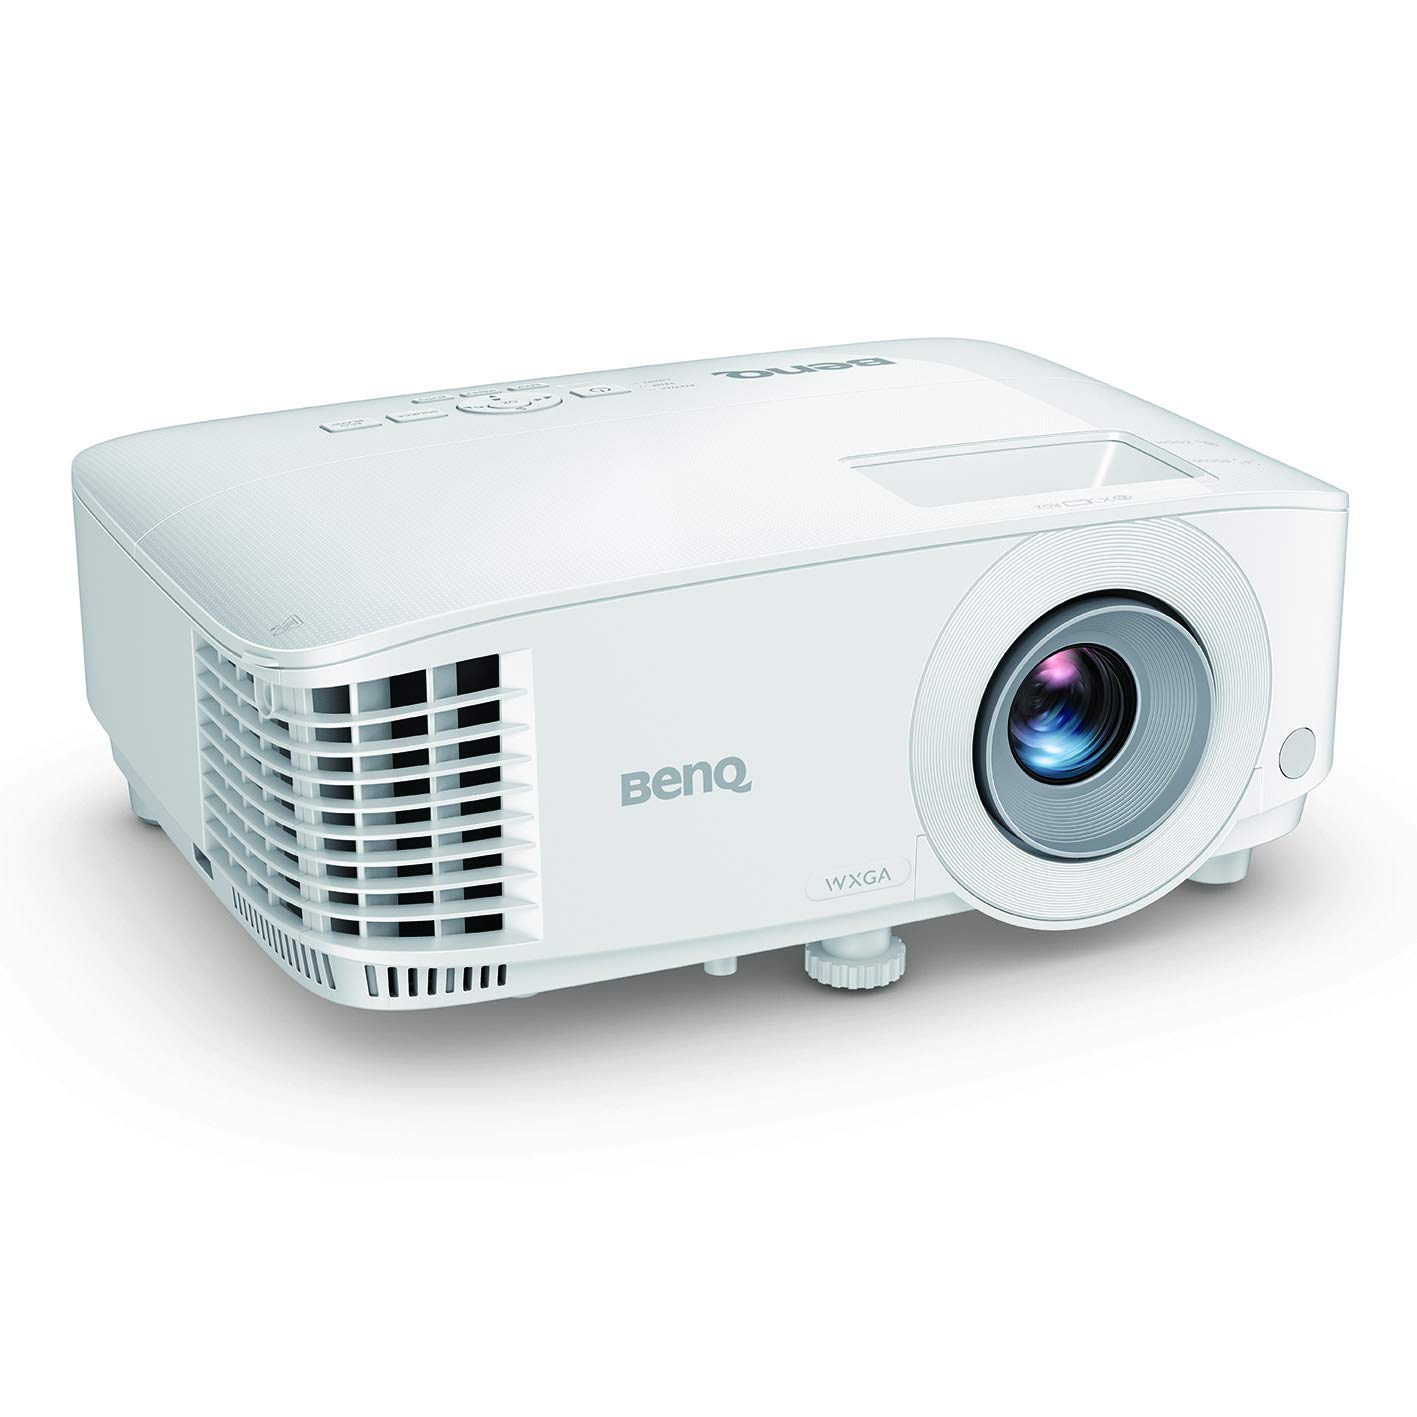
Unboxing and Assembly
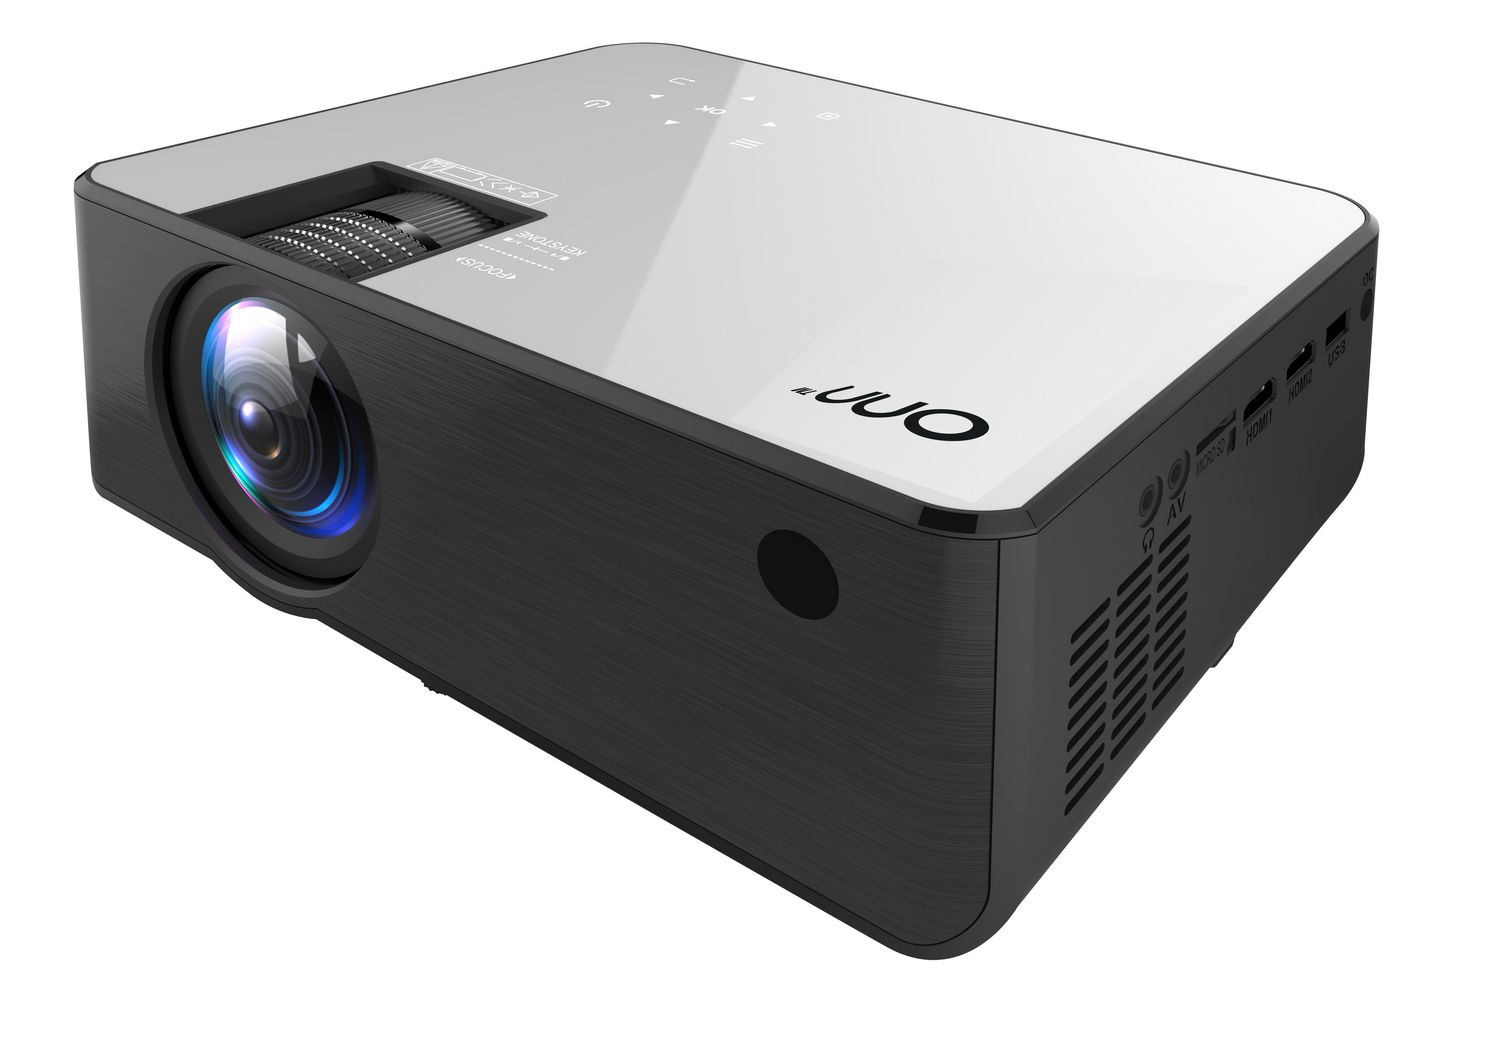
Unboxing your Onn projector is the first exciting step toward creating your own home theater experience. As you carefully open the packaging, you’ll find the essential components neatly nestled within. Typically, you can expect to find the projector unit, a power cord, a remote control, and any additional accessories specific to your model.
Once you’ve unveiled the contents, it’s time to assemble the projector. Begin by finding a suitable location for your projector, ensuring that it’s placed on a stable surface with ample ventilation to prevent overheating. Next, gently remove the projector from its packaging and place it in the chosen spot, taking care to avoid any sudden movements or impacts.
As you prepare to set up the projector, take a moment to familiarize yourself with its various ports and buttons. This will prove helpful when you’re ready to connect external devices and adjust settings. Now, it’s time to connect the power cord to the projector and plug it into a power outlet. Once the projector is securely connected, you’re ready to power it on and embark on the next steps of the setup process.
With the projector assembled and powered on, you’ve laid the foundation for an immersive viewing experience. The next steps will involve connecting external devices, adjusting the focus and keystone, and fine-tuning the image quality to suit your preferences. So, grab your remote control, and let’s dive into the next phase of setting up your Onn projector.
Connecting the Power
Now that your Onn projector is assembled, it’s time to power it up and bring it to life. The power cord provided with your projector is designed to seamlessly integrate with the device, ensuring a straightforward setup process. Before plugging in the power cord, it’s essential to locate a nearby power outlet within reach of the projector’s cord length.
Once you’ve identified a suitable power outlet, carefully connect the power cord to the designated port on the projector. Take care to align the connector properly and ensure a snug fit to prevent any accidental disconnections during operation. With the power cord securely attached, gently guide the remaining length to the power outlet, being mindful of any obstacles or tripping hazards along the way.
As you approach the power outlet, insert the plug into the socket, applying gentle pressure to ensure a secure connection. Once the power cord is plugged in, take a moment to double-check that all connections are secure and free from any potential hazards. It’s important to maintain a clear and unobstructed path for the power cord to prevent any accidental tugs or pulls that could disrupt the projector’s operation.
With the power cord successfully connected to the projector and the power outlet, you’re now ready to power on your Onn projector. Locate the power button on the projector or the remote control, and press it to initiate the startup sequence. As the projector springs to life, you’ll be greeted by the hum of its internal components and the promise of captivating visuals soon to fill the screen.
By ensuring a secure and stable power connection, you’ve set the stage for an uninterrupted viewing experience. With the projector powered on, you’re now poised to embark on the next steps of adjusting the focus and keystone to optimize the image quality. So, let’s delve into the intricacies of fine-tuning your Onn projector for stunning visual performance.
Adjusting the Focus and Keystone
Now that your Onn projector is powered on, it’s time to fine-tune the focus and keystone settings to ensure crisp, distortion-free visuals. The focus adjustment allows you to sharpen the projected image, ensuring that text, graphics, and videos appear clear and well-defined. On the other hand, the keystone adjustment is essential for correcting any trapezoidal distortion that may occur when the projector is not perfectly aligned with the screen.
Locate the focus ring on the projector lens or the corresponding control option in the projector’s menu. With your content displayed on the screen, slowly rotate the focus ring or navigate the on-screen focus controls to achieve optimal sharpness. Take your time to make subtle adjustments, pausing periodically to assess the clarity of the projected image. As you fine-tune the focus, you’ll notice the details of your content coming into sharp focus, enhancing the overall viewing experience.
Next, let’s address the keystone adjustment to rectify any trapezoidal distortion caused by the projector’s angle relative to the screen. Access the keystone adjustment feature in the projector’s menu or using the dedicated keystone correction buttons on the remote control. As you make adjustments, observe how the trapezoidal distortion diminishes, ultimately resulting in a perfectly rectangular image on the screen.
By meticulously adjusting the focus and keystone settings, you’re ensuring that your Onn projector delivers stunning visuals with impeccable clarity and geometry. These adjustments play a pivotal role in optimizing the viewing experience, whether you’re enjoying movies, gaming, or delivering professional presentations.
With the focus and keystone settings finely tuned, you’re now prepared to connect external devices to your Onn projector, expanding its versatility and unlocking a world of entertainment possibilities. So, grab your favorite devices and let’s seamlessly integrate them with your projector for an all-encompassing home entertainment experience.
Connecting External Devices
As you venture into the realm of home entertainment with your Onn projector, the ability to seamlessly connect external devices opens the door to a myriad of entertainment options. Whether you’re eager to stream content from your favorite devices or immerse yourself in gaming experiences, the projector’s connectivity options empower you to tailor your entertainment setup to your preferences.
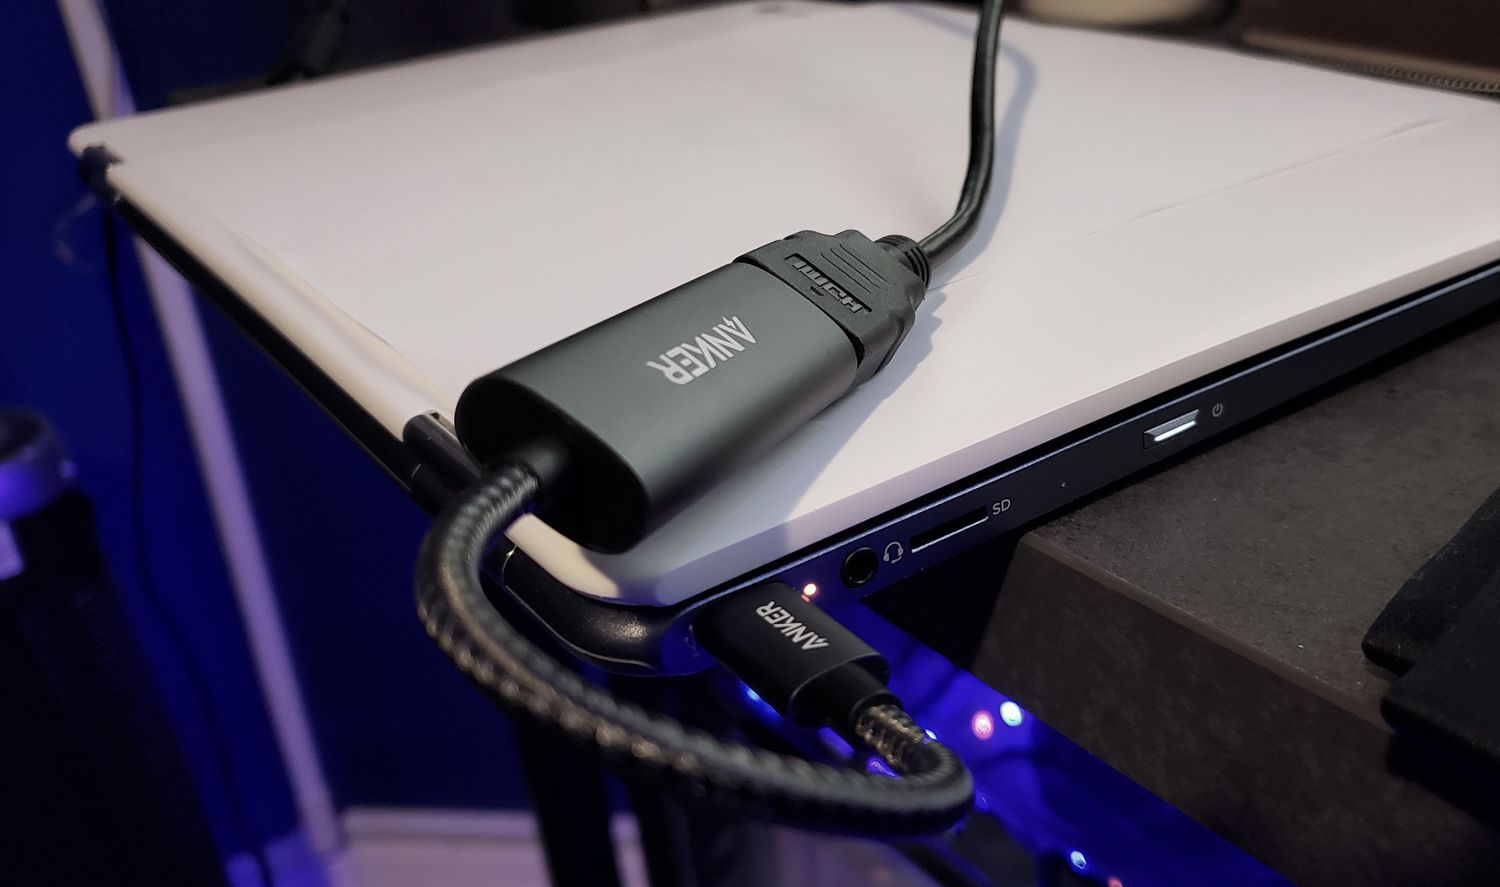
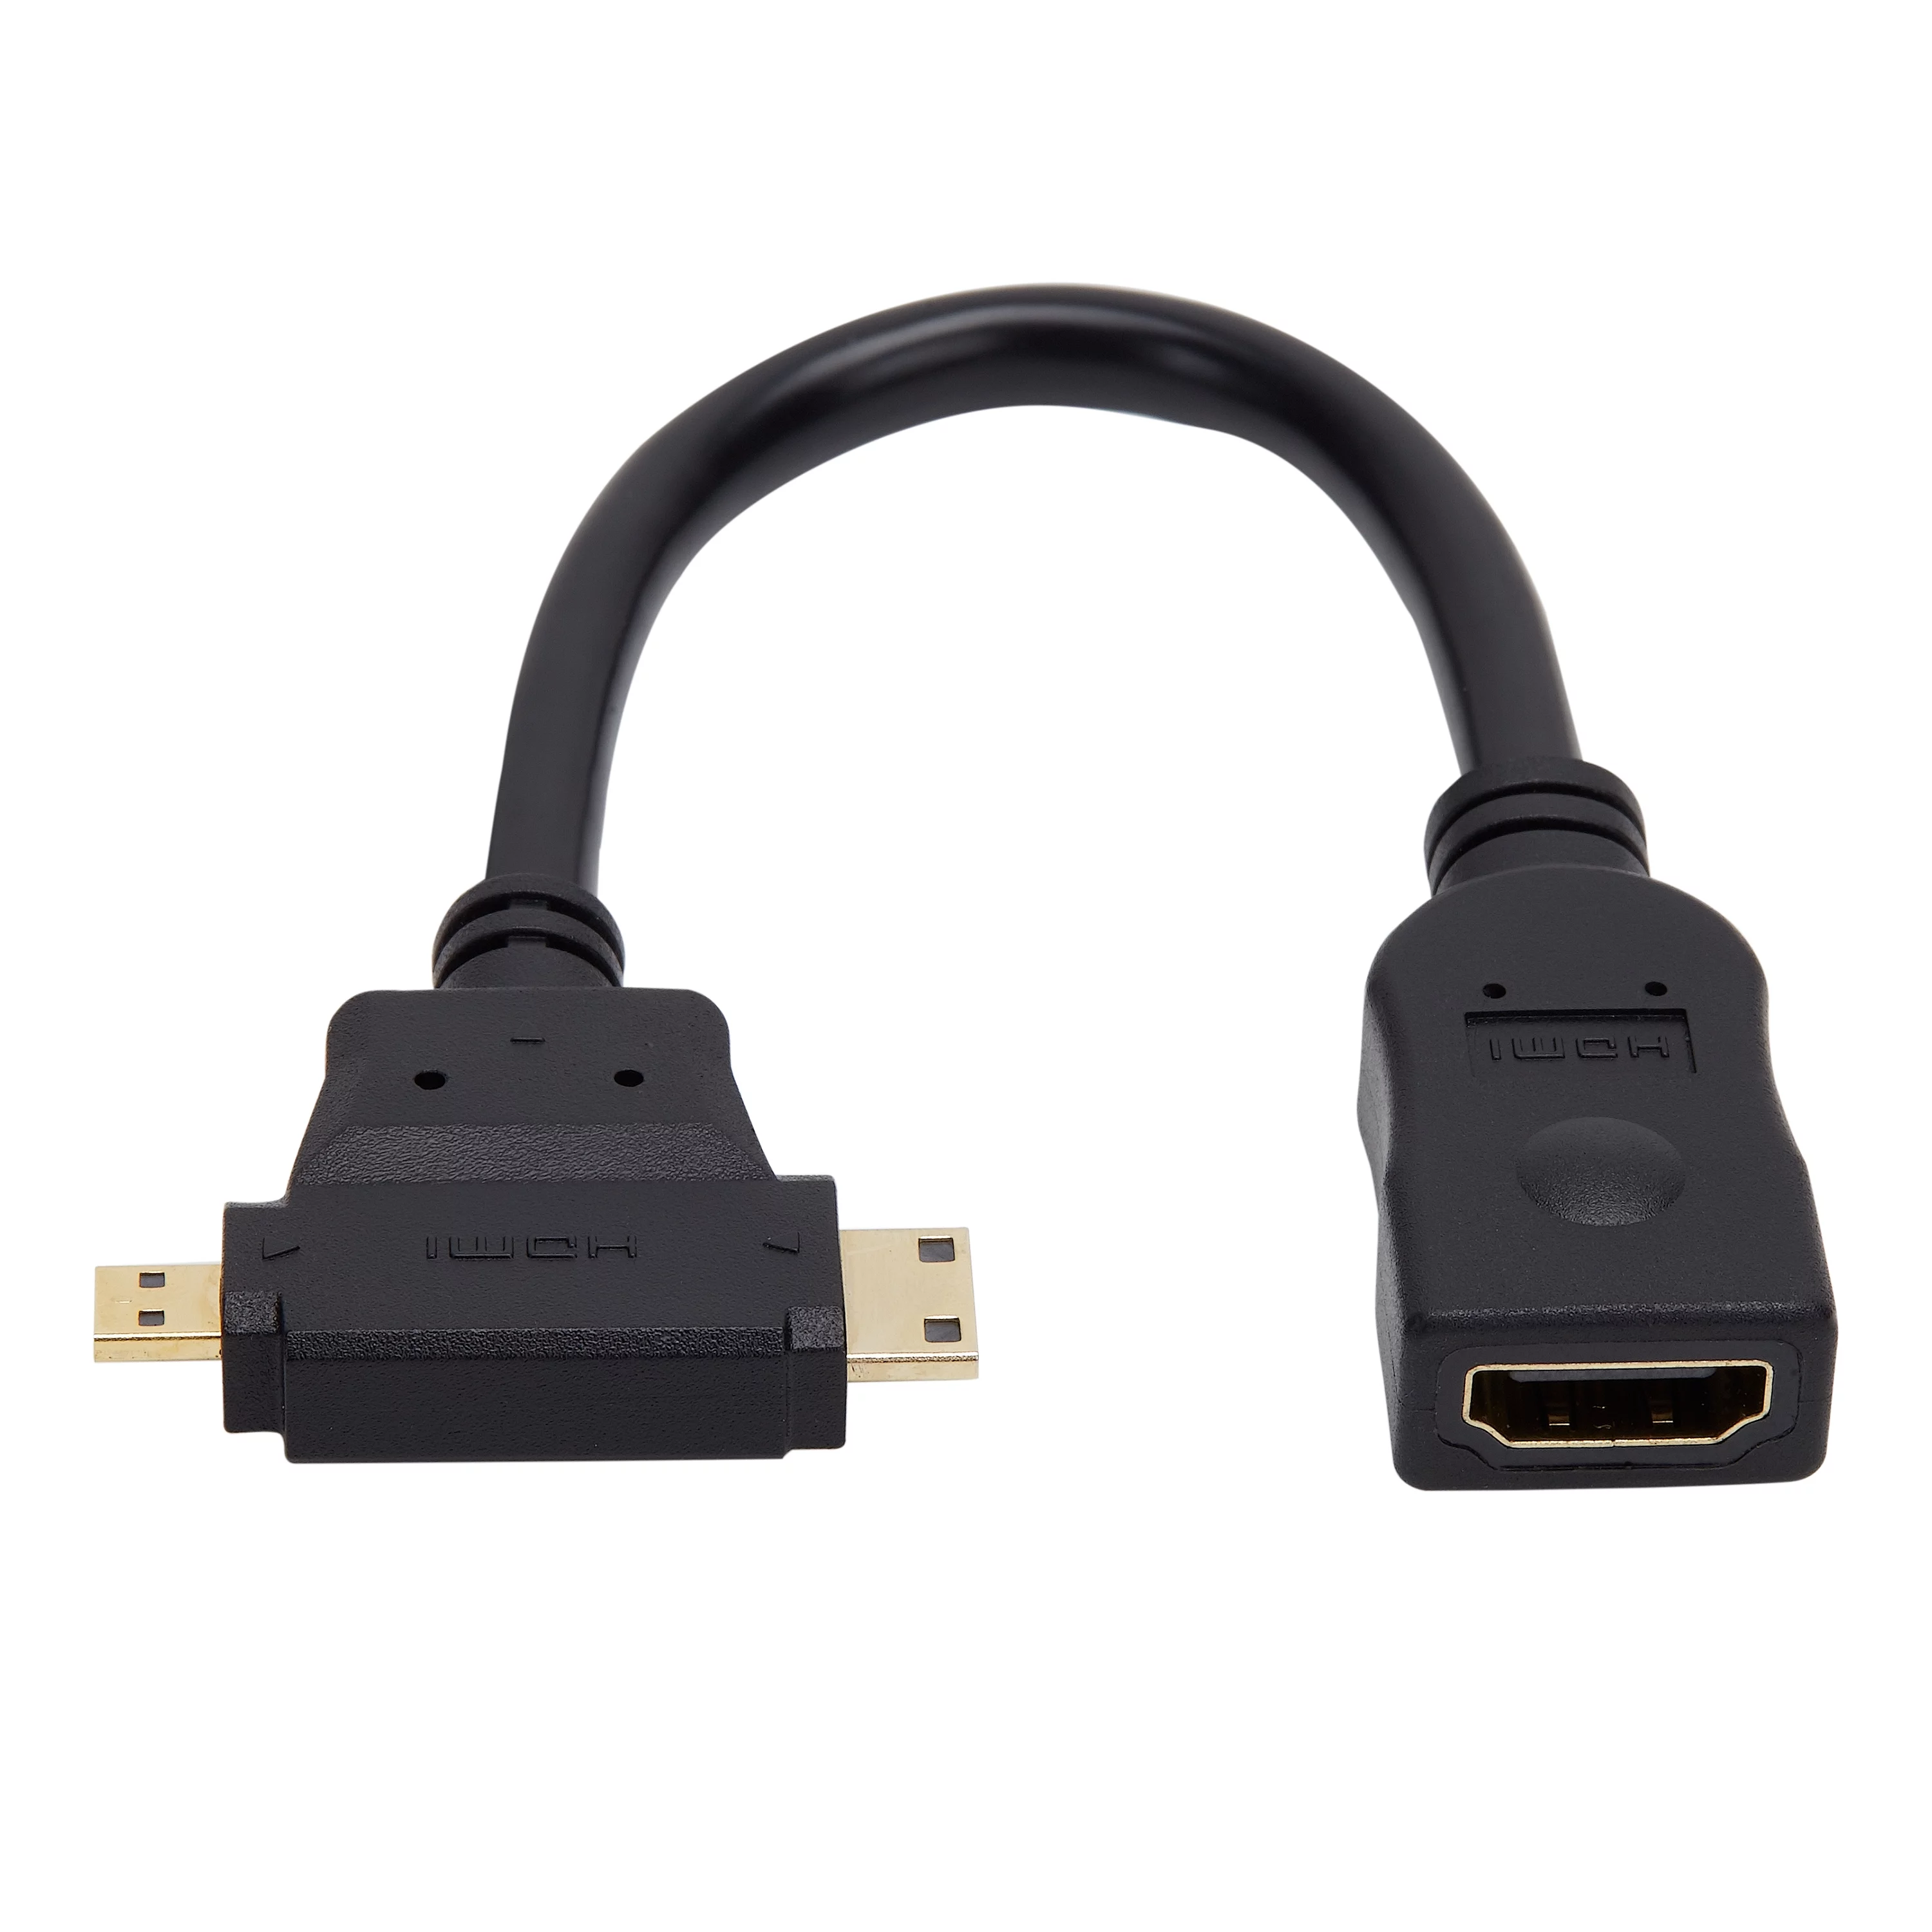
Begin by identifying the available input ports on your Onn projector, which may include HDMI, USB, VGA, and audio ports, among others. These versatile interfaces allow you to connect a wide array of devices, from streaming media players and gaming consoles to laptops and smartphones. With your devices at the ready, let’s explore the process of connecting them to your projector.
If you’re connecting a streaming media player or gaming console, locate the corresponding output port on the device and select an appropriate input port on the projector. For HDMI-equipped devices, simply connect one end of the HDMI cable to the output port on the device and the other end to an available HDMI input on the projector. This streamlined connection method ensures high-definition audio and video signals are seamlessly transmitted to the projector, delivering stunning visuals and immersive sound.
For devices without HDMI connectivity, such as older gaming consoles or laptops, you can utilize alternative input options such as VGA or USB connections. By leveraging the projector’s diverse input ports, you can effortlessly integrate a wide range of devices into your home entertainment setup, catering to your specific preferences and content sources.
Once your external devices are connected to the projector, power them on and select the corresponding input source on the projector. This step ensures that the projector recognizes and displays the content from the connected device, enabling you to seamlessly transition between various entertainment sources with ease.
With your external devices seamlessly integrated with your Onn projector, you’re now primed to explore the next phase of setting up your home entertainment system: configuring the screen for optimal viewing. Whether you’re projecting onto a dedicated screen or a blank wall, the screen setup process is essential for achieving visually stunning results. So, let’s delve into the intricacies of setting up the screen to complement your projector’s capabilities.
Make sure to carefully read the user manual before setting up your Onn projector. This will ensure that you understand all the necessary steps and settings for a successful installation.
Read more: How To Set Up A Projector Screen
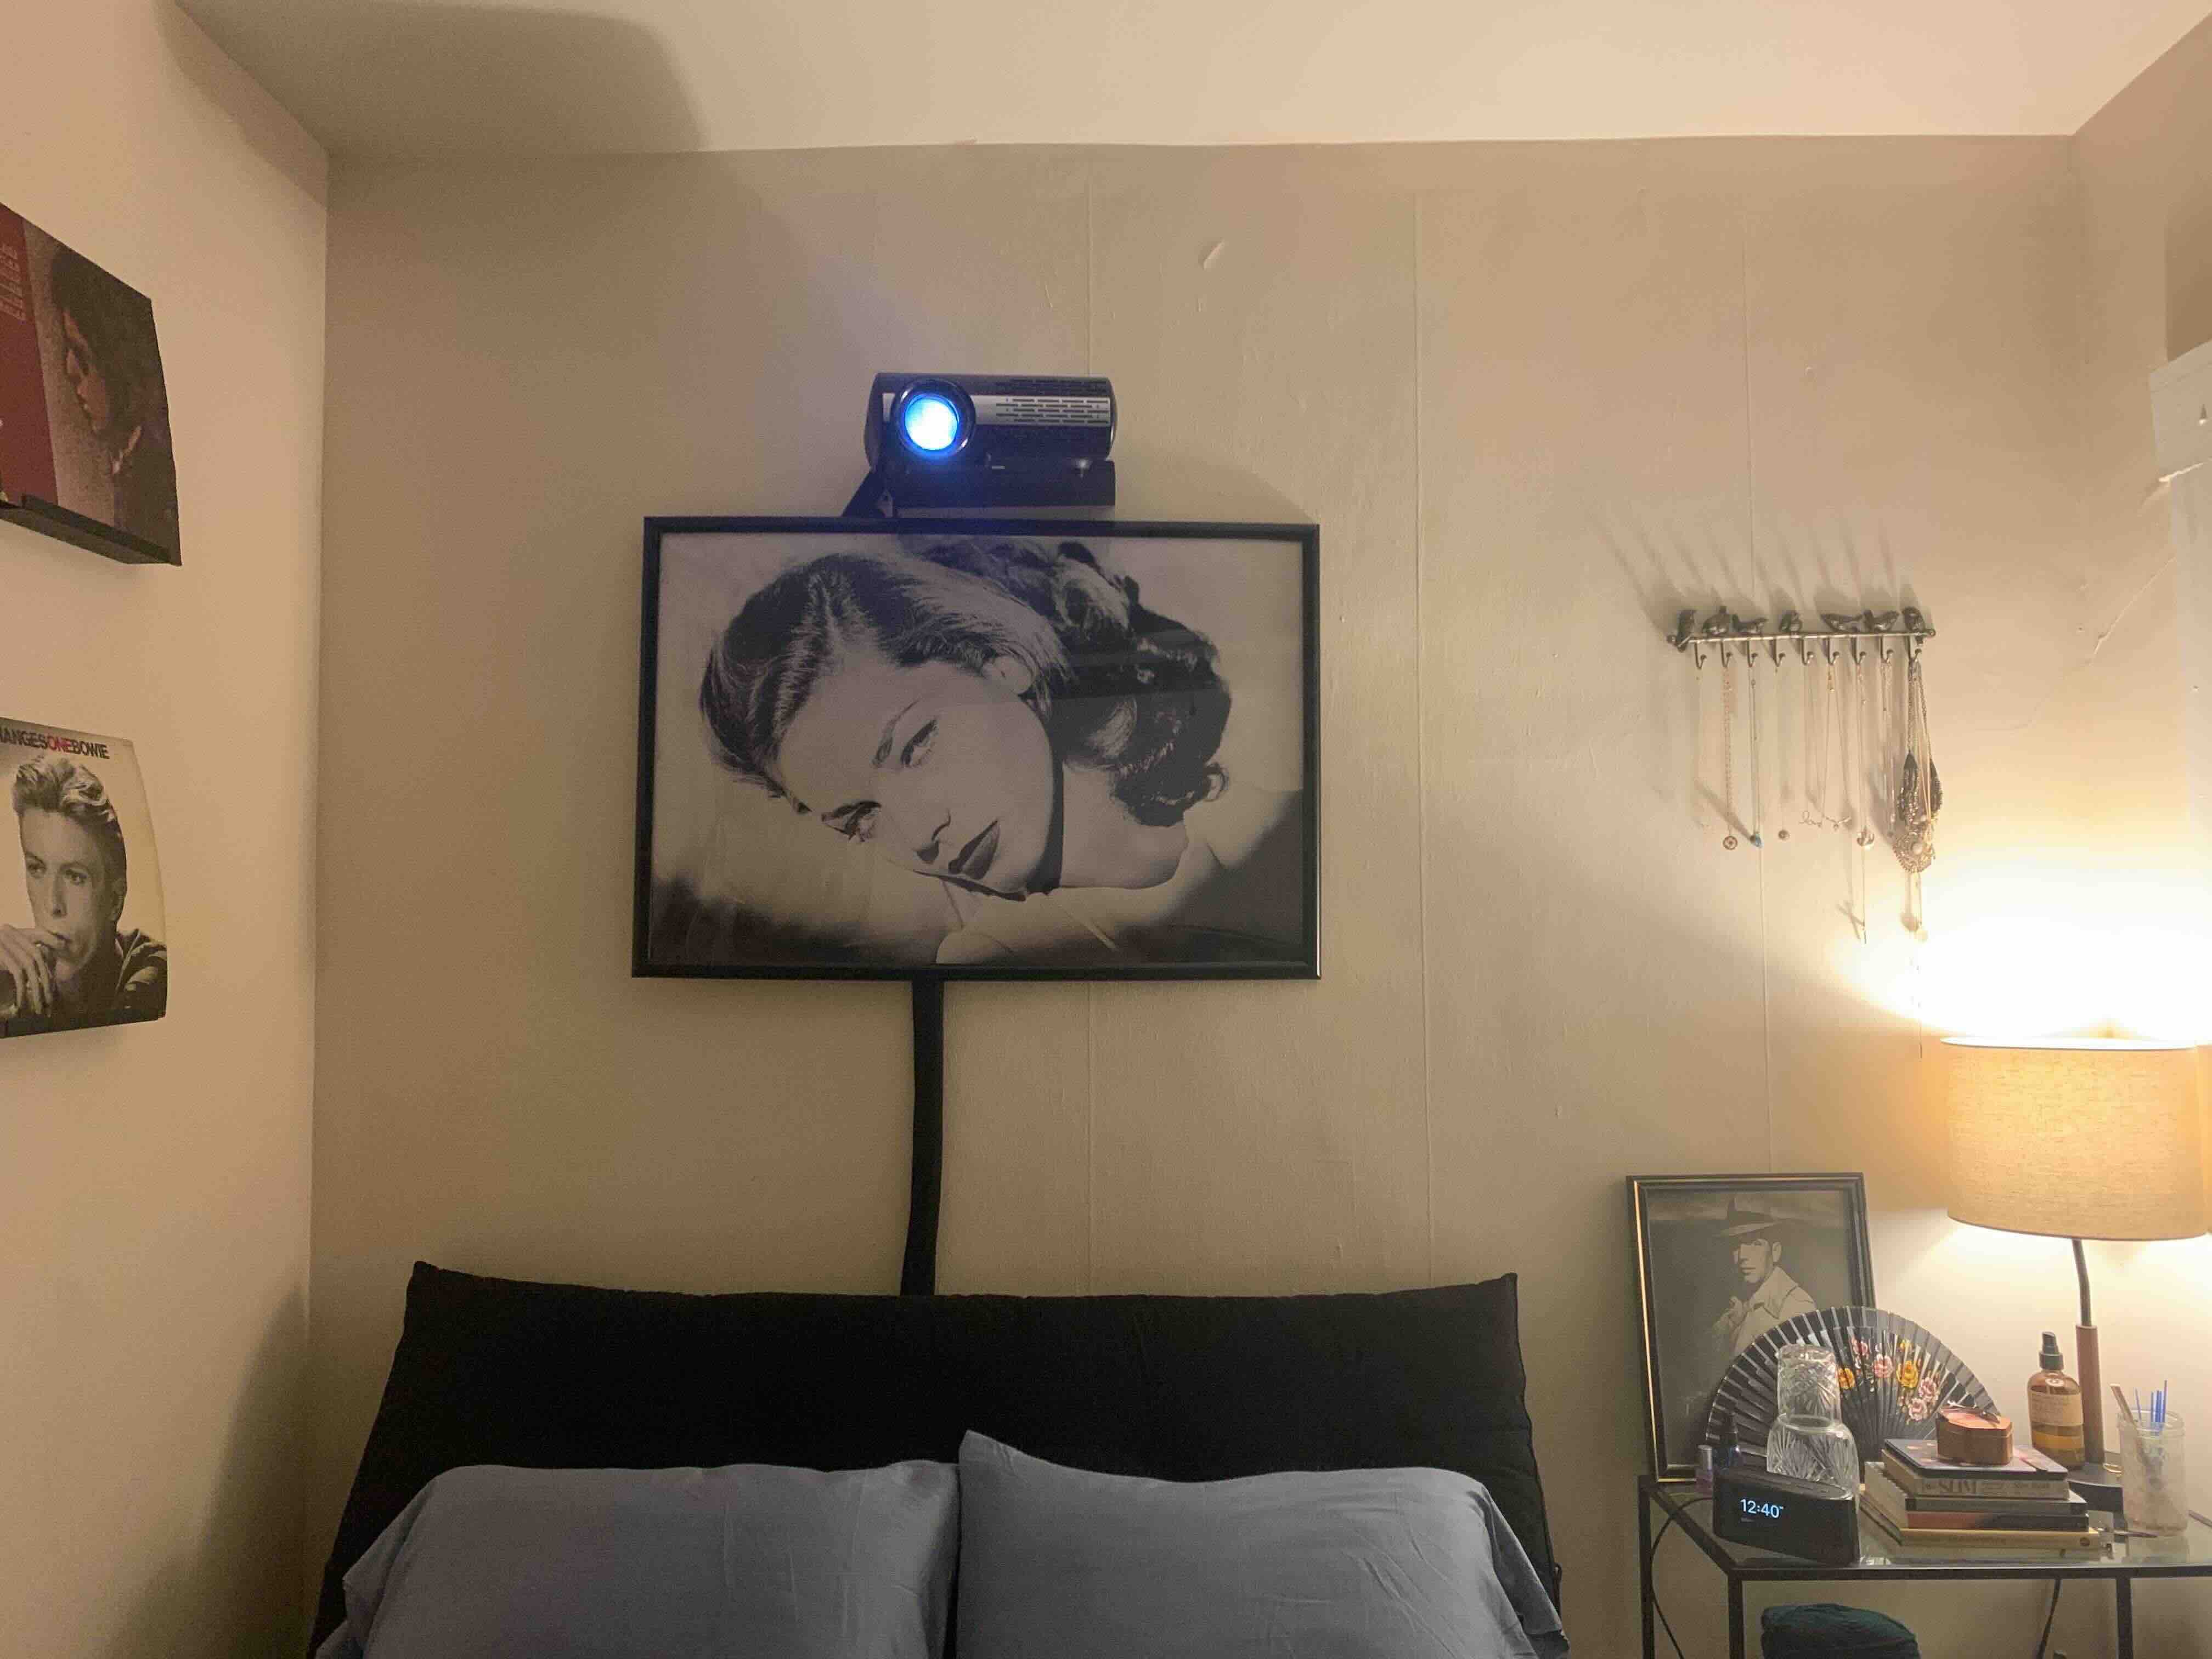
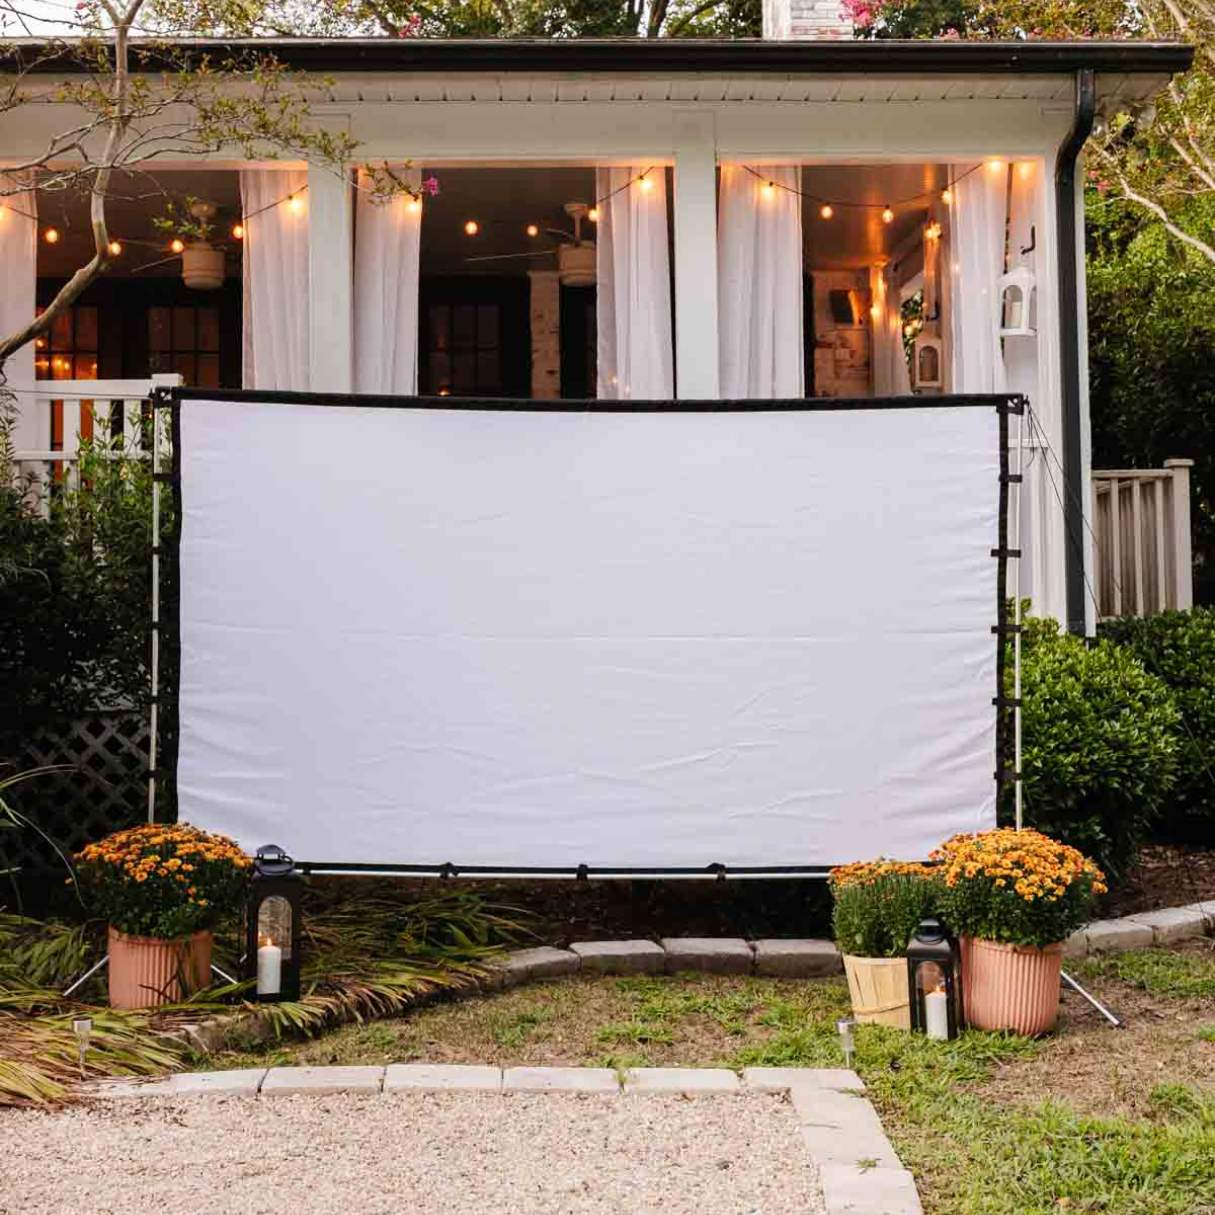
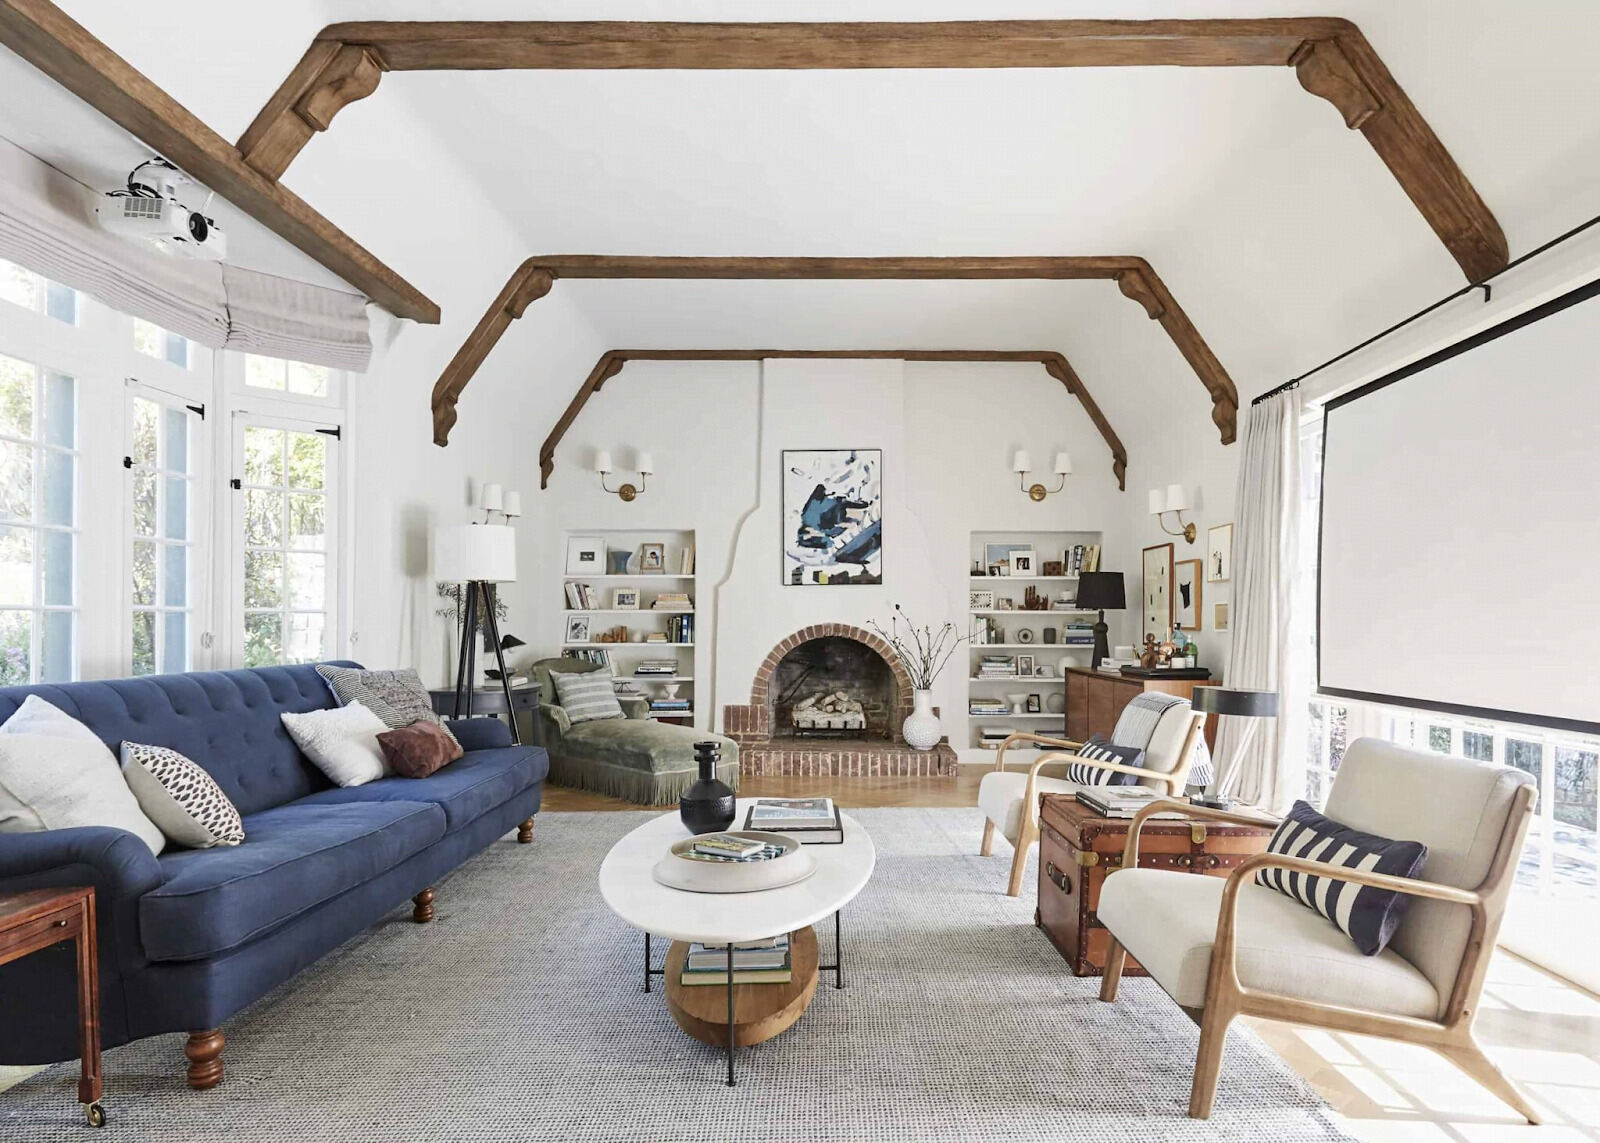
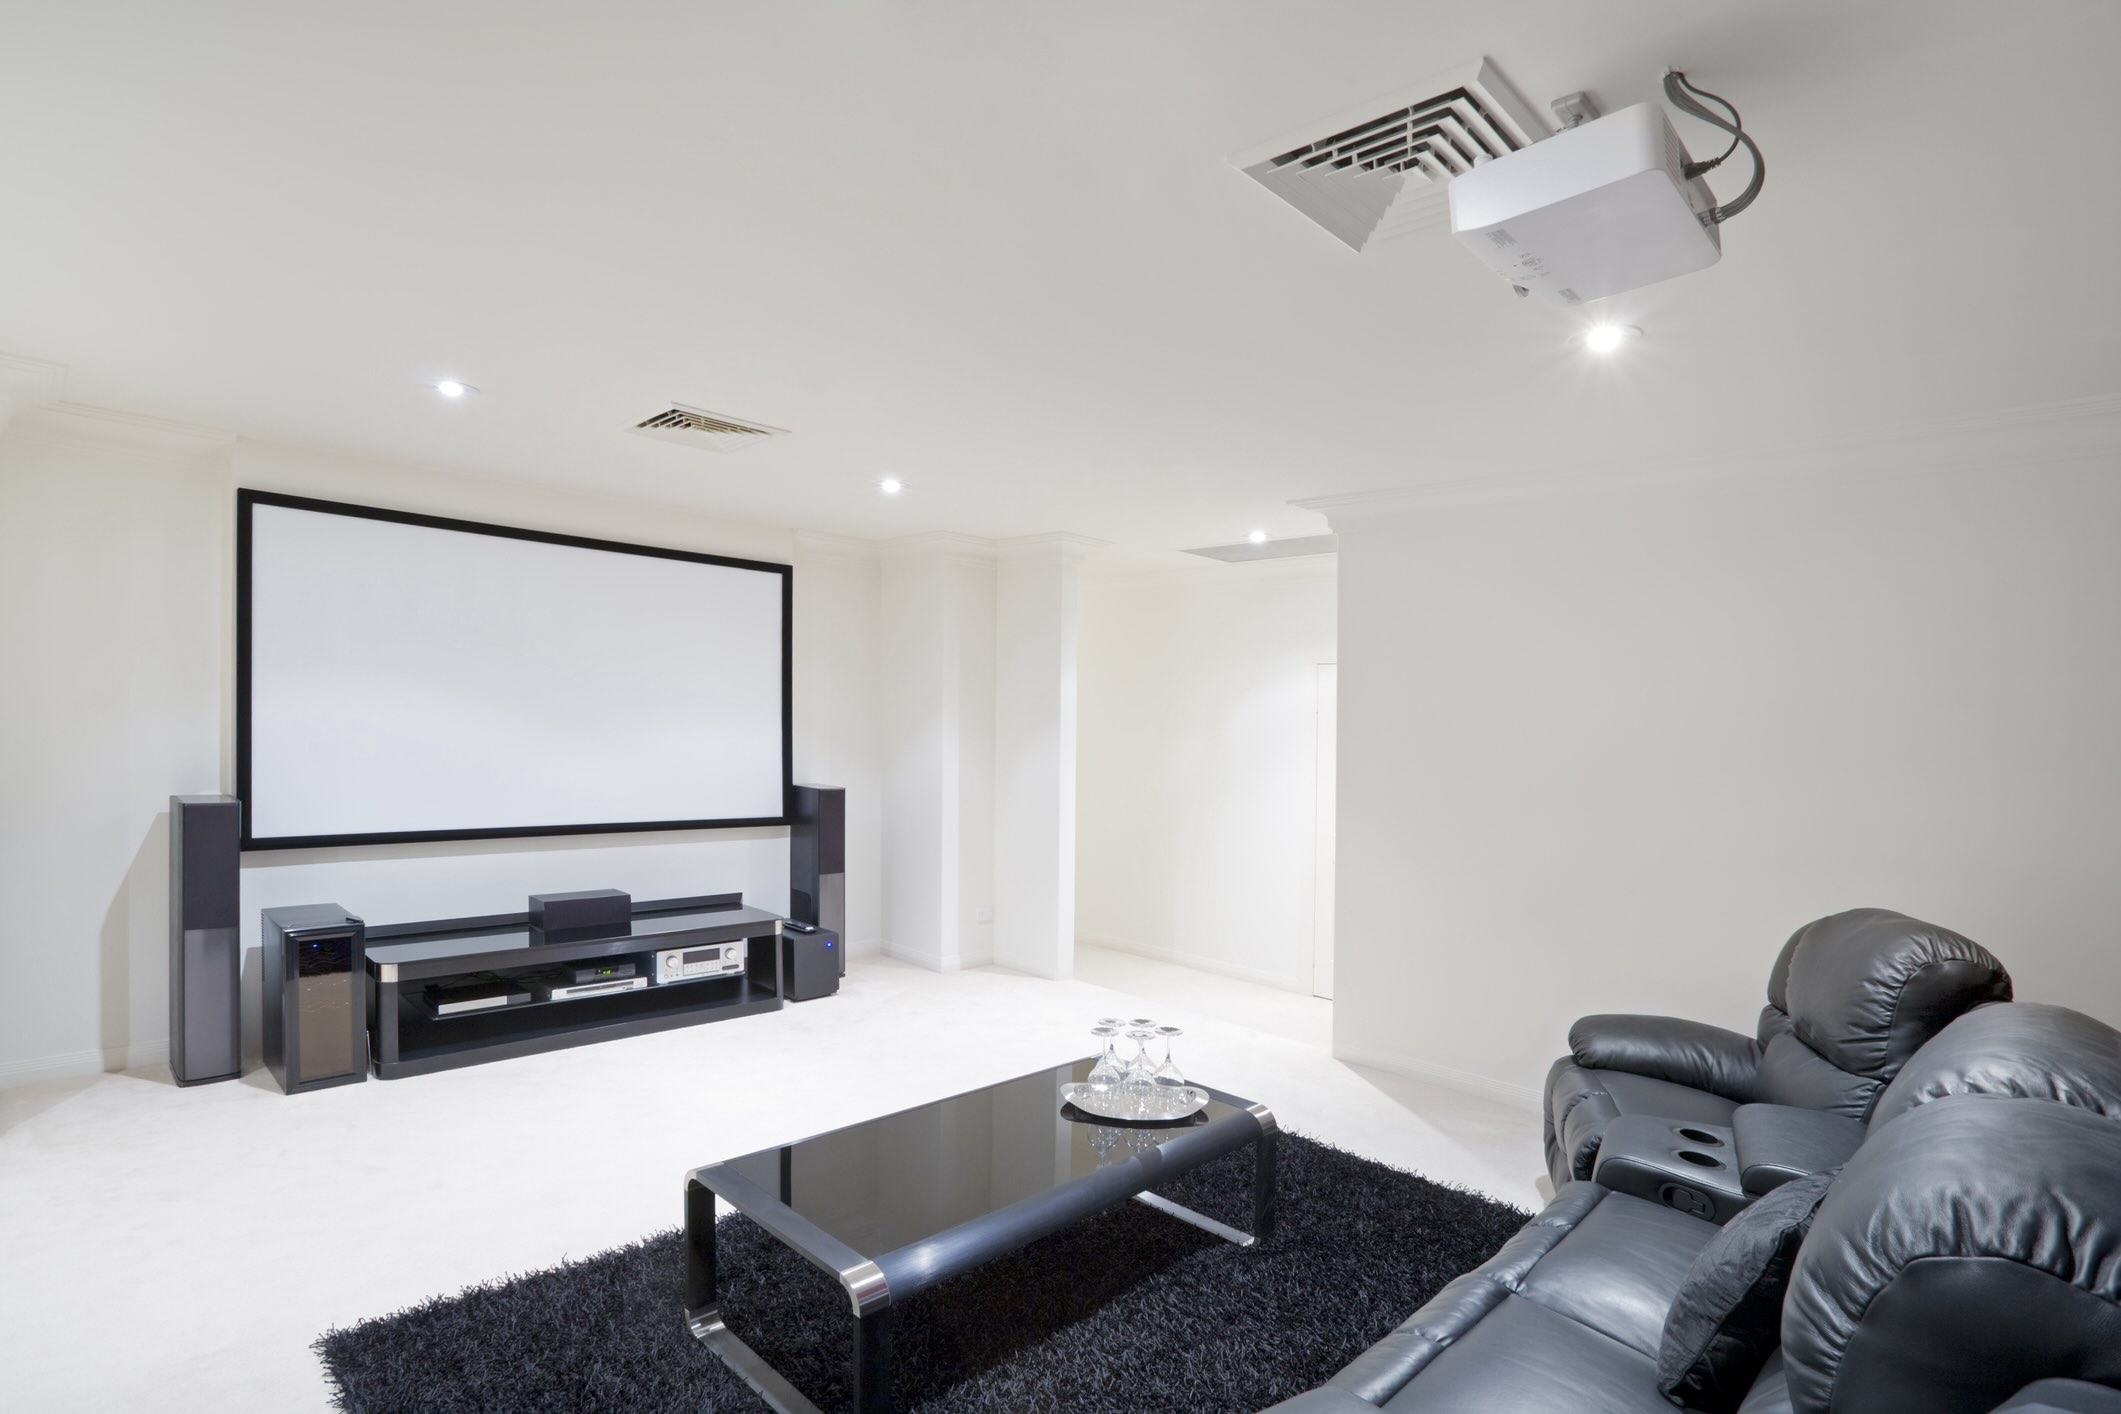
Setting Up the Screen
Creating an immersive viewing experience with your Onn projector involves setting up the screen to complement the projector’s capabilities. Whether you opt for a dedicated projector screen or a blank wall, the screen setup process plays a pivotal role in delivering captivating visuals and maximizing the impact of your home entertainment system.
If you’ve invested in a dedicated projector screen, begin by positioning it at an optimal distance from the projector, taking into account the desired screen size and aspect ratio. Most projector screens feature adjustable mounting options, allowing you to fine-tune the screen’s height and angle for optimal viewing. Once the screen is securely positioned, ensure that it’s free from any wrinkles or creases that could affect the projected image quality.
For those utilizing a blank wall as their projection surface, it’s essential to prepare the wall to serve as an effective canvas for the projected visuals. Start by ensuring that the wall surface is clean and free from any imperfections that could detract from the projected image. Additionally, consider the wall’s color and texture, as these factors can influence the brightness and clarity of the projected image.
Once the screen or wall is prepared, it’s time to align it with the projector to achieve a perfectly proportioned and distortion-free image. Utilize the projector’s adjustable lens shift, zoom, and throw ratio settings to optimize the projected image size and position. By carefully adjusting these settings, you can ensure that the projected image fills the screen or wall with precision, maximizing the visual impact of your home entertainment setup.
With the screen expertly set up and aligned with your Onn projector, you’re now poised to fine-tune the image quality to deliver stunning visuals that captivate and immerse your audience. Whether you’re enjoying cinematic masterpieces, engaging in thrilling gaming sessions, or delivering impactful presentations, the carefully configured screen setup will serve as the canvas for your visual experiences.
As you prepare to savor the breathtaking visuals brought to life by your Onn projector, the next crucial step involves adjusting the image quality to suit your preferences and the specific demands of your content. Let’s delve into the intricacies of adjusting the image quality to unlock the full potential of your projector’s visual performance.
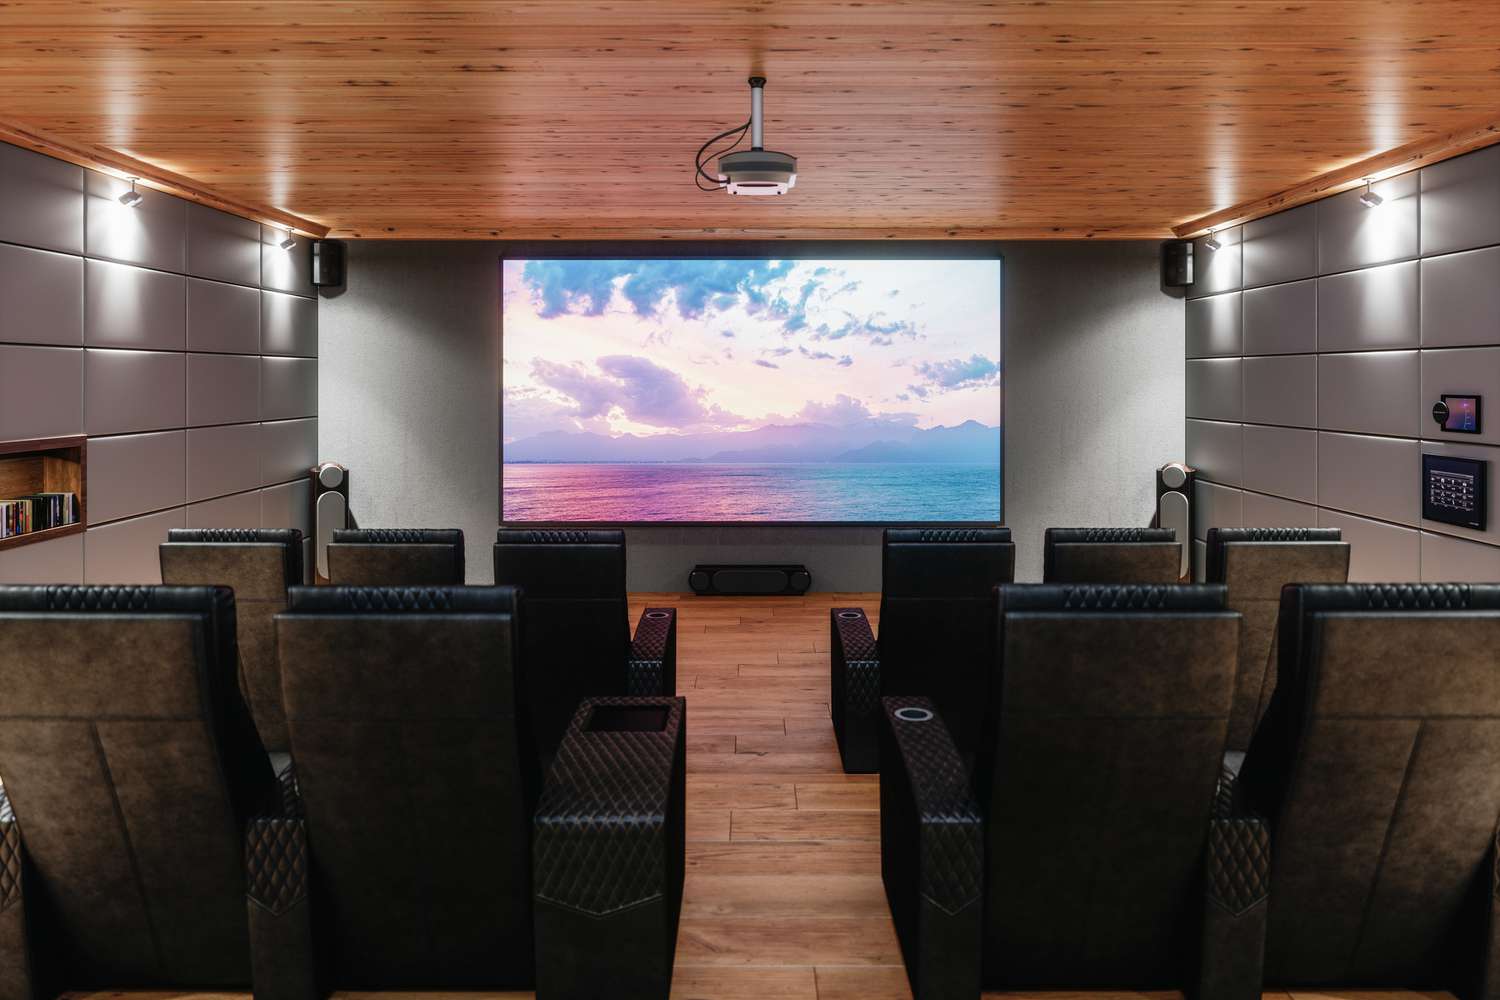
Adjusting Image Quality
Optimizing the image quality of your Onn projector is paramount to delivering captivating visuals that elevate your viewing experiences. Whether you’re aiming for vibrant colors, sharp details, or balanced brightness, the projector’s image quality adjustments empower you to tailor the visual output to your preferences and the specific demands of your content.
Begin by exploring the projector’s image settings, typically accessible through the on-screen menu or dedicated buttons on the remote control. These settings often include options to adjust brightness, contrast, color saturation, and color temperature, allowing you to fine-tune the projected image to your liking. Take the time to experiment with these settings, observing how each adjustment impacts the overall visual presentation.
For those seeking to achieve accurate color reproduction and vibrant visuals, consider calibrating the color settings to achieve a balanced and natural color palette. Many projectors offer preset color modes tailored for different content types, such as movies, games, and presentations. Selecting the appropriate color mode can significantly enhance the visual fidelity of your content, bringing it to life with stunning color accuracy.
In addition to color adjustments, take advantage of the projector’s sharpness and noise reduction settings to refine the clarity and detail of the projected image. By carefully adjusting these settings, you can ensure that text appears crisp, graphics are well-defined, and intricate details are faithfully reproduced, enhancing the overall viewing experience.
Furthermore, if your projector supports advanced image enhancement technologies such as HDR (High Dynamic Range) or image interpolation, explore these features to elevate the visual dynamics and fluidity of your content. HDR technology enhances the contrast and color depth of the projected image, resulting in strikingly realistic visuals with enhanced brightness and shadow detail. Image interpolation, on the other hand, enhances motion fluidity, reducing motion blur and judder for smoother on-screen action.
By meticulously adjusting the image quality settings of your Onn projector, you’re poised to unlock its full potential, delivering breathtaking visuals that captivate and immerse your audience. Whether you’re enjoying the latest blockbusters, engaging in intense gaming sessions, or delivering impactful presentations, the carefully calibrated image quality will enrich your viewing experiences and leave a lasting impression.
With the image quality finely tuned to perfection, you’re now ready to immerse yourself in the captivating world of visual entertainment brought to life by your Onn projector. However, even the most meticulously set up systems can encounter occasional hiccups. Therefore, it’s essential to familiarize yourself with common troubleshooting techniques to swiftly address any issues that may arise. Let’s explore the realm of troubleshooting, equipping you with the knowledge to overcome potential obstacles and ensure uninterrupted enjoyment of your home entertainment system.
Troubleshooting
While your Onn projector is designed to deliver seamless and immersive viewing experiences, occasional technical hiccups may arise. Familiarizing yourself with common troubleshooting techniques empowers you to swiftly address potential issues, ensuring that your home entertainment system operates smoothly and reliably.
If you encounter a scenario where the projector fails to power on, the first step is to verify the power connections. Ensure that the power cord is securely plugged into the projector and the power outlet. Additionally, check for any signs of damage or wear on the power cord that may impede proper electrical connectivity. If the projector still doesn’t power on, attempt to use an alternate power outlet to rule out potential electrical issues.
Another common issue that may arise is related to the projector’s connectivity with external devices. If you’re experiencing difficulty in displaying content from connected devices, double-check the input sources and cables. Ensure that the correct input source is selected on the projector, and verify that the cables are securely connected to both the projector and the external devices. In some cases, power cycling the connected devices can resolve connectivity issues.
For those encountering image quality issues, such as distorted visuals or color inaccuracies, consider revisiting the image quality settings on the projector. Adjust the brightness, contrast, and color settings to achieve a balanced and visually pleasing output. If the issue persists, inspect the projector lens for any smudges or debris that may affect image clarity, and gently clean the lens using a microfiber cloth if necessary.
If you notice unusual fan noises or the projector’s cooling system seems to be struggling, check for any obstructions around the projector’s ventilation ports. Overheating can lead to performance issues and potential damage to internal components. Ensure that the projector has ample ventilation and is not placed in a confined space that impedes airflow.
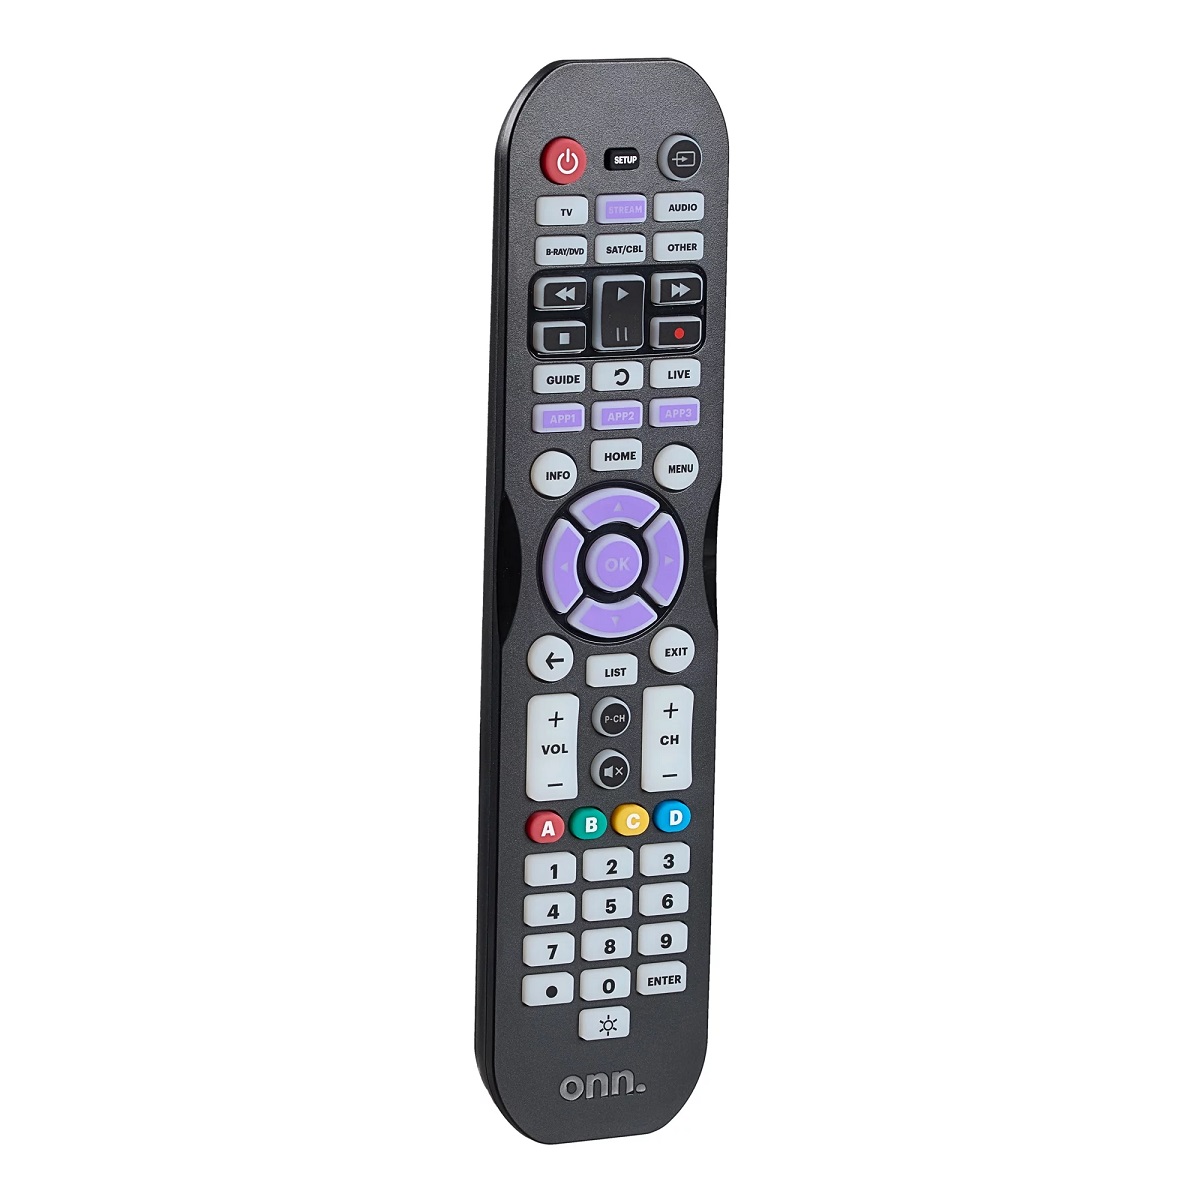
In the event that the projector’s remote control becomes unresponsive, replace the batteries and ensure that there are no obstructions between the remote and the projector’s infrared receiver. If the issue persists, consider resetting the remote control or using the projector’s onboard controls to navigate the menu and settings.
If you’ve exhausted troubleshooting options and are still encountering persistent issues with your Onn projector, referring to the user manual or contacting customer support for technical assistance is advisable. Customer support representatives can provide tailored guidance and solutions to address specific issues, ensuring that you can swiftly resume enjoying the full capabilities of your projector.
By familiarizing yourself with these troubleshooting techniques, you’re equipped to overcome potential obstacles and maintain the seamless operation of your Onn projector. With a proactive approach to addressing technical challenges, you can ensure that your home entertainment system consistently delivers captivating visuals and immersive experiences, allowing you to fully embrace the magic of cinematic entertainment in the comfort of your own home.
As you embrace the seamless operation of your Onn projector and revel in the captivating visuals it brings to life, you’ve embarked on a journey to transform your space into a hub of entertainment and creativity. By mastering the setup, optimization, and troubleshooting of your projector, you’ve unlocked the potential for unforgettable movie nights, exhilarating gaming sessions, and impactful presentations. Now, it’s time to sit back, relax, and immerse yourself in the boundless possibilities of your home entertainment system.
Conclusion
Congratulations on successfully navigating the setup, optimization, and troubleshooting of your Onn projector, propelling your home entertainment system to new heights. By embarking on this journey, you’ve unlocked the potential to create captivating cinematic experiences, immerse yourself in thrilling gaming adventures, and deliver impactful presentations with unparalleled visual impact.
As you bask in the immersive visuals brought to life by your Onn projector, it’s important to recognize the transformative power of home entertainment systems. Through the seamless integration of cutting-edge technology, you’ve curated an environment where creativity, inspiration, and entertainment converge, enriching your daily experiences and fostering moments of connection and wonder.
From the excitement of unboxing and assembling your projector to the meticulous adjustments of focus, keystone, and image quality, you’ve embarked on a journey of discovery and empowerment. Each step has brought you closer to the realization of a personalized home theater experience, tailored to your preferences and designed to captivate and inspire.
Furthermore, by familiarizing yourself with troubleshooting techniques, you’ve equipped yourself with the knowledge and confidence to swiftly address potential technical challenges, ensuring uninterrupted enjoyment of your home entertainment system. This proactive approach empowers you to maintain the seamless operation of your projector, safeguarding the continuity of captivating visual experiences.
As you navigate the evolving landscape of home entertainment, remember that the possibilities for creativity, connection, and enjoyment are limitless. Whether you’re gathering with loved ones for a movie night, embarking on virtual expeditions through gaming realms, or delivering compelling presentations, your Onn projector stands as a beacon of innovation and inspiration, enriching every moment it illuminates.
Now, as you revel in the captivating visuals and immerse yourself in the boundless possibilities of your home entertainment system, cherish the memories, connections, and experiences that unfold within this transformative space. Your Onn projector has become more than a device; it’s a conduit for shared moments, personal discoveries, and the endless magic of storytelling and imagination.
So, as you embark on this next chapter of cinematic adventures, gaming triumphs, and professional presentations, may your Onn projector continue to serve as a steadfast companion, igniting the spirit of wonder and possibility within your home. Embrace the magic, savor the moments, and let the captivating visuals of your projector transport you to realms of boundless inspiration and joy.
Frequently Asked Questions about How To Set Up Onn Projector
Was this page helpful?
At Storables.com, we guarantee accurate and reliable information. Our content, validated by Expert Board Contributors, is crafted following stringent Editorial Policies. We're committed to providing you with well-researched, expert-backed insights for all your informational needs.


0 thoughts on “How To Set Up Onn Projector”