Articles
How To Start Monessen Fireplace
Modified: October 20, 2024
Looking for articles on how to start a Monessen fireplace? Discover step-by-step guides and tips to effectively ignite your Monessen fireplace.
(Many of the links in this article redirect to a specific reviewed product. Your purchase of these products through affiliate links helps to generate commission for Storables.com, at no extra cost. Learn more)
Introduction
Welcome to the world of Monessen fireplaces! If you’re looking to bring warmth and ambiance to your home, a Monessen fireplace is a fantastic choice. These gas-powered fireplaces not only provide a cozy atmosphere, but they also offer the convenience of easy installation and maintenance.
Whether you’re a seasoned DIY enthusiast or a beginner, this article will guide you through the process of starting a Monessen fireplace. By following these steps and using the right tools and materials, you’ll be enjoying the comfort of a beautiful fireplace in no time.
Before we dive into the details, it’s important to note that while this article focuses on installing a gas-powered Monessen fireplace, the general steps can also be applied to other fireplace types such as electric or wood-burning. Just be sure to follow the specific manufacturer’s instructions for your chosen fireplace type.
Now, let’s get started on your journey to creating a warm and inviting space in your home with a Monessen fireplace!
Key Takeaways:
- Installing a Monessen fireplace requires careful preparation, proper gas line installation, and meticulous attention to flame quality. Following manufacturer instructions and seeking professional help when needed are crucial for a successful installation.
- Choosing the right location, gathering necessary tools, and testing flame performance are essential steps in installing a Monessen fireplace. Prioritizing safety, aesthetics, and functionality will ensure a cozy and inviting home ambiance.
Read more: How To Start A Fire In An Outdoor Fireplace
Step 1: Gather the Necessary Tools and Materials
Before you begin installing your Monessen fireplace, it’s essential to gather all the tools and materials you’ll need. Having everything prepared in advance will help ensure a smooth and efficient installation process. Here’s a list of the necessary tools and materials:
- Monessen fireplace kit
- Gas or electric line (if applicable)
- Brackets or mounting hardware
- Level
- Tape measure
- Screwdriver or power drill
- Adjustable wrench
- Pipe cutter or tubing cutter (if installing gas line)
- Thread sealant tape (if installing gas line)
- Safety goggles and gloves
- Fireproof insulation materials (if required)
Once you have gathered all the necessary tools and materials, double-check to make sure you have everything you need. If anything is missing, it’s best to acquire the missing items before proceeding with the installation.
Additionally, it’s crucial to have a clear understanding of the instruction manual provided by Monessen for your specific fireplace model. Familiarize yourself with the manual and keep it accessible throughout the installation process. It will serve as a valuable reference and guide you through the various installation steps.
With your tools and materials ready and the instruction manual at hand, you’re well-prepared to move on to the next step: choosing the right location.
Step 2: Choose the Right Location
Choosing the right location for your Monessen fireplace is crucial for both functionality and aesthetics. Here are a few factors to consider when deciding on the perfect spot:
- Existing infrastructure: Take into account the availability of gas or electrical connections in the area where you plan to install the fireplace. If you’re opting for a gas fireplace, ensure that a gas line is easily accessible. For an electric fireplace, make sure there’s a power outlet nearby.
- Clearance requirements: Check the manufacturer’s instructions for clearance requirements. Leave sufficient space around the fireplace to ensure proper ventilation and safety.
- Aesthetics: Consider the overall design and layout of your room. Choose a location that will enhance the visual appeal of the space and complement the existing décor.
- Heat distribution: Think about where you want the heat to be distributed. If you want to heat a specific area or room, place the fireplace accordingly.
Once you’ve taken these factors into consideration, identify the exact location for your fireplace. Use a tape measure and level to mark the area accurately. It’s a good idea to temporarily place the fireplace unit in the chosen spot to get a visual representation of how it will fit in the space.
Keep in mind that the location you choose may require some modifications. For example, you may need to create a fireplace opening in the wall or build a platform for the fireplace to sit on. Take these modifications into account as you progress through the installation process.
Now that you have chosen the ideal location for your Monessen fireplace, it’s time to move on to preparing the fireplace area in our next step.
Step 3: Prepare the Fireplace Area
Preparing the fireplace area is an important step in ensuring a smooth and successful installation of your Monessen fireplace. Here are the steps to follow:
- Clean the space: Remove any furniture, decorations, or obstacles from the area where the fireplace will be installed. This will provide you with a clean and clear space to work with.
- Protect the surrounding area: Consider using drop cloths or plastic sheets to protect the floor and nearby furnishings from dust, debris, and potential damage during the installation process.
- Inspect the wall: Examine the wall where the fireplace will be mounted. Ensure that it is sturdy, level, and capable of supporting the weight of the fireplace unit. If needed, reinforce the wall or make any necessary repairs before proceeding.
- Create an opening (if required): If you’re installing a fireplace in a wall that doesn’t have an existing opening, you’ll need to create one. Carefully follow the manufacturer’s instructions to cut an appropriately sized hole in the wall. Use caution and the appropriate tools to avoid damaging the surrounding area.
- Install fireproof insulation (if required): Depending on the type of fireplace and the local building codes, you may be required to install fireproof insulation around the fireplace opening. This step is essential for safety and to prevent heat transfer to combustible materials.
Take your time to complete these preparatory steps thoroughly. It’s better to invest a little extra time in preparation to ensure a solid foundation for your fireplace installation.
Once the fireplace area is prepared, you’re ready to move on to the next step: installing the gas line (if applicable) or proceeding with the installation of the fireplace unit itself for electric fireplaces.
Step 4: Install the Gas Line (if applicable)
If you’re installing a gas-powered Monessen fireplace, it’s crucial to properly install the gas line to ensure safe and efficient operation. Follow these steps to install the gas line:
- Turn off the gas: Before beginning any work with the gas line, ensure that the gas supply to your home is turned off. Safety is paramount, so take the necessary precautions to avoid any accidents.
- Plan the gas line route: Determine the route the gas line will take from the main supply to the fireplace location. Consider the distance, accessibility, and any obstacles that may need to be overcome.
- Measure and cut the gas line: Using a pipe cutter or tubing cutter, measure and cut the gas line to the appropriate length. Be sure to account for any bends or turns required in the line.
- Attach fittings: Install the necessary fittings, such as elbows and connectors, to properly connect the gas line to the fireplace unit. Use thread sealant tape to ensure a secure and leak-free connection.
- Secure the gas line: Use appropriate brackets or clamps to secure the gas line along its route, ensuring it is properly supported and protected from any potential damage.
- Connect the gas line to the fireplace: Carefully connect the gas line to the gas inlet on the fireplace unit. Use an adjustable wrench to tighten the connection securely. Be cautious not to overtighten, as it can damage the fittings.
- Check for leaks: Once the gas line is connected, use a gas leak detector or a mixture of soapy water to check for any gas leaks. Apply the soapy water to the connection points and observe if any bubbles form. If bubbles appear, there is a leak, and you should immediately turn off the gas and fix the issue before proceeding.
It’s essential to follow local building codes and regulations while installing the gas line. If you are unsure about any aspect of the installation, consult a qualified professional or a licensed plumber.
Once the gas line is successfully installed and verified for safety, you’re ready to move on to the next step: installing the Monessen fireplace unit.
When starting a Monessen fireplace, make sure the gas supply is turned on and the pilot light is lit. Follow the manufacturer’s instructions for safe and proper operation.
Step 5: Install the Fireplace Unit
Now that the necessary preparations are complete, it’s time to install the Monessen fireplace unit. Follow these steps to ensure a proper installation:
- Refer to the manufacturer’s instructions: Familiarize yourself with the specific installation instructions provided by Monessen for your fireplace model. Each unit may have slight variations in the installation process, so it’s crucial to follow the manufacturer’s guidelines.
- Position the fireplace: Carefully position the fireplace unit into the designated space, ensuring it fits securely and aligns with the opening or wall mount you have prepared.
- Attach brackets or mounting hardware: If your fireplace requires brackets or mounting hardware for stability, follow the manufacturer’s instructions to attach them securely. Use a level to ensure the fireplace is straight and properly aligned.
- Secure the fireplace: Once the brackets or mounting hardware are in place, tighten all screws and fasteners to secure the fireplace unit firmly in position. Check for any movement or instability and make adjustments as necessary.
- Connect the wiring (for electric fireplaces): If you’re installing an electric Monessen fireplace, follow the specific instructions provided to connect the wiring properly. This typically involves connecting the power supply and any necessary cables or plugs.
- Follow safety measures: Ensure that any safety features, such as glass barriers or protective screens, are properly installed according to the manufacturer’s instructions. These safety measures are essential for preventing accidental burns or contact with hot surfaces.
It’s important to follow the installation instructions carefully to avoid any mistakes or damage to the fireplace unit. If you encounter any difficulties during installation, it’s recommended to seek professional assistance to ensure a proper and safe installation.
Once the fireplace unit is securely installed, you’re ready to proceed to the next step, which involves connecting the gas (if applicable) or testing and adjusting the flames of the fireplace.
Step 6: Connect the Gas (if applicable)
If you have installed a gas-powered Monessen fireplace, the next step is to connect the gas supply. Follow these steps to ensure a safe and proper gas connection:
- Verify the gas supply: Before proceeding, double-check that the gas supply to your home is turned off. This ensures your safety during the gas connection process.
- Locate the gas inlet: On the fireplace unit, locate the gas inlet where the gas line will be connected.
- Prepare the gas line: If you haven’t already done so, prepare the gas line by attaching the necessary fittings and ensuring it is cut to the proper length.
- Apply thread sealant: Before connecting the gas line, apply a thread sealant tape to the threaded portion of the gas inlet. This helps create a tight and secure seal to prevent gas leaks.
- Connect the gas line: Carefully and securely connect the gas line to the gas inlet on the fireplace. Use an adjustable wrench to tighten the connection without overtightening.
- Test for gas leaks: Once the gas line is connected, it’s crucial to test for any potential gas leaks. Use a gas leak detector or a mixture of soapy water to check the connection points. Apply the solution and observe if any bubbles form. If bubbles arise, there is a leak, and you should immediately turn off the gas and address the issue before proceeding.
Connecting the gas supply should be done with the utmost care and attention to safety. If you’re unsure about any aspect of the gas connection process, it’s recommended to seek professional assistance from a licensed plumber or HVAC technician.
Once the gas is connected and verified for safety, you’re ready to move on to the next step: testing and adjusting the flames of your Monessen fireplace.
Step 7: Test and Adjust the Flames
After installing the gas supply and connecting the gas line to your Monessen fireplace, it’s important to test and adjust the flames to ensure proper operation. Follow these steps to test and make any necessary adjustments:
- Turn on the gas supply: Open the gas valve and allow the gas to flow to the fireplace.
- Ignite the fireplace: Follow the specific instructions provided by Monessen to ignite the fireplace. This typically involves using a control switch or a remote control to start the flame.
- Observe the flames: Take note of the appearance and color of the flames. Ideally, the flames should be steady, evenly distributed, and have a blue hue. If the flames are yellow or flickering, it may indicate an issue with the gas supply or ventilation.
- Check for proper ventilation: Ensure that the fireplace area has adequate ventilation to allow for the proper intake of combustion air and the exhaust of byproducts. Insufficient ventilation can lead to poor flame quality and potential safety hazards.
- Adjust the flame height: If necessary, refer to the manufacturer’s instructions to adjust the flame height. Some fireplaces have built-in controls or adjustment settings that allow you to increase or decrease the flame height.
- Verify safety features: Test any safety features of the fireplace, such as the automatic shut-off mechanism, to ensure they are functioning correctly.
While testing the flames, it’s important to be vigilant and attentive to any unusual or concerning signs. If you notice any irregularities, such as excessive soot, strong odors, or abnormal flame patterns, it’s recommended to consult a professional technician for further inspection and assistance.
Remember, safety should always be a top priority. If at any point you feel uncertain or uncomfortable with the flame quality or performance of your Monessen fireplace, it’s best to seek professional help to resolve the issue.
Once you’re satisfied with the flame performance and safety measures, you’re ready to move on to the final step: installing the surround and hearth to complete the aesthetic appeal of your Monessen fireplace.
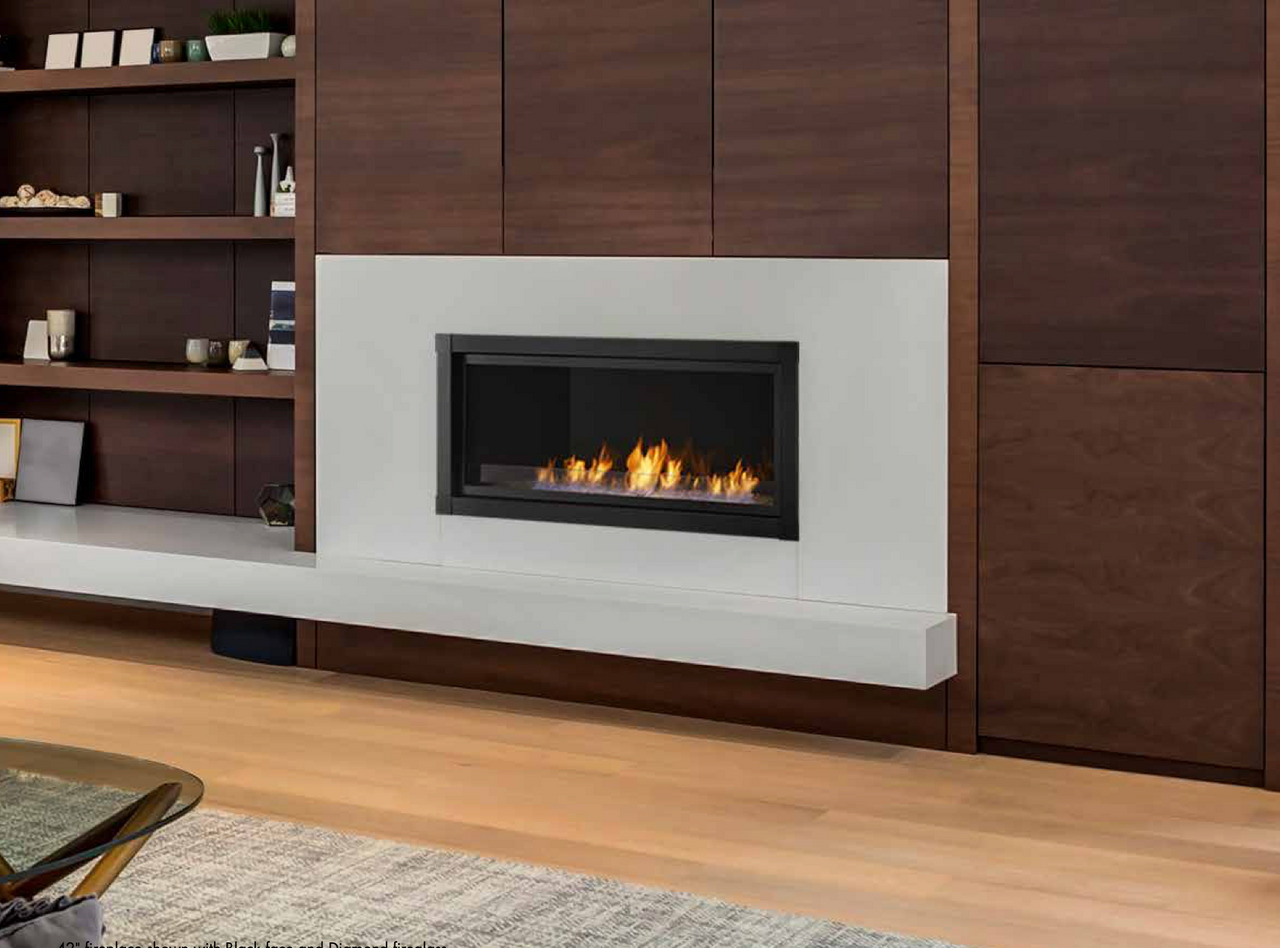
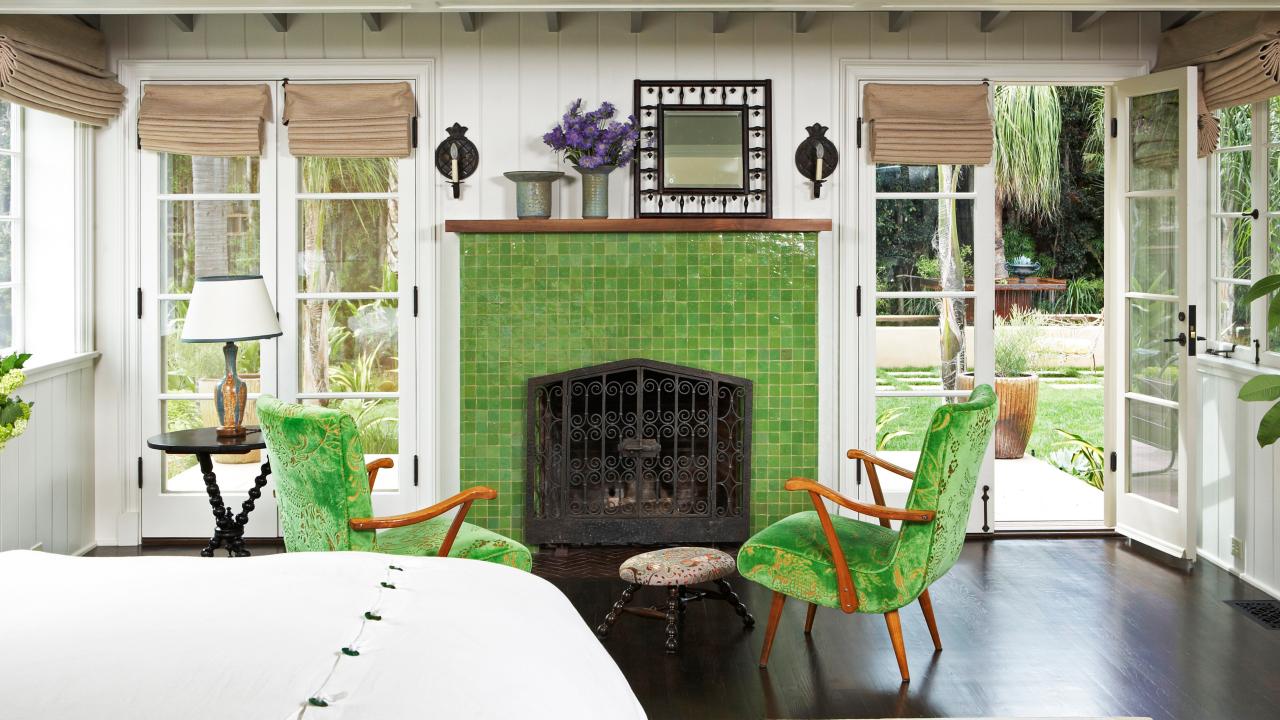
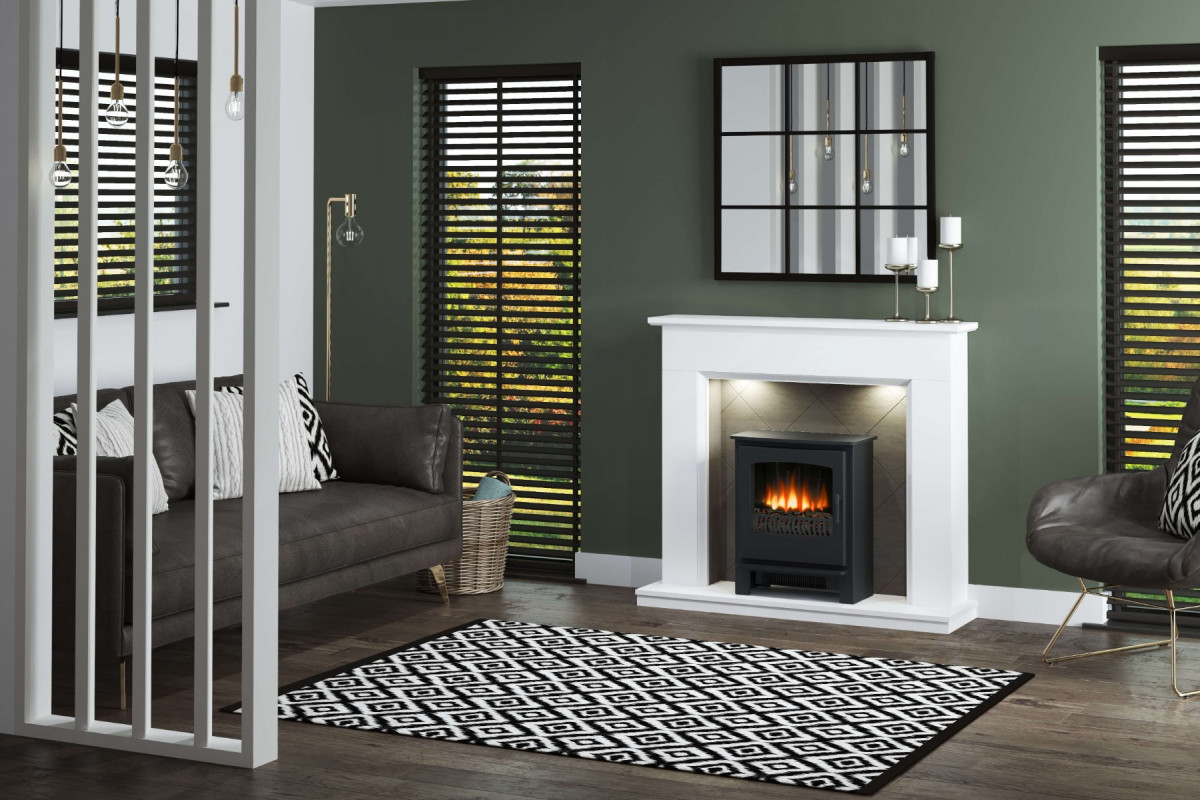
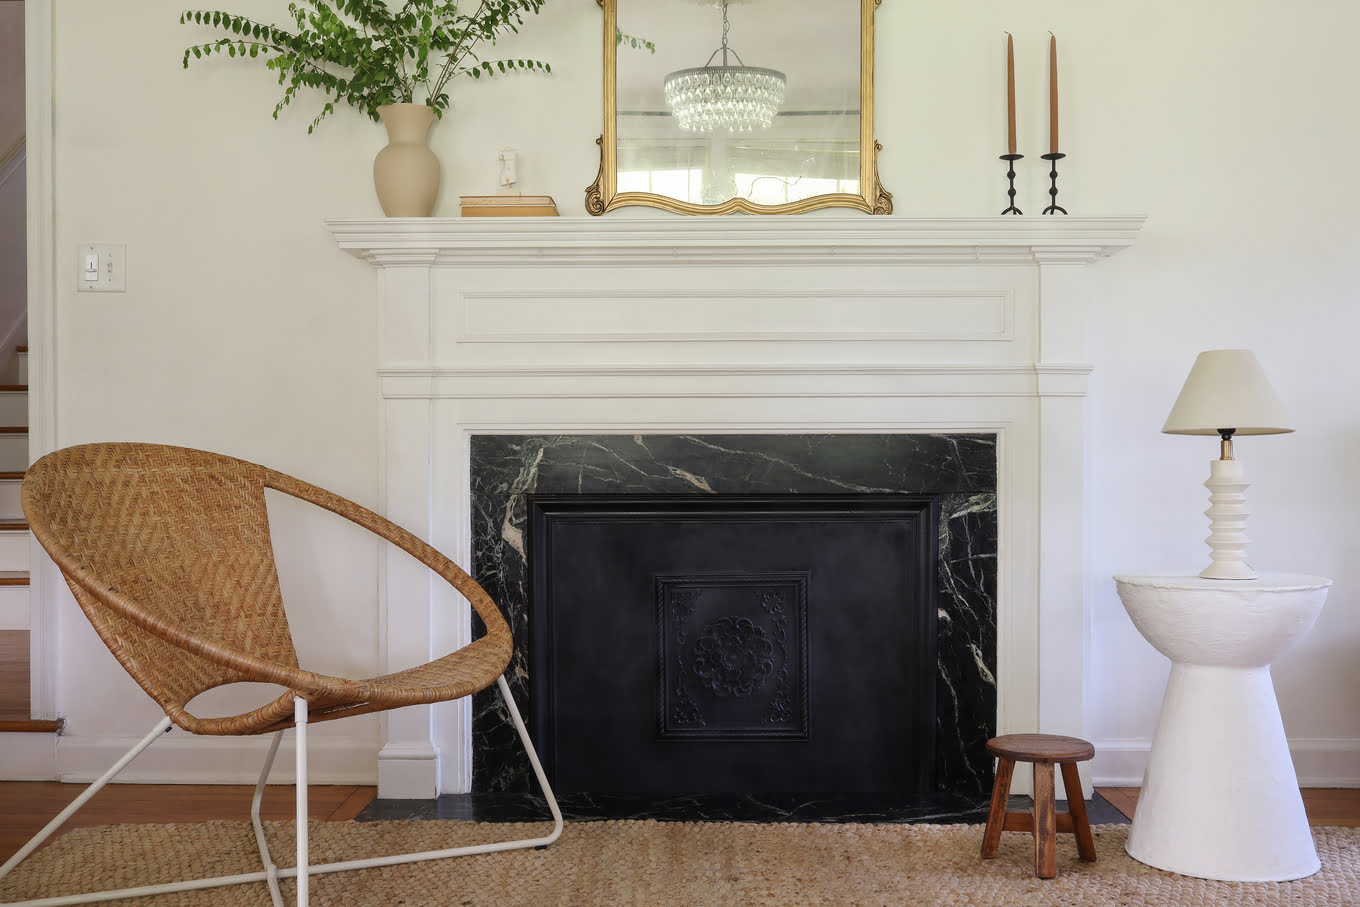
Step 8: Install the Surround and Hearth
The final step in installing your Monessen fireplace is to add the surround and hearth, which will enhance the aesthetic appeal and overall look of your fireplace. Follow these steps to complete the installation:
- Select the surround and hearth: Choose the surround and hearth materials that best suit your style and preferences. Options may include tile, stone, wood, or metal.
- Measure and cut: Measure the dimensions of the fireplace opening and the area where the surround and hearth will be installed. Cut the materials to the appropriate sizes, ensuring they fit the space correctly.
- Prepare the area: Clean the fireplace opening and the surrounding area to ensure a smooth and debris-free surface for installation. Remove any dust, dirt, or loose materials that could affect the adhesion of the surround and hearth.
- Apply adhesive: Use a suitable adhesive recommended for the chosen materials and follow the manufacturer’s instructions for application. Apply the adhesive on the backside of the surround and hearth pieces, ensuring even coverage.
- Attach the surround: Carefully place the surround piece onto the fireplace opening, aligning it properly. Press firmly to adhere it securely to the wall, applying even pressure to ensure a tight bond.
- Install the hearth: Once the surround is in place, position the hearth piece on the floor in front of the fireplace. Align it properly with the surround and press it down to secure it in place.
- Allow for drying and curing: Follow the adhesive manufacturer’s instructions for drying and curing time. Allow sufficient time for the adhesive to set and cure properly before applying any additional weight or pressure to the surround and hearth.
- Final touches: Clean the surround and hearth to remove any excess adhesive or residue. Check for any gaps or unevenness and make any necessary adjustments or repairs to achieve a polished and finished look.
Once the surround and hearth are properly installed and finished, step back and admire your completed Monessen fireplace. Take the time to clean up the surrounding area and remove any protective covering or debris.
Now, you can enjoy the warmth and beauty of your Monessen fireplace in your home. Remember to follow proper maintenance and safety guidelines provided by the manufacturer to keep your fireplace in excellent condition for years to come.
Congratulations on successfully installing your Monessen fireplace!
Conclusion
Installing a Monessen fireplace in your home can transform your space into a cozy and inviting haven. By following the steps outlined in this guide, you’ll be well on your way to enjoying the warmth and beauty of your new fireplace.
Throughout the installation process, remember to prioritize safety by following the manufacturer’s instructions, adhering to local building codes, and seeking professional assistance when needed. It’s essential to ensure a proper gas connection, test and adjust the flames, and install the surround and hearth with care.
Taking the time to gather the necessary tools and materials, carefully choosing the right location, and properly preparing the fireplace area will contribute to a successful and seamless installation. Having a thorough understanding of the manufacturer’s instructions and diligently following each step will help you achieve the desired results.
Once your Monessen fireplace is installed, don’t forget to properly maintain and care for it to keep it in optimal condition. Regular inspections, cleaning, and adherence to recommended maintenance practices will extend the lifespan of your fireplace and ensure continued enjoyment for years to come.
Now that you have the knowledge and guidance to start your Monessen fireplace installation, it’s time to begin your project. Create a warm and inviting space in your home with the flickering flames and cozy ambiance that only a fireplace can provide.
Enjoy the comfort, style, and beauty of your new Monessen fireplace!
Frequently Asked Questions about How To Start Monessen Fireplace
Was this page helpful?
At Storables.com, we guarantee accurate and reliable information. Our content, validated by Expert Board Contributors, is crafted following stringent Editorial Policies. We're committed to providing you with well-researched, expert-backed insights for all your informational needs.


0 thoughts on “How To Start Monessen Fireplace”