Articles
How To Sync Fireplace Remote
Modified: February 27, 2024
Learn how to sync your fireplace remote with these helpful articles. Discover step-by-step instructions and troubleshooting tips for a seamless syncing process.
(Many of the links in this article redirect to a specific reviewed product. Your purchase of these products through affiliate links helps to generate commission for Storables.com, at no extra cost. Learn more)
Introduction
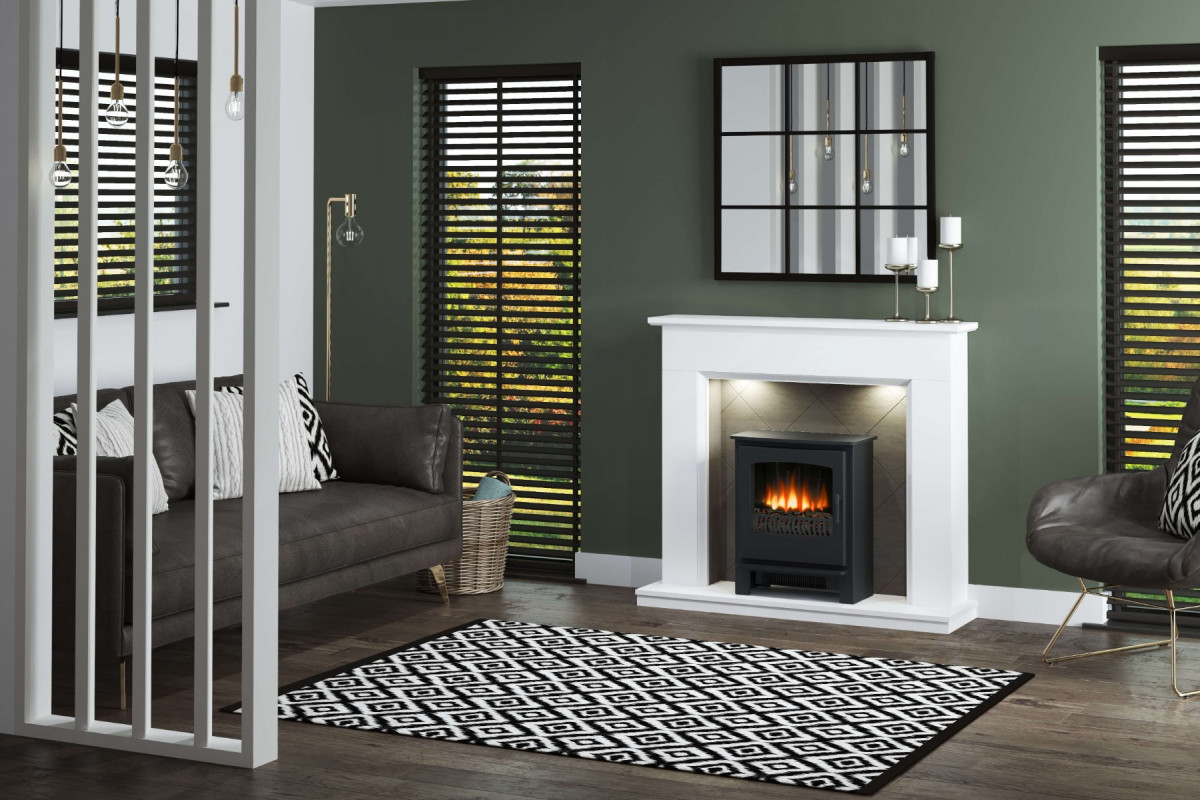
Welcome to our guide on how to sync your fireplace remote! Having a remote control for your fireplace can make it much more convenient and enjoyable to use. However, there may be instances where the remote fails to work or loses its connection with the fireplace. If you are in this situation, don’t worry – we’ve got you covered.
In this article, we will walk you through the steps to sync your fireplace remote and get it working smoothly again. Whether you have a gas fireplace, electric fireplace, or any other type, the syncing process is generally the same. So, let’s get started!
Key Takeaways:
- Easily troubleshoot and sync your fireplace remote by checking batteries, locating the receiver, resetting both devices, and programming the remote. Enjoy the convenience of controlling your fireplace with a properly synced remote.
- Follow simple steps to sync your fireplace remote, including checking batteries, locating the receiver, resetting both devices, and programming the remote. Enjoy hassle-free control of your fireplace with a synced remote.
Step 1: Check the Batteries
The first and simplest step to troubleshoot your fireplace remote is to check the batteries. Often, a remote control that is not functioning properly is simply due to dead or low batteries. Here’s what you need to do:
- Locate the battery compartment on your fireplace remote. This is usually on the back or underside of the remote, and it typically requires a small screwdriver to open.
- Remove the old batteries from the compartment and replace them with fresh ones. Make sure to insert the batteries correctly, following the polarity indicators (+ and -) marked inside the compartment.
- Close the battery compartment securely and make sure it is tightly sealed.
- Test the remote by pressing the buttons to see if it is now working. If not, proceed to the next step.
It’s important to note that some fireplace remotes may require special batteries, such as lithium batteries, so be sure to check the user manual or manufacturer’s instructions for any specific requirements.
Checking and replacing the batteries is a simple and quick troubleshooting step. However, if the remote still doesn’t work after changing the batteries, don’t worry – there are further steps we can take to resolve the issue.
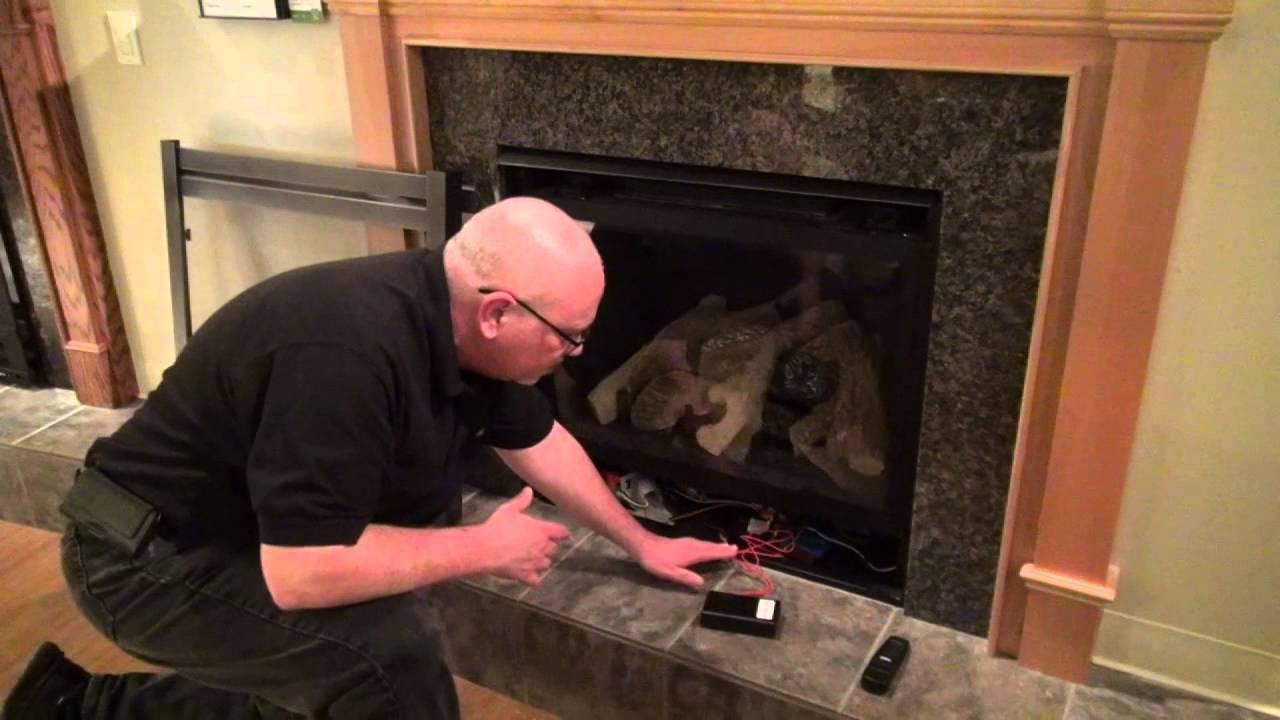
Step 2: Locate the Receiver and Remote
In order to sync your fireplace remote, you need to know the location of both the receiver and the remote. The receiver is the device that communicates with the remote and controls the fireplace’s functions. Here’s how to locate them:
- Start by identifying the receiver. It is typically situated near the fireplace and is often installed inside a control panel or a small compartment.
- If you are unable to locate the receiver visually, consult your fireplace’s manual or contact the manufacturer for assistance. They will be able to provide specific information on the receiver’s location for your particular fireplace model.
- Once you have found the receiver, locate the fireplace remote. It should be a handheld device that resembles a TV remote control and is used to operate the fireplace.
- Make sure the remote is within a reasonable range of the receiver to establish a strong signal connection. Check for any obstructions, such as furniture or walls, that may interfere with the signal.
By identifying the receiver and remote, you are now ready to move on to the next step of syncing them together.
Step 3: Reset the Receiver and Remote
If your fireplace remote is still not working after checking the batteries and verifying the location of the receiver and remote, it may be necessary to reset both devices. Resetting can often resolve any communication issues between the two. Here’s how to reset the receiver and remote:
- Start by locating the reset button on the receiver. This button is typically small and may be recessed, requiring a pin or paperclip to press.
- Using a pin or paperclip, gently press and hold the reset button on the receiver for about 10-15 seconds. This will reset the receiver’s settings and clear any previous connections.
- Next, locate the reset button on the remote. This button is usually found on the back or underside of the remote.
- Press and hold the reset button on the remote for about 10-15 seconds, just like you did with the receiver. This will reset the remote’s settings and clear any previous connections.
- After resetting both devices, wait for a few moments to allow them to sync and establish a new connection. This may take a moment, so be patient.
Resetting the receiver and remote can often resolve any communication errors and restore proper functionality. However, if the remote still doesn’t work after resetting, proceed to the next step for further troubleshooting.
Make sure the remote and the fireplace receiver are both powered on and within range of each other. Follow the manufacturer’s instructions for syncing the remote to the receiver. If you’re still having trouble, try replacing the remote’s batteries.
Step 4: Program the Remote to the Receiver
Once you have checked the batteries, located the receiver and remote, and reset both devices, it’s time to program the remote to the receiver. Programming ensures that the remote and receiver are synced and able to communicate effectively. Here’s how you can program your fireplace remote:
- Start by referring to your fireplace’s user manual or manufacturer’s instructions for the specific programming process. Different fireplace models may have slightly different instructions, so it’s important to follow the correct steps.
- Most fireplace remotes have a “Learning” or “Sync” mode that allows them to learn and sync with the receiver. Press and hold the appropriate button on the remote to enter this mode. This is typically indicated by an LED light or a specific icon on the remote.
- Once you have entered the programming mode on the remote, listen for a signal from the receiver. This can be a beep or a flashing light on the receiver itself. This indicates that the receiver is ready to pair with the remote.
- Press the desired function buttons on the remote (such as on/off or temperature control) and wait for a response from the receiver. This response may come in the form of another beep, a flashing light, or the fireplace’s flame igniting or adjusting.
- Continue programming any additional functions or settings on the remote as per the instructions provided by the manufacturer.
- After programming, test the remote to ensure that all desired functions are working correctly. Press the buttons on the remote and observe the fireplace’s response to verify successful synchronization.
Remember that the programming process may vary depending on your specific fireplace model. If you encounter any difficulties, consult your user manual or contact the manufacturer for further assistance.
Step 5: Test the Remote Functionality
After you have successfully programmed the remote to the receiver, it’s important to test its functionality to ensure that everything is working as expected. Here’s what you need to do:
- Start by pressing each function button on the remote, such as on/off, flame intensity, or temperature control. Observe the fireplace’s response to each command.
- Check if the fireplace turns on and off properly when you press the on/off button. Make sure that the flame adjusts according to the desired intensity settings.
- Test the temperature control feature, if applicable, by adjusting the temperature settings on the remote. Monitor if the fireplace responds and maintains the desired temperature.
- Try other functions or features available on the remote, such as a timer or fan control, if applicable to your fireplace model. Ensure that these features work effectively.
- If you encounter any issues or if the remote does not function as expected, refer to the troubleshooting section of your fireplace’s user manual or contact the manufacturer for further guidance.
By thoroughly testing the remote’s functionality, you can be confident that it is synced with the receiver and is operating correctly. Enjoy the convenience and comfort of controlling your fireplace with the remote!
Conclusion
Syncing your fireplace remote is a simple process that can help restore its functionality and enhance the convenience of operating your fireplace. By following the steps outlined in this guide, you can troubleshoot common issues and ensure that your remote is properly synced with the receiver.
Remember to start by checking the batteries, as this is often the culprit behind a non-functional remote. Then, locate the receiver and remote, and reset both devices if necessary. Finally, program the remote to the receiver and test its functionality to ensure that all desired functions are working correctly.
If you encounter any difficulties during the syncing process, consult your fireplace’s user manual or contact the manufacturer for specific instructions or troubleshooting guidance. They will be able to provide the best assistance for your particular fireplace model.
With a properly synced fireplace remote, you can easily and conveniently control your fireplace settings, such as turning it on and off, adjusting flame intensity, or controlling the temperature. Sit back, relax, and enjoy the warmth and ambiance of your fireplace with the ease of a remote control.
Frequently Asked Questions about How To Sync Fireplace Remote
Was this page helpful?
At Storables.com, we guarantee accurate and reliable information. Our content, validated by Expert Board Contributors, is crafted following stringent Editorial Policies. We're committed to providing you with well-researched, expert-backed insights for all your informational needs.


0 thoughts on “How To Sync Fireplace Remote”