Home>Garden Essentials>How To Start Magnolia Seeds

Garden Essentials
How To Start Magnolia Seeds
Modified: August 28, 2024
Learn how to start magnolia seeds in your garden with these step-by-step instructions. Discover the secrets to successful seed germination and grow beautiful magnolia trees.
(Many of the links in this article redirect to a specific reviewed product. Your purchase of these products through affiliate links helps to generate commission for Storables.com, at no extra cost. Learn more)
Introduction
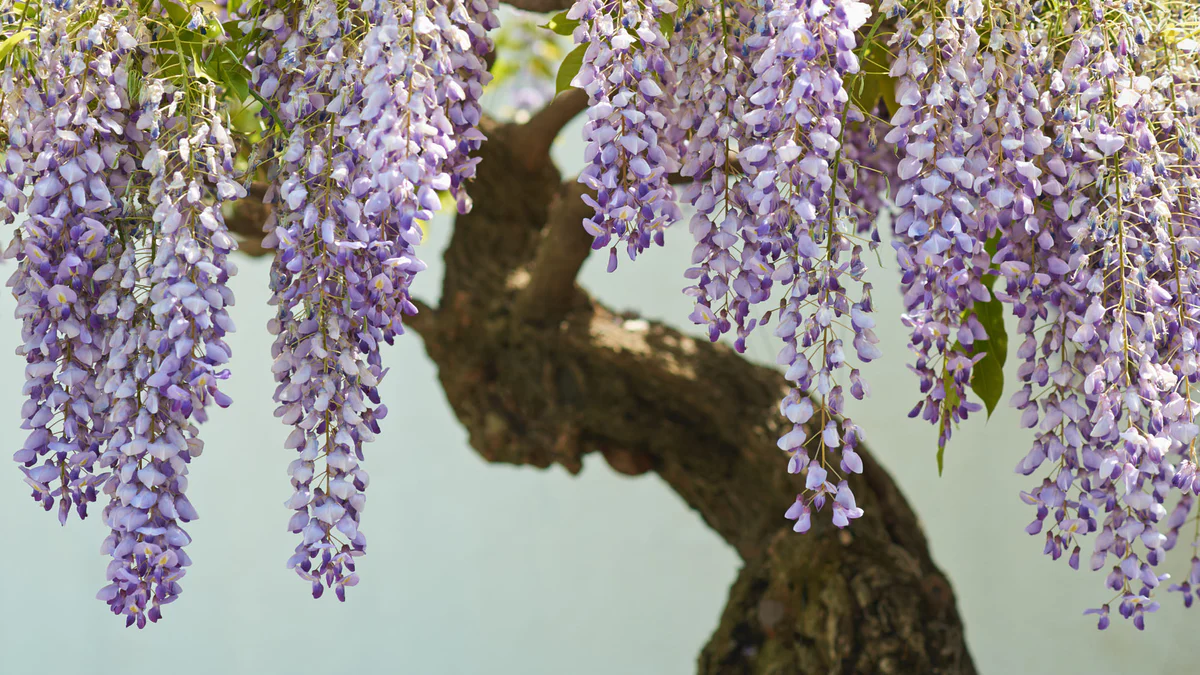
Welcome to the world of magnolias, where beauty, elegance, and fragrance blend seamlessly. Whether you”re a seasoned gardener or just starting out, growing magnolias from seeds can be an exciting and rewarding experience. Magnolias are known for their stunning flowers, glossy foliage, and graceful form, making them a popular choice for landscape enthusiasts.
In this article, we will guide you through the process of starting magnolia seeds, from gathering the necessary materials to caring for the seedlings and beyond. So, if you”re ready to embark on a journey of horticultural wonder, grab your gardening gloves and let”s get started!
Key Takeaways:
- Starting magnolia seeds requires scarification, stratification, and proper pot selection. Patience and attention to detail are essential for successful germination and seedling care.
- Caring for mature magnolia plants involves watering, pruning, fertilizing, and pest management. Enjoy the beauty of blossoms and take pride in creating a stunning garden.
Read more: How To Start A Magnolia Tree From Seed
Step 1: Gather the necessary materials
Before you begin the journey of starting magnolia seeds, it is crucial to gather all the necessary materials. Here are the items you will need:
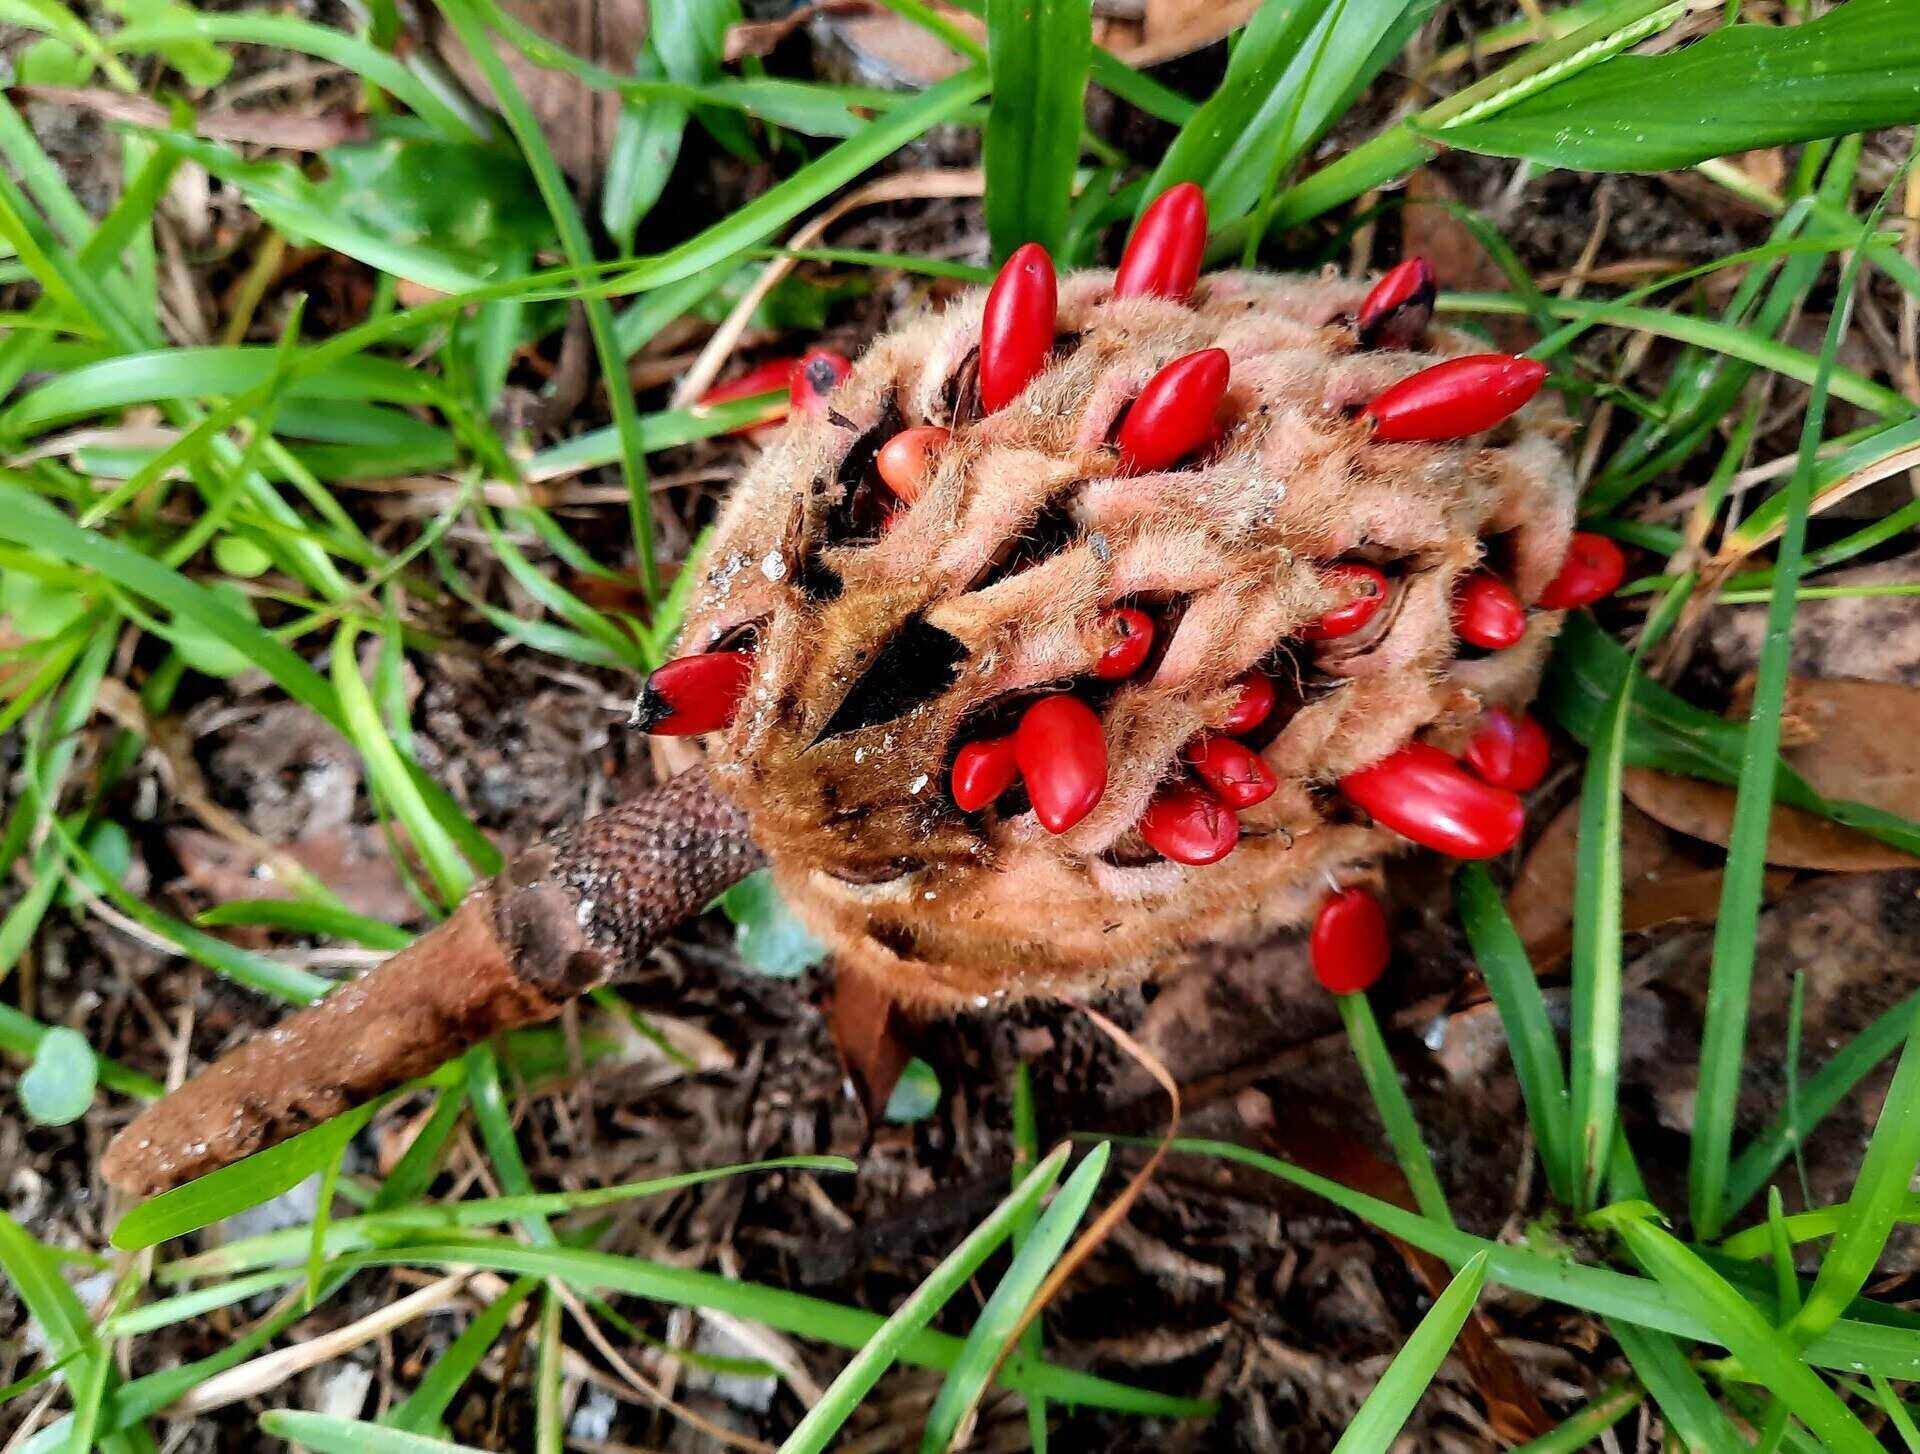
- Magnolia seeds: The first and most important ingredient for starting magnolias from seeds is, of course, the seeds themselves. You can collect them from existing magnolia trees or purchase them from a reputable supplier. Make sure to choose seeds that are plump, healthy, and free from any signs of damage or disease.
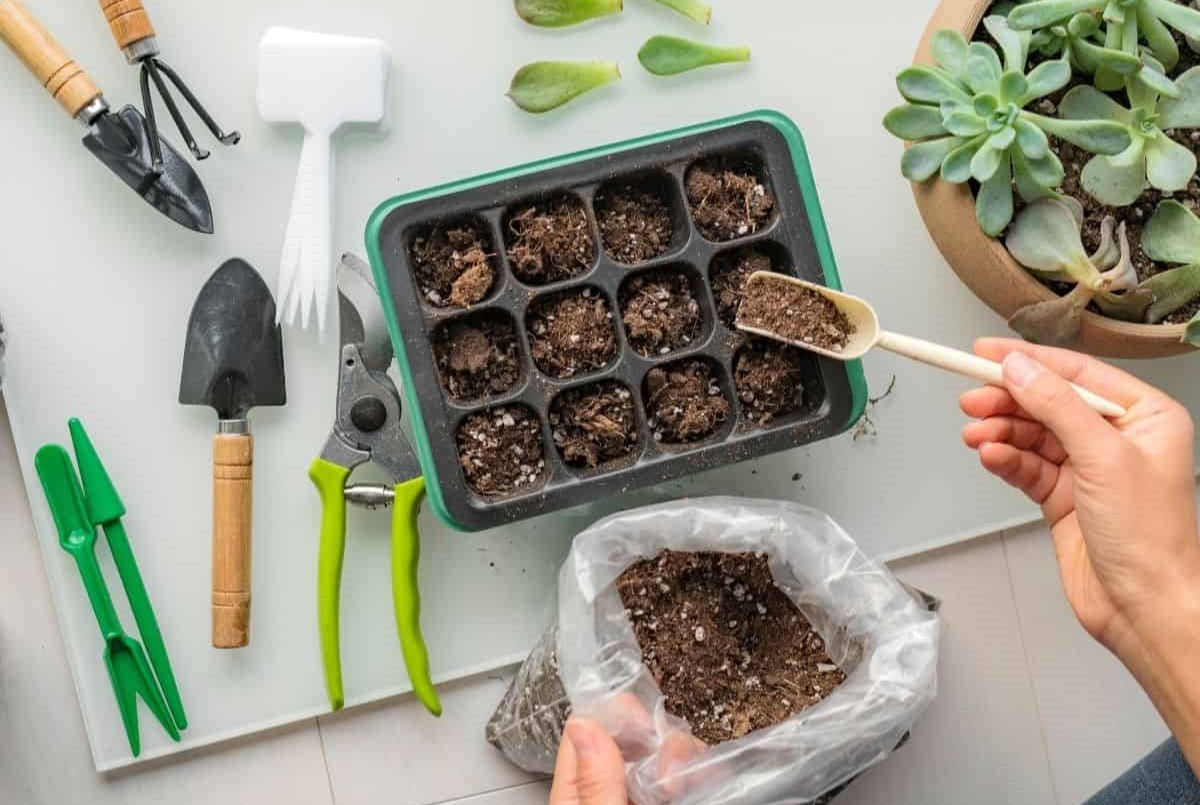
- Seed tray or pots: You will need a container to sow the magnolia seeds. A seed tray with individual cells or small pots work well for this purpose. Ensure that the containers have drainage holes to prevent waterlogging.
- Seed starting mix: Magnolia seeds require a specific type of well-draining, nutrient-rich soil mix to facilitate healthy germination and seedling growth. Look for a high-quality seed starting mix that is specially formulated for seed propagation.
- Watering can or spray bottle: Adequate moisture is vital for the successful germination of magnolia seeds. A watering can with a fine rose or a spray bottle will help you provide a gentle mist of water without disturbing the seeds.
- Plastic wrap or a clear plastic lid: To create a greenhouse-like environment for the seeds, covering the container with plastic wrap or placing a clear plastic lid on top will help retain moisture and create a warm, humid atmosphere.
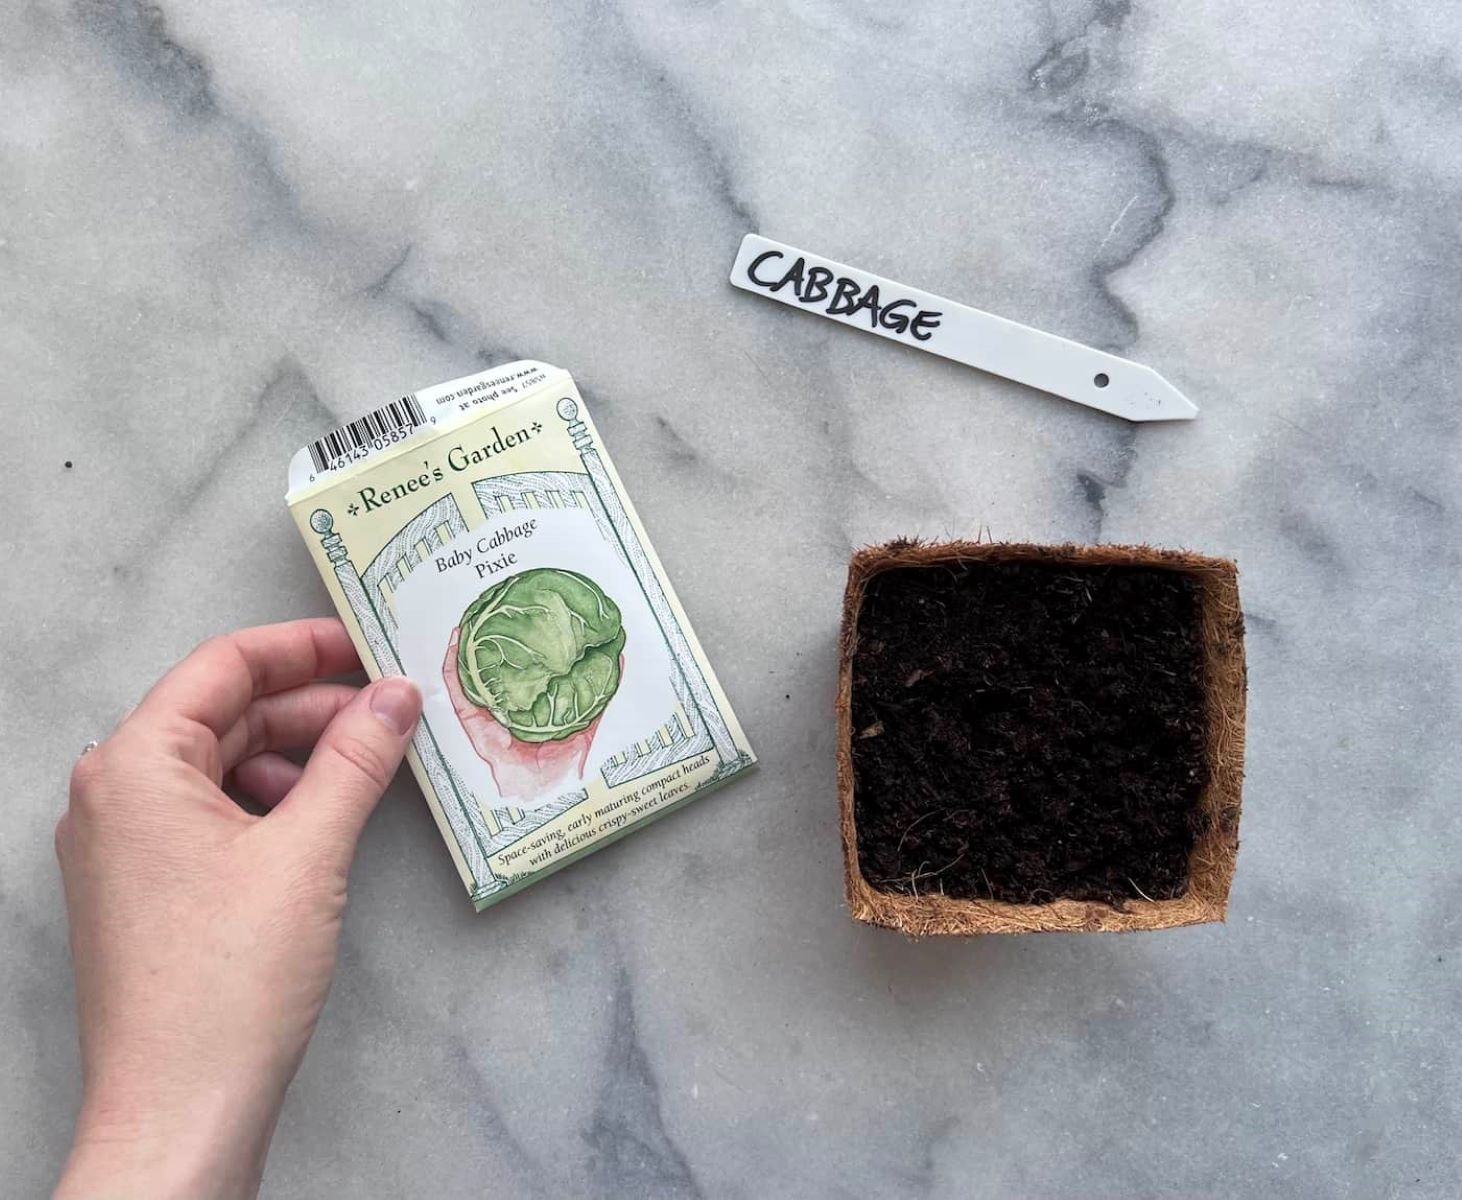
- Plant labels: It”s essential to label your containers to keep track of the varieties you”re planting. Use plant labels or popsicle sticks to identify the different types of magnolia seeds you sow.
- Grow lights or a sunny location: Magnolia seeds require bright, indirect light for proper growth. If you don”t have access to a sunny location, you can use artificial grow lights to provide the necessary light intensity and duration.
- Thermometer: Monitoring the temperature is crucial for the success of your magnolia seed-starting venture. A thermometer will help you maintain the ideal temperature range for germination and seedling development.
Now that you have gathered all the necessary materials, you”re equipped to move on to the next step: preparing the magnolia seeds for planting.
Step 2: Preparing the seeds
Properly preparing the magnolia seeds before planting is essential for ensuring successful germination. Follow these steps to prepare your seeds:
- Scarification: Magnolia seeds have a hard outer shell that can inhibit germination. To break through this tough barrier, you will need to scarify the seeds. Gently rub the seeds with sandpaper or nick the seed coat with a knife, being careful not to damage the embryo inside. This process helps to speed up water absorption and promotes germination.
- Stratification: Many magnolia seeds require a period of cold stratification to mimic winter conditions and break dormancy. To stratify the seeds, place them in a plastic bag with a moistened paper towel or vermiculite. Seal the bag and refrigerate it for around 2 to 3 months. This process helps to simulate natural conditions and encourage germination.
- Soaking: Some magnolia seeds benefit from soaking in water before planting. Fill a bowl with room temperature water and place the scarified seeds in it. Let them soak for 24 to 48 hours. This soaking process allows the seeds to absorb moisture and prepares them for planting.
After preparing the magnolia seeds, you are now ready to move on to selecting the pot or container for planting.
Step 3: Selecting the pot or container
Choosing the right pot or container for your magnolia seeds is essential for their optimum growth and development. Here are some factors to consider when selecting a pot:
- Size: Opt for a container that provides ample room for the roots to grow. A pot with a diameter of at least 8 to 10 inches is generally suitable for starting magnolia seeds.
- Drainage: Ensure that the pot has drainage holes to prevent waterlogging, which can lead to root rot. Good drainage is crucial for the health of your magnolia seedlings.
- Material: Clay or terracotta pots are popular choices for planting magnolia seeds as they provide better airflow and moisture regulation. However, plastic pots are also suitable and more lightweight if you prefer them.
- Reusable or biodegradable: Consider using biodegradable peat pots or seedling trays made from materials like coconut coir or pressed plant fibers. These containers can be planted directly into the ground, minimizing the risk of transplant shock.
- Number of seeds: Depending on the number of magnolia seeds you have, you may need multiple pots or containers. It is best to plant one seed per pot to ensure each seedling has enough space and resources to grow.
Once you have selected the perfect pot or container, it”s time to move on to planting the magnolia seeds. Exciting times lie ahead as you bring these beautiful trees to life!
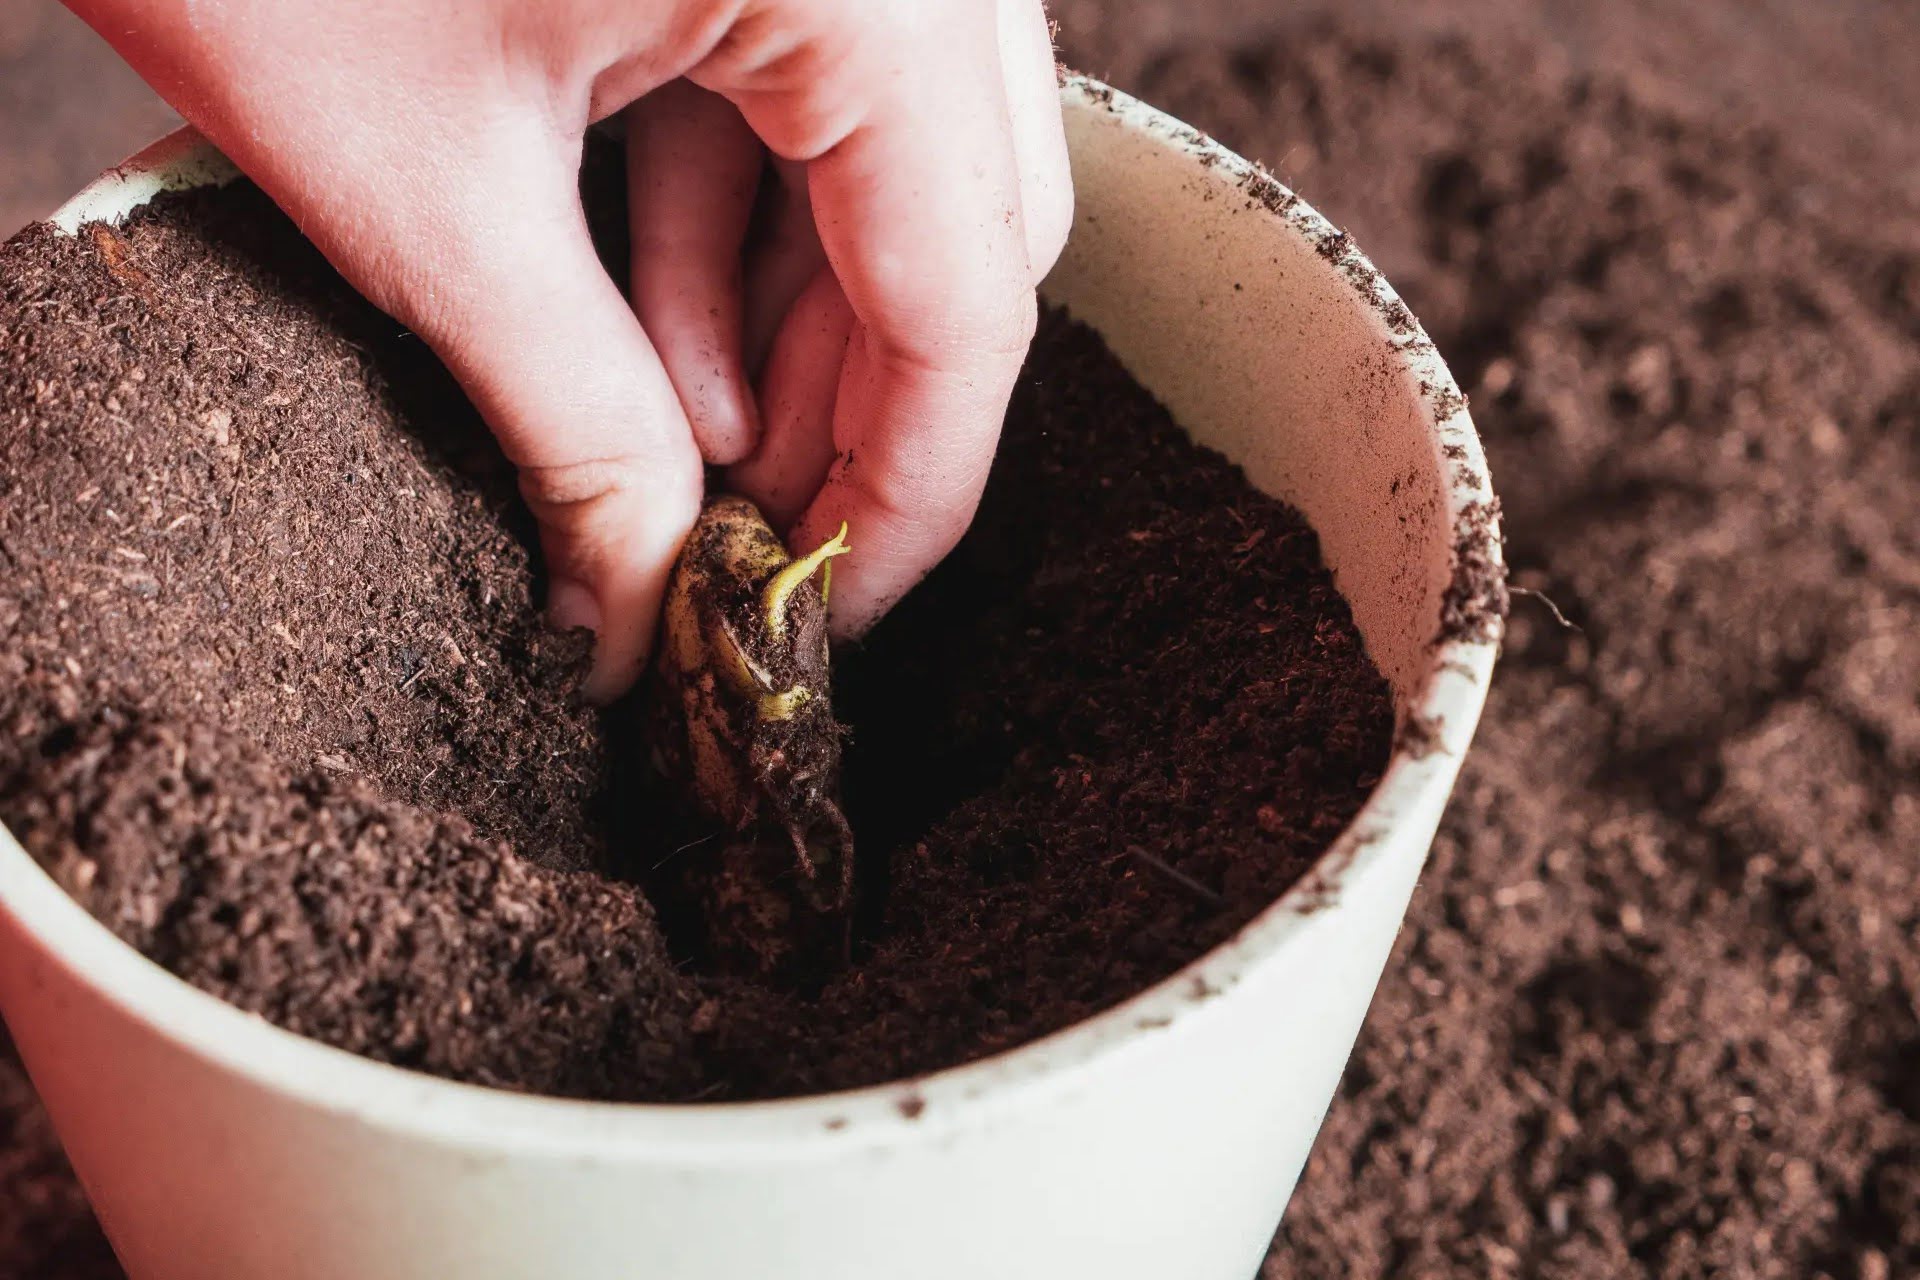
Step 4: Planting the seeds
Now that you have prepared your magnolia seeds and selected the appropriate pot or container, it’s time to plant the seeds. Follow these steps for successful seed planting:
- Fill the container: Fill the pot with the chosen seed starting mix, leaving about an inch of space below the rim. Ensure that the soil is moist but not soggy.
- Planting depth: Make a small hole in the soil using your finger or a pencil, approximately 1 inch deep. Place a single magnolia seed into the hole, making sure it is right side up. Cover the seed gently with soil, but avoid packing it down too firmly.
- Labeling: Use a plant label or write on a popsicle stick to identify the variety of magnolia you planted. Insert the label into the soil near the seed so that you can easily identify it later.
- Watering: After planting the seeds, give the pot a gentle watering using a watering can or spray bottle. Ensure that the soil is evenly moist, but be careful not to overwater as this can lead to rotting.
- Covering: To create a greenhouse-like environment that promotes seed germination, gently cover the pot with plastic wrap or place a clear plastic lid on top. This helps to retain moisture and create a warm, humid atmosphere around the seeds.
- Location: Place the pot in a warm area that receives bright, indirect light. Avoid exposing the seeds to direct sunlight, as this can overheat the container and hinder germination.
With the seeds planted, all you need now is patience and careful monitoring as you await the magic of germination. In the next step, we will discuss the conditions required for successful seed germination and early growth.
Soak magnolia seeds in water for 24 hours before planting to help soften the seed coat and improve germination. Plant in well-draining soil and keep consistently moist.
Read more: When To Plant Magnolia Seeds
Step 5: Providing the right conditions for germination
Creating the ideal conditions for germination is crucial in ensuring the successful growth of your magnolia seeds. Here are some key factors to consider:
- Temperature: Magnolia seeds require a consistent temperature range of around 70 to 80°F (21 to 27°C) for optimal germination. You can use a thermometer to monitor the temperature and make any necessary adjustments to maintain this range.
- Moisture: Proper moisture is crucial for successful germination. Check the soil regularly to ensure it remains moist but not waterlogged. Avoid letting the soil dry out completely or become overly saturated as this can hinder germination. Mist the soil surface gently with water whenever it begins to dry out.
- Light: While magnolia seeds require light for germination, direct sunlight can be too intense and may harm the seedlings. Place the pot in a bright location that receives indirect sunlight or use grow lights to provide the optimal amount of light for the seeds.
- Humidity: Maintaining a humid environment around the seeds can significantly improve germination rates. Keep the plastic wrap or clear lid on the container to trap moisture and create a mini greenhouse effect. Check regularly for condensation and adjust ventilation accordingly to prevent excessive moisture buildup.
- Patience: Magnolia seeds can take anywhere from several weeks to several months to germinate, depending on the variety. Be patient and resist the urge to disturb the seeds during this time. Continue to monitor the conditions and make any necessary adjustments to ensure they remain optimal.
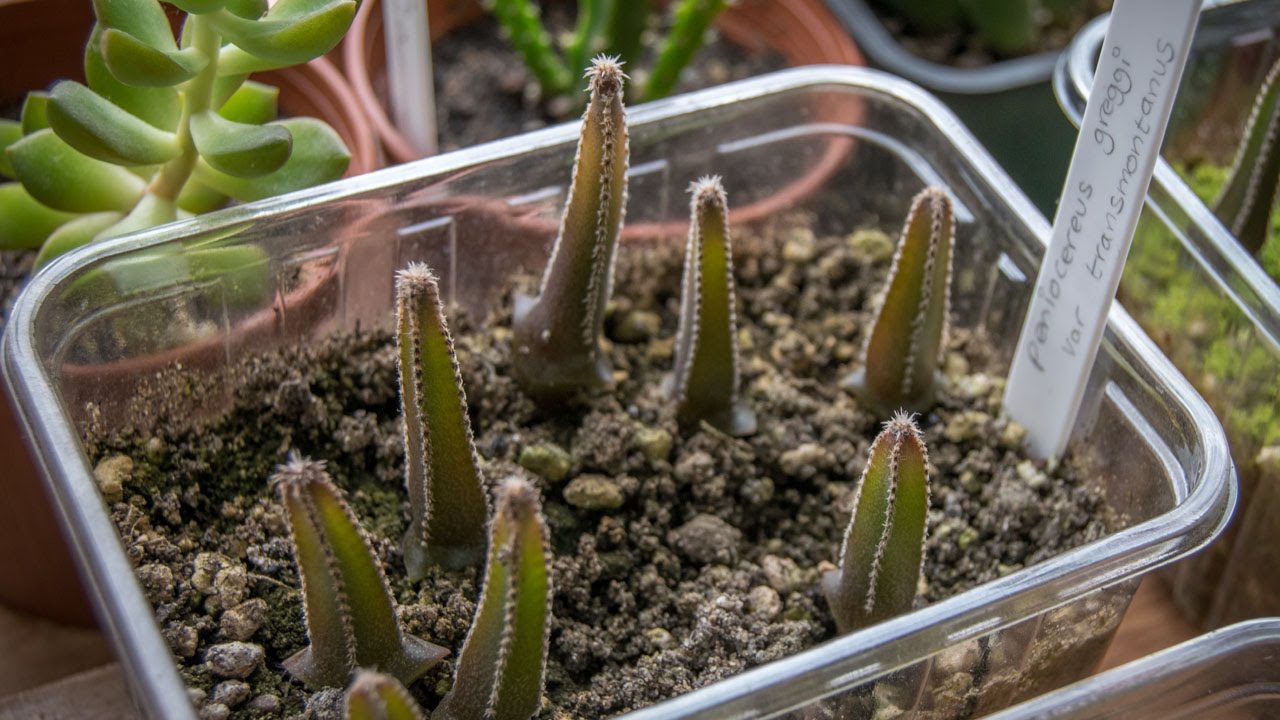
By providing the right conditions, you are giving your magnolia seeds the best chance of germinating and sprouting into healthy seedlings. Next, we will dive into the necessary care for the seedlings once they emerge.
Step 6: Caring for the seedlings
Once your magnolia seedlings begin to emerge, it’s essential to provide them with proper care to ensure their healthy growth and development. Here are some guidelines to follow:
- Thinning: If you planted more than one seed per pot, it’s important to thin out the weaker seedlings to give the remaining ones more space and resources to grow. Choose the strongest and healthiest seedlings and carefully remove the others, being cautious not to disturb the roots of the remaining plants.
- Watering: Consistent and proper watering is crucial at this stage. Keep the soil evenly moist, but avoid overwatering. Check the moisture level regularly and adjust your watering schedule accordingly.
- Feeding: Once the seedlings have established their first set of true leaves, you can begin feeding them with a balanced, water-soluble fertilizer. Follow the instructions on the packaging for proper dosage and frequency.
- Light: As the seedlings grow, they will require more light for healthy development. If you’re using grow lights, adjust their height to ensure the seedlings are receiving adequate light intensity. If placing them near a window, rotate the pots periodically to promote even growth.
- Air circulation: Good air circulation is crucial to prevent diseases and ensure sturdy growth. Remove the plastic wrap or lid from the pots once the seedlings have emerged and gradually introduce them to normal indoor air conditions.
- Transplanting: When the seedlings have developed a set of true leaves and are 4 to 6 inches tall, they are ready for transplantation. Carefully loosen the soil around the seedling and transplant it into a larger container or into the ground, ensuring adequate spacing between plants.
- Protection: Shield the young magnolia seedlings from extreme weather conditions, such as strong winds or intense sunlight. Provide them with some shade or use protective covers during periods of harsh weather.
By following these care instructions, your magnolia seedlings will thrive and grow into healthy plants. The next step involves transplanting them into their permanent location for continued care and maintenance.
Step 7: Transplanting the seedlings
Transplanting your magnolia seedlings into their permanent location is a significant step in their journey towards becoming mature trees. Here’s how to transplant your seedlings successfully:
- Choose the right timing: It’s crucial to select the appropriate time to transplant your magnolia seedlings. Ideally, choose a mild, overcast day in early spring or late fall when the soil is moist but not waterlogged. Avoid transplanting during periods of extreme heat or cold.
- Prepare the planting hole: Dig a hole in the ground that is slightly wider and deeper than the root ball of the seedling. Ensure that the hole is large enough to accommodate the spread of the roots without crowding or bending them.
- Gently remove the seedling: Carefully lift the magnolia seedling from its current container, being cautious not to damage the roots. Gently loosen the roots if they appear to be circling the bottom of the pot, promoting outward growth.
- Place the seedling in the hole: Position the seedling in the center of the hole, making sure that the top of the root ball is level with or slightly above the soil surface. Fill the hole with soil, firming it gently around the roots to eliminate air pockets.
- Water thoroughly: After transplanting, give the seedling a deep watering to settle the soil around the roots. This watering helps to eliminate any remaining air pockets and establishes good contact between the roots and the soil.
- Mulch: Apply a layer of organic mulch, such as shredded bark or wood chips, around the base of the seedling. This mulch helps conserve moisture, control weeds, and regulate soil temperature.
- Stake if necessary: If your magnolia seedling is tall or in an area prone to strong winds, consider staking it for support. Use soft ties to secure the tree to the stake, allowing room for natural movement and growth.
After transplanting, continue to provide proper care, including regular watering and monitoring for any signs of stress or disease. With time and care, your magnolia seedlings will establish themselves in their new environment and begin to flourish.
Step 8: Continued care for mature magnolia plants
Once your magnolia plants have reached maturity, they will require ongoing care to ensure their health and beauty. Here are some essential aspects to consider:
- Watering: While mature magnolia trees are generally tolerant of dry conditions, they still benefit from regular watering during prolonged periods of drought. Water deeply but infrequently, allowing the soil to dry out slightly between waterings.
- Pruning: Pruning helps maintain the shape and appearance of your magnolia tree, as well as remove any dead, damaged, or diseased branches. Prune during the dormant season, preferably in late winter or early spring before new growth begins.
- Fertilizing: Fertilize your magnolia tree annually in early spring with a slow-release, balanced fertilizer specially formulated for flowering trees. Follow the package instructions for proper application rates and techniques.
- Mulching: Applying a layer of organic mulch around the base of the tree helps conserve moisture, suppress weed growth, and regulate soil temperature. Maintain a mulch depth of 2 to 4 inches, ensuring that the mulch is pulled away from the trunk to prevent rotting.
- Pest and disease management: Keep an eye out for common pests, such as scales, aphids, and spider mites, as well as diseases like powdery mildew or leaf spot. Regularly inspect your magnolia tree and take appropriate measures, such as using organic insecticides or fungicides, if necessary.
- Protection from extreme weather: In regions with harsh winters, consider providing protection for your magnolia tree from frost or freezing temperatures. Use burlap wraps or covers to shield the tree during extreme weather conditions.
- Regular inspections: Regularly inspect your magnolia tree for any signs of stress, including wilting, yellowing leaves, or unusual growth patterns. Promptly address any issues to prevent further damage and promote the overall health of the tree.
- Enjoying the beauty: Lastly, take the time to appreciate and enjoy the breathtaking beauty and fragrance of your mature magnolia tree. Marvel at the stunning blossoms and relish in the peaceful ambiance it brings to your garden or landscape.
By providing continued care and attention to your mature magnolia plants, you can ensure their longevity and enjoy their beauty for years to come. Take pride in your gardening accomplishments and savor the rewards of your hard work and dedication.
Read more: What Do Magnolia Seeds Look Like
Conclusion
Congratulations on successfully navigating the process of starting magnolia seeds and caring for them until they reach maturity. Growing magnolias from seeds is a rewarding journey that allows you to witness the transformation of tiny seeds into magnificent trees, adorning your garden with their captivating beauty.
Throughout this article, we’ve covered the essential steps, from gathering the necessary materials to transplanting your seedlings and providing continued care for mature magnolia plants. By following these guidelines, you’ve set yourself up for success in creating a thriving and vibrant magnolia garden.
Remember, each step is critical in ensuring the health and vitality of your magnolia plants. From scarifying and stratifying the seeds to selecting the right pot, providing optimal germination conditions, and caring for the seedlings, your attention to detail and patience will pay off in the long run.
As your magnolia plants mature, continue to provide the necessary care, including watering, pruning, fertilizing, and monitoring for pests and diseases. Appreciate the seasonal beauty of their blossoms and take pride in creating a stunning landscape that showcases these remarkable trees.
Whether you’re creating a focal point in your garden, adding shade to your outdoor space, or simply enjoying the visual and olfactory delights of magnolia blooms, your efforts in growing magnolias from seeds will be well worth it.
So, set your sights on the seeds of magnolia trees, prepare them with care, and nurture them into magnificent specimens. Let the timeless beauty and elegance of magnolias adorn your garden, providing years of enjoyment, serenity, and inspiration.
Frequently Asked Questions about How To Start Magnolia Seeds
Was this page helpful?
At Storables.com, we guarantee accurate and reliable information. Our content, validated by Expert Board Contributors, is crafted following stringent Editorial Policies. We're committed to providing you with well-researched, expert-backed insights for all your informational needs.


0 thoughts on “How To Start Magnolia Seeds”