Articles
How To Start A Garden
Modified: October 30, 2024
Learn the basics of gardening and start your own garden with our step-by-step guide. Find tips, tools, and techniques for successful gardening.
(Many of the links in this article redirect to a specific reviewed product. Your purchase of these products through affiliate links helps to generate commission for Storables.com, at no extra cost. Learn more)
Introduction
Welcome to the world of gardening! Whether you have a sprawling backyard or a small balcony, cultivating your own garden can be a rewarding and fulfilling experience. Not only does it allow you to reconnect with nature, but it also provides a sense of accomplishment as you watch your plants grow and flourish.
Starting a garden may seem daunting at first, but with some careful planning and the right techniques, anyone can create a thriving green oasis. In this article, we will guide you through the essential steps to help you get started on your gardening journey.
Before we dive into the details, it’s important to understand that gardening is a process that requires patience and dedication. It’s not just about planting a seed and waiting for it to grow; it involves careful consideration of factors such as location, soil quality, plant selection, and ongoing maintenance. By following these steps, you can set yourself up for success and enjoy the fruits of your labor.
So, let’s roll up our sleeves and dig into the world of gardening! Whether you’re a novice or have some experience, this article will provide you with valuable insights and tips to help you create a vibrant and flourishing garden space.
Key Takeaways:
- Choose the right location, prepare the soil, and select the right plants to create a thriving garden. Embrace the joy of nurturing and witnessing the life that unfolds in your green oasis.
- Prevent pests and diseases, provide proper care, and enjoy the satisfying harvest. Gardening is a continuous learning process, so stay curious, adaptable, and patient on your gardening journey.
Read more: How To Start A Community Garden
Step 1: Choose the right location for your garden
The first and most crucial step in starting a garden is selecting the right location. The success of your plants largely depends on the amount of sunlight, accessibility to water, and the soil conditions.
When choosing a location, look for an area that receives at least six hours of sunlight per day. Most vegetables, flowers, and herbs require ample sunlight to thrive. Observe your outdoor space throughout the day to identify the sunniest spot.
Additionally, ensure that the location is easily accessible to water sources. Regular watering is vital for the health and growth of your plants, so having a water source nearby will make this task more convenient. Consider installing a drip irrigation system or a water-saving mechanism to efficiently water your garden.
The soil quality is another critical factor. Test the soil for its pH level and nutrient content. Many plants prefer slightly acidic to neutral soil. You can improve the soil quality by adding organic matter, such as compost or well-rotted manure, to enrich it with essential nutrients.
Furthermore, assess the drainage of the area. A garden with poor drainage can lead to root rot and other water-related issues. Avoid areas with standing water or heavy clay soil. If needed, consider building raised beds or incorporating drainage systems to ensure that excess water can flow away from the plants.
Lastly, consider the proximity of your garden to your home. Having the garden near your living space allows for easy observation and quick access. It will also motivate you to spend more time tending to your plants and enjoying the beauty of your garden.
By selecting the right location for your garden, you are setting the foundation for its overall success. Take the time to evaluate different spots in your outdoor area and choose the one that meets the sunlight, water, soil, and accessibility requirements. With a well-chosen location, your plants will have the best chance to thrive and flourish.
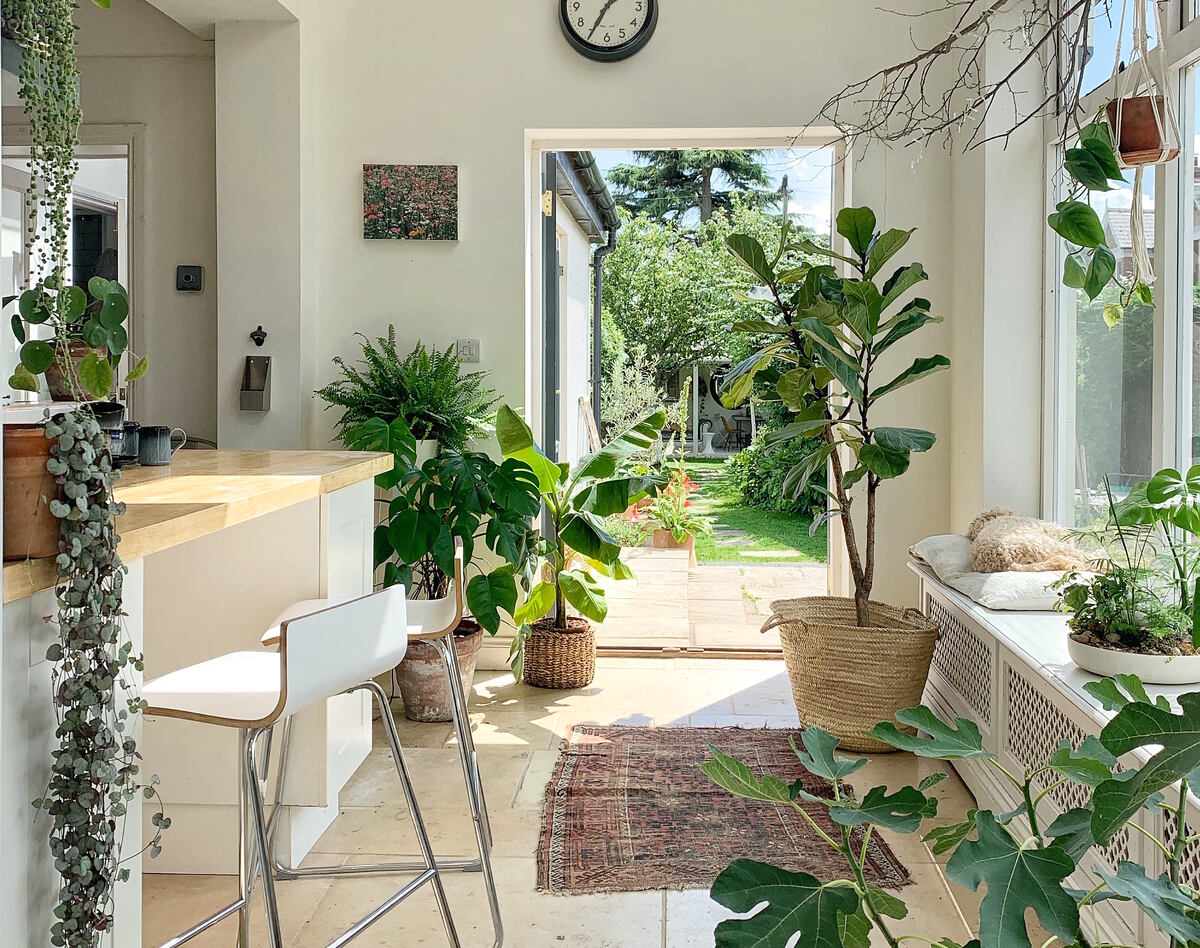
Step 2: Determine the size and type of garden
Once you have chosen the location for your garden, the next step is to determine its size and type. The size will depend on the available space and your gardening goals, while the type of garden will be based on your preferences and interests.
Consider the available space in your chosen location. If you have a small area, you might opt for a container garden or raised beds. These options are ideal for balconies, patios, or limited backyard space. They allow you to grow a variety of plants in a compact and organized manner.
For larger spaces, you can create traditional in-ground beds or even explore the idea of a vertical garden. Vertical gardening makes use of vertical space by growing plants on trellises, walls, or hanging containers. This can be a great option if you have limited horizontal space but still want to maximize your growing capacity.
Once you have determined the size, consider the type of garden you want to create. There are various options to choose from, depending on your interests and goals:
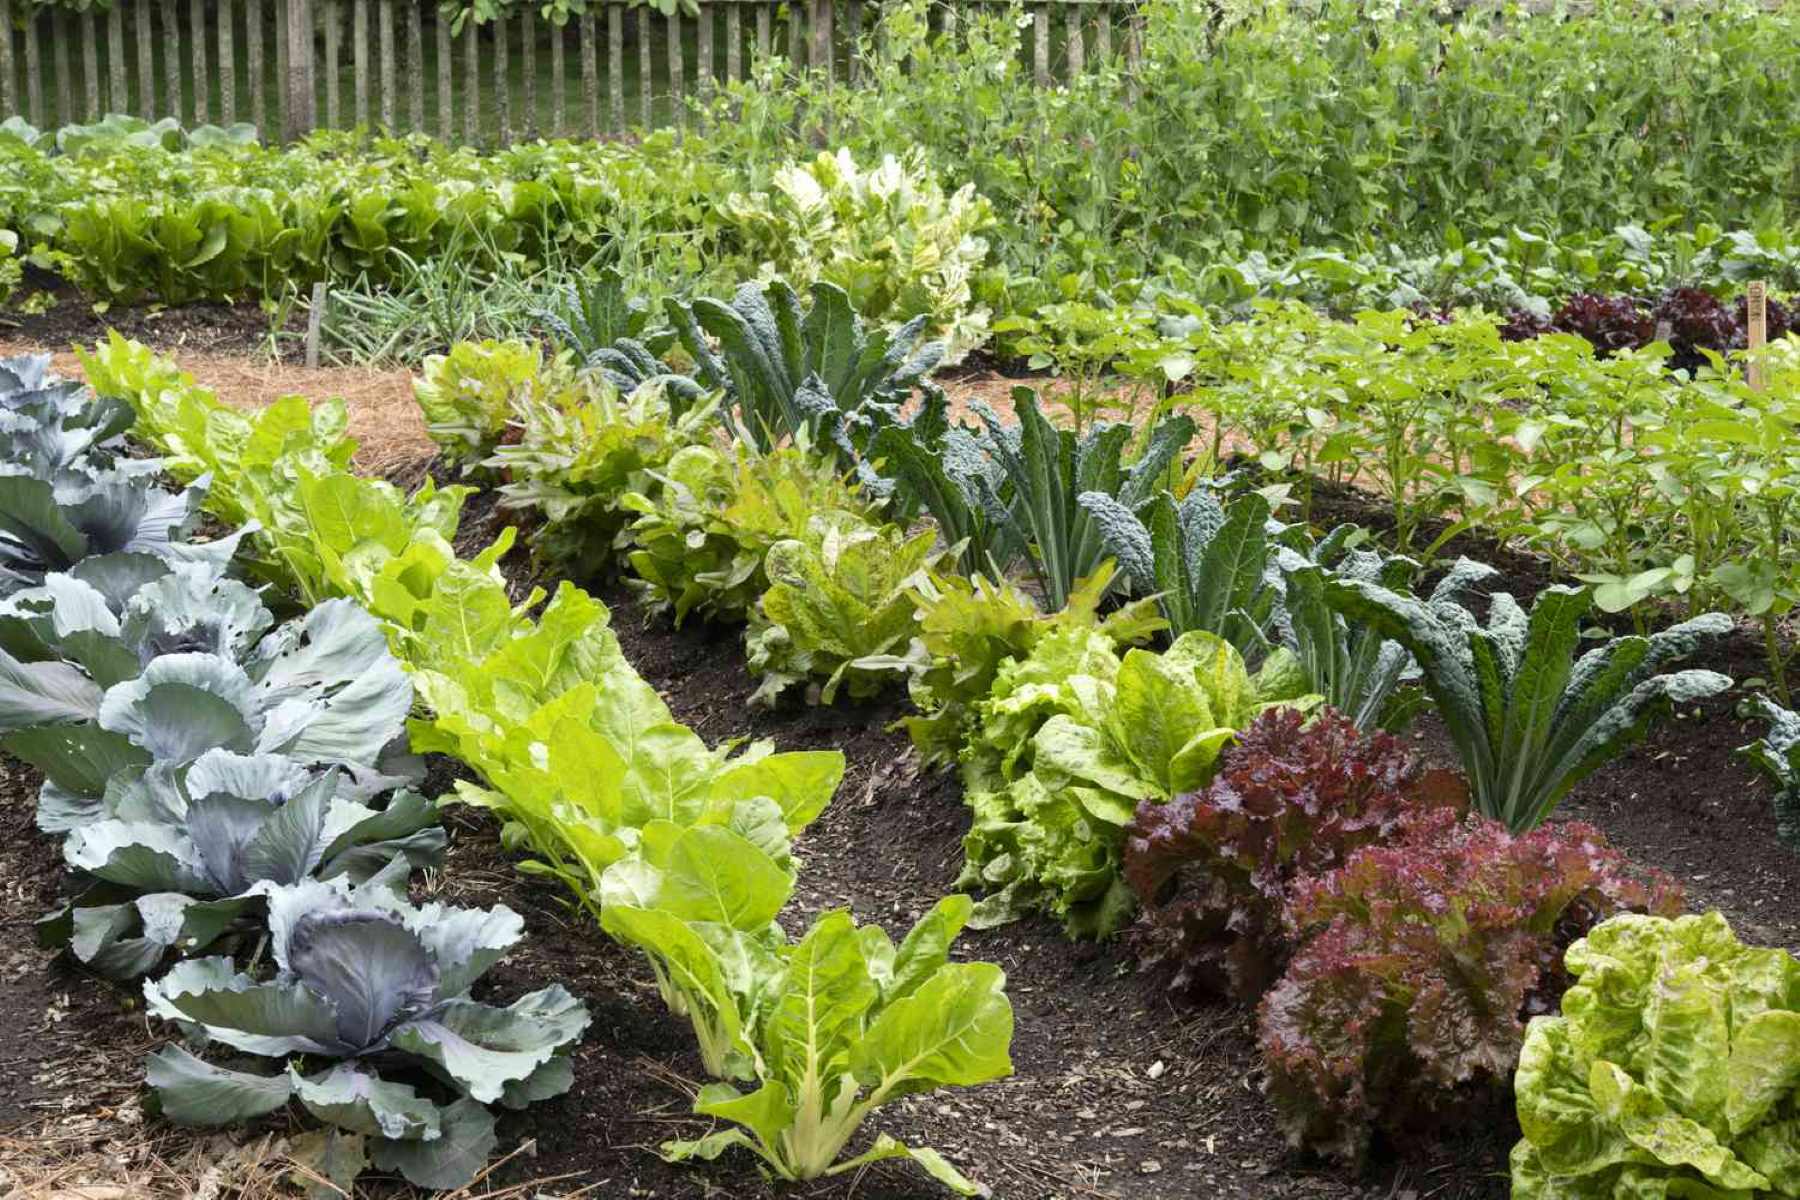
- Vegetable garden: If you enjoy cooking with fresh ingredients or want to embrace a sustainable lifestyle, a vegetable garden is a perfect choice. You can grow a wide range of vegetables to enjoy a bountiful harvest throughout the growing season.
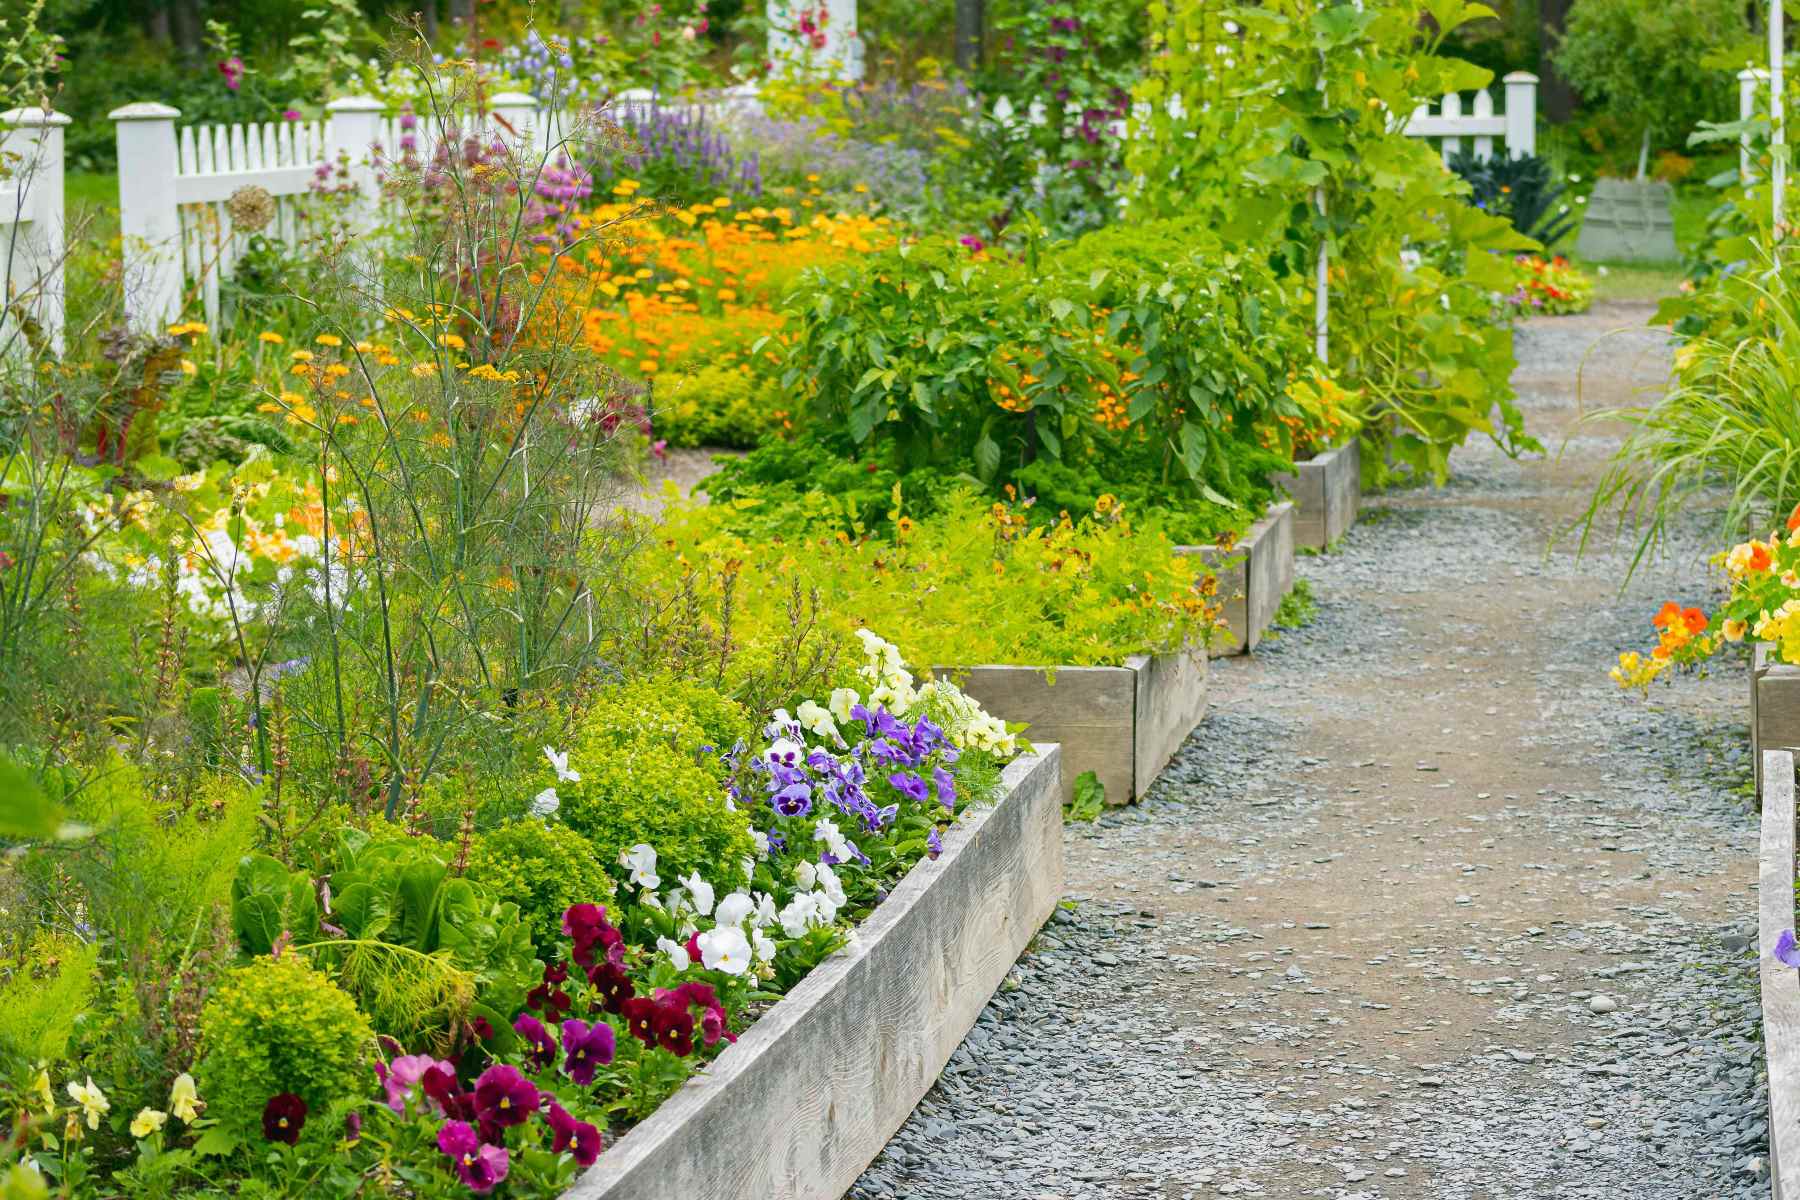
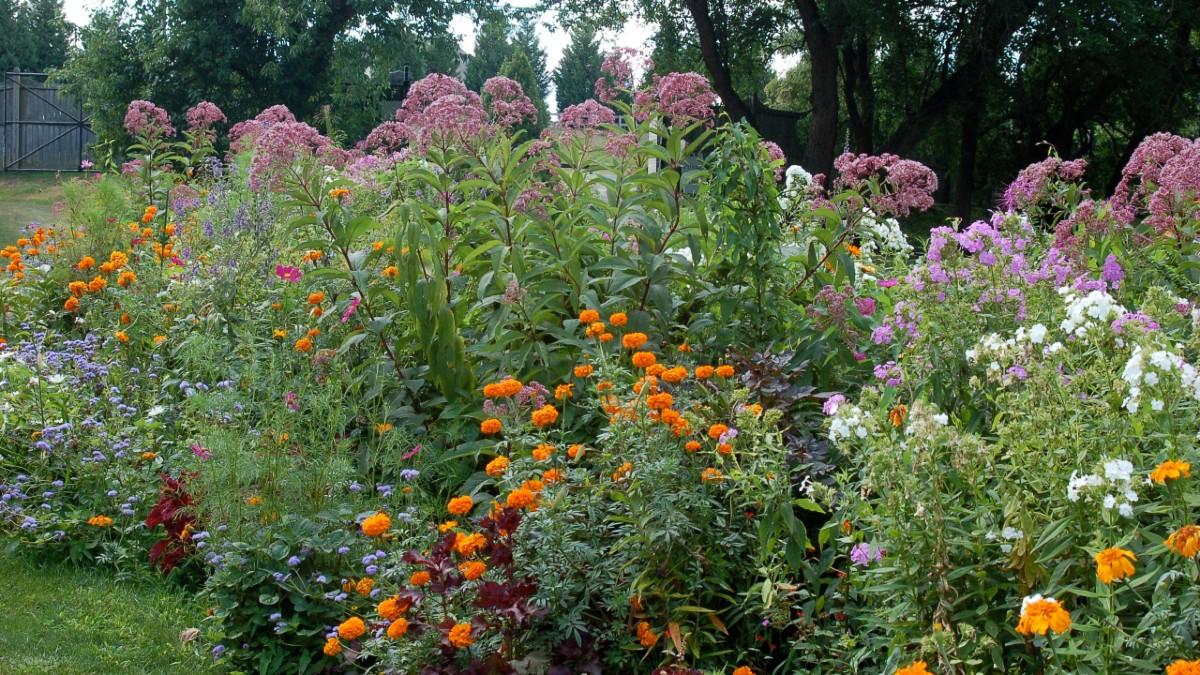
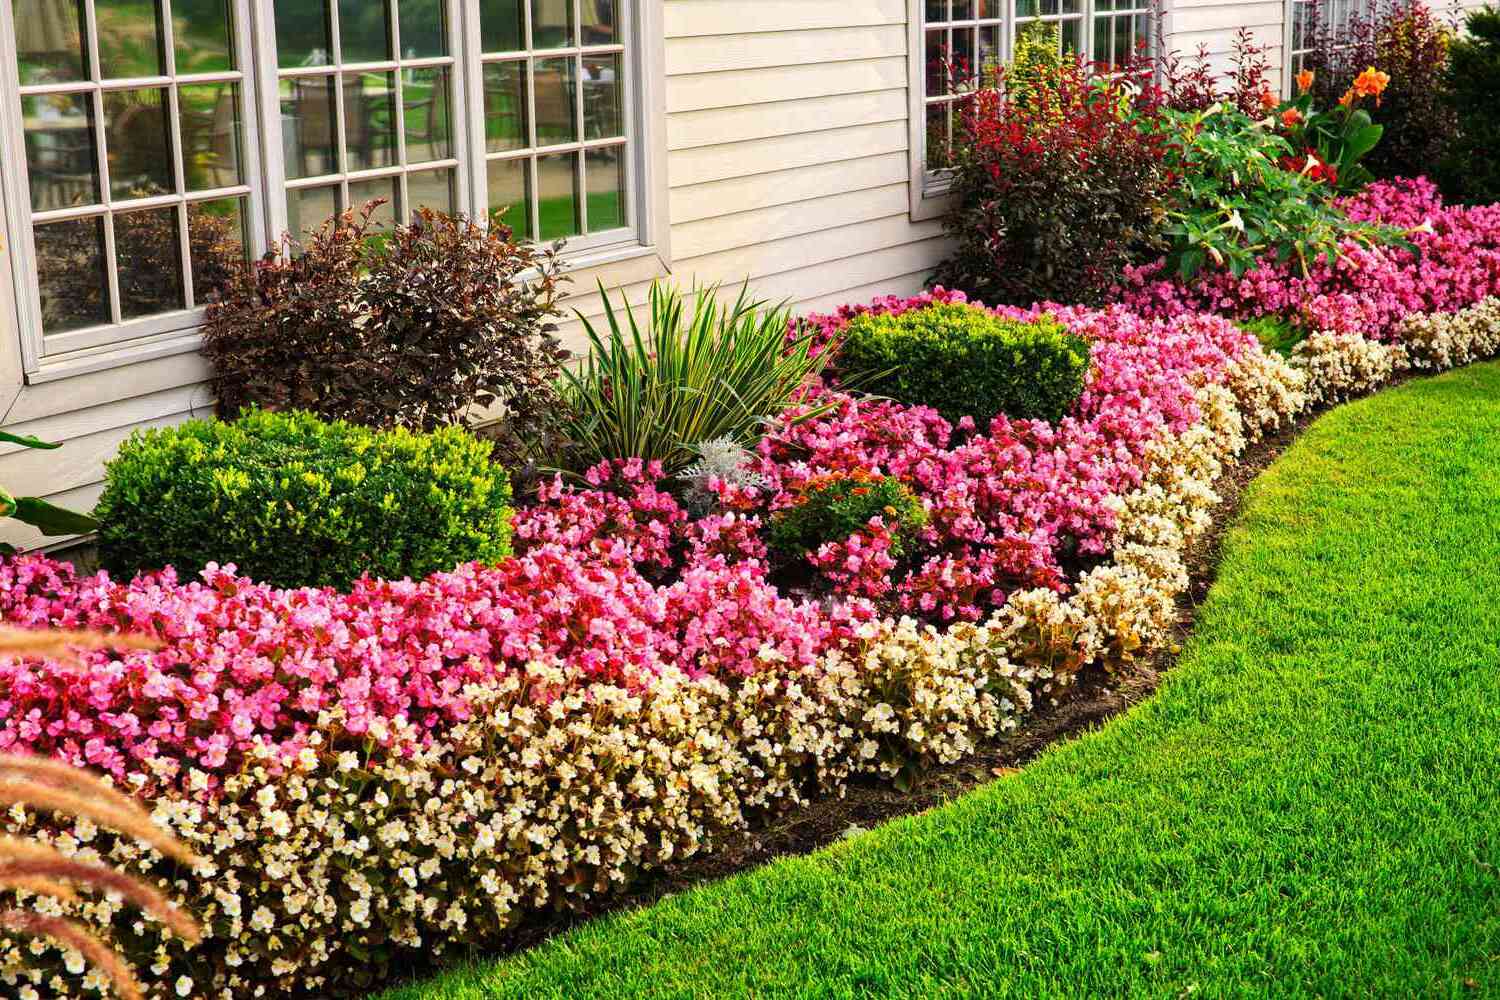
- Flower garden: For those who appreciate the beauty and fragrance of flowers, a flower garden will be a delightful addition to your outdoor space. Flowers can add color, texture, and fragrance, attracting butterflies and bees, and creating a vibrant atmosphere.
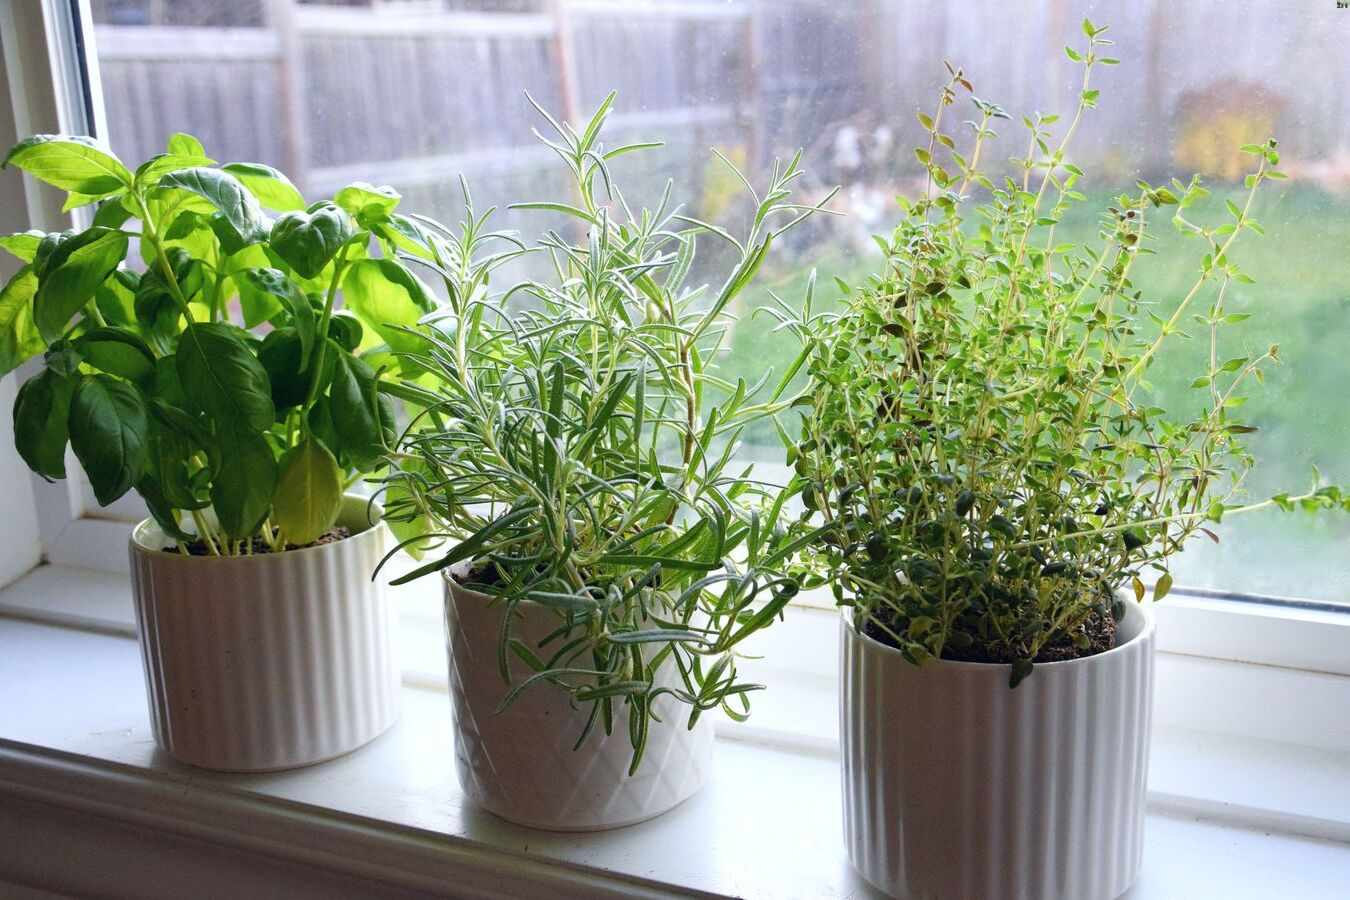
- Herb garden: If you love to enhance your culinary creations with fresh herbs, consider starting an herb garden. Herbs are easy to grow and can thrive in small spaces, making them an excellent choice for container gardens or windowsills.
- Fruit garden: If you have ample space and patience, growing your own fruit trees or bushes can be a rewarding experience. From apples to berries, you can enjoy the taste of homegrown fruits straight from your garden.
- Native plant garden: Creating a garden with native plants can help support local biodiversity and attract native wildlife. Native plants are adapted to the local climate and require less maintenance, making them a sustainable and low-maintenance gardening option.
Consider your personal preferences, gardening experience, and available resources when choosing the type of garden that best suits you. You can also mix and match different types of gardens to create a diverse and visually appealing outdoor space.
By determining the size and type of your garden, you can plan and organize your gardening activities accordingly. Remember, there is no right or wrong choice – it’s all about creating a garden that brings you joy and fulfillment.
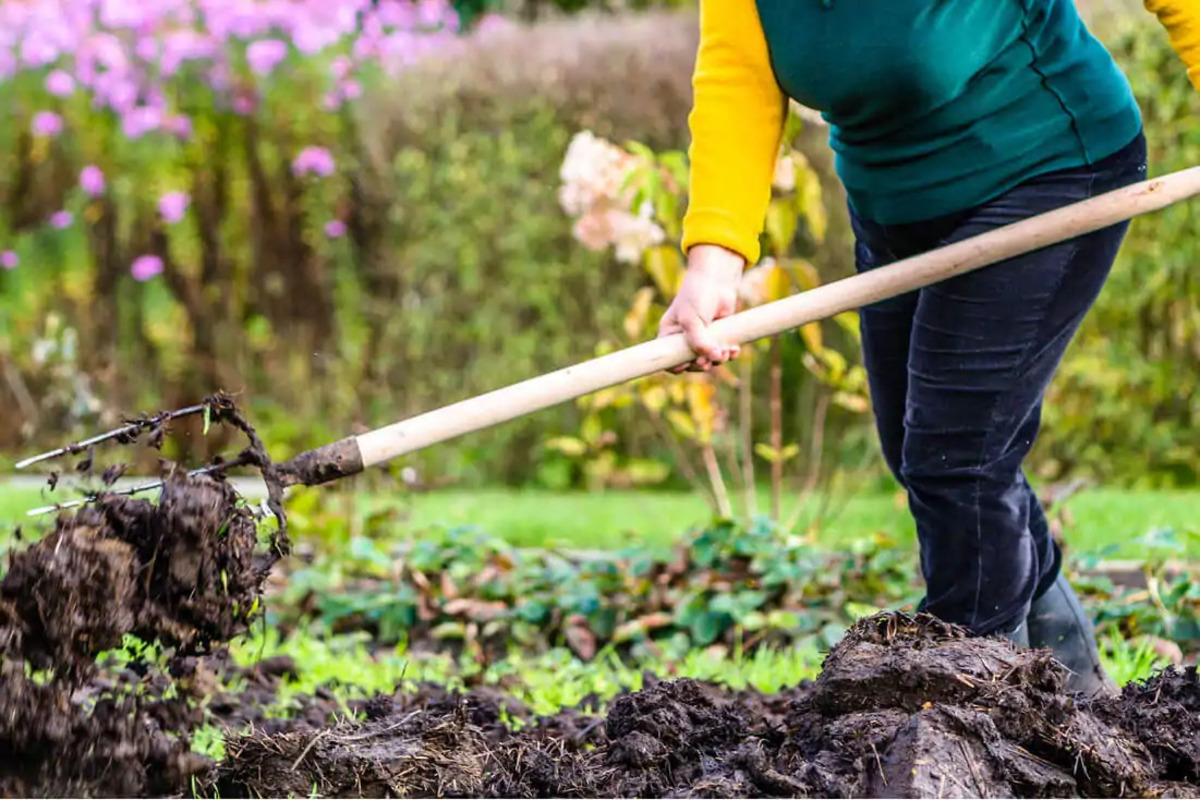
Step 3: Prepare the soil
Preparing the soil is essential for providing a fertile and nutrient-rich foundation for your garden. Proper soil preparation ensures that your plants have access to the necessary nutrients, good drainage, and a favorable environment for root growth.
Start by removing any weeds, rocks, or debris from the area where you will be planting. Weeds compete with your plants for nutrients and water, so it’s important to clear them out to give your plants the best chance to thrive.
Next, loosen the soil to enhance its structure and promote better root penetration. Use a garden fork or a tiller to break up compacted soil. This will improve aeration and drainage, and make it easier for roots to spread and access nutrients.
After loosening the soil, it’s time to amend it with organic matter. Organic matter, such as compost, well-rotted manure, or leaf mold, helps improve soil structure and fertility. It adds essential nutrients, improves water retention, and encourages beneficial microbial activity in the soil.
Apply a layer of organic matter over the soil surface and gently work it into the top few inches of soil using a garden rake or a tiller. Aim for a ratio of about 1:3, meaning one part organic matter to three parts soil. This will ensure that the soil is adequately enriched without smothering the roots.
Once the organic matter is incorporated, take a moment to assess the soil’s pH level. Different plants have different pH preferences, so it’s important to adjust the pH if necessary. You can purchase a pH testing kit from a garden center or send a soil sample to a lab for analysis. If the soil is too acidic, add lime to raise the pH. If it’s too alkaline, amend it with sulfur or other acidifying agents.
Lastly, if you’re growing acid-loving plants, such as blueberries or azaleas, consider creating a dedicated planting area with specialized soil mix to suit their specific requirements.
By preparing the soil properly, you are providing a fertile and well-balanced environment for your plants to grow. The efforts you invest in soil preparation will pay off in healthier plants, higher yields, and a thriving garden.
Step 4: Decide on the plants you want to grow
Choosing the right plants for your garden is an exciting and important step in the gardening process. It’s essential to consider factors such as climate, sunlight requirements, available space, and your personal preferences when making plant selections.
Start by researching the plants that grow well in your specific climate zone. Understanding your region’s climate will help you choose plants that are more likely to thrive and withstand the local weather conditions. Consider factors such as average temperature, humidity levels, and length of the growing season.
Take note of the amount of sunlight your garden receives throughout the day. Some plants require full sun, meaning at least six to eight hours of direct sunlight, while others can tolerate partial shade or even prefer shady conditions. This information will guide you in selecting the right plants for each area of your garden.
Consider the available space in your garden and the growth habits of the plants. Some plants, like sunflowers or melons, require ample space to spread and thrive, while others, like lettuce or herbs, can be grown in compact spaces or containers. Plan the layout of your garden accordingly to ensure that each plant has enough room to grow and won’t overcrowd the space.
Think about your personal preferences and the purpose of your garden. Do you want to grow vegetables to enjoy homegrown produce? Are you looking to create a vibrant flower garden for visual appeal? Do you have a specific theme or color scheme in mind? Consider these factors when selecting plants to create a cohesive and satisfying garden design.
Additionally, consider the maintenance requirements of the plants you choose. Some plants, like roses or tomatoes, require regular pruning and attention to thrive, while others, like native wildflowers, are relatively low-maintenance. Assess your available time and commitment level, and choose plants that align with your gardening style.
Lastly, consider incorporating a mix of annuals and perennials into your garden. Annual plants complete their life cycle within one year and can provide continuous blooms or harvest. Perennials, on the other hand, come back year after year, adding long-term beauty and stability to your garden.
By carefully selecting the plants for your garden, you can create a harmonious and thriving ecosystem. Choose plants that suit your climate, sunlight conditions, available space, and personal preferences. Remember, gardening is all about enjoyment, so select plants that bring you joy and cater to your gardening goals.
Read more: How To Start A Garden Bed
Step 5: Start seeds or buy seedlings
Once you have decided on the plants you want to grow in your garden, it’s time to consider whether you will start seeds directly or purchase seedlings from a nursery or garden center. Both methods have their advantages and can be chosen based on your gardening preferences, time, and resources.
Starting seeds from scratch allows you to have full control over the entire growing process. It can be a rewarding experience to watch your plants grow from tiny seeds to mature plants. You have the freedom to choose from a wide variety of plant species and cultivars, giving you more options to customize your garden.
To start seeds, you will need seed trays or pots, seed-starting mix, and a warm and well-lit area. Follow the instructions on the seed packets regarding sowing depth, spacing, and germination requirements. Keep the soil moist and provide adequate light to encourage healthy growth. As the seedlings develop, thin them out to ensure proper spacing and avoid overcrowding.
On the other hand, buying seedlings or young plants can save you time and effort. It’s a convenient option if you don’t have the space or resources to start seeds indoors. Purchasing seedlings also gives you a head start, as they are already several weeks old and ready to be transplanted into your garden.
When buying seedlings, choose healthy and robust plants. Look for strong stems, vibrant leaves, and an absence of pests or diseases. Ensure that the seedlings are well-acclimated to outdoor conditions if you are planting them directly into the garden.
Regardless of whether you start seeds or purchase seedlings, it’s important to time your planting according to your local climate and the specific needs of each plant. Refer to gardening resources, seed packets, or consult with local experts to determine the appropriate planting dates for your chosen plants.
Remember to provide ongoing care and maintenance as your seedlings or young plants establish in the garden. Water them regularly, protect them from extreme weather conditions, and gradually acclimate them to outdoor conditions if you started the seeds indoors.
Whether you choose to start seeds or buy seedlings, the joy of planting and nurturing your garden from the very beginning is an integral part of the gardening experience. Select the method that suits your preferences and resources, and enjoy the satisfaction of watching your plants grow and thrive.
Start small and choose easy-to-grow plants for your first garden. Consider factors like sunlight, soil quality, and water access before planting.
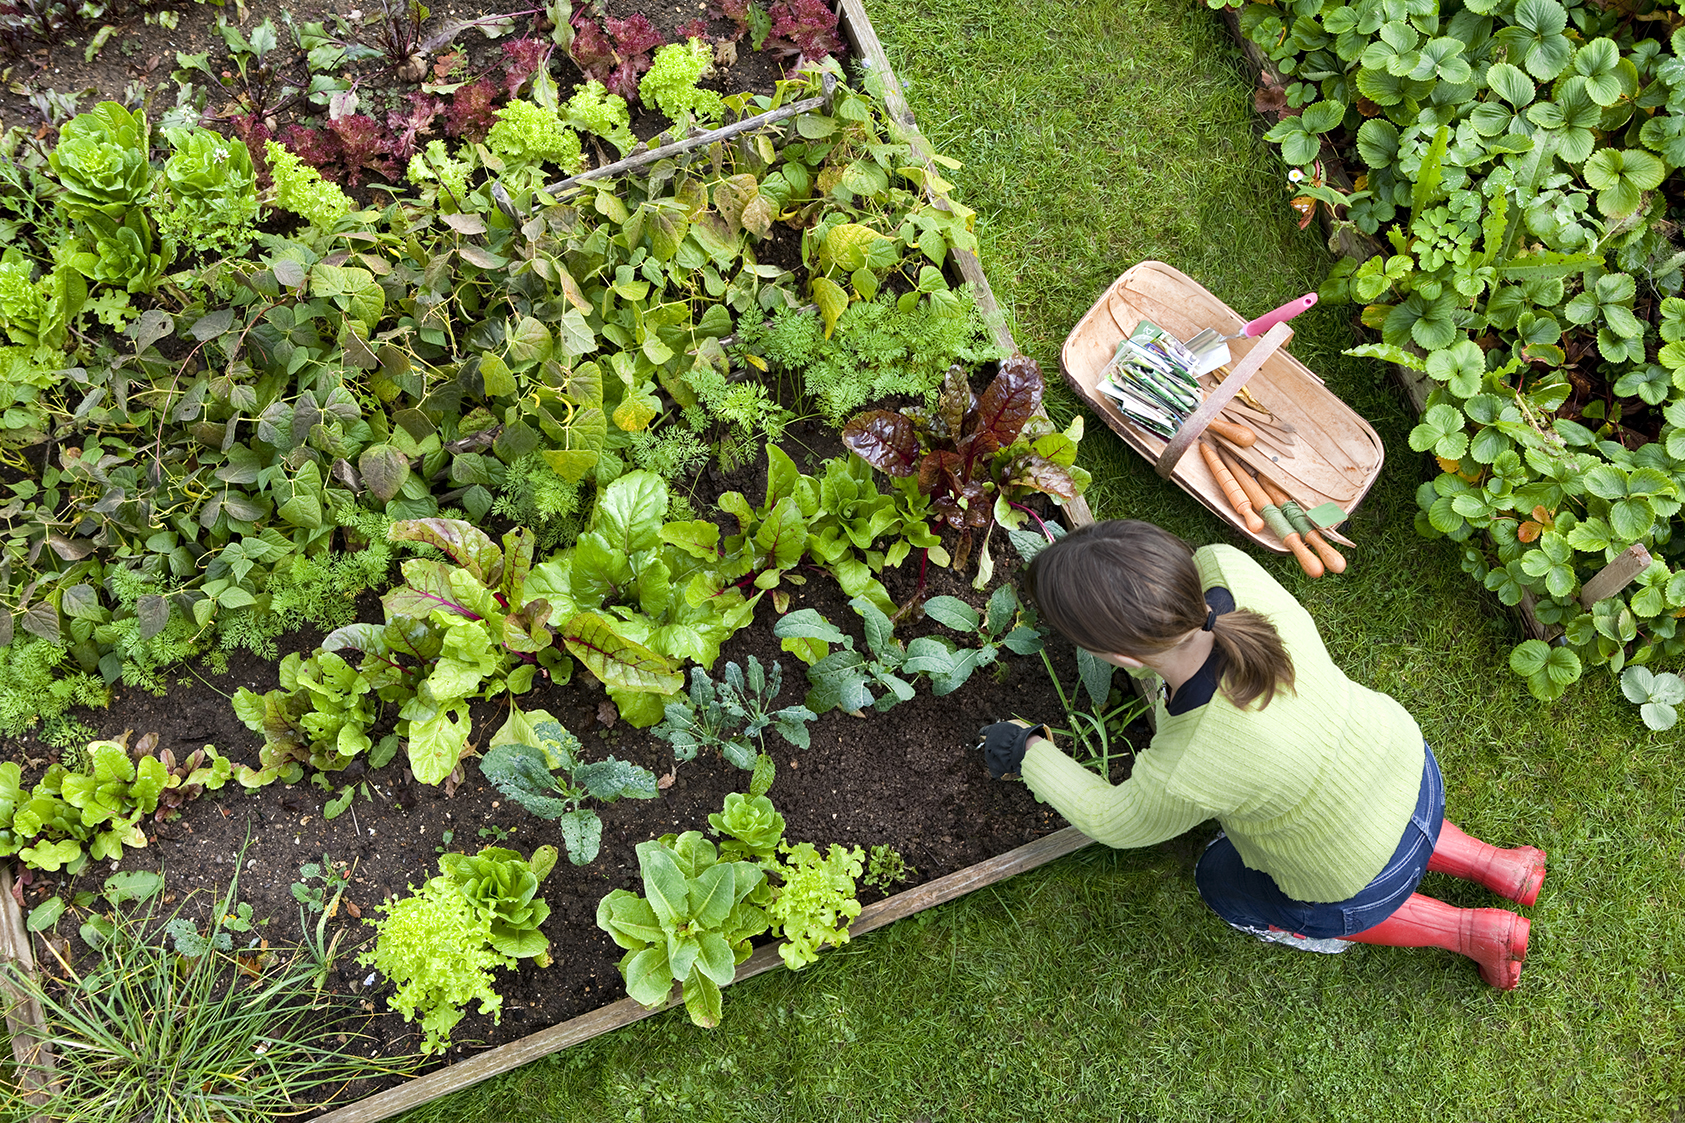
Step 6: Plant your garden
Now that you have prepared the soil and have your seedlings or seeds ready, it’s time to plant your garden. This step is where you physically transfer your plants into the ground or containers, giving them a permanent home where they can grow and flourish.
Before you begin planting, make sure to water your seedlings and the area where you will be planting. Moist soil will help the roots establish more easily and reduce transplant shock.
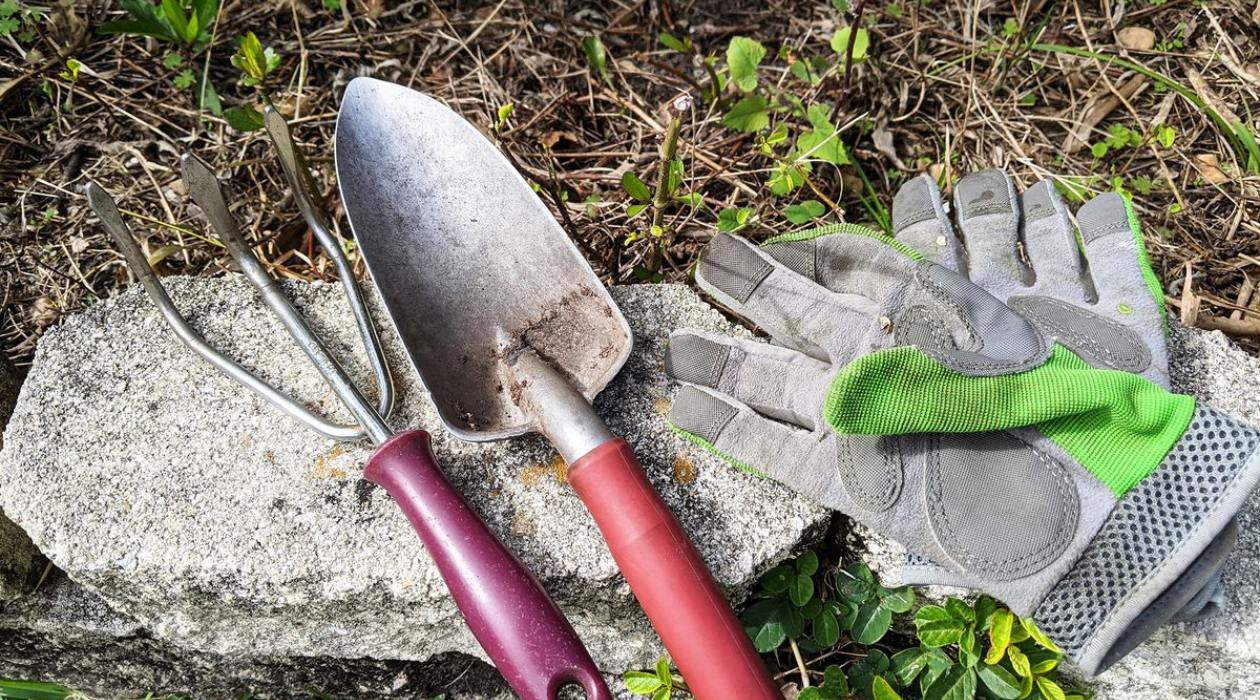
If you are planting in-ground, use a garden trowel or a small shovel to dig holes that are deep and wide enough to accommodate the root systems of your plants. Gently remove the seedlings from their containers, being careful not to damage the roots, and place them in the prepared holes. Fill the space around the plants with soil, gently firming it to ensure proper contact between the roots and the soil.
When spacing your plants, consider the mature size of each plant and provide enough room for growth. Overcrowding can lead to competition for resources and hinder the development of your plants. Refer to the planting instructions on the seed packets or consult gardening references for specific spacing recommendations.
If you are starting from seeds, follow the instructions on the seed packets regarding sowing depth and spacing. Gently press the seeds into the soil according to the recommended distance. Cover them with a thin layer of soil, and lightly firm it to ensure good seed-to-soil contact.
If you are planting in containers, choose pots with drainage holes to prevent waterlogging. Fill the pots with a well-draining potting mix that is appropriate for the type of plants you are growing. Plant the seedlings at the same depth they were in their original containers, or sow the seeds according to the recommended depth. Water the containers thoroughly after planting.
Once all your plants are in the ground or containers, water them again to help settle the soil and provide hydration to the newly transplanted seedlings or seeds. Ensure that the planting area is adequately watered and monitor the moisture levels regularly to prevent over or under watering.
Consider using mulch around your plants to help retain moisture, suppress weeds, and regulate soil temperatures. Organic materials such as straw, wood chips, or compost can be applied as mulch to provide these benefits while also enriching the soil over time.
Finally, label your plants to keep track of their identities and planting dates. This will be helpful for future reference and when caring for your garden.
Planting your garden is an exciting and satisfying step towards creating your own green oasis. Take your time, follow the planting instructions specific to each plant, and give them the best start in your garden. With proper care and attention, your plants will thrive and reward you with beautiful flowers, delicious fruits, or bountiful harvests.
Step 7: Water and fertilize your plants
Watering and fertilizing are essential tasks to ensure the health and vitality of your plants. Proper watering and nutrient supply help plants grow, flower, and produce a bountiful harvest. Understanding the watering needs and providing the right nutrients can make a significant difference in the success of your garden.
Watering your plants correctly is crucial, as both under-watering and over-watering can be detrimental to their growth. The frequency and amount of water needed will depend on several factors, including plant type, weather conditions, and soil moisture levels. As a general rule, it’s better to water deeply and less frequently rather than shallowly and frequently. This encourages deep root growth and enhances the plant’s ability to access water efficiently.
Regularly check the moisture levels of the soil by inserting your finger about an inch below the surface. If it feels dry, it’s time to water. Use a watering can, hose, or drip irrigation system to apply water directly to the base of the plants, avoiding wetting the foliage unnecessarily. Water in the morning or evening when temperatures are cooler to minimize evaporation.
Pay attention to the specific watering requirements of different plants. Some plants, like herbs, prefer slightly drier conditions, while others, like tomatoes or cucumbers, require more consistent moisture. Research the water needs of each plant and adjust your watering schedule accordingly to promote optimal growth and prevent issues like root rot or drought stress.
In addition to water, plants also require essential nutrients for healthy development. Fertilizing provides these nutrients to support vigorous growth, vibrant blooms, and abundant harvests. Choose a fertilizer that is appropriate for the type of plants you are growing, such as a balanced NPK (nitrogen, phosphorus, potassium) fertilizer or specialized formulas for specific plant types like vegetables or flowers.
Follow the instructions on the fertilizer package to determine the appropriate amount and frequency of application. Generally, fertilizers are applied either by broadcasting them evenly around the plants or by incorporating them into the soil during planting. Be cautious not to over-fertilize, as this can result in nutrient imbalances, burn the plants, or harm the environment.
Consider using organic fertilizers, such as compost or well-rotted manure, which provide slow-release nutrients and improve soil health over time. Organic fertilizers are environmentally friendly and can be a sustainable choice for your garden.
Ideally, it’s best to conduct a soil test before applying fertilizers to determine the specific nutritional needs of your soil. Soil tests can provide valuable insights into nutrient deficiencies or excesses, allowing you to tailor your fertilizer applications accordingly.
Remember, consistency is key when it comes to watering and fertilizing. Regularly monitor your plants’ moisture levels, adjust your watering schedule as needed, and provide the necessary nutrients to support their growth and productivity.
By properly watering and fertilizing your plants, you are giving them the essential resources they need to thrive. These simple practices will contribute to a vibrant, healthy garden that rewards you with beautiful flowers, tasty fruits, or a productive vegetable harvest.
Step 8: Provide proper care and maintenance
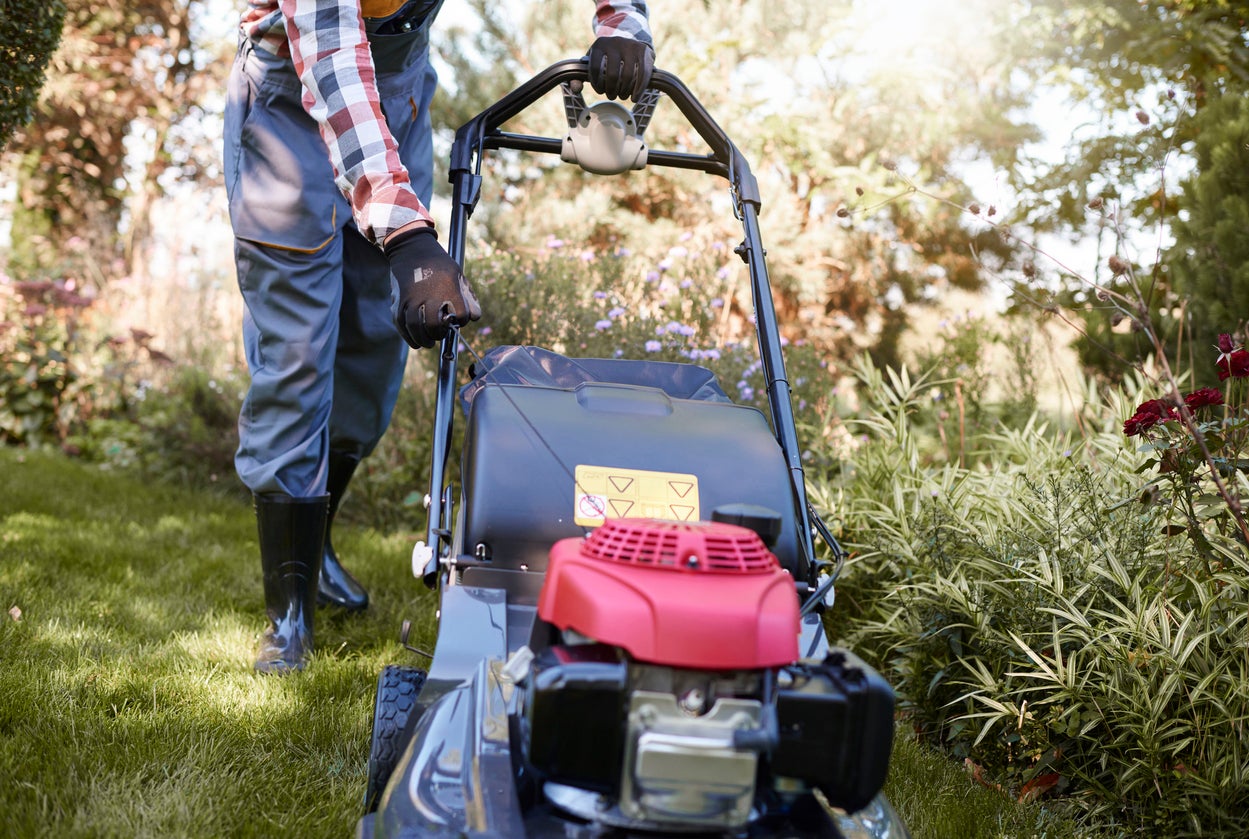
Gardens require regular care and maintenance to keep them healthy, thriving, and looking their best. By providing proper care, you can prevent pests and diseases, promote strong growth, and ensure the long-term success of your garden. Here are some essential care and maintenance practices to consider:
1. Weeding: Regularly remove weeds from your garden beds to prevent competition for nutrients, water, and sunlight. Use a hand tool or pull weeds by hand, taking care to remove the root system to prevent them from regrowing.
2. Pruning: Some plants, such as fruit trees and shrubs, benefit from occasional pruning to promote better branching, shape, and overall plant health. Pruning can also help remove dead or diseased branches and improve air circulation.
3. Deadheading: Deadheading involves removing spent flowers to encourage new growth and prolong the blooming period. This practice is particularly beneficial for flowering plants such as roses, petunias, and marigolds.
4. Staking and supporting: Tall or vining plants may require support to prevent them from bending or breaking. Use stakes, trellises, or cages to provide support and maintain the upright growth of your plants.
5. Mulching: Apply a layer of organic mulch, such as straw or wood chips, around your plants. Mulch helps regulate soil temperature, retain moisture, and suppress weeds. It also adds organic matter to the soil as it breaks down.
6. Regular inspection: Regularly inspect your plants for signs of pests, diseases, or nutrient deficiencies. Monitor for any unusual discoloration, spots, wilting, or insect activity. Early detection can help you take prompt action to prevent further damage.
7. Water management: Continue to monitor your plants’ moisture needs and adjust your watering schedule based on weather conditions. Water deeply and less frequently, ensuring that the soil is adequately moist without becoming waterlogged.
8. Fertilizer application: Maintain a regular fertilizing schedule to provide the necessary nutrients to your plants. Follow the instructions on the fertilizer package and avoid over-fertilization, which can cause nutrient imbalances or harm the plants.
9. Seasonal care: Different seasons bring different care requirements. Adjust your gardening practices based on the changing seasons. This includes winterizing your garden, protecting plants from frost, or providing shade during hot summer months.
10. Continuous learning: Gardening is a continuous learning process. Stay curious, seek knowledge, and explore new techniques and gardening practices. Attend workshops, read gardening books, or connect with other gardeners to expand your gardening skills and knowledge.
By providing proper care and maintenance, you can create a flourishing and beautiful garden. Regularly tending to your plants ensures their well-being and allows you to enjoy the rewards of a healthy and abundant garden.
Read more: How To Start An Indoor Garden For Beginners
Step 9: Prevent pests and diseases
Dealing with pests and diseases is an inevitable part of gardening, but there are several preventive measures you can take to minimize their impact on your plants. By implementing proper pest and disease prevention strategies, you can protect your garden and promote the overall health of your plants. Here are some essential steps to prevent pests and diseases:
1. Cultivate healthy plants: Start with healthy plants from reputable sources. Strong and vigorous plants are more resilient to pests and diseases. Inspect plants for any signs of pest activity or disease symptoms before bringing them into your garden.
2. Practice crop rotation: Rotate your plantings annually to help prevent the buildup of pests and diseases in the soil. Avoid planting the same crop or related plants in the same location year after year, as this can lead to the buildup of pests and pathogens.
3. Maintain good garden hygiene: Keep your garden clean and free from debris, fallen leaves, and decaying plant material. These can serve as breeding grounds for pests and diseases. Regularly remove dead plants, weeds, and fallen fruits to eliminate potential hiding spots for pests.
4. Monitor regularly: Regularly inspect your plants for any signs of pest activity or disease symptoms. Look for chewed leaves, yellowing or wilting, spots, mold, or unusual growth. Early detection allows for prompt intervention and helps prevent the spread of pests and diseases.
5. Use physical barriers: Protect your plants from pests by using physical barriers such as row covers or netting. These can be effective in keeping out insects, birds, and larger pests like rabbits or deer.
6. Encourage beneficial insects: Attract beneficial insects, such as ladybugs, lacewings, and bees, to your garden. These insects can help control pests by feeding on them or pollinating your plants. Plant flowers that attract beneficial insects and avoid using broad-spectrum insecticides that can harm beneficial insects.
7. Practice proper watering: Avoid overwatering your plants, as this can create wet conditions that are favorable for disease development. Water plants at the base to prevent moisture on the foliage, which can lead to fungal infections.
8. Apply organic pest control methods: Use organic means of pest control, such as insecticidal soaps, neem oil, or homemade remedies like garlic and chili pepper sprays. These natural alternatives are safer for plants, beneficial insects, and the environment.
9. Practice proper pruning: Prune your plants to promote good airflow and sunlight penetration. Dense foliage can create a humid environment that favors disease development. Remove dead or infected plant parts promptly and disinfect your pruning tools between plants to prevent the spread of diseases.
10. Stay vigilant: Regularly monitor your plants throughout the growing season. Keep an eye out for any changes in appearance or behavior, and take proactive measures to address any potential pest or disease issues.
Remember that prevention is key when it comes to pests and diseases. By implementing these proactive measures, you can significantly reduce the risk of infestations and disease outbreaks, ensuring a healthy and thriving garden.
Step 10: Harvest your crops
The final and most rewarding step in gardening is the harvest. After all the hard work and care you’ve put into your garden, it’s time to enjoy the fruits of your labor. Harvesting your crops at the right time ensures optimal flavor, texture, and nutritional value. Here are some guidelines for a successful and satisfying harvest:
1. Know the signs: Familiarize yourself with the signs of ripeness for each crop you’re growing. This may include changes in color, size, or texture. For example, tomatoes are typically ready to harvest when they reach their full color and are slightly firm to the touch.
2. Pick at the right time of day: It’s best to harvest your crops in the early morning when temperatures are cooler. This helps preserve their freshness and quality. Avoid harvesting during hot, sunny periods, as this can cause the plants to wilt and reduce the shelf life of the harvested produce.
3. Use appropriate tools: Use sharp and clean pruners, shears, or scissors to harvest your crops. This helps prevent damage to the plants and minimizes the risk of introducing diseases. For delicate fruits like berries, you can gently pick them by hand.
4. Handle with care: Whether you’re harvesting fruits, vegetables, or herbs, handle them with care to avoid bruising or damaging the crops. Place them gently in a basket or container to maintain their quality and appearance.
5. Harvest herbs properly: Harvest herbs by cutting the stems just above a leaf node. This encourages bushier growth and ensures a continuous supply of fresh leaves. Avoid harvesting more than one-third of the plant at a time to promote healthy growth.
6. Harvest leafy greens selectively: For leafy greens like lettuce or spinach, you can selectively harvest individual leaves while allowing the plant to continue growing. This way, you can enjoy a continuous supply of fresh greens throughout the season.
7. Store appropriately: Some crops, like root vegetables or winter squash, can be stored for an extended period. Follow proper storage guidelines, such as keeping them in a cool, dark, and dry place with good ventilation. For crops like tomatoes or berries, consume them as soon as possible for the best taste and texture.
8. Enjoy the harvest: Finally, savor the flavors of your harvest! Incorporate your freshly harvested produce into delicious meals, share them with friends and neighbors, or preserve them through canning, freezing, or drying for future use.
Remember, the harvest is the culmination of your gardening efforts. Take the time to enjoy and appreciate the results of your hard work. By following these harvesting practices, you will ensure the best quality and flavor from your crops, providing you with a satisfying and delicious harvest.
Conclusion
Congratulations! You have successfully completed all ten steps to start and maintain a thriving garden. From choosing the right location to harvesting your crops, each step has been crucial in creating a beautiful and productive garden space. By following these steps, you have acquired the knowledge and skills necessary to embark on your gardening journey.
Gardening is an enriching and fulfilling activity that connects us to the natural world. It allows us to cultivate the earth, witness the miracle of growth, and reap the rewards of our labor. Whether you are a beginner or have some gardening experience, these steps have provided you with a foundation for success in creating and maintaining a garden space that brings you joy and satisfaction.
Throughout the process, you have learned the importance of choosing the right location for your garden, preparing the soil, selecting the right plants, and providing proper care and maintenance. You have also gained insights into preventing pests and diseases and harvesting your crops at the peak of their flavor and nutrition.
As you continue your gardening journey, remember to stay curious, adaptable, and patient. Gardening is a continuous learning process, and each year will bring new challenges and opportunities. Embrace experimentation, try new techniques, and adjust your approach based on the specific needs of your garden and the plants you choose to grow.
Enjoy the process of nurturing and witnessing the life that unfolds in your garden. Observe the intricate dance between the sun, soil, water, and plants. Take time to marvel at the beauty of blooming flowers, the buzzing of pollinators, and the taste of freshly harvested produce.
Lastly, share your gardening experiences with others. Engage with fellow gardeners, join online communities, or participate in local gardening events. The joy of gardening is amplified when shared with fellow enthusiasts who can provide support, advice, and inspiration.
So, grab your gardening tools, put on your gloves, and let your green thumb guide you. May your garden be a place of solace, creativity, and abundance. Happy gardening!
Excited about your new gardening skills? Don't stop now! Mastering the art of vegetable gardening is the next step to boosting your green thumb prowess. Learn which veggies thrive best in your climate, how to boost their growth, and the secrets to getting a bountiful harvest. Whether you're interested in juicy tomatoes or crisp lettuces, our guide caters to all aspiring gardeners looking to fill their plates with homegrown goodness. So, why wait? Dig into our detailed guide and let your garden flourish!
Frequently Asked Questions about How To Start A Garden
Was this page helpful?
At Storables.com, we guarantee accurate and reliable information. Our content, validated by Expert Board Contributors, is crafted following stringent Editorial Policies. We're committed to providing you with well-researched, expert-backed insights for all your informational needs.


0 thoughts on “How To Start A Garden”