Articles
How To Cover A Fireplace
Modified: October 18, 2024
Learn how to cover a fireplace in our informative articles. Step-by-step guides and expert tips to transform your fireplace into a stunning focal point.
(Many of the links in this article redirect to a specific reviewed product. Your purchase of these products through affiliate links helps to generate commission for Storables.com, at no extra cost. Learn more)
Introduction
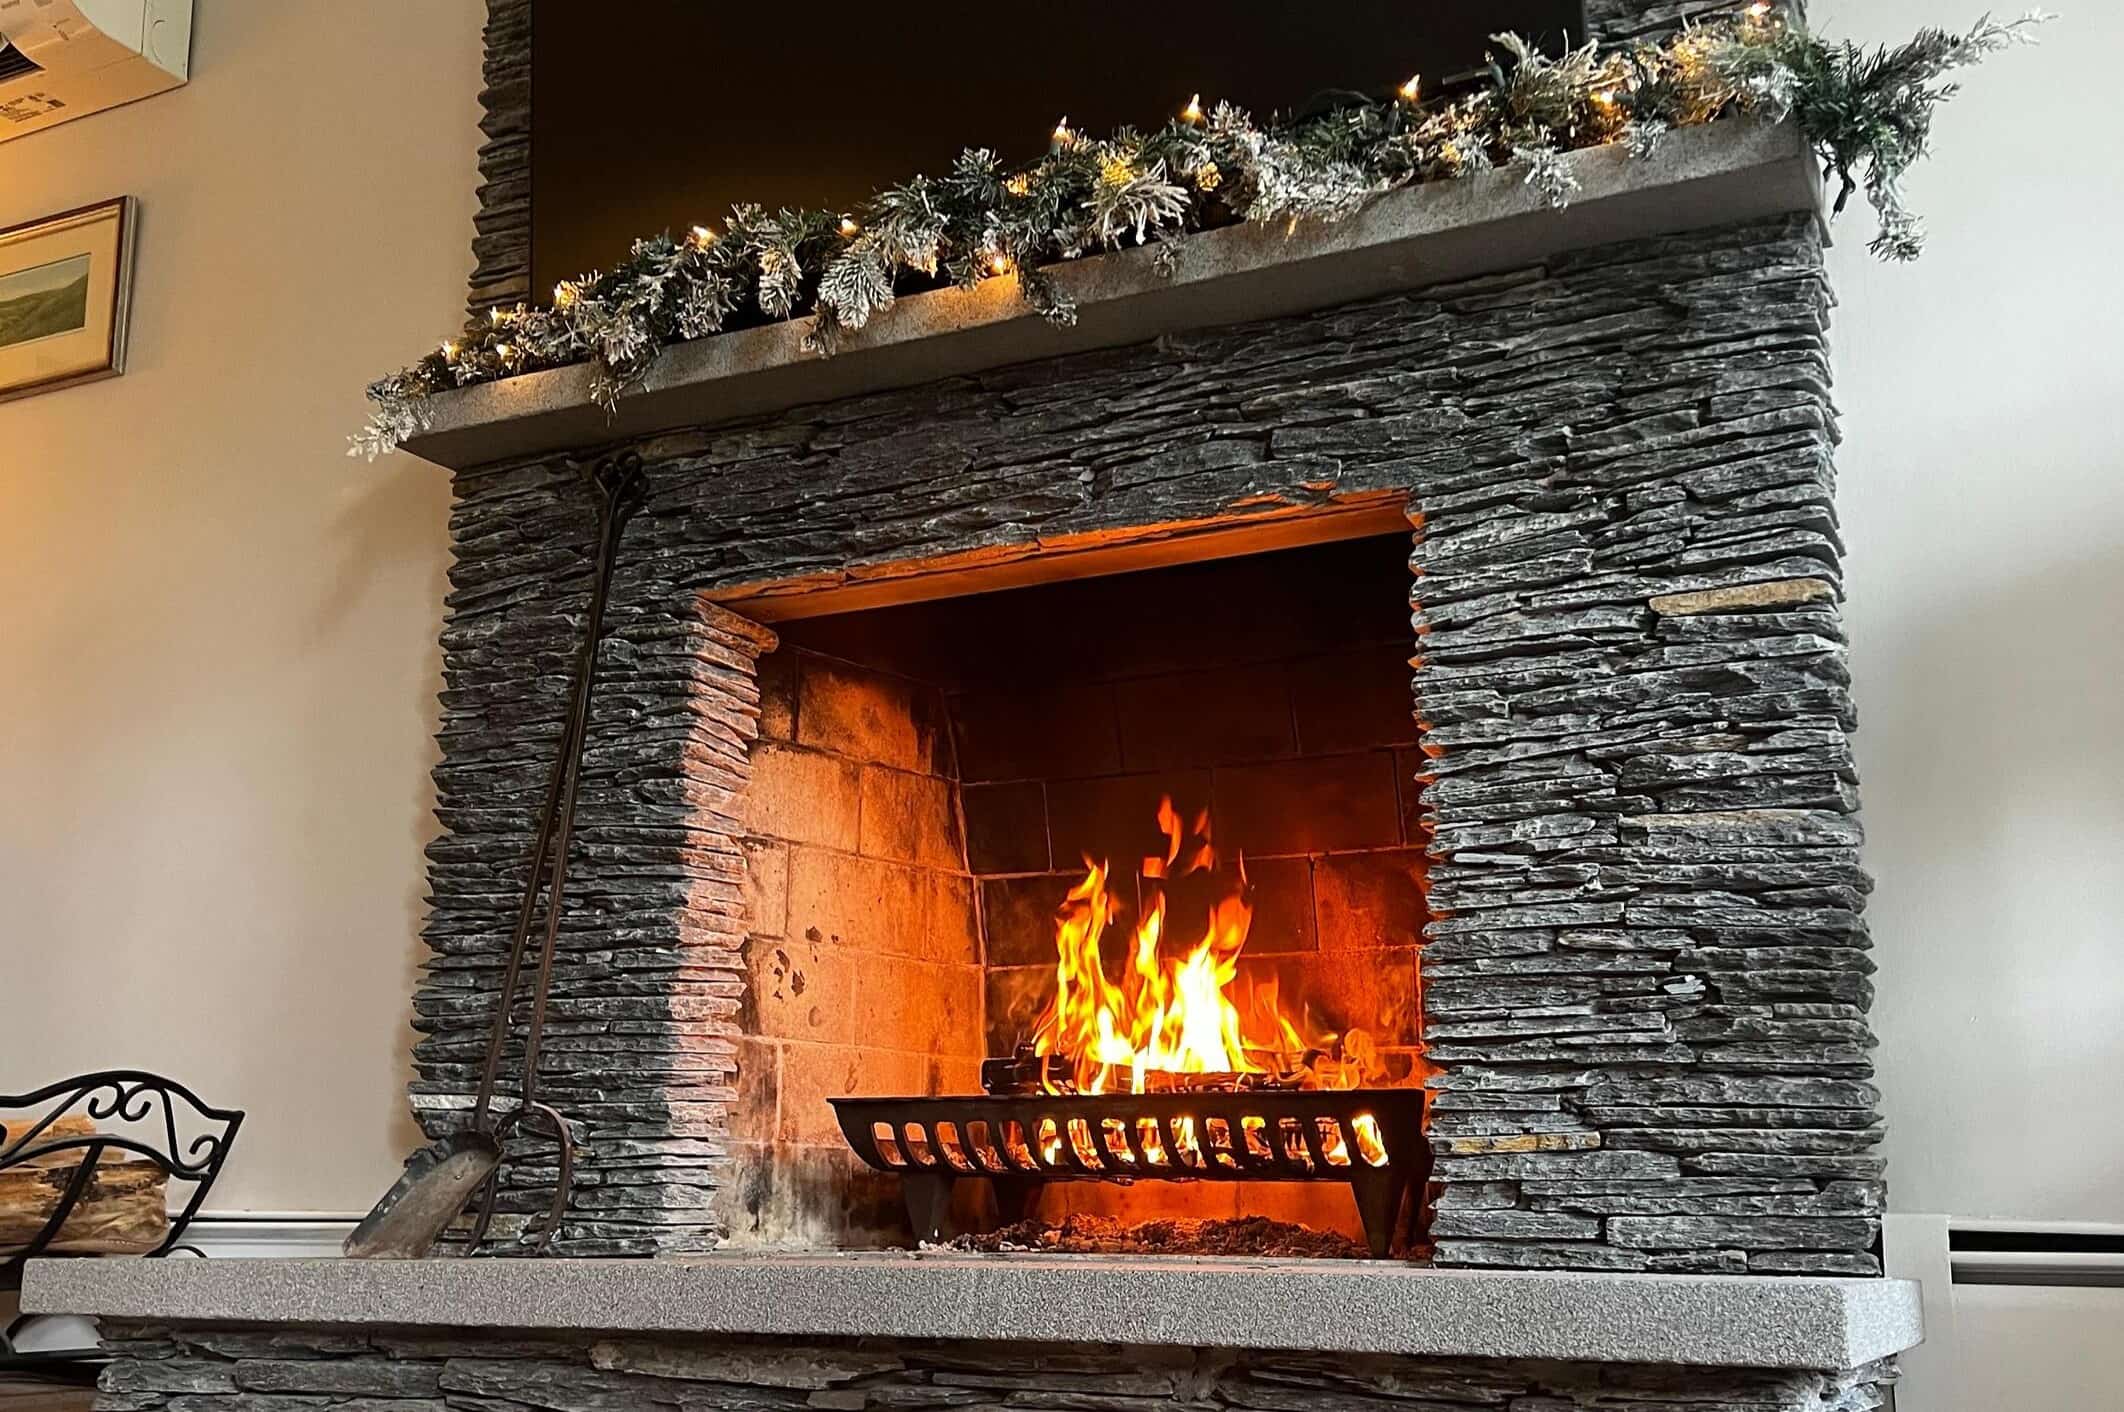
A fireplace can be a focal point of any room, providing warmth and ambiance. However, there may come a time when you want to cover your fireplace to give it a fresh look or to repurpose the space. Whether you want to transform your outdated fireplace into a modern feature or simply want to hide it temporarily, covering a fireplace is a relatively easy and affordable DIY project.
In this article, we will walk you through the step-by-step process of covering a fireplace, from gathering the necessary materials to adding the finishing touches. By following these instructions, you can revamp your fireplace and transform it into a stunning addition to your living space.
Before we begin, it’s important to note that safety should always be a top priority when working with fireplaces. Ensure that your fireplace is completely dormant and cool before proceeding with the covering process. If you’re unsure about any aspect of covering your fireplace, consult with a professional or a qualified contractor.
Now, let’s get started on transforming your fireplace into a beautiful focal point in your home.
Key Takeaways:
- Transform your fireplace into a stunning focal point by covering it with materials like tiles, wood panels, stone veneer, or brick veneer. Follow the step-by-step process for a rewarding DIY project that adds style and character to your home.
- Prioritize safety, gather materials, measure carefully, choose the perfect covering material, prepare the surface, install it securely, add finishing touches, and enjoy the beautiful transformation of your fireplace. Happy DIY-ing!
Read more: How To Cover A Brick Fireplace
Step 1: Gather necessary materials
The first step in covering a fireplace is to gather all the necessary materials. Having everything you need on hand will make the process smoother and more efficient. Here are some essential materials you’ll need:
- Covering material (such as tiles, wood panels, or stone veneer)
- Measuring tape
- Construction adhesive
- Level
- Pencil or marker
- Screwdriver or drill
- Screws or nails
- Safety gloves and goggles
- Drywall patching compound (if needed)
- Paint or stain (if desired)
Ensure that you have all these materials before proceeding to the next step.
When choosing the covering material, consider the style and aesthetic you want to achieve. Tiles can provide a sleek and modern look, while wood panels can create a cozy and rustic feel. Stone veneer can add a touch of elegance and sophistication. Select a material that complements your existing decor and suits your personal taste.
It’s also important to measure the dimensions of your fireplace accurately. This will help you determine the amount of covering material needed and ensure a proper fit. Measure the width, height, and depth of the fireplace, taking into account any irregularities or protrusions.
Once you have gathered all the materials and measured the dimensions, you’re ready to move on to the next step.
Step 2: Measure the dimensions of the fireplace
Before you begin covering your fireplace, it’s crucial to measure the dimensions accurately. This step ensures that you obtain the right amount of covering material and achieve a proper fit. Here’s how you can measure the dimensions of your fireplace:
- Start by measuring the width of the fireplace. Use a measuring tape to determine the distance from one side of the opening to the other. Take the measurement at the top, middle, and bottom of the opening, as the width may vary.
- Next, measure the height of the fireplace. Use the measuring tape to determine the distance from the bottom of the fireplace opening to the top. Again, take measurements at different points to account for any variations.
- If your fireplace has a hearth or mantel, measure the depth of these components as well. Measure from the front edge of the hearth or mantel to the back.
- Finally, take note of any irregularities or protrusions on the fireplace surface. Observe if there are any molding, vents, or other features that may affect the installation of the covering material.
It’s crucial to be accurate in your measurements to ensure that the covering material fits correctly and looks seamless. If you’re unsure about taking measurements or want to double-check, consider consulting a professional or experienced contractor.
Once you have the precise dimensions of your fireplace, you’ll be able to determine the amount of covering material needed and proceed with confidence to the next step of the covering process.
Step 3: Choose a suitable covering material
Now that you have measured the dimensions of your fireplace, it’s time to choose a suitable covering material that will enhance the aesthetic appeal of your space. The right covering material will transform your fireplace into a stunning focal point. Here are some popular options to consider:
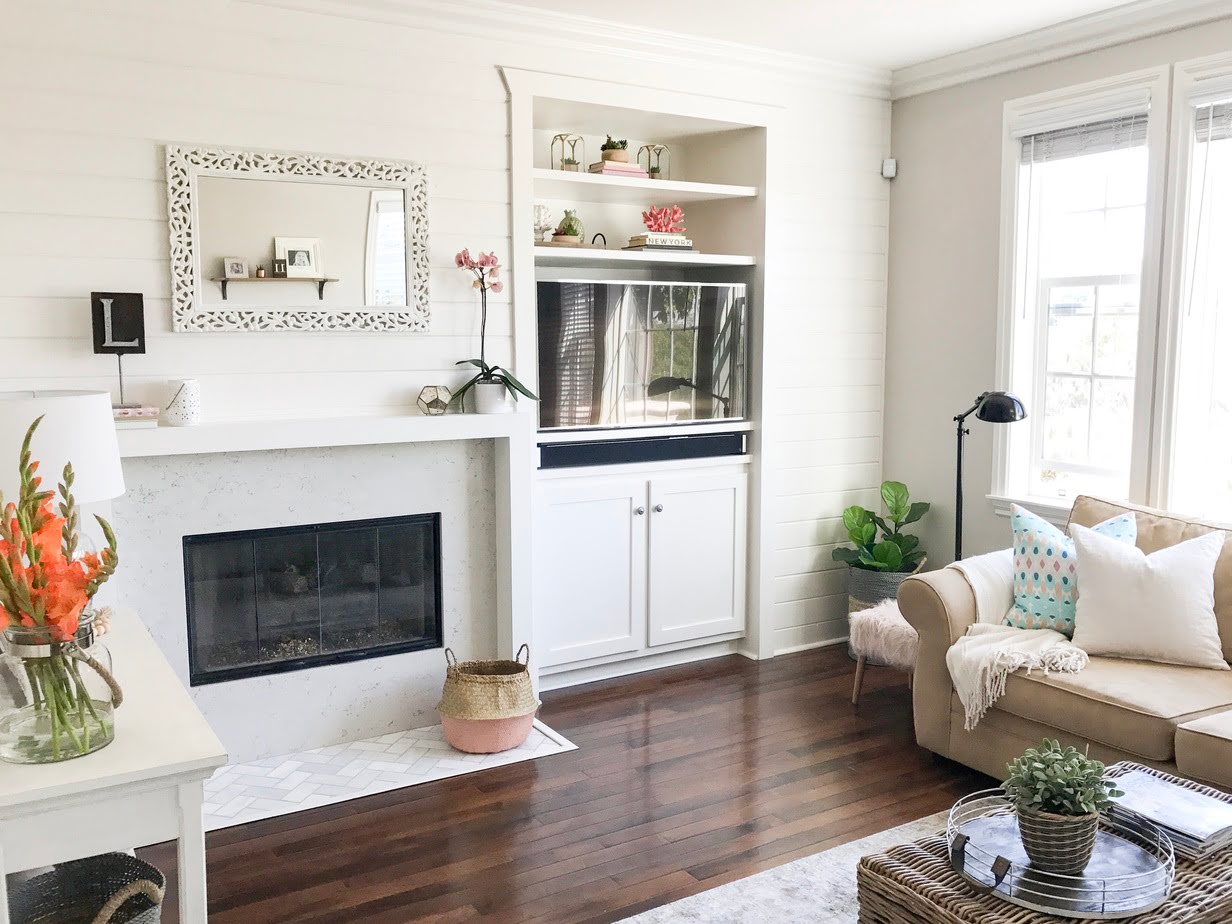
- Tiles: Tiles offer versatility and come in a wide range of colors, patterns, and textures. They are suitable for both modern and traditional fireplaces. Ceramic, porcelain, or glass tiles are commonly used for fireplace coverings. Ensure that the tiles are heat-resistant and suitable for fireplace use.
- Wood panels: Wood panels can create a warm and inviting ambiance. You can opt for natural wood panels or pre-finished ones, depending on the look you want to achieve. Ensure that the wood is properly sealed and treated to withstand the heat generated by the fireplace.
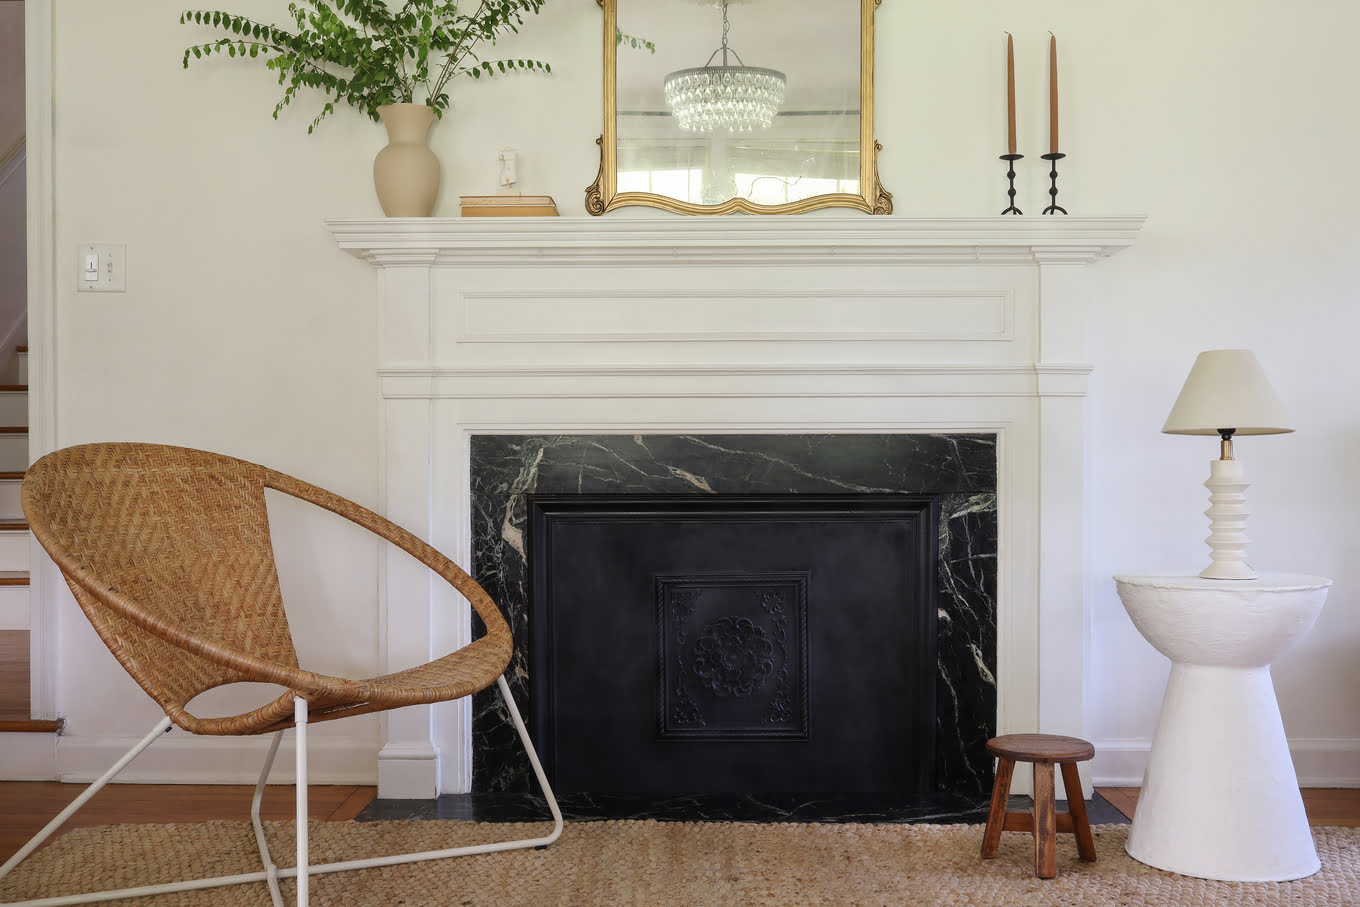
- Stone veneer: Stone veneer gives an elegant and timeless look to your fireplace. It is available in various types of stone, such as marble, limestone, or slate. Stone veneer can be installed directly onto the fireplace surface, providing a natural and rustic appearance.
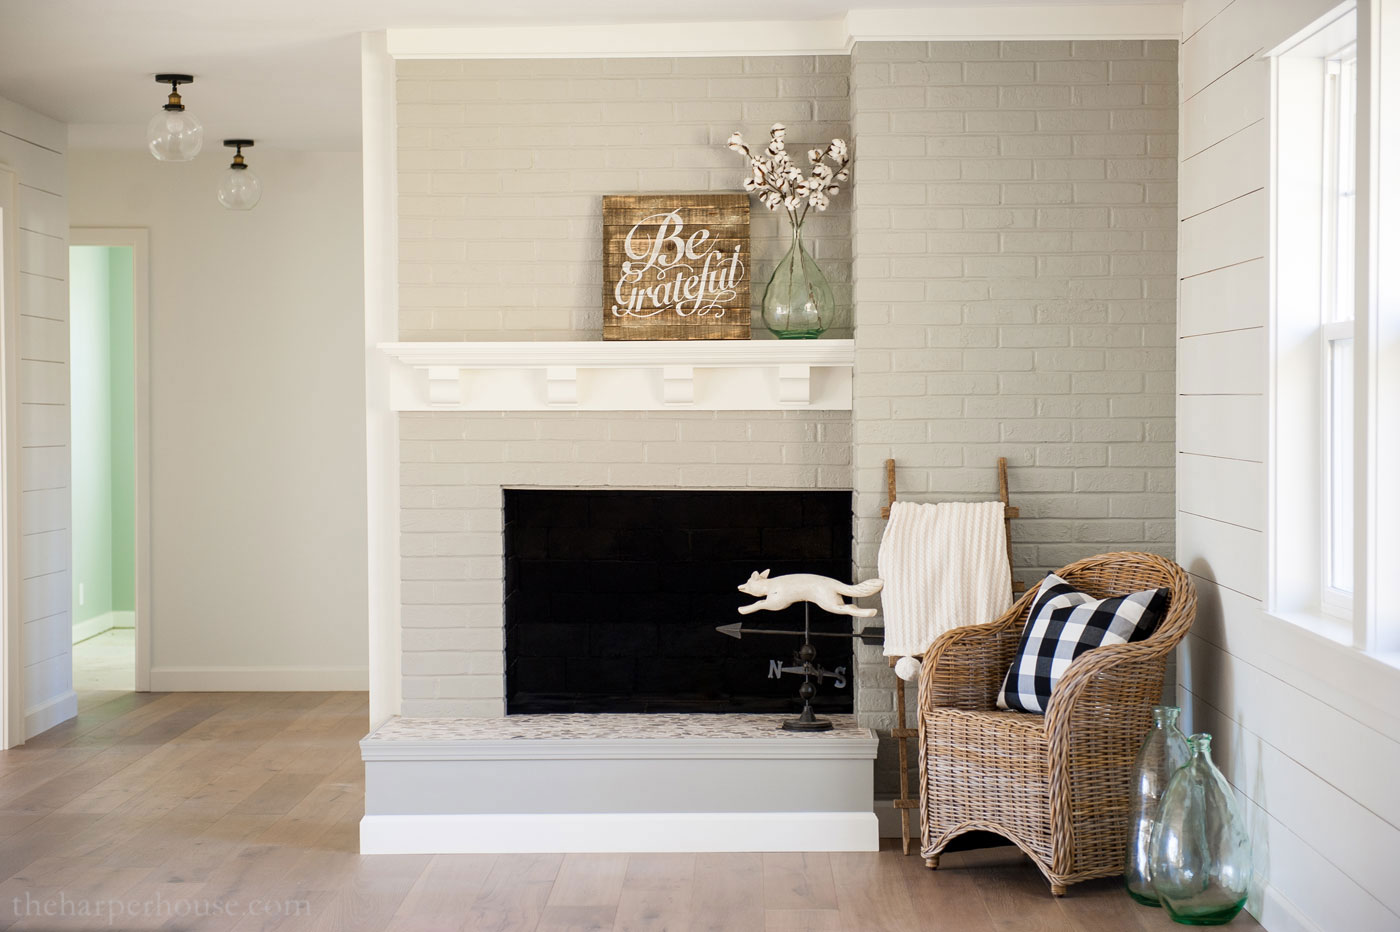
- Brick veneer: If you prefer a rustic or industrial look, brick veneer is an excellent choice. It provides the appearance of a genuine brick fireplace without the need for extensive construction. Brick veneer can be installed using adhesive or mortar, depending on the desired look.
Consider the style and overall décor of your space when selecting a covering material. Choose a material that complements your existing design elements and creates the desired atmosphere. Additionally, take into account the maintenance requirements and durability of the material.
Once you have chosen the covering material, you can move on to the next step of preparing the fireplace surface for installation.
Step 4: Prepare the fireplace surface
Before installing the covering material, it’s important to properly prepare the surface of the fireplace. This step ensures that the covering material adheres securely and provides a smooth and professional finish. Here’s how you can prepare the fireplace surface:
- Clean the surface: Start by cleaning the fireplace surface thoroughly. Remove any dirt, dust, or debris using a brush or vacuum cleaner. You can also use a mild detergent and water solution to remove stubborn stains. Ensure that the surface is completely dry before proceeding.
- Repair any damages: Inspect the fireplace surface for any cracks, holes, or other damages. If you come across any, fill them using a suitable patching compound or filler. Smooth out the patched areas with a putty knife and allow them to dry and cure according to the manufacturer’s instructions.
- Remove any obstacles: Clear the fireplace of any obstacles that may hinder the installation of the covering material. Remove any existing tiles, moldings, or other fixtures that interfere with the new covering.
- Apply a primer (if necessary): Depending on the type of covering material and the condition of the fireplace surface, you may need to apply a primer. A primer helps ensure proper adhesion between the surface and the covering material. Check the manufacturer’s instructions for the recommended primer and application method.
By properly preparing the fireplace surface, you create an optimal base for the covering material. This step ensures a seamless installation and helps enhance the longevity of the covering.
Once you have prepared the fireplace surface, you’re ready to move on to the exciting step of installing the chosen covering material.
Consider using a fireplace cover or screen to prevent sparks and embers from escaping. This can help improve safety and reduce the risk of accidental fires.
Read more: How To Cover Ugly Fireplace
Step 5: Install the covering material
Now that you have prepared the fireplace surface, it’s time to install the chosen covering material. The installation process may vary depending on the type of material you have selected. Here are some general guidelines to follow:
- Tiles: If you are using tiles as the covering material, start by applying a layer of adhesive to the back of each tile using a trowel. Press the tiles firmly onto the prepared surface, ensuring they are evenly spaced and aligned. Use tile spacers to maintain consistent gaps between the tiles. Allow the adhesive to dry according to the manufacturer’s instructions. Once dried, you can grout the gaps between the tiles for a finished look.
- Wood panels: Begin by measuring and cutting the wood panels to fit the dimensions of your fireplace. Apply a construction adhesive to the back of each panel and press them onto the prepared surface. Use a level to ensure they are straight and even. Secure the panels in place using screws or nails, if necessary. Leave a small gap between each panel for expansion. If desired, you can sand and stain the wood panels to achieve the desired finish.
- Stone veneer: Start by applying a thin layer of adhesive to the back of the stone veneer using a trowel. Press the veneer sheets onto the prepared surface, starting from the bottom and working your way up. Use a level to ensure they are straight and plumb. Allow the adhesive to dry before grouting the gaps between the stones, if desired.
- Brick veneer: Ensure that the brick veneer is cut and arranged according to your desired pattern. Apply a layer of adhesive or mortar to the back of each brick veneer and press them onto the prepared surface. Use a level to check for straightness and adjust as needed. Fill the gaps between the bricks with mortar to create a seamless appearance.
Remember to follow the manufacturer’s instructions for the specific installation method recommended for your chosen covering material. Take your time during the installation process to ensure a professional and high-quality finish.
Once the covering material is installed, move on to the next step of securing it in place for long-lasting durability.
Step 6: Secure the covering material in place
After installing the covering material, it’s crucial to secure it in place to ensure long-lasting durability and stability. Here are some steps to follow in order to secure the covering material:
- Check for adhesion: Once the adhesive or mortar has dried, carefully inspect the covering material to ensure that it is securely adhered to the fireplace surface. Gently tap on the material to check for any loose or unstable areas.
- Reinforce with fasteners: Depending on the type of material and the weight of the covering, you may need to reinforce it with additional fasteners. Use screws or nails to secure wood panels or brick veneer. Drive the fasteners through the covering material and into the fireplace surface or into the wall behind the fireplace. Conceal the fasteners with wood filler or mortar for a seamless look.
- Apply sealant or caulk: To further enhance the durability and appearance of the covering, consider applying a sealant or caulk around the edges of the covering material. This will help prevent any moisture penetration and create a finished and polished look. Choose a sealant or caulk that is suitable for the specific covering material you have used.
- Allow for proper curing time: After securing the covering material, allow it to dry and cure according to the manufacturer’s instructions. This will ensure that the adhesive, mortar, or sealant fully sets and provides maximum stability and longevity.
By taking these steps to ensure the covering material is securely in place, you can enjoy your transformed fireplace with the peace of mind that it will stay intact and beautiful for years to come.
Now that the covering material is securely installed, it’s time to add the finishing touches to complete the transformation of your fireplace.
Step 7: Add finishing touches
Adding the finishing touches to your covered fireplace will elevate its appearance and create a polished and cohesive look in your space. Here are some final steps to consider:
- Trim and moldings: Install trim or moldings around the edges of the covering material to create clean lines and a polished finish. Choose trim that complements the style and material of your covering.
- Paint or stain: If desired, paint or stain the covering material and trim to further enhance its appearance and match your overall interior design. Select a color that coordinates with the rest of the room and complements the covering material.
- Decorative accents: Add decorative accents such as artwork, mirrors, or decorative objects above the fireplace to enhance the visual impact. These accents can further tie the fireplace into the overall design scheme of the room.
- Mantel or shelving: Consider adding a mantel or shelving above the fireplace to provide display space for personal items, decorative accessories, or even a TV. This can enhance the functionality and visual appeal of your fireplace.
- Accessorize: Finish off the look by accessorizing the space around the fireplace. Place decorative items like vases, candles, or plants to bring life and personality to the area.
Remember to take into account the overall style and aesthetic you want to achieve in your space. The finishing touches should seamlessly integrate with the rest of your décor and create a cohesive and visually pleasing environment.
With the completion of these final steps, you have successfully covered and transformed your fireplace. Take a step back and admire your hard work, as your updated fireplace now serves as a stunning focal point in your home.
Congratulations on completing the process of covering your fireplace! Enjoy the new look and cozy atmosphere it brings to your living space.
Note: If at any point during the covering process you are unsure or uncomfortable with the steps involved, it’s always a good idea to consult with a professional contractor who can provide guidance and ensure a safe and successful outcome.
Conclusion
Transforming your fireplace by covering it with a new material can completely revitalize the look and feel of your space. Whether you’re aiming for a modern, rustic, or sophisticated design, the process of covering a fireplace is a rewarding DIY project that can be accomplished with careful planning and execution.
In this article, we have outlined the step-by-step procedure for covering a fireplace. From gathering the necessary materials to adding the finishing touches, each step has been carefully explained to help you achieve a professional and visually appealing result.
Remember to prioritize safety throughout the process. Always ensure that your fireplace is cool and dormant before starting any work. If you encounter any challenges or feel unsure about any aspect of the project, it’s always advisable to seek guidance from a professional contractor.
By following the steps outlined in this article, you can transform your outdated or uninspiring fireplace into a stunning focal point that integrates seamlessly with your overall interior design. Whether you choose tiles, wood panels, stone veneer, or brick veneer as your covering material, the result will be a fireplace that not only provides warmth but also adds style and character to your home.
So, gather your materials, measure carefully, choose the perfect covering material, prepare the surface, install it securely, add the finishing touches, and enjoy the beautiful transformation of your fireplace.
Get ready to cozy up by the fire and bask in the ambiance of your newly covered fireplace. Happy DIY-ing!
Frequently Asked Questions about How To Cover A Fireplace
Was this page helpful?
At Storables.com, we guarantee accurate and reliable information. Our content, validated by Expert Board Contributors, is crafted following stringent Editorial Policies. We're committed to providing you with well-researched, expert-backed insights for all your informational needs.


0 thoughts on “How To Cover A Fireplace”