Articles
How To Flush Radiator With Garden Hose
Modified: September 2, 2024
Learn how to efficiently flush your radiator using a simple garden hose. Keep your gardening tools handy and easily maintain your radiator for optimal performance.
(Many of the links in this article redirect to a specific reviewed product. Your purchase of these products through affiliate links helps to generate commission for Storables.com, at no extra cost. Learn more)
Introduction
Gardening is a popular and fulfilling hobby for many people. Whether you have a small backyard garden or a large plot of land, tending to your plants and watching them grow can be incredibly rewarding. To ensure the success and health of your garden, it is essential to understand the importance of soil quality and proper plant nutrition.
One crucial element that plays a significant role in the well-being of your plants is the condition of the soil. Over time, soil can become compacted and depleted of essential nutrients, hindering the growth and development of your plants. This is where the process of soil aeration comes into play.
Soil aeration is the practice of creating air pockets in the soil, allowing for improved oxygen circulation. This not only promotes better root health but also enhances water absorption and nutrient uptake. While there are various methods to aerate soil, one cost-effective and efficient technique is using a garden fork.
In this article, we will guide you on how to aerate your soil using a garden fork. We will discuss the benefits of soil aeration, the tools you will need, and the step-by-step process to effectively aerate your garden soil. By following these instructions, you can give your plants the best possible environment to thrive and ensure a bountiful garden harvest.
Key Takeaways:
- Properly flushing your radiator with a garden hose is essential for maintaining your vehicle’s cooling system. Following the step-by-step process and conducting regular maintenance can ensure efficient engine cooling and prevent potential issues.
- Checking for proper drainage and inspecting the drained fluid after flushing the radiator is crucial to confirm the removal of debris. This process helps maintain the optimal functioning of your radiator and contributes to the longevity of your vehicle’s cooling system.
Read more: How To Store A Hose
Gathering the Necessary Tools and Materials
Before you begin the process of aerating your soil with a garden fork, it is essential to gather all the necessary tools and materials. Here’s a list of items you will need:
1. Garden Fork: The primary tool you will need for soil aeration is a sturdy garden fork. Look for one with long tines that can penetrate the soil easily. Make sure the fork is in good condition, without any bent or broken tines.
2. Gardening Gloves: It is always a good idea to protect your hands while gardening. Invest in a pair of sturdy gardening gloves to shield your hands from potential injuries, such as splinters or thorns.
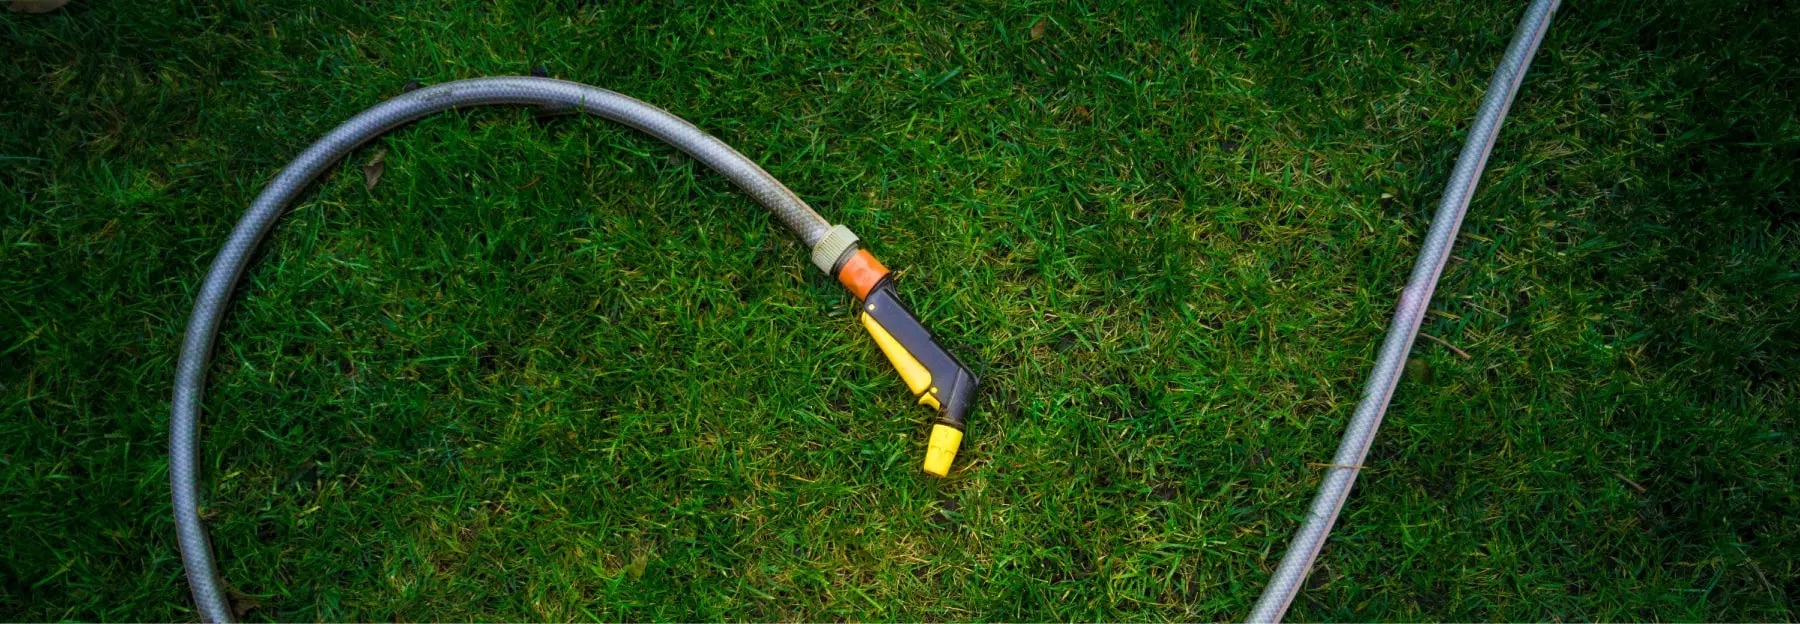
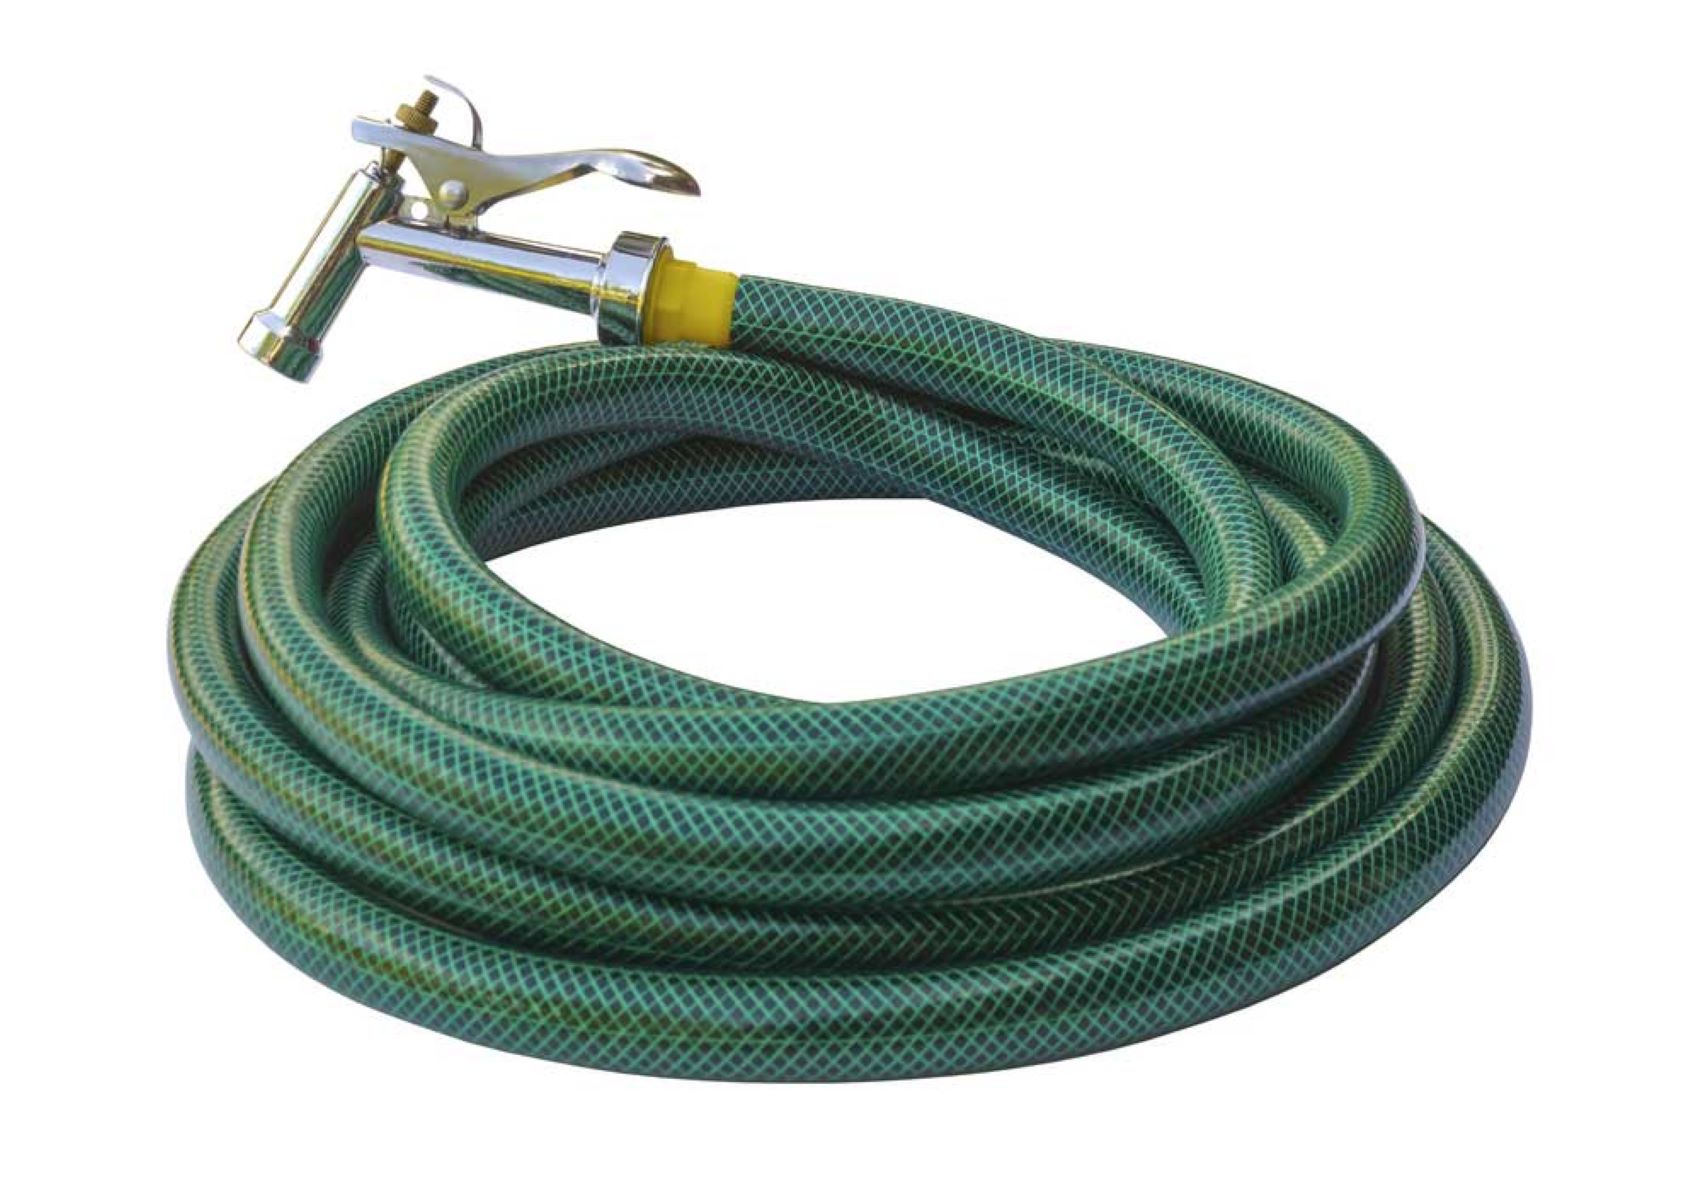
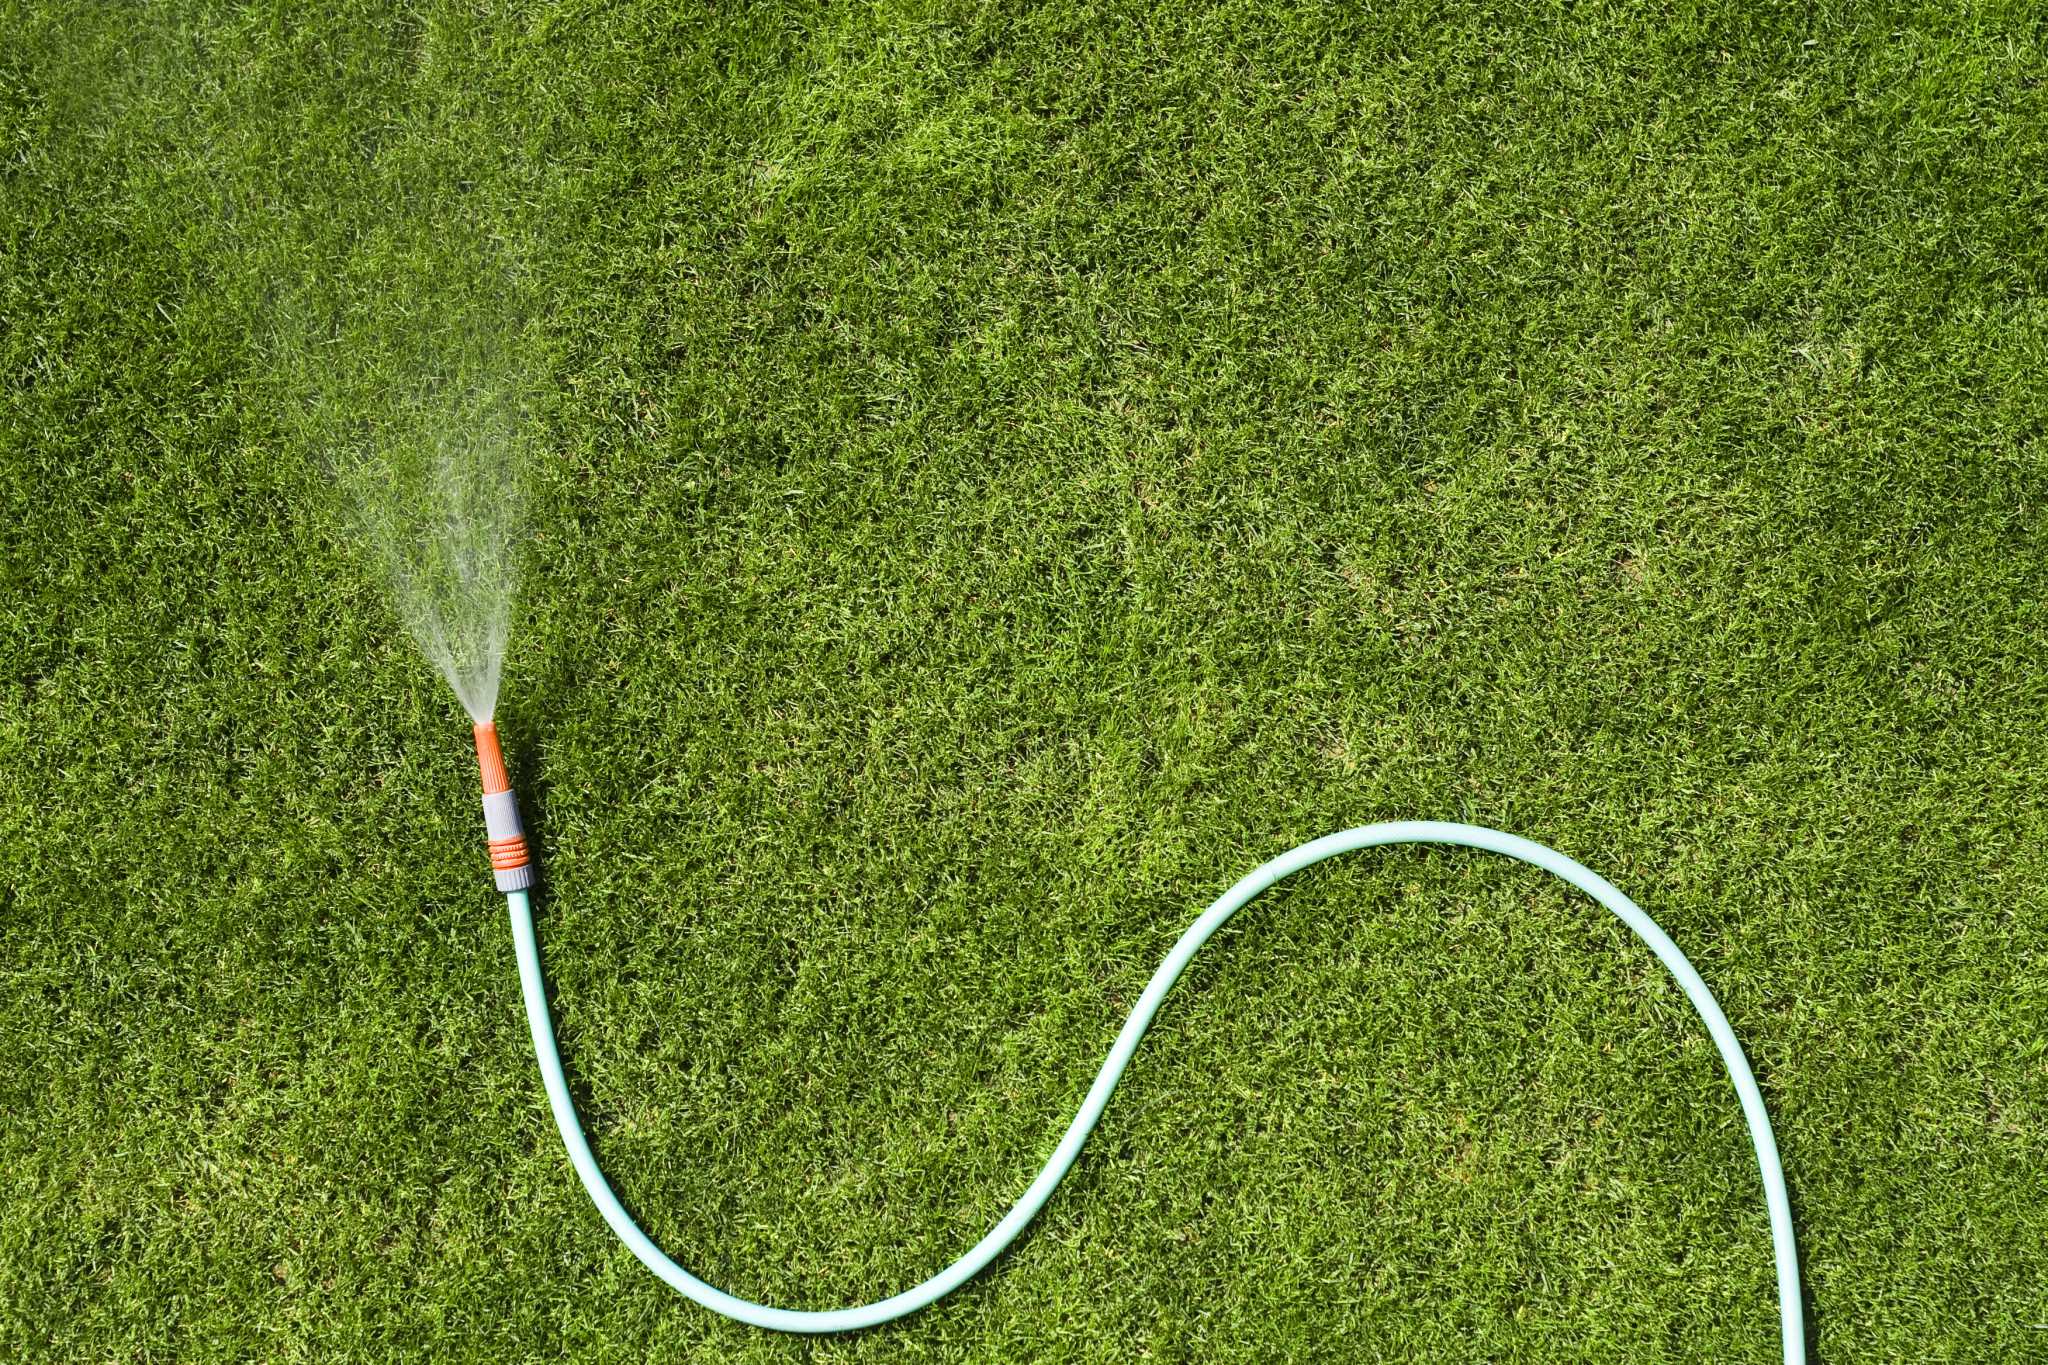
3. Watering Can or Hose: You will need a water source to water the soil before and after aerating. Depending on the size of your garden, you can either use a watering can or a garden hose with a spray nozzle attachment.
4. Garden Rake: A garden rake is handy for removing any debris or loose materials from the soil surface before you begin the aeration process. It will help create a clean and clear area for effective soil aeration.
5. Wheelbarrow or Garden Cart: To transport any excess soil or debris during the process, it is helpful to have a wheelbarrow or garden cart on hand. This will make it easier to move around and dispose of the materials.
6. Compost or Organic Matter: While not necessary for soil aeration itself, having compost or organic matter on hand can be beneficial. After aerating, you can add a layer of compost or organic matter to improve soil fertility and provide additional nutrients to your plants.
Once you have gathered all the necessary tools and materials, you are ready to move on to the next step, which is preparing the soil for aeration.
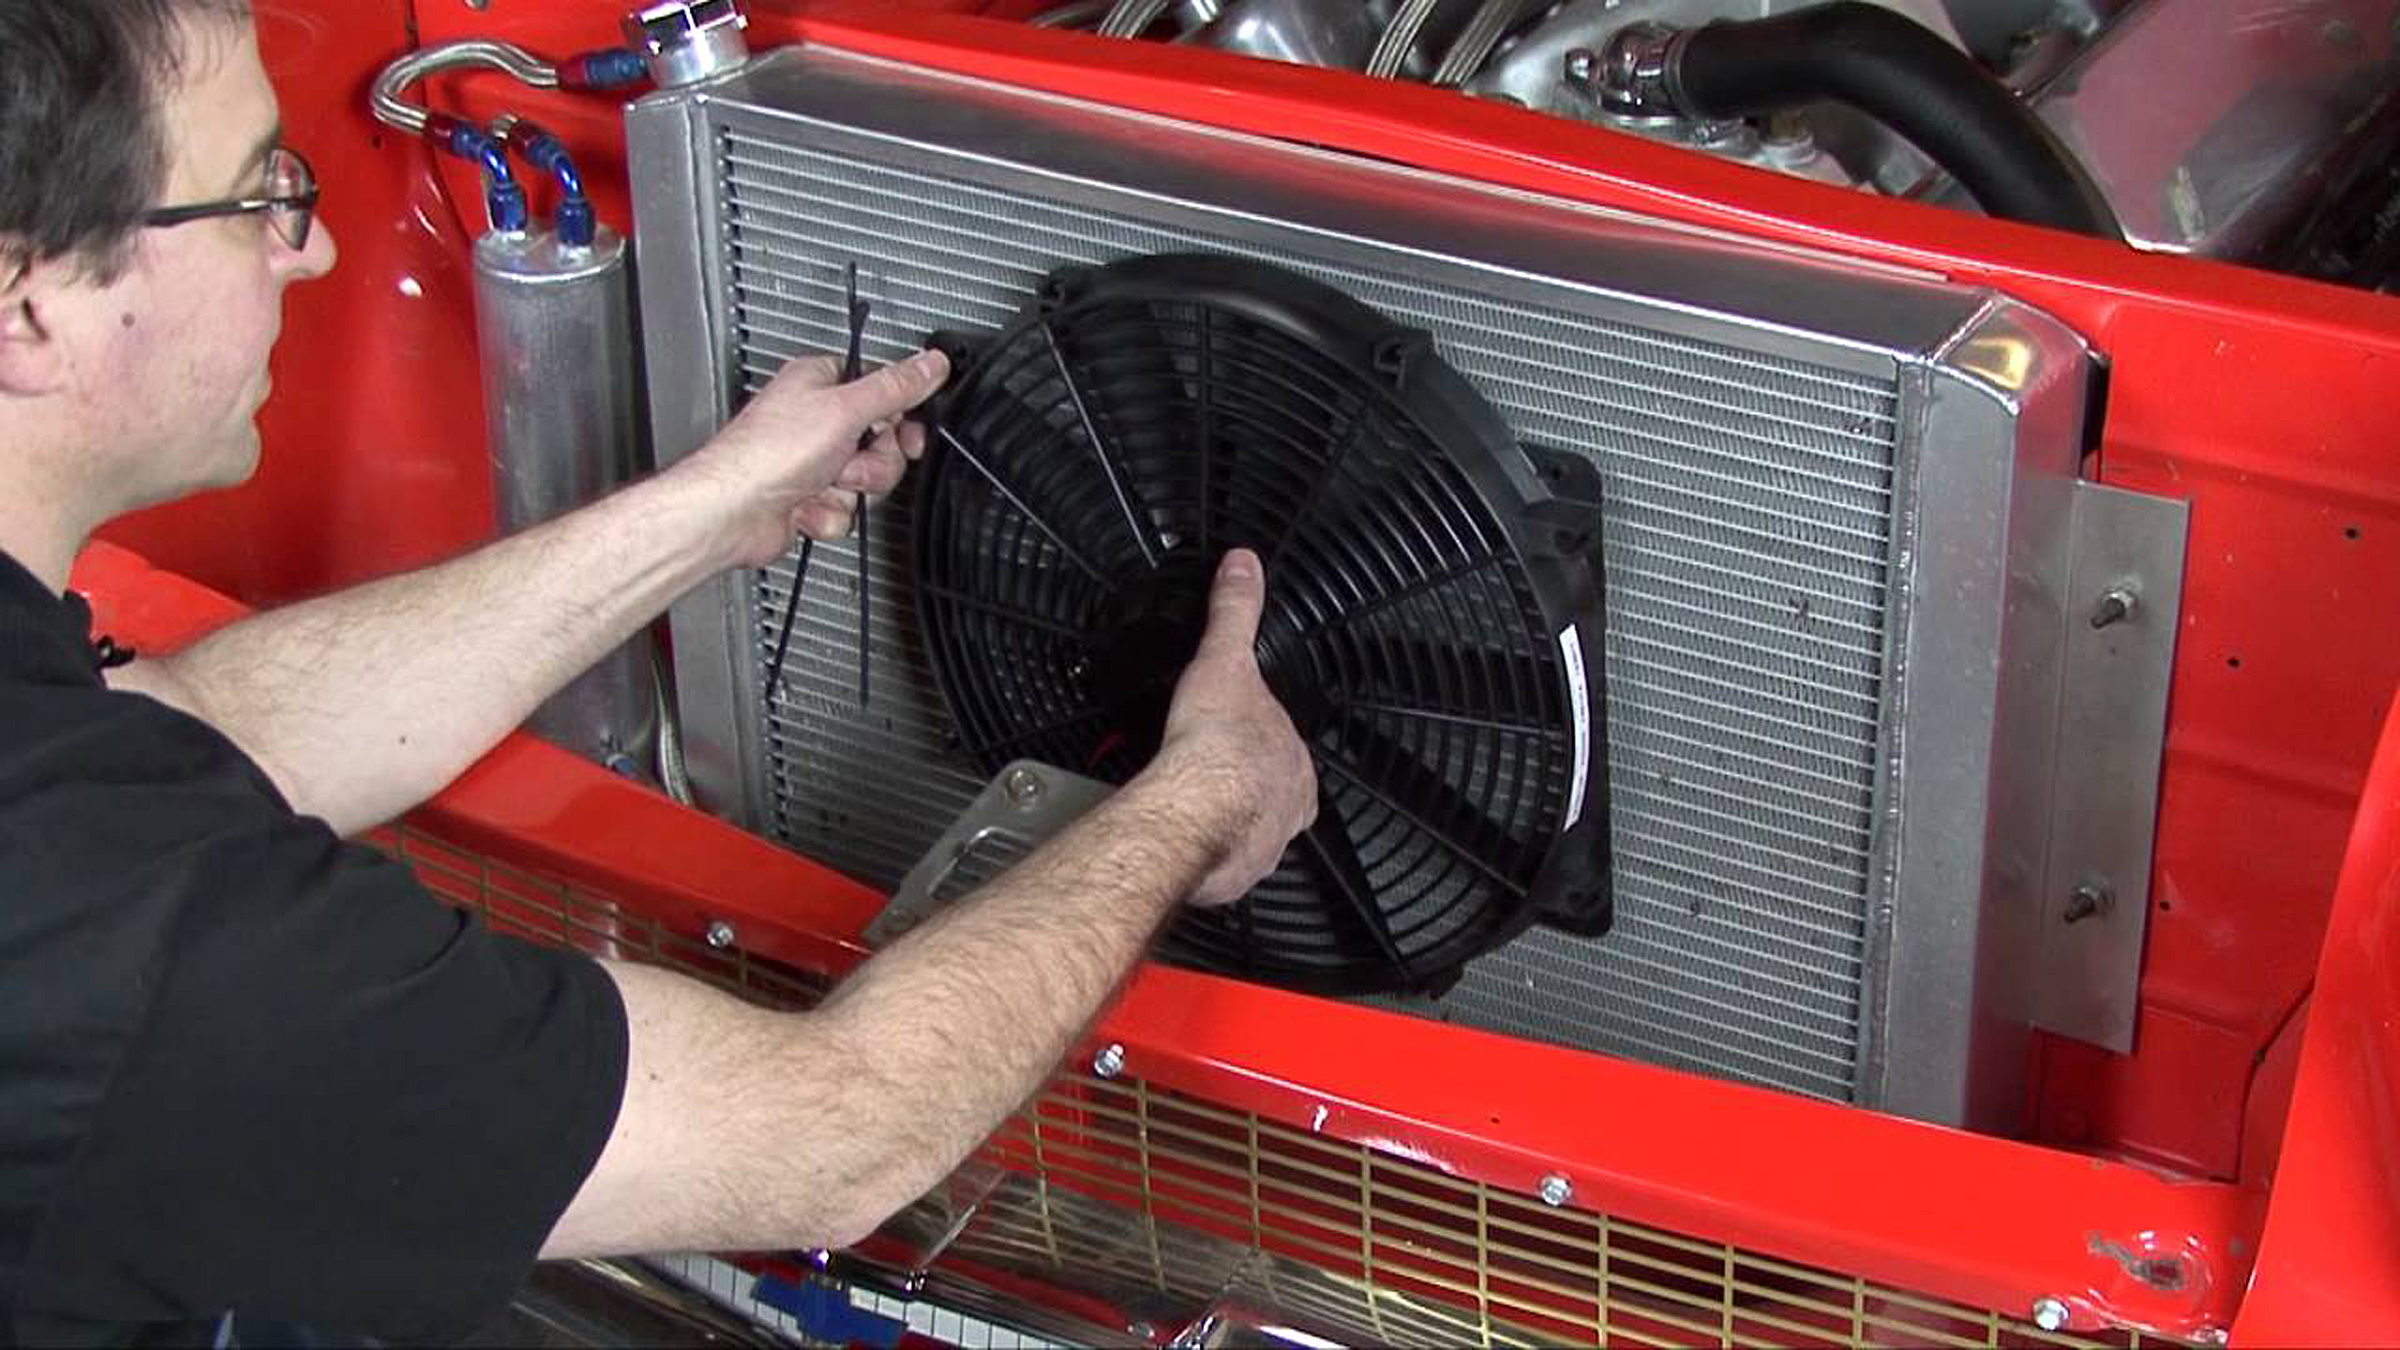
Preparing the Radiator
Before you begin the process of flushing your radiator with a garden hose, it is crucial to properly prepare the radiator to ensure efficient and effective cleaning. Here are the steps to prepare the radiator:
- Ensure the engine is cool: Before you start working on the radiator, make sure the engine is completely cool. Working on a hot radiator can be dangerous and may cause burns. It’s best to allow the engine to cool for at least an hour before proceeding.
- Locate the radiator: Locate the radiator in your vehicle. In most cars, the radiator is located near the front grille, behind the engine. It is a metal or plastic component with a series of fins. Take a moment to familiarize yourself with the location of the radiator.
- Inspect for damage: Carefully inspect the radiator for any visible damage, such as leaks or cracks. If you notice any significant damage, it is recommended to have a professional mechanic inspect and repair the radiator before proceeding with the flushing process.
- Prepare a container: Place a large container, such as a drain pan or bucket, underneath the radiator drain plug. This will catch the coolant as it drains out during the flushing process.
- Protect surrounding areas: To prevent any accidental damage or splattering, it is a good idea to cover surrounding areas, such as the engine components or nearby painted surfaces, with a cloth or plastic sheet.
- Consult your vehicle’s manual: It is recommended to consult your vehicle’s manual for any specific instructions or precautions related to your particular make and model. Different vehicles may have slightly different processes for radiator preparation.
- Double-check safety measures: Before proceeding with the flushing process, double-check that you have taken all necessary safety measures. This includes wearing protective gloves and eyewear to protect yourself from hot coolant and potential debris.
By following these steps, you can ensure that your radiator is properly prepared for the flushing process. Preparing the radiator correctly will help to prevent any damage or accidents and allow for a more effective flush with the garden hose.
Connecting the Garden Hose
Once you have properly prepared the radiator, the next step in the process of flushing it is connecting the garden hose. Here’s how to do it:
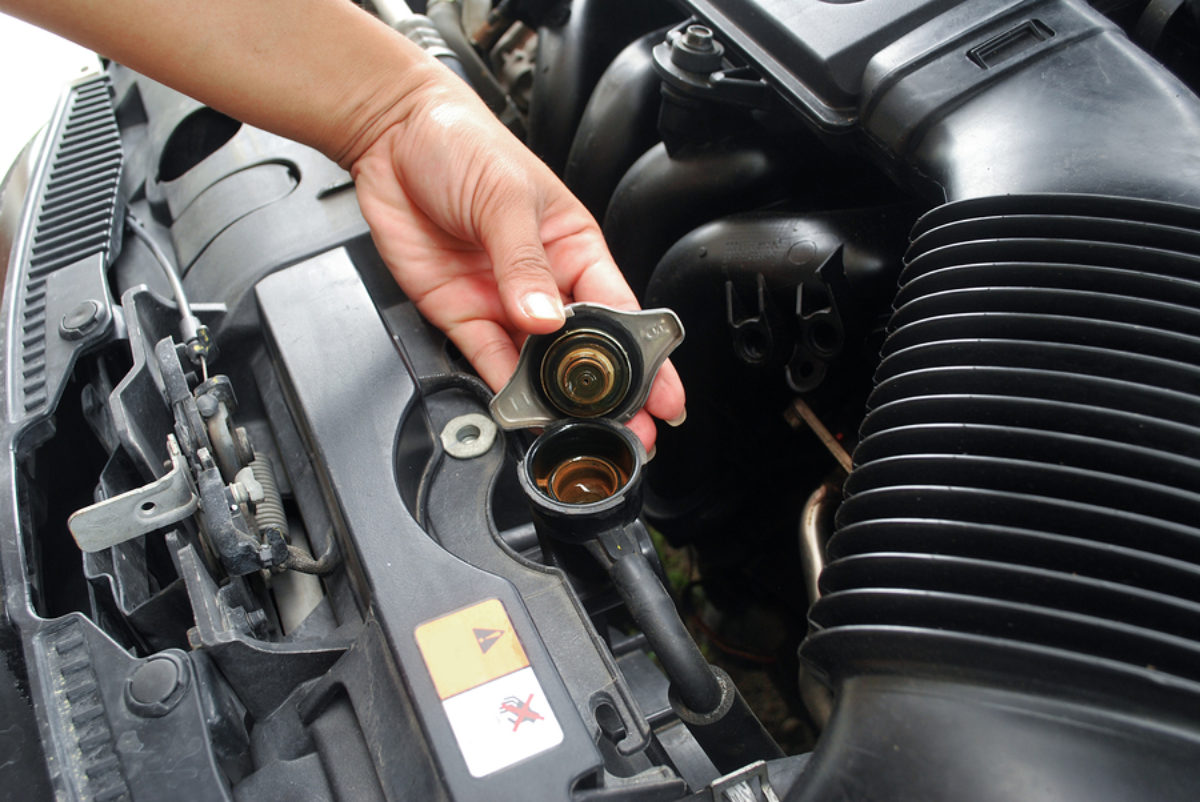
- Locate the radiator cap: Find the radiator cap on top of the radiator. It is usually a round or square-shaped cap with a logo or text indicating it as the radiator cap. Carefully remove the cap by twisting it counterclockwise.
- Inspect the radiator cap: Take a moment to inspect the radiator cap for any signs of damage or wear. If the cap is damaged or the rubber gasket is worn out, it is advisable to replace it before proceeding with the flushing process.
- Attach the garden hose: Locate a garden hose that can reach your radiator. Connect one end of the garden hose to a water source, such as an outdoor tap or spigot. Ensure that the hose is securely attached to the water source.
- Double-check the connections: Before proceeding, double-check that both ends of the garden hose are tightly connected. This will prevent any leaks or water loss during the flushing process.
- Attach a nozzle or sprayer: Depending on the water pressure and flow in your area, you may choose to attach a nozzle or sprayer to the other end of the garden hose. This can help regulate the water flow and make it easier to control the pressure during the flushing process.
- Position the garden hose: Position the other end of the garden hose over the opening where the radiator cap was removed. Ensure that the hose is securely positioned and will not move or slip during the flushing process.
- Turn on the water: Slowly turn on the water from the water source. Gradually increase the water flow to a moderate pressure. Take care not to start with high pressure, as it may damage the radiator or cause water to splash uncontrollably.
- Check for leaks: While the water is flowing into the radiator, keep an eye out for any leaks around the connections or the radiator itself. If you notice any leaks, immediately turn off the water and address the issue before proceeding.
By following these steps, you can successfully connect the garden hose to the radiator for the flushing process. Once the hose is securely connected, you can move on to the next step – actually flushing the radiator.
Flushing the Radiator
Now that you have connected the garden hose to the radiator, it is time to flush the radiator to remove any built-up debris or contaminants. Follow these steps to effectively flush your radiator:
- Turn on the water: With the garden hose securely connected, turn on the water source to allow water to flow through the radiator. Start with a moderate water flow and gradually increase it if necessary.
- Monitor the draining fluid: As the water flows through the radiator, you will notice the coolant or old fluid draining out through the radiator drain plug. Keep an eye on this fluid to assess its clarity and any signs of debris.
- Flush in both directions: To thoroughly clean the radiator, it is beneficial to flush in both directions. Start by flushing the radiator in the normal direction, allowing the water to flow through and carry away debris. Then, reverse the flow by turning the garden hose around and flushing in the opposite direction.
- Observe the water color and clarity: As you continue flushing, observe the water coming out of the radiator. Initially, it may appear rusty, discolored, or contain debris. However, as you flush, the water should become clearer. Keep flushing until the water runs clear and free of debris.
- Inspect the radiator for remaining debris: After the water runs clear, inspect the radiator visually to check for any remaining debris. Use a flashlight if necessary to get a clear view. If you notice any persistent debris or blockages, you may need to repeat the flushing process or consider seeking professional assistance.
- Flush other cooling system components (optional): While flushing the radiator, you have the option to flush other cooling system components, such as the heater core or coolant hoses. This can help ensure a thorough cleaning of the entire system and prevent potential issues in the future.
- Keep an eye on the temperature: While flushing, keep an eye on the temperature gauge of your vehicle. If it starts to rise significantly, it may indicate that the engine is overheating. In such cases, immediately turn off the water and allow the engine to cool before continuing.
- Complete the flushing process: Once the water runs clear and the radiator appears clean, you can consider the flushing process complete. Turn off the water source and prepare to check for proper drainage.
By following these steps, you can effectively flush your radiator, removing any debris or contaminants that may hinder its performance. Once the flushing is done, the next step is to check for proper drainage to ensure a successful and thorough flush.
When flushing your radiator with a garden hose, make sure to first drain the old coolant, then use the hose to flush out any remaining debris and buildup. Be sure to flush until the water runs clear.
Read more: How To Paint Behind A Radiator
Checking for Proper Drainage
After flushing the radiator, it is essential to check for proper drainage to ensure that all the debris and unwanted particles have been effectively flushed out. Follow these steps to confirm that the radiator has drained properly:
- Turn off the water source: Before checking for drainage, ensure that the water source is turned off to prevent any further flow of water into the radiator.
- Wait for the radiator to drain: Give the radiator some time to drain completely. Depending on the size of the radiator and the amount of coolant or water present, it may take a few minutes for the radiator to empty out.
- Inspect the drained fluid: Once the radiator has finished draining, carefully examine the fluid collected in the drain pan or bucket. Look for any signs of debris, rust, or other contaminants. If you notice any significant debris, sediment, or abnormal discoloration, it may indicate that further flushing or maintenance is necessary.
- Check the radiator drain plug: As part of the drainage process, inspect the radiator drain plug for any signs of leaks or damage. Make sure it is securely tightened and functioning properly. If you notice any issues with the drain plug, it is advisable to have it checked or replaced by a professional mechanic.
- Follow proper disposal guidelines: After confirming proper drainage, it is crucial to dispose of the drained fluid in an environmentally conscious manner. Coolant and other fluids should be properly recycled or disposed of according to local regulations. Ensure that you follow any applicable guidelines for safe disposal.
By carefully checking for proper drainage, you can ensure that the flushing process has been successful in removing any debris or contaminants from your radiator. Proper drainage is essential to maintain the optimal functioning of your radiator and vehicle’s cooling system.
Disconnecting the Garden Hose
Once you have checked for proper drainage and confirmed that the radiator is clean, it is time to disconnect the garden hose. Follow these steps to safely disconnect the garden hose from the radiator:
- Turn off the water source: Before disconnecting the garden hose, ensure that the water source is turned off. This will prevent any accidental spills or splashing while disconnecting.
- Tighten the cap on the radiator: Before removing the garden hose, securely tighten the cap on the radiator. This will help prevent any coolant or debris from entering the radiator while disconnecting the hose.
- Release any residual pressure: To avoid any sudden bursts of pressure, gently squeeze the hoses near the radiator to release any remaining pressure or trapped air. This will make the disconnection process safer and cleaner.
- Detach the garden hose: Carefully detach the garden hose from the radiator. Twist the hose in a clockwise motion while pulling it away from the radiator. Take care not to spill any remaining water or coolant while doing so.
- Allow the hose to drain: Once the garden hose is disconnected, hang it or place it in a suitable area to allow any remaining water to drain out. This will prevent any water from pooling and stagnating in the hose.
- Inspect the hose: While the hose drains, take the opportunity to inspect it for any signs of damage, wear, or leaks. If you notice any issues with the hose, such as cracks or leaks, consider replacing it before the next use.
- Clean up: Dispose of any drained water or coolant properly according to local regulations. Clean up any spilled water or coolant to prevent slipping and to maintain a safe and clean work area.
By following these steps, you can successfully disconnect the garden hose from the radiator after flushing. Proper disconnection ensures that the flushing process is complete and allows for the proper maintenance and storage of the garden hose.
Final Steps and Recommendations
After disconnecting the garden hose and completing the flushing process, there are a few final steps and recommendations to ensure the longevity and effectiveness of your radiator. Follow these steps to wrap up the radiator flushing process:
- Replace the radiator cap: Once the garden hose is disconnected, securely replace the radiator cap. Make sure it is tightened properly to prevent any leaks or air from entering the radiator.
- Refill with coolant: If you have completely flushed out the coolant during the process, it is essential to refill the radiator with the appropriate coolant mixture recommended for your vehicle. Follow your vehicle’s manual or consult a professional mechanic for guidance on the proper coolant type and mixing ratio.
- Inspect for leaks: After refilling the radiator, visually inspect it for any signs of leaks or drips. Check the connections, hoses, and radiator for any visible signs of coolant leakage. Address any leaks immediately to prevent potential damage or coolant loss.
- Keep a maintenance schedule: Establish a regular maintenance schedule for your radiator and cooling system. Routine checks and maintenance can help prevent issues and ensure optimal performance. This may include periodic radiator flushes and inspections.
- Monitor temperature and fluid levels: After flushing and refilling the radiator, it is crucial to monitor the temperature gauge and fluid levels regularly. This will help you detect any potential issues with the cooling system and address them promptly.
- Consider professional assistance: If you are unsure about any step in the radiator flushing process or suspect any underlying issues with your cooling system, it is advisable to seek professional assistance. A qualified mechanic can provide expert guidance and ensure the proper functioning of your radiator.
- Properly dispose of fluids and materials: Dispose of any leftover coolant, drained fluids, or waste materials according to local regulations. Coolant and other automotive fluids should never be poured down the drain or into the environment. Consult local recycling centers or waste disposal facilities for appropriate disposal methods.
By following these final steps and recommendations, you can ensure that your radiator is in good condition and ready to effectively cool your vehicle’s engine. Regular maintenance and attention to the cooling system will contribute to the longevity and performance of your vehicle.
Conclusion
Flushing your radiator with a garden hose is a crucial maintenance task that helps maintain the efficiency and longevity of your vehicle’s cooling system. By following the steps outlined in this article, you can ensure the proper cleaning and functioning of your radiator.
Starting with gathering the necessary tools and materials, preparing the radiator, and connecting the garden hose, you set the stage for a successful flushing process. Flushing the radiator involves monitoring the water flow, flushing in both directions, and observing the water clarity to ensure the removal of debris and contaminants.
Proper drainage is essential to confirm the successful flushing of the radiator. By checking for proper drainage and inspecting the drained fluid, you can ensure that the radiator is clean and free from debris.
The final steps include disconnecting the garden hose, replacing the radiator cap, refilling with coolant, and monitoring for leaks. Following these steps and recommendations will help maintain the optimal performance of your vehicle’s cooling system and prevent potential issues.
Remember, if you are unsure about any step or suspect any underlying issues with your cooling system, it is wise to seek professional assistance. A trained mechanic can provide expert guidance and ensure the proper functioning of your radiator.
Regular maintenance, such as radiator flushing, is essential to keep your vehicle’s cooling system running smoothly. By incorporating this process into your maintenance routine, you can extend the life of your radiator and enjoy reliable engine cooling, even in the hottest of conditions.
With proper care and attention, your radiator will continue to keep your engine cool and ensure smooth and efficient performance for years to come.
Frequently Asked Questions about How To Flush Radiator With Garden Hose
Was this page helpful?
At Storables.com, we guarantee accurate and reliable information. Our content, validated by Expert Board Contributors, is crafted following stringent Editorial Policies. We're committed to providing you with well-researched, expert-backed insights for all your informational needs.


0 thoughts on “How To Flush Radiator With Garden Hose”