
Articles
How To Fix A Garden Hose Leak
Modified: October 19, 2024
Learn how to fix a garden hose leak with these easy gardening tips. Stop wasting water and keep your garden green and healthy.
(Many of the links in this article redirect to a specific reviewed product. Your purchase of these products through affiliate links helps to generate commission for Storables.com, at no extra cost. Learn more)
Introduction
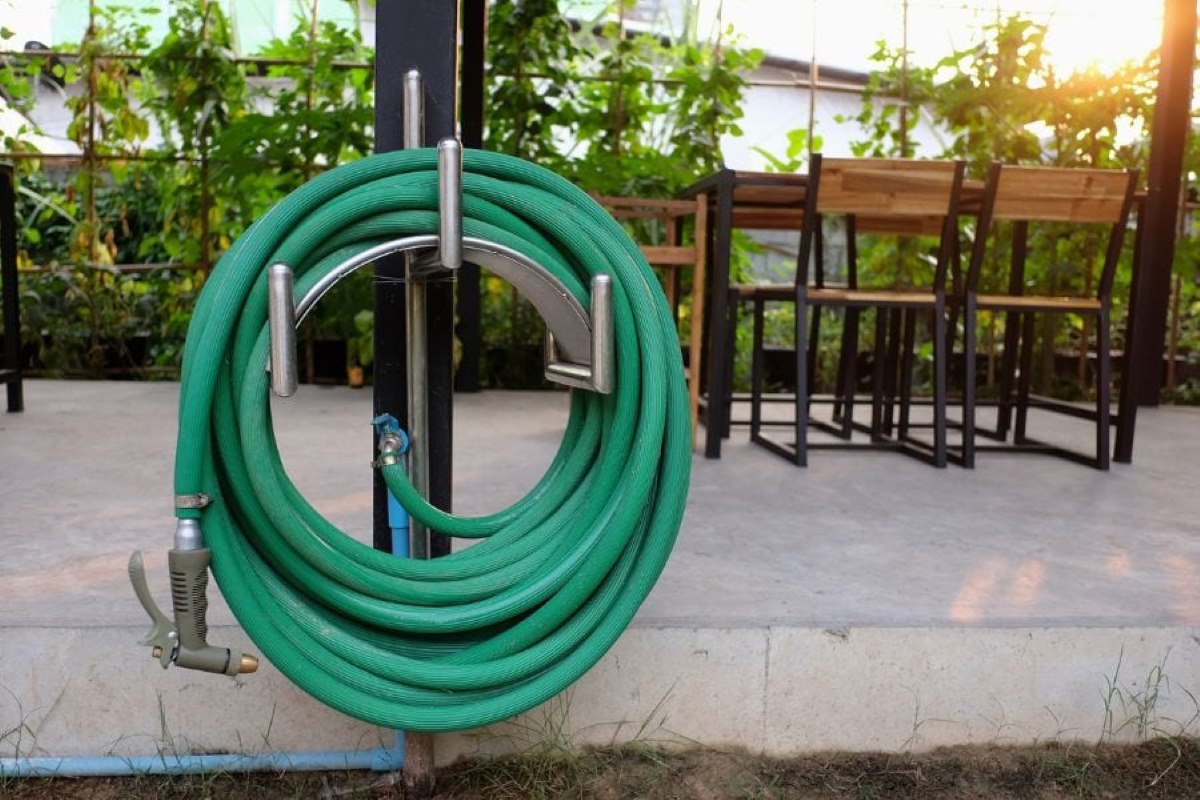
Gardening is a rewarding and fulfilling hobby for many people. Whether you have a small backyard garden or a larger landscape to tend to, maintaining your garden requires the right tools and equipment. One essential tool in any gardener’s arsenal is a garden hose, which allows for convenient watering and irrigation.
However, over time, garden hoses may develop leaks, causing water wastage and rendering them less effective. If you notice a leak in your garden hose, there is no need to panic. Fixing a garden hose leak is a relatively simple DIY task that can save you money and prolong the life of your hose.
In this article, we will provide you with a step-by-step guide on how to fix a garden hose leak. By following these instructions, you’ll be able to quickly identify the source of the leak, cut out the damaged section, attach a replacement piece, and get your garden hose back in working order.
Before we dive into the steps, let’s go over the tools and materials you will need:
Key Takeaways:
- Save money and prolong your garden hose’s lifespan by fixing leaks with simple DIY steps. Identify, cut, measure, and attach a replacement piece to ensure a leak-free hose for efficient gardening.
- Empower yourself to tackle garden hose leaks with confidence. By following a step-by-step guide, you can minimize water wastage, maintain proper irrigation, and enjoy a hassle-free gardening experience.
Read more: How To Fix A Leaking Washer
Tools and Materials Needed
Before you begin fixing your garden hose leak, make sure you have the necessary tools and materials on hand. Here’s what you’ll need:
- Scissors or utility knife: You’ll need these to cut the hose and remove the damaged section.
- Tape measure: This will help you determine the length of the replacement piece needed.
- Hose mender or coupling: This is the replacement piece that will be inserted to fix the leak.
- Hose clamps: These will secure the replacement piece onto the hose.
- Rubber or vinyl patches: If the leak is minor, these patches can be used to seal the affected area.
- Rubber gloves: These will protect your hands while working with the hose.
- Bucket or basin: It’s a good idea to have one nearby to catch any water that may spill while repairing the leak.
Once you gather these tools and materials, you’ll be prepared to start fixing your garden hose leak.
Step 1: Identify the Leak
The first step in fixing a garden hose leak is to locate the source of the leak. This will help you determine the best course of action for repair.
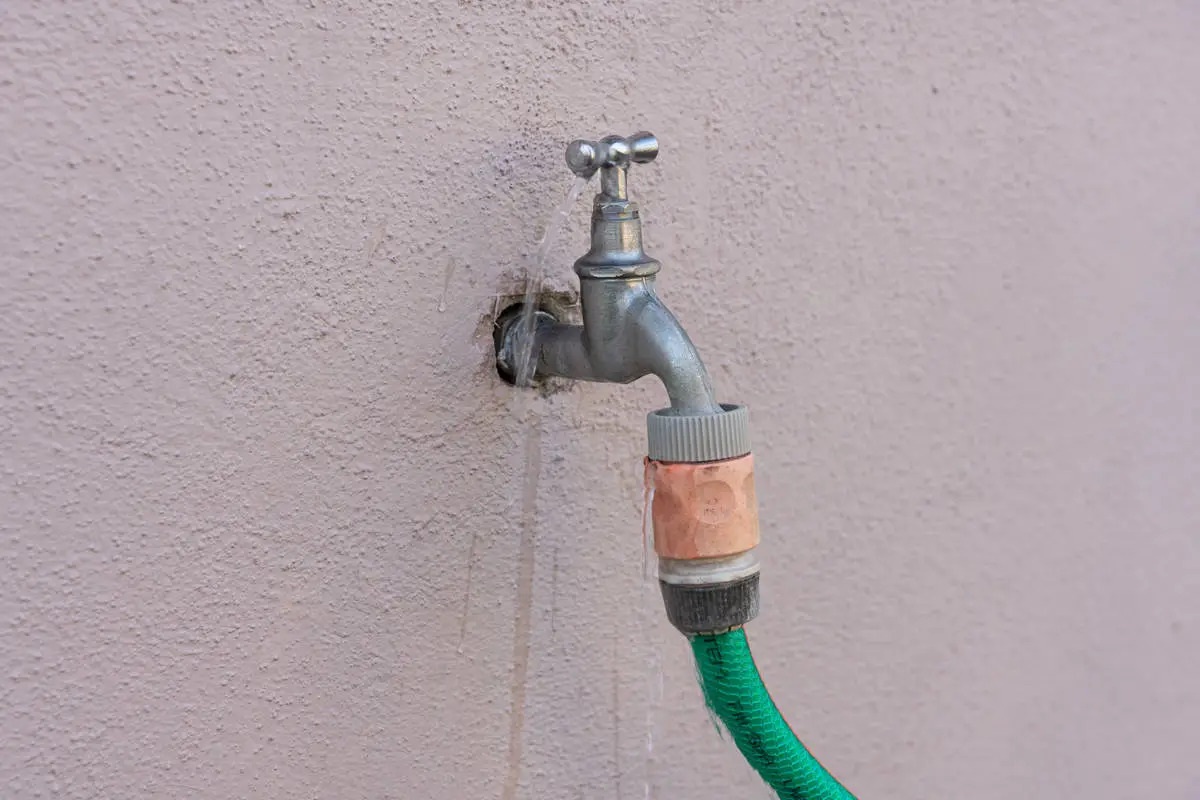
Start by turning on the water supply and inspect the hose for any obvious signs of leakage. Look for water spraying or dripping from a specific area of the hose. Common areas of leakage include the connections between the hose and the faucet or spray nozzle, as well as any visible cracks or holes in the hose itself.
If the leak is not immediately apparent, you can also run your hands along the hose while the water is flowing to feel for any areas where water is escaping.
Take note of the size and location of the leak as this will guide your repair process. Small leaks can often be repaired with a simple patch, while larger leaks may require cutting out and replacing a section of the hose.
Once you have identified the leak, it’s time to turn off the water supply to prevent any further water loss and prepare for the repair.
Step 2: Turn Off the Water Supply
Before you dive into fixing the garden hose leak, it’s important to turn off the water supply to prevent any water from flowing through the hose.
Locate the valve or faucet that is connected to the hose and turn it off. This will stop the water flow and allow you to work on the hose without getting wet or causing any further damage.
If you’re unable to find a specific valve or faucet to shut off, you can also turn off the main water supply for your entire property. This is typically located near your water meter or where the water line enters your home. Keep in mind that turning off the main water supply will affect the water flow to your entire property, so be sure to inform anyone else in your household about the temporary interruption.
Once the water supply is turned off, you can proceed with repairing the garden hose leak with peace of mind.
Next, we’ll move on to step 3, which involves cutting out the damaged section of the hose.
Step 3: Cut Out the Damaged Section
Now that you have turned off the water supply, it’s time to cut out the damaged section of the garden hose. This step is necessary to remove the source of the leak and prepare the hose for repair.
Start by examining the hose and identifying the portion that contains the leak. You can mark the area with a pen or a small piece of tape to make it easier to cut.
Once you have identified the damaged section, take your scissors or utility knife and make clean, straight cuts at both ends of the marked area. It’s important to make sure the cuts are perpendicular to the hose to ensure a proper fit when inserting the replacement piece.
Be cautious while cutting and make sure to apply steady pressure to avoid damaging the surrounding parts of the hose. Take your time and make precise cuts to ensure a smooth repair process.
After you have cut out the damaged section, you’ll be ready for the next step, which involves measuring and cutting a replacement piece for the hose.
To fix a garden hose leak, start by cutting out the damaged section and attaching a hose mender or replacing the entire hose if necessary. Use a hose clamp to secure the connection and ensure a tight seal.
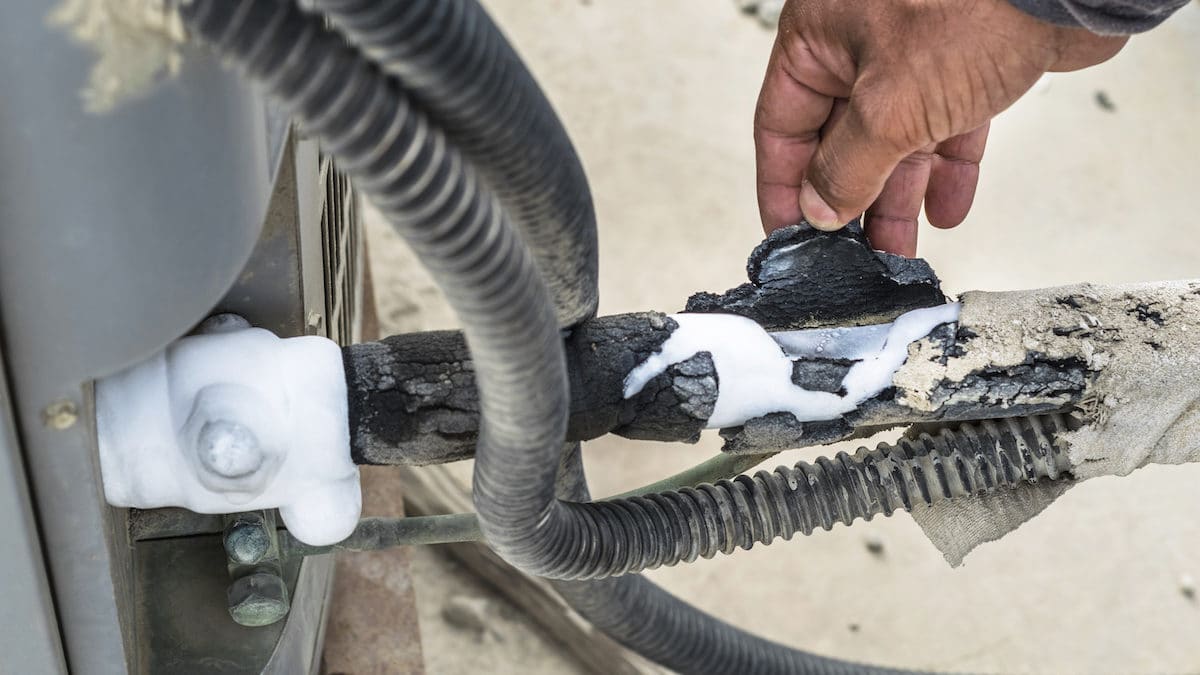
Read more: How To Fix An AC Leak
Step 4: Measure and Cut a Replacement Piece
With the damaged section of the hose removed, it’s time to measure and cut a replacement piece. This new piece will be inserted into the hose to fix the leak.
Take your tape measure and carefully measure the length of the gap left by the removed section. Be sure to measure from the inside of one cut end to the inside of the other cut end. This will ensure an accurate measurement for the replacement piece.
Once you have the measurement, mark the length on your replacement hose mender or coupling. Use your scissors or utility knife to make a clean cut through the replacement piece. Again, ensure that the cut is straight and perpendicular to the length of the replacement piece.
It’s important to note that the replacement piece should be the same diameter as your garden hose to ensure a proper fit. If necessary, you can bring the damaged section of the hose with you to a local hardware store to find a matching replacement piece.
After you have cut the replacement piece to the correct length, you are now ready to move on to step 5, which involves attaching the replacement piece to the hose.
Step 5: Attach the Replacement Piece
Now that you have measured and cut the replacement piece for your garden hose, it’s time to attach it and fix the leak. This step will require the use of hose clamps to ensure a secure connection.
Start by sliding one end of the replacement piece onto one of the cut ends of the hose. Push it as far as it can go to ensure a tight fit. Then, take a hose clamp and position it over the connection between the hose and the replacement piece.
Using a screwdriver or a wrench, tighten the hose clamp securely, ensuring that it holds the two pieces together firmly. Be careful not to overtighten, as this can damage the hose or the replacement piece.
Repeat the process on the other end of the cut hose, attaching the remaining end of the replacement piece. Slide it onto the cut end and secure it in place with another hose clamp.
Once both ends of the replacement piece are securely attached, double-check the connections to ensure that they are tight and leak-free.
Now, you can move on to step 6, which involves testing for leaks to ensure a successful repair.
Step 6: Test for Leaks
After attaching the replacement piece to your garden hose, it’s crucial to test for leaks to ensure that the repair was successful. This step will help identify any remaining issues and allow you to make any necessary adjustments before reconnecting the hose for regular use.
To begin the leak testing process, turn on the water supply and carefully observe the area where the replacement piece is connected to the hose. Look for any signs of water leakage, such as drips, sprays, or puddles around the connection points.
If you notice any leaks, first try tightening the hose clamps on the connection points. Use a screwdriver or a wrench to ensure they are securely fastened. Double-check for leaks again after tightening the clamps.
If the leaks persist, you may need to reposition the hose clamps or consider replacing them with new ones. It’s important to address any leaks promptly to prevent water wastage and maintain optimal functionality of your garden hose.
Once you have addressed any leaks and confirmed that there are no more signs of water leakage, you can proceed to the final step, which involves reconnecting the hose for regular use.
Step 7: Reconnect the Hose
Now that you have successfully fixed the garden hose leak and tested for any remaining issues, it’s time to reconnect the hose and get it ready for regular use in your garden.
Start by turning off the water supply once again to ensure a controlled and safe reconnection process.
Next, take one end of the hose and attach it to the outdoor faucet or spigot. Twist it clockwise until it is securely fastened. Make sure to check for any signs of leakage around the connection point.
If the hose is connected to a spray nozzle or other watering tool, attach it to the other end of the hose in the same manner, twisting it clockwise until it is tightly secured.
Once both ends of the hose are properly connected, turn on the water supply and check for any new leaks around the connections or along the hose’s length. Monitor the hose closely for a few minutes while the water is flowing to ensure that everything is functioning as expected.
If you notice any additional leaks, go back to step 6 and address them accordingly by tightening the connections or replacing faulty components.
Once you are confident that the hose is leak-free and ready for use, you can proceed with your regular gardening activities, making use of the properly functioning hose to water your plants and maintain your garden.
Congratulations! You have successfully fixed the garden hose leak and restored its functionality.
Read more: How To Flush Radiator With Garden Hose
Conclusion
Fixing a garden hose leak is a simple and cost-effective DIY task that can save you money and extend the lifespan of your hose. By following the step-by-step guide outlined in this article, you can quickly and efficiently repair any leaks to ensure optimal functionality for your gardening needs.
Remember to start by identifying the leak and turning off the water supply. Then, proceed to cut out the damaged section and measure and cut a replacement piece. Attach the replacement piece securely using hose clamps, and then test for leaks to ensure a successful repair. Finally, reconnect the hose and check for any new leaks before resuming your regular gardening routine.
By taking the time to fix a garden hose leak, you minimize water wastage, maintain proper irrigation, and save yourself the inconvenience of a faulty hose. Additionally, this DIY repair empowers you to take control of your gardening tools and equipment, enhancing your overall gardening experience.
So, the next time you encounter a garden hose leak, don’t panic. Armed with the knowledge from this article, you can confidently tackle the issue and enjoy a leak-free garden hose for years to come.
Frequently Asked Questions about How To Fix A Garden Hose Leak
Was this page helpful?
At Storables.com, we guarantee accurate and reliable information. Our content, validated by Expert Board Contributors, is crafted following stringent Editorial Policies. We're committed to providing you with well-researched, expert-backed insights for all your informational needs.


0 thoughts on “How To Fix A Garden Hose Leak”