
Articles
How To Make A Kegerator Mini Fridge
Modified: February 20, 2024
Learn how to turn a mini fridge into a kegerator with this step-by-step guide. Discover top articles on DIY kegerator setups and find recommended materials and tools.
(Many of the links in this article redirect to a specific reviewed product. Your purchase of these products through affiliate links helps to generate commission for Storables.com, at no extra cost. Learn more)
Introduction
Are you a beer enthusiast who dreams of having your own kegerator? With a little bit of time, effort, and some DIY spirit, you can transform a regular mini fridge into a kegerator that dispenses cold, refreshing draft beer. This article will guide you through the steps on how to make a kegerator out of a mini fridge, allowing you to enjoy the luxury of having your favorite beverage on tap right in your home.
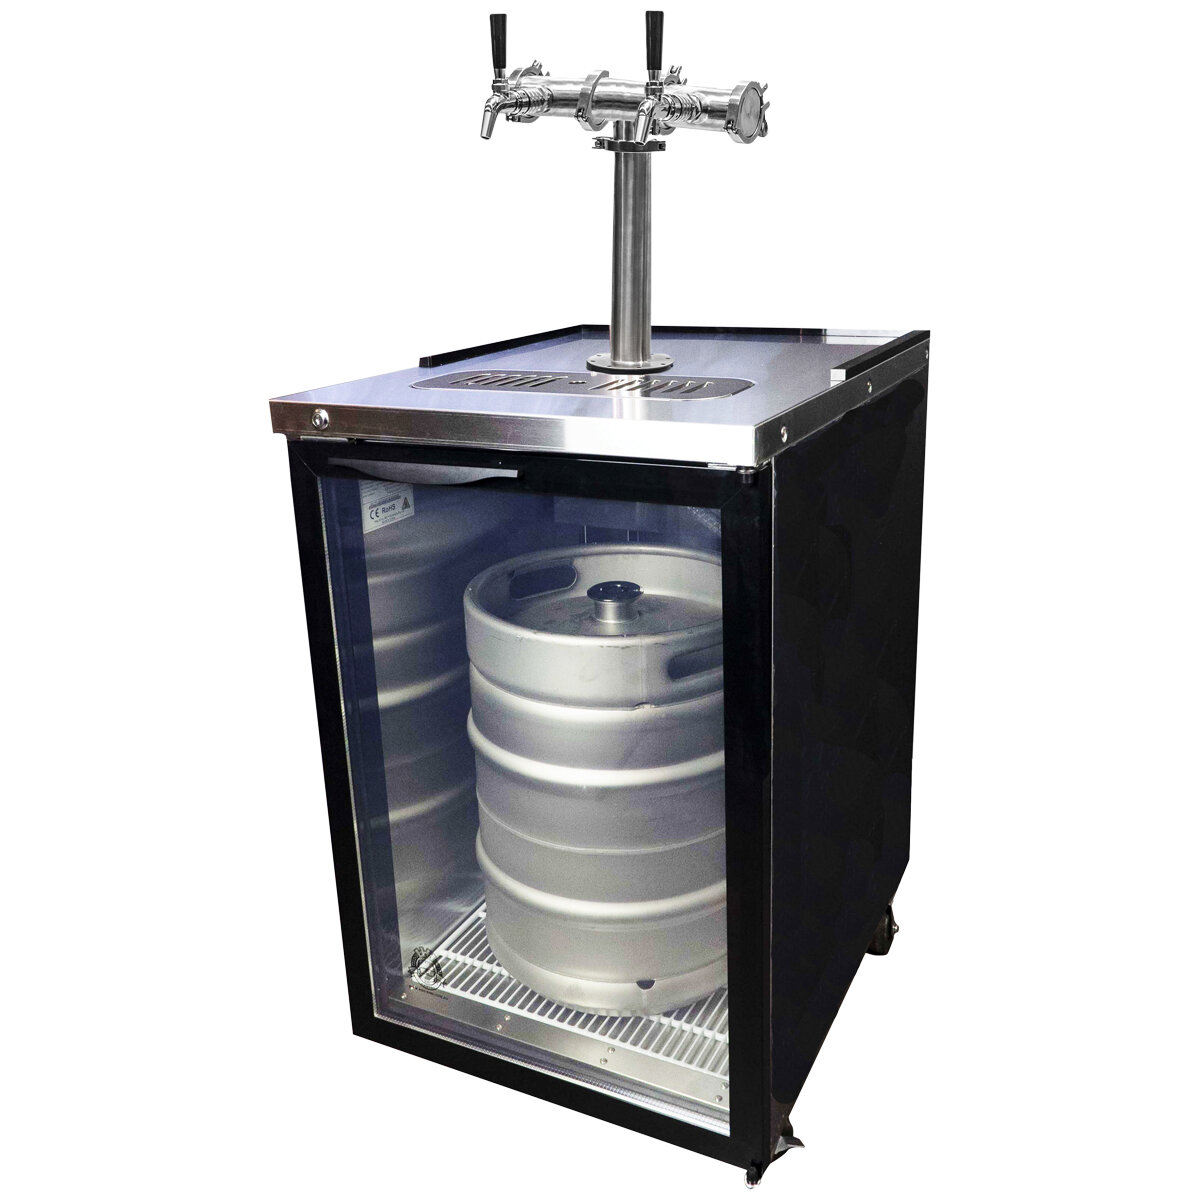
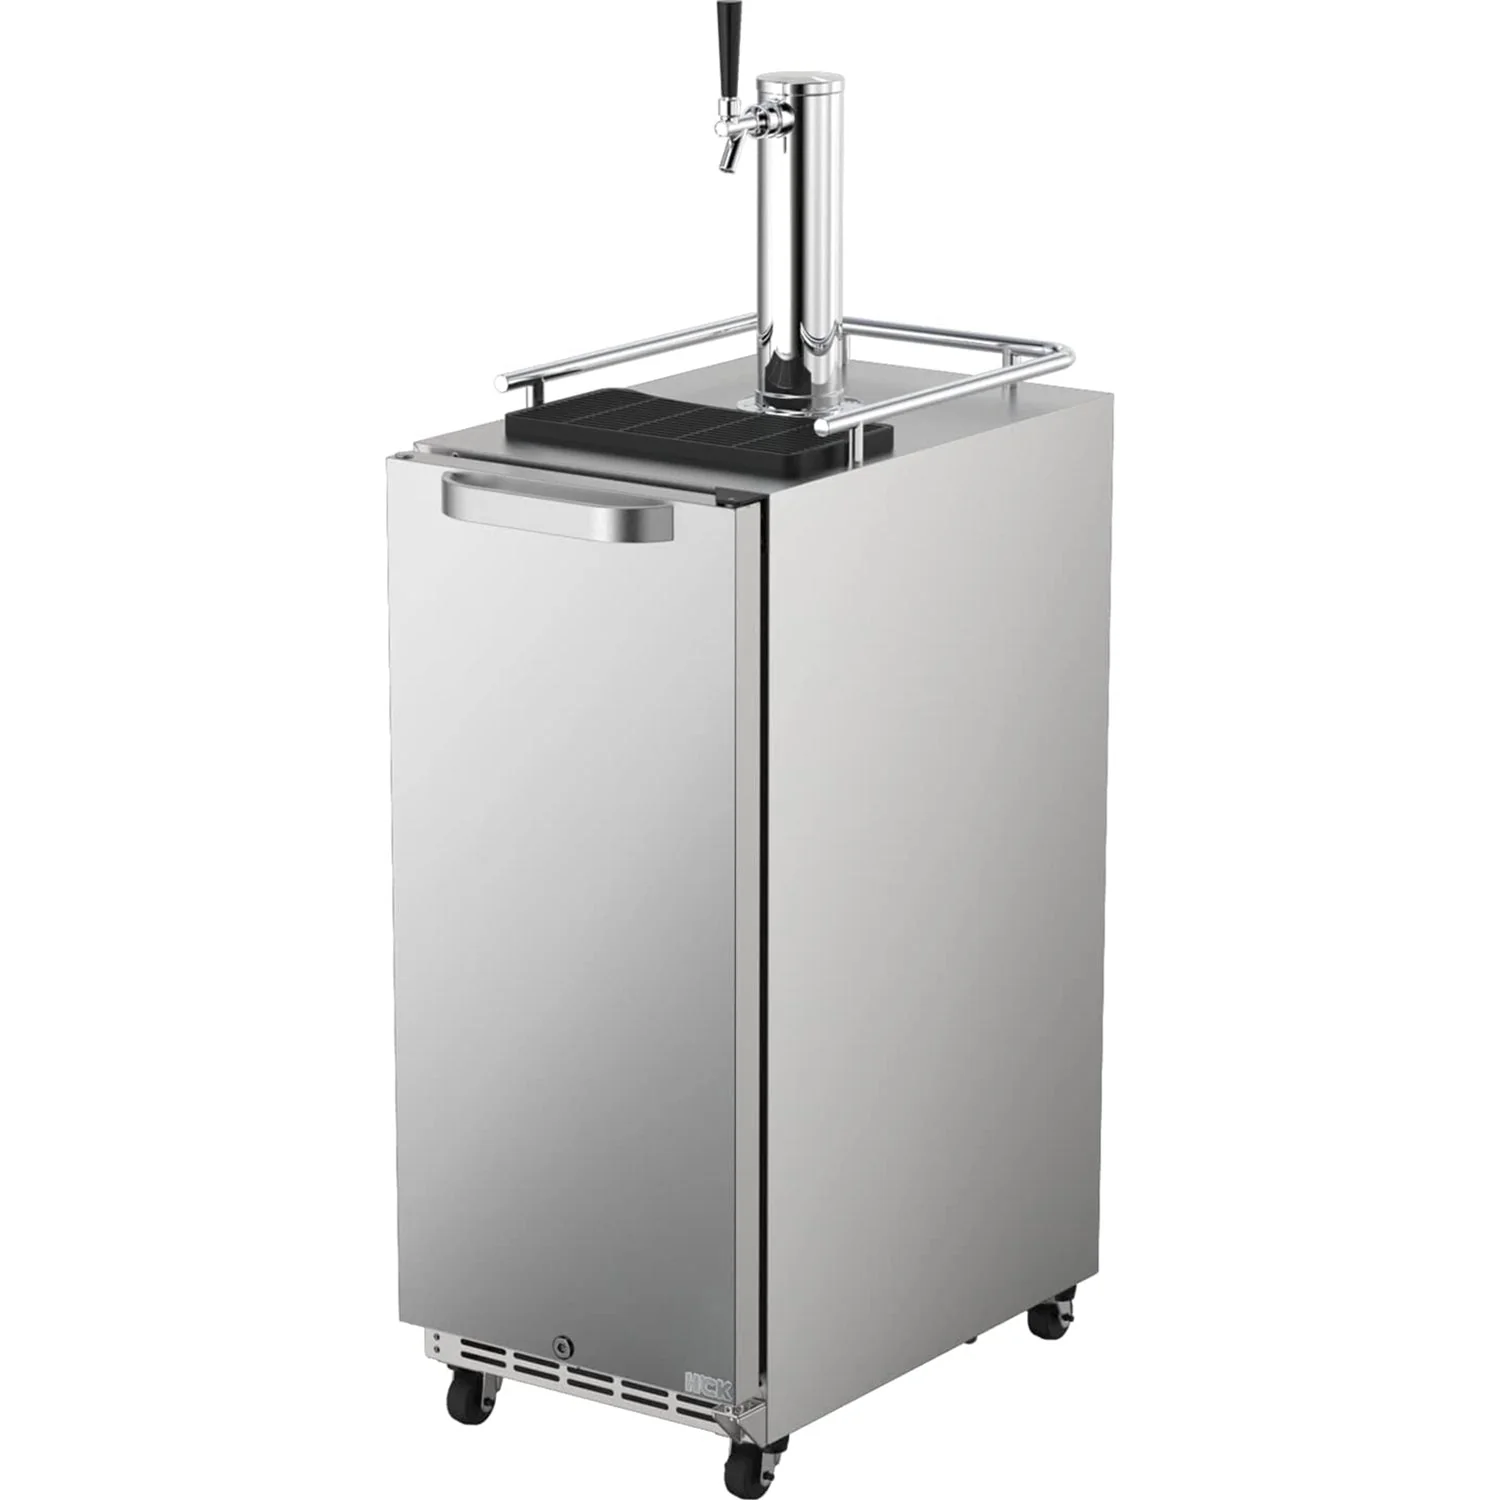
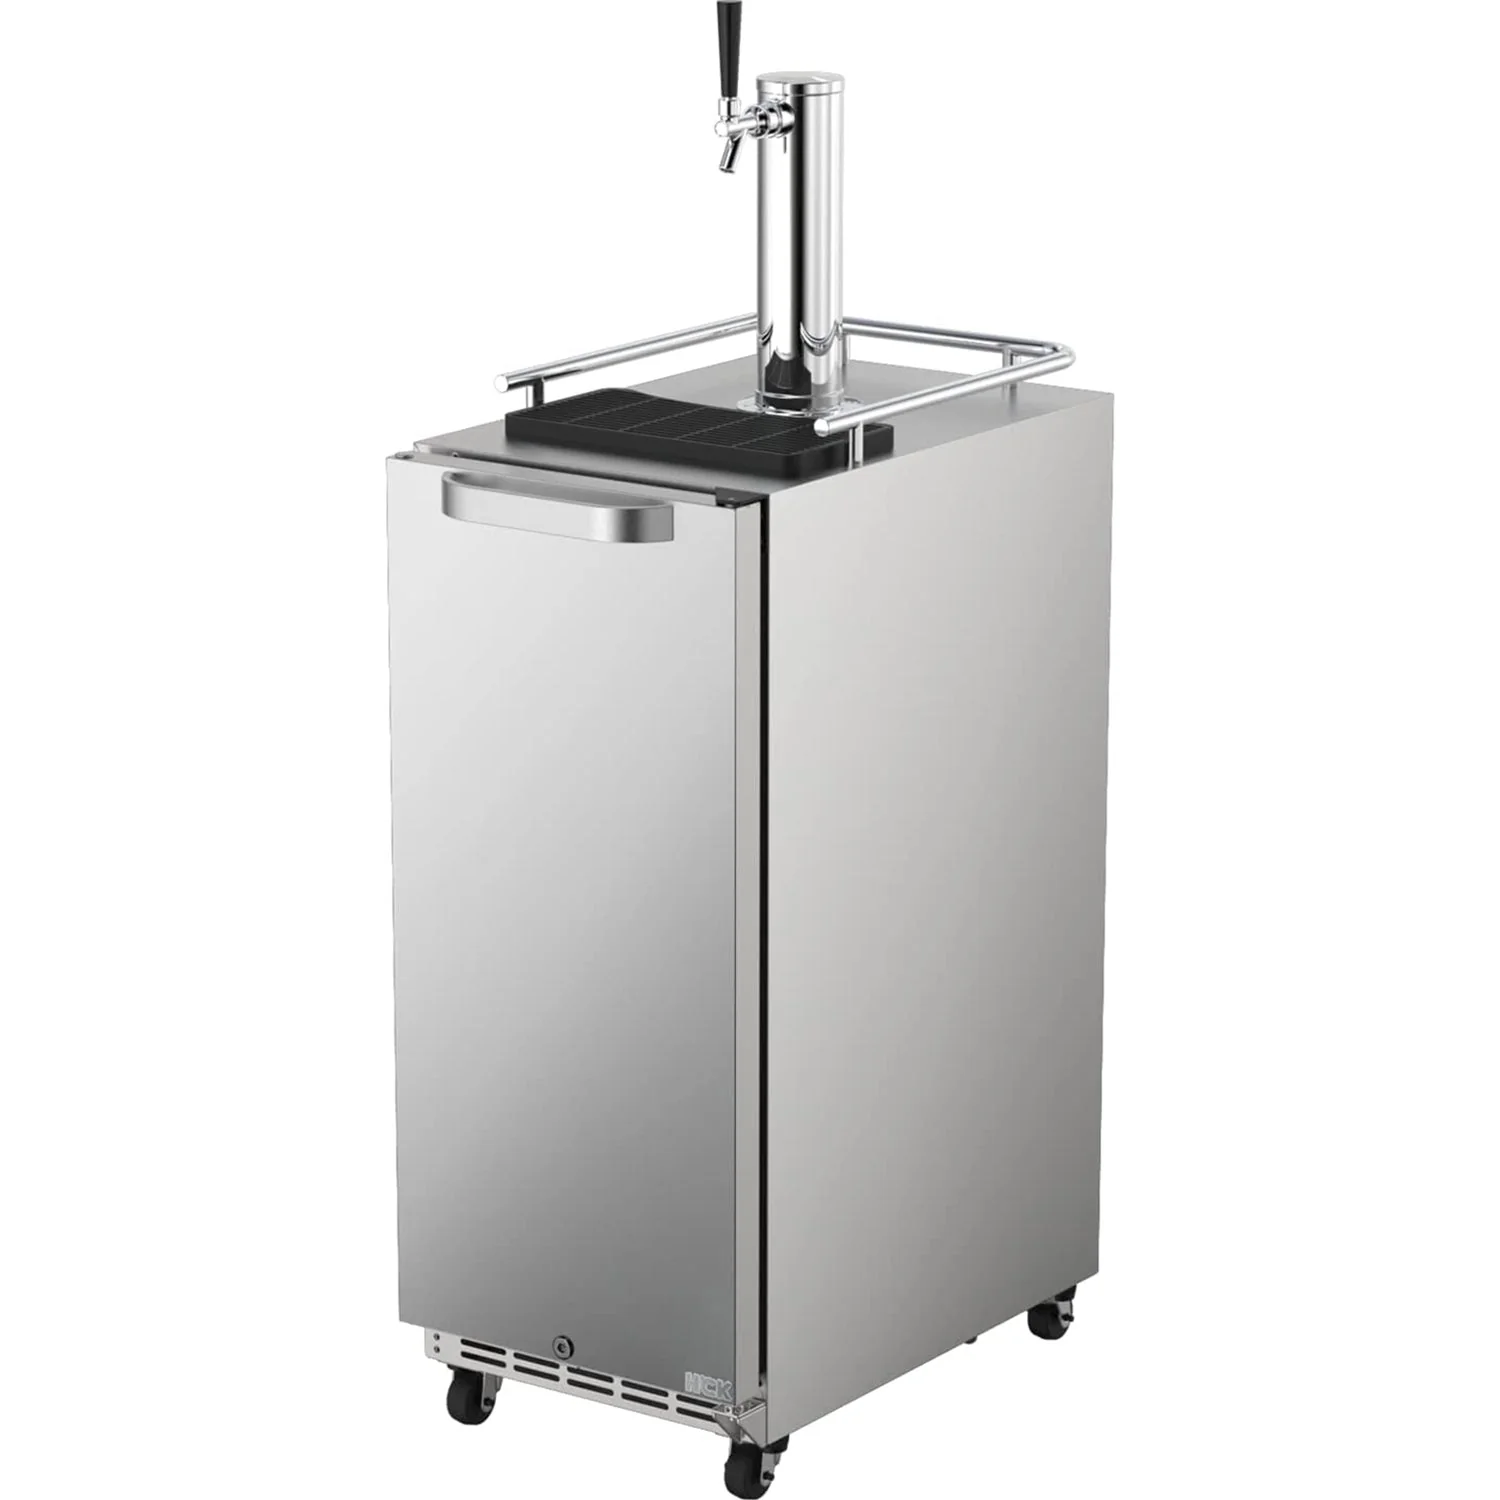
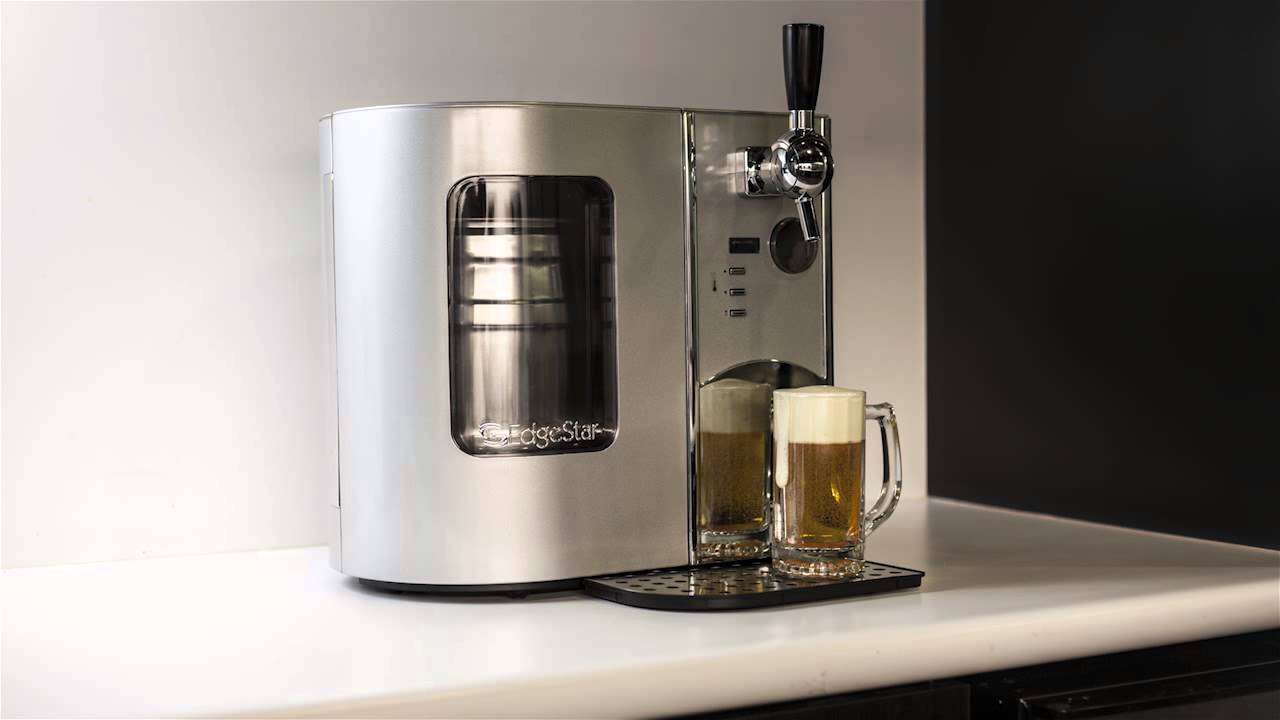
Before we dive into the details, let’s briefly understand what a kegerator is. A kegerator is a device that combines a refrigerator with a draft beer dispensing system, allowing you to store and serve multiple kegs of beer at an ideal temperature. While commercial kegerators can be quite expensive, creating your own using a mini fridge can be a cost-effective solution.
By repurposing a mini fridge, you can save money while customizing your kegerator to meet your unique needs and style. Whether you’re a homebrewer looking to showcase your homemade beers or simply a beer enthusiast who wants the luxury of draft beer at home, making a kegerator out of a mini fridge is a fun and rewarding project.
In this guide, we will walk you through each step of the process, from gathering the necessary materials to troubleshooting common issues. By the end, you’ll have all the knowledge and skills required to create your very own kegerator and start enjoying ice-cold, draft beer in the comfort of your home.
Key Takeaways:
- Transform a regular mini fridge into a customized kegerator to enjoy draft beer at home, saving money and showcasing your DIY spirit.
- With the right materials and step-by-step guidance, you can create a functional and efficient kegerator, impressing guests and enjoying endless draft beer at home.
Read more: How To Turn My Mini Fridge Into A Kegerator
Step 1: Gather the necessary materials
Before you begin the process of converting your mini fridge into a kegerator, you’ll need to gather a few essential materials. Here’s a list of items you’ll need to get started:
- A mini fridge: Choose a mini fridge that is spacious enough to hold at least one keg. Look for a model with adjustable temperature control and enough clearance to fit a draft tower.
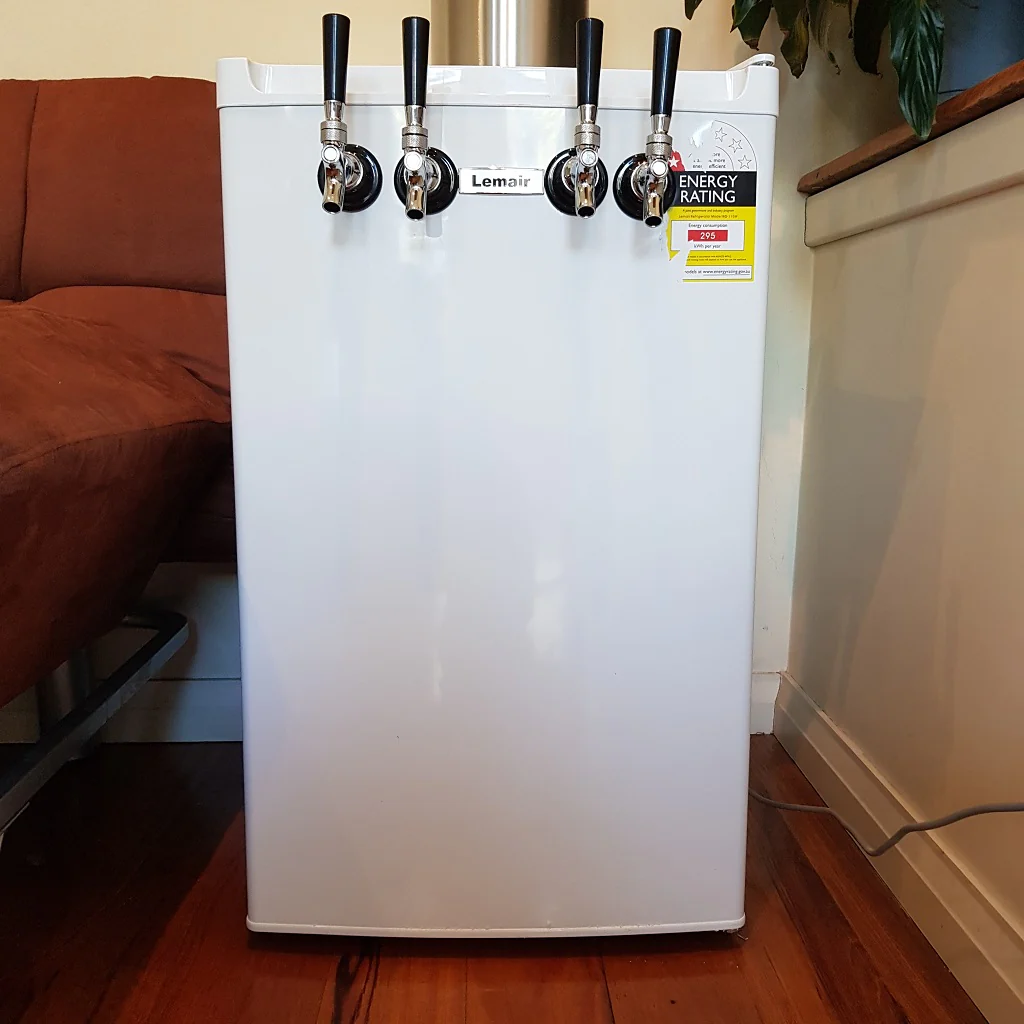
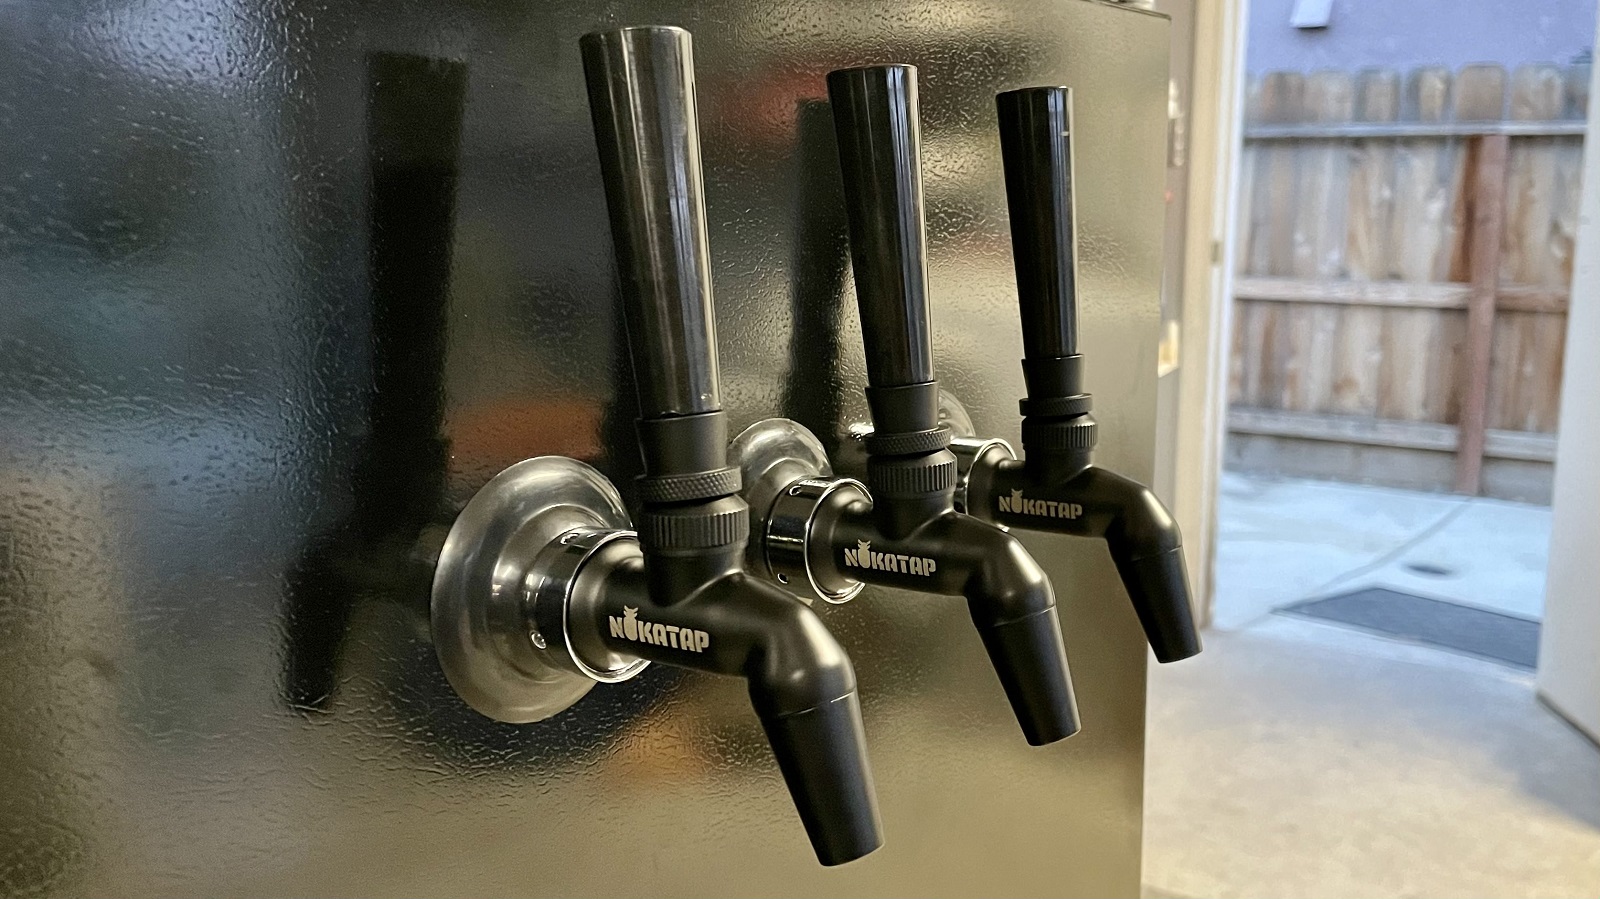
- A draft tower: This is where your beer will be dispensed from. Select a draft tower that fits the size and design of your kegerator.
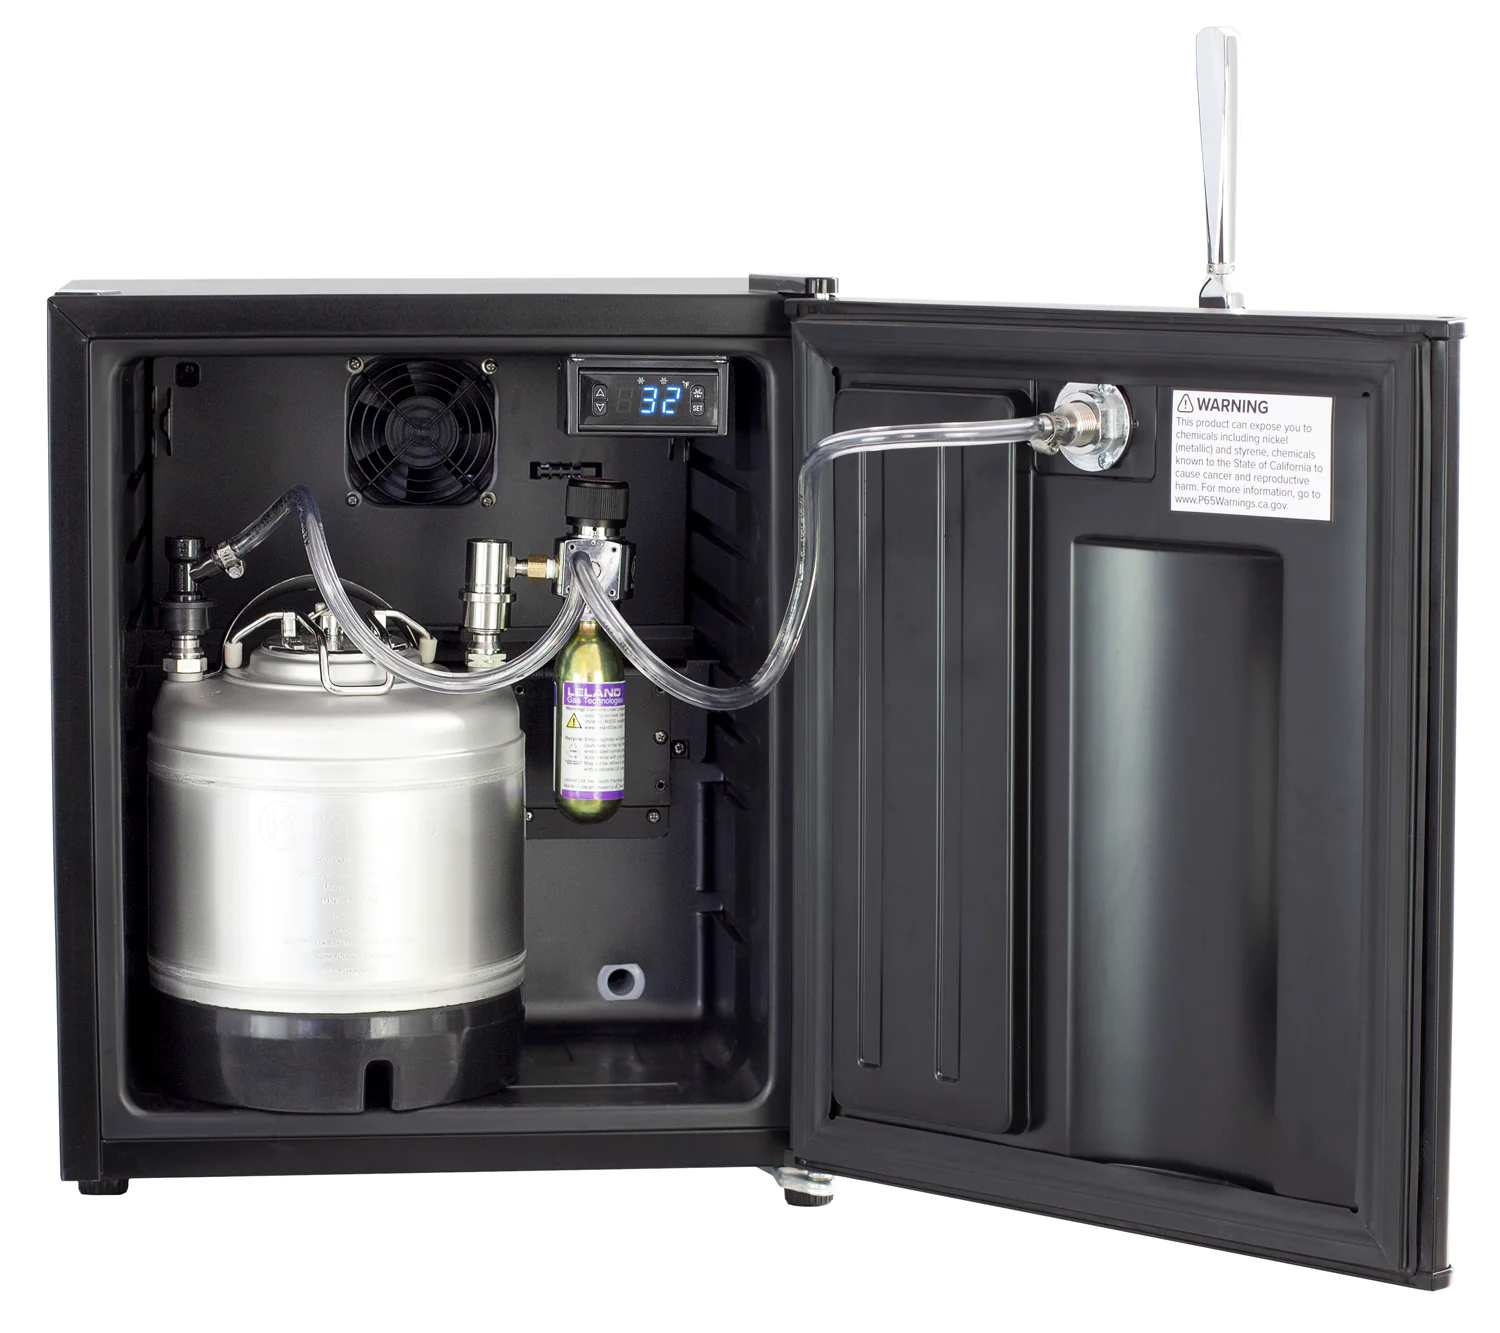
- A CO2 system: The CO2 system is responsible for carbonating your beer and maintaining pressure. It consists of a CO2 tank, a regulator, and gas lines.
- A keg coupler: The keg coupler connects the CO2 system to the keg, enabling the flow of beer. Make sure to choose a keg coupler that is compatible with the type of keg you’ll be using.
- Beer lines and connectors: These connect the keg coupler to the draft tower, allowing the beer to flow. You’ll need both liquid lines and gas lines.
- A drip tray: A drip tray is essential to catch any spills or drips that may occur while pouring beer. It helps to keep your kegerator clean and prevents any mess.
- A temperature controller: Depending on your mini fridge model, you may need to purchase a temperature controller to ensure that the fridge maintains the optimal temperature for storing and dispensing beer.
- Tools: You’ll need a set of basic tools such as a screwdriver, drill with a hole saw attachment, and wrenches to help with the installation process.
Once you have gathered all the necessary materials, you’re ready to move on to the next step: preparing the mini fridge. Make sure to double-check your list to ensure you haven’t missed anything. Having all the materials on hand will make the conversion process smoother and more efficient.
Step 2: Prepare the mini fridge
Now that you have all the necessary materials, it’s time to prepare the mini fridge for the kegerator conversion. Follow these steps to get your mini fridge ready:
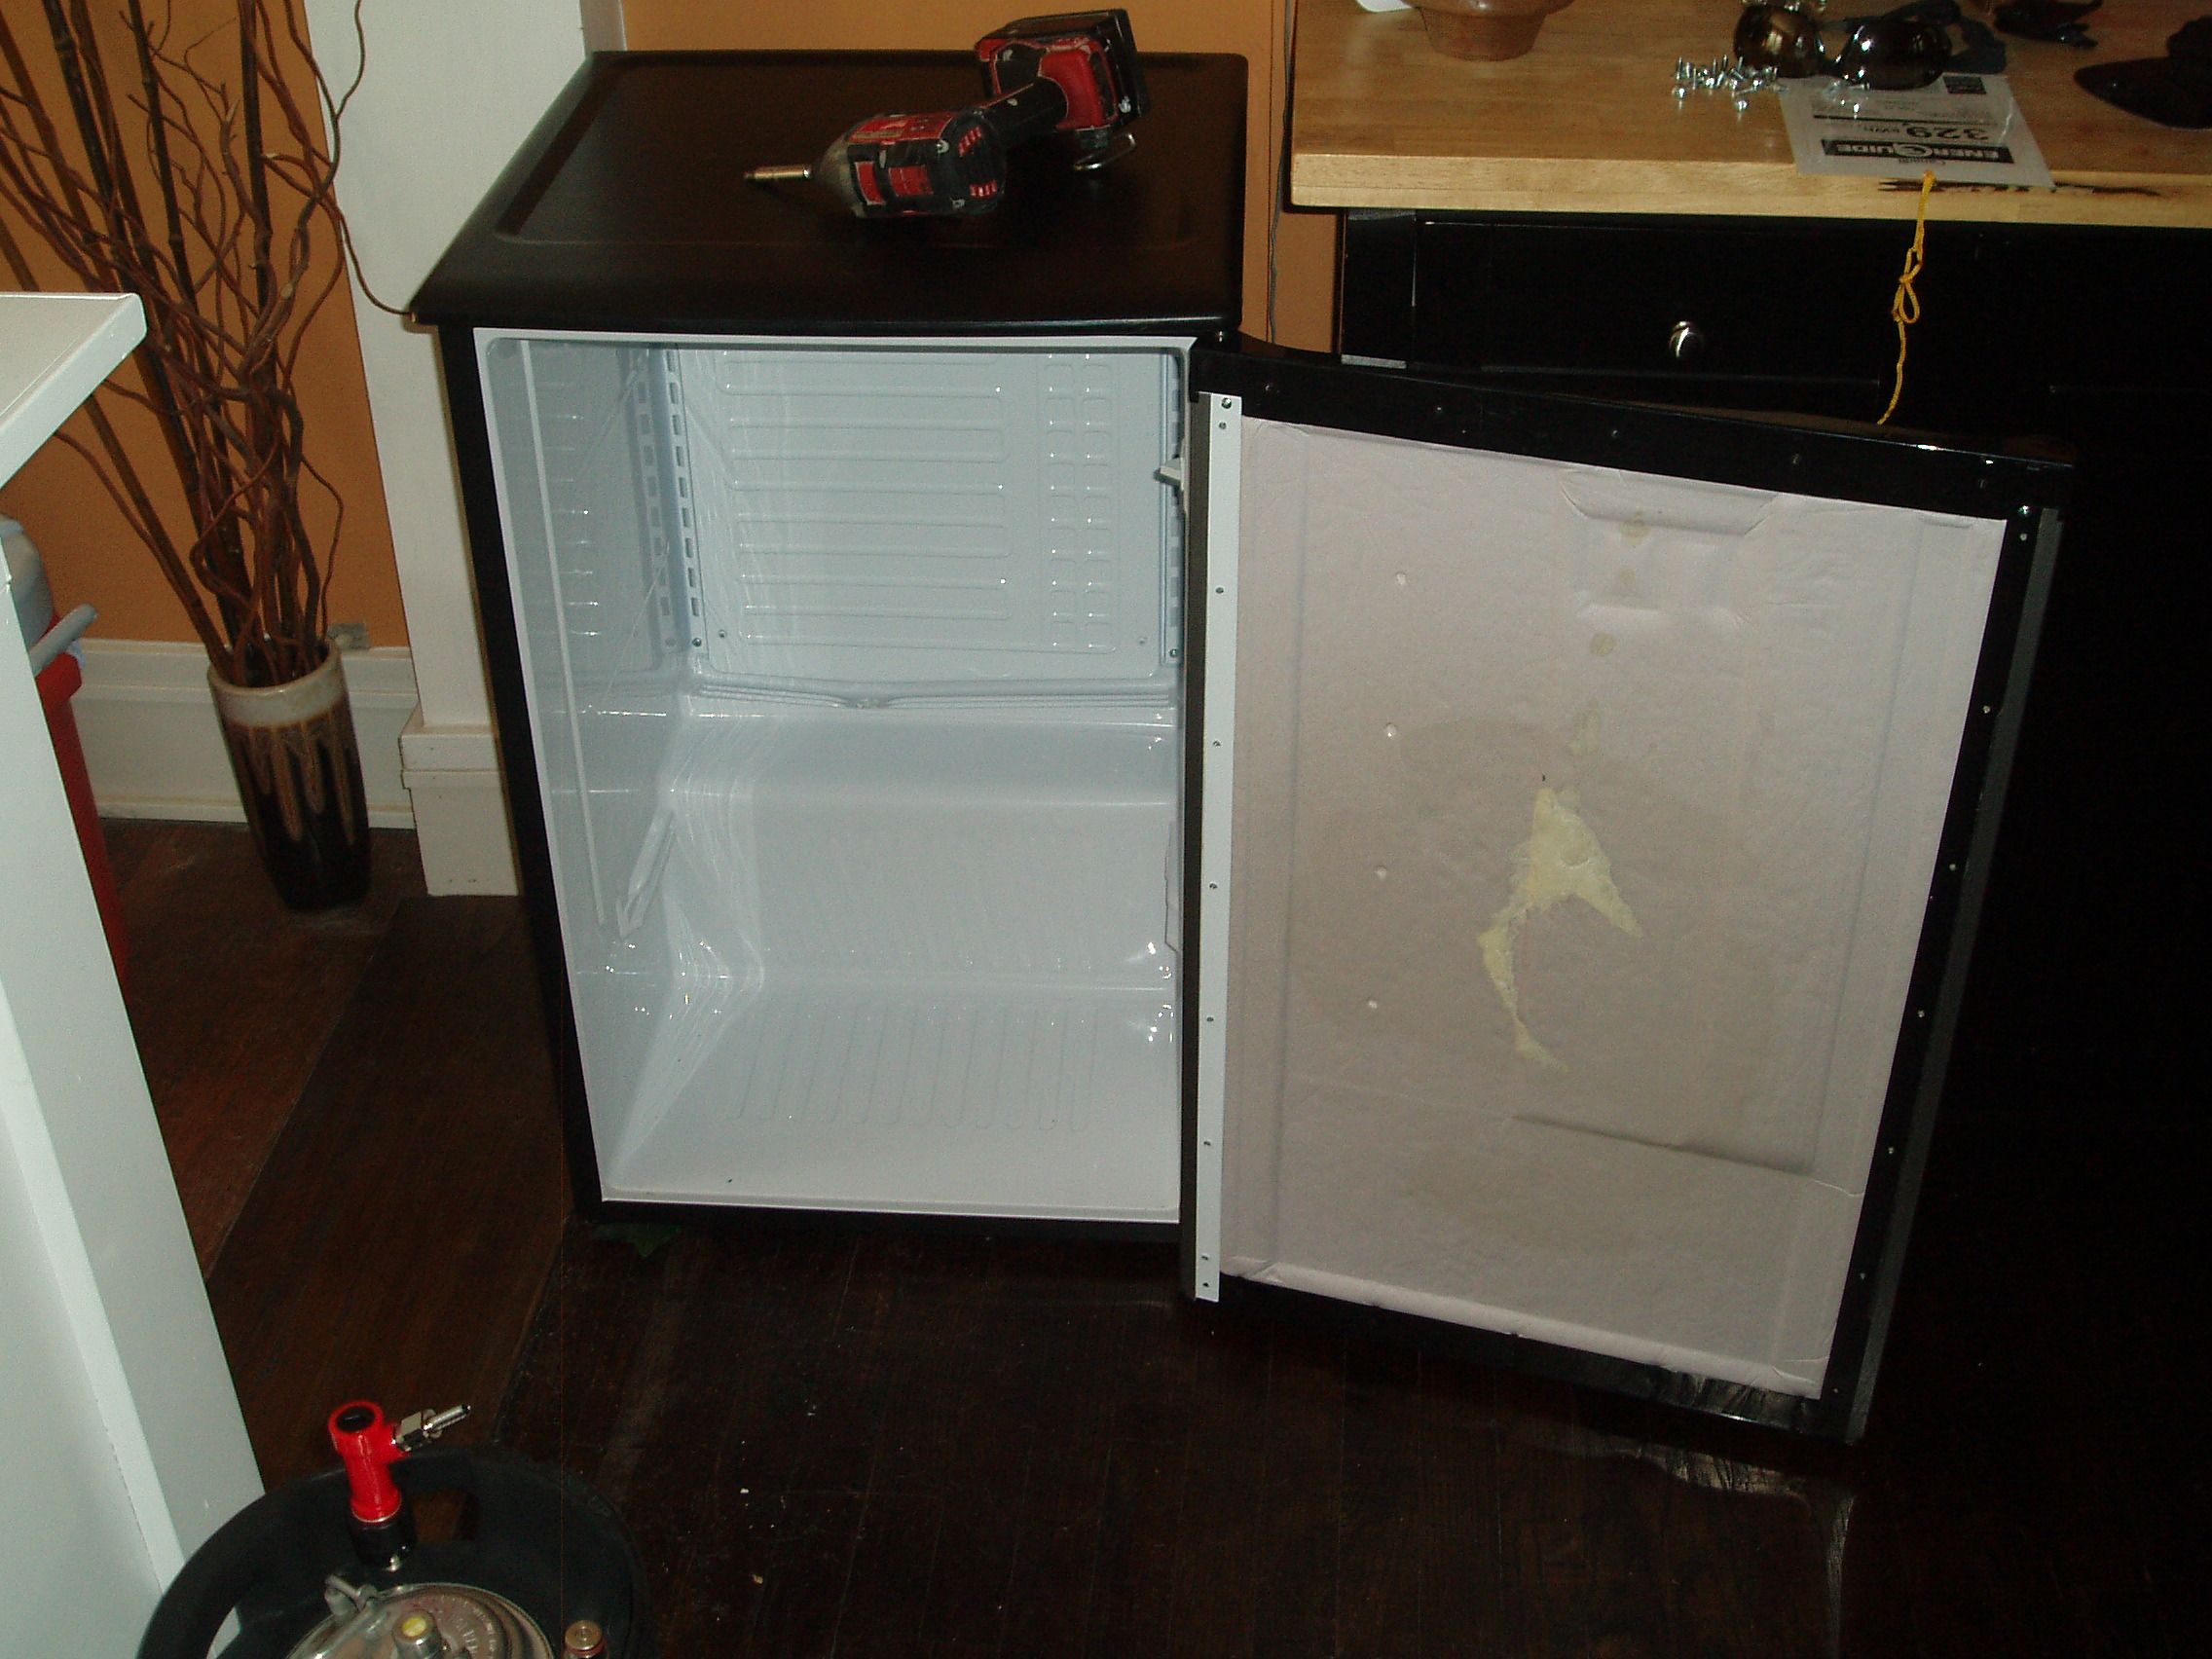
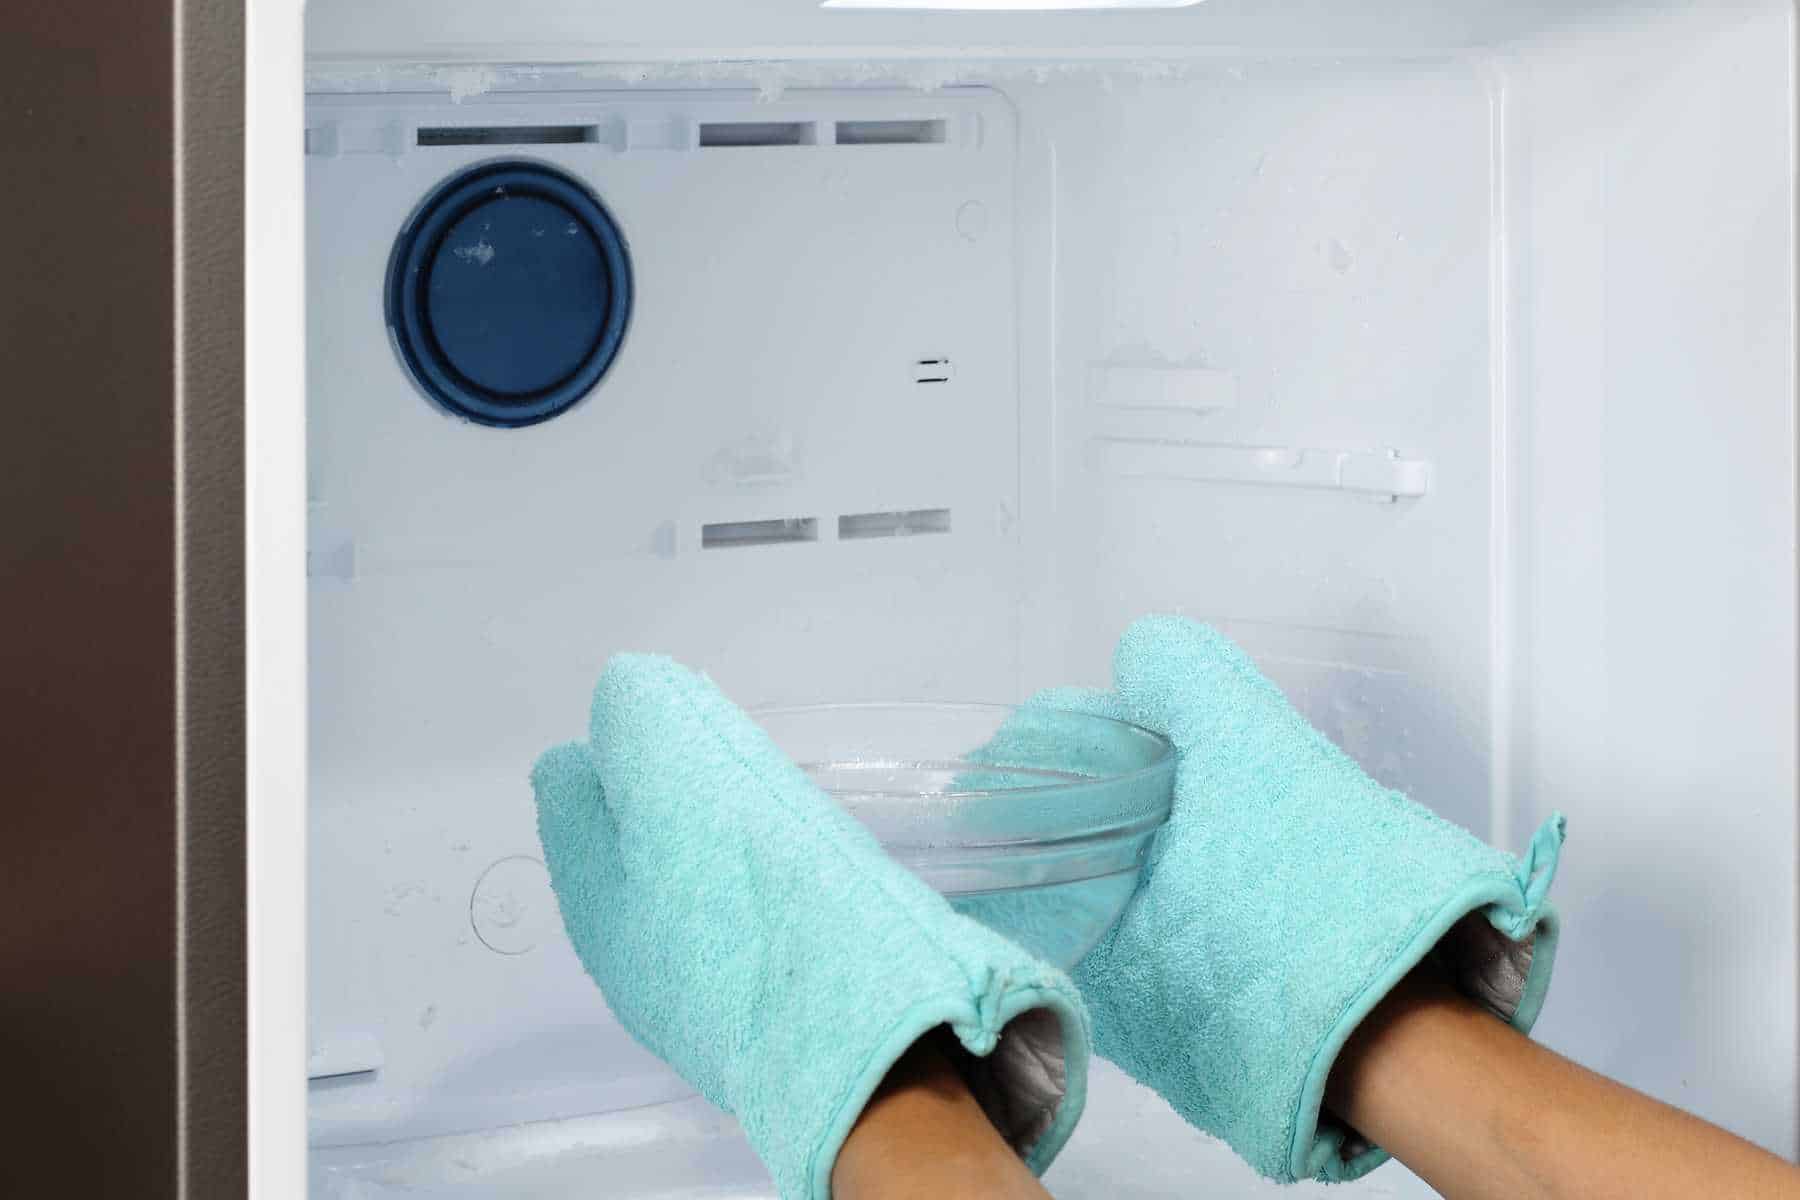
- Clean the mini fridge: Start by emptying out the contents of the mini fridge and cleaning it thoroughly. Get rid of any odors or residue that may affect the taste of your beer. Use mild soap and water to clean the interior and shelves.
- Remove unnecessary components: Take out any unnecessary shelves, drawers, or compartments from the mini fridge. You’ll need enough space to fit the keg and the necessary components for your kegerator setup. Make sure to keep the components you remove in a safe place in case you want to revert the mini fridge to its original state in the future.
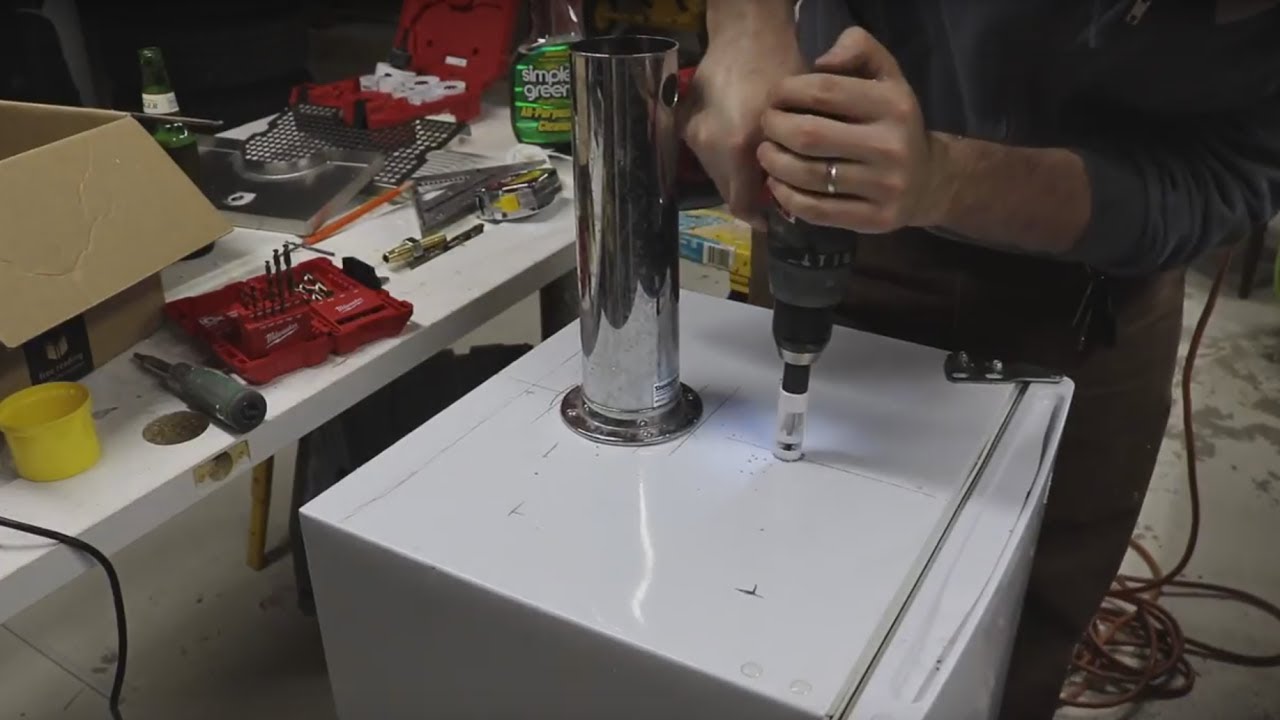
- Create a hole for the draft tower: Decide on the location where you want the draft tower to be installed on the mini fridge. Use a drill with a hole saw attachment to create a hole in the top of the mini fridge. Make sure the hole is slightly larger than the diameter of the draft tower to ensure a proper fit.
- Install the draft tower: Insert the draft tower into the hole you created in the mini fridge. Secure it in place using the appropriate hardware provided with the draft tower. Ensure that it is aligned properly and positioned securely.
- Reassemble the mini fridge: Once the draft tower is installed, reassemble the interior components of the mini fridge. Make sure everything fits properly and is secured in place. Close the door and check that it seals tightly to ensure optimal cooling.
By following these steps, you have successfully prepared your mini fridge for the kegerator conversion. The next step is to install the draft tower and connect the CO2 system, which we will cover in the following sections.
Step 3: Install the draft tower
With your mini fridge prepared, it’s time to install the draft tower for your kegerator. Follow these steps to ensure a proper installation:
- Measure and mark: Before proceeding with the installation, carefully measure and mark the location where you want the draft tower to be placed. Ensure that it is centered and aligned with the hole you created in the mini fridge.
- Prepare the mounting plate: Many draft towers come with a mounting plate or flange that needs to be attached to the mini fridge. Place the mounting plate on the marked location and align it carefully. Use screws or bolts provided with the tower to secure the mounting plate to the mini fridge’s top surface.
- Attach the draft tower: Once the mounting plate is securely installed, it’s time to attach the draft tower. Align the draft tower with the mounting plate and slide it into place. Rotate the tower gently to ensure that it is securely seated on the mounting plate.
- Tighten the tower: Using the appropriate hardware provided with the tower, tighten any screws or bolts to ensure that the draft tower is firmly secured to the mini fridge. Avoid over-tightening, as it may cause damage.
- Connect the beer lines: With the draft tower in place, connect the beer lines to the appropriate faucets on the tower. Ensure that the connectors are tightened securely to avoid any leaks.
- Test the beer lines: Before proceeding with the CO2 system installation, it’s a good idea to test the beer lines for any leaks. Fill one of the keg connectors with water and pressurize the system. Check for any leaks along the beer lines and fix them if necessary.
By following these steps, you have successfully installed the draft tower on your mini fridge kegerator. The next step is to connect the CO2 system, which we will cover in the following section.
When converting a mini fridge into a kegerator, make sure to carefully measure and plan the placement of the keg and CO2 tank to ensure they fit properly and allow for easy access for maintenance.
Step 4: Connect the CO2 system
Now that you have installed the draft tower, it’s time to connect the CO2 system to your mini fridge kegerator. Follow these steps to ensure a proper connection:
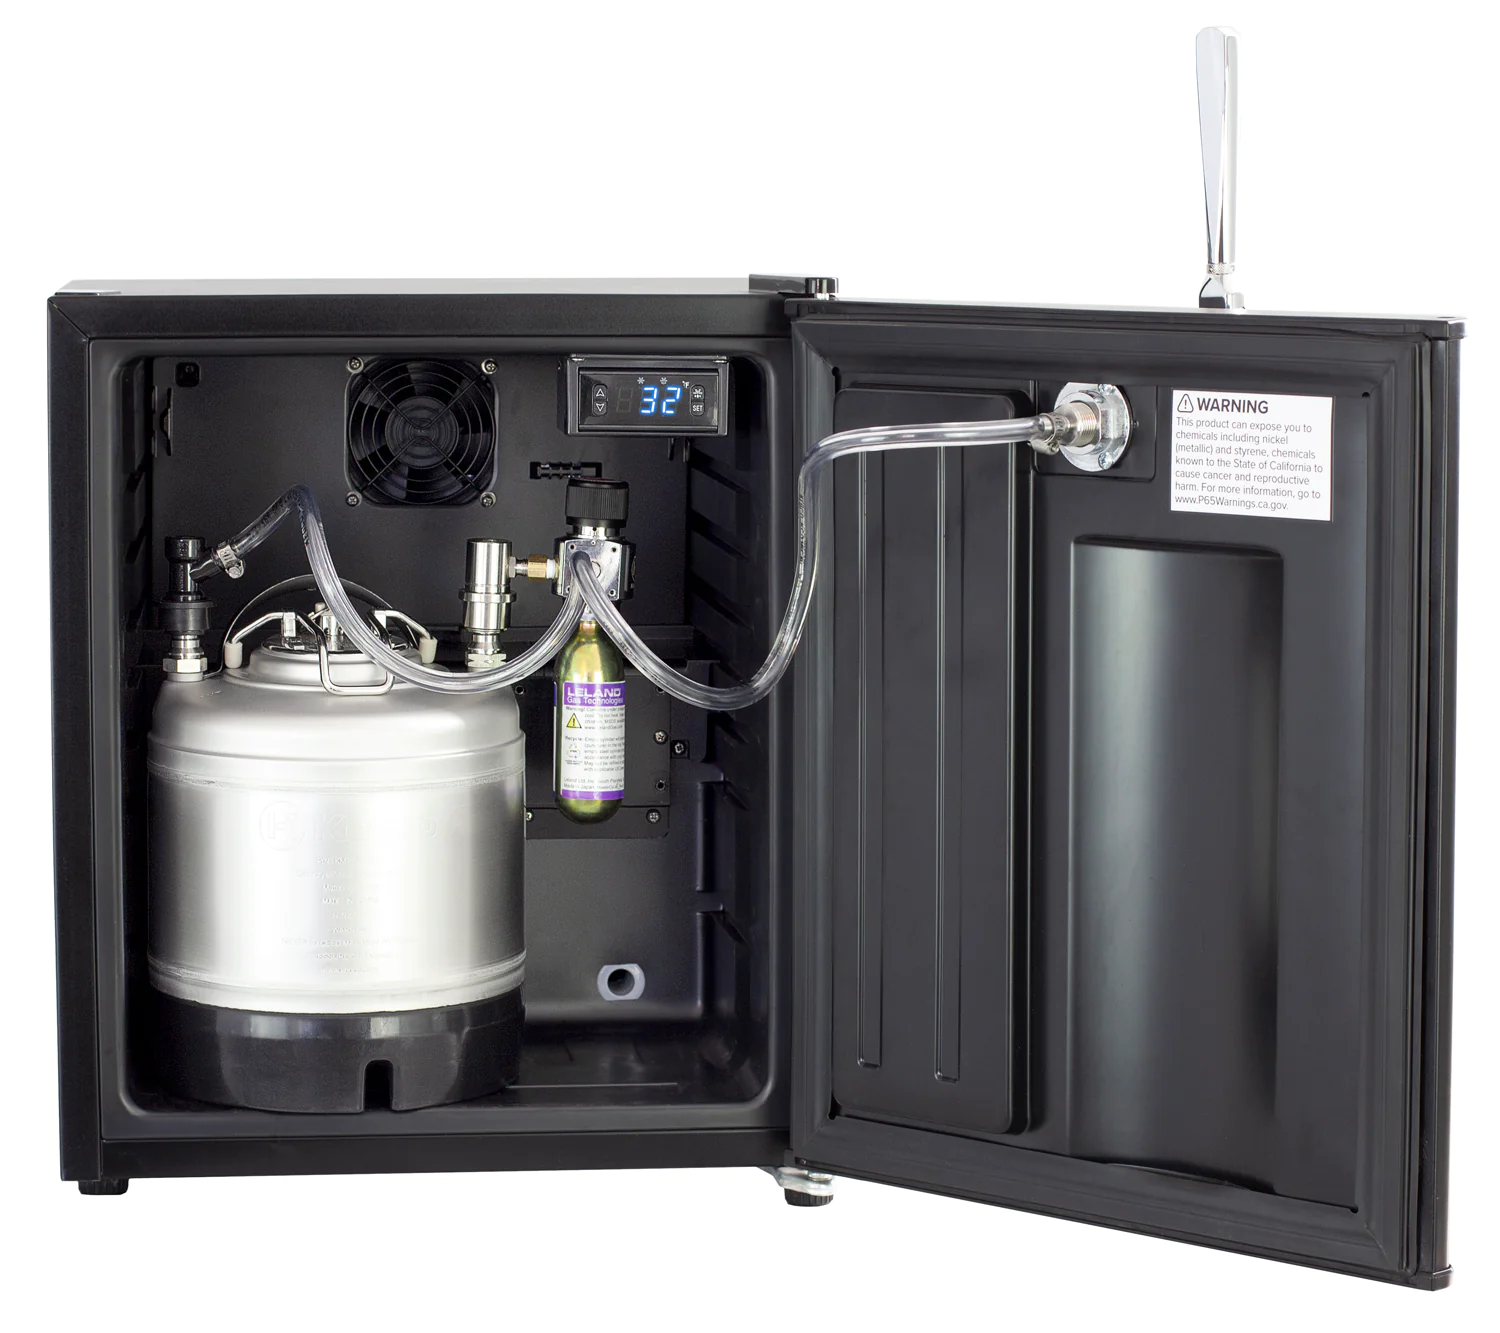
- Mount the CO2 tank: Decide on a suitable location to mount the CO2 tank, either inside or outside the mini fridge. Ensure that it is secure and easily accessible for refills and adjustments.
- Attach the regulator: Connect the regulator to the CO2 tank by screwing it onto the tank’s valve. Ensure that it is tightened securely but be cautious not to overtighten.
- Connect the gas line: Attach one end of the gas line to the pressure output on the regulator and the other end to the gas inlet on the keg coupler. Use compression fittings or hose clamps to ensure a tight seal at both ends.
- Connect the liquid lines: Connect one end of the liquid line to the liquid outlet on the keg coupler and the other end to the beer faucet on the draft tower. Again, use compression fittings or hose clamps to ensure a secure connection.
- Check for leaks: Once all the connections are made, it’s essential to check for any leaks. Turn on the CO2 tank and pressurize the system. Apply a mixture of soap and water to the connections and look for any bubbles indicating a leak. If you spot a leak, tighten the connection or replace any faulty components.
- Adjust the CO2 pressure: Depending on the type of beer you are serving and personal preference, you may need to adjust the CO2 pressure. Refer to the guidelines provided with your keg or consult a beer expert to determine the appropriate pressure for carbonation and dispensing.
By following these steps, you have successfully connected the CO2 system to your mini fridge kegerator. The next step is to test the system and troubleshoot any issues that may arise, which we will cover in the following section.
Step 5: Test and troubleshoot
After completing the installation of the draft tower and connecting the CO2 system, it’s time to test your mini fridge kegerator and address any potential issues. Follow these steps to ensure a successful test and troubleshoot any problems:
- Ensure proper temperature: Set the temperature controller of your mini fridge to the recommended temperature for storing and dispensing beer. This typically falls within the range of 36-40°F (2-4°C).
- Carbonate the beer: If you’re using a keg of homemade beer, it might require additional time to carbonate. Follow the recommended carbonation process for your specific beer style.
- Check the pours: Open the faucet on the draft tower and pour a small sample of beer into a glass. Observe the flow and ensure that it is smooth and consistent. If the pour is too slow or too foamy, you may need to adjust the CO2 pressure or beer line length.
- Adjust the CO2 pressure: If the beer pour is producing excessive foam or is flat, it may indicate a CO2 pressure issue. Adjust the CO2 pressure slowly until you achieve the desired carbonation level. Be mindful not to overcarbonate the beer, as it may lead to excessive foam or off-flavors.
- Check for leaks: Pay close attention to any potential leaks in the system. Examine the connections, especially at the keg coupler, draft tower, and CO2 lines. Fix any leaks promptly to avoid wasting CO2 and ensure the proper dispensing of beer.
- Taste the beer: Finally, pour yourself a full glass of beer and taste the results of your mini fridge kegerator. Take note of the flavor, carbonation, and overall quality. Adjust the CO2 pressure or temperature as needed to optimize your beer’s taste and enjoyment.
If you encounter any issues during the test, consult the troubleshooting guide provided with your equipment or seek advice from experienced homebrewers or kegerator enthusiasts. They can provide valuable insights and help you identify and resolve any problems that may arise.
By following these steps and troubleshooting any issues that may occur, you are now ready to enjoy your very own mini fridge kegerator. Sit back, relax, and savor the experience of having fresh, cold draft beer on tap in the comfort of your home.
Conclusion
Congratulations! You have successfully transformed your mini fridge into a kegerator, bring the joy of draft beer into your home. By following the steps outlined in this guide, you have created a customized kegerator that perfectly fits your style and preferences.
Throughout the process, you learned how to gather the necessary materials, prepare the mini fridge, install the draft tower, connect the CO2 system, and test and troubleshoot any issues. By taking the time to carefully plan and execute each step, you have created a functional and efficient kegerator.
Having your own kegerator provides numerous benefits. You can now enjoy the luxury of pouring yourself a cold pint of your favorite beer at any time. Hosting gatherings and parties with friends and family will be even more enjoyable, as you can impress your guests with fresh draft beer on tap.
Remember to maintain and clean your kegerator regularly to ensure optimal performance and taste. Keep an eye on CO2 levels and beer line cleanliness to avoid any off-flavors or dips in pressure. By taking good care of your kegerator, it will continue to provide you with endless enjoyment for years to come.
Now that you have the knowledge and skills to create your own kegerator, you may even find yourself exploring homebrewing and experimenting with different beer styles. The possibilities are endless once you have mastered the art of kegerator customization.
So, raise your glass and toast to your newfound ability to enjoy draft beer at home. Cheers and happy kegerating!
Frequently Asked Questions about How To Make A Kegerator Mini Fridge
Was this page helpful?
At Storables.com, we guarantee accurate and reliable information. Our content, validated by Expert Board Contributors, is crafted following stringent Editorial Policies. We're committed to providing you with well-researched, expert-backed insights for all your informational needs.


0 thoughts on “How To Make A Kegerator Mini Fridge”