Home>Home Appliances>Cleaning Appliances>How To Fix A Vacuum Cleaner

Cleaning Appliances
How To Fix A Vacuum Cleaner
Modified: February 25, 2024
Learn how to fix a vacuum cleaner with our expert tips and tricks. Keep your cleaning appliances running smoothly with our comprehensive guide.
(Many of the links in this article redirect to a specific reviewed product. Your purchase of these products through affiliate links helps to generate commission for Storables.com, at no extra cost. Learn more)
Introduction
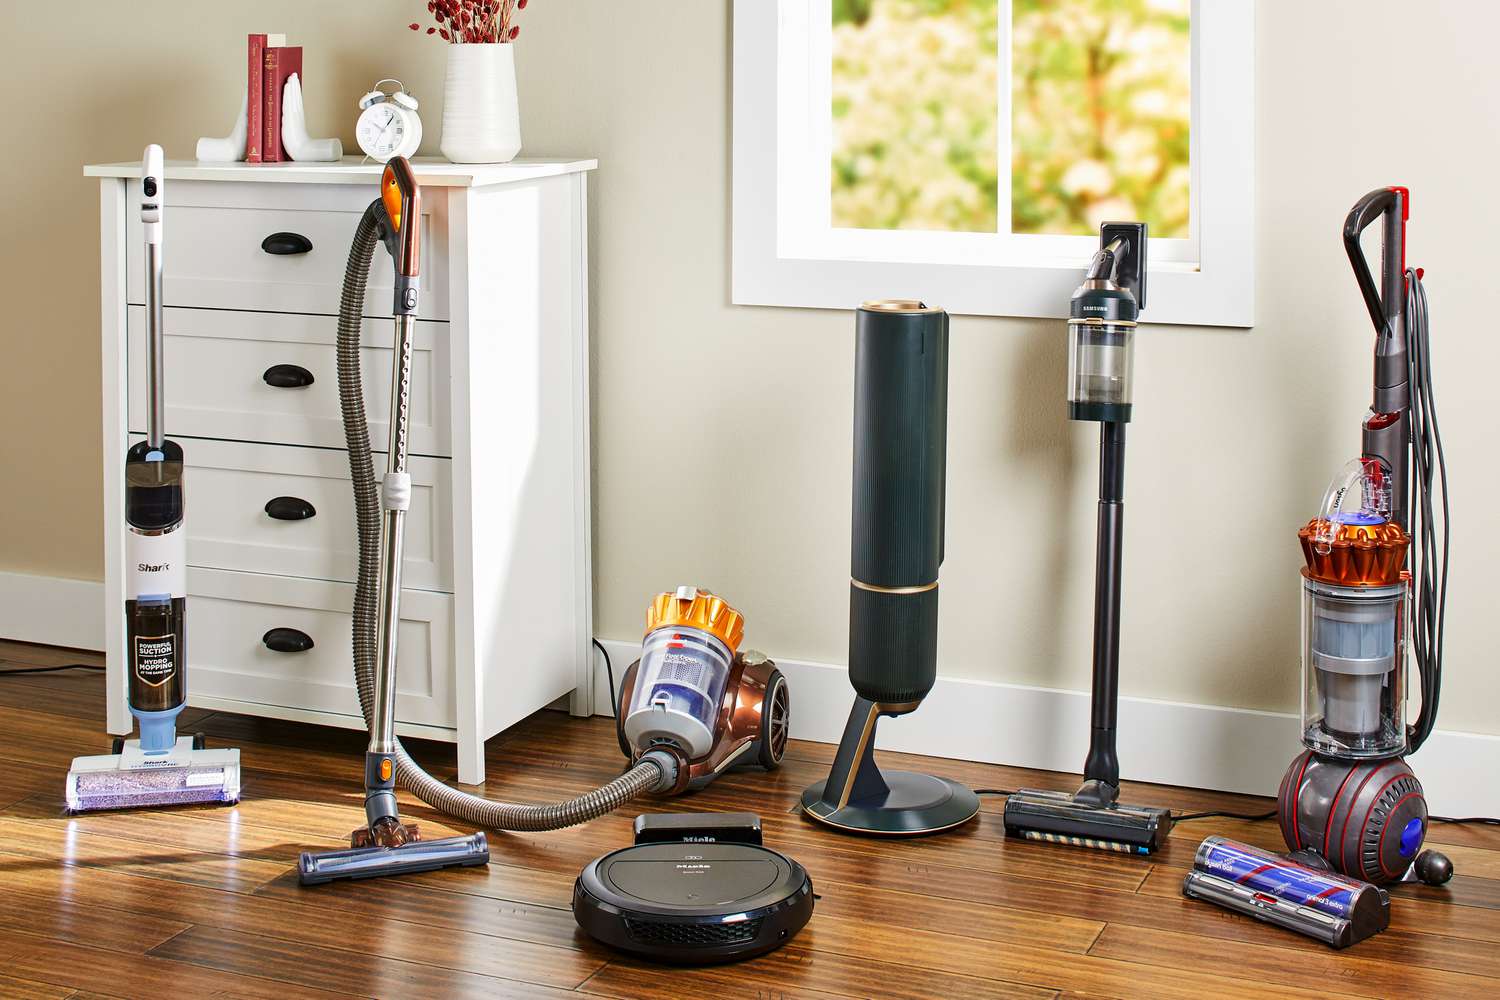
Welcome to the comprehensive guide on how to fix a vacuum cleaner. A malfunctioning vacuum cleaner can be a source of frustration, especially when it fails to effectively clean your living space. However, before you consider replacing your vacuum cleaner, it's essential to explore potential solutions to address the issue at hand. In this guide, we will walk you through a series of steps to troubleshoot and fix common problems that may arise with your vacuum cleaner.
A well-maintained vacuum cleaner is crucial for maintaining a clean and healthy home environment. Regular maintenance and timely repairs can extend the lifespan of your vacuum cleaner, saving you money and ensuring that it continues to perform at its best. Whether your vacuum cleaner has lost suction power, is emitting unusual odors, or has stopped working altogether, this guide will equip you with the knowledge and skills to diagnose and resolve these issues.
By following the step-by-step instructions provided in this guide, you will gain the confidence to identify and rectify common problems that affect the performance of your vacuum cleaner. From checking the power source to inspecting the vacuum cleaner bag, cleaning or replacing filters, clearing blockages, and testing the motor, each step is designed to help you restore your vacuum cleaner to optimal working condition.
So, roll up your sleeves, gather your troubleshooting tools, and let's embark on this journey to revive your vacuum cleaner. With a little patience and the right guidance, you'll soon be back to enjoying the convenience and efficiency of a fully operational vacuum cleaner. Let's dive into the first step and start unraveling the mysteries of vacuum cleaner repair.
Key Takeaways:
- Keep your vacuum cleaner in top shape by regularly checking the power source, inspecting the bag, and cleaning or replacing filters to maintain optimal performance and extend its lifespan.
- Troubleshoot and repair your vacuum cleaner by clearing blockages, inspecting the belt and motor, and conducting thorough testing to ensure it operates smoothly and efficiently, contributing to a cleaner home environment.
Read more: How To Fix A Loud Vacuum Cleaner
Step 1: Check the Power Source
Before delving into the internal components of your vacuum cleaner, it’s crucial to ensure that the power source is functioning correctly. Start by checking that the vacuum cleaner is securely plugged into a working power outlet. If the vacuum cleaner is cordless, make sure that the battery is fully charged. Sometimes, a simple oversight such as a loose power cord or a drained battery can give the impression that the vacuum cleaner is faulty.
If the vacuum cleaner still does not turn on after confirming the power source, try plugging another device into the same outlet to verify if the outlet is operational. Additionally, inspect the power cord for any signs of damage such as fraying or exposed wires. A damaged power cord can pose a safety hazard and may result in power supply issues for the vacuum cleaner.
Furthermore, some vacuum cleaners are equipped with a reset button that can trip if the appliance overheats or encounters a blockage. Locate the reset button, usually positioned on the vacuum cleaner’s body or handle, and press it to reset the power supply. This simple troubleshooting step may resolve the issue and restore power to the vacuum cleaner.
By systematically assessing the power source and ruling out external factors that could impede the vacuum cleaner’s operation, you can eliminate common causes of malfunction. Once you have confirmed that the power source is not the culprit, you can proceed to investigate other potential issues affecting the performance of your vacuum cleaner.
Now that we’ve ensured that the power source is not the root of the problem, let’s move on to the next step and explore the condition of the vacuum cleaner bag.
Step 2: Inspect the Vacuum Cleaner Bag
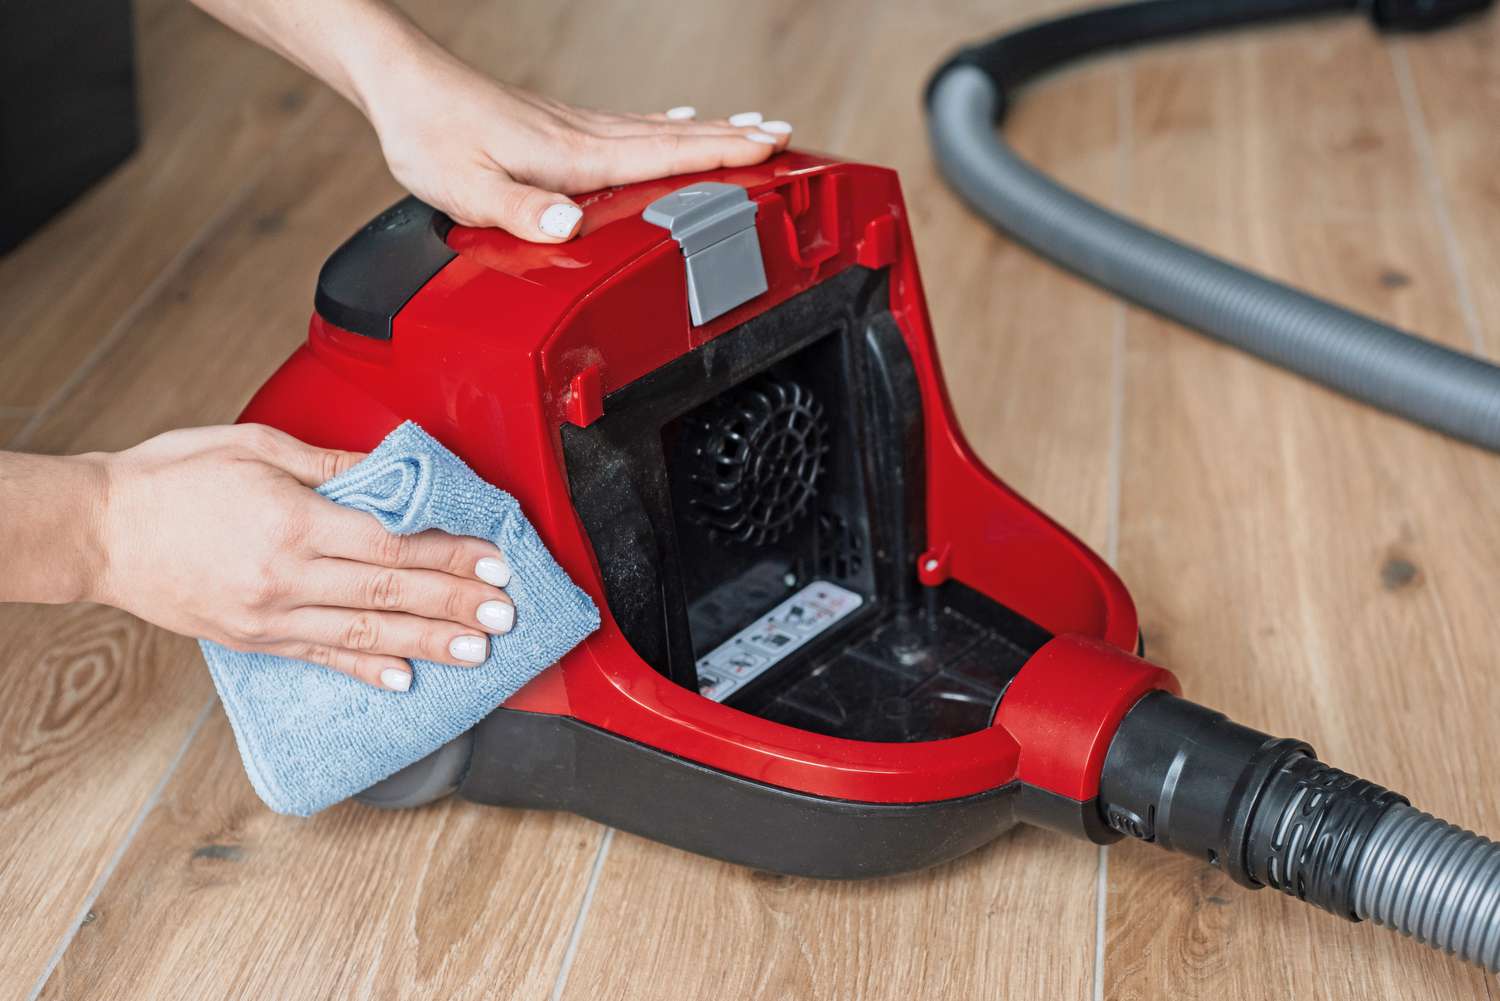
The vacuum cleaner bag plays a pivotal role in capturing dirt, dust, and debris during the cleaning process. Over time, the bag can become clogged with accumulated particles, diminishing the vacuum cleaner’s suction power and overall performance. As a result, it is essential to inspect the condition of the vacuum cleaner bag and address any issues that may impede its functionality.
Begin by locating the bag compartment of your vacuum cleaner. Depending on the model, this may be a detachable canister or a bag housed within the appliance. Carefully remove the bag from the compartment, taking note of any visible tears, holes, or excessive dirt accumulation. If the bag is disposable, consider replacing it with a new, compatible bag to ensure optimal suction and filtration efficiency.
For bagless vacuum cleaners equipped with a dust canister, empty the canister and check for any obstructions or debris that may be obstructing the airflow. Use a brush or soft cloth to clean the interior of the canister, removing any trapped dirt or debris that could hinder the vacuum cleaner’s performance.
If your vacuum cleaner features a reusable cloth bag, inspect it for signs of wear and tear. Launder or clean the cloth bag according to the manufacturer’s instructions to maintain its effectiveness in trapping dirt and maintaining airflow. Additionally, ensure that the bag is securely reattached to the vacuum cleaner to prevent air leaks that could compromise suction power.
By regularly inspecting and maintaining the vacuum cleaner bag, you can optimize the appliance’s cleaning capabilities and prevent issues related to reduced suction and airflow. With the bag inspection complete, let’s proceed to the next step and address the importance of cleaning or replacing the filters.
Step 3: Clean or Replace the Filters
The filters in a vacuum cleaner are essential components that contribute to the appliance’s ability to trap fine particles and maintain air quality during the cleaning process. Over time, filters can become clogged with dust, dirt, and debris, leading to a reduction in suction power and overall performance. Therefore, it is crucial to regularly clean or replace the filters to ensure the efficient operation of your vacuum cleaner.
Start by referring to the manufacturer’s instructions to locate the filters in your vacuum cleaner. Common types of filters include pre-motor filters, post-motor filters, and HEPA filters, each serving a specific function in capturing and containing particles of varying sizes. Remove the filters from the vacuum cleaner and inspect them for visible dirt accumulation and blockages.
If the filters are washable and reusable, gently rinse them under running water to dislodge trapped dirt and debris. Allow the filters to air dry completely before reinstalling them in the vacuum cleaner. It is important to avoid using the vacuum cleaner without dry filters, as moisture can damage the motor and compromise the appliance’s performance.
For disposable filters, such as certain types of HEPA filters, replace them with new, compatible filters according to the manufacturer’s recommendations. Using genuine replacement filters ensures that the vacuum cleaner continues to effectively capture allergens and microscopic particles, contributing to a healthier indoor environment.
Additionally, inspect the filter housing for any accumulated debris and clean it using a soft brush or cloth. Ensuring that the filter housing is free from obstructions promotes optimal airflow and enhances the vacuum cleaner’s suction power.
By maintaining clean filters and adhering to a regular cleaning schedule, you can prolong the lifespan of your vacuum cleaner and preserve its effectiveness in removing dirt and allergens from your home. With the filters addressed, let’s move on to the next step and explore how to clear blockages in the hose and brush.
Step 4: Clear Blockages in the Hose and Brush
Blockages in the hose and brush of a vacuum cleaner can significantly impede its performance, leading to reduced suction and inefficient cleaning. Identifying and clearing any obstructions from these components is essential in restoring the appliance’s functionality and ensuring thorough dirt removal.
Begin by inspecting the vacuum cleaner’s hose for any visible blockages or clogs. Detach the hose from the vacuum cleaner and visually examine both ends for trapped debris, such as pet hair, small objects, or compacted dirt. Use a long, flexible tool such as a plumbing snake or a straightened wire hanger to gently dislodge and remove any obstructions from the hose.
If the vacuum cleaner features a brush roll or beater bar, carefully remove it from the appliance and inspect it for tangled hair, string, or debris that may be hindering its rotation. Use scissors or a seam ripper to cut and remove any entangled material from the brush roll, ensuring that it can freely spin without resistance.
Next, visually inspect the vacuum cleaner’s floor head or nozzle for blockages that may be obstructing the airflow. Use a flashlight to illuminate the interior of the nozzle and remove any debris using a thin, straightened wire or a vacuum crevice tool. Clearing blockages from the nozzle ensures that the vacuum cleaner can effectively pick up dirt and debris from various surfaces.
After addressing potential blockages in the hose, brush, and nozzle, reassemble the components and ensure that they are securely attached to the vacuum cleaner. Test the appliance to verify that the suction power has been restored and that it can efficiently pick up dirt and debris without obstruction.
By routinely inspecting and clearing blockages from the hose and brush, you can maintain the optimal performance of your vacuum cleaner and prevent potential damage to its internal components. With blockages cleared, let’s proceed to the next step and inspect the belt for any signs of wear or damage.
Check the vacuum cleaner’s filter and brush roll regularly for clogs and debris. Clean or replace as needed to maintain optimal suction and performance.
Read more: How To Fix A Kirby Vacuum Cleaner
Step 5: Inspect the Belt
The belt in a vacuum cleaner plays a crucial role in driving the brush roll or beater bar, allowing the appliance to effectively agitate and pick up dirt from various surfaces. Over time, the belt may experience wear and tear, leading to reduced brush rotation and diminished cleaning performance. Inspecting and, if necessary, replacing the belt is essential in maintaining the efficient operation of your vacuum cleaner.
Start by consulting the manufacturer’s instructions to locate the belt compartment in your vacuum cleaner. Depending on the model, accessing the belt may involve removing a cover or accessing the brush roll area from underneath the appliance. Once the belt compartment is accessible, visually inspect the belt for any signs of damage, such as fraying, stretching, or cracks.
If the belt appears worn or damaged, refer to the vacuum cleaner’s user manual or the manufacturer’s guidelines to identify the compatible replacement belt. Genuine replacement belts are designed to fit your specific vacuum cleaner model and ensure optimal performance. Ensure that the replacement belt is installed according to the manufacturer’s instructions, maintaining the correct tension and alignment for smooth operation.
After installing the new belt, manually rotate the brush roll or beater bar to ensure that the belt is properly engaged and that the components move freely without resistance. This step helps verify that the belt is correctly positioned and capable of driving the brush roll during operation.
For belt-driven upright or canister vacuum cleaners, inspect the motorized brush head for any obstructions or debris that may impede the rotation of the brush. Use a pair of scissors or a seam ripper to carefully remove any tangled hair, thread, or debris that may be affecting the brush’s movement.
By regularly inspecting and replacing worn belts, you can ensure that the brush roll or beater bar continues to effectively agitate and lift dirt from carpets and floors, maintaining the cleaning performance of your vacuum cleaner. With the belt inspection complete, let’s proceed to the next step and check the vacuum cleaner’s motor for potential issues.
Step 6: Check the Vacuum Cleaner’s Motor
The motor is the powerhouse of your vacuum cleaner, driving the suction and brush mechanisms to effectively remove dirt and debris from surfaces. When the motor encounters issues, it can significantly impact the appliance’s performance. Therefore, conducting a thorough check of the vacuum cleaner’s motor is crucial in diagnosing and addressing potential problems.
Start by ensuring that the vacuum cleaner is unplugged or, if it’s cordless, that the battery is removed to prevent accidental activation during inspection. Visually inspect the motor housing for any signs of overheating, such as a burning smell, excessive heat, or discoloration. These indicators may suggest an underlying issue with the motor that requires professional attention.
If your vacuum cleaner features a removable motor filter, carefully remove it and check for accumulated dust and debris. A clogged motor filter can restrict airflow and lead to overheating, affecting the motor’s performance. Clean or replace the motor filter according to the manufacturer’s recommendations to ensure optimal airflow and cooling for the motor.
Next, manually rotate the brush roll or beater bar to assess the motor’s ability to drive the cleaning components. Listen for any unusual noises, such as grinding, rattling, or squealing, which may indicate a mechanical issue within the motor or its associated components. If abnormal noises are present, it is advisable to consult a qualified technician for further diagnosis and repair.
In some cases, the vacuum cleaner’s motor may require professional servicing or replacement, especially if it exhibits symptoms of overheating, excessive noise, or a significant decrease in suction power. Attempting to repair complex motor issues without the necessary expertise can lead to further damage to the appliance.
By conducting a comprehensive inspection of the vacuum cleaner’s motor, you can identify potential issues early and take appropriate measures to maintain the appliance’s functionality. With the motor inspection complete, let’s move on to the final step and test the vacuum cleaner to assess its performance.
Step 7: Test the Vacuum Cleaner
After performing the necessary checks and maintenance tasks, it’s time to put your vacuum cleaner to the test to assess its overall performance and functionality. Conducting a series of tests will help you verify that the appliance has been successfully repaired and is capable of effectively cleaning various surfaces in your home.
Start by plugging in the vacuum cleaner or ensuring that the battery is fully charged for cordless models. Turn on the appliance and observe the suction power as you run the vacuum cleaner over different floor surfaces, such as carpets, rugs, and hard floors. Pay attention to the strength of the suction and the appliance’s ability to pick up dirt and debris effectively.
While testing the vacuum cleaner, listen for any unusual noises that may indicate unresolved issues with the motor, brush roll, or other internal components. If you notice persistent abnormal sounds or a significant decrease in suction power, it may be necessary to revisit the previous steps to identify and address the underlying problems.
If your vacuum cleaner features adjustable settings, such as height adjustments for different carpet lengths or suction control for delicate surfaces, test these settings to ensure that they function as intended. Additionally, engage any specialized cleaning attachments, such as crevice tools or upholstery brushes, to confirm that the vacuum cleaner offers versatile cleaning capabilities.
During the testing phase, take note of any lingering odors emitted by the vacuum cleaner, as unusual smells may indicate the presence of trapped debris, a clogged filter, or other maintenance issues that require attention. A well-maintained vacuum cleaner should operate smoothly without producing unpleasant odors during use.
By thoroughly testing the vacuum cleaner after performing repairs and maintenance, you can ascertain that the appliance is fully operational and capable of meeting your cleaning needs. If the tests reveal persistent issues or performance concerns, consider seeking professional assistance to address any unresolved problems.
With the testing phase complete, you have successfully navigated through the essential steps to troubleshoot and repair your vacuum cleaner. Regular maintenance and timely repairs can prolong the lifespan of your appliance, ensuring that it continues to deliver optimal cleaning performance for years to come.
Conclusion
Congratulations on successfully troubleshooting and repairing your vacuum cleaner! By following the comprehensive steps outlined in this guide, you have gained valuable insights into diagnosing and addressing common issues that can affect the performance of your appliance. Regular maintenance and timely repairs are essential in preserving the efficiency and longevity of your vacuum cleaner, ensuring that it continues to contribute to a clean and healthy home environment.
Remember that a well-maintained vacuum cleaner is a valuable asset in your household cleaning arsenal. By routinely checking the power source, inspecting the vacuum cleaner bag, cleaning or replacing filters, clearing blockages, inspecting the belt and motor, and conducting thorough testing, you have demonstrated a proactive approach to appliance care.
As you continue to use your vacuum cleaner, consider implementing a regular maintenance schedule to prevent issues from arising and to address any emerging problems promptly. This proactive approach can safeguard the appliance’s performance and minimize the need for extensive repairs in the future.
Additionally, always refer to the manufacturer’s guidelines and user manual for specific maintenance recommendations and troubleshooting tips tailored to your vacuum cleaner model. Adhering to the manufacturer’s instructions ensures that you maintain the warranty coverage and optimize the appliance’s performance based on the manufacturer’s specifications.
By investing time and effort in maintaining and repairing your vacuum cleaner, you contribute to a cleaner, more comfortable living space while extending the appliance’s lifespan. Your dedication to proper vacuum cleaner care reflects a commitment to a healthier home environment and efficient cleaning practices.
Thank you for embarking on this journey to revive your vacuum cleaner. Your diligence and attention to detail will undoubtedly contribute to the sustained performance and reliability of your appliance. With a well-maintained vacuum cleaner at your disposal, you can continue to enjoy the convenience and effectiveness of a powerful cleaning tool in your home.
Frequently Asked Questions about How To Fix A Vacuum Cleaner
Was this page helpful?
At Storables.com, we guarantee accurate and reliable information. Our content, validated by Expert Board Contributors, is crafted following stringent Editorial Policies. We're committed to providing you with well-researched, expert-backed insights for all your informational needs.

0 thoughts on “How To Fix A Vacuum Cleaner”