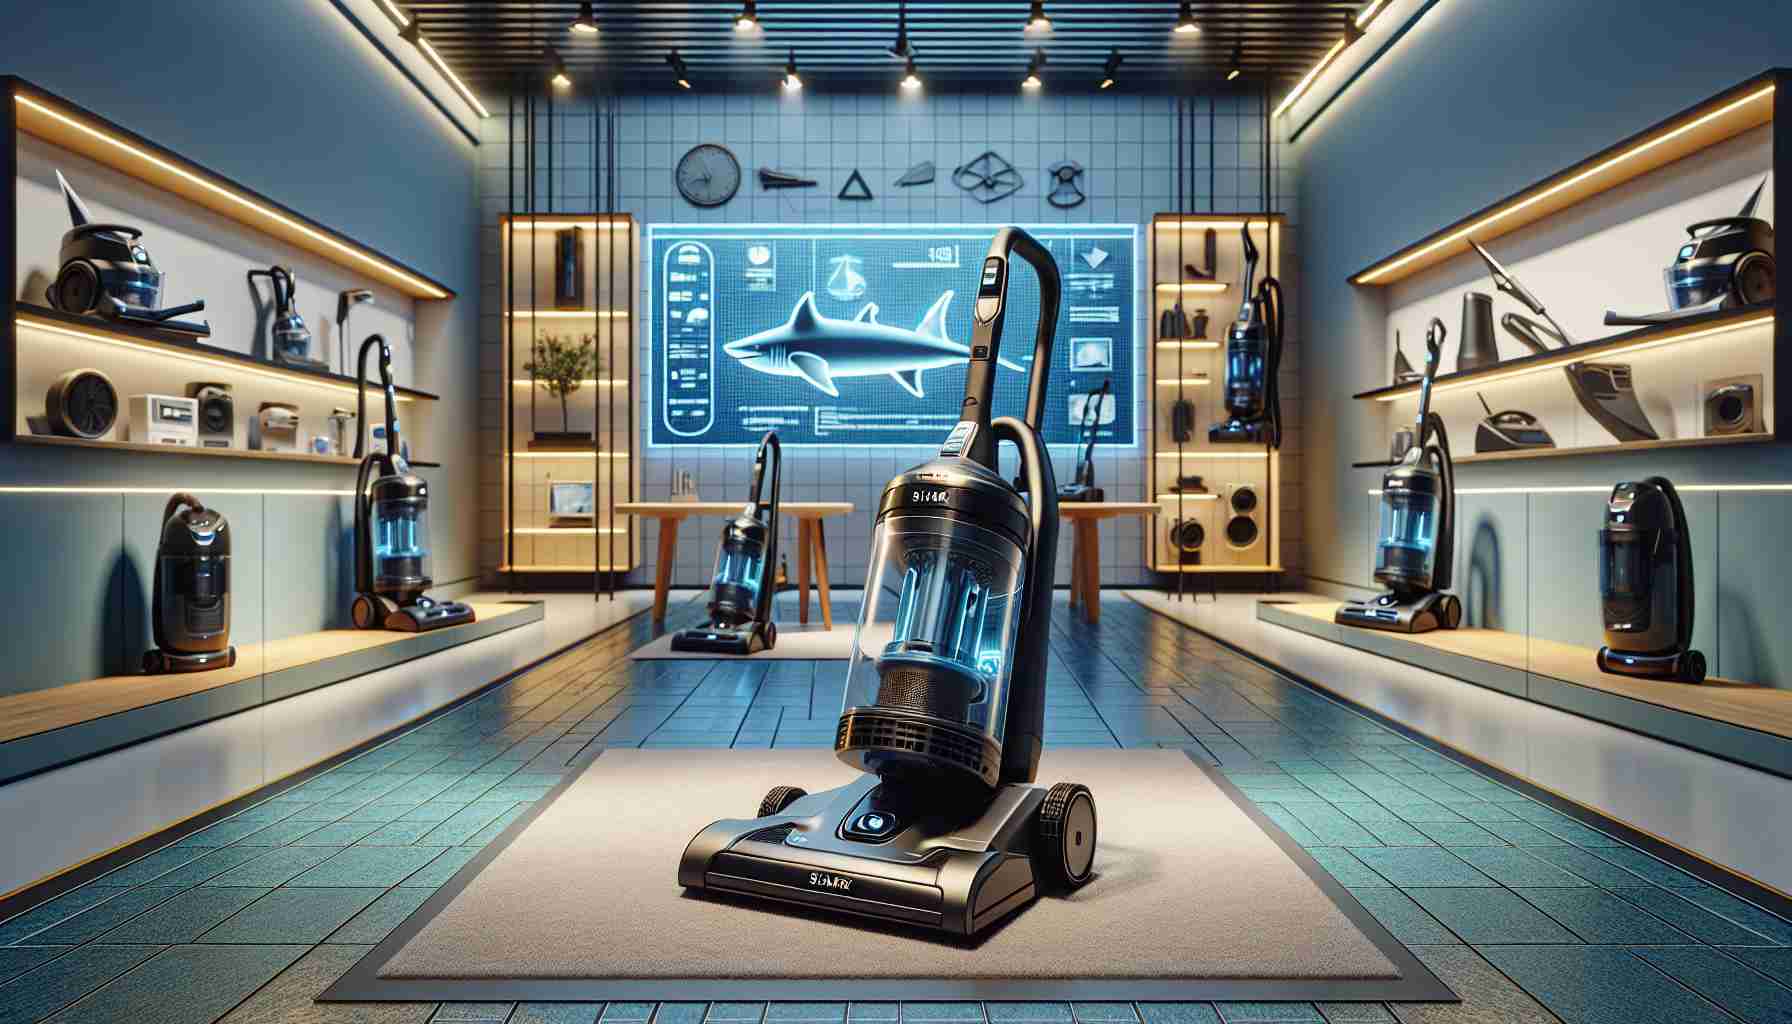
Home>Home Appliances>Cleaning Appliances>How To Make A Vacuum Cleaner
Cleaning Appliances
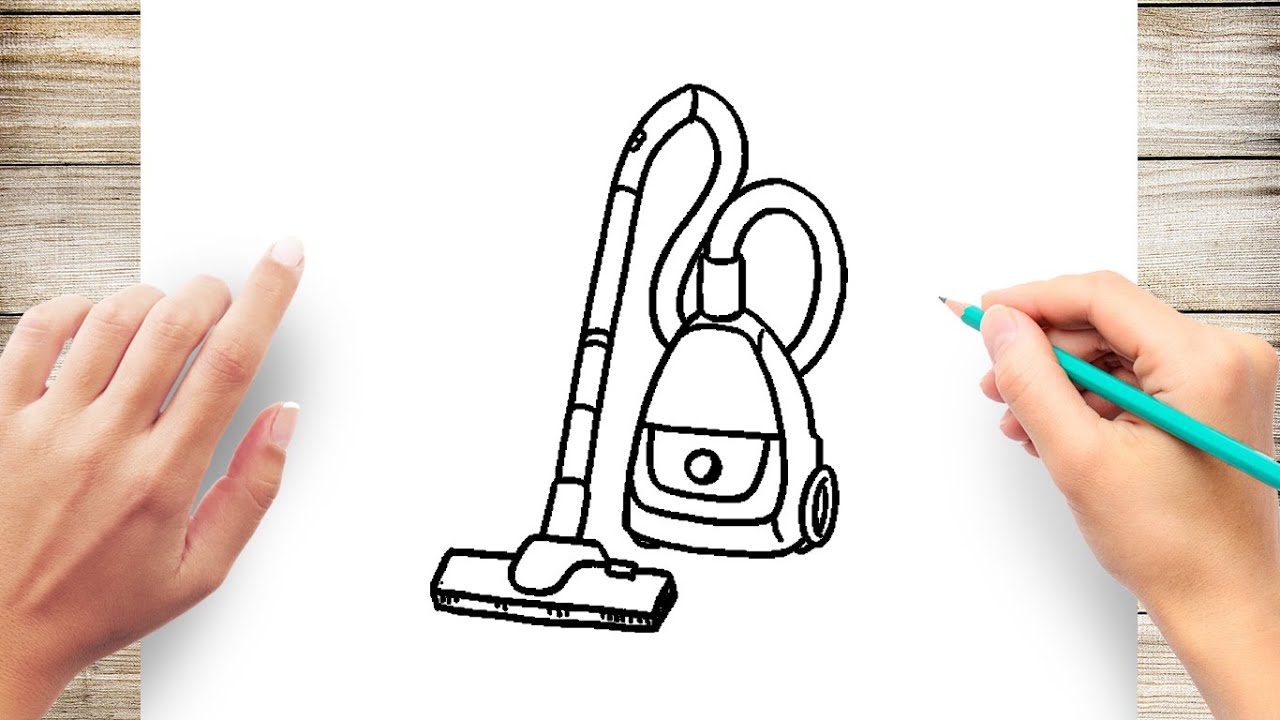
How To Make A Vacuum Cleaner
Modified: January 19, 2024
Learn how to make a vacuum cleaner for efficient cleaning of your home with our step-by-step guide. Save money and keep your cleaning appliances in top condition.
(Many of the links in this article redirect to a specific reviewed product. Your purchase of these products through affiliate links helps to generate commission for Storables.com, at no extra cost. Learn more)
Introduction
Read more: How To Make A Vacuum Cleaner Quieter
Introduction
Welcome to the exciting world of DIY vacuum cleaners! In this comprehensive guide, we will embark on a fascinating journey to create a functional and efficient vacuum cleaner from scratch. Whether you're a hands-on enthusiast, a tech-savvy individual, or simply intrigued by the inner workings of cleaning appliances, this project is sure to captivate your interest.
Building your own vacuum cleaner not only provides a unique sense of accomplishment but also offers a deeper understanding of the technology involved. By delving into the construction process, you'll gain valuable insights into the mechanics of suction, airflow, and filtration, which are essential components of any vacuum cleaner.
Throughout this guide, we'll explore the materials and tools required for this project, delve into the step-by-step process of constructing the vacuum cleaner's body and suction mechanism, and finally, assemble and test our creation. Additionally, we'll address common troubleshooting issues, ensuring that your DIY vacuum cleaner operates at its full potential.
So, roll up your sleeves, gather your tools, and let's dive into the world of DIY vacuum cleaner construction. Get ready to unleash your creativity and engineering prowess as we embark on this thrilling endeavor together.
Key Takeaways:
- Building a DIY vacuum cleaner offers a hands-on exploration of technology, fostering a deeper understanding of suction, filtration, and airflow while promoting creativity and resourcefulness.
- Constructing a DIY vacuum cleaner showcases the power of innovation and self-reliance, empowering individuals to create functional appliances through sustainable and inventive means.
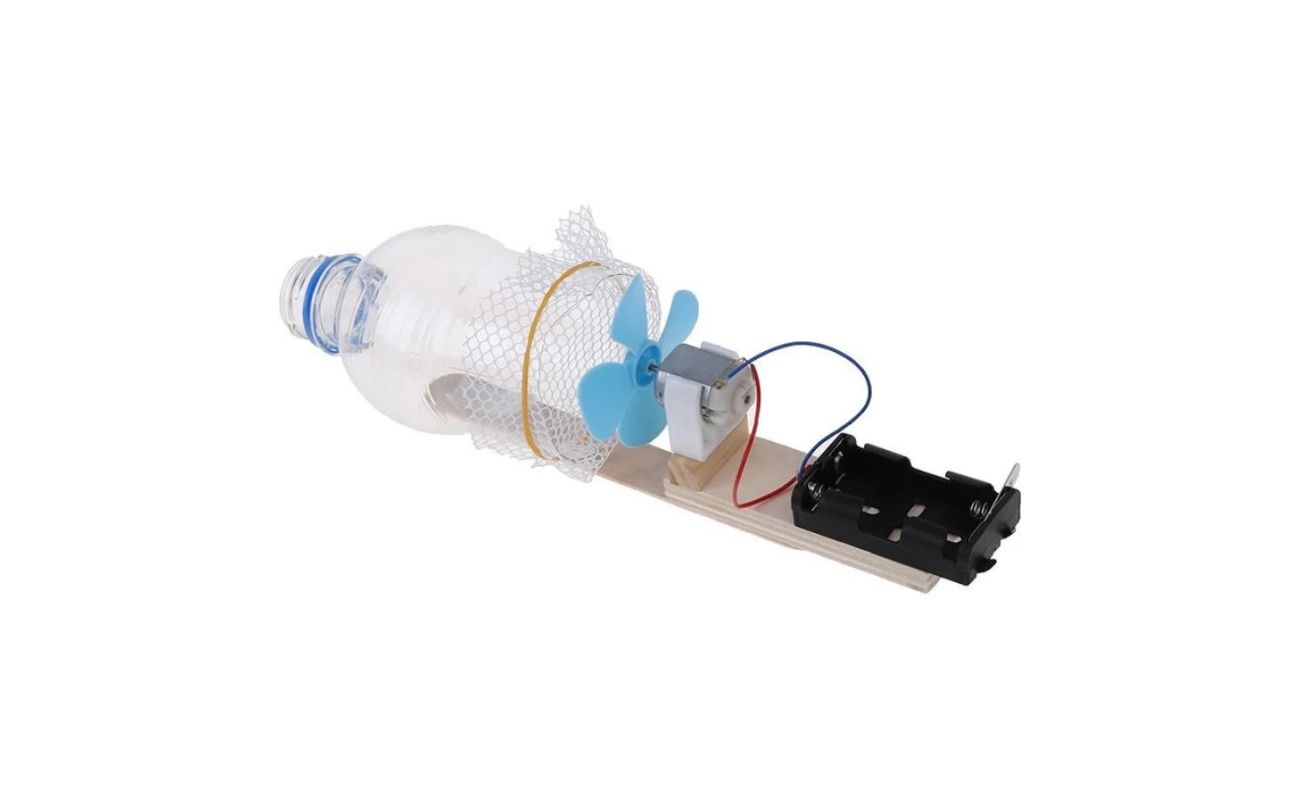
Materials and Tools
Before diving into the construction process, it’s essential to gather all the necessary materials and tools. Creating a DIY vacuum cleaner requires a combination of readily available items and specific components to ensure optimal performance.
Materials:
- Plastic container or housing to serve as the body of the vacuum cleaner
- Motor – a high-powered DC motor capable of generating strong suction
- Power source – rechargeable batteries or a power adapter for the motor
- On/Off switch for controlling the vacuum cleaner’s operation
- Filtering material – such as a HEPA filter or a sponge for air filtration
- Duct tape or adhesive to secure components
- Various screws, nuts, and bolts for assembly
- Wheels or casters for mobility
- Electrical wires and connectors
- Optional: LED lights for added visibility while cleaning
Tools:
- Drill and drill bits for creating holes in the container for components
- Screwdriver set for assembling and securing parts
- Wire cutters and strippers for handling electrical components
- Hot glue gun or epoxy for securing certain elements in place
- Scissors for cutting and shaping filtering material
- Measuring tape and ruler for precise measurements
- Soldering iron and solder for electrical connections (if applicable)
- Utility knife for cutting and shaping the plastic container
By ensuring that you have all the required materials and tools at your disposal, you’ll be well-prepared to embark on the construction process. With these essentials in hand, you can proceed with confidence, knowing that you have everything you need to bring your DIY vacuum cleaner to life.
Building the Body of the Vacuum Cleaner
Constructing the body of the vacuum cleaner serves as the foundational step in creating a functional and visually appealing appliance. The body not only houses the internal components but also determines the overall design and maneuverability of the vacuum cleaner.
Step 1: Selecting the Container
Begin by choosing a suitable plastic container or housing that will serve as the main body of the vacuum cleaner. The size of the container will depend on the intended capacity of the vacuum cleaner and the space required for accommodating the motor, batteries, and filtration system. Ensure that the container is sturdy and has enough internal space to house the components without overcrowding.
Step 2: Planning the Layout
Before proceeding with any modifications, plan the layout of the internal components within the container. Consider the positioning of the motor, power source, on/off switch, and filtration system. This step is crucial for optimizing space utilization and ensuring that the components fit seamlessly within the container.
Step 3: Creating Access Openings
Using a drill and appropriate drill bits, create openings in the container for accommodating the motor, power switch, and any additional controls or indicators. These openings will facilitate easy access to the internal components and allow for proper ventilation to prevent overheating.
Step 4: Mounting the Motor and Power Source
Secure the high-powered DC motor inside the container, ensuring that it is firmly positioned to minimize vibration and movement during operation. Additionally, mount the power source, whether it’s rechargeable batteries or a power adapter, in a designated area within the container, taking care to provide easy access for recharging or maintenance.
Step 5: Enhancing Mobility
If desired, attach wheels or casters to the base of the container to enhance the vacuum cleaner’s mobility. This addition allows for effortless maneuvering across various floor surfaces and ensures ease of use during cleaning tasks.
By meticulously constructing the body of the vacuum cleaner and thoughtfully arranging the internal components, you’ll lay the groundwork for a well-designed and functional appliance. With the body in place, the focus can now shift to creating the essential suction mechanism that powers the cleaning capabilities of the vacuum cleaner.
Creating the Suction Mechanism
The suction mechanism is the heart of any vacuum cleaner, responsible for generating the powerful airflow that effectively removes dirt, dust, and debris from surfaces. Constructing a reliable and efficient suction system is essential for the overall performance of the DIY vacuum cleaner.
Step 1: Positioning the Suction Inlet
Identify an optimal location on the container to serve as the suction inlet. This opening will allow the vacuum cleaner to draw in air and particles during operation. Carefully measure and mark the position before creating the inlet using a drill and appropriate attachments. Ensure that the inlet is strategically placed to maximize airflow and capture debris effectively.
Step 2: Installing the Filtering System
Integrate the chosen filtering material, such as a HEPA filter or a sponge, into the airflow path within the container. This crucial component traps dust and allergens, preventing them from recirculating into the surrounding environment. Secure the filtering material in place, ensuring a snug fit to prevent air leakage and maintain efficient filtration.
Step 3: Connecting the Suction Source
Attach the suction inlet to the high-powered DC motor, ensuring a sealed connection to maintain strong suction. Depending on the design of the motor, this may involve utilizing a specially designed attachment or creating a custom coupling to link the inlet to the motor’s intake. It’s essential to establish a secure and airtight connection to optimize suction performance.
Step 4: Optimizing Airflow
Consider the airflow path within the container and ensure that it facilitates smooth and unobstructed airflow from the suction inlet to the filtering system and ultimately to the motor. Minimize bends and restrictions in the airflow path to maintain consistent suction power and prevent clogs or blockages during operation.
Step 5: Sealing the Container
Once the suction mechanism is in place, inspect the container for any gaps or openings that could compromise suction efficiency. Seal any potential leaks using duct tape or appropriate sealants to maintain a sealed environment within the vacuum cleaner, allowing the suction mechanism to operate at its full potential.
By meticulously crafting the suction mechanism and optimizing the airflow path, you’ll ensure that your DIY vacuum cleaner delivers robust suction power, effectively lifting dirt and debris from surfaces with ease. With this critical component in place, the final steps involve assembling the various elements and testing the vacuum cleaner’s functionality.
When making a vacuum cleaner, make sure to use a high-powered motor and a strong suction mechanism to effectively pick up dirt and debris from floors and surfaces. Additionally, consider incorporating a HEPA filter to capture small particles and allergens for cleaner air.
Read more: Who Makes Shark Vacuum Cleaner
Assembling the Vacuum Cleaner
Assembling the DIY vacuum cleaner involves bringing together the various components and ensuring that they function harmoniously to create a fully operational cleaning appliance. This phase marks the culmination of the construction process, where meticulous attention to detail and precision are paramount.
Step 1: Electrical Connections
Begin by establishing the necessary electrical connections to power the vacuum cleaner. Connect the on/off switch to the power source and the motor, ensuring that the wiring is secure and insulated to prevent any electrical hazards. Double-check the connections to guarantee proper functionality and safety.
Step 2: Securing the Components
Secure the motor, power source, and any additional control components inside the container using screws, nuts, or appropriate fastening methods. Ensure that all elements are firmly in place and free from any potential movement or instability during operation. This step is crucial for maintaining the integrity of the vacuum cleaner’s internal setup.
Step 3: Integrating the Suction Mechanism
Connect the suction inlet to the filtering system and the motor, ensuring a seamless and airtight transition between these essential components. Verify that the airflow path is unobstructed and that the filtering material is correctly positioned to capture debris effectively. This integration is vital for ensuring optimal suction performance.
Step 4: Finalizing the Controls and Indicators
If your DIY vacuum cleaner incorporates additional features such as LED lights or indicator displays, finalize the installation of these elements. Ensure that any user controls or indicators are easily accessible and clearly visible, enhancing the overall usability and functionality of the appliance.
Step 5: Finishing Touches
Inspect the assembled vacuum cleaner for any loose components, exposed wiring, or potential safety hazards. Tidy up the internal layout and secure any loose wires or protruding elements to create a clean and organized interior. This attention to detail ensures a professional and polished final product.
By methodically assembling the various components and ensuring that each element is integrated seamlessly, you’ll transform a collection of parts into a fully functional DIY vacuum cleaner. With the assembly complete, the next crucial step involves testing the vacuum cleaner’s performance and addressing any potential troubleshooting issues.
Testing and Troubleshooting
With the DIY vacuum cleaner fully assembled, it’s time to put the appliance to the test and ensure that it operates as intended. Testing the functionality of the vacuum cleaner allows for the identification of any potential issues or performance concerns that may require troubleshooting.
Step 1: Powering On the Vacuum Cleaner
Activate the vacuum cleaner using the on/off switch and observe the motor’s response. Listen for the characteristic sound of the motor running and verify that the suction mechanism engages as expected. This initial test confirms that the power source, motor, and control components are functioning correctly.
Step 2: Suction Performance Evaluation
Place the suction inlet of the vacuum cleaner near a surface containing debris or dust particles. Observe the suction power and the appliance’s ability to lift and capture the particles effectively. Assess the airflow and ensure that the suction mechanism operates at the desired level of efficiency.
Step 3: Filtration Effectiveness
Examine the effectiveness of the filtering system by running the vacuum cleaner over a surface with fine particles, such as dust or powdered materials. Check for any signs of airborne particles escaping from the appliance and assess the filtration system’s ability to trap and contain debris during operation.
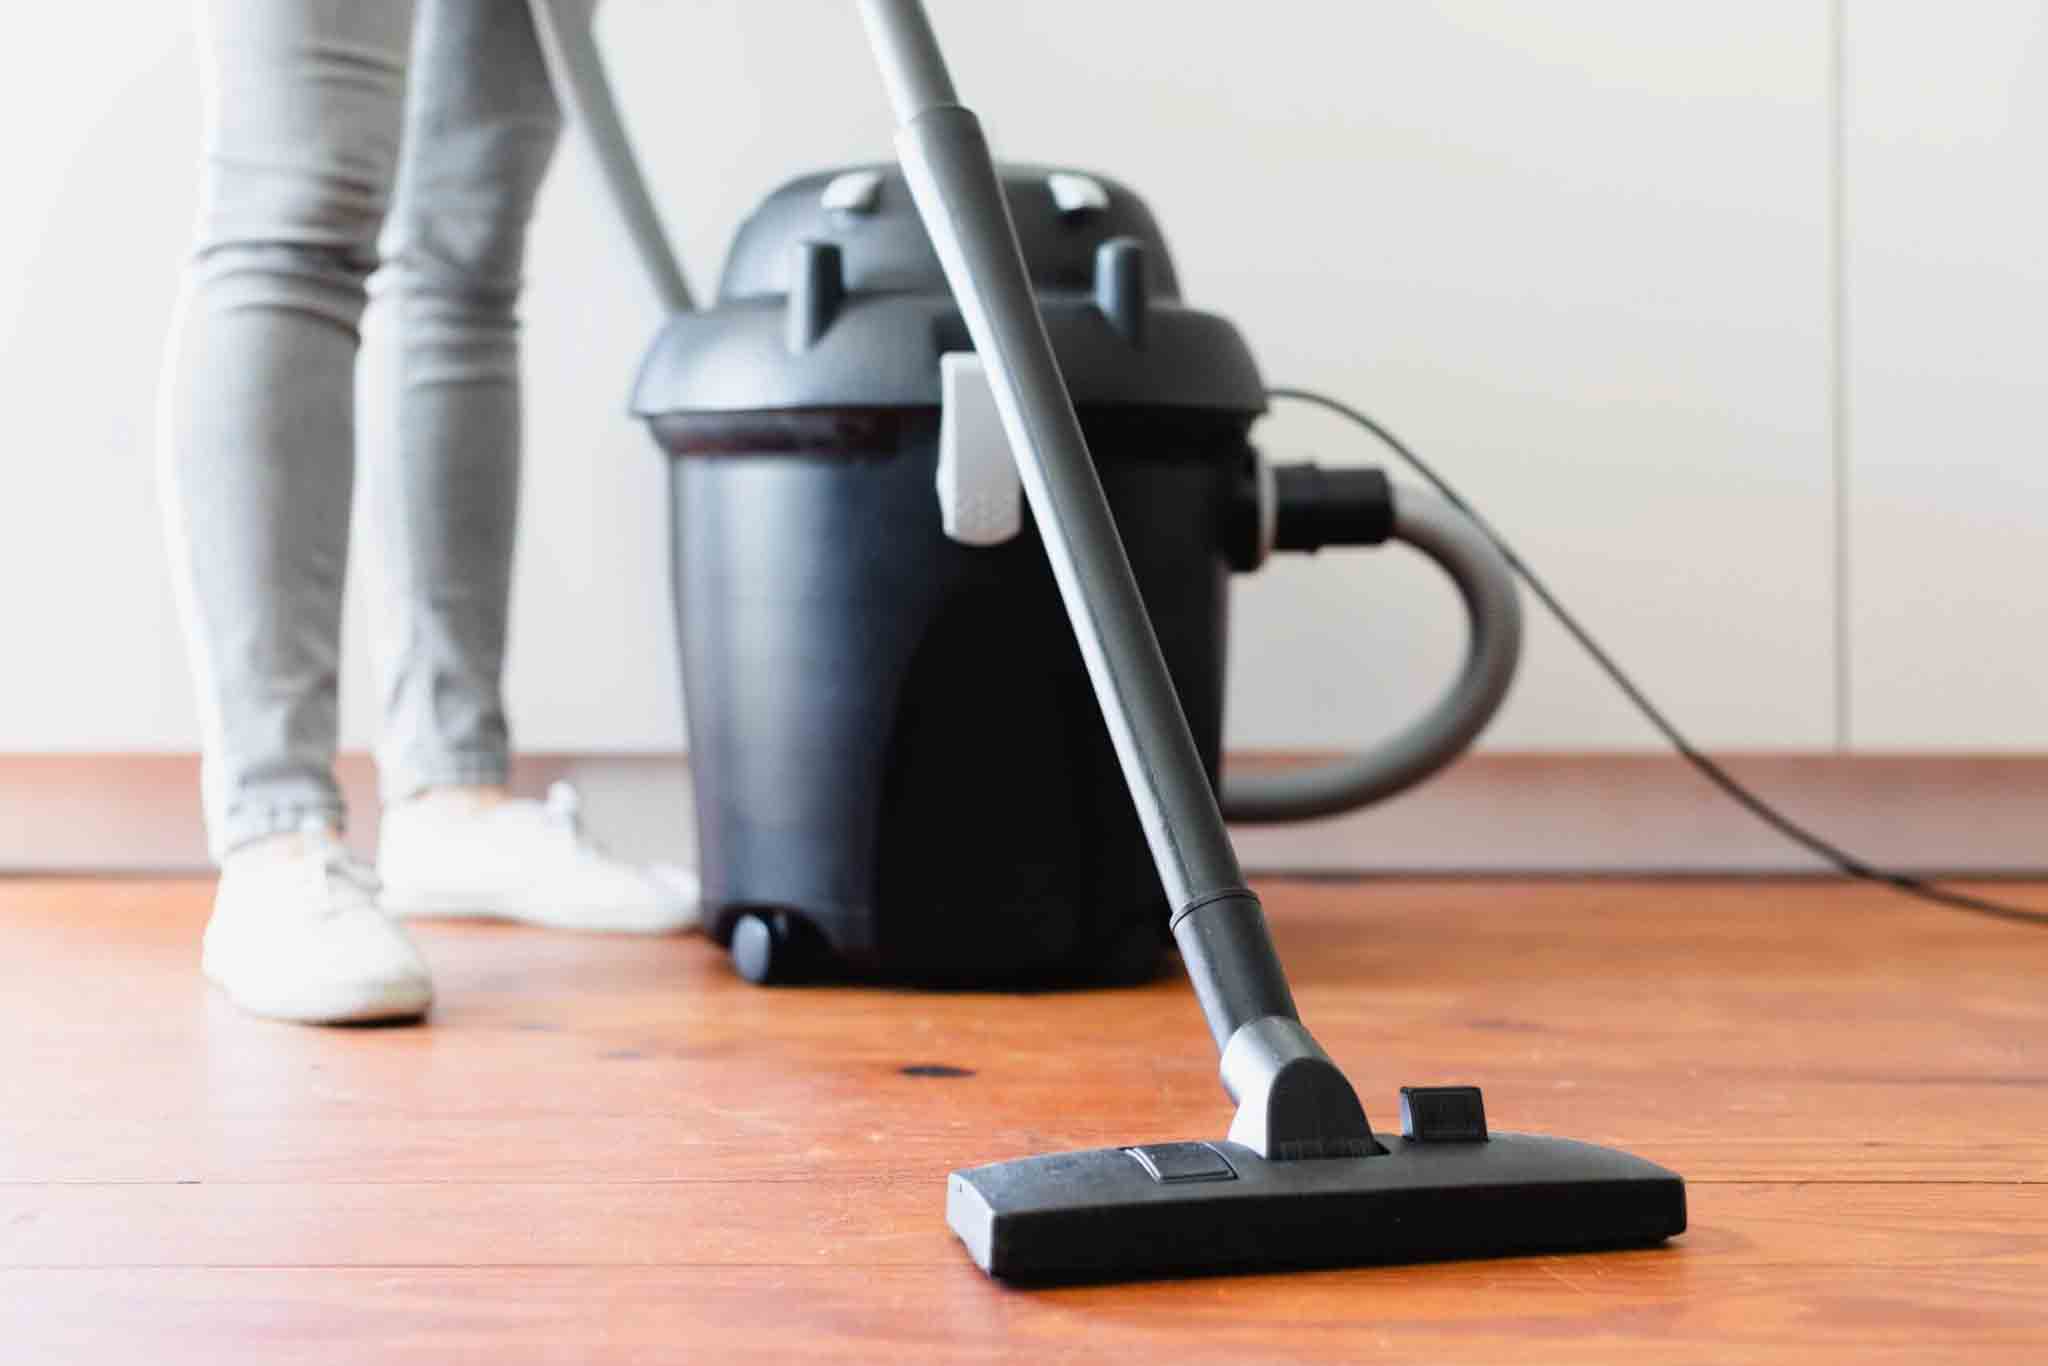
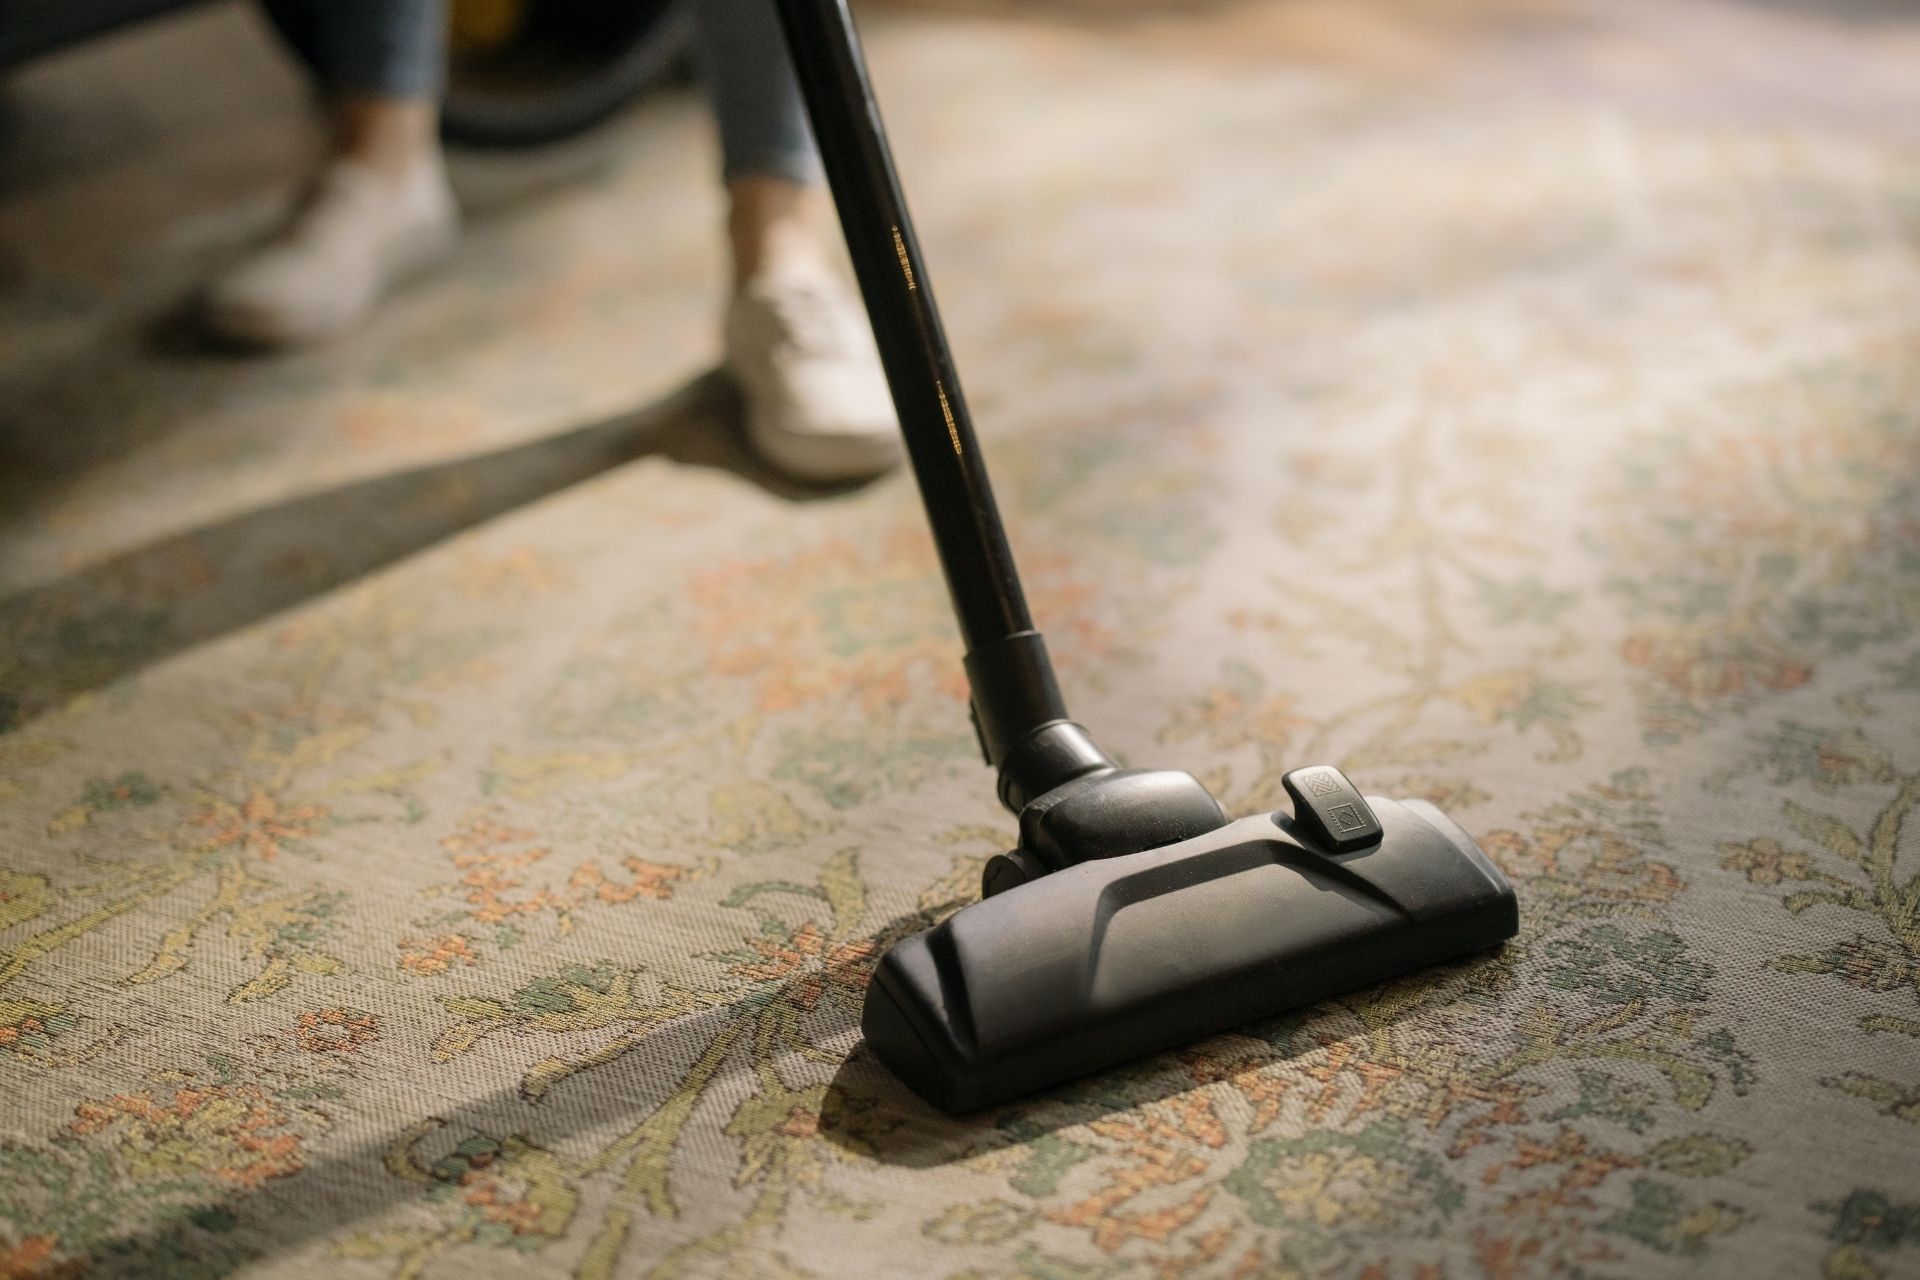
Step 4: Mobility and Maneuverability
Test the mobility of the vacuum cleaner by maneuvering it across different floor surfaces, including carpets, hardwood, and tiled areas. Evaluate the ease of movement and the functionality of any added wheels or casters. This assessment ensures that the appliance can navigate various environments with ease.
Step 5: Troubleshooting and Adjustments
If any issues or performance concerns arise during testing, systematically troubleshoot the vacuum cleaner to identify the root cause. Check for loose connections, potential obstructions in the airflow path, or any signs of mechanical issues. Address any identified issues through adjustments, component realignment, or additional testing to verify the effectiveness of the solutions.
By rigorously testing the vacuum cleaner’s performance and promptly addressing any potential issues, you’ll ensure that the appliance operates at its full potential, delivering reliable suction power and efficient cleaning capabilities. With successful testing and any necessary troubleshooting completed, you can take pride in the creation of a fully functional DIY vacuum cleaner.
Conclusion
Congratulations on successfully embarking on the journey of creating your very own DIY vacuum cleaner! Throughout this comprehensive guide, we’ve delved into the intricacies of constructing a functional and efficient cleaning appliance from scratch. By combining creativity, engineering skills, and a hands-on approach, you’ve brought to life a practical and innovative solution for maintaining cleanliness in your living space.
Building a DIY vacuum cleaner goes beyond the satisfaction of assembling a useful appliance. It provides a profound understanding of the technology behind suction, filtration, and airflow, offering insights into the inner workings of cleaning appliances that are often taken for granted. This hands-on experience not only fosters a deeper appreciation for the engineering marvels of everyday devices but also empowers you to customize and optimize the performance of your vacuum cleaner according to your specific needs.
Moreover, the process of constructing a DIY vacuum cleaner serves as a testament to the power of ingenuity and resourcefulness. By repurposing common materials and leveraging readily available components, you’ve demonstrated the ability to create a functional appliance through innovative and sustainable means. This accomplishment highlights the potential for DIY solutions to address practical needs while promoting a sense of self-reliance and creativity.
As you marvel at the fully assembled and tested vacuum cleaner, take pride in the knowledge and skills you’ve acquired throughout this project. The hands-on experience of constructing a cleaning appliance from the ground up not only enriches your understanding of technology and engineering but also ignites a sense of curiosity and exploration that transcends the realm of DIY projects.
Whether you embark on future DIY endeavors or simply revel in the satisfaction of a successful project, the journey of creating a DIY vacuum cleaner is a testament to the limitless potential of hands-on innovation and the joy of bringing ideas to life through practical and tangible means. Embrace the spirit of creativity, exploration, and ingenuity as you continue to explore the world of DIY projects and technological innovation.
With your DIY vacuum cleaner ready to tackle cleaning tasks with efficiency and reliability, you’ve not only built a functional appliance but also unlocked a world of creativity and hands-on achievement. Here’s to the success of your DIY vacuum cleaner project and the endless possibilities that await in the realm of DIY innovation.
Frequently Asked Questions about How To Make A Vacuum Cleaner
Was this page helpful?
At Storables.com, we guarantee accurate and reliable information. Our content, validated by Expert Board Contributors, is crafted following stringent Editorial Policies. We're committed to providing you with well-researched, expert-backed insights for all your informational needs.


0 thoughts on “How To Make A Vacuum Cleaner”