Articles
How To Check AC Pressure In Car
Modified: October 20, 2024
Learn how to check the AC pressure in your car with these informative articles. Ensure optimal cooling and performance for a comfortable ride.
(Many of the links in this article redirect to a specific reviewed product. Your purchase of these products through affiliate links helps to generate commission for Storables.com, at no extra cost. Learn more)
Introduction
Welcome to this comprehensive guide on how to check the AC pressure in your car. As the temperature rises, it becomes essential to ensure that your car’s air conditioning system is in proper working condition. Checking the AC pressure is a vital step in diagnosing any potential issues and maintaining optimal cooling performance.
Over time, the AC system in your car may experience leaks or other problems that can affect its efficiency. By regularly monitoring the AC pressure, you can identify any abnormalities and take appropriate action to keep your vehicle cool and comfortable.
Before we dive into the steps of checking the AC pressure, it’s important to note that this process requires some basic knowledge of car mechanics and the use of specialized tools. If you’re not comfortable working with automobiles or unsure about any step, it’s always best to consult a professional mechanic.
Without further ado, let’s get started!
Key Takeaways:
- Regularly checking your car’s AC pressure is crucial for maintaining optimal cooling performance and identifying potential issues. It ensures a cool and comfortable driving experience, especially during hot weather.
- Comparing pressure readings to manufacturer specifications and interpreting the results can help determine if your AC system is functioning properly. Seek professional advice for accurate diagnosis and appropriate repairs.
Read more: How To Check Static Pressure In HVAC
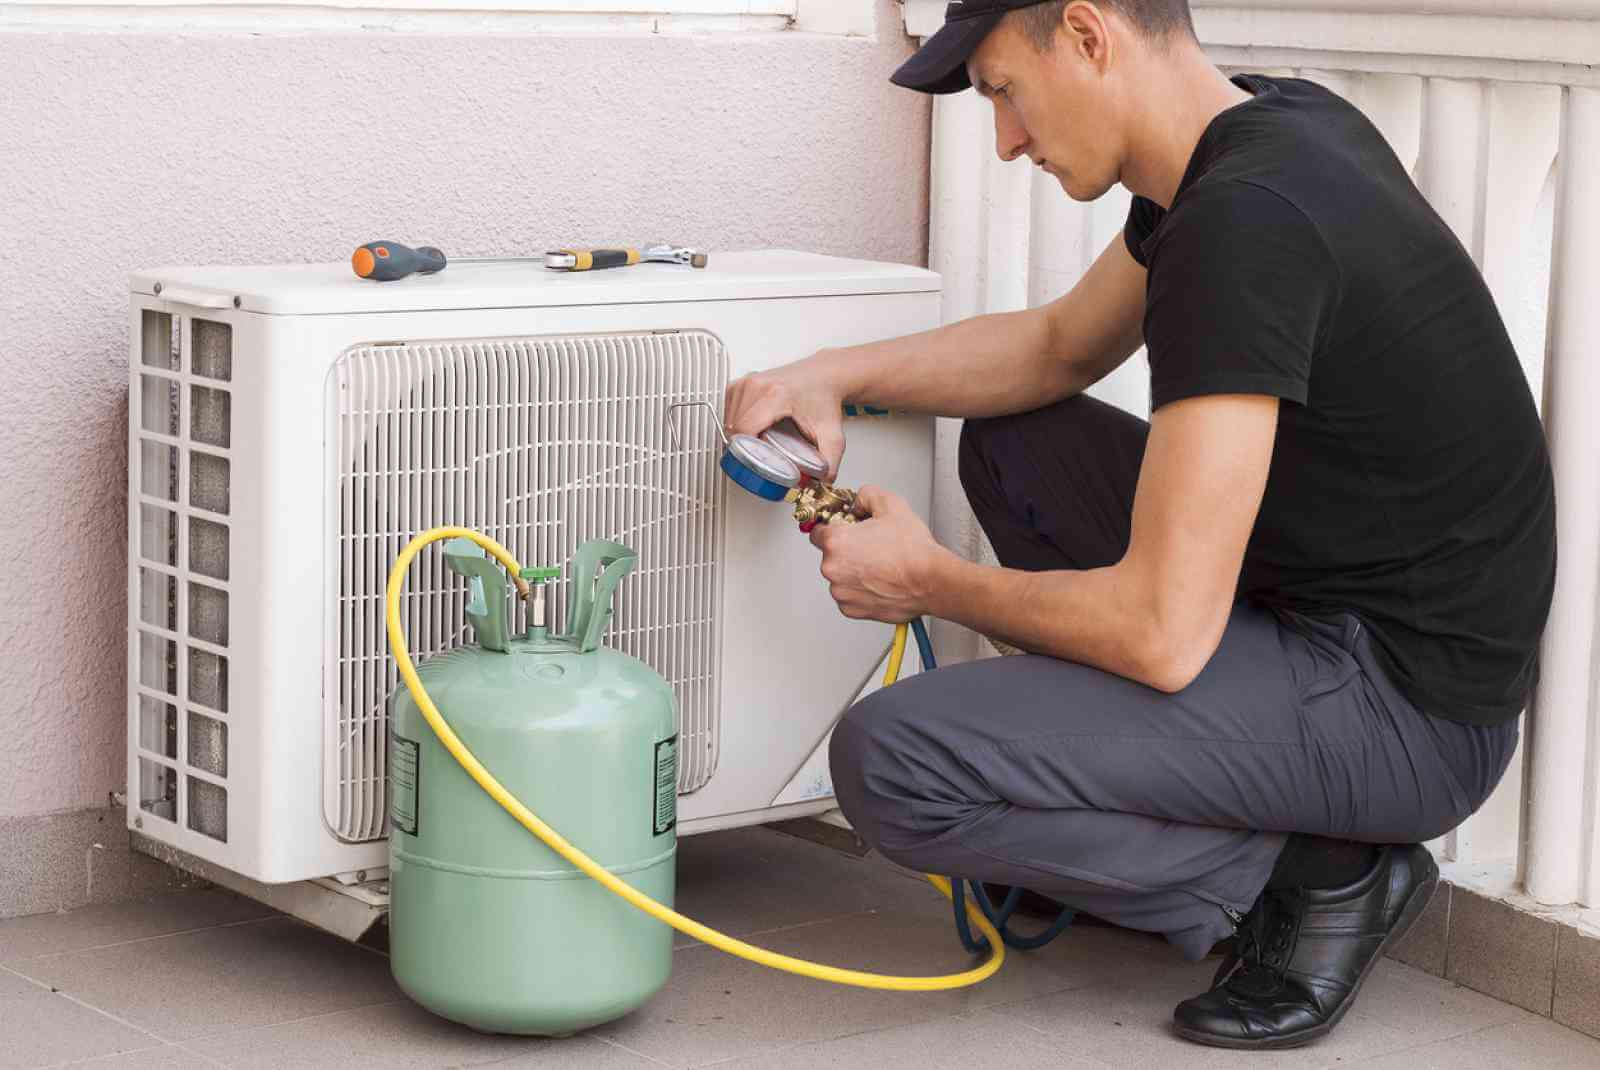
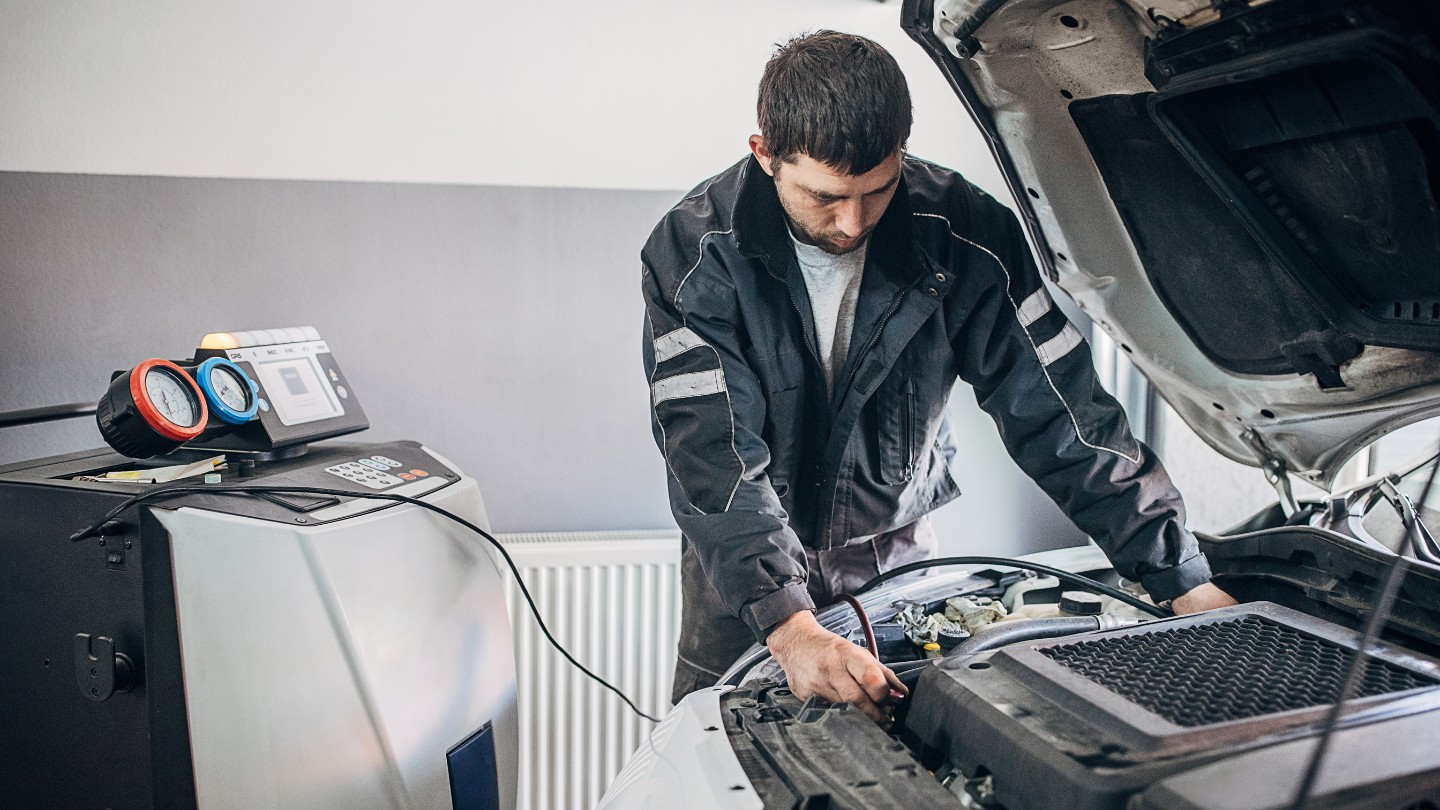
Step 1: Gather necessary tools
Before you begin checking the AC pressure in your car, it’s important to gather the necessary tools. Here’s a list of the items you’ll need:
- AC Pressure Gauge: This tool allows you to measure the pressure in the AC system. Make sure you choose a gauge suitable for your car’s make and model.
- Protective Gloves: It’s always a good idea to wear gloves to protect your hands from any potential leaks or chemicals.
- Safety Glasses: Safeguard your eyes from any debris or refrigerant that may be released during the process.
- Owner’s Manual: This handy guide will provide you with specific information about your car’s AC system and any manufacturer-recommended pressure specifications.
- Refrigerant: If you find that your AC system is low on refrigerant, you may need to have some on hand for recharging.
Once you’ve gathered these tools, you’ll be ready to move on to the next step of the process.
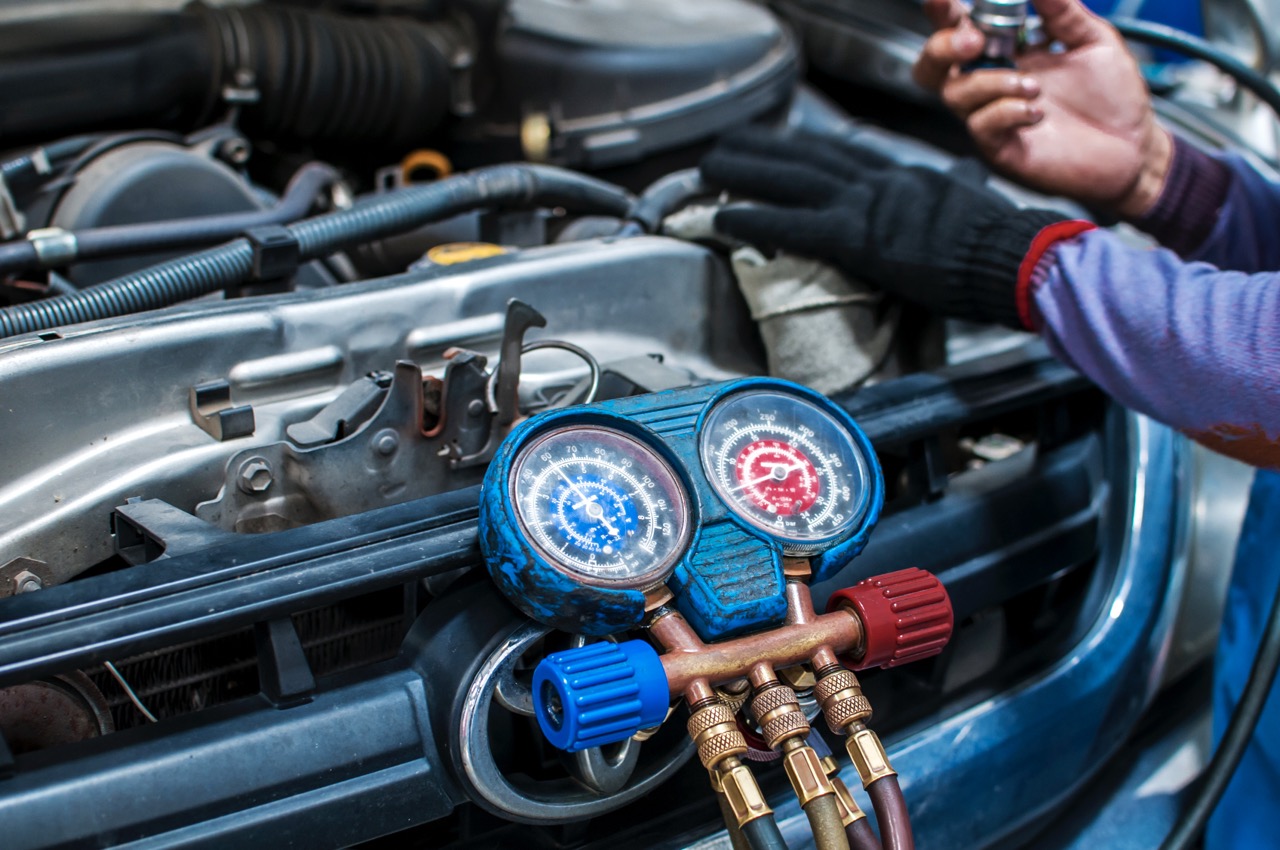
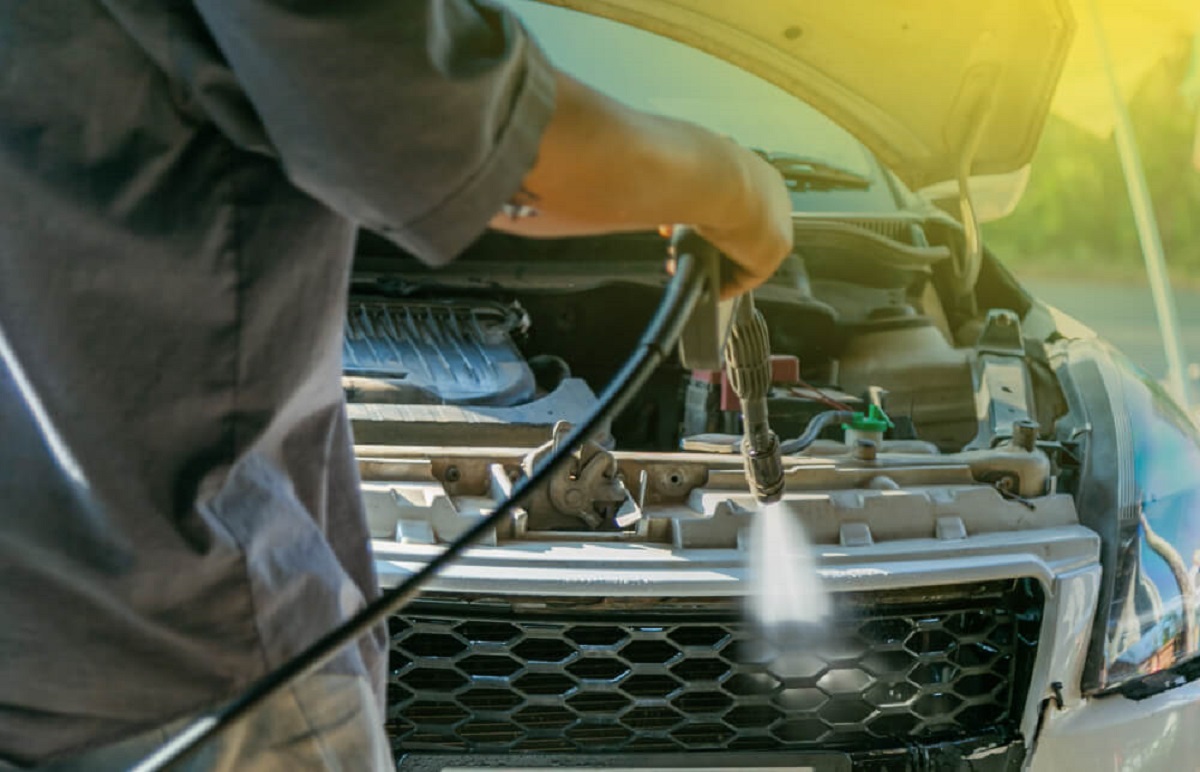
Step 2: Locate the AC service ports
Now that you have the necessary tools, it’s time to locate the AC service ports on your car. These ports are where you will connect the AC pressure gauge to measure the system’s pressure.
In most cars, you’ll find two service ports – the high-side port and the low-side port. The high-side port is usually located on the smaller diameter AC line, while the low-side port is typically found on the larger diameter line.
Refer to your owner’s manual or do some research specific to your car’s make and model to locate the exact position of these ports. It’s crucial to identify the correct ports to ensure accurate pressure readings.
On some vehicles, the ports may be covered by plastic caps to protect them from debris or moisture. Remove these caps to gain access to the service ports.
Remember to exercise caution when handling the ports, as they may be pressurized, especially if the AC system has been running recently. It’s advisable to let the car cool down for a while before proceeding to avoid any potential injuries.
Once you’ve located the high-side and low-side service ports and taken the necessary precautions, you can move on to the next step of checking the AC pressure.
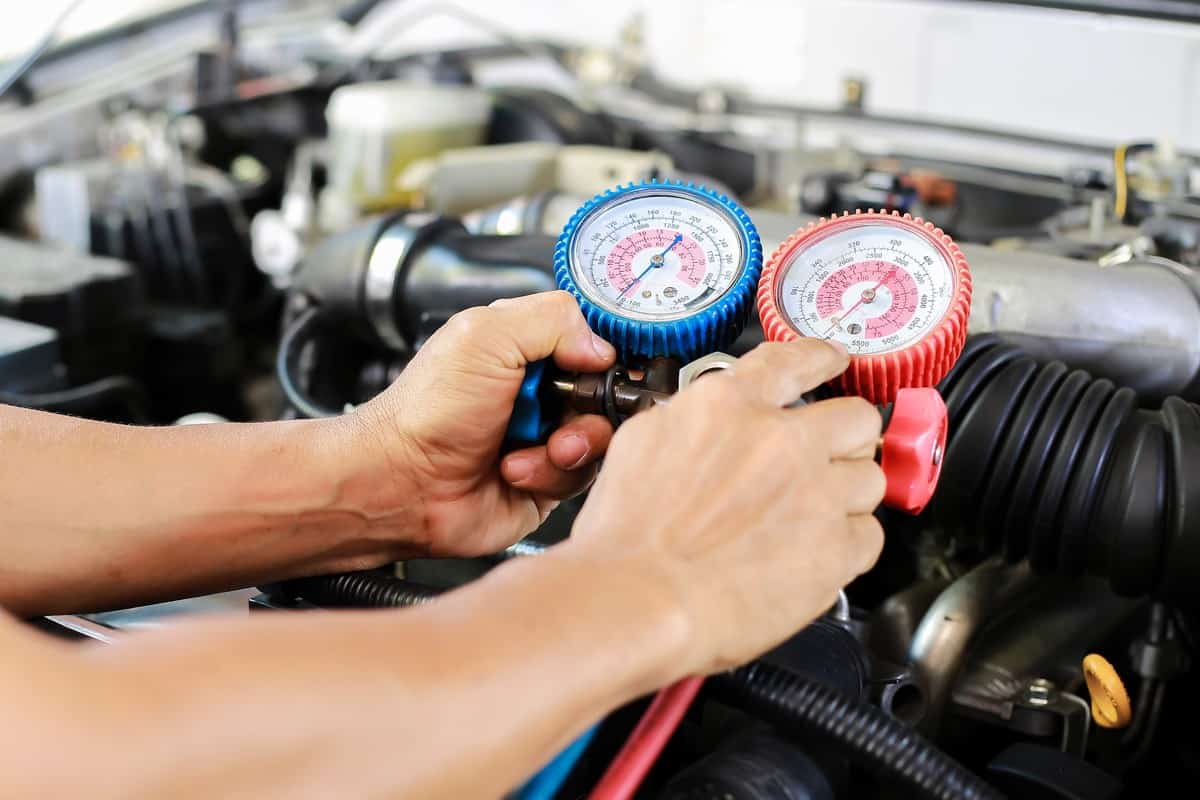
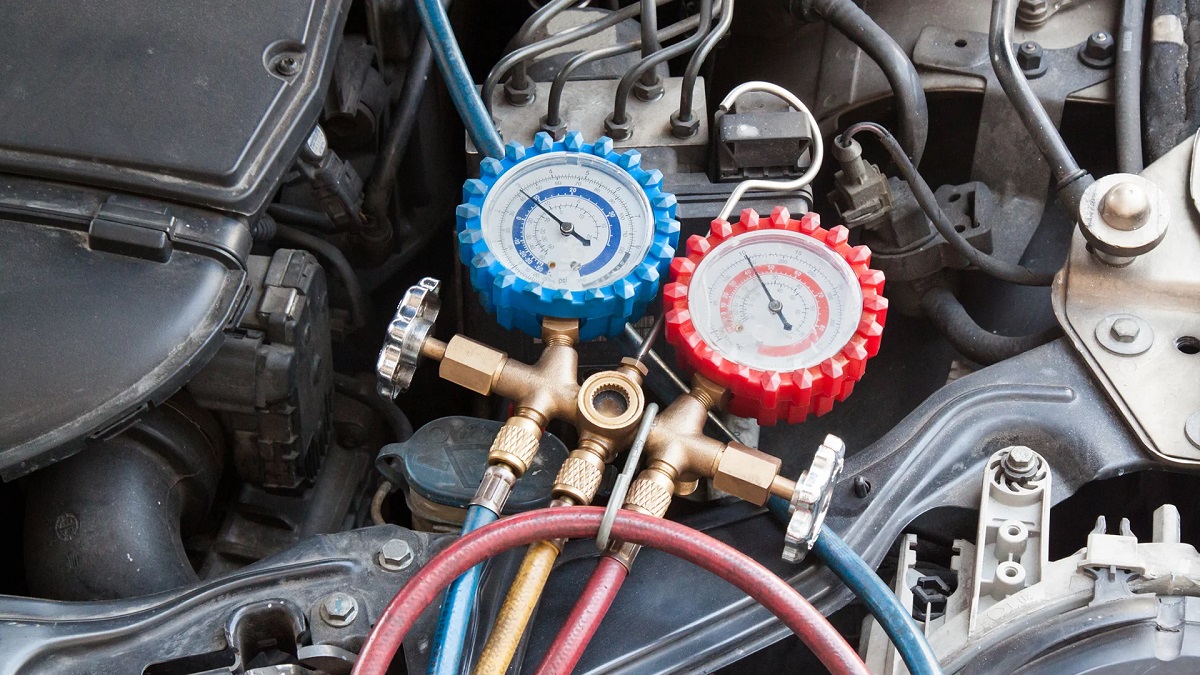
Step 3: Check the high-side pressure
With the AC service ports identified and accessible, it’s time to check the high-side pressure of your car’s AC system. The high-side pressure refers to the pressure of the refrigerant as it leaves the compressor and travels to the condenser.
To begin, attach the AC pressure gauge to the high-side service port. Ensure that the gauge is securely connected, as any air leaks can affect the accuracy of the reading.
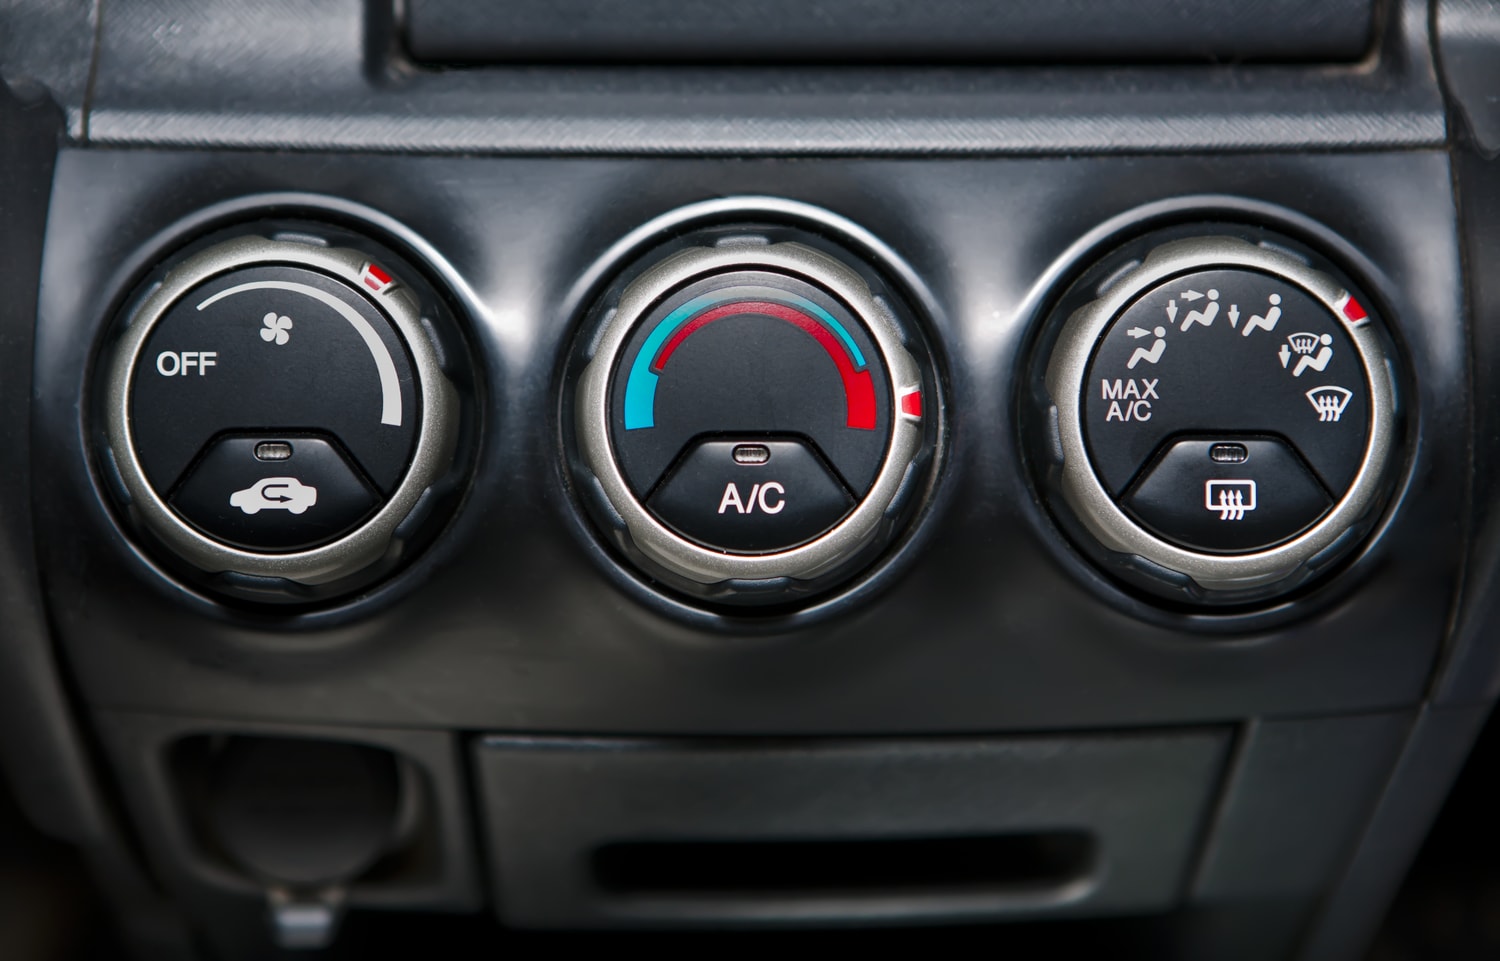
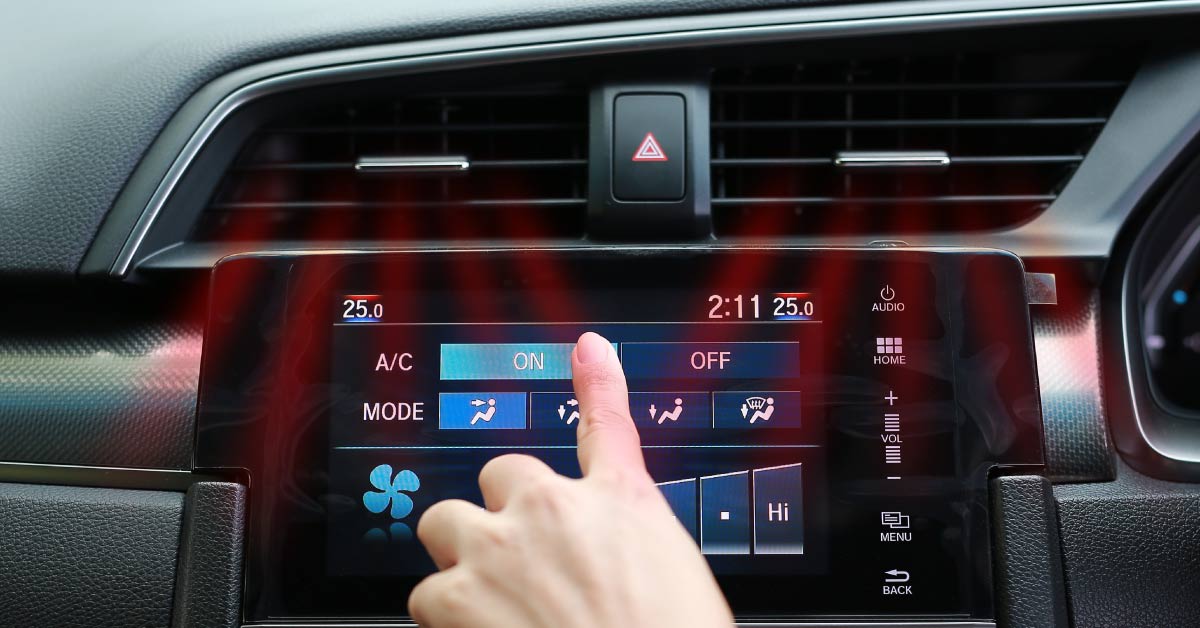
Once the gauge is connected, start the car and turn the AC system on to its maximum setting. Allow the system to run for a few minutes to stabilize.
Next, observe the pressure reading on the gauge. Compare it to the manufacturer’s specifications in your owner’s manual or any other reliable source. The specific pressure range will vary depending on the make and model of your car.
If the high-side pressure reading falls within the recommended range, it indicates that the AC system is functioning properly. However, if the pressure reading is significantly higher or lower than the specified range, it may indicate a problem that requires further investigation and possible repairs.
It’s important to note that high-side pressure readings that are too high may be a sign of a blockage or a faulty compressor, while readings that are too low could indicate a refrigerant leak or a problem with the expansion valve.
If the high-side pressure is outside the acceptable range or if you notice any other irregularities, it’s advisable to seek the assistance of a professional mechanic to diagnose and address the issue.
Now that you’ve checked the high-side pressure, it’s time to move on to the next step – checking the low-side pressure.
Step 4: Check the low-side pressure
After checking the high-side pressure, it’s time to move on to checking the low-side pressure of your car’s AC system. The low-side pressure refers to the pressure of the refrigerant as it returns to the compressor from the evaporator.
Start by attaching the AC pressure gauge to the low-side service port. Ensure that the connection is secure and free from any leaks.
Once the gauge is attached, start the car and turn on the AC system to its maximum setting. Allow the system to run for a few minutes to stabilize.
Observe the pressure reading on the gauge and compare it to the manufacturer’s specifications in your owner’s manual or any other reliable source.
The low-side pressure is typically lower than the high-side pressure and can vary depending on factors such as ambient temperature and the AC system’s load. However, it should still fall within a specific range.
If the low-side pressure reading is within the recommended range, it indicates that the AC system is functioning properly. However, if the pressure reading is significantly outside the specified range, it may indicate an issue that requires further attention.
Low-side pressure readings that are too high may suggest a problem with the expansion valve, while readings that are too low could indicate a refrigerant leak or a failing compressor.
If you notice any abnormalities in the low-side pressure reading or have concerns about the overall performance of your AC system, it’s wise to consult a professional mechanic who can diagnose and address the issue correctly.
Now that you’ve checked both the high-side and low-side pressures, it’s time to compare the readings and interpret the results.
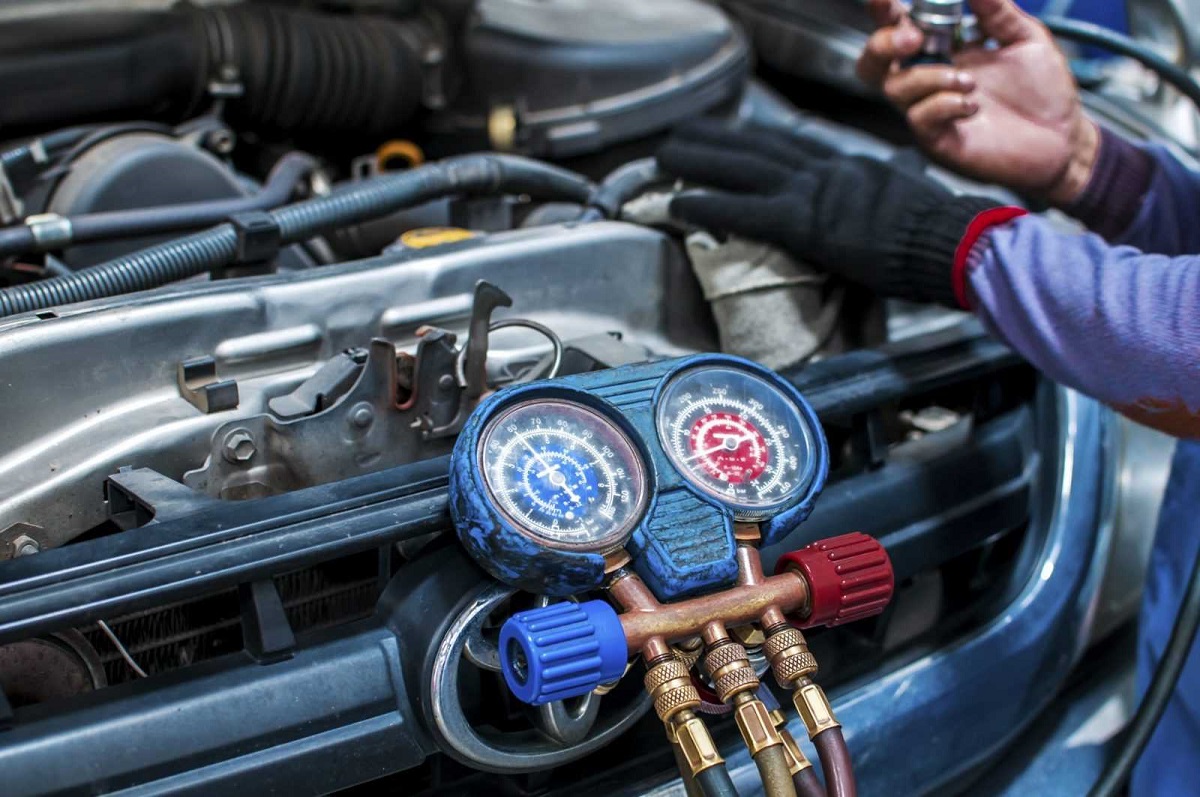
Use an AC pressure gauge to check the pressure in your car’s AC system. Connect the gauge to the low-pressure port, start the car, and turn the AC to max. Compare the reading to the manufacturer’s specifications.
Step 5: Compare the readings to manufacturer specifications
Once you have checked both the high-side and low-side pressures of your car’s AC system, the next step is to compare the readings to the manufacturer’s specifications. These specifications can typically be found in your car’s owner’s manual or obtained from reputable sources.
Manufacturer specifications provide a range of acceptable pressures for the high-side and low-side readings, taking into account factors such as ambient temperature and system load. By comparing your pressure readings to these specifications, you can determine if your AC system is operating within the recommended range.
It’s important to note that the ideal pressure range can vary depending on the specific make and model of your car. Deviations from the recommended range may indicate potential issues that require further attention.
When comparing the readings, keep in mind that both the high-side and low-side pressure should fall within their respective specified ranges. If either reading is significantly higher or lower than the recommended range, it may indicate a problem with the AC system that needs to be addressed.
Additionally, pay attention to the difference between the high-side and low-side pressures. There is a specific pressure difference, known as the pressure differential, that should exist between the two. This differential ensures proper refrigerant flow and cooling performance.
If you find that your pressure readings are inconsistent with the manufacturer’s specifications or there is an abnormal pressure differential, it may be necessary to seek the assistance of a professional mechanic to diagnose and resolve any issues with your AC system.
Now that you have compared the readings to the manufacturer’s specifications, it’s time to interpret the results and determine the next course of action.
Step 6: Interpret the results
After comparing the pressure readings to the manufacturer’s specifications, it’s time to interpret the results and understand what they mean for your car’s AC system. The interpretation will depend on whether the readings are within the recommended range or if they deviate significantly.
If both the high-side and low-side pressure readings fall within the specified range, it generally indicates that your AC system is operating properly. This means that the refrigerant levels and system pressures are within the acceptable limits, and the cooling performance should be effective.
On the other hand, if either the high-side or low-side pressure readings are significantly higher or lower than the recommended range, it suggests a potential issue with your AC system. Here’s a breakdown of what abnormal pressure readings could indicate:
- High-side pressure too high: This could be an indication of a blockage in the system, a failing compressor, or overcharging of refrigerant.
- High-side pressure too low: This could suggest a low refrigerant level, a leak in the system, or a faulty compressor.
- Low-side pressure too high: This may indicate a problem with the expansion valve or an overcharged system.
- Low-side pressure too low: This could be a sign of a refrigerant leak, a failing compressor, or an issue with the expansion valve.
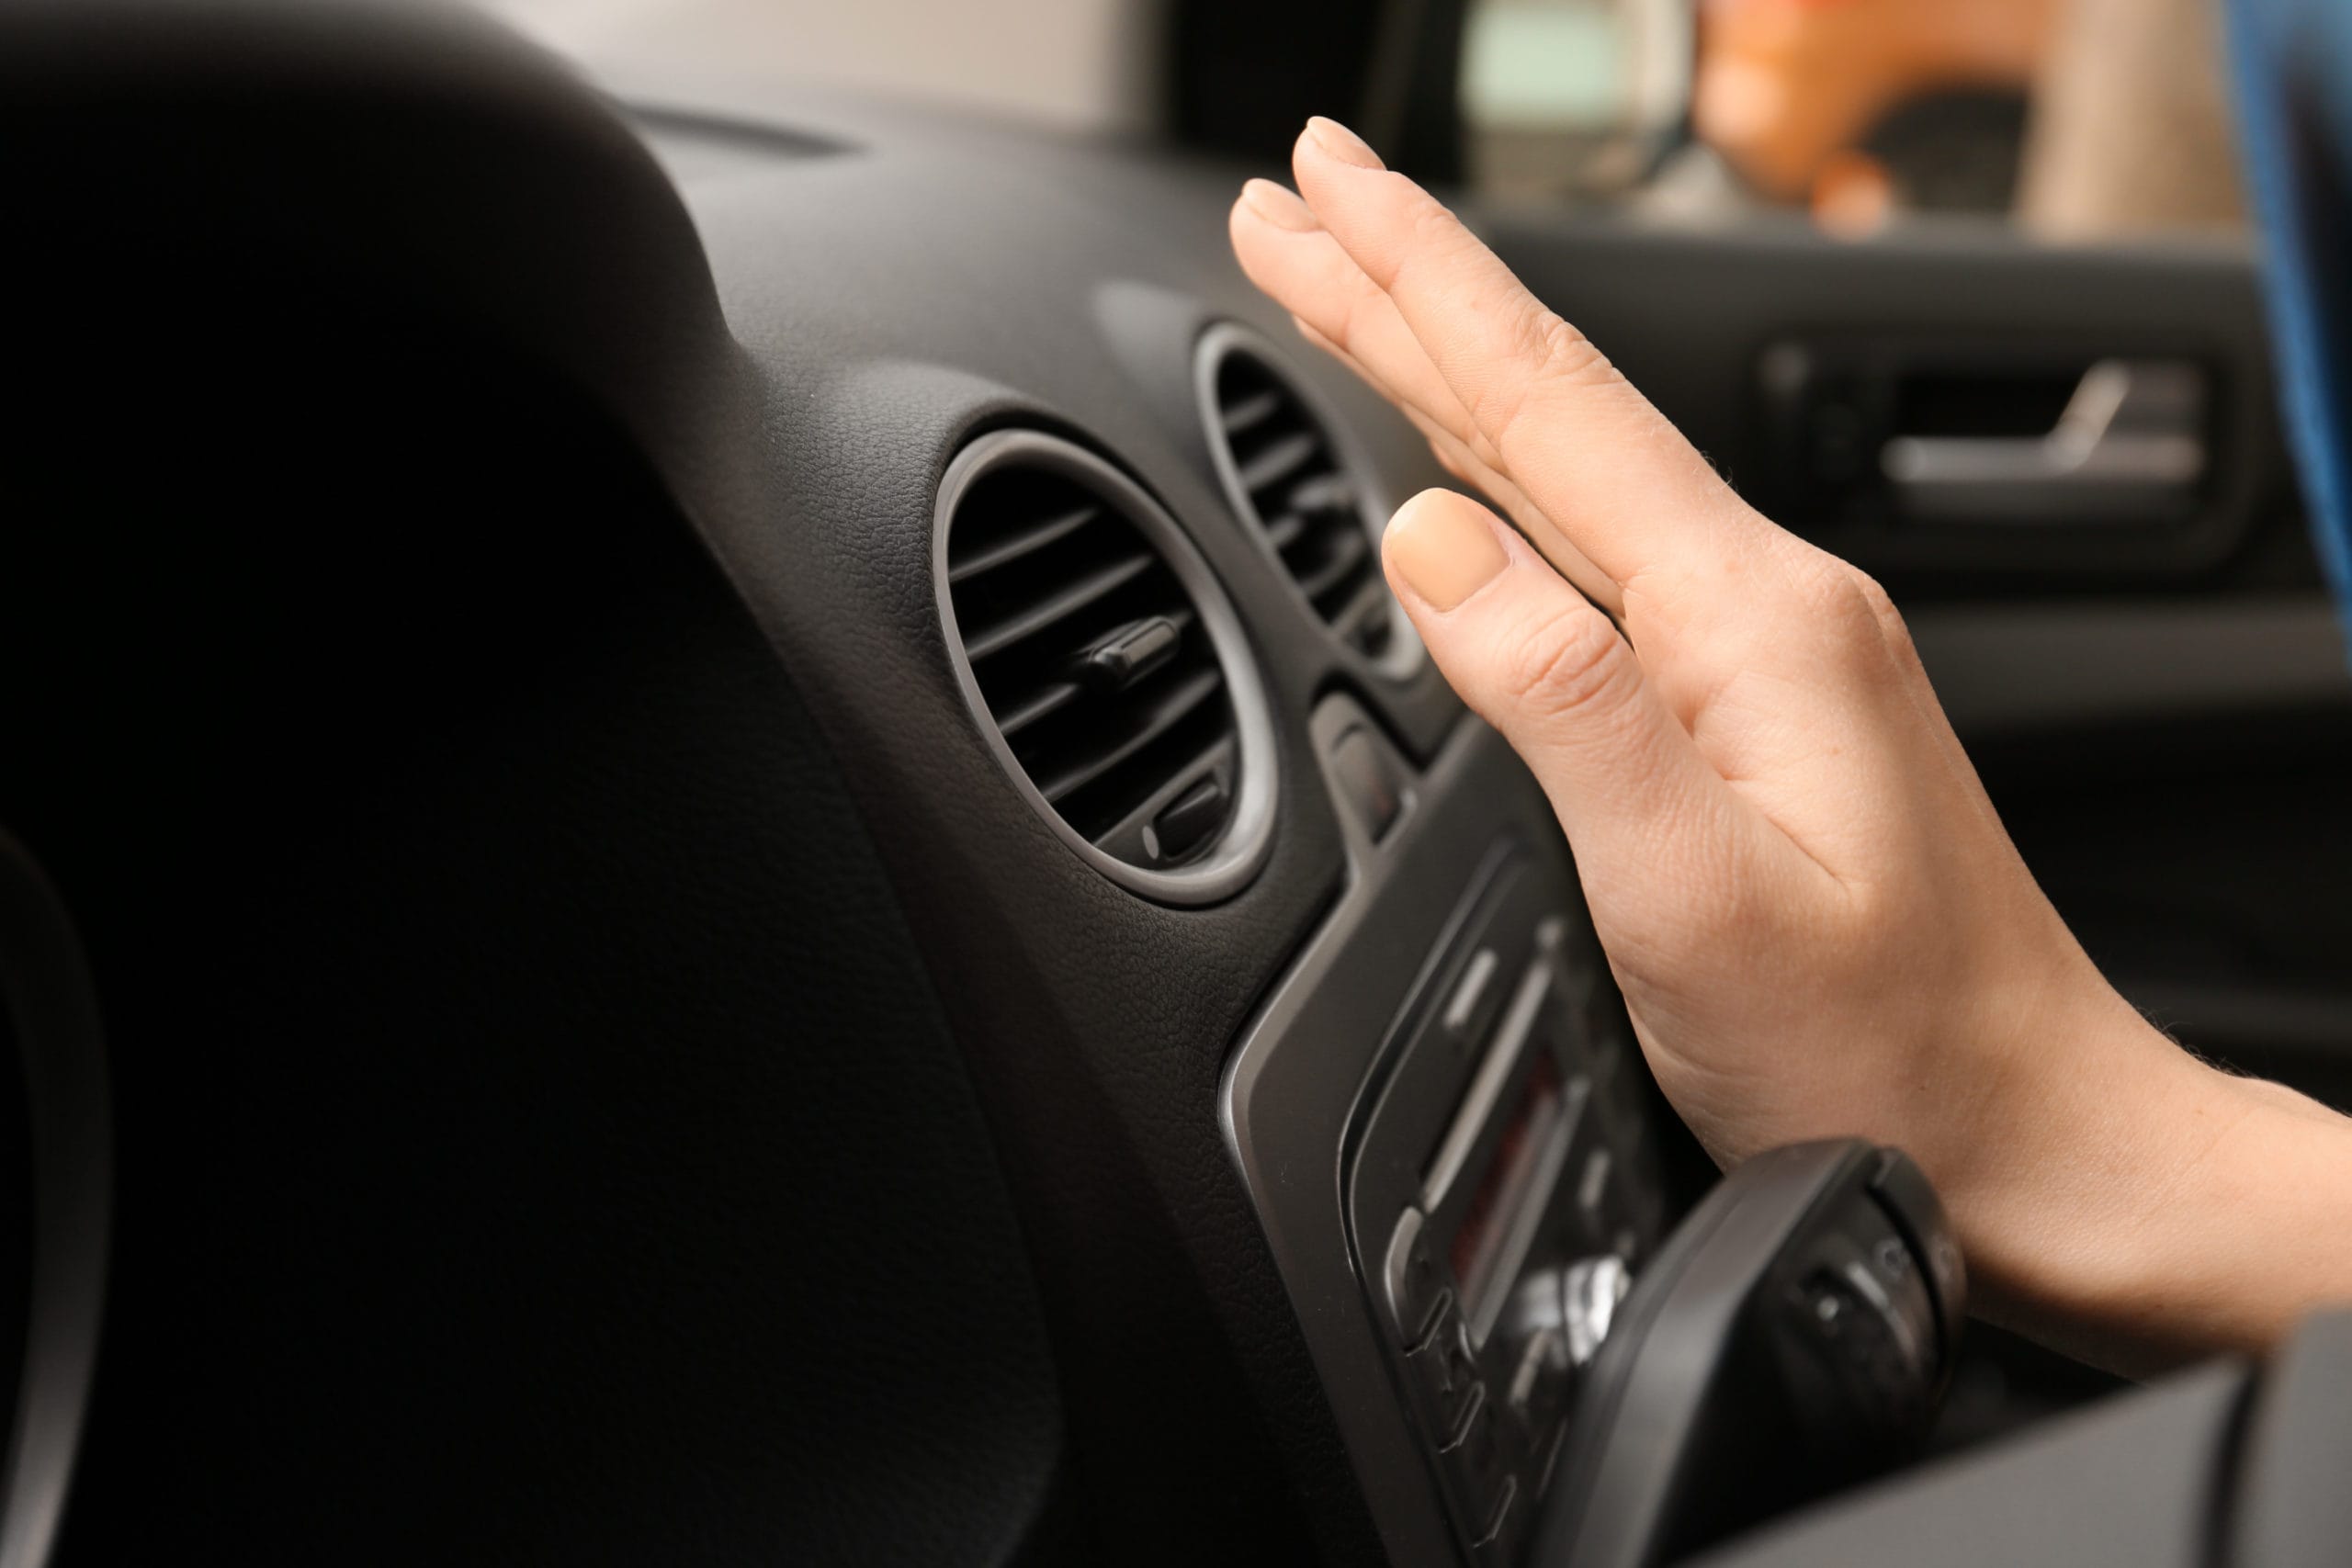
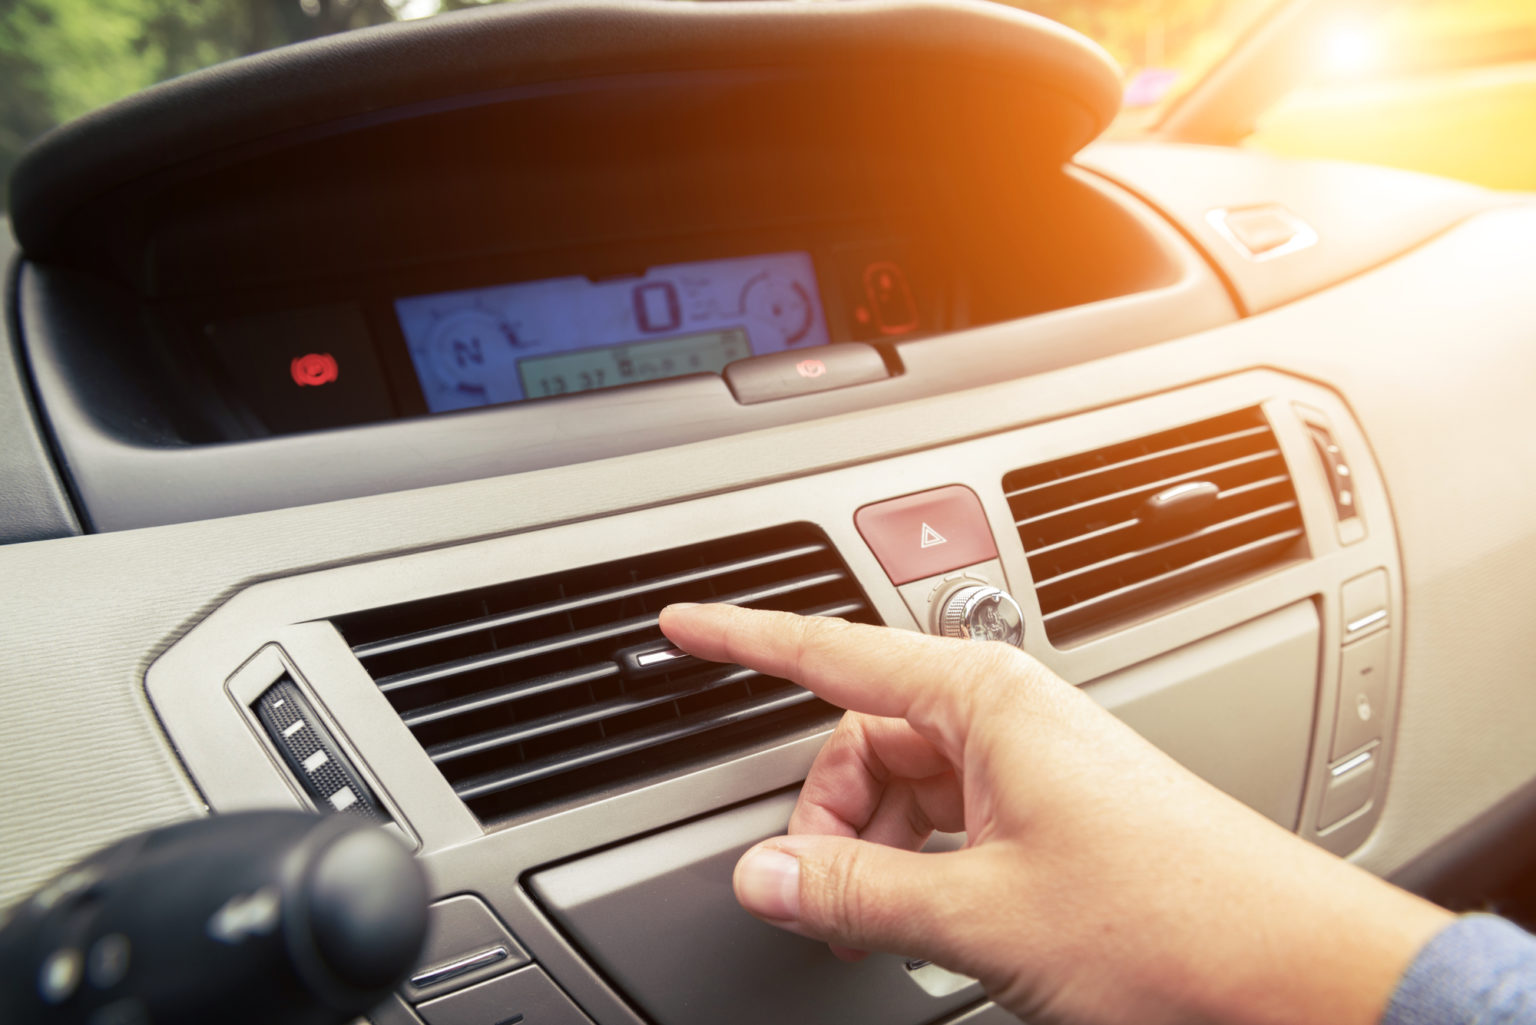
Interpreting the results requires careful consideration of all factors, including the pressure differentials and any abnormal temperature readings from the AC vents. It is recommended to consult with an experienced mechanic or AC specialist who can accurately diagnose the issue and recommend the appropriate repairs.
Remember, DIY troubleshooting and interpretation of AC pressure readings may not always lead to an accurate diagnosis. Professional expertise is crucial in resolving more complex AC system problems.
Now that you have interpreted the results, you can make an informed decision about whether your AC system requires recharging or repair.
Step 7: Recharge or repair the AC system if necessary
After interpreting the results of the AC pressure readings and determining that your car’s AC system requires attention, it’s time to decide whether to recharge or repair the system. This step will depend on the specific issue identified during the pressure check and interpretation.
If the pressure readings indicate a low refrigerant level or a refrigerant leak, it may be necessary to recharge the AC system. Recharging involves adding the appropriate amount of refrigerant to bring the system back to its optimal operating pressure.
Recharging can be done using a DIY AC recharge kit or by seeking the assistance of a professional mechanic. However, it’s important to note that simply recharging the system may not address the underlying problem causing the refrigerant loss. If a refrigerant leak is present, it’s advisable to have it repaired to prevent future AC performance issues and environmental harm.
If the pressure readings indicate other issues such as a failing compressor, blockage, or malfunctioning components, repairs may be necessary. Repairing the AC system should be done by a qualified mechanic or AC specialist who can diagnose the specific problem and perform the required repairs.
When deciding whether to recharge or repair the AC system, consider factors such as the age of the car, the cost of repairs, and the overall condition of the AC system. It’s always a good idea to consult with a professional who can provide expert advice tailored to your specific situation.
Remember, maintaining your car’s AC system is crucial for your comfort and safety, especially during hot summer months. Regular maintenance and addressing any AC system issues promptly can help prolong the lifespan of your system and ensure optimal cooling performance.
With Step 7 completed, you have successfully gone through the process of checking the AC pressure in your car and determining the necessary steps to take. By keeping your AC system in good condition, you can enjoy a cool and comfortable driving experience even in the hottest weather.
Now, buckle up and hit the road with your properly functioning AC system!
Conclusion
Checking the AC pressure in your car is an important step in maintaining the performance and efficiency of your AC system. By following the steps outlined in this guide, you can identify any potential issues and take appropriate action to keep your car cool and comfortable.
Throughout the process, it’s crucial to gather the necessary tools, locate the AC service ports, and check both the high-side and low-side pressure readings. Comparing the readings to manufacturer specifications and interpreting the results can help you understand the health of your AC system.
If the pressure readings are within the recommended range, it indicates that your AC system is operating properly. However, significantly higher or lower readings may indicate the need for recharging or repairs, depending on the specific issue identified.
Whether it’s recharging the system or seeking professional repairs, addressing AC system problems promptly can help avoid further damage and ensure a comfortable driving experience, especially during the hot summer months.
Remember to consult with a professional mechanic or AC specialist if you’re unsure about any step or if you notice any abnormalities in the pressure readings. They can provide expert advice and accurately diagnose any issues to ensure proper repairs or maintenance.
Keeping your AC system in good condition not only contributes to your comfort but also enhances your safety and driving experience. Regularly checking the AC pressure and addressing any concerns will help prolong the lifespan of your AC system and ensure reliable cooling performance year-round.
With the knowledge gained from this guide, you are now equipped to confidently check the AC pressure in your car. So, get ready to enjoy a cool and pleasant ride no matter the weather!
Frequently Asked Questions about How To Check AC Pressure In Car
Was this page helpful?
At Storables.com, we guarantee accurate and reliable information. Our content, validated by Expert Board Contributors, is crafted following stringent Editorial Policies. We're committed to providing you with well-researched, expert-backed insights for all your informational needs.


0 thoughts on “How To Check AC Pressure In Car”