Articles
How to Charge an AC Unit
Modified: October 20, 2024
Learn how to efficiently charge your AC unit with our informative articles. Get expert tips and advice to keep your AC running smoothly.
(Many of the links in this article redirect to a specific reviewed product. Your purchase of these products through affiliate links helps to generate commission for Storables.com, at no extra cost. Learn more)
Introduction
Having a properly functioning air conditioning (AC) unit can make a significant difference in keeping your home or office cool and comfortable, especially during hot summer months. Over time, however, your AC unit may require a refrigerant recharge to ensure optimal performance.
In this article, we will guide you through the process of charging an AC unit, helping you restore its cooling capacity and efficiency. While it is always recommended to consult a professional HVAC technician for complex repairs and maintenance, recharging your AC unit can be done with a little knowledge and the right tools.
Before we get started, it is important to note that the specific steps and equipment needed for charging an AC unit may vary depending on the system type and refrigerant used. Make sure to consult the manufacturer’s guidelines or seek professional advice specific to your AC unit.
Now, let’s dive into the steps and precautions you need to take to successfully charge your AC unit.
Key Takeaways:
- Properly charging your AC unit involves preparing the unit, locating the service valve, gathering necessary equipment, and monitoring pressure. Following these steps ensures optimal cooling performance and system integrity.
- Safety is paramount when charging an AC unit. Wear protective gear, follow manufacturer’s guidelines, and check for leaks to maintain long-term efficiency. When in doubt, seek professional HVAC assistance.
Read also: 8 Best AC Charge Kit for 2025
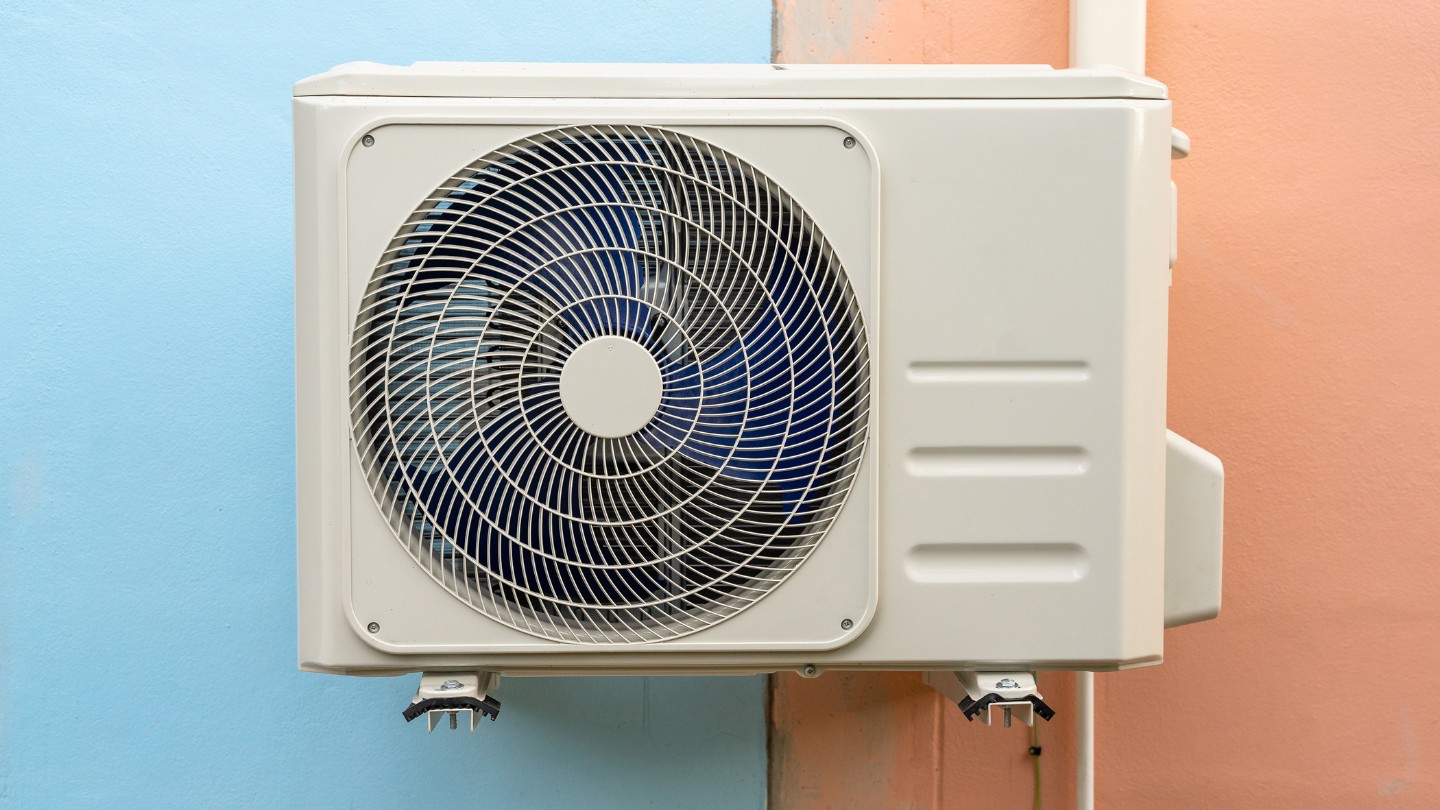
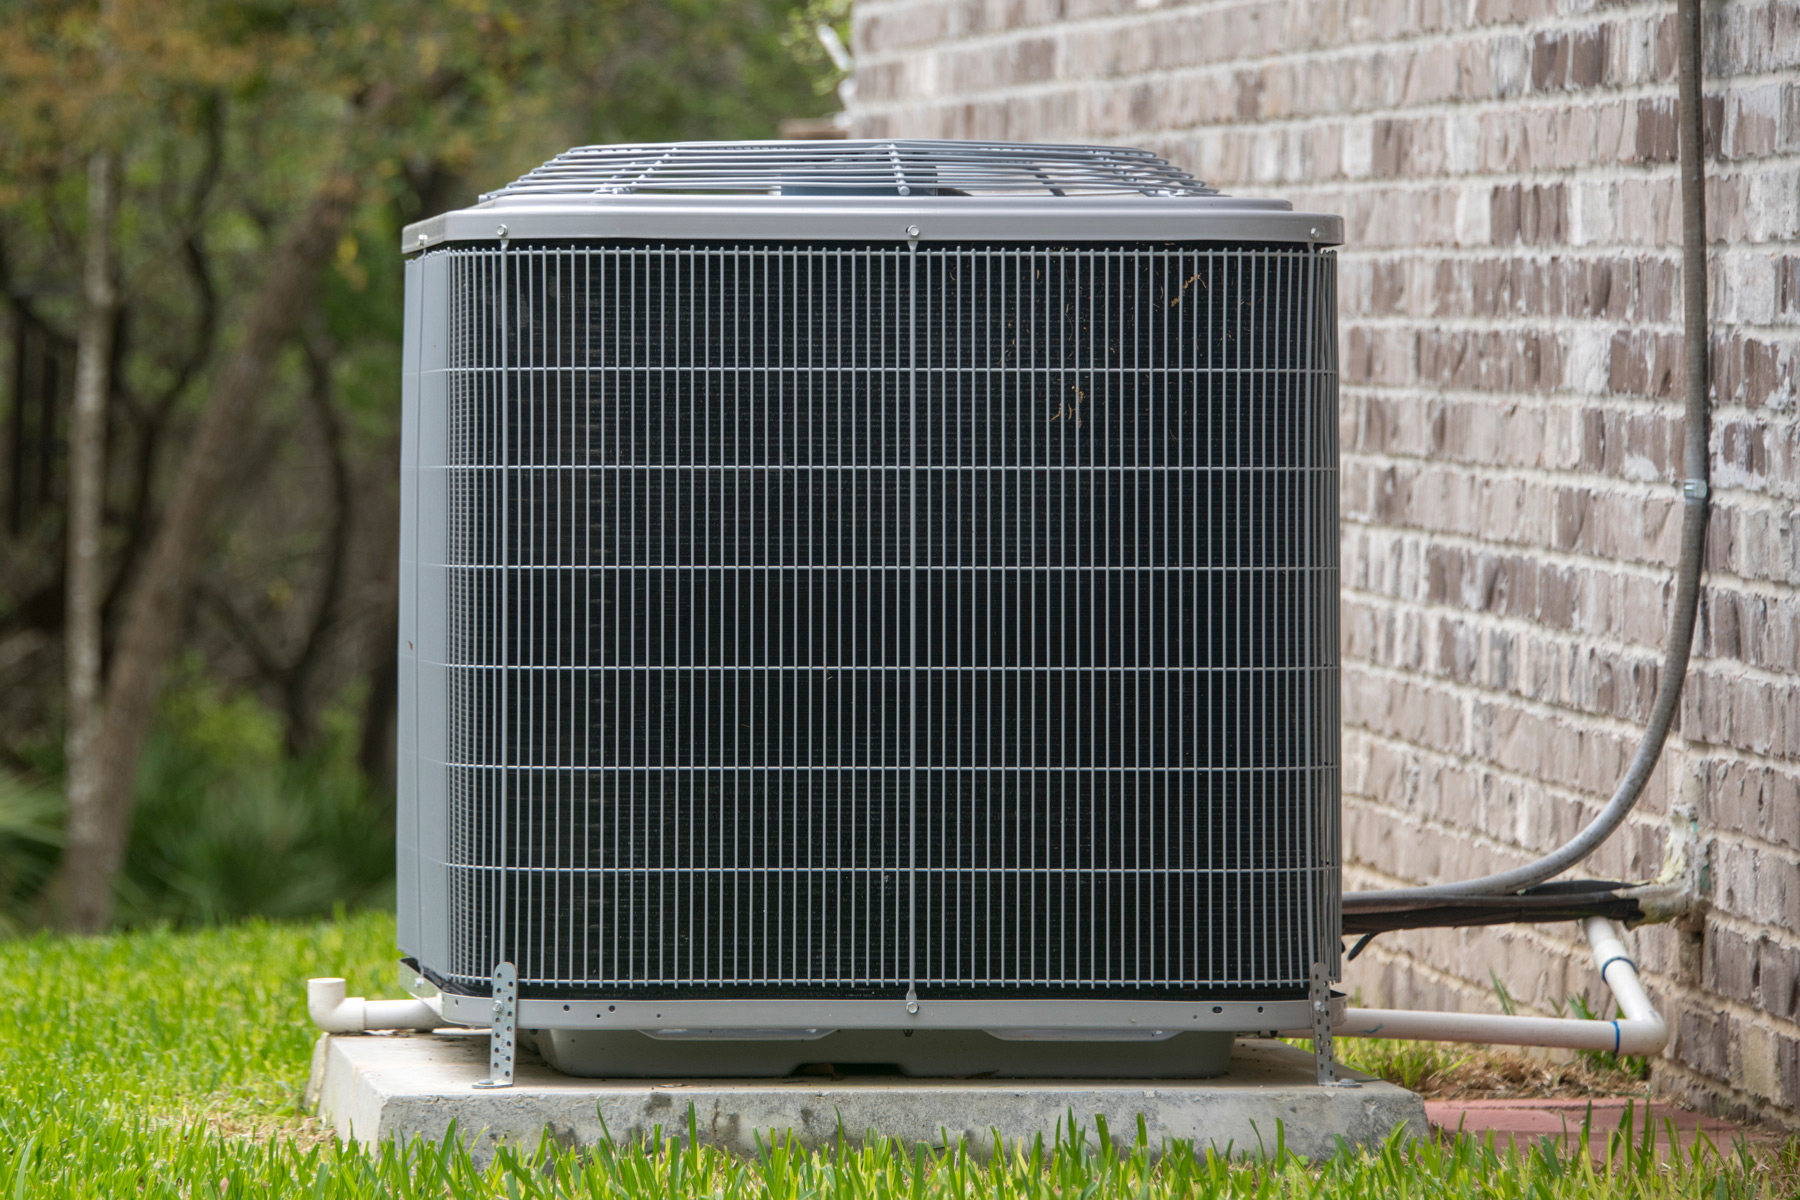
Step 1: Prepare the AC Unit
Before beginning the process of charging your AC unit, it is crucial to ensure that the unit is prepared properly. This step involves a few simple but important tasks:
- Turn off the AC unit: Start by turning off the power supply to the AC unit. This can typically be done by switching off the circuit breaker or turning off the power switch located near the unit.
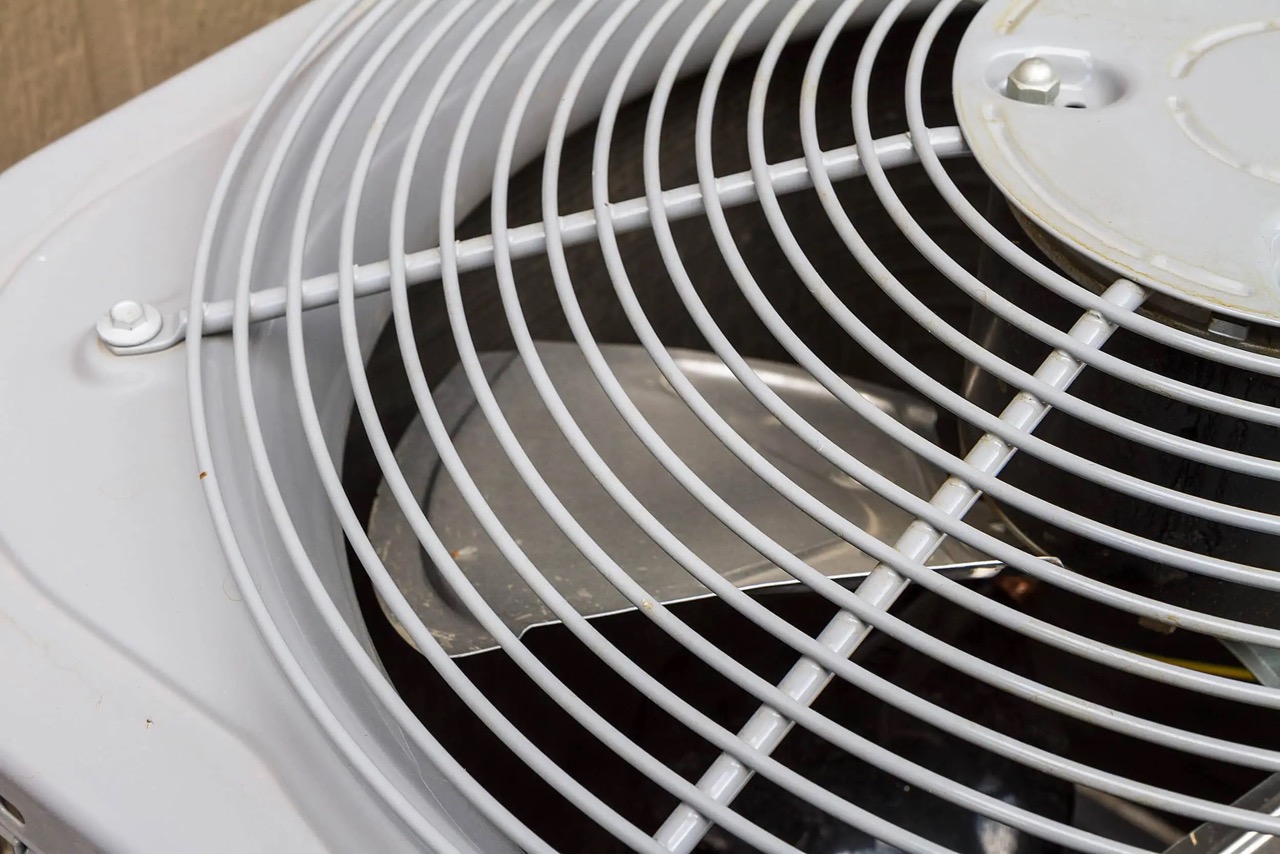
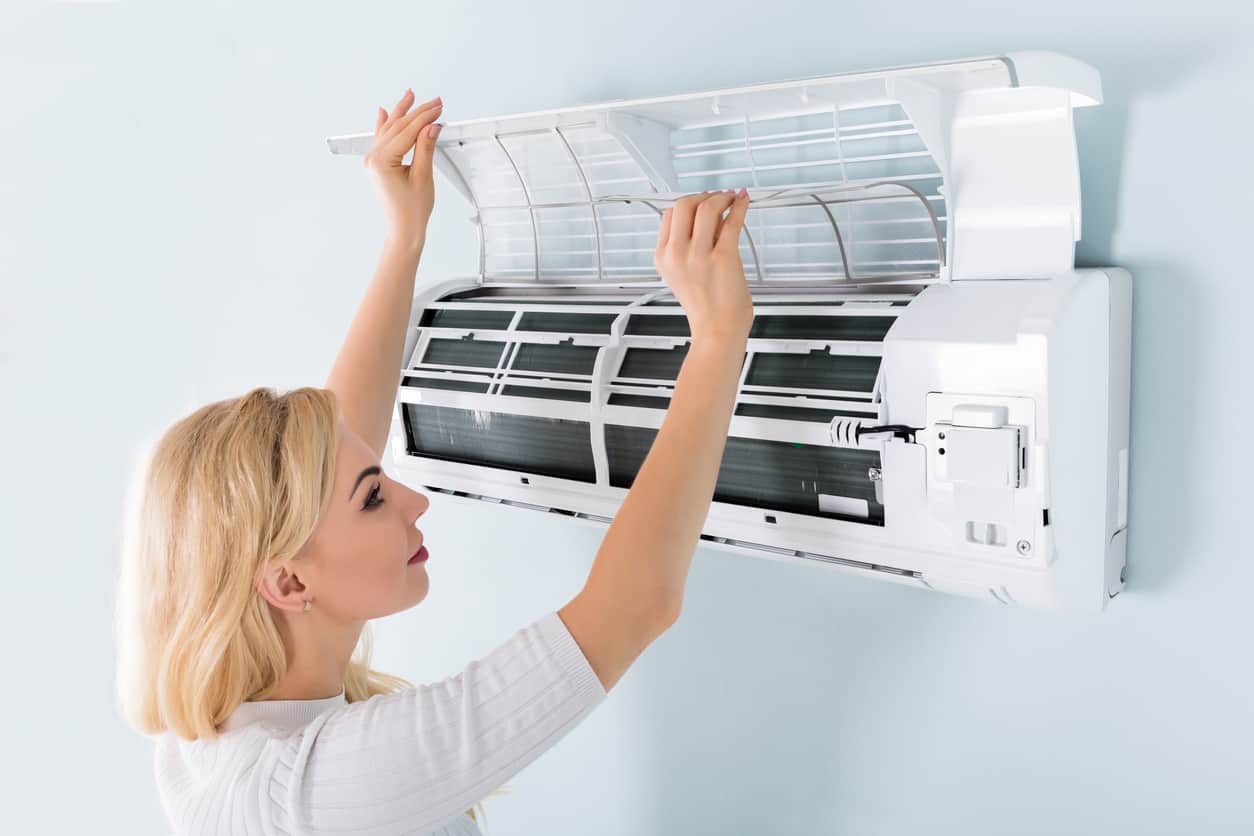
- Clean the unit: Take a moment to clean the exterior of the AC unit. Remove any debris, such as leaves or dirt, that may have accumulated on or around the unit. This will ensure optimal airflow and prevent any foreign materials from entering the system.
- Inspect for damage: Carefully inspect the AC unit for any visible signs of damage, such as leaks or worn-out parts. If you notice any significant damage, it is recommended to contact a professional HVAC technician for repair before proceeding with the charging process.
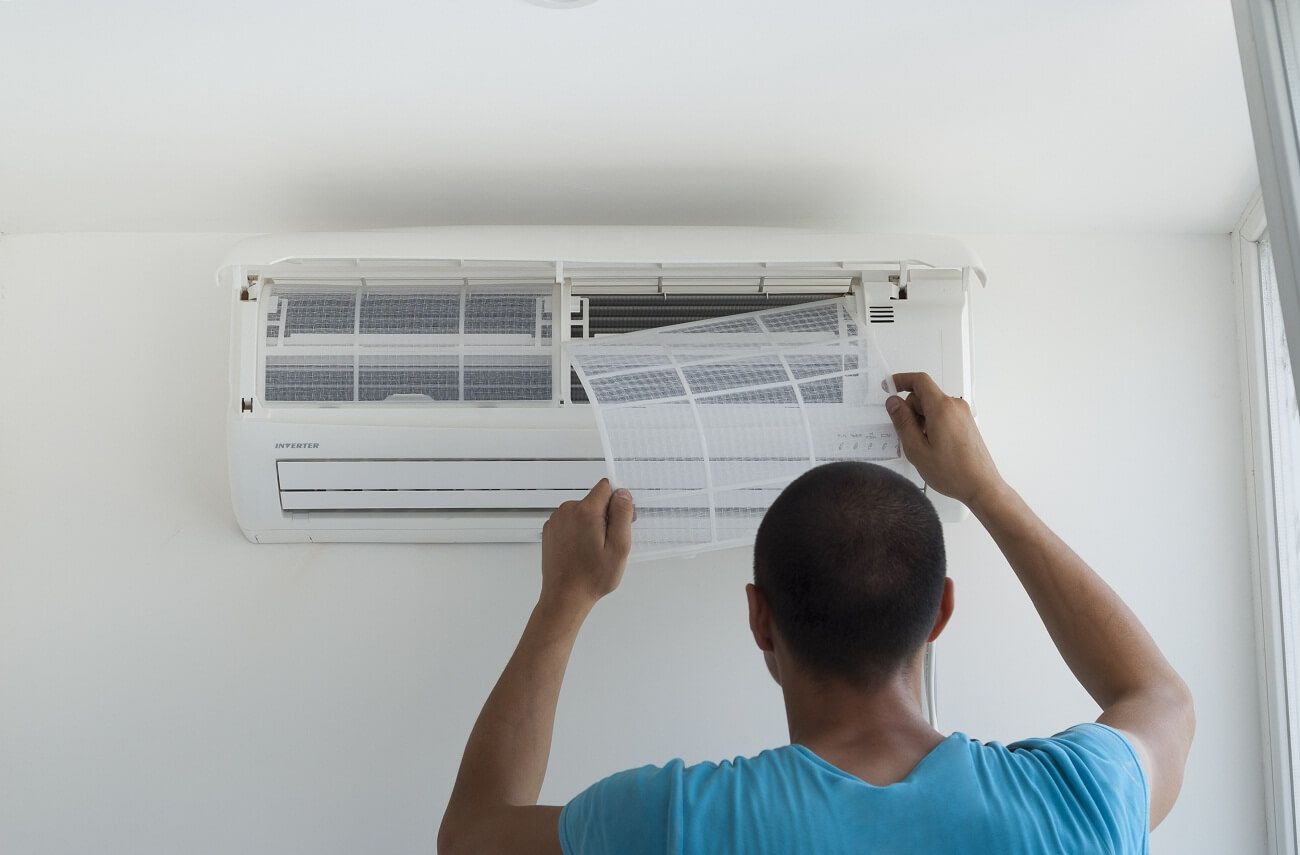
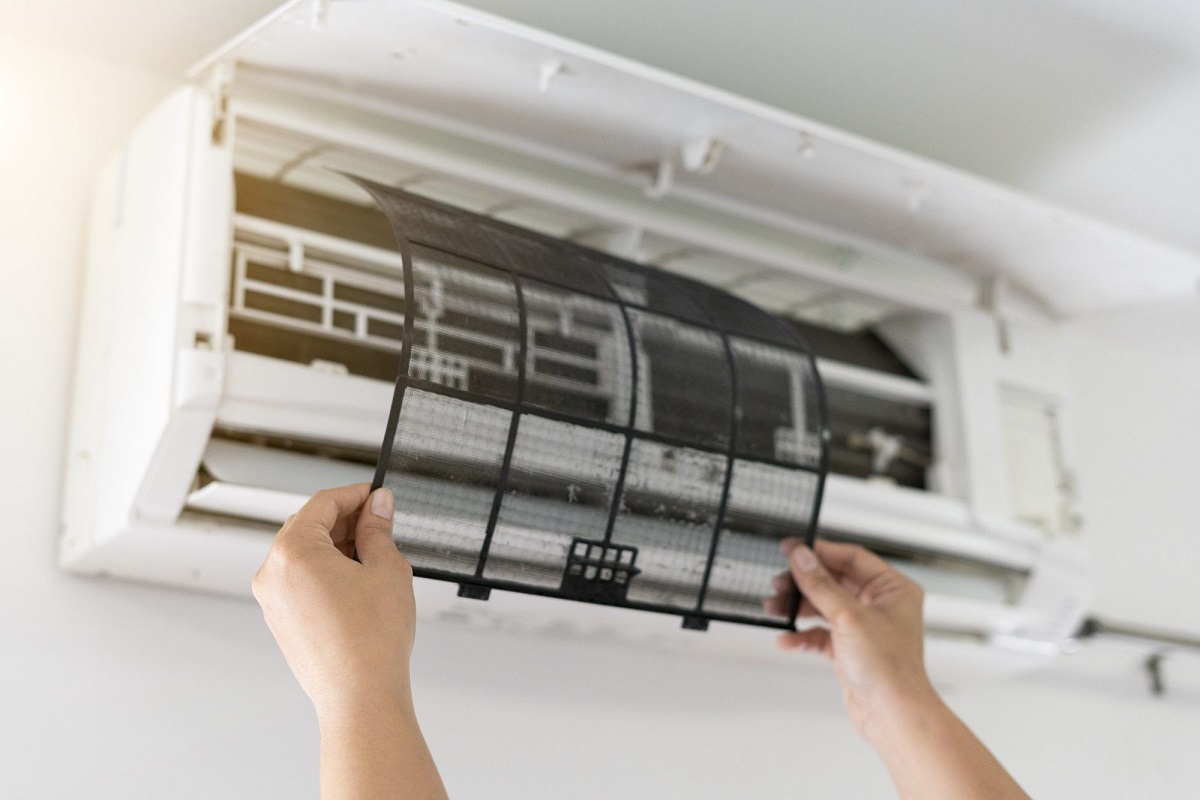
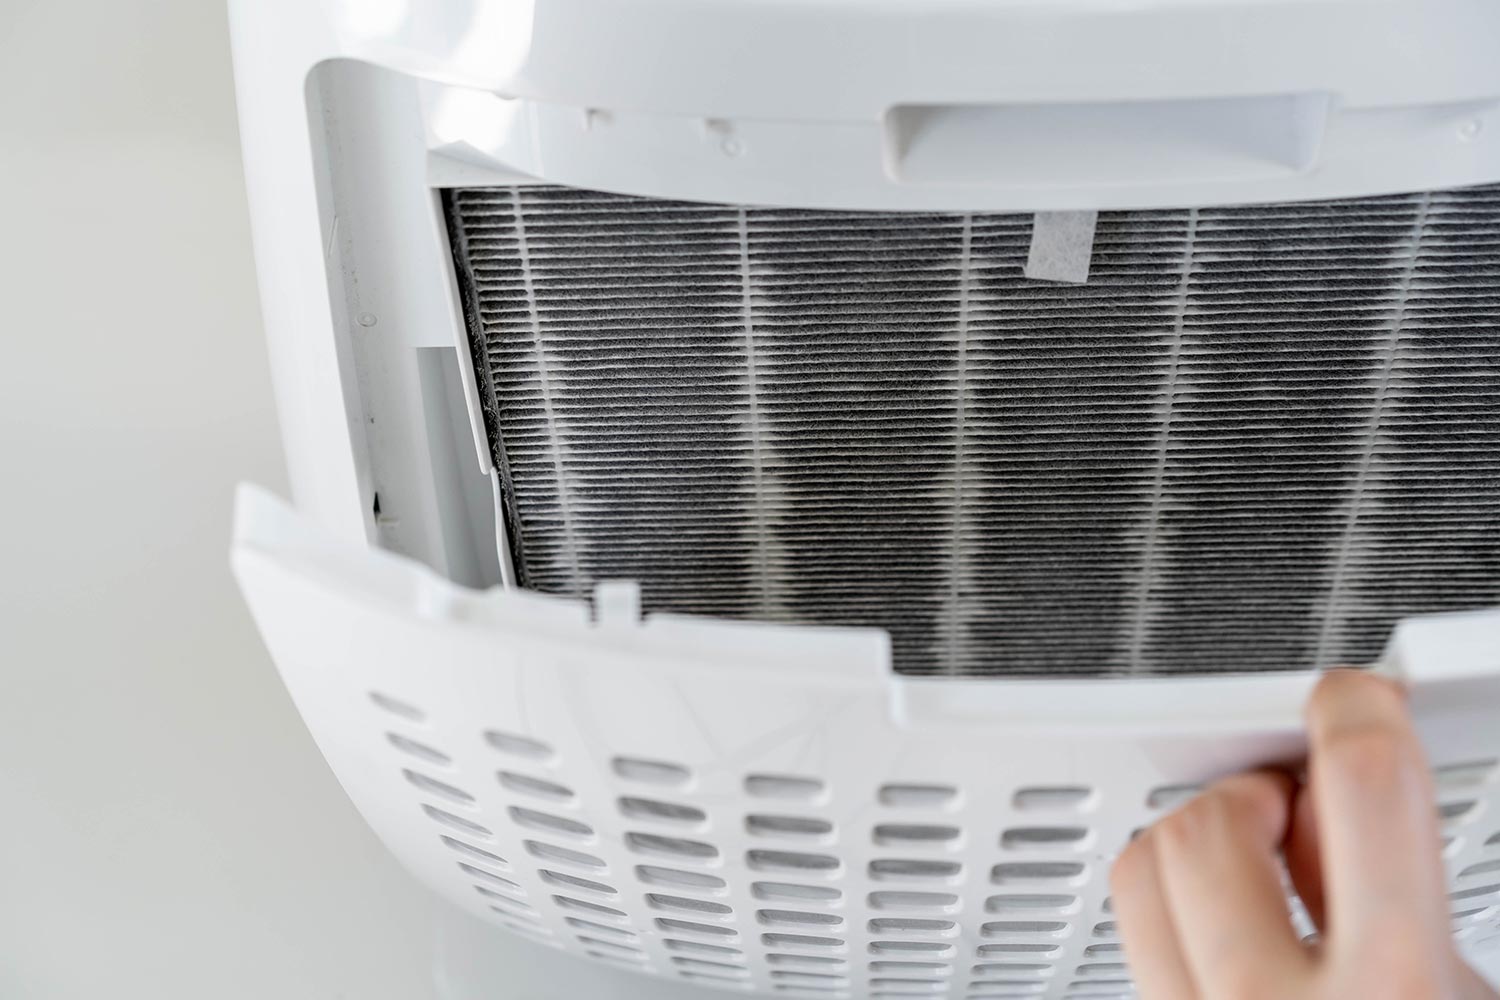
- Check the air filter: The air filter is an essential component of the AC unit, as it helps keep the air clean and free from dust and allergens. Make sure to check the air filter and replace it if it is dirty or clogged. A clean air filter will improve the efficiency of your AC unit and prevent any potential issues.
By preparing your AC unit before the charging process, you are ensuring that it is in good condition and ready to receive the necessary refrigerant. Now that you have prepared the AC unit, let’s move on to the next step: locating the service valve.
Step 2: Locate the Service Valve
The service valve is an essential component of the AC unit that allows for the proper charging or recharging of the refrigerant. Locating the service valve is crucial before you can proceed with the charging process. Here’s how you can find it:
- Consult the AC unit’s manual: The first step in locating the service valve is to consult the instruction manual provided by the manufacturer. The manual will typically include detailed diagrams and instructions specific to your AC unit, making it easier to identify the service valve.
- Inspect the copper tubing: The service valve is usually located on the copper tubing connecting the indoor and outdoor units of the AC system. Look for a valve stem or cap on the tubing, which indicates the presence of the service valve.
- Follow the refrigerant lines: If you’re unable to locate the service valve on the copper tubing, trace the refrigerant lines from the compressor to the evaporator coil. The service valve is often positioned near the compressor or on the larger refrigerant line.
It’s important to note that the exact location of the service valve may vary depending on the AC unit’s make and model. Therefore, consulting the manual or seeking professional assistance if you’re uncertain is highly recommended. Once you have successfully located the service valve, you are ready to proceed to the next step: gathering the necessary equipment.
Step 3: Gather the Necessary Equipment
Before you can begin charging your AC unit, it is crucial to gather all the necessary equipment. Having the right tools and materials will ensure a smooth and successful charging process. Here are the essential items you will need:
- Refrigerant: Purchase the appropriate refrigerant for your AC unit. The type and amount of refrigerant needed will vary depending on the system specifications and manufacturer’s recommendations. Make sure to check the AC unit’s manual or consult a professional to determine the correct refrigerant type and quantity.
- Charging Hose: A charging hose is used to connect the refrigerant canister to the service valve for transferring the refrigerant. Ensure that the hose is compatible with the AC unit and refrigerant being used. The length of the hose should be long enough to reach the service valve comfortably.
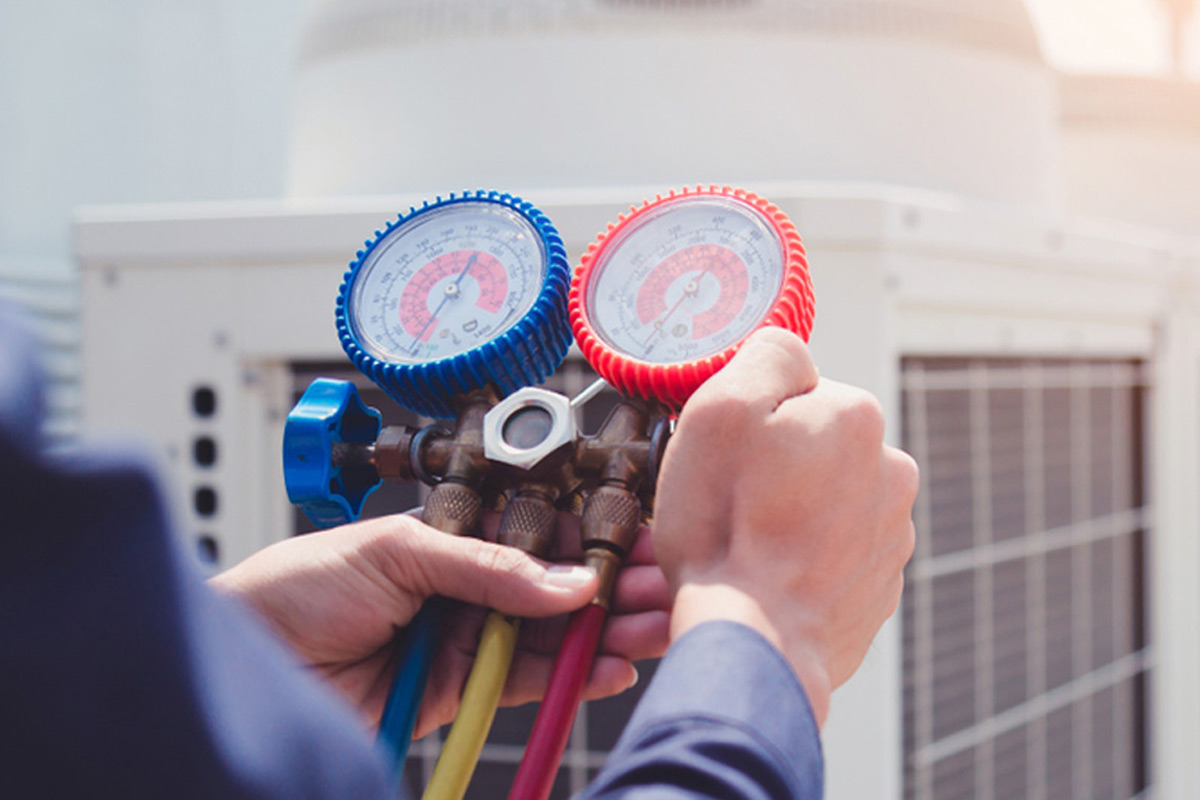
- Manifold Gauge Set: A manifold gauge set is a crucial tool for measuring the pressure and temperature of the refrigerant in the AC unit. It consists of gauges and valves that provide accurate readings during the charging process. Make sure to choose a manifold gauge set suitable for your AC unit and refrigerant type.
- Protective Gear: Charging an AC unit involves handling potentially harmful substances. Wear protective gloves, safety goggles, and a mask to safeguard yourself from any potential risks.
- Leak Detection Tools: It is wise to have a leak detection tool, such as an electronic leak detector or UV dye kit, to check for any leaks in the AC system before and after the charging process. This will help ensure the integrity of the system and prevent refrigerant loss.
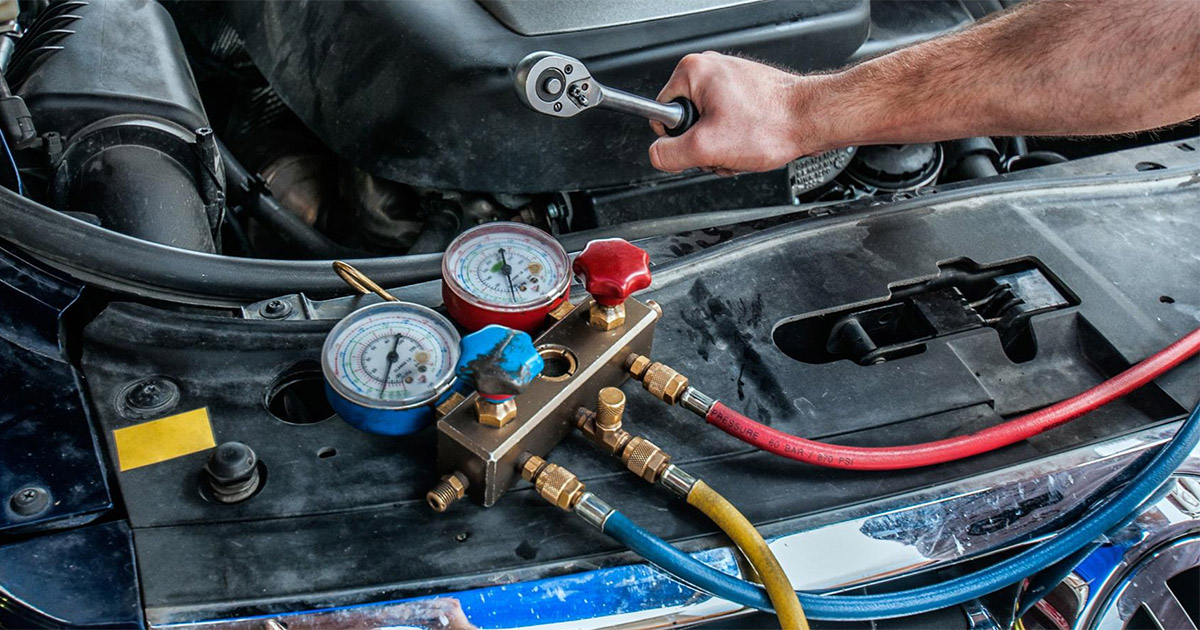
- Wrenches and Screwdrivers: Keep a set of wrenches and screwdrivers handy to assist in removing or tightening any connections or valves during the charging process.
By gathering all the necessary equipment beforehand, you will be well-prepared for the AC unit’s charging process. This will minimize interruptions and help maintain a safe working environment. With the equipment in place, it’s time to move on to the next step: attaching the charging hose.
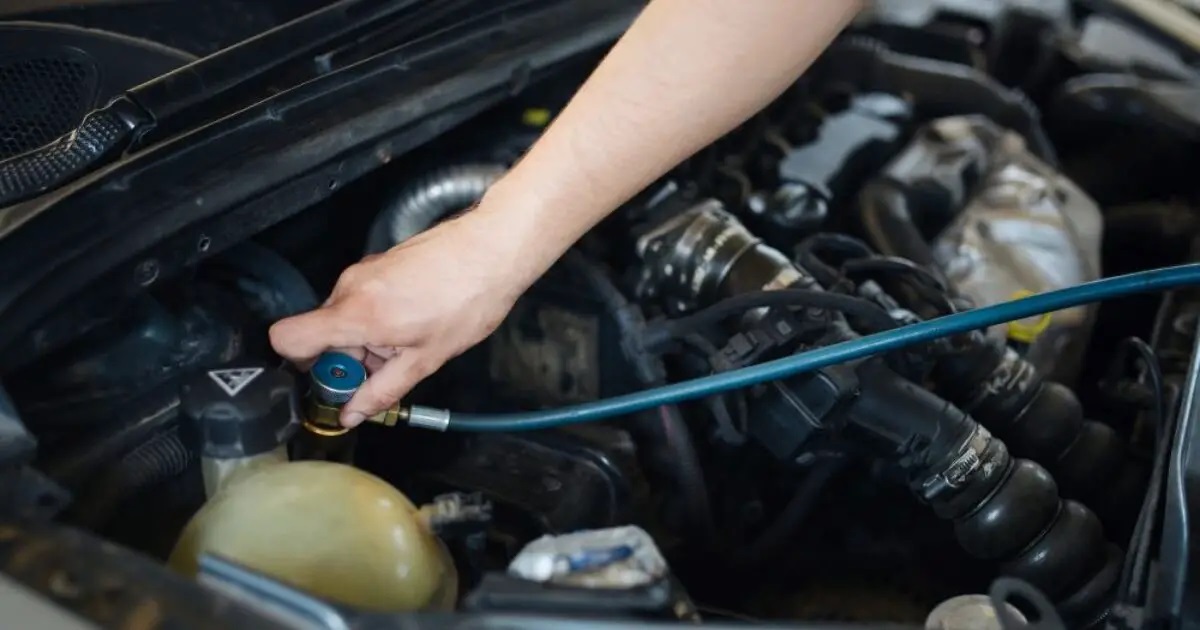
Step 4: Attach the Charging Hose
Attaching the charging hose is a crucial step in the AC unit charging process. This hose connects the refrigerant canister to the service valve, allowing for the transfer of refrigerant. Follow these steps to properly attach the charging hose:
- Ensure that the service valve is in the closed position. This will prevent any refrigerant from escaping during the attachment process.
- Take the charging hose and inspect it for any damage or wear. Ensure that the hose is free from kinks or tears that could obstruct the refrigerant flow.
- Identify the end of the charging hose that connects to the service valve. It should have a fitting that matches the valve’s size and type.
- Carefully insert the fitting into the service valve, ensuring a secure connection. Depending on the type of valve, you may need to rotate or twist the fitting to lock it into place.
- Tighten the connection using a wrench or your hand, depending on the valve’s specifications. Ensure that it is secure, but avoid overtightening, as it can damage the valve or hose.
- Inspect the connection to ensure that it is properly seated and there are no leaks. If you notice any signs of leakage, including hissing sounds or refrigerant odors, stop immediately and address the issue before continuing.
Once the charging hose is securely attached to the service valve, you are ready to proceed with the next step: opening the service valve to initiate the charging process. It’s important to ensure that the connection is tight and leak-free to maintain the integrity of the AC system during the charging process.
Read also: 5 Amazing AC Charge Hose for 2025
Step 5: Open the Service Valve
Opening the service valve is a crucial step in the AC unit charging process, as it allows the refrigerant to flow into the system. Follow these steps to properly open the service valve:
- Ensure that all the connections are secure and there are no leaks in the charging hose or service valve.
- Put on your protective gear, including gloves and safety goggles, to safeguard yourself from any potential risks.
- Locate the valve handle or stem on the service valve. It is typically in a closed or perpendicular position.
- Using a wrench or your hand, turn the valve handle counterclockwise to open the service valve. This will allow the flow of refrigerant into the AC system.
- Monitor the pressure gauges on the manifold gauge set to ensure that the pressure is steadily rising.
- As the refrigerant flows into the system, you may hear a hissing sound or see bubbles in the sight glass. These are normal indications that the refrigerant is being charged into the system.
- Continue to open the valve until the desired amount of refrigerant, as specified by the manufacturer or professional guidelines, has been reached.
- Be cautious not to overcharge the AC unit, as it can lead to performance issues or damage to the system. It is always advised to follow the recommended quantity specified by professionals.
By following these steps, you can safely open the service valve and allow the refrigerant to flow into your AC system. Keep a close eye on the pressure gauges to ensure a controlled and accurate charging process. Once the desired refrigerant quantity has been reached, it’s time to move on to the next step: charging the AC unit.
Make sure to clean the air filters regularly to ensure proper airflow and efficiency. Clogged filters can cause the AC unit to work harder and use more energy.
Step 6: Charge the AC Unit
Charging the AC unit is the process of adding the correct amount of refrigerant to ensure optimal cooling performance. Here are the steps to charge your AC unit properly:
- Refer to the manufacturer’s guidelines or consult a professional to determine the recommended refrigerant quantity for your AC unit. This information is crucial for achieving the desired cooling capacity.
- Slowly introduce the refrigerant into the system by turning the canister upside down. This will allow the refrigerant to flow into the AC unit at a controlled pace.
- Monitor the pressure gauges on the manifold gauge set as you charge the unit. The pressure should increase steadily as the refrigerant enters the system.
- Pay attention to the sight glass or indicator on the AC unit, if available. It can provide visual cues on the state of the refrigerant charge. The sight glass should ideally display clear liquid as the refrigerant flows into the system.
- Continue adding refrigerant until the recommended amount is reached or until the pressure gauge readings align with the manufacturer’s specifications.
- Avoid overcharging the AC unit, as it can lead to performance issues and damage to the system. It is important to follow professional guidelines or manufacturer’s recommendations.
- During the charging process, you may need to periodically adjust the valve on the charging hose to control the flow of refrigerant. This will help maintain a steady and controlled charging process.
- Exercise caution and ensure that you are following all safety protocols while handling the refrigerant and operating the equipment.
By following these steps, you can effectively charge your AC unit with the right amount of refrigerant. Remember, precision and adherence to guidelines are crucial for the optimal performance and longevity of your AC system. Once you have successfully charged the unit, it’s time to move on to the next step: monitoring the pressure.
Step 7: Monitor the Pressure
Monitoring the pressure while charging your AC unit is essential to ensure that the system is receiving the appropriate amount of refrigerant. Here’s how you can effectively monitor the pressure:
- Refer to the manufacturer’s guidelines or consult a professional to determine the recommended pressure range for your AC unit. This information will help you assess whether the system is within the optimal operating parameters.
- Closely observe the pressure gauges on the manifold gauge set as the refrigerant is being charged into the system. The high-pressure gauge (HPG) indicates the pressure of the refrigerant in the high-pressure side of the system, while the low-pressure gauge (LPG) indicates the pressure in the low-pressure side.
- Ensure that the pressure readings align with the manufacturer’s specifications. If the pressure is too low, it may indicate a refrigerant leak or insufficient charge. If the pressure is too high, it may indicate overcharging or a restriction in the system.
- Observe any fluctuations in pressure during the charging process. Small fluctuations are normal, but significant and rapid changes in pressure may indicate issues that require further attention.
- Aim to achieve a stable pressure within the recommended range. This ensures that the AC unit is receiving the proper amount of refrigerant and can function optimally.
- Adjust the charging process or seek professional assistance if the pressure readings are consistently outside the recommended range. It’s important to address any abnormalities to prevent potential damage to the AC system.
- Continue monitoring the pressure as you complete the charging process. This will help ensure that the system is operating within the desired parameters and that the refrigerant charge is sufficient for optimal cooling performance.
By carefully monitoring the pressure during the charging process, you can ensure that your AC unit receives the appropriate amount of refrigerant. This will help maintain the system’s efficiency and prevent potential issues. Once you have successfully monitored the pressure, it’s time to proceed to the next step: closing the service valve.
Step 8: Close the Service Valve
After successfully charging your AC unit and achieving the desired pressure, it is important to close the service valve to ensure the integrity of the system. Follow these steps to properly close the service valve:
- Ensure that the pressure gauges are stable and within the recommended range for your AC unit.
- Verify that there are no leaks or abnormalities in the system. Check for any signs of refrigerant leakage, such as hissing sounds, odors, or bubbles in the sight glass.
- Using a wrench or your hand, turn the valve handle clockwise to close the service valve. This will prevent any further flow of refrigerant into the system.
- Inspect the valve connection to ensure that it is tight and secure. A loose connection may result in refrigerant leaks or loss of pressure.
- Check the pressure gauges one final time to confirm that they remain stable after closing the service valve.
- Ensure that the refrigerant canister is properly sealed and stored in a safe location, following the guidelines provided by the manufacturer.
- Take a moment to clean up any debris or tools that were used during the charging process.
- Now that the service valve is closed and the charging process is complete, you can safely turn on the power supply to the AC unit.
By closing the service valve, you are securing the refrigerant charge and ensuring that the AC unit is ready for operation. This step is vital for maintaining the integrity of the system and preventing any refrigerant leaks or pressure issues. With the service valve closed, you can move on to the next step: disconnecting the charging hose.
Read also: 6 Best AC Charging Hose for 2025
Step 9: Disconnect the Charging Hose
Disconnecting the charging hose from the AC unit is the final step in the charging process. Follow these steps to safely disconnect the charging hose:
- Turn off the power supply to the AC unit to ensure safety during the disconnection process.
- Ensure that the service valve is closed and there is no pressure in the system. This step is crucial to prevent any refrigerant leaks or accidental releases.
- Using a wrench or your hand, loosen the connection between the charging hose and the service valve by turning it counterclockwise. Take care not to damage the valve or the hose during the disconnection.
- Gently pull the charging hose away from the service valve once the connection is fully loosened. Be cautious while removing the hose to avoid spills or leaks.
- Inspect and clean the charging hose for any refrigerant residue or debris. Properly store the charging hose in a safe place for future use.
- Inspect the service valve and ensure that it is securely closed. A loose or partially open valve can result in refrigerant leaks or pressure issues.
- Dispose of any empty refrigerant canisters following the proper waste disposal guidelines provided by local regulations.
- Double-check that all tools and equipment used during the charging process are properly stored and secured.
- Once everything is disconnected and safely stored, you can re-establish the power supply to the AC unit and prepare to enjoy its optimal cooling performance.
By following these steps, you can safely disconnect the charging hose from the AC unit. Proper disconnection ensures the integrity of the system and reduces the risk of refrigerant leaks or damage. With the charging hose disconnected, you can proceed to the final step: checking for any potential leaks.
Step 10: Check for Leaks
After completing the charging process and disconnecting the charging hose, it’s important to check for any potential leaks in the AC unit. Identifying and addressing leaks ensures the system’s proper functioning and prevents refrigerant loss. Here’s how to check for leaks:
- Inspect the connections: Carefully examine the connections where the charging hose was attached to the service valve and other components. Look for signs of refrigerant residue or oil around the connections, which may indicate a leak.
- Use a leak detection tool: Utilize an electronic leak detector or UV dye kit to detect leaks in the AC system. Follow the manufacturer’s instructions to properly use the chosen detection method. Pay close attention to areas prone to leaks such as valves, joints, and fittings.
- Observe for any signs of leaks: Keep an eye out for any indications of leaks such as hissing sounds, refrigerant odors, or visible pools of refrigerant near the AC unit. These signs should be addressed promptly to avoid further damage to the system.
- Perform a bubble test: Prepare a soapy water solution and apply it to the connections and other potential leak points. If you see bubbles forming, it indicates a leak. Note the location of the leak for further investigation and repair.
- Check the refrigerant level: Monitor the refrigerant level in the AC unit over a period of time. If you notice a significant decrease in the level, it may indicate a leak. In such cases, it is best to contact a professional HVAC technician for further inspection and repair.
- Take appropriate measures: If you identify any leaks in the AC unit, it is important to address them promptly. Depending on the severity of the leak, you may need to tighten connections, replace faulty components, or seek professional assistance for repairs.
- Regular maintenance: To prevent future leaks, it’s essential to schedule regular maintenance for your AC unit. Professional HVAC technicians can perform inspections, detect leaks, and address any potential issues before they worsen.
By thoroughly checking for leaks, you can ensure the long-term efficiency and reliability of your AC unit. Addressing leaks promptly will help prevent further damage to the system and maintain optimal cooling performance. With these steps completed, you can rest assured that your AC unit is charged and functioning properly.
Remember, if you encounter any issues or are unsure about the charging process, it’s always recommended to seek professional assistance from a licensed HVAC technician for safe and reliable results.
Conclusion
Charging an AC unit is a process that ensures optimal cooling performance and efficiency. While complex repairs and maintenance are best left to professional HVAC technicians, recharging your AC unit can be done with the right knowledge and tools. By following the steps outlined in this guide, you can successfully charge your AC unit and restore its cooling capacity.
Remember, it is crucial to prepare the AC unit, locate the service valve, gather the necessary equipment, attach the charging hose, open the service valve, charge the AC unit while monitoring the pressure, close the service valve, disconnect the charging hose, and check for any potential leaks. These steps will help ensure a safe and effective charging process.
While performing the charging process, always prioritize safety. Wear protective gear, follow proper handling procedures for refrigerants, and consult professional guidelines or manufacturer’s recommendations. Keep in mind that overcharging or undercharging the AC unit can lead to performance issues and system damage, so it’s important to maintain precision throughout the process.
In conclusion, recharging an AC unit requires careful attention to detail and adherence to the correct procedures. Regular maintenance and inspections are key to preventing leaks and ensuring the AC unit’s long-term efficiency. If you encounter any difficulties or are unsure about the charging process, it is always wise to seek professional assistance from a trained HVAC technician.
By properly charging your AC unit, you can enjoy a cool and comfortable environment, even in the hottest of summers. Maintaining a well-functioning AC system contributes to your overall comfort and well-being, making it a worthwhile investment in your home or office. Happy cooling!
Frequently Asked Questions about How To Charge An AC Unit
Was this page helpful?
At Storables.com, we guarantee accurate and reliable information. Our content, validated by Expert Board Contributors, is crafted following stringent Editorial Policies. We're committed to providing you with well-researched, expert-backed insights for all your informational needs.


0 thoughts on “How to Charge an AC Unit”