Articles
How To Store Binders On Bookshelf
Modified: May 6, 2024
Learn the best way to store your articles and binders on a bookshelf with our helpful guide. Keep your space organized and clutter-free with these tips.
(Many of the links in this article redirect to a specific reviewed product. Your purchase of these products through affiliate links helps to generate commission for Storables.com, at no extra cost. Learn more)
Introduction
When it comes to organizing your home or office, finding a suitable storage solution for binders is essential. Binders are versatile tools that help keep documents, files, and important information neatly organized and easily accessible. However, without a proper storage system, binders can quickly become cluttered and disorganized, making it difficult to find what you need when you need it.
In this article, we will explore the best practices for storing binders on a bookshelf. Whether you have a personal library at home or a professional workspace, these tips will help you maximize your storage space and maintain a well-organized collection of binders.
Through a series of simple steps, we will guide you on how to declutter your bookshelf, organize your binders, choose the right bookshelf for your needs, arrange the binders properly, label them for easy identification, and maintain the organization in the long run. By following these guidelines, you will have a functional and visually appealing setup that allows you to locate your binders with ease.
So, let’s get started on this journey to transform your bookshelf into a well-organized and efficient storage space for your binders!
Key Takeaways:
- Efficiently organize and store binders on a bookshelf by clearing the space, categorizing binders, choosing the right bookshelf, and maintaining a labeling system. This creates a visually appealing and functional storage solution for easy access.
- Implement maintenance practices to sustain the organization of binders on a bookshelf, including regular decluttering, consistent labeling, and encouraging others to follow the system. This ensures a clutter-free and efficient workspace or home environment.
Read more: How To Store Binders
Step 1: Clearing the bookshelf
Before you begin organizing your binders on a bookshelf, it is crucial to start with a clean and clutter-free space. This step involves removing all items from the bookshelf to create a blank canvas for your binder organization project. Here’s how you can effectively clear your bookshelf:
- Remove all books and other items: Start by taking out all the books, decorative items, and any other items that may be on the bookshelf. Place them in a designated area, such as a nearby table or another temporary storage space. This will give you a clear view of the bookshelf and ensure that you have enough space to work with.
- Clean the bookshelf: Next, dust and clean the bookshelf thoroughly. Use a microfiber cloth or a feather duster to remove any accumulated dust or debris. Wipe down the shelves, sides, and back of the bookshelf to ensure a clean and fresh surface for your binders.
- Sort and classify the items: Take this opportunity to review the items you removed from the bookshelf. Decide which ones you want to keep, donate, or discard. Separate the books based on genre or subject, and consider rearranging them once the bookshelf is ready. This step not only helps declutter your space but also gives you a chance to reassess your collection and get rid of any unnecessary items.
- Create a staging area: Determine a nearby area where you can temporarily store the items that you will be placing back on the bookshelf. It could be a coffee table, a desk, or even a designated corner of the room. This staging area will make it easier for you to organize the binders without cluttering the space.
By clearing the bookshelf and creating a clean and organized workspace, you will be ready to move on to the next step of organizing your binders on the bookshelf. This process sets the foundation for an efficient and visually appealing binder storage solution.
Step 2: Organizing the binders
Now that you have a clear and clean bookshelf, it’s time to focus on organizing your binders effectively. The goal is to arrange them in a logical and functional manner, making it easy to find specific binders when needed. Here are some tips to help you organize your binders:
- Categorize the binders: Start by grouping your binders based on a common theme or category. This could be by subject, project, department, or any other classification that makes sense for your needs. By categorizing your binders, you create a clear structure for organization.
- Arrange the binders: Once you’ve categorized your binders, decide on the order in which you want to arrange them on the bookshelf. You can choose to arrange them alphabetically, chronologically, or based on priority. Consider the frequency of use for each binder and place the ones you access more frequently within easy reach.
- Utilize binder accessories: To further enhance the organization of your binders, consider using binder accessories such as dividers, tabs, and label holders. Dividers can help separate different sections within a binder, while tabs and label holders can provide clear identification for each binder. This makes it easier to locate and retrieve specific information quickly.
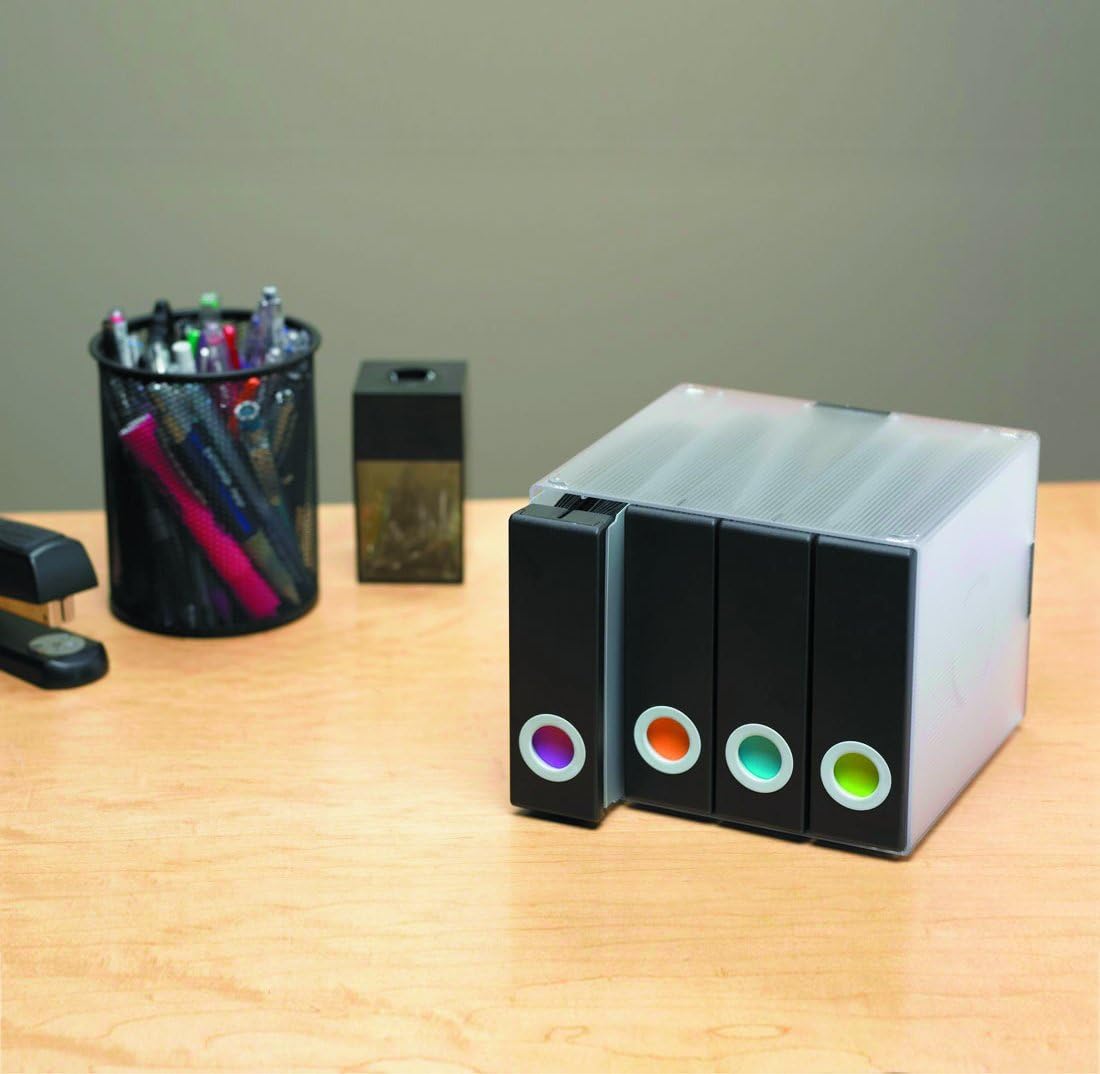
- Create a color-coding system: If you have a large collection of binders or want to add an additional level of organization, consider implementing a color-coding system. Assign different colors to different categories or subjects. For example, all financial-related binders could be blue, while marketing binders could be red. This visual cue makes it even easier to identify and retrieve the right binder from the bookshelf.
- Leave room for growth: Keep in mind that your collection of binders may expand over time. To accommodate future additions, leave some empty space on the bookshelf or allocate a dedicated area for new binders. This way, you can easily integrate new binders into your existing organizational structure without disrupting the overall system.
By following these tips, you can establish a clear and logical organization system for your binders. This will not only make it easier to find specific binders but also enhance the overall visual appeal of your bookshelf. With Step 2 complete, you are now ready to move on to the next step: choosing the right bookshelf for your binders.
Step 3: Choosing the right bookshelf
When it comes to organizing binders on a bookshelf, selecting the right bookshelf is crucial. The bookshelf should not only accommodate your binders but also complement the overall aesthetic of the space. Here are some factors to consider when choosing the right bookshelf:
- Size and dimensions: Measure the available space where you plan to place the bookshelf. Consider the height, width, and depth of the area to ensure that the bookshelf fits appropriately. Additionally, think about the size of your binder collection and how many binders you need to store. This will help you determine the ideal size and number of shelves needed.
- Material and durability: Consider the material and durability of the bookshelf. Opt for sturdy materials such as solid wood or metal that can withstand the weight of your binders. Ensure that the shelves are strong and will not sag or warp over time.
- Adjustable shelves: Look for bookshelves that offer adjustable shelves. This allows you to customize the height of each shelf to accommodate binders of varying sizes. It also provides flexibility for future reorganization as your binder collection evolves.
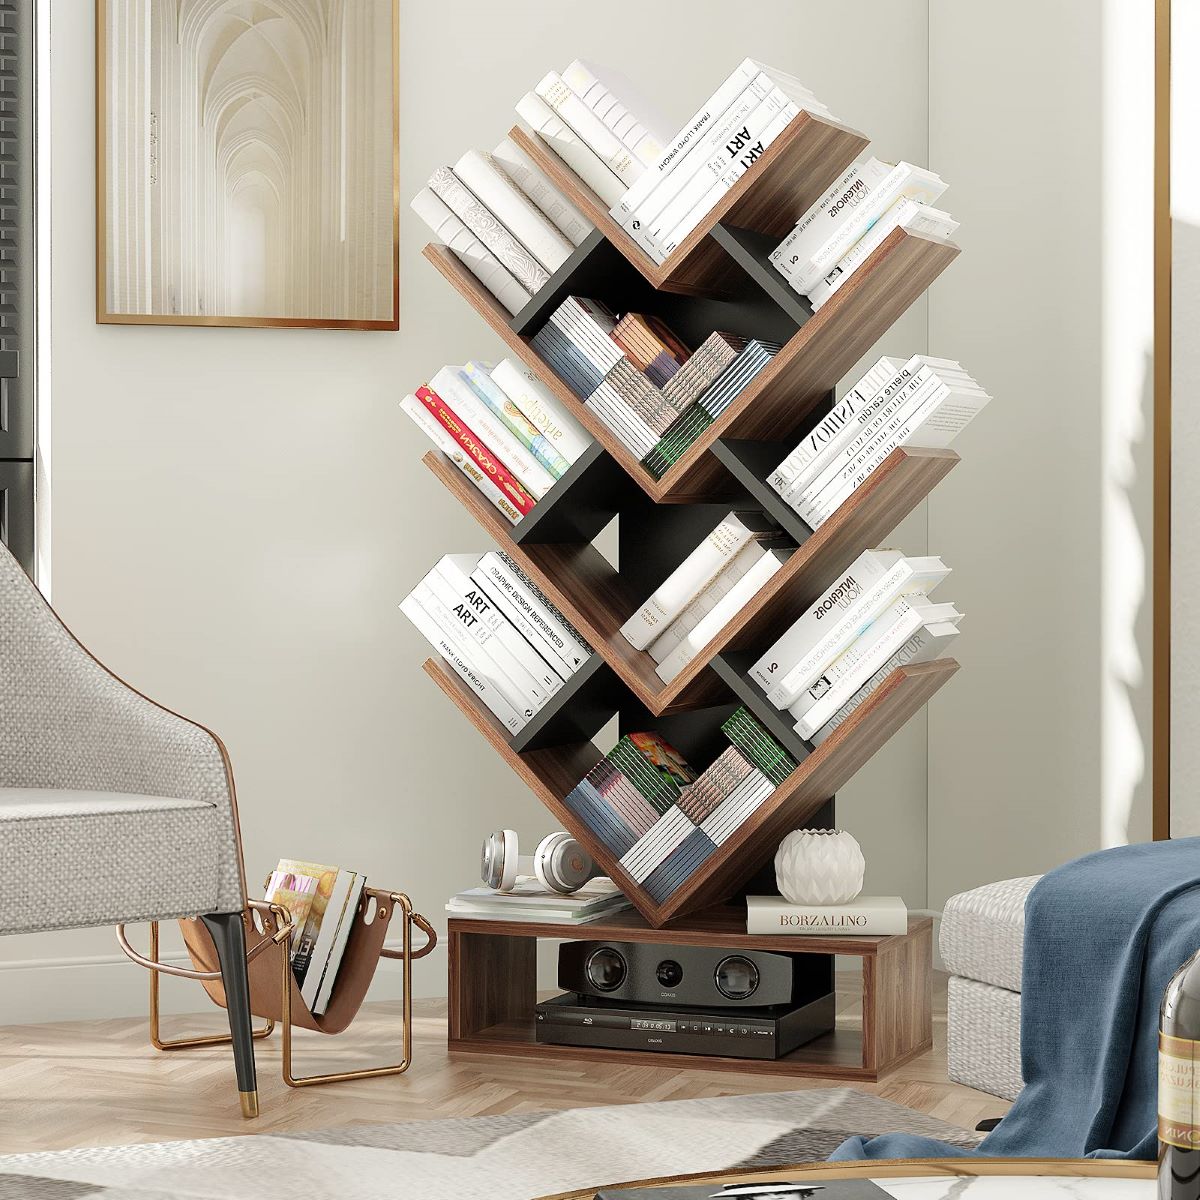
- Aesthetics: Consider the style and design of the bookshelf. Choose a finish and color that complements the overall decor of your space. A visually appealing bookshelf can enhance the ambiance and create a cohesive look.
- Accessibility: Evaluate how easily you can access and retrieve the binders from the bookshelf. Consider the depth of the shelves and the spacing between them to ensure that you can comfortably reach the binders without any difficulty.
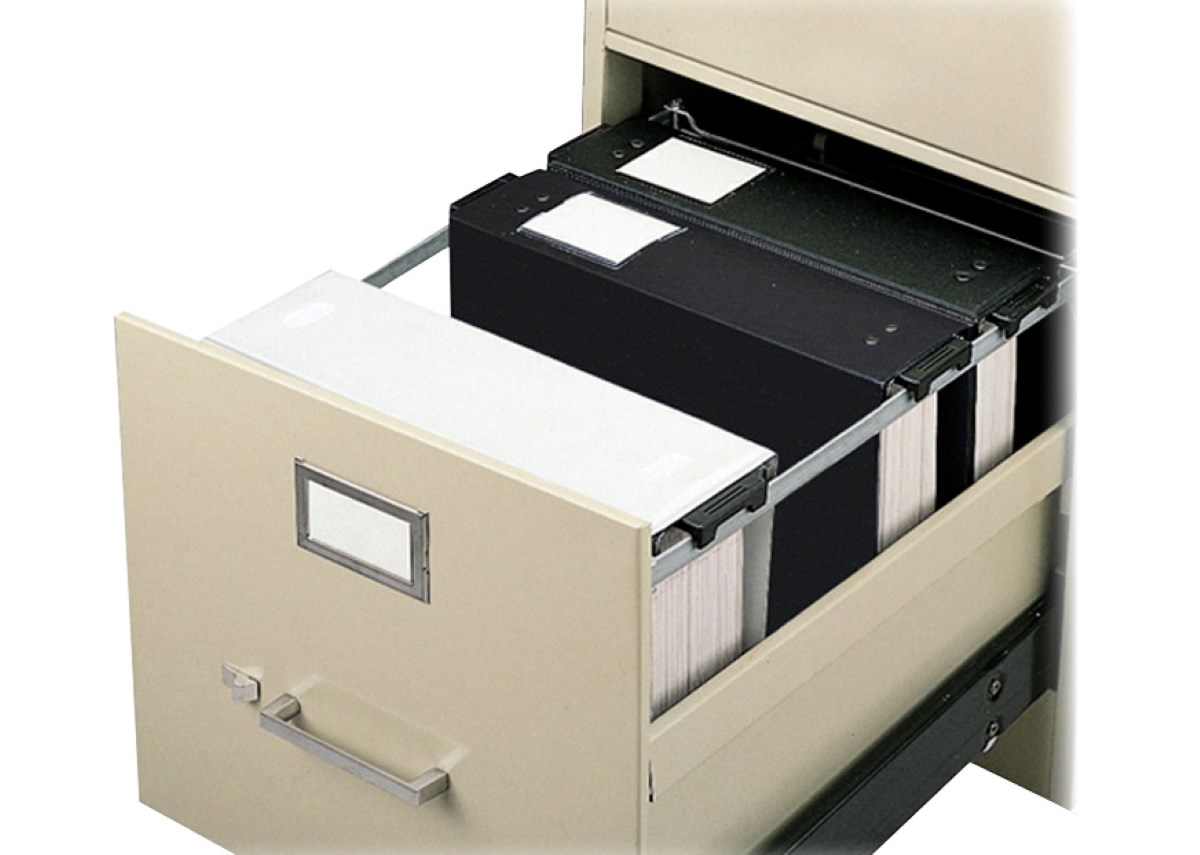
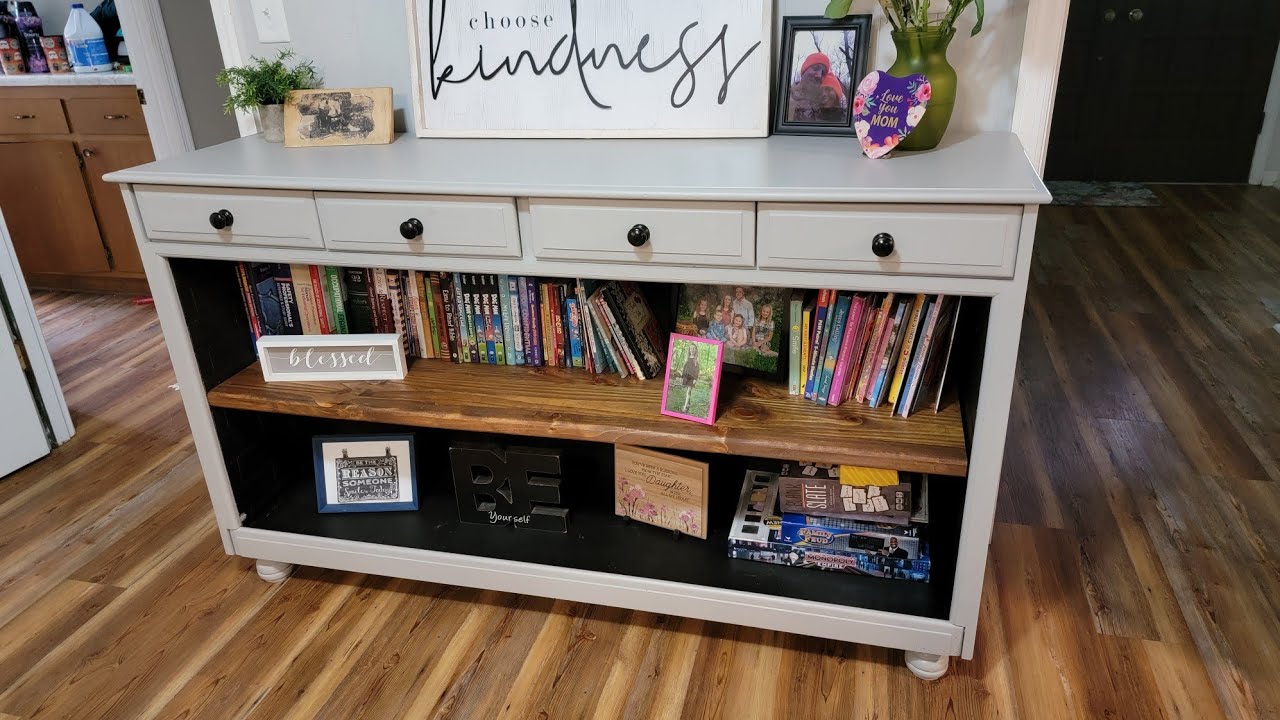
- Additional storage options: If you have other items such as books, files, or decorative objects that you want to store alongside your binders, look for bookshelves that offer additional storage options. This could include drawers, cabinets, or open cubbies that can help keep everything organized in one place.
Take your time to research and explore different bookshelf options that meet your requirements. Consider visiting furniture stores or browsing online to compare prices, styles, and features. By choosing the right bookshelf, you can create an optimal storage solution for your binders that seamlessly integrates with your space.
With Step 3 complete, you are now equipped with the knowledge to select the perfect bookshelf for your binder organization project. The next step will guide you on how to properly place the binders on the bookshelf to achieve an organized and visually appealing display.
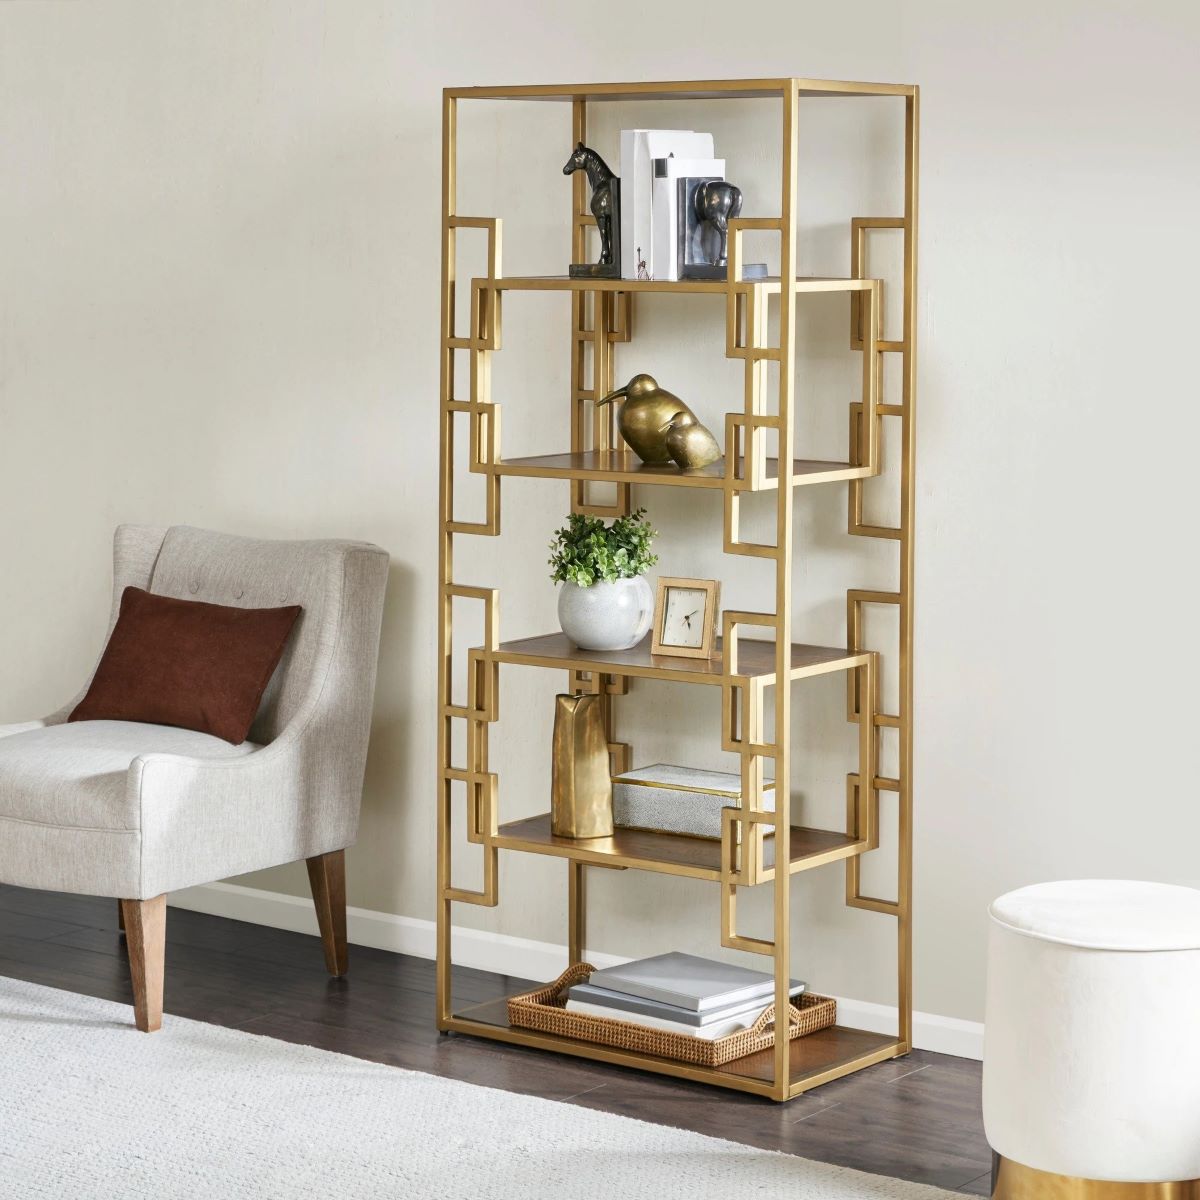
Use bookends to keep binders upright and organized on a bookshelf. This will prevent them from falling over and keep them easily accessible.
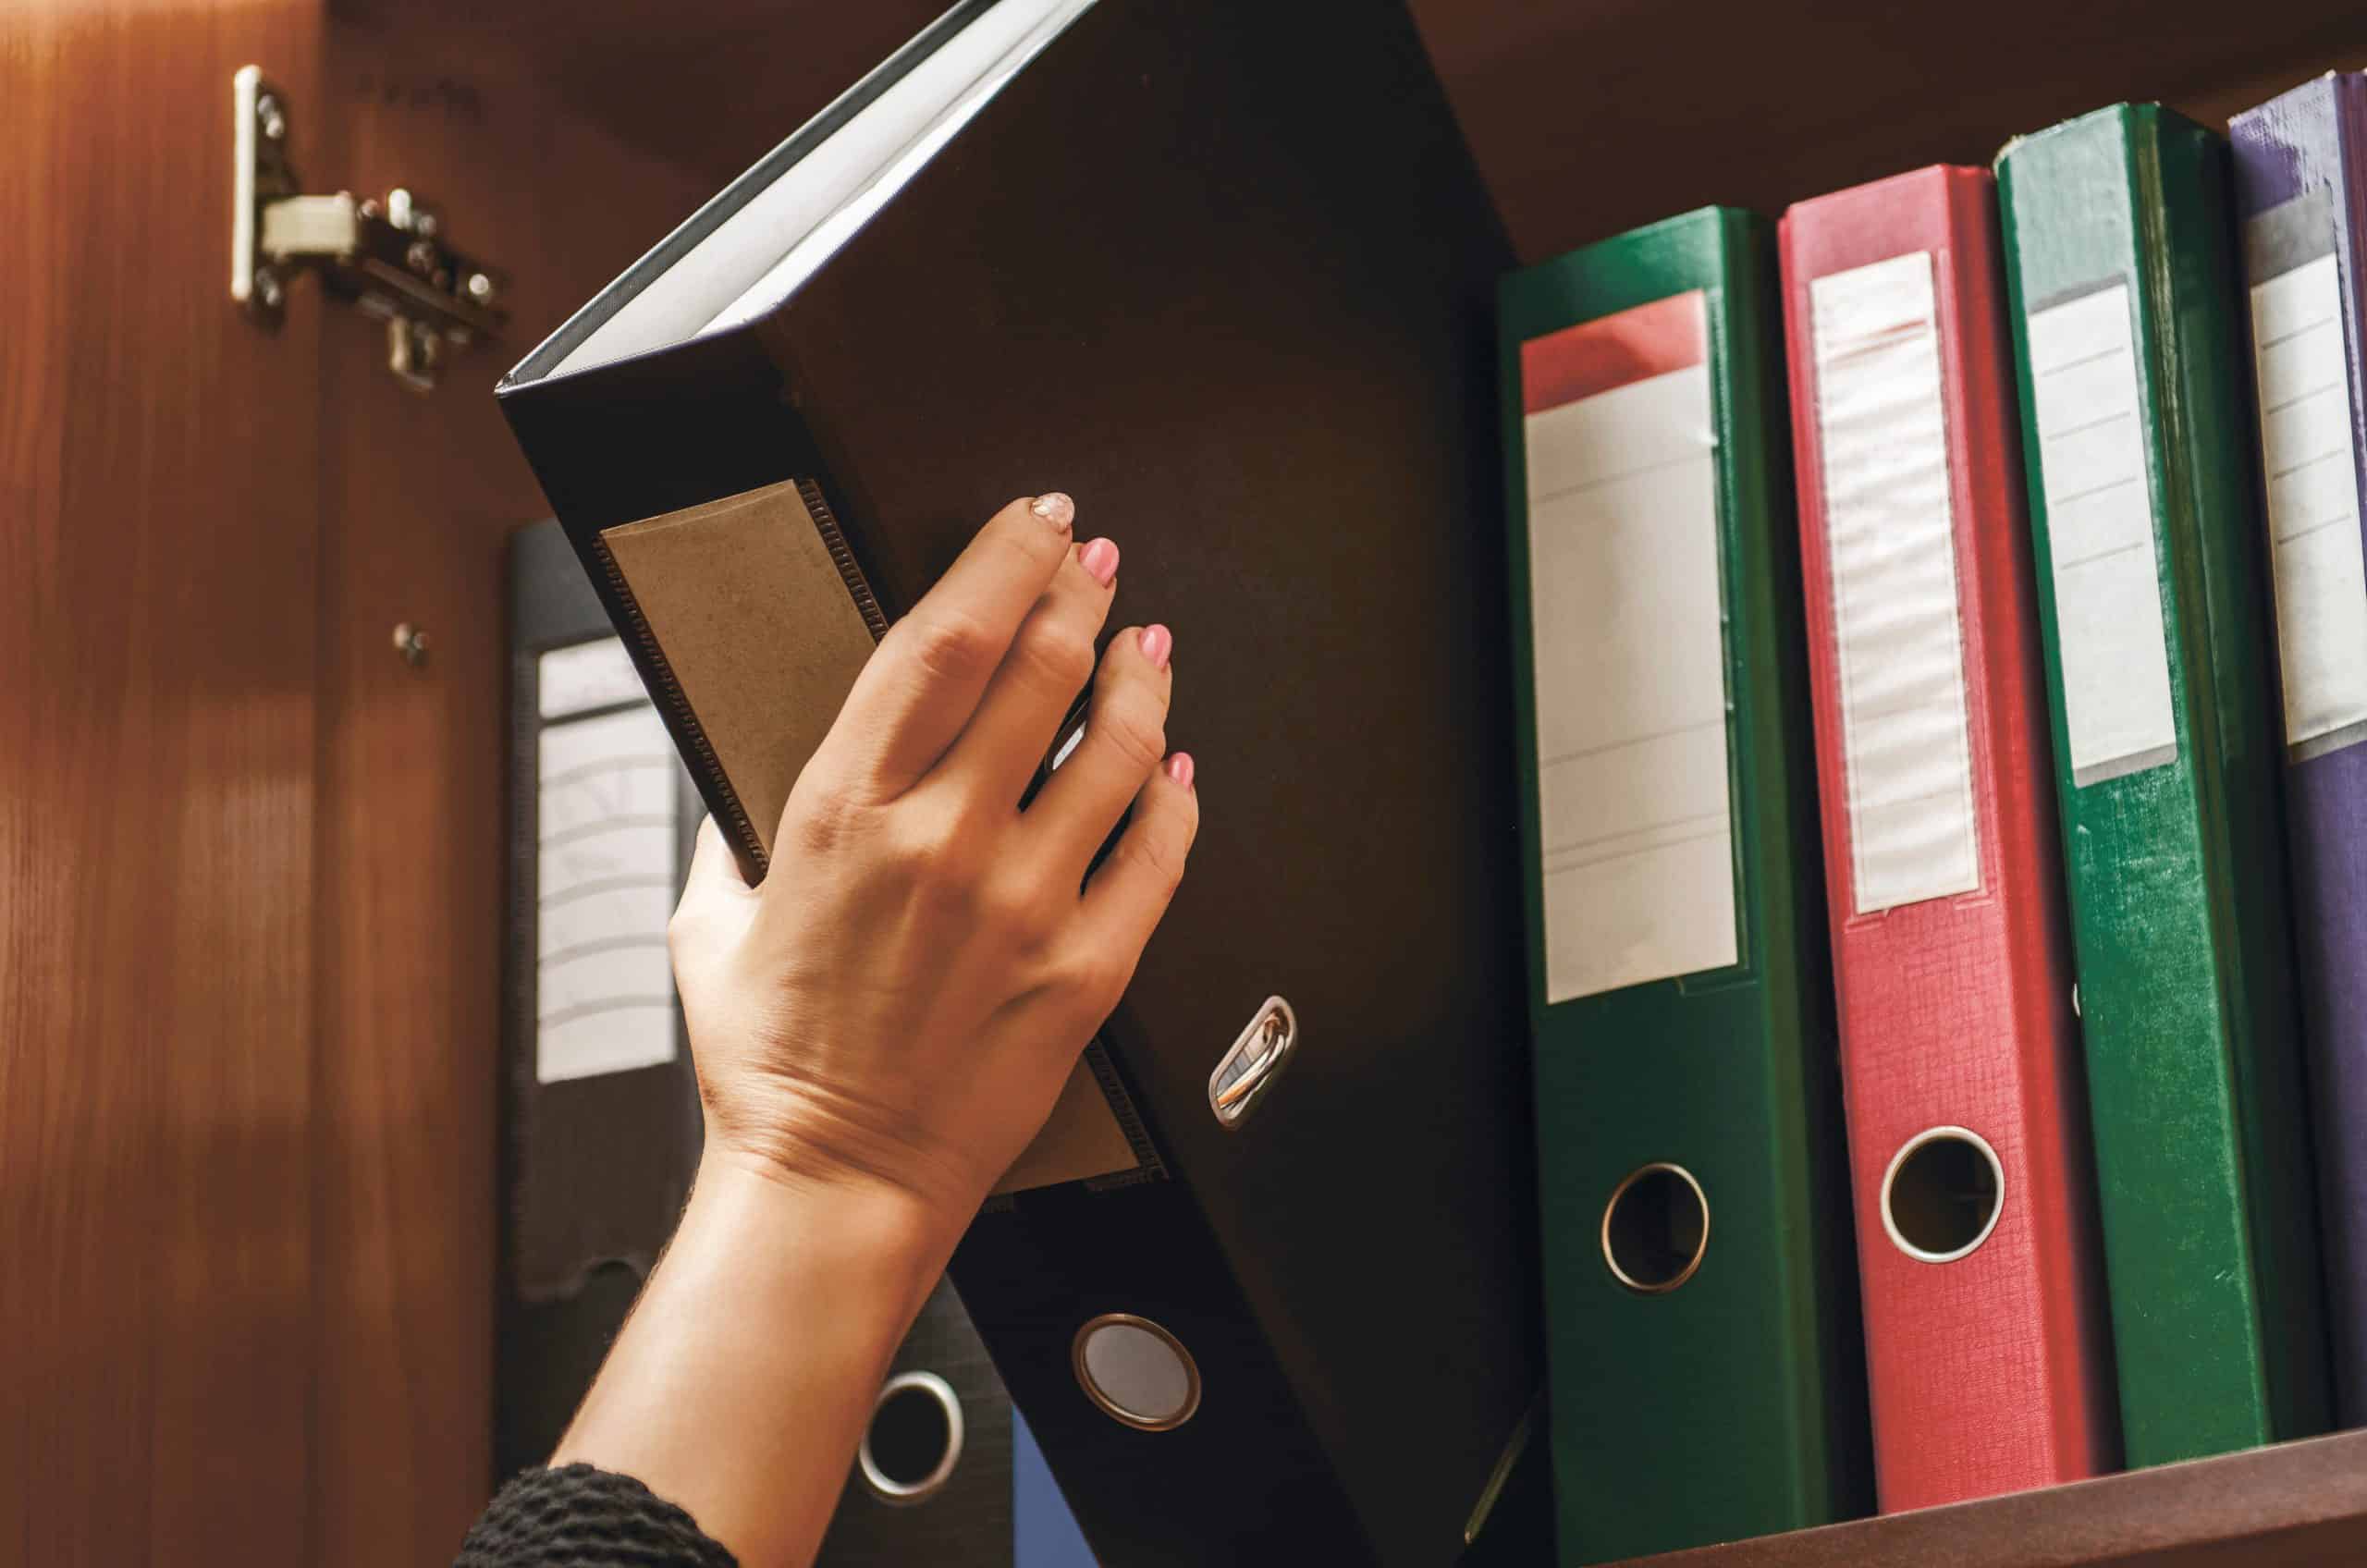
Step 4: Placing the binders on the bookshelf
Now that you have chosen the right bookshelf, it’s time to carefully place your binders on the shelves. The way you arrange the binders will not only impact the overall visual appeal but also affect the ease of access and retrieval. Follow these guidelines to properly place your binders on the bookshelf:
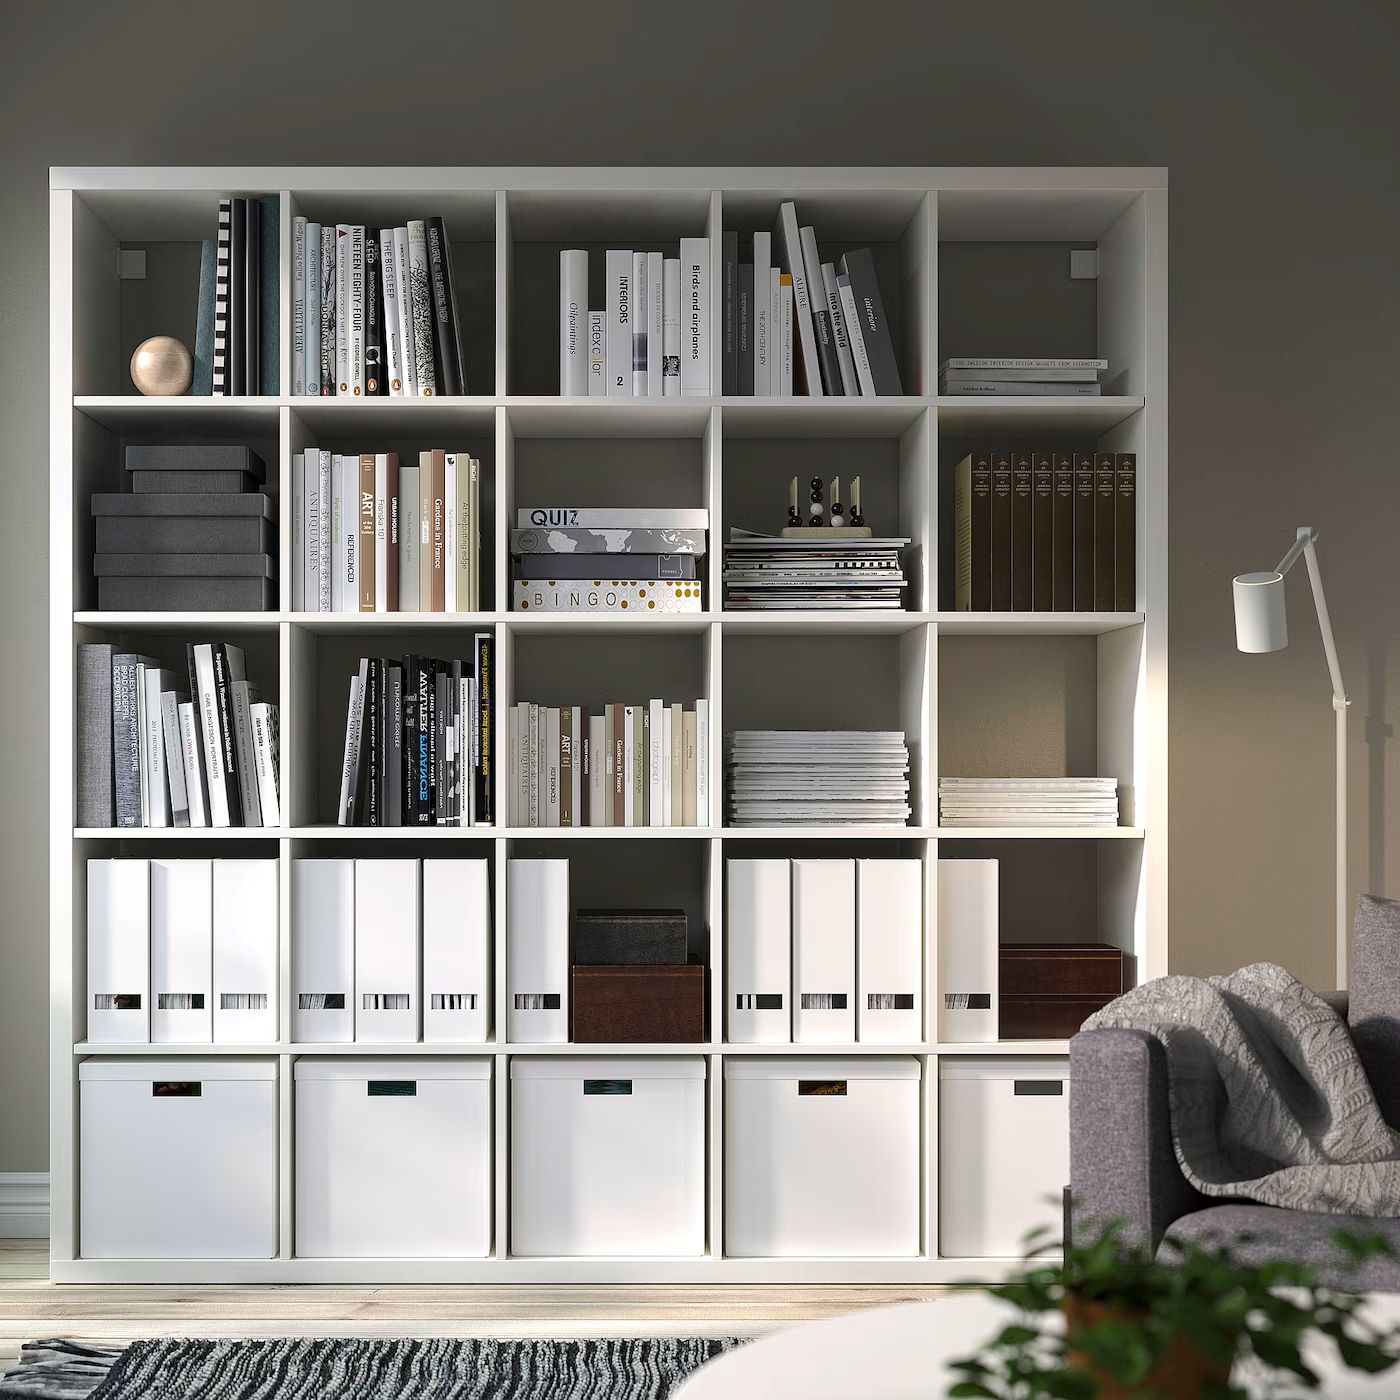
- Start from the bottom: Begin placing the binders on the bottom shelf of the bookshelf. This provides a stable foundation for the rest of the binders.
- Align the binders: Ensure that the binders are aligned and positioned upright on the shelves. This creates a tidy and symmetrical display.
- Leave space between binders: Allow some space between each binder to prevent them from appearing crowded and to facilitate easy retrieval. This spacing can also make it easier to slide individual binders in and out without disturbing others.
- Distribute the weight evenly: Avoid overloading any one shelf with too many heavy binders. Distribute the weight evenly across the shelves to prevent sagging or potential structural damage to the bookshelf.
- Consider visibility: If you have binders that you reference frequently or need quick access to, place them on a more accessible shelf, preferably at eye level. This ensures that you can easily locate and retrieve these binders without having to bend down or stretch too far.
- Create a balanced arrangement: As you progress upwards to higher shelves, maintain a balanced arrangement by alternating the placement of binders. This helps distribute the visual weight and creates a harmonious display.
- Utilize space above the binders: If you have additional space above the binders, consider utilizing it by adding decorative items or storing other small essentials. Make sure not to overcrowd the space and maintain a visually appealing balance.
By following these guidelines, you can achieve a well-organized and visually pleasing arrangement of your binders on the bookshelf. This not only enhances the functionality of the storage space but also creates an aesthetically pleasing display in your home or office.
With Step 4 complete, you now have your binders neatly placed on the bookshelf. The next step will focus on labeling the binders for easy identification and retrieval.
Read more: How To Store Binder Clips
Step 5: Labeling the binders
Labeling your binders is essential for easy identification and retrieval. By adding clear and descriptive labels, you can quickly locate the specific binders you need without wasting time searching through each one. Here’s how you can effectively label your binders:
- Choose a labeling method: Determine the labeling method that works best for you. You can use adhesive labels, label holders, or even handwritten labels – whichever option is most convenient and legible for you.
- Create consistent labels: Maintain consistency in your labeling system to ensure clarity and continuity. Use a consistent font, size, and style for all your labels. This uniformity creates a visually cohesive look and makes it easier to scan and locate binders quickly.
- Include relevant information: Make sure each label includes relevant information to identify the contents of the binder. This could include the subject, project name, department, or any other details that are specific to your organization system.
- Position the labels clearly: Place the labels on the spine of the binder so that they are easily visible when the binders are standing upright on the bookshelf. This allows you to quickly scan the labels and select the appropriate binder without needing to pull them out.
- Use color-coded labels: If you implemented a color-coding system in Step 2, use corresponding colored labels for each binder. This reinforces the visual cues and makes it even easier to identify the desired binders quickly.
- Update labels as needed: Over time, the contents of your binders may change or be updated. It’s important to periodically review and update the labels accordingly to reflect the current information. This ensures that your binder organization system remains accurate and up to date.
Labeling your binders is the final touch to complete the organizing process. By implementing a clear and consistent labeling system, you can save valuable time and minimize frustration when searching for specific binders on your bookshelf.
With Step 5 complete, your binders are now not only organized but also easily identifiable. The final step will focus on maintaining the organization and ensuring that your binders stay in order over time.
Step 6: Maintaining the organization
Organizing your binders on a bookshelf is a great start, but it’s important to establish habits that will help you maintain the organization in the long run. By following a few simple practices, you can ensure that your binders stay organized and easily accessible over time. Here are some tips for maintaining the organization of your binders:
- Regularly review and declutter: Schedule regular intervals to review the contents of your binders and remove any outdated or unnecessary materials. This prevents the binders from becoming cluttered and allows you to keep them focused on the most relevant information.
- Return binders to their designated places: After using a binder, make it a habit to return it to its designated spot on the bookshelf. Avoid the temptation to leave it on your desk or any other surface, as this can lead to a disorganized workspace.
- Keep up with labeling: If you add new binders or make changes to existing ones, ensure that you update the labels accordingly. Consistently maintaining accurate and informative labels will help you quickly identify the right binders without confusion.
- Reorganize as needed: Over time, your needs may change, and your binder collection may grow or evolve. Flexibility is key to maintaining organization, so be open to reorganizing the binders on your bookshelf if necessary. This can involve rearranging the order, creating new categories, or adjusting the placement based on your current requirements.
- Encourage others to follow the system: If you share the bookshelf with others or have colleagues who use the binders, communicate the organization system and encourage them to follow it. This ensures consistency and makes it easier for everyone to locate and return binders appropriately.
- Develop a routine: Establish a routine for regularly tidying up and maintaining the organization of your bookshelf. This can be as simple as dedicating a few minutes each week or month to ensure that everything is in its proper place and that the binders remain organized and accessible.
By incorporating these maintenance practices into your routine, you can sustain the organization of your binders on the bookshelf and prevent them from becoming disorganized and cluttered over time. A little effort and consistency go a long way in maintaining an efficient and visually pleasing binder storage system.
Congratulations! With Step 6 complete, you have successfully learned how to maintain the organization of your binders on a bookshelf. By following these steps and implementing these strategies, you can enjoy a clutter-free and efficient workspace or home environment.
By dedicating some time and effort into organizing and maintaining your binders, you can reap the benefits of enhanced productivity, easy access to important information, and a visually appealing bookshelf that will leave a positive impression on anyone who sees it.
Conclusion
Organizing and storing binders on a bookshelf is a practical and efficient way to keep your important documents, files, and information neatly organized and easily accessible. By following the steps outlined in this article, you can transform your bookshelf into a well-organized and visually appealing storage space for your binders.
From clearing the bookshelf and organizing the binders to selecting the right bookshelf and properly placing the binders, each step plays a crucial role in achieving a functional and aesthetically pleasing setup. By labeling the binders and implementing maintenance practices, you can ensure that the organization remains intact in the long term.
Remember, the key to successful binder organization is a clear and logical system that suits your specific needs. Whether you’re organizing binders at home or in a professional workspace, these steps provide a solid foundation for establishing an efficient storage solution.
By investing the time and effort to organize your binders, you will enjoy the benefits of enhanced productivity, easy access to information, and a clutter-free environment. You’ll be able to locate the exact binder you need quickly and efficiently, saving you valuable time and reducing frustration.
So, roll up your sleeves and follow these steps to create an organized, visually appealing, and functional binder storage system on your bookshelf. The end result will not only make your space look tidy and professional but also streamline your workflow and boost your overall productivity.
Remember to regularly maintain the organization and adjust the system as needed to accommodate changes. With dedication and consistency, your binder storage system will continue to serve you well for years to come.
Now, it’s time to put these steps into action and transform your bookshelf into a well-organized repository for your binders. Happy organizing!
Now that you've mastered storing binders on a bookshelf, why not spruce up your office space even more? Keeping your workplace tidy not only boosts productivity but also simplifies finding what you need in a snap. Our next guide offers smart strategies for office organization, ensuring everything from documents to desktop items is neatly arranged. Ready to transform your office into a model of efficiency? Check out our guide on the best office storage solutions.
Frequently Asked Questions about How To Store Binders On Bookshelf
Was this page helpful?
At Storables.com, we guarantee accurate and reliable information. Our content, validated by Expert Board Contributors, is crafted following stringent Editorial Policies. We're committed to providing you with well-researched, expert-backed insights for all your informational needs.


0 thoughts on “How To Store Binders On Bookshelf”