Articles
How To Store 3 Ring Binders
Modified: October 29, 2024
Discover the best methods for storing and organizing articles with 3 ring binders. Keep your articles neatly organized and easily accessible with these tips and tricks.
(Many of the links in this article redirect to a specific reviewed product. Your purchase of these products through affiliate links helps to generate commission for Storables.com, at no extra cost. Learn more)
Introduction
Welcome to the world of 3-ring binders! These versatile and practical tools are a staple in offices, schools, and homes everywhere. With their ability to hold and organize documents, notes, and other materials, it’s no wonder that 3-ring binders are a popular choice for keeping things in order. However, when it comes to storing these binders, it’s important to follow a few key steps to ensure their longevity and ease of use.
In this article, we will guide you through the process of storing your 3-ring binders effectively. Whether you have a small collection or a large inventory, these tips will help you keep your binders in pristine condition and easily accessible whenever you need them.
Before we dive into the details, let’s take a moment to gather all the materials you will need for this storage project:
Key Takeaways:
- Properly storing 3-ring binders involves choosing the right storage space, sorting and organizing the binders, removing unnecessary contents, labeling the binders, stacking them neatly, and maintaining their organization over time.
- Consistency and maintenance are key to successful binder storage. Regularly reviewing and updating the contents, keeping the storage area clean, and training others on the organization system are essential for an efficient document management system.
Read more: How To Store Binder Clips
Materials Needed:
- 3-ring binders
- Storage space (bookshelf, cabinet, storage boxes)
- Dividers (optional)
- Label maker or adhesive labels
- Markers or pens
Once you have gathered these materials, you’re ready to begin the process of storing your 3-ring binders. Let’s proceed to the first step: choosing the right storage space.
Materials Needed
Before you start organizing and storing your 3-ring binders, it’s important to have the necessary materials on hand. Here’s a list of items you will need:
- 3-ring binders: These are obviously the main items that you’ll be storing. Make sure you have enough binders to accommodate all the documents you want to organize. Consider the size and capacity of the binders based on the amount of paper you need to store.
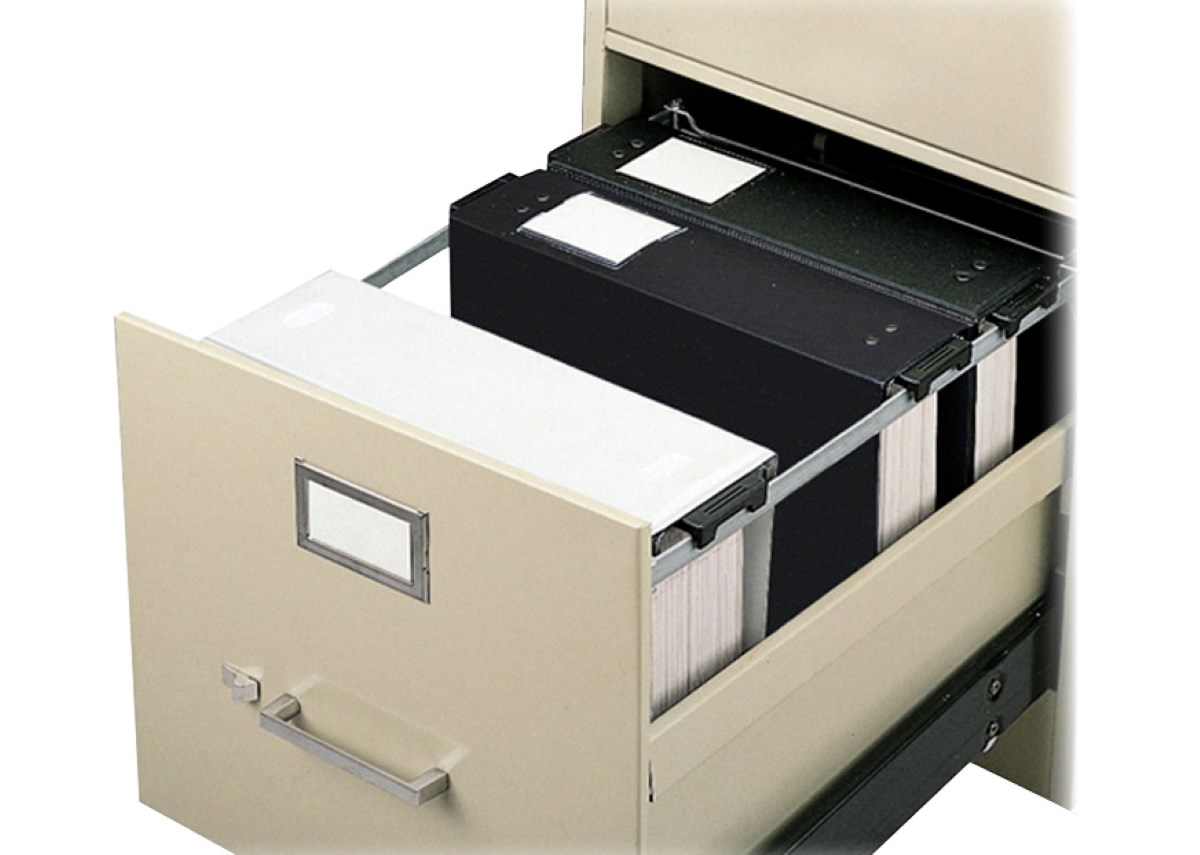
- Storage space: You’ll need a suitable area to store your binders. This could be a dedicated bookshelf, a filing cabinet, or even storage boxes. Make sure the space is clean, dry, and easily accessible.
- Dividers (optional): If you prefer to further organize your binders into sections, dividers can be useful. They help create different compartments within each binder, allowing you to categorize and separate your documents more efficiently.
- Label maker or adhesive labels: To keep your binders organized and easily identifiable, you’ll need a way to label them. A label maker is a convenient tool for creating professional-looking labels, but adhesive labels and a marker can work just as well.
- Markers or pens: You’ll need these writing tools to label your binders and dividers. Choose permanent markers or pens that won’t easily smudge or fade, ensuring that your labels remain clear and legible over time.
Having these materials ready beforehand will save you time and allow for a smooth and efficient organizing process. Now that you have everything you need, let’s move on to the first step: choosing the right storage space.
Step 1: Choosing the Right Storage Space
The first step in organizing and storing your 3-ring binders is to determine the right storage space for them. Consider the following factors when choosing a suitable area:
- Accessibility: Select a storage space that is easily accessible. If you frequently need to retrieve or add documents to your binders, having them within arm’s reach will save you time and effort.
- Size: Measure the dimensions of the space where you plan to store your binders. Ensure it is large enough to accommodate the number of binders you have and any additional supplies, such as dividers or labels.
- Cleanliness: It’s important to store your binders in a clean and dust-free environment. This helps prevent damage to the documents inside and maintains the overall condition of the binders.
- Climate control: Extreme temperature and humidity levels can be detrimental to the longevity of your documents. Choose a storage space that offers adequate climate control to protect your binders and their contents.
- Security: If you have sensitive or confidential documents in your binders, consider a storage space that offers additional security measures. This could include lockable cabinets or areas with limited access.
Once you have identified the ideal storage space, clear out any clutter or unnecessary items to make room for your binders. Ensure that the area is organized and ready to accommodate your collection.
By choosing the right storage space, you set the foundation for an organized and easily accessible binder system. Now that you have the space ready, let’s move on to the next step: sorting and organizing your binders.
Step 2: Sorting and Organizing Binders
Now that you have chosen the right storage space for your 3-ring binders, it’s time to sort and organize them. Follow these steps to create a streamlined and efficient binder system:
- Gather all your binders: Collect all the binders you have and bring them to your designated storage area. This will give you a clear idea of how many binders you need to work with.
- Sort your documents: Before you start filling your binders, sort your documents into categories or topics. This will help you determine how many binders you’ll need and how to distribute your materials among them.
- Assign a binder to each category: Based on your document sorting, assign a specific binder to each category or topic. This will create a logical and organized structure for your binders.
- Arrange binders in a logical sequence: If you have a large number of binders, consider arranging them in alphabetical or chronological order to make it easy to locate a specific binder when needed.
- Consider using dividers: If you want to further compartmentalize your binders, use dividers to separate different sections within each binder. This can be particularly useful if you have a large amount of documents for a single category.
By sorting and organizing your binders, you create a systematic and intuitive structure for your documents. This makes it easier to find and retrieve specific information whenever you need it. Once you have sorted and organized your binders, we can move on to the next step: removing contents and dividers.
Store 3-ring binders upright on a shelf to prevent warping and damage to the spine. Use bookends to keep them standing and organized.
Read more: How To Organize Binders
Step 3: Removing Contents and Dividers
With your binders sorted and organized, it’s time to remove the contents and dividers from each binder. This step is crucial as it allows you to start with a clean slate and ensures that only relevant material is stored in your binders. Follow these steps to remove contents and dividers:
- Open each binder: Begin by opening each binder and flipping through the pages. Take note of any documents or dividers that are outdated, irrelevant, or no longer needed.
- Remove unwanted documents: Carefully remove any documents that are no longer necessary. This could include old meeting notes, expired reference materials, or duplicates. Consider recycling or shredding sensitive documents to protect your privacy.
- Discard unnecessary dividers: If you have dividers in your binders, assess whether they are still needed. Remove any dividers that are no longer relevant or do not serve a specific purpose. This will streamline the organization of your binders.
- Set aside important documents: Identify any important or essential documents that need to be retained. Set them aside to be placed back into the binders later on.
- Organize removed contents: As you remove documents and dividers, keep them organized in separate piles or folders. This will make it easier to review and determine if any items need to be archived or disposed of.
By removing unnecessary contents and dividers, you declutter your binders and create space for only the most relevant and important materials. Now that your binders are clean and empty, we can proceed to the next step: labeling the binders.
Step 4: Labeling the Binders
After removing the contents and dividers from your binders, it’s time to label them. Proper labeling ensures that you can easily identify the contents of each binder and locate specific information when needed. Follow these steps to effectively label your binders:
- Choose a labeling method: Decide on the method you want to use for labeling your binders. You can use a label maker for more professional-looking labels, or simply use adhesive labels and a marker for a more DIY approach.
- Create clear and descriptive labels: Write or print clear and descriptive labels for each binder. Include the category or topic of the documents stored in the binder. This will make it easier to quickly identify the binder you need.
- Apply labels to the front spine: Attach the labels to the front spine of each binder. This ensures that the labels are visible when the binders are stacked or placed on a shelf.
- Consider color-coded labels: If you have a large collection of binders or want to add an extra level of organization, consider using color-coded labels. Assign a specific color to each category or topic, making it even easier to find the binder you need at a glance.
- Include additional information: If necessary, include any additional information on the label that might be helpful in quickly identifying the content. This could include dates, project names, or other relevant details.
Properly labeled binders not only make it easier to find and retrieve information, but they also contribute to an organized and visually appealing storage system. With your binders labeled, we can now move on to the next step: stacking and storing the binders.
Step 5: Stacking and Storing the Binders
Now that your binders are sorted, organized, and labeled, it’s time to stack and store them in your chosen storage space. Follow these steps to ensure that your binders are stored in a neat and accessible manner:
- Determine the stacking order: If you have multiple binders, decide on the stacking order based on your preferred method of organization. You can stack them alphabetically, chronologically, or by category.
- Place larger binders at the bottom: If you have binders of different sizes, start by placing the larger ones at the bottom of the stack. This will provide a sturdy base and prevent the binders from toppling over.
- Align the spines: Make sure the spines of the binders are aligned to create a clean and organized appearance. This will also make it easier to read the labels on the binders.
- Leave space between binders: To make it easier to retrieve a specific binder, leave a small gap between each one. This allows you to easily slide out a binder without disturbing the others.
- Utilize bookends or dividers: If you’re storing your binders on a shelf, consider using bookends or dividers to keep them upright and prevent them from falling over. This will maintain the integrity of your organized system.
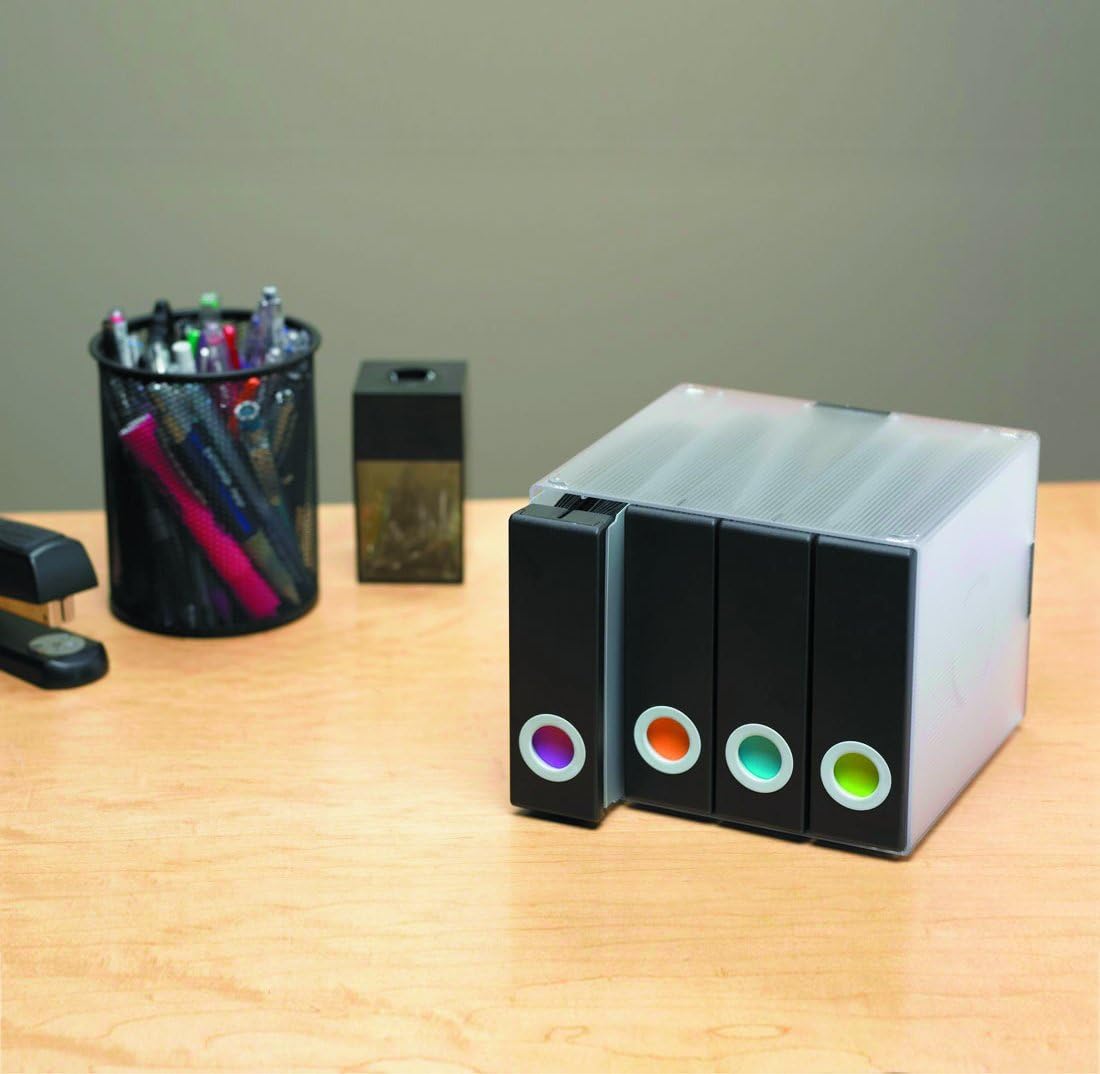
- Consider using storage boxes: If you prefer a more contained storage solution, you can use storage boxes specifically designed for 3-ring binders. This keeps them protected and allows for easy transportation if needed.
By following these steps, you can ensure that your binders are stored in a systematic and accessible manner. The stacking order and overall organization will make it effortless to locate the binder you need at any given time. With your binders properly stacked and stored, we can move on to the final step: maintaining organized binders.
Step 6: Maintaining Organized Binders
Once you’ve organized and stored your 3-ring binders, it’s important to maintain their organization over time. Follow these steps to ensure that your binders remain organized and easily accessible:
- Return documents to their designated binders: After using a binder, make a habit of returning the documents to their proper places. Avoid the temptation to leave them lying around or in a different binder, as this can quickly lead to disorganization.
- Regularly review and update: Set aside time periodically to review the contents of your binders. Remove any outdated or irrelevant documents and replace them with updated versions. This helps keep your binders current and prevents unnecessary clutter.
- Maintain consistent labeling: If you add new binders to your collection or rearrange the order, make sure to update the labels accordingly. This ensures that your labeling system remains consistent and easy to understand.
- Keep the storage area clean: Regularly clean and dust the storage area where your binders are kept. This prevents debris from accumulating and keeps your binders in good condition.
- Invest in proper storage accessories: Consider using binder sleeves or sheet protectors to protect important documents from damage. This will help extend the life of your documents and maintain the professionalism of your binders.
- Train others on the system: If you share the binders with colleagues or family members, make sure they are familiar with the organization system and understand the importance of maintaining it. This will help everyone in the shared space contribute to the upkeep of the binders.
By following these maintenance practices, you can sustain the organization of your binders and ensure that they continue to serve as effective tools for document storage and retrieval. With a little effort and consistency, your binders will remain organized and efficient for years to come.
Congratulations! You have successfully learned how to store your 3-ring binders effectively. By following these steps and maintaining the organization of your binders, you can save time, increase productivity, and keep your important documents in order. Happy organizing!
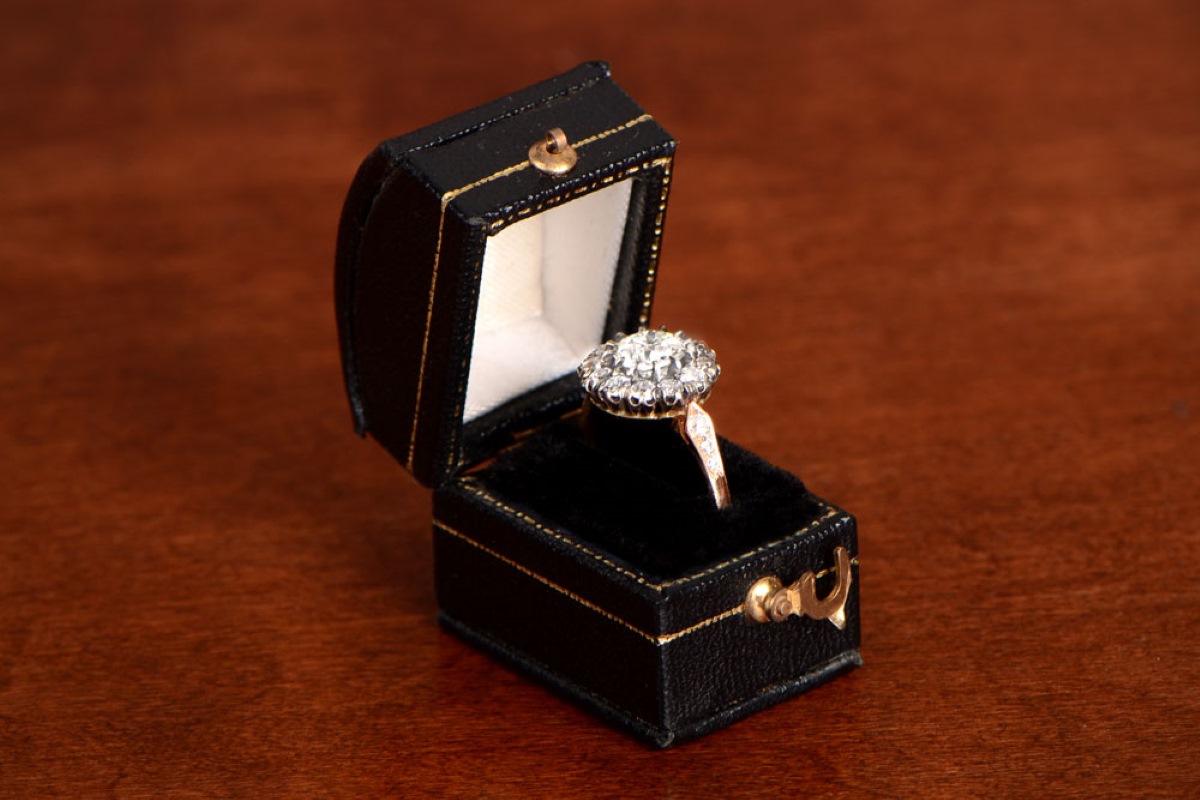
Read more: How To Store Rings
Conclusion
Organizing and storing 3-ring binders doesn’t have to be a daunting task. With the right approach and a few simple steps, you can create an organized and efficient system for storing your documents. By choosing the right storage space, sorting and organizing binders, removing contents and dividers, labeling the binders, stacking and storing them properly, and maintaining their organization, you can ensure easy access to information whenever you need it.
Remember, the key to successful binder storage is consistency and maintenance. Regularly review and update the contents of your binders, keep the storage area clean, and train others on the organization system if necessary. By following these practices, you can reap the benefits of a streamlined and effective document management system.
Whether you’re organizing binders at work, school, or home, the methods and techniques discussed in this article can be applied to anyone’s situation. By taking the time to properly store your 3-ring binders, you’ll save valuable time searching for documents and reduce the chances of losing important information.
So, why wait? Start implementing these steps today and enjoy the benefits of an organized and efficient binder storage system. With a little effort and consistency, you can regain control of your documents and have peace of mind knowing that everything is neatly stored and easily accessible.
Happy organizing!
Now that you're equipped with the know-how on storing binders, why stop there? For those looking to streamline workspaces, our guide on organization-and-storage-for-2023/">office organization offers practical solutions to declutter and systematize your office efficiently. If paperwork is piling up, our document storage strategies will help you manage and secure important files with ease. And don't forget the little ones; our innovative organization ideas for toys will transform chaotic play areas into tidy spaces where creativity can flourish.
Frequently Asked Questions about How To Store 3 Ring Binders
Was this page helpful?
At Storables.com, we guarantee accurate and reliable information. Our content, validated by Expert Board Contributors, is crafted following stringent Editorial Policies. We're committed to providing you with well-researched, expert-backed insights for all your informational needs.


0 thoughts on “How To Store 3 Ring Binders”