
Articles
How To Store Binder Clips
Modified: November 2, 2024
Learn the best method for storing binder clips in this helpful article. Keep your office supplies organized and easily accessible!
(Many of the links in this article redirect to a specific reviewed product. Your purchase of these products through affiliate links helps to generate commission for Storables.com, at no extra cost. Learn more)
Introduction
Binder clips are a versatile and handy tool used in various settings, from offices to schools to homes. These small but mighty clips can securely hold papers together, keeping them organized and preventing them from getting lost. However, storing binder clips can sometimes be a challenge, especially if you have a large collection or frequently use them in different locations.
In this article, we will explore different options for storing binder clips to help you keep your workspace neat and tidy. Whether you prefer a traditional storage method or a creative DIY solution, we have suggestions that will suit your needs. Let’s dive in!
Key Takeaways:
- Keep your workspace organized by choosing the right storage method for your binder clips, whether it’s a drawer, bulletin board, small storage box, magnetic strip, or a DIY holder. Preparation and maintenance are key to ensuring easy access and longevity.
- Implement an organized system, label compartments, and regularly declutter to maintain an efficient and visually appealing storage system for your binder clips. Choose a storage method that suits your space, portability, and aesthetic preferences to enjoy a clutter-free and productive workspace.
Read more: How To Store 3 Ring Binders
Types of Binder Clips
Binder clips come in various sizes and designs, offering different levels of strength and functionality. Understanding the different types of binder clips available can help you choose the one that best suits your needs.
- Standard Binder Clips: These are the most common type of binder clips. They have two metal loops attached to the arms that can be folded down to secure the clip in place.
- Large Binder Clips: As the name suggests, large binder clips are bigger in size, allowing them to hold a larger stack of papers. They provide extra strength and stability.
- Mini Binder Clips: Mini binder clips are smaller in size and ideal for organizing smaller stacks of papers or holding together loose items such as cables or tags.
- Colored Binder Clips: These binder clips come in a variety of vibrant colors, making them visually appealing and easy to spot. They add a touch of personality and can be used for color-coding or organizing different tasks or projects.
- Bulldog Clips: Although technically not binder clips, bulldog clips function in a similar way. They have a single metal loop that flips open and closed, providing a secure grip. Bulldog clips are often larger and better suited for clamping thicker materials.
Now that you are familiar with the different types of binder clips available, you can choose the ones that best fit your requirements for storage and organization.
Choosing the Right Storage Container
When it comes to storing binder clips, selecting the right container is crucial to ensure their durability, accessibility, and ease of use. Consider the following factors before making your decision:
- Size: Evaluate the size of your binder clip collection and choose a container that can comfortably accommodate them. If you have a large number of clips, opt for a container with multiple compartments or a larger storage capacity.
- Durability: Look for a container made of sturdy materials that can withstand regular use and prevent the clips from getting damaged. Plastic, metal, or even wooden containers can be excellent choices.
- Accessibility: Consider how easily you can access the binder clips when needed. Containers with lids or snap-on covers can help protect the clips while also allowing for quick retrieval.
- Portability: If you need to transport your binder clips frequently, choose a container that is lightweight and portable. Consider options with handles or those that can easily fit into a bag or pocket.
- Visibility: Opt for a transparent or semi-transparent container so that you can quickly identify the contents without having to open it. This can save you time and make it easier to locate specific binder clips.
- Stackability: If you have limited space, look for containers that are stackable. This will help you maximize the available storage area and keep your workspace organized.
Keep these factors in mind when selecting a storage container for your binder clips. Remember, the goal is to find a container that not only keeps your clips safe but also allows for easy access and efficient organization.
Preparing the Binder Clips for Storage
Before you start storing your binder clips, it’s important to prepare them for storage to ensure they remain in good condition and are easy to use when needed. Follow these steps to properly prepare your binder clips for storage:
- Clean the binder clips: Use a dry cloth or tissue to wipe off any dirt or dust from the surface of the clips. This will help prevent any buildup and ensure that the clips are clean when you take them out of storage.
- Straighten the arms: Check if any of the arms of the binder clips are bent or misaligned. Gently bend them back into shape to ensure that the clips function properly.
- Inspect the springs: Take a look at the springs of the binder clips and make sure they are in good working condition. If you notice any springs that are loose or not functioning properly, consider replacing them to maintain the clip’s functionality.
- Remove any paper or debris: Check the jaws of the binder clips and make sure they are free from any papers, rubber bands, or other debris. This will prevent any interference when using the clips and ensure a secure grip.
- Sort the binder clips: If you have different sizes or types of binder clips, consider sorting them before storing. This will make it easier to locate the specific clips you need later on.
By taking the time to prepare your binder clips for storage, you’ll be setting yourself up for a hassle-free experience when it’s time to retrieve them. It’s a simple yet crucial step in maintaining the functionality and longevity of your binder clips.
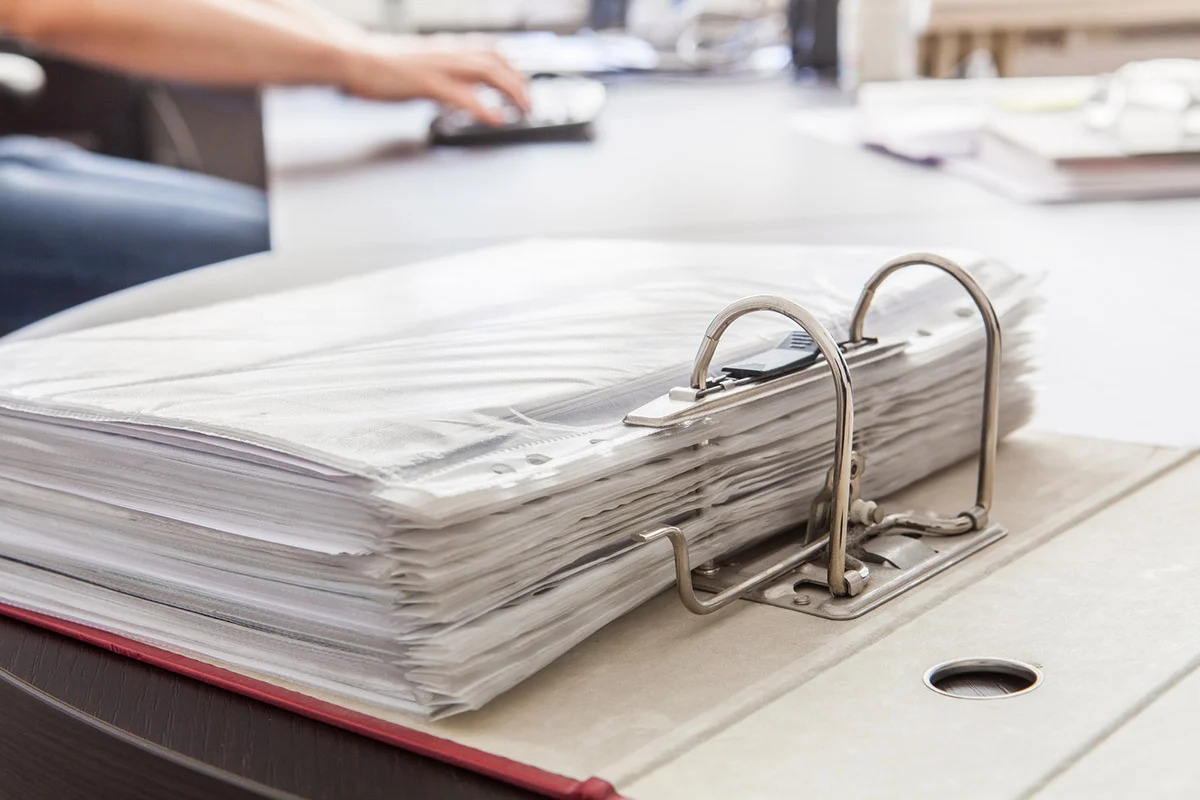
Option 1: Storing Binder Clips in a Drawer
One of the simplest and most common ways to store binder clips is by keeping them in a drawer. This option is convenient, especially if you have a designated drawer for office supplies or stationery. Here’s how you can effectively store your binder clips in a drawer:
- Clear out the drawer: Start by clearing out the contents of the drawer and giving it a quick clean. Remove any unnecessary items to make room for your binder clips.
- Sort the binder clips: Sort your binder clips by size or type, and consider using small containers or dividers to separate them. This will make it easier to locate the specific clips you need.
- Place the binder clips in the drawer: Arrange the sorted binder clips in the drawer. You can place them upright or lay them flat, depending on the amount of space you have and your personal preference.
- Organize other items: If you have other office supplies or stationery that you would like to store in the same drawer, organize them in separate compartments or containers. This will help you maintain an orderly and clutter-free space.
- Label the sections (optional): To add an extra level of organization, consider labeling the sections or containers where you store your binder clips. This will make it even easier to find the clips you need quickly.
Storing binder clips in a drawer is an efficient and practical solution, as it keeps them within reach while maintaining a clean and organized workspace. Just make sure to keep the drawer closed when not in use to prevent dust or debris from accumulating on the clips.
Read more: How To Store Hair Clips
Option 2: Hanging Binder Clips on a Bulletin Board
If you’re looking for a creative and visually appealing way to store your binder clips, hanging them on a bulletin board can be a fantastic option. This method not only keeps your clips organized but also adds a decorative touch to your workspace. Here’s how you can store your binder clips on a bulletin board:
- Select a bulletin board: Choose a bulletin board that fits your style and workspace. It can be a traditional corkboard or a modern magnetic board, depending on your preferences and the availability of space.
- Sort the binder clips: Sort your binder clips by size or color, depending on your preference. This will help create a visually appealing arrangement on the bulletin board.
- Attach the binder clips: Take each binder clip and attach it to the bulletin board by opening the clip’s arms and sliding it onto the board. Space them out evenly or create patterns to add a creative touch.
- Label or arrange by category (optional): To make it even more organized, consider labeling the sections or grouping the binder clips based on categories such as size or usage. This will make it easier to find the clips you need when you’re working on specific tasks.
Hanging binder clips on a bulletin board not only serves as a practical storage solution but also adds a unique and visually appealing element to your workspace. It’s a great way to keep your clips easily accessible and display them as a fun decorative accent.
Store binder clips in a small container or drawer to keep them organized and easily accessible. This will prevent them from getting lost or scattered around your workspace.
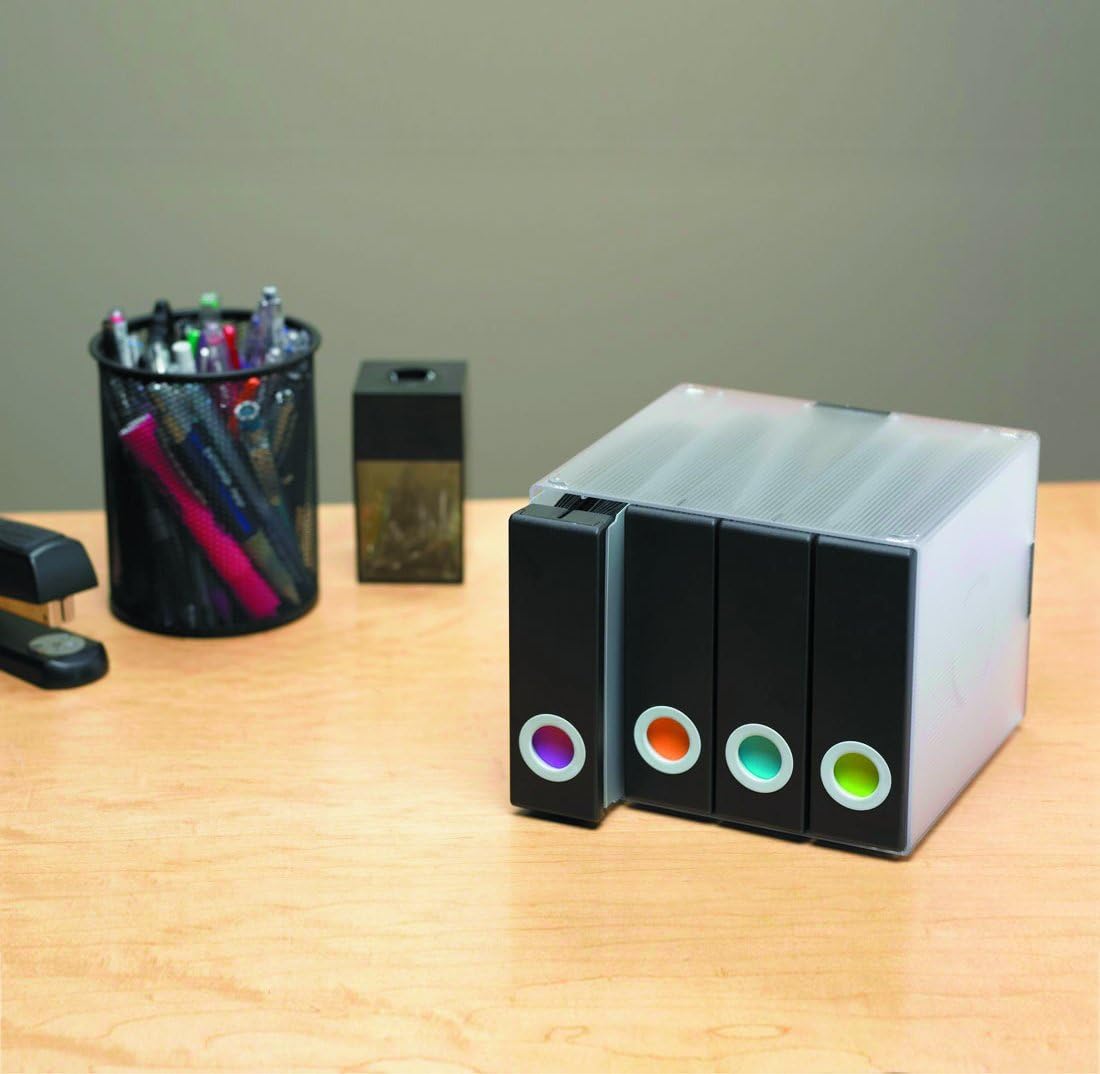
Option 3: Using a Small Storage Box for Binder Clips
If you prefer a portable and compact storage solution for your binder clips, using a small storage box is an excellent choice. This option allows you to keep your clips organized and easily transport them when needed. Here’s how you can use a small storage box for storing your binder clips:
- Select a small storage box: Choose a storage box that can comfortably accommodate your binder clips. Look for a box with dividers or compartments to keep the clips separated.
- Sort the binder clips: Sort your binder clips by size, color, or any other category that works for you. This will help you easily find the clips you need when you’re working on different tasks.
- Arrange the binder clips: Place the sorted binder clips in the compartments or dividers of the storage box. Make sure to fill the box in a way that keeps the clips secure and minimizes any movement or shifting during transport.
- Add labels (optional): If desired, you can add labels to each compartment or divider indicating the size or category of the binder clips. This will make it even easier to locate and retrieve the clips you need.
- Secure the box: Ensure that the storage box is securely closed to prevent any accidental opening that could cause the clips to spill. You may also consider using an additional elastic band or a small lock to keep the box tightly shut during transport.
A small storage box is an incredibly convenient option for storing binder clips, particularly if you need to move them between different locations frequently. It keeps your clips organized, prevents them from getting lost, and allows you to easily carry them wherever you go.
Option 4: Utilizing a Magnetic Strip for Binder Clips
For a space-saving and visually appealing storage solution, utilizing a magnetic strip to store your binder clips is an excellent choice. By attaching the clips to a magnetic surface, you can keep them easily accessible and create an organized display. Here’s how you can utilize a magnetic strip for storing your binder clips:
- Select a magnetic strip: Choose a magnetic strip that is long enough to accommodate your binder clips. You can find magnetic strips in various sizes, so select one that fits well in your workspace.
- Sort the binder clips: Sort your binder clips by size or any other category that suits your needs. This will help create an organized and visually appealing arrangement on the magnetic strip.
- Attach the binder clips: Take each binder clip and simply attach it to the magnetic strip by allowing the metal arms to stick to the magnetic surface. Space them out evenly or create patterns to make it visually appealing.
- Label or arrange by category (optional): To enhance organization, you may consider labeling specific sections of the magnetic strip or grouping the binder clips by category, such as size or color. This will make it easier to locate and retrieve the clips you need.
Utilizing a magnetic strip for storing binder clips is not only functional but also adds a decorative touch to your workspace. It keeps your clips within reach and creates an organized display that is both visually appealing and practical.
Option 5: Creating a DIY Binder Clip Holder
If you enjoy hands-on projects and want a customized storage solution for your binder clips, creating a DIY binder clip holder is a fun and creative option. You can design and construct a holder that perfectly suits your needs and adds a personal touch to your workspace. Here’s how you can create your own DIY binder clip holder:
- Gather materials: Start by gathering materials that you’ll need for your DIY project. This may include a wooden base or frame, small containers or jars, adhesive, paint, brushes, or any other decorative elements you wish to include.
- Design your holder: Plan the layout and design of your binder clip holder. Consider how many binder clips you have and how you want them organized. You can choose to mount containers or jars onto the base, or even create compartments or dividers using wood or other materials.
- Assemble the holder: Begin by attaching the containers or jars onto the wooden base using adhesive or screws. Make sure they are securely in place. If you’re constructing compartments or dividers, measure and cut the wood to size, and secure them to the base.
- Decorate the holder (optional): Add a personal touch to your DIY binder clip holder by painting the wooden base, decorating it with patterns or designs, or personalizing it in any way you like. Let your creativity shine through!
- Organize the binder clips: Once your DIY binder clip holder is complete, sort your binder clips and place them in the designated compartments or containers. Arrange them in a way that is visually appealing and makes it easy to locate the clips you need.
Creating a DIY binder clip holder allows you to have a unique and customized storage solution that perfectly suits your style and requirements. It’s a fun project that not only keeps your binder clips organized but also adds a touch of personality to your workspace.
Read more: How To Store Claw Clips
Tips for Organizing and Maintaining Your Binder Clip Storage
Once you have chosen the storage method that works best for you, it’s important to maintain the organization of your binder clip storage to ensure ease of use and prevent clutter. Here are some tips to help you keep your binder clip storage organized:
- Regularly declutter: Take the time to periodically declutter your binder clip storage. Remove any unused or damaged clips, and reorganize the remaining ones. This will help you maintain an efficient storage system and prevent overcrowding.
- Label containers or sections: Consider labeling containers, compartments, or sections of your storage to make it easier to locate specific sizes, colors, or categories of binder clips at a glance. Clear labels or color-coded indicators can be helpful in this regard.
- Maintain a system: Establish a system for arranging and organizing your binder clips. Whether you choose to sort them by size, color, or category, consistency is key. Train yourself to return binder clips to their designated sections after each use to avoid mix-ups or misplacements.
- Consider digital storage: If you prefer a more digital approach, you can opt to scan or photograph your binder clips and store the images digitally. This can save physical space while still allowing you to easily access and categorize your clips.
- Store in a convenient location: Keep your binder clip storage in a location that is easily accessible to you. This will ensure that you can quickly grab what you need without interrupting your workflow.
- Regularly inventory your stock: Periodically take inventory of your binder clips to ensure you have enough for your needs. This will help you track when it’s time to restock and avoid running out when you need them most.
- Keep your storage area clean: Regularly clean and dust the area where your binder clips are stored to prevent any buildup of dirt or debris. This will help prolong the lifespan of your clips and keep them in good condition.
By implementing these tips, you can maintain an organized and efficient binder clip storage system that makes it easy to find and use the clips you need. An organized workspace not only enhances productivity but also helps create a sense of calm and order.
Conclusion
Storing binder clips in an organized and accessible manner is essential for maintaining a neat and efficient workspace. By choosing the right storage container and implementing one of the various storage options available, you can keep your binder clips in order and easily find them when needed.
Whether you opt for storing binder clips in a drawer, hanging them on a bulletin board, using a small storage box, utilizing a magnetic strip, or creating a DIY binder clip holder, each method has its unique advantages. Consider your space, preference for portability, and aesthetic preferences when choosing the best option for you.
Remember to prepare your binder clips for storage by cleaning them, straightening their arms, and ensuring the springs are in good working condition. This will help prolong their lifespan and ensure they are ready to use whenever you need them.
Additionally, implementing an organized system, labeling compartments or sections, and regularly decluttering and maintaining your binder clip storage will help you stay organized and make it easy to find the clips you need with minimal effort.
By following the tips and suggestions provided in this article, you can create an efficient and visually appealing storage system for your binder clips, adding organization and convenience to your workspace.
So, go ahead and choose the storage method that suits your needs, get your binder clips organized, and enjoy a clutter-free and productive workspace!
Frequently Asked Questions about How To Store Binder Clips
Was this page helpful?
At Storables.com, we guarantee accurate and reliable information. Our content, validated by Expert Board Contributors, is crafted following stringent Editorial Policies. We're committed to providing you with well-researched, expert-backed insights for all your informational needs.


0 thoughts on “How To Store Binder Clips”