
Articles
How To Store Sterilized Bottles
Modified: February 26, 2024
Discover the best ways to store sterilized bottles with our comprehensive articles. From proper cleaning techniques to organizing tips, we have you covered.
(Many of the links in this article redirect to a specific reviewed product. Your purchase of these products through affiliate links helps to generate commission for Storables.com, at no extra cost. Learn more)
Introduction
When it comes to raising a baby, sterilizing bottles is an essential task to ensure the health and safety of your little one. But what happens after the bottles are sterilized? How do you store them in a way that keeps them clean and ready for use? In this article, we will guide you through the steps on how to properly store sterilized bottles, allowing you to maintain their cleanliness and hygiene.
Proper storage of sterilized bottles is crucial to prevent contamination and maintain the sanitization process. By following these steps, you can ensure that your baby’s bottles remain safe for use and that you have a supply of clean bottles ready whenever you need them. Whether you are a new parent or simply looking for tips to improve your bottle storage routine, let’s delve into the details of how to store sterilized bottles effectively.
Key Takeaways:
- Properly storing sterilized bottles is crucial for maintaining cleanliness and ensuring your baby’s safety. Follow these steps to organize, cover, and maintain a hygienic storage area for your baby’s feeding equipment.
- Consider using a bottle drying rack to efficiently dry and organize sterilized bottles, promoting hygiene and saving space. Prioritize cleanliness and regular maintenance to ensure your baby’s bottles are always ready for use.
Read more: How To Store Bottles After Sterilizing
Step 1: Clean and sterilize the bottles
The first step in storing sterilized bottles is to thoroughly clean and sterilize them. This is essential to remove any bacteria or residue that may be present.
Start by disassembling the bottles, separating the bottle itself, the nipple, the collar, and any other removable parts. Rinse each component with warm water to remove any leftover milk or formula.
Next, it’s time to sterilize the bottles. You can use one of several methods for sterilization. Boiling the bottles is a common and effective method. Simply place the bottles, along with their separate parts, into a pot of boiling water. Let them boil for at least 5 minutes to kill any bacteria.
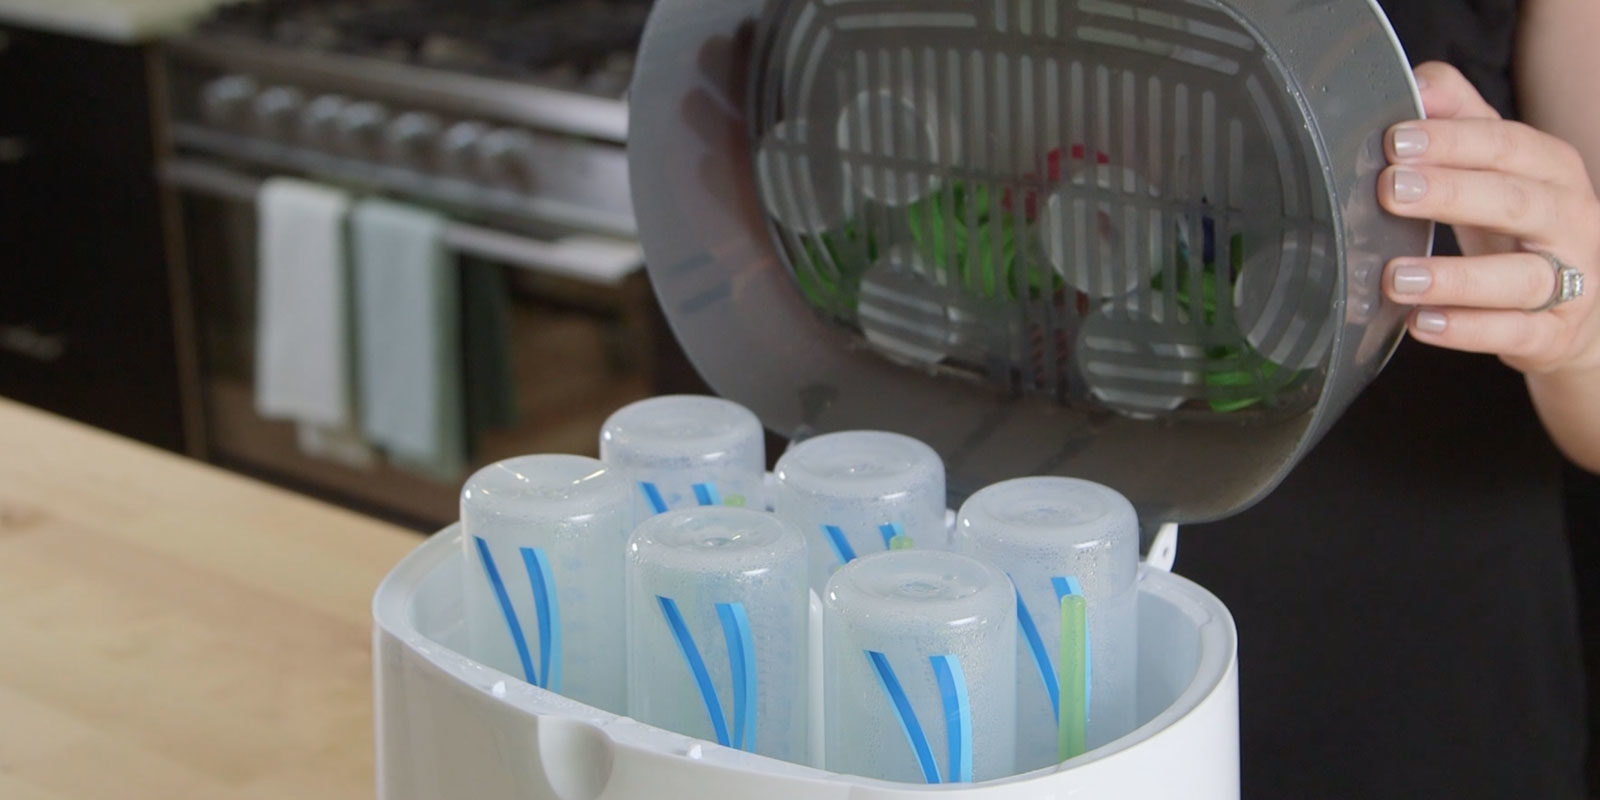
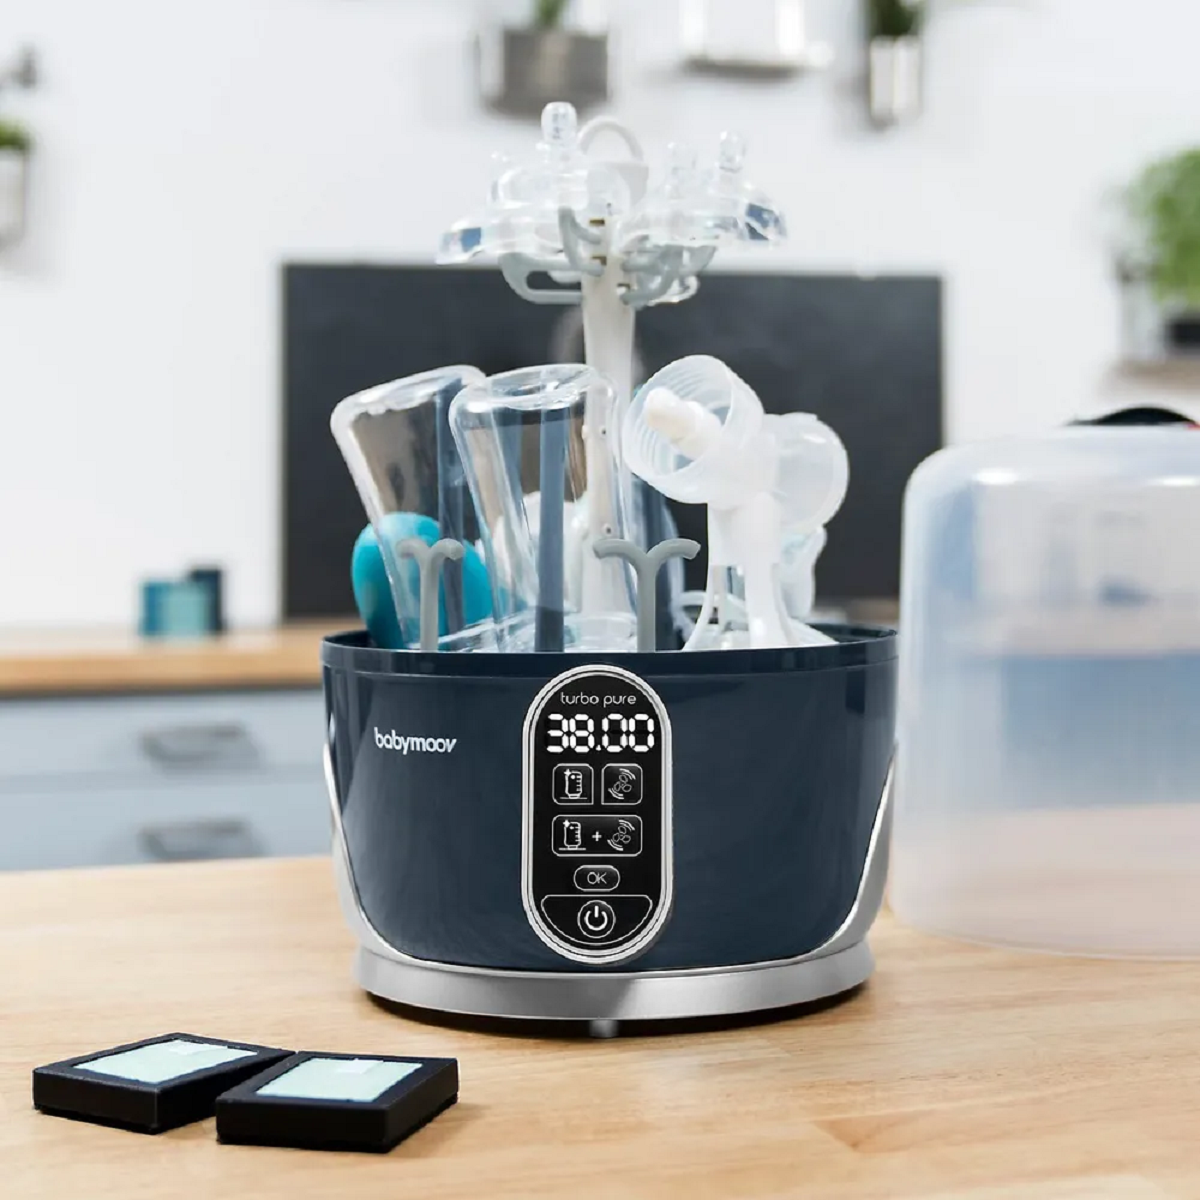
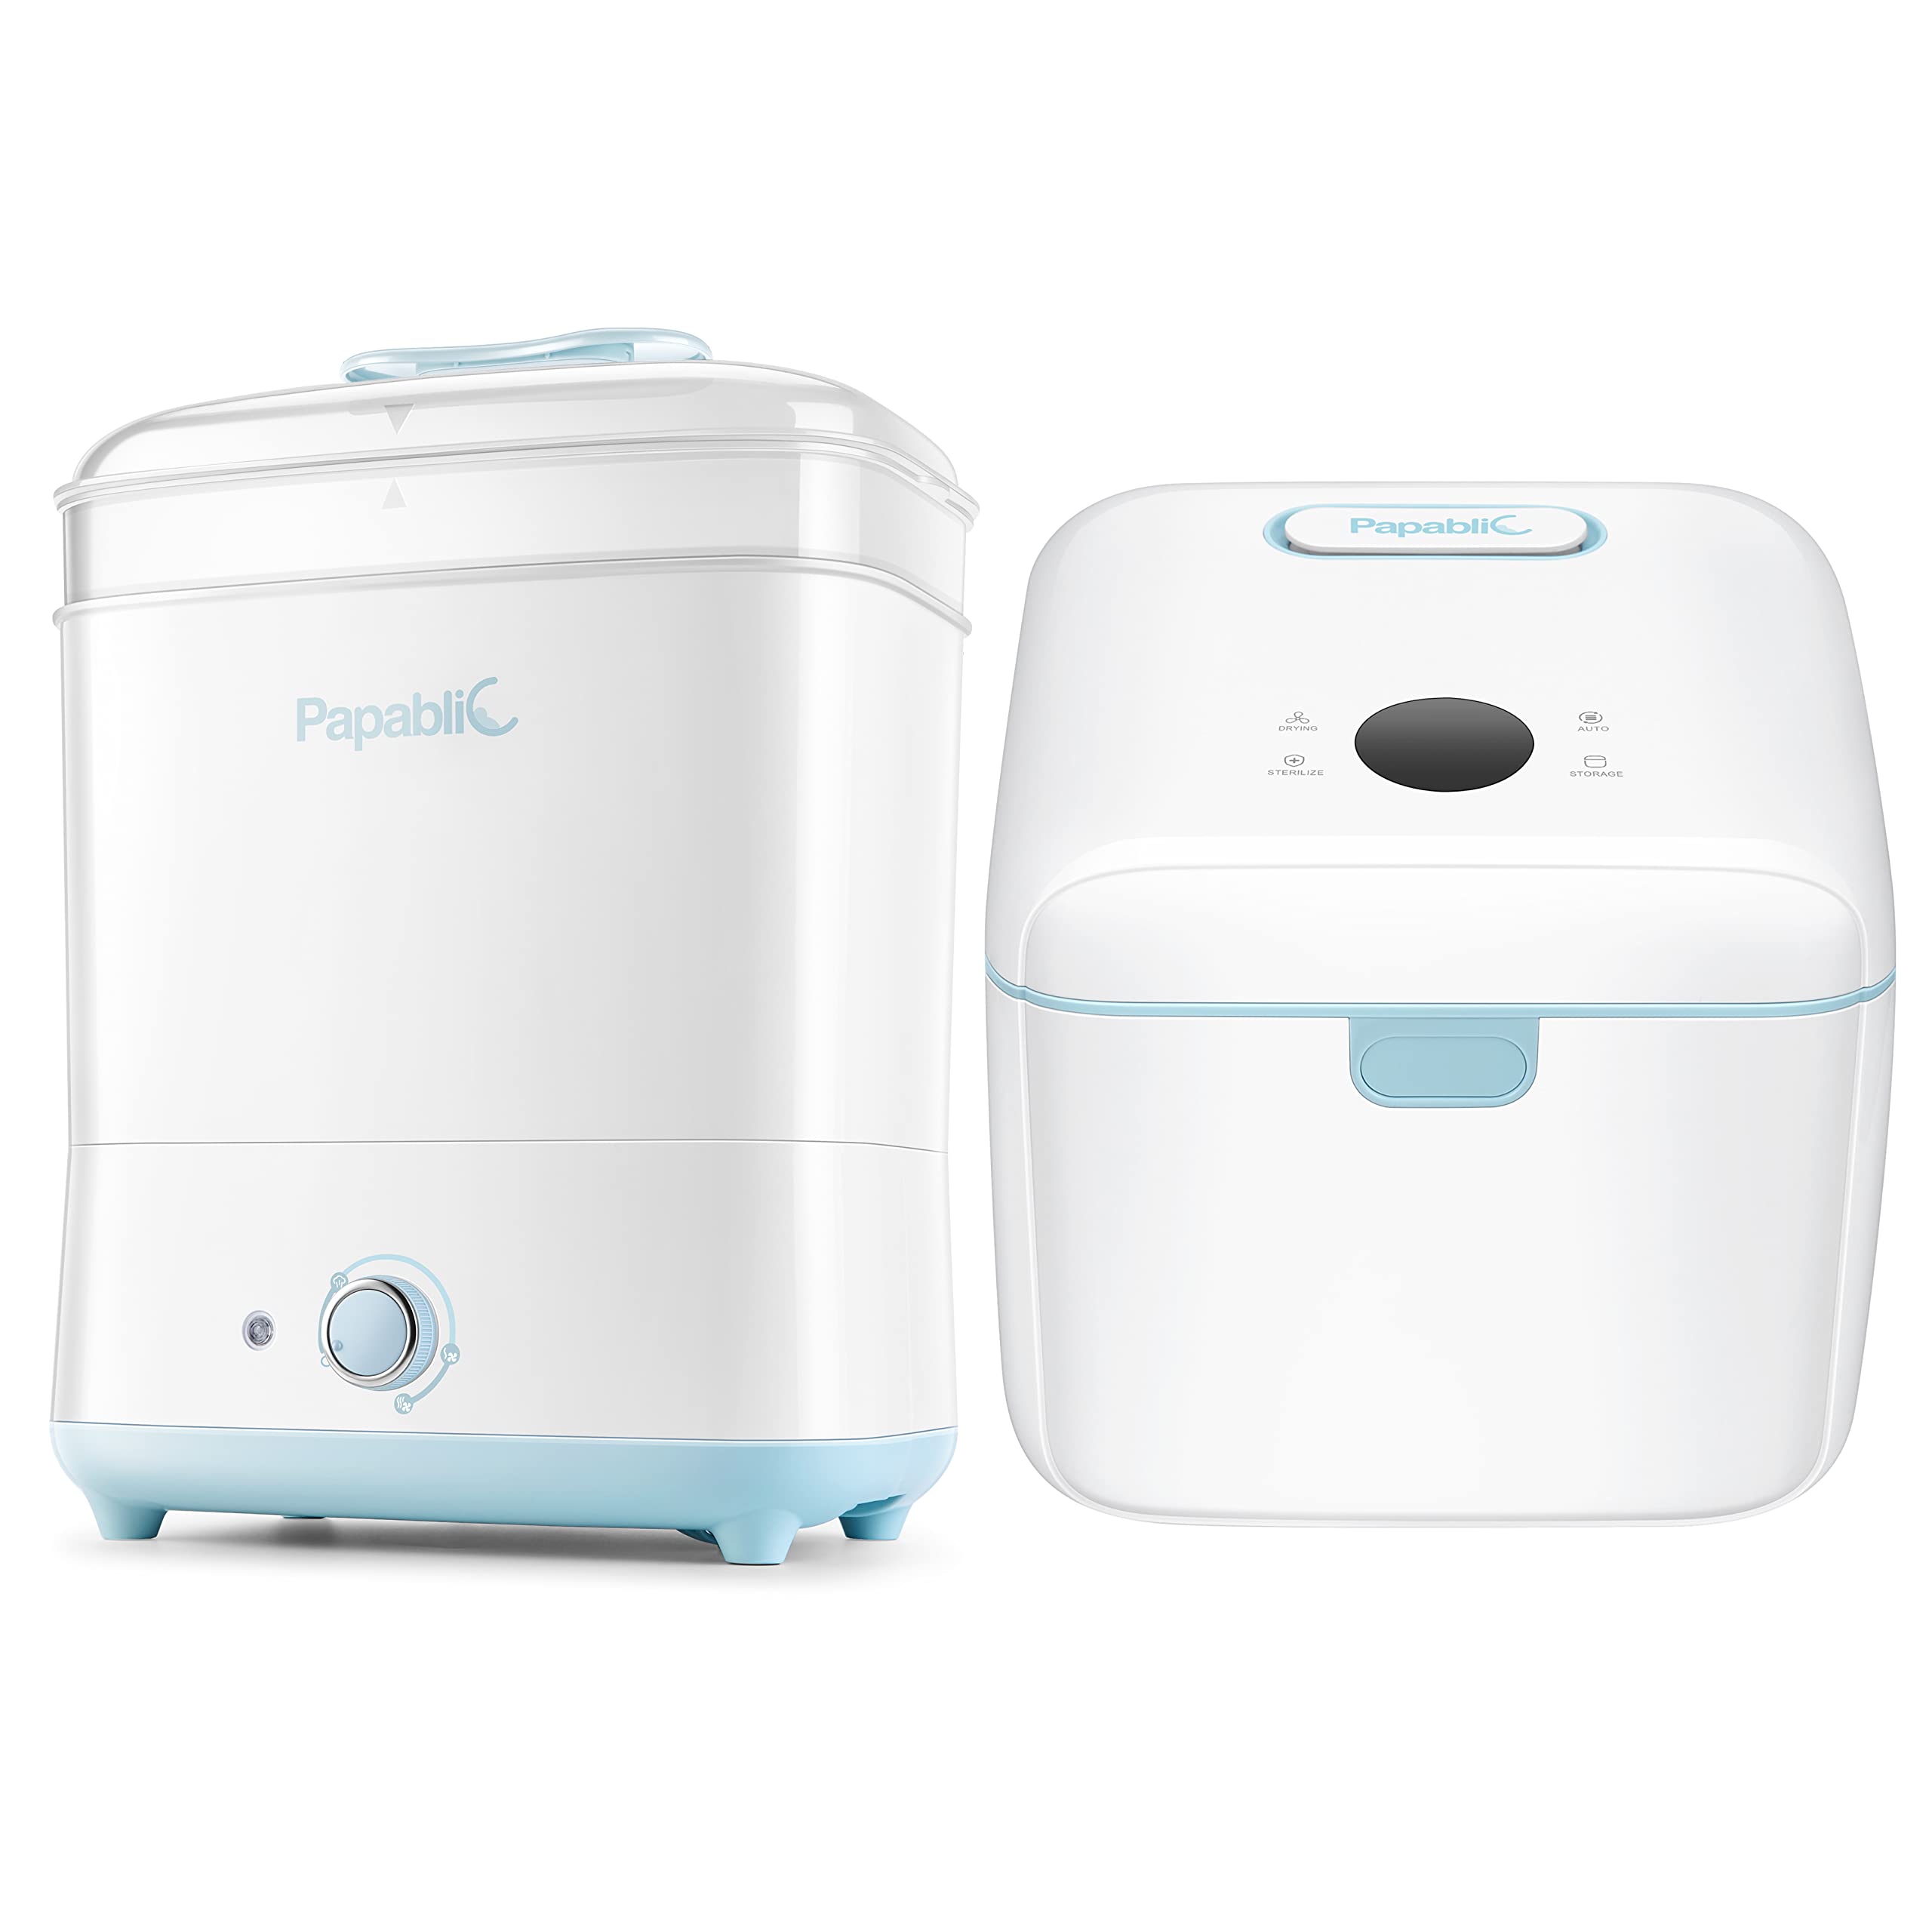
Another option is to use a steam sterilizer. These handy devices use hot steam to effectively sterilize bottles and accessories. Simply follow the manufacturer’s instructions for your specific sterilizer model.
If you prefer a chemical-free approach, you can also use sterilizing tablets or solution. Dissolve the tablet or solution in water according to the instructions on the packaging. Submerge the bottles and their components in the solution for the recommended duration to achieve complete sterilization.
Once the sterilization process is complete, carefully remove the bottles from the boiling water or sterilizer and allow them to cool down. Ensure that you use clean hands or sterilized tongs to prevent recontamination of the bottles. Place the bottles on a clean and dry surface, such as a clean kitchen towel or a drying rack.
It’s important to note that sterilized bottles should be stored immediately after the sterilization process to maintain their cleanliness. Avoid touching the inside of the bottles or placing them on unclean surfaces to prevent contamination.
In the next step, we will discuss how to properly dry the sterilized bottles to ensure they are ready for storage.
Step 2: Allow the bottles to dry completely
After sterilizing the bottles, it’s crucial to ensure that they are completely dry before storing them. Moisture can lead to the growth of bacteria, defeating the purpose of sterilization. Here’s how to ensure your bottles are fully dry:
1. Shake off any excess water: Give each component of the bottle a gentle shake to remove excess water. This will help speed up the drying process.
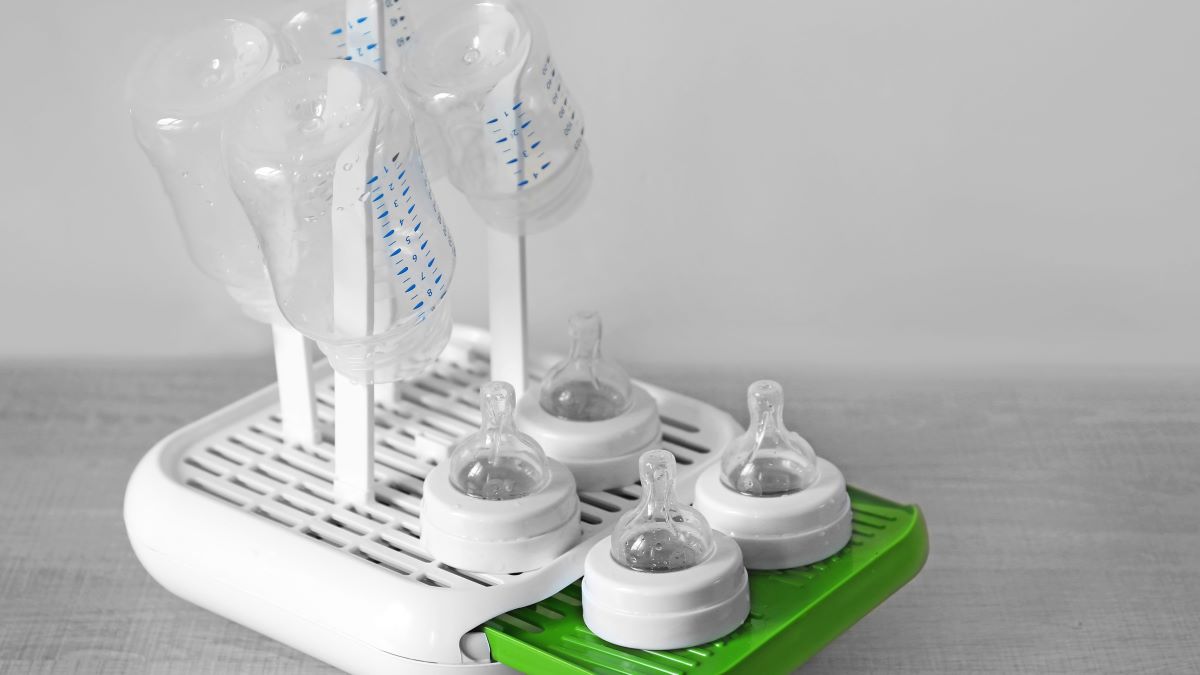
2. Air dry: Place the bottles and their components on a clean, dry dish rack or a clean kitchen towel. Make sure they are in an upright position to allow air circulation. Avoid using cloth towels to dry the bottles, as they can introduce lint or moisture back onto the surface.
3. Give it time: Allow the bottles to air dry naturally for at least an hour or until they are completely dry to the touch. Avoid rushing the drying process by using a hairdryer or towel, as this can introduce more moisture or residue.
4. Check for moisture: Before storing the bottles, double-check that there is no moisture present. Inspect the inside and outside of the bottles, as well as the nipples and collars. If you notice any dampness, give them more time to air dry or gently pat them dry with a clean, lint-free cloth.
It’s important to remember that storing wet or damp bottles can lead to mold or bacteria growth, which can pose health risks for your baby. So, take the necessary precautions to ensure that the bottles are thoroughly dry before moving on to the next step.
In the next step, we will discuss how to choose the right storage location for your sterilized bottles.
Step 3: Choosing the right storage location
Choosing the right storage location for your sterilized bottles is essential to maintain their cleanliness and hygiene. Consider the following factors when selecting the ideal storage spot:
1. Clean and dry area: Find a storage area that is clean, dry, and free from dust, dirt, and other contaminants. Avoid storing the bottles near the sink or in areas prone to moisture or humidity, as this can lead to bacteria growth. Opt for a spot that is well-ventilated and away from direct sunlight.
2. Dedicated space: Designate a specific area for bottle storage. This will help you stay organized and ensure that the bottles are not mixed with other items that may introduce bacteria or cause damage. Consider using a separate cabinet, shelf, or drawer for this purpose.
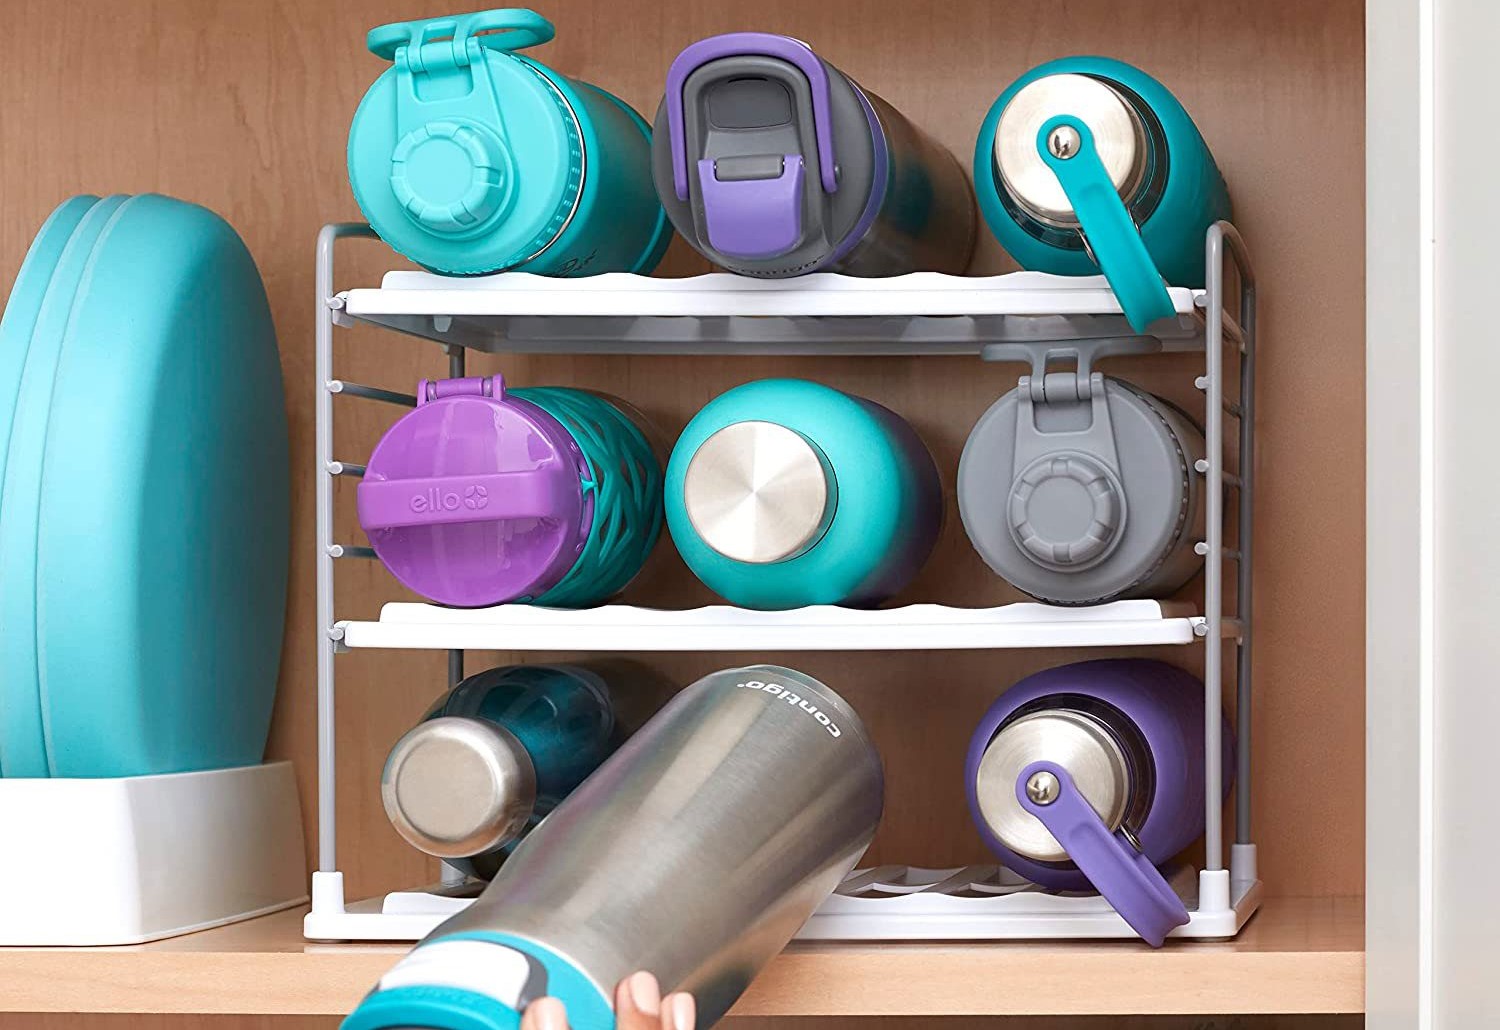
3. Elevated storage: If possible, choose an elevated storage area to prevent contact with the floor or other surfaces. This reduces the risk of contamination from dirt or spills. You can use a bottle drying rack or place the bottles on a clean tray to keep them elevated.
4. Away from chemicals: Keep the bottles away from chemicals, cleaning products, and potential hazards. Ensure that they are stored in a location where they won’t come into contact with strong-smelling substances or potentially harmful substances.
5. Accessibility: Consider convenience and accessibility when choosing a storage location. Opt for a spot that is within reach, making it easy for you to grab a sterilized bottle when needed. This is particularly important during nighttime feedings when you may be sleepy or in a hurry.
Remember, maintaining a hygienic storage environment is crucial for your baby’s health. Regularly clean and disinfect the storage area to prevent the accumulation of dust, dirt, or other contaminants.
In the next step, we will discuss how to organize the sterilized bottles properly in the chosen storage location.
Step 4: Organize the bottles properly
Organizing your sterilized bottles is key to ensuring that they remain clean and easily accessible. Here are some tips to help you organize your bottles effectively:
1. Group bottles by size: If you have different sizes of bottles, group them together. This will make it easier to locate the specific size you need when preparing a bottle for your baby.
2. Separate by type: If you use different types of bottles, such as glass bottles or plastic bottles, consider separating them. This can help prevent confusion and potential mix-ups. You can use dividers or separate compartments within your storage area to keep them organized.
3. Arrange by age: If your baby is still in the newborn stage and using smaller-sized bottles, separate them from the larger bottles that your baby may transition to as they grow. This can help you easily identify which bottles are suitable for your baby’s current stage.
4. Label or color-code: Consider labeling or color-coding your bottles to further enhance organization. You can use removable labels or stickers to mark each bottle with the date of sterilization or other relevant information. This can help you keep track of which bottles have been used and which ones need to be sterilized again.
5. Storing extra pieces: If you have extra nipples, collars, or other bottle accessories, keep them stored separately. This prevents them from cluttering the bottle storage area and makes it easier for you to locate them when needed.
6. Stacking or nesting: Utilize the available space efficiently by stacking or nesting the bottles. Place the bottle bodies one inside the other to save space, but make sure they are completely dry before doing so. This method can be useful, especially if you have limited storage space.
Remember to keep your organized bottles away from other items that may introduce contaminants. Regularly clean and disinfect the storage area to maintain a sanitary environment for your baby’s bottles.
In the next step, we will discuss the importance of keeping the bottles covered during storage.
After sterilizing bottles, allow them to air dry completely before storing them. Store them in a clean, dry, and covered container to prevent contamination.
Read more: How To Store Sterilized Baby Bottles
Step 5: Keep the bottles covered
Keeping your sterilized bottles covered is an important step in maintaining their cleanliness and preventing any potential contamination. Here’s why it is essential and how to properly cover your bottles:
1. Protection against dust and debris: By covering the bottles, you protect them from dust particles and other airborne debris that can settle on the surface. This is particularly important if you store the bottles in an area where there might be exposure to dust or other contaminants.
2. Prevention of insect or pest intrusion: Covering the bottles helps to safeguard them from insects or pests that may be present in your storage area. This is especially crucial if you live in an area prone to pests or have an open storage space.
3. Hygienic storage: The covering acts as a barrier, preventing any bacteria or germs from coming into contact with the sterilized bottles. This is an additional layer of protection to ensure the bottles remain clean and ready for use.
Now, let’s discuss how to properly cover your sterilized bottles:
1. Use bottle caps or lids: Most bottles come with their own caps or lids. Make sure to clean and dry the caps thoroughly before placing them on the bottles. This will prevent any moisture or bacteria from entering the bottles during storage.
2. Seal the bottles: If your bottles come with sealing discs or lids, use them to tightly seal the bottles. This will provide an extra level of protection against contaminants.
3. Consider using bottle covers: If you prefer additional coverage, you can invest in bottle covers or caps that are specifically designed for this purpose. These covers usually fit over the entire bottle and provide a secure seal.
It’s important to note that the bottles should be covered once they are completely dry. Avoid covering wet or damp bottles, as this can create a moist environment and lead to the growth of bacteria.
By keeping your sterilized bottles covered, you can ensure that they remain clean and ready for use when your baby needs them. In the next step, we will discuss the importance of regularly checking and cleaning the storage area.
Step 6: Regularly check and clean the storage area
Regularly checking and cleaning the storage area for your sterilized bottles is an important step in maintaining their cleanliness and ensuring the health and safety of your baby. Here are some guidelines to help you with this task:
1. Set a cleaning schedule: Establish a regular cleaning schedule for the storage area. This ensures that you maintain a hygienic environment and prevents the build-up of dust or contaminants. Depending on your needs, you may choose to clean the area weekly, biweekly, or monthly.
2. Remove and inspect bottles: During the cleaning process, remove all the bottles from the storage area. Inspect them for any signs of dirt, residue, or damage. If you notice any issues, thoroughly clean or replace the affected bottles.
3. Wipe down the storage area: Use a clean, damp cloth or disinfectant wipes to wipe down the storage area. Pay attention to any shelves, racks, or surfaces where the bottles are stored. This helps eliminate any dust, dirt, or potential contaminants that may have accumulated.
4. Check for mold or mildew: Take a close look at the storage area to ensure there is no presence of mold or mildew. If you notice any signs of mold, clean and disinfect the area immediately. Address any issues with moisture or ventilation that may be contributing to mold growth.
5. Dry thoroughly: After cleaning, allow the storage area to dry completely before returning the sterilized bottles. Excess moisture can create an environment for bacteria or mold to thrive. Ensure that the storage area is moisture-free before placing the bottles back in the storage space.
Regularly checking and cleaning the storage area not only helps maintain the cleanliness and hygiene of your sterilized bottles, but it also provides peace of mind knowing that your baby’s feeding equipment is safe and healthy.
In the next step, we will discuss using a bottle drying rack as an additional storage option for your sterilized bottles.
Step 7: Consider using a bottle drying rack
A bottle drying rack can be a valuable addition to your sterilized bottle storage routine. Here’s why you should consider using a bottle drying rack and how to make the most of it:
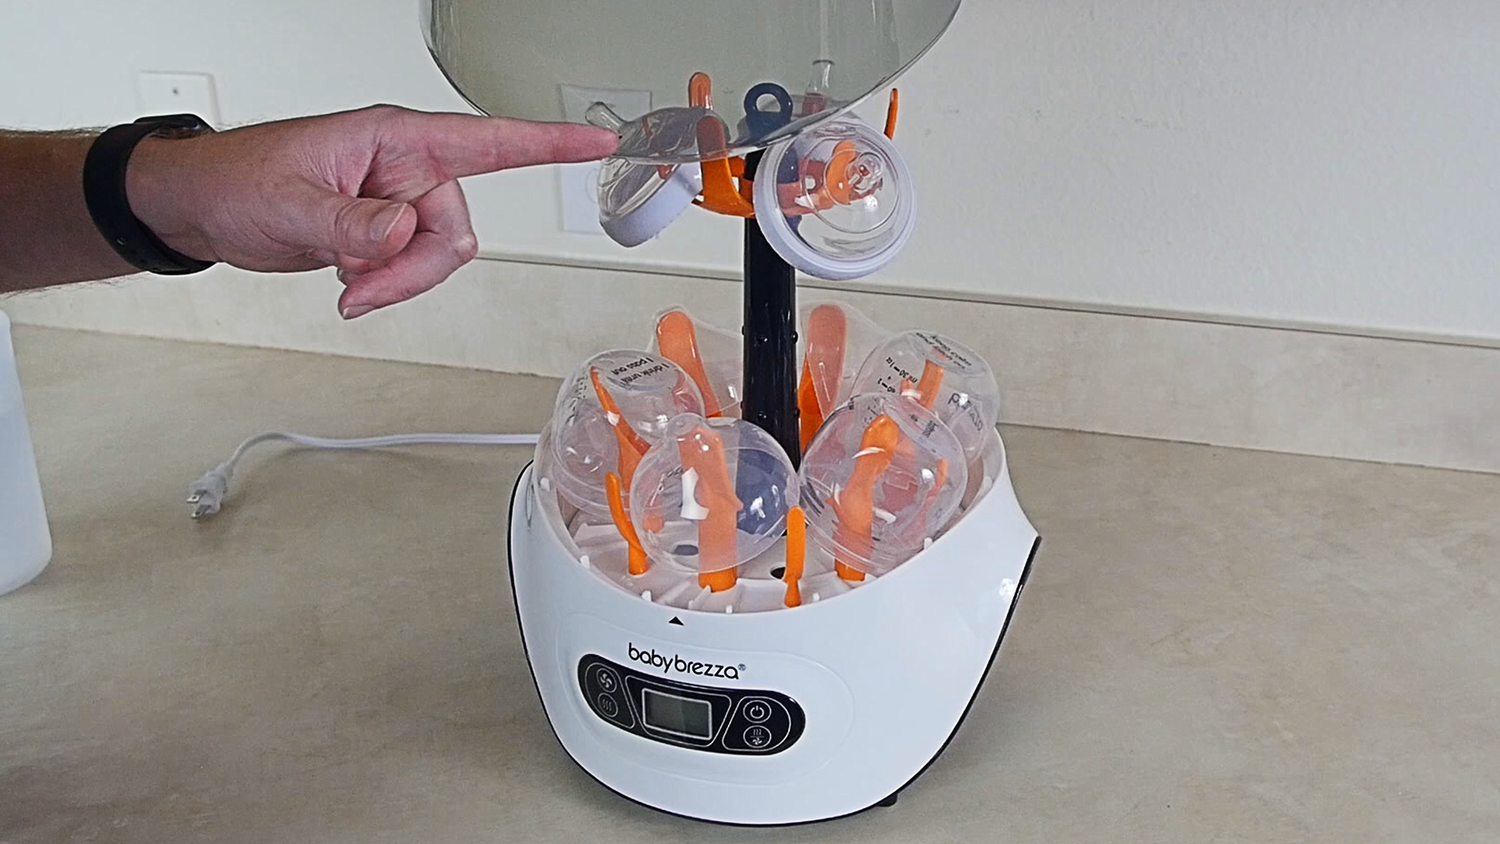
1. Efficient drying: A bottle drying rack provides a designated space for your sterilized bottles to dry efficiently. The rack allows proper air circulation around the bottles, promoting faster and more thorough drying. This can be particularly useful if you have multiple bottles to dry at once.
2. Organization: A drying rack helps you keep your sterilized bottles organized during the drying process. It provides separate slots or arms to safely hold each bottle, keeping them upright and preventing contact with other items or surfaces. This promotes hygiene and minimizes the risk of cross-contamination.
3. Space-saving: Bottle drying racks are designed to maximize storage space. They often feature multiple levels or foldable designs, allowing you to dry more bottles while saving counter or storage space. This is especially beneficial if you have a small kitchen or limited storage area.
4. Multipurpose functionality: Many bottle drying racks come with additional features or attachments, such as holders for bottle accessories, nipples, or pacifiers. This allows you to dry all the necessary components in one convenient location, making bottle preparation easier and more efficient.
5. Easy to clean: Bottle drying racks are typically made of easy-to-clean materials, such as BPA-free plastic or stainless steel. Cleaning them is as simple as wiping them down with a clean cloth or rinsing them with warm, soapy water. This helps maintain a hygienic drying environment for your bottles.
When using a bottle drying rack, ensure that the bottles are completely dry before transferring them to your chosen storage location. This way, you can avoid any moisture buildup that could lead to bacterial growth.
By considering the use of a bottle drying rack, you can streamline your sterilized bottle storage process, enhance organization, and ensure that your bottles are thoroughly and efficiently dried.
After following all these steps, you can now store your sterilized bottles with confidence, knowing that they are properly stored and ready for use whenever your baby needs them.
Conclusion
Storing sterilized bottles correctly is essential for maintaining their cleanliness and ensuring the health and safety of your baby. By following the steps outlined in this article, you can establish an effective bottle storage routine that promotes hygiene and convenience.
First and foremost, thoroughly clean and sterilize the bottles before storing them. Allow them to dry completely to prevent the growth of bacteria. Choose a suitable storage location that is clean, dry, and easily accessible. Organize the bottles properly by grouping them by size, type, or age. Keep the bottles covered to protect them from dust, debris, and potential contamination. Regularly check and clean the storage area to maintain a pristine environment for your bottles. Consider using a bottle drying rack to optimize drying efficiency and organization.
By following these steps, you can ensure that your sterilized bottles are in optimal condition when it’s time to feed your baby. Remember to prioritize cleanliness, regularly inspect and clean the storage area, and maintain proper hygiene in all aspects of bottle preparation and storage.
With these guidelines in mind, you can have peace of mind, knowing that your baby’s bottles are stored properly and ready for use, allowing you to focus on providing the best care for your little one.
Frequently Asked Questions about How To Store Sterilized Bottles
Was this page helpful?
At Storables.com, we guarantee accurate and reliable information. Our content, validated by Expert Board Contributors, is crafted following stringent Editorial Policies. We're committed to providing you with well-researched, expert-backed insights for all your informational needs.


0 thoughts on “How To Store Sterilized Bottles”