Articles
How To Store Bulbs After Flowering
Modified: March 1, 2024
Learn the best techniques for storing bulbs after they've finished flowering. Our articles provide helpful tips and advice to keep your bulbs healthy and ready for next season.
(Many of the links in this article redirect to a specific reviewed product. Your purchase of these products through affiliate links helps to generate commission for Storables.com, at no extra cost. Learn more)
Introduction
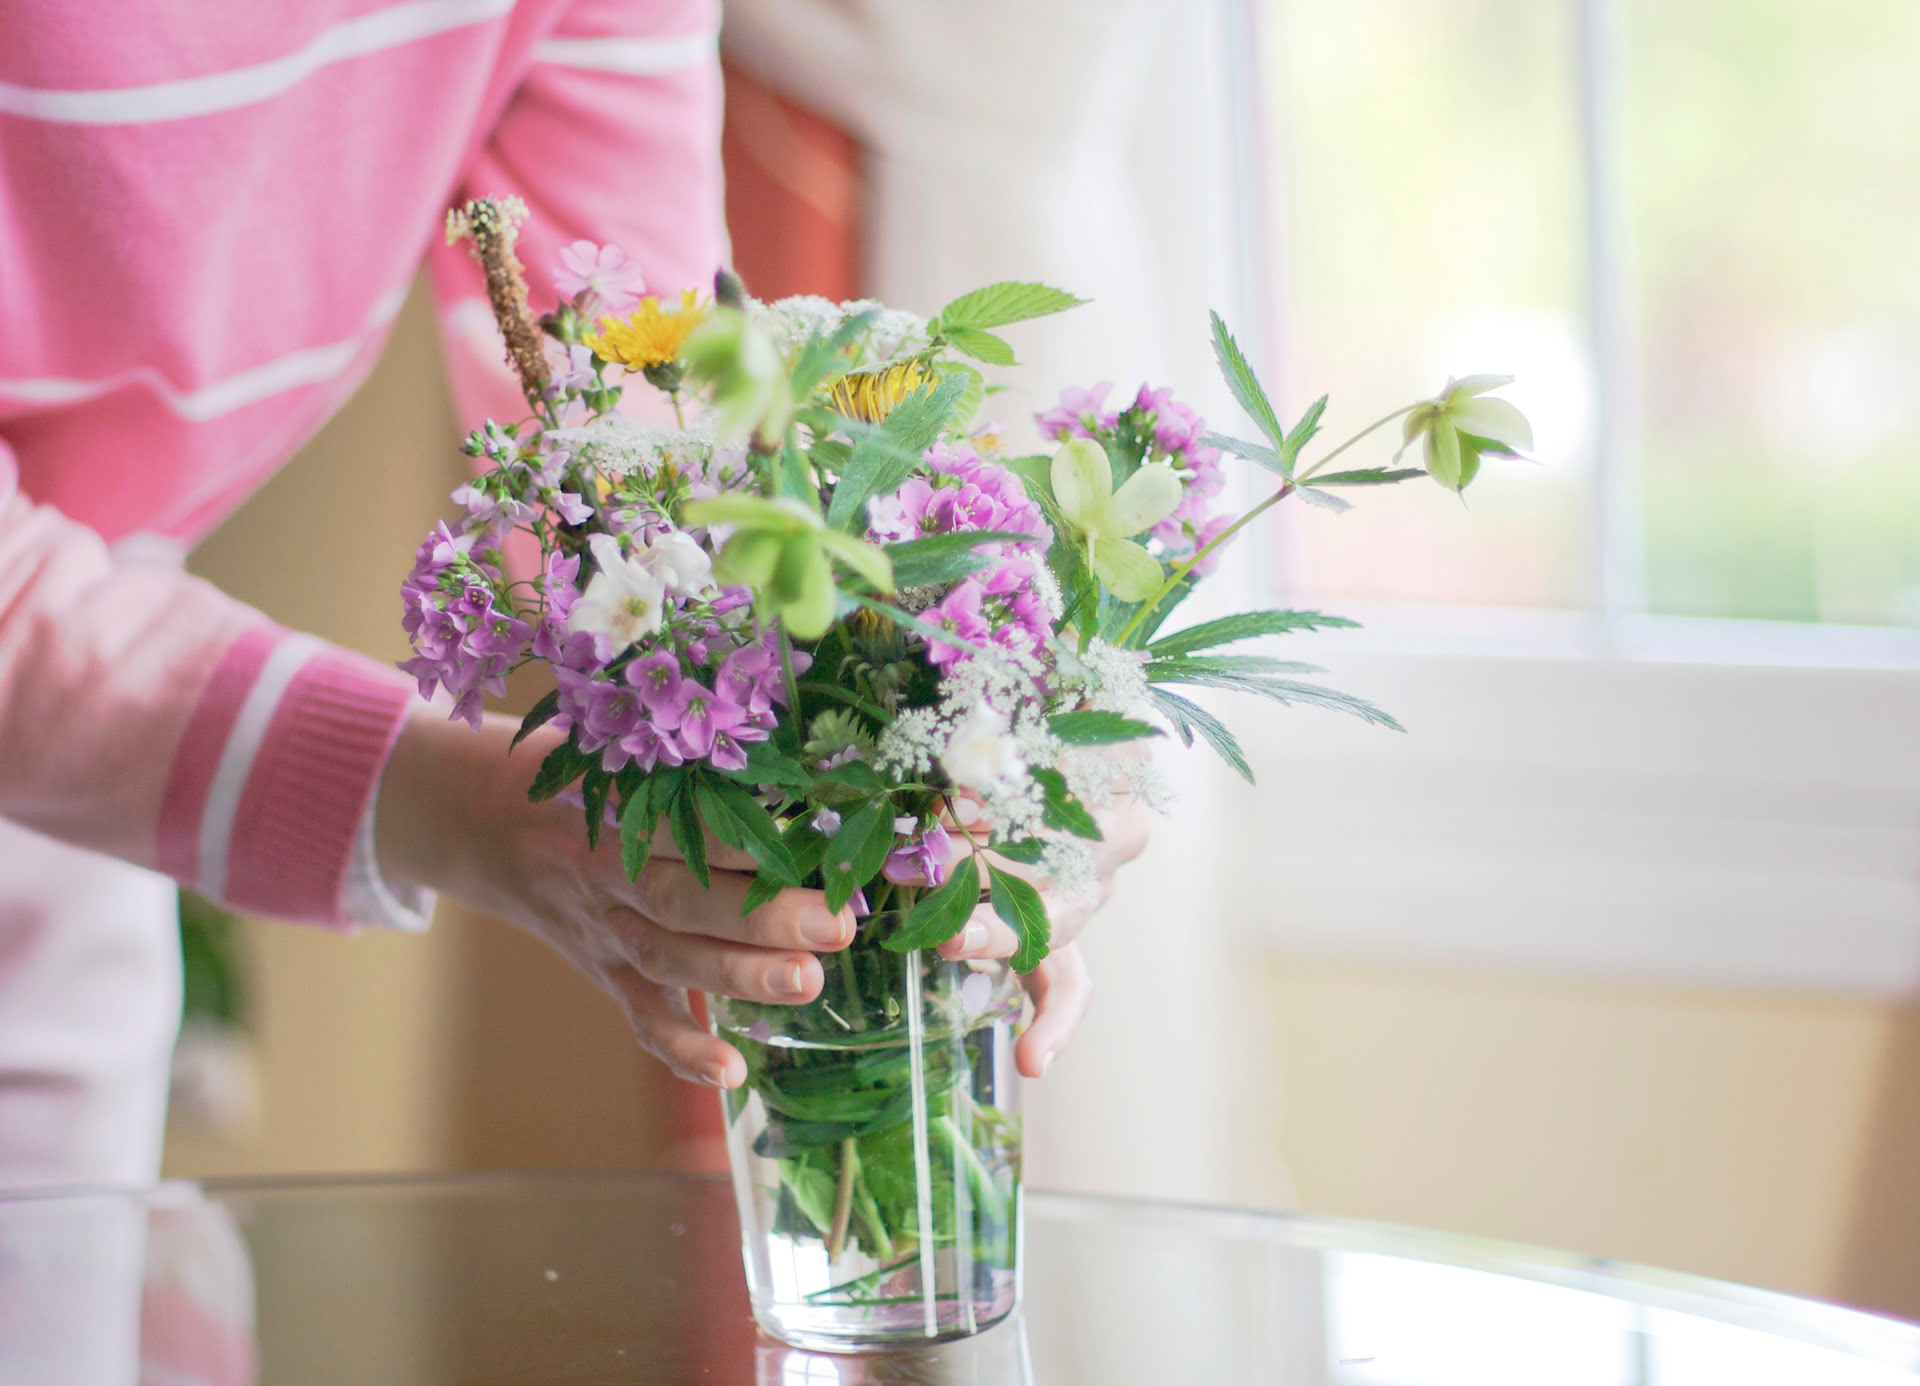
After the vibrant colors and blooms of spring and summer fade, many gardeners find themselves faced with the task of storing bulbs until the next planting season. Storing bulbs after flowering is essential to protect them from harsh winter conditions and ensure their longevity for future growth and blooming.
Understanding the importance of proper bulb storage can help you preserve the health and vitality of your bulbs, enabling them to thrive and produce beautiful flowers year after year. In this article, we will explore the reasons behind storing bulbs, the ideal timing for storage, and the necessary steps to prepare and store bulbs using various methods.
Whether you have tulips, daffodils, hyacinths, or any other bulbous plants in your garden, the tips and techniques shared in this article will guide you through the process of safely storing your bulbs until their next growing season.
Key Takeaways:
- Properly storing bulbs after flowering is crucial for their survival and future blooming. It protects them from harsh winter conditions, optimizes their growing environment, and allows for experimentation with new varieties and designs in the garden.
- Timing is key when storing bulbs, as it ensures their vitality and ability to bloom successfully in the following growing season. Proper preparation, storage methods, and monitoring are essential for maintaining the health and productivity of stored bulbs.
Read more: How To Store Tulip Bulbs After Flowering
Why store bulbs after flowering?
Storing bulbs after flowering is crucial for several reasons. First and foremost, many bulbs are susceptible to freezing temperatures and frost damage during the winter months. By storing bulbs, you can protect them from these extreme conditions and ensure their survival.
In addition to winter protection, storing bulbs also allows you to control and optimize their growing conditions. Some bulbs, such as tulips and daffodils, require a period of dormancy in cool temperatures in order to bloom again in the following year. By storing these bulbs, you can create the ideal environment for their dormancy, ensuring their vitality and ability to produce beautiful flowers in the future.
Another benefit of storing bulbs after flowering is the ability to manage bulb overcrowding. As bulbs continue to multiply and produce new offsets, they can become densely packed in the same planting bed, leading to reduced blooming and overall health. Storing the excess bulbs allows you to thin out the bulbs in your garden and provide more space for optimal growth and development.
Furthermore, storing bulbs allows you to rotate your planting locations. When you store bulbs after flowering, you have the opportunity to change the planting beds for the next growing season. This rotation helps prevent soil depletion and reduces the risk of disease or pests that may have affected the previous planting area.
Lastly, storing bulbs after flowering gives you the flexibility to experiment with different bulb varieties and designs in your garden. By storing bulbs, you can try out new combinations and arrangements each year, creating a varied and visually appealing garden that evolves with each growing season.
Overall, storing bulbs after flowering ensures the survival, health, and productivity of your bulbs, allowing you to enjoy their beauty for years to come. So, let’s dive into the details of when and how to store bulbs properly.
When to store bulbs
The timing of bulb storage is crucial to their overall health and ability to bloom successfully in the following growing season. The best time to store bulbs largely depends on the specific plant variety and the climate in which you reside.
In general, bulbs should be stored after their foliage has completely withered and turned yellow or brown. This is a sign that the bulbs have finished absorbing nutrients and have entered their dormant phase. Attempting to store bulbs before they have completed this process can result in weakened bulbs and reduced flowering in the future.
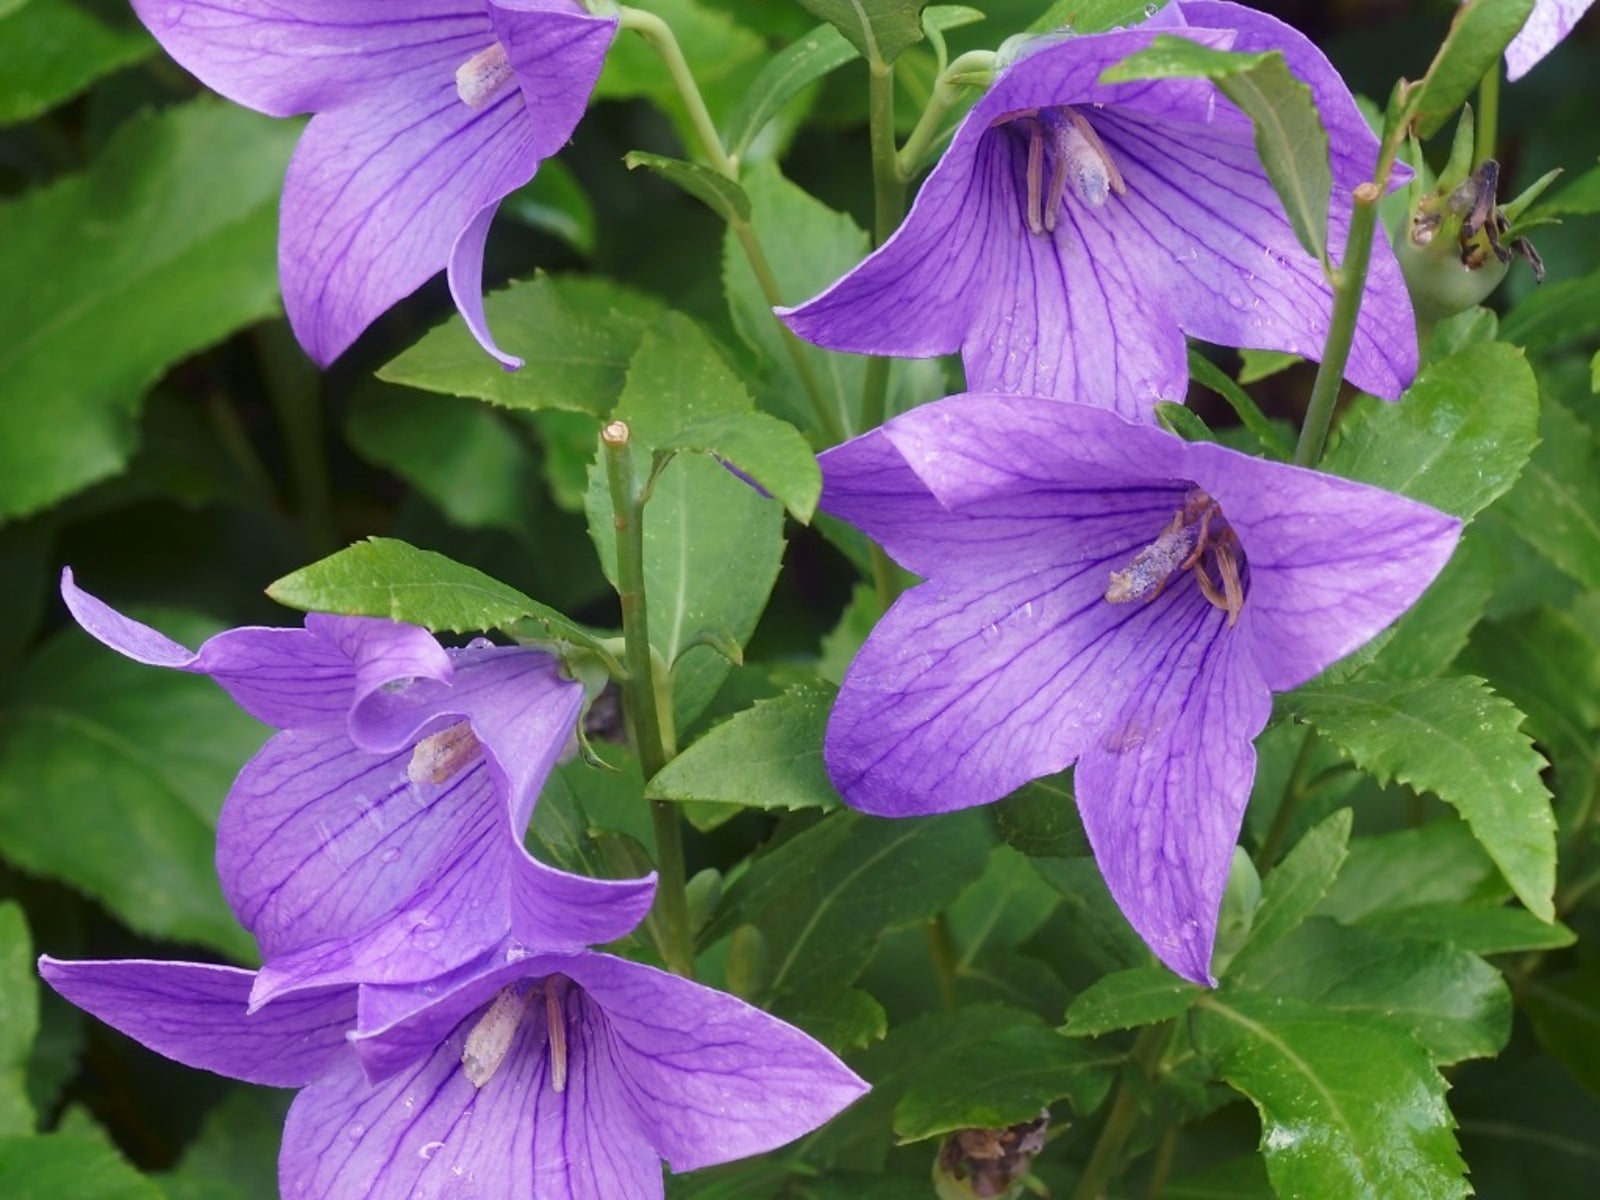
For spring-blooming bulbs like tulips, daffodils, and hyacinths, it is usually recommended to wait until late spring or early summer to store them. Allow the foliage to die back naturally and wait until it has fully turned yellow or brown. This typically takes about 6-8 weeks after flowering. Once the foliage has withered, you can begin preparing and storing the bulbs.
On the other hand, summer-blooming bulbs like lilies, dahlias, and gladiolus should be stored in the fall, before the first frost. These bulbs have a longer growing season and often require a period of winter dormancy to bloom again in the following year. To ensure their successful storage and future growth, dig up these bulbs after the foliage has died back naturally and before the temperatures drop too low.
It’s important to note that storing bulbs too early or too late can hinder their ability to rejuvenate and produce flowers. If you store bulbs too early, they may not have enough time to fully store nutrients and prepare for dormancy. Conversely, if you store bulbs too late, they may be exposed to freezing temperatures or become vulnerable to damage and disease.
Remember to consult specific planting and storing guidelines for each bulb variety, as some may require slightly different storage times or techniques. By following the appropriate timing for storing bulbs, you will ensure their vitality and increase the likelihood of a stunning display in the coming seasons.
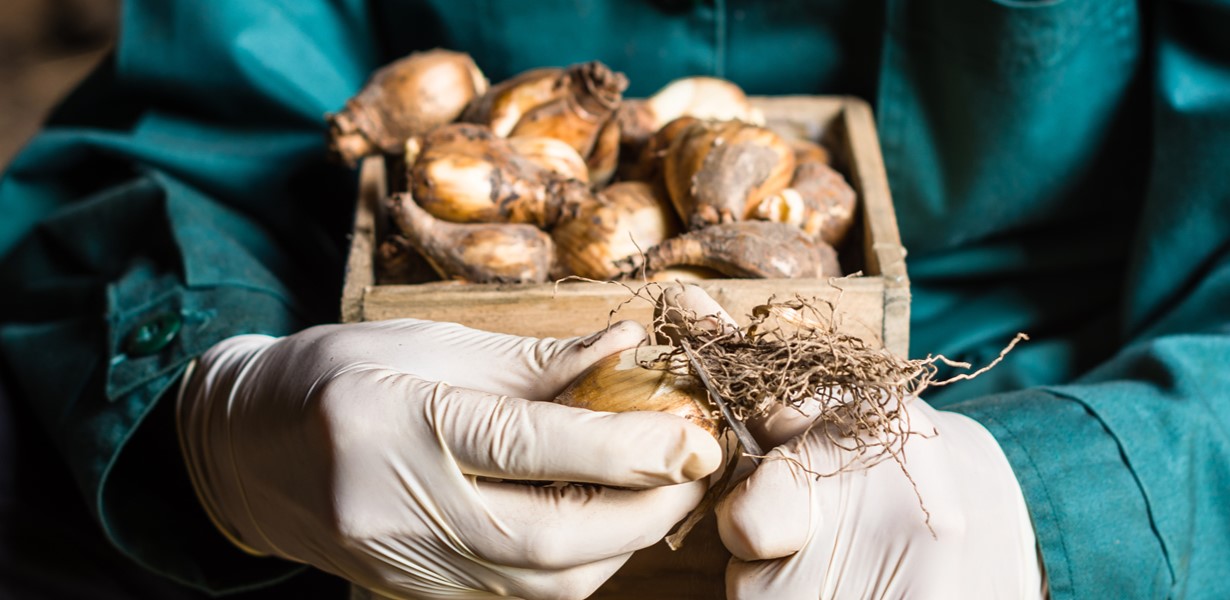
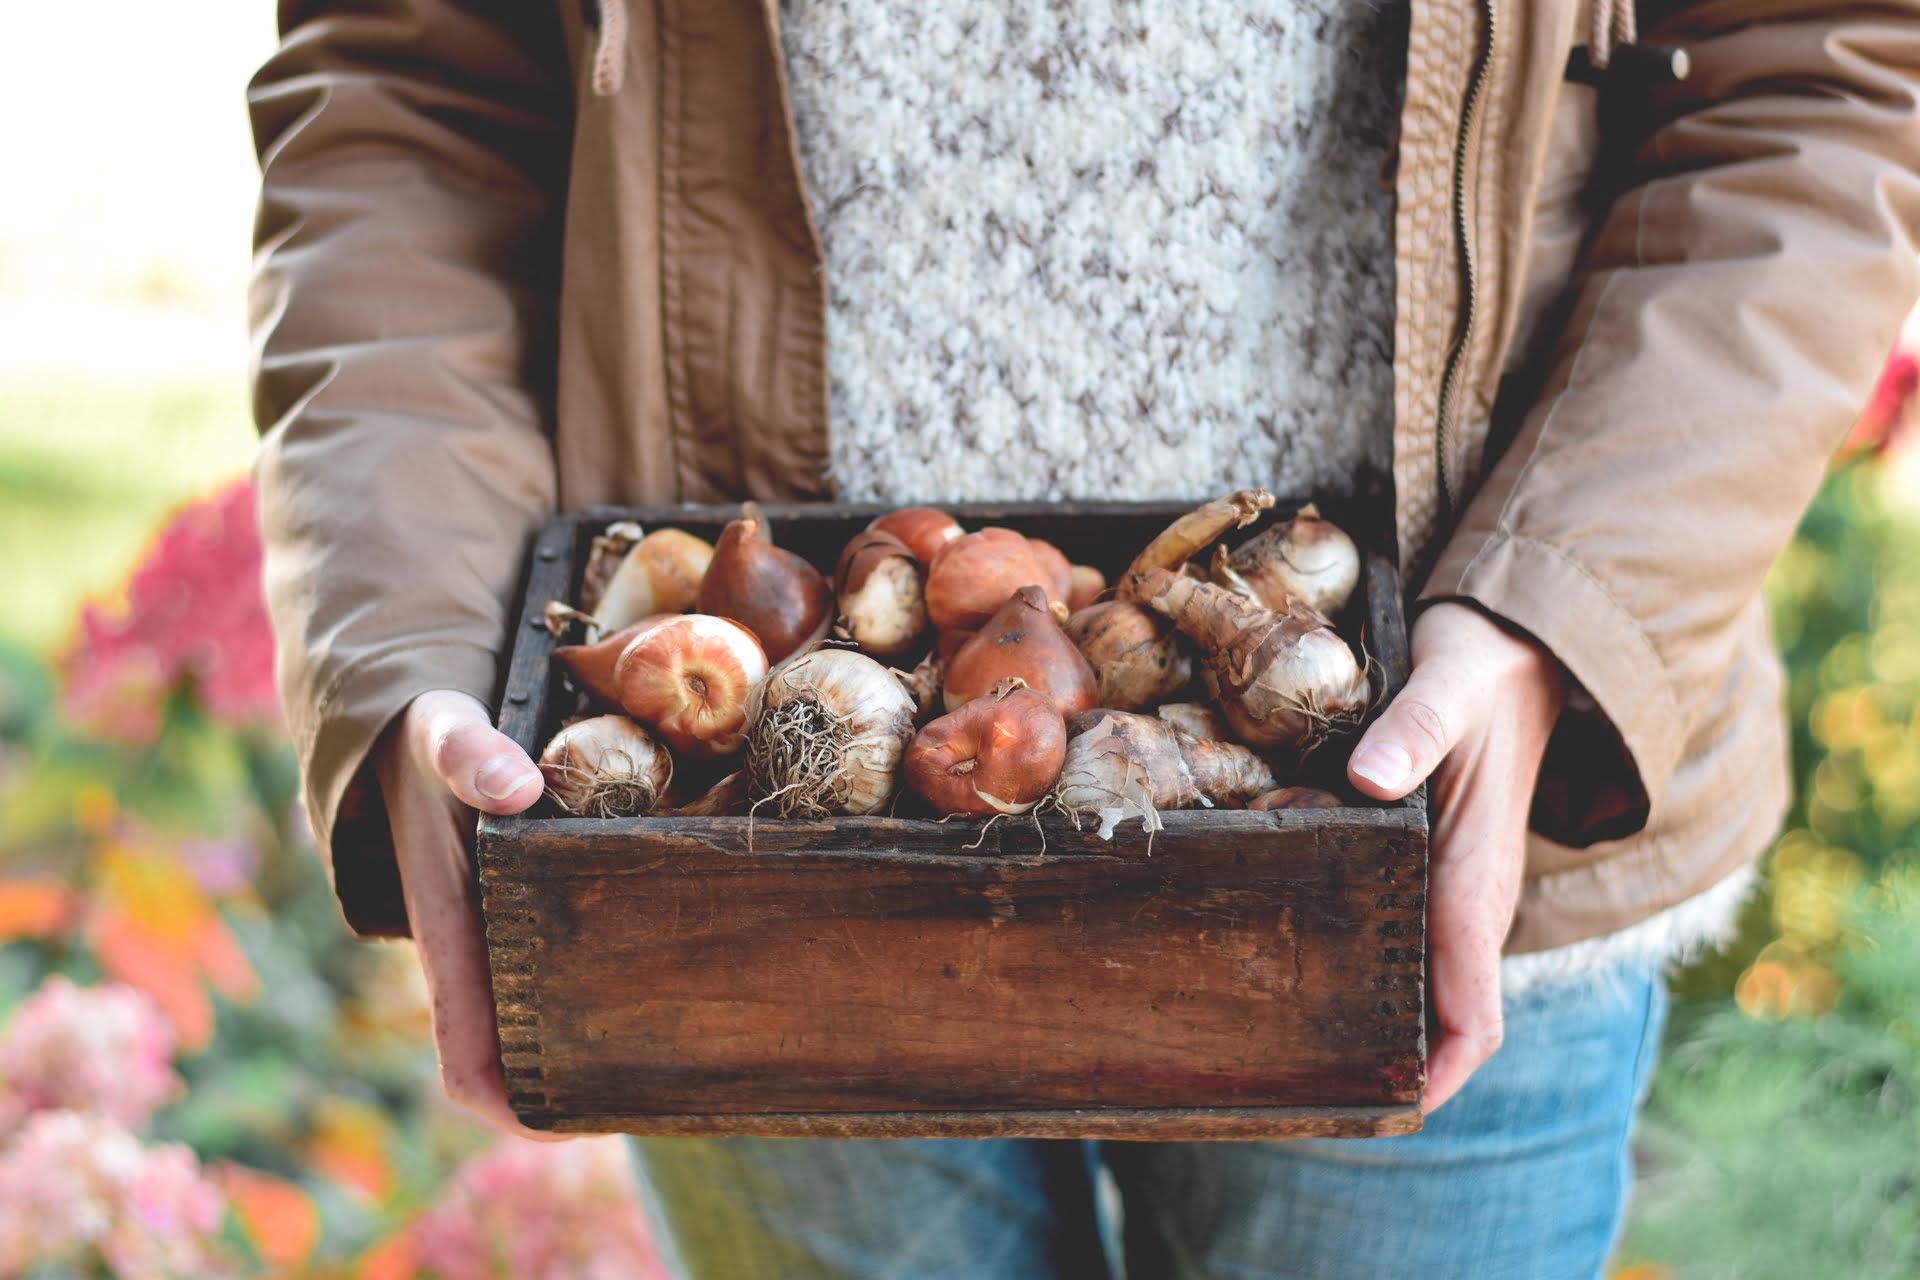
Preparing bulbs for storage
Properly preparing bulbs for storage is essential to maintain their health and ensure they remain viable for future growth. Follow these steps to prepare your bulbs for storage:
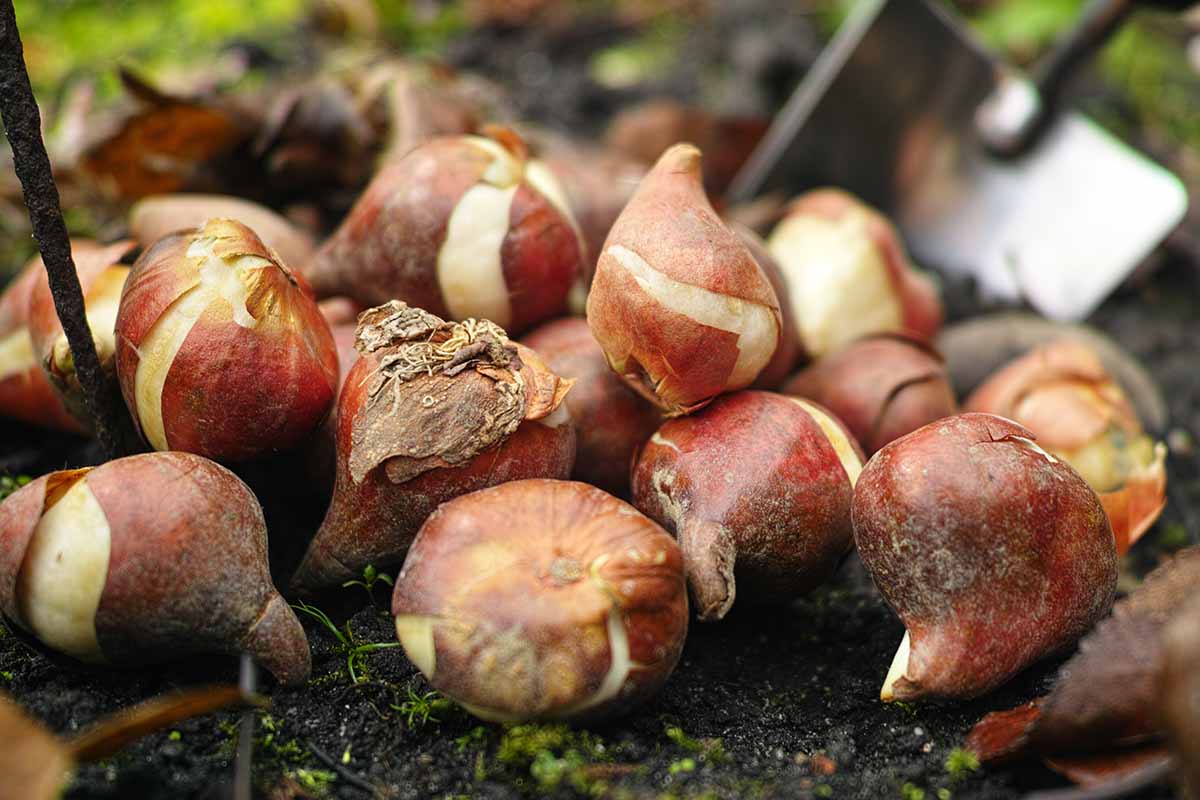
- Allow foliage to wither: After the flowering season, allow the foliage to wither naturally. This process allows the bulbs to absorb and store nutrients needed for their next growth cycle. Do not trim or remove the foliage until it has completely turned yellow or brown.
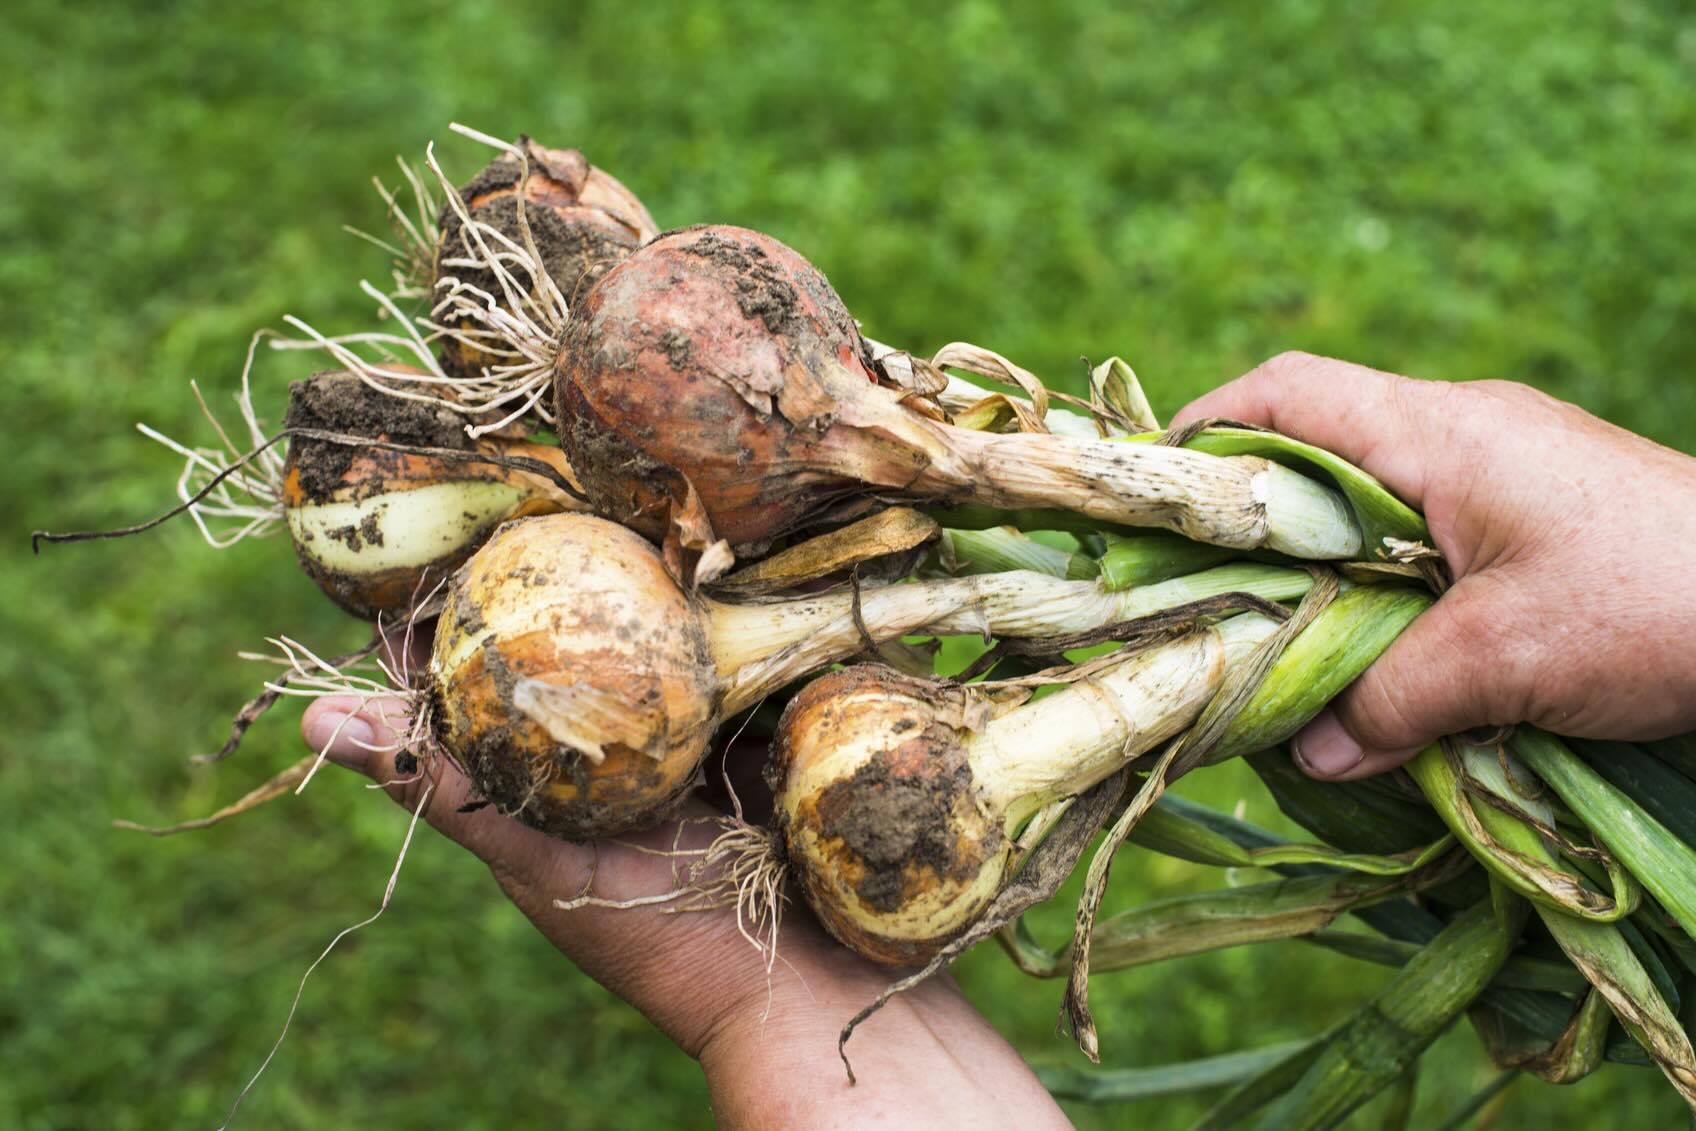
- Gently remove the bulbs from the ground: Carefully dig up the bulbs, taking care not to damage them. Use a garden fork or trowel to loosen the soil around the bulbs, then lift them out of the ground by grasping the foliage or stems near the bulb.
- Remove excess soil: Gently shake off any loose soil clinging to the bulbs. Avoid rinsing the bulbs with water, as excess moisture can lead to rot during storage.
- Inspect the bulbs: Take a close look at each bulb and discard any that show signs of damage, disease, or rot. Healthy bulbs should be firm and free from blemishes.
- Trim the foliage: Once the foliage has withered completely, trim it back to about 1-2 inches above the bulb. This helps reduce the risk of pests and diseases during storage.
- Cure and dry the bulbs: Place the bulbs in a well-ventilated area with low humidity, such as a shaded porch or greenhouse. Allow them to cure and dry for a few days. This step helps prevent mold or fungal growth during storage.
- Label the bulbs: Before storing, label each bulb variety to ensure accurate identification when replanting. Use a permanent marker or small tags to label the bulbs.
- Organize the bulbs: Sort the bulbs by variety and size to make it easier to locate and replant them next season. You can use trays, crates, or mesh bags to keep the bulbs organized.
Following these steps will help prepare your bulbs for safe and successful storage. Remember to handle the bulbs with care and store them in a cool, dry, and well-ventilated location to prevent moisture buildup or extreme temperature fluctuations.
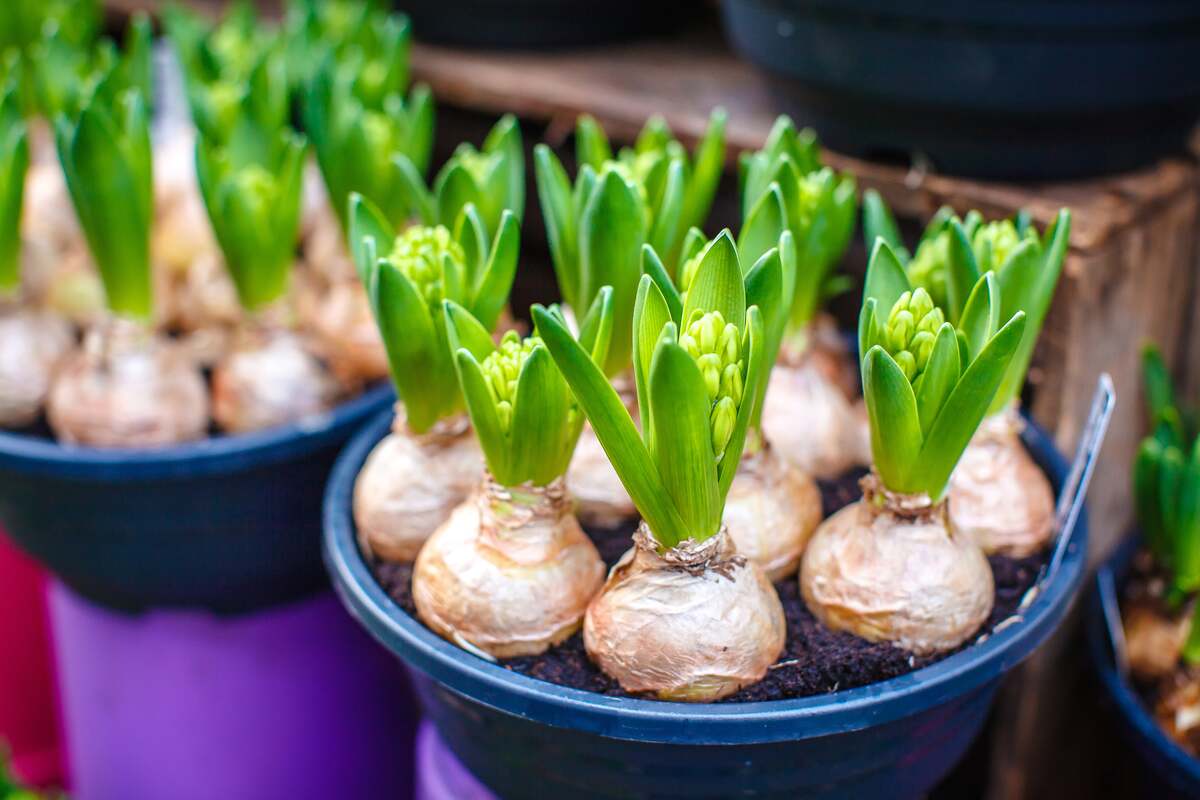
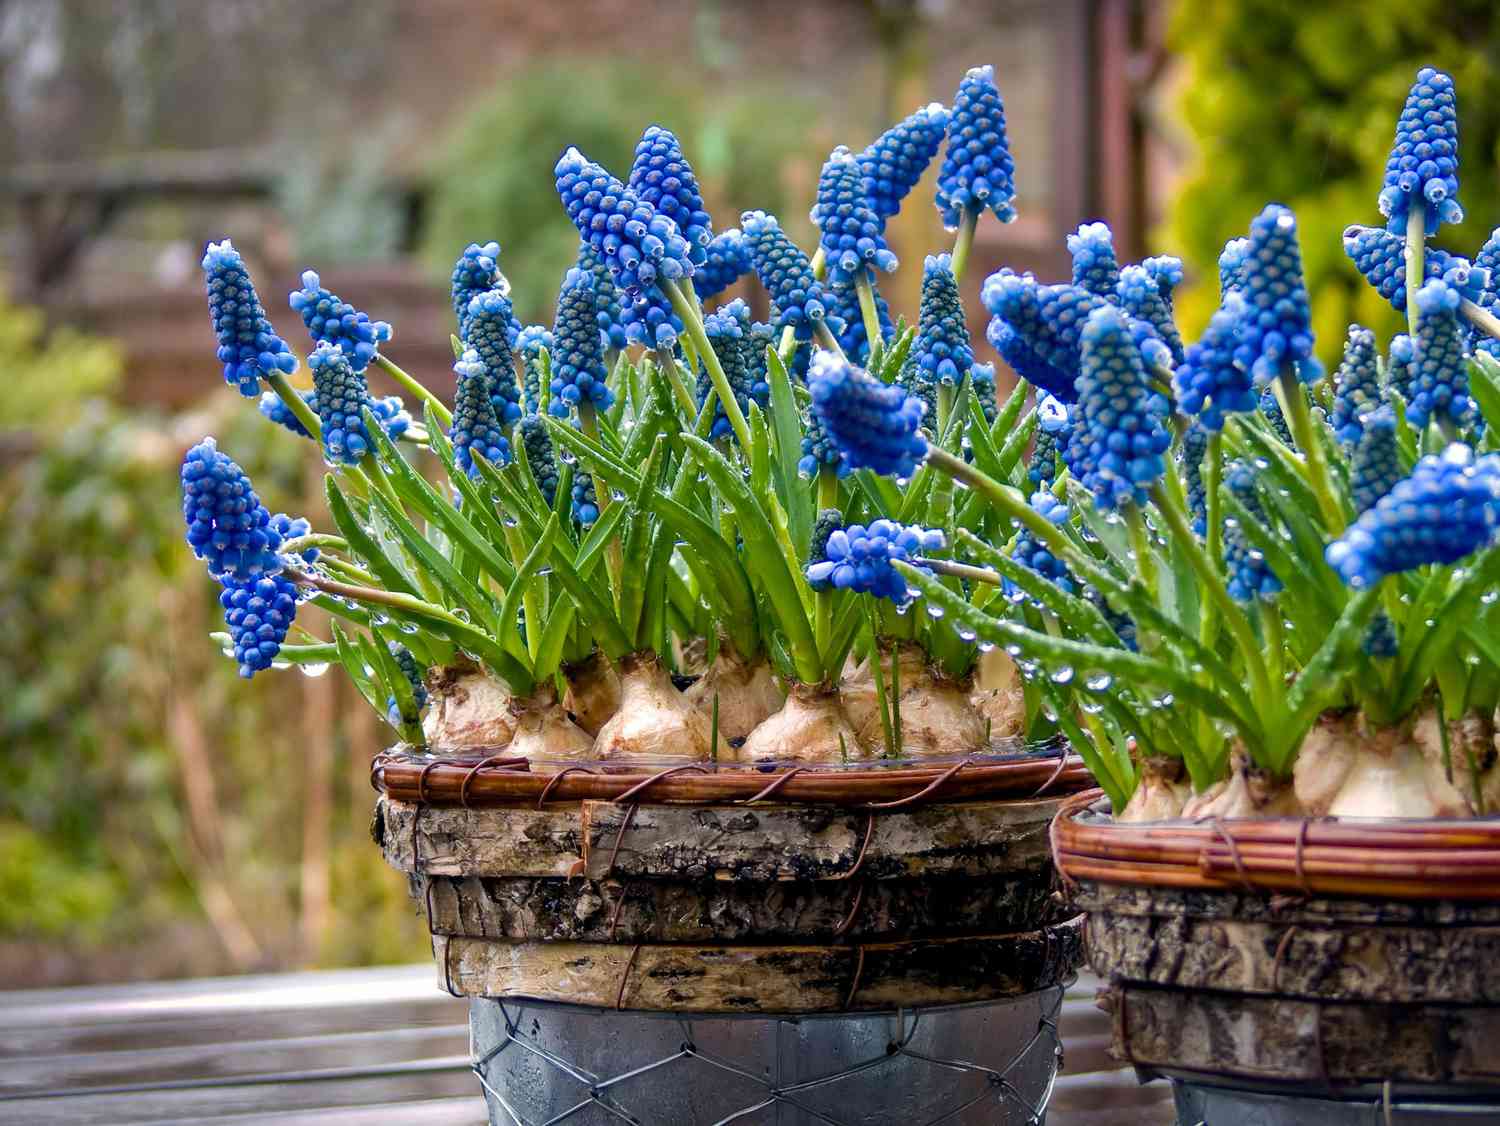
Storing bulbs in containers
Storing bulbs in containers is a popular method that provides convenience and flexibility. Here’s how to store bulbs in containers:
- Select suitable containers: Choose containers with drainage holes to prevent water accumulation. Clay pots, plastic pots, or wooden crates can all work well for storing bulbs.
- Prepare the container: Fill the container with a well-draining potting mix or a mixture of peat moss and perlite. This will ensure proper drainage and prevent the bulbs from sitting in water.
- Arrange the bulbs: Place the bulbs in the container, leaving some space between each bulb. Avoid overcrowding, as this can lead to mold or disease issues. You can place bulbs in a single layer or layer them with some potting mix in between.
- Cover with potting mix: Fill the container with more potting mix, covering the bulbs completely. Leave a small gap between the top of the container and the soil surface to allow for watering.
- Store in a cool location: Find a cool and well-ventilated area, such as a basement or garage, to store the container. The temperature should be between 40-50°F (4-10°C) to promote dormancy. Avoid storing bulbs near fruit, as the ethylene gas emitted by ripening fruit can hinder bulb storage.
- Monitor moisture levels: Check the moisture level of the potting mix periodically. It should be slightly moist, but not overly wet. Avoid allowing the soil to dry out completely or become waterlogged.
- Periodic inspections: Regularly inspect the bulbs stored in containers for any signs of rot or disease. Remove any affected bulbs immediately to prevent the spread of issues to other bulbs.
- Replanting: When it’s time to replant the bulbs, simply remove them from the containers, gently brush off excess soil, and plant them in their desired location.
Storing bulbs in containers offers the benefit of easy accessibility and portability. It also allows you to control the growing conditions more effectively. By following these steps, you can ensure your bulbs remain healthy and ready for replanting in the next growing season.
After flowering, allow the foliage to die back naturally before cutting it off. Store bulbs in a cool, dry place with good air circulation to prevent mold and rot.
Read more: How To Store Hyacinth Bulbs After Flowering
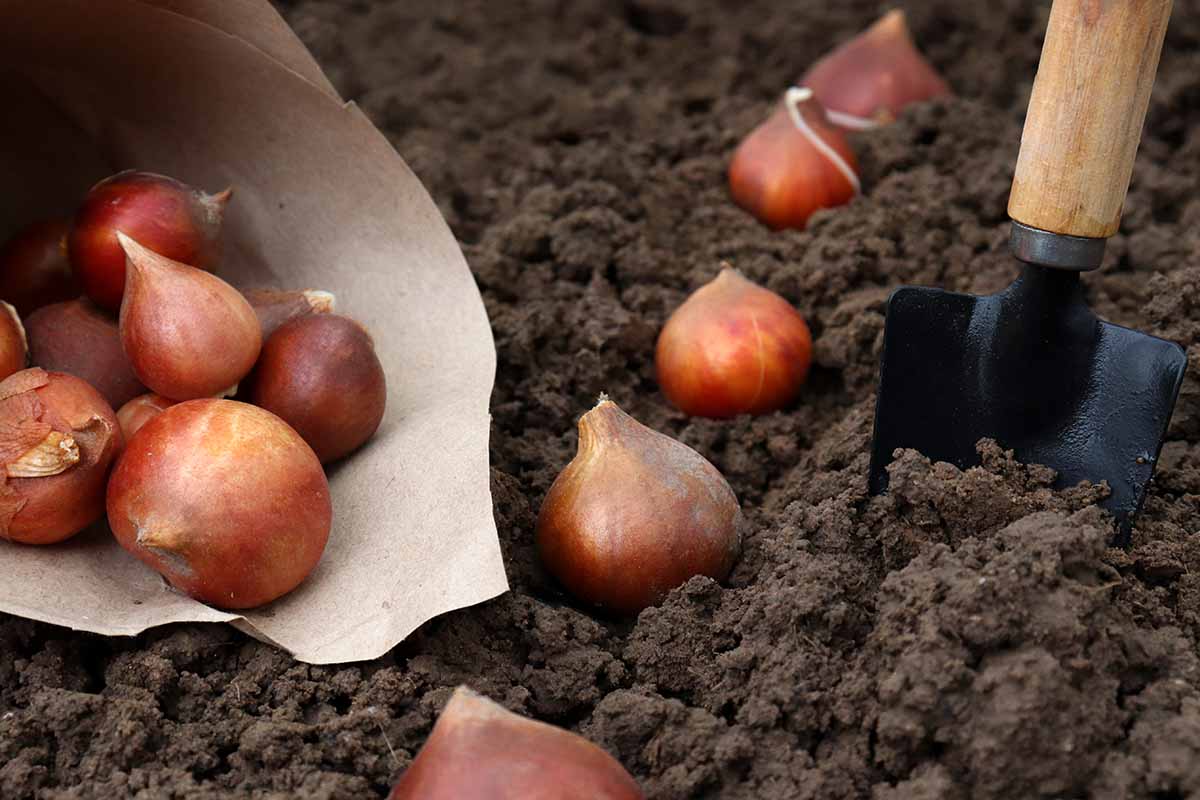
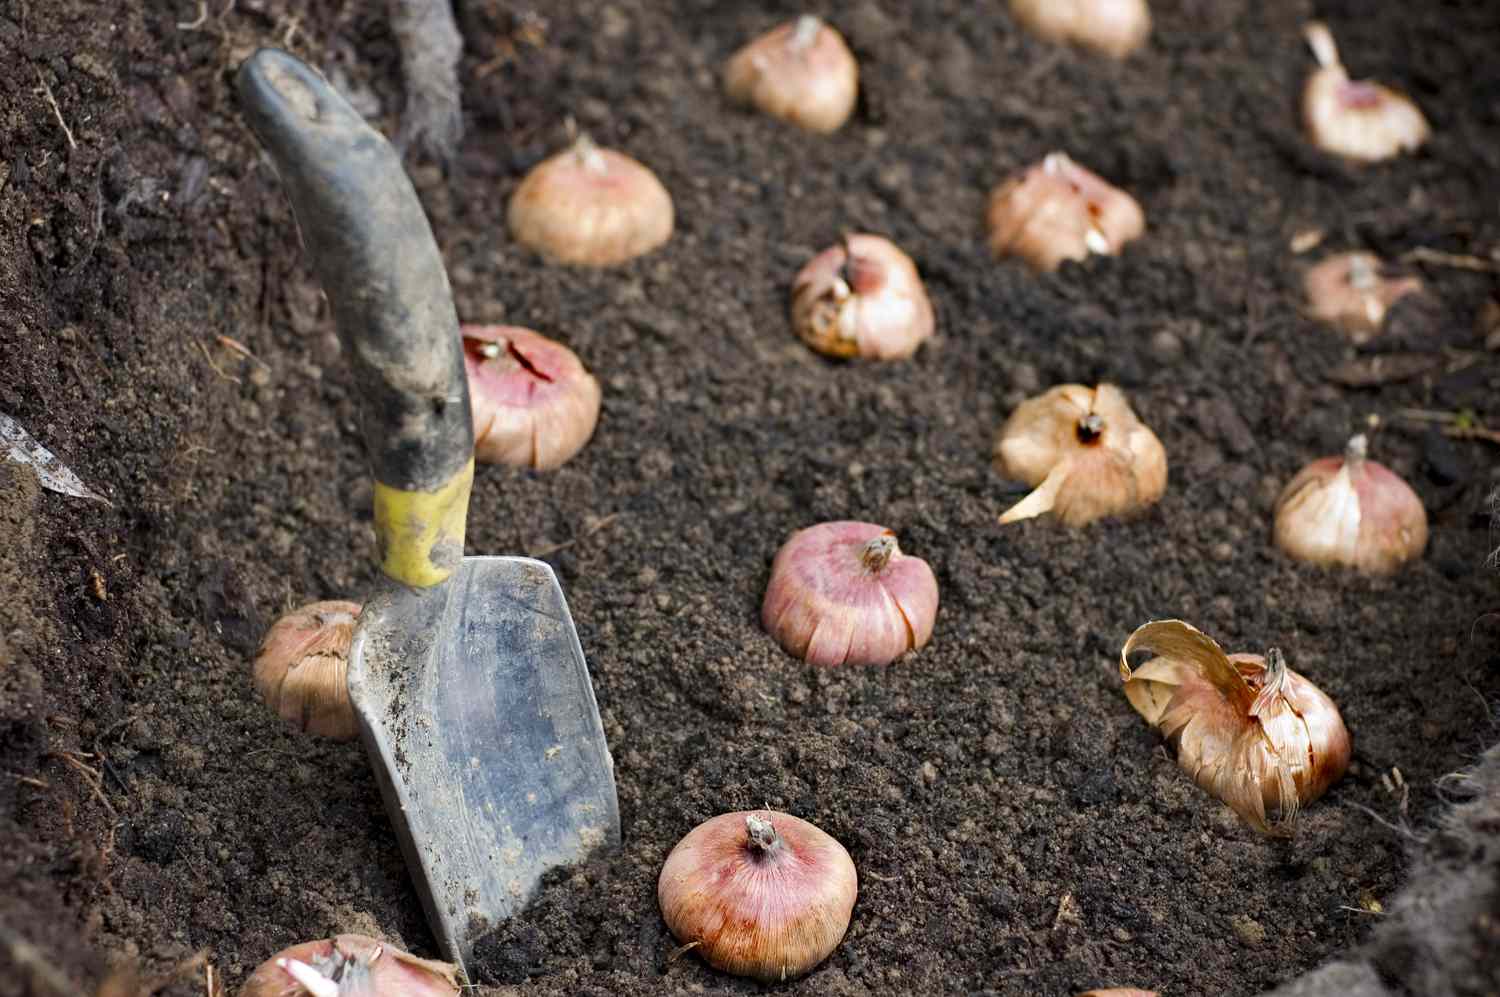
Storing bulbs in the ground
Storing bulbs in the ground is another option for overwintering and protecting bulbs. Here’s how to store bulbs in the ground:
- Select an appropriate location: Choose a well-draining area in your garden where the soil doesn’t get waterlogged. Avoid low-lying areas or spots prone to puddling.
- Prepare the soil: Ensure the soil is loose and well-amended with organic matter. This promotes good drainage and provides essential nutrients for the bulbs.
- Dig a trench: Dig a trench in the designated area that is deep enough to accommodate the bulbs. The depth should be at least twice the height of the bulbs.
- Place the bulbs: Lay the bulbs in the trench, spacing them apart according to the recommended planting distance for the specific bulb variety. Make sure the bulbs are positioned with their growing points facing up.
- Cover with soil: Gently backfill the trench, covering the bulbs with soil. Tamp the soil lightly to eliminate air pockets and ensure good soil-to-bulb contact.
- Mark the area: Use markers or flags to indicate the location where the bulbs are stored in the ground. This will prevent accidental digging or disturbing the bulbs during other gardening activities.
- Protect with mulch: Apply a layer of mulch, such as straw or shredded leaves, over the area where the bulbs are stored. This provides insulation and helps regulate soil temperature during winter.
- Monitor moisture levels: Check the moisture level in the soil occasionally throughout the winter. The soil should stay slightly moist but not overly wet. Water as necessary to maintain appropriate moisture levels.
- Periodic inspections: Regularly inspect the area for any signs of mold, pests, or diseases. Remove any affected bulbs or take appropriate actions to address the issue.
- Replanting: In the spring, when the weather and soil conditions are suitable, lift the bulbs from the ground and replant them in their desired location. Carefully dig them up, taking care not to damage them, and transplant them to their new home.
Storing bulbs in the ground offers a natural and straightforward method of overwintering. It allows the bulbs to experience the natural cycle of seasons and provides sufficient protection. By following these steps, you can ensure your bulbs remain healthy and ready to bloom in the next growing season.
Monitoring stored bulbs
Monitoring stored bulbs is crucial to ensure their well-being and catch any potential issues early on. Here are some important aspects to consider when monitoring stored bulbs:
- Temperature: Check the storage area regularly to ensure it maintains a cool, stable temperature. Extreme temperature fluctuations can harm the bulbs. Aim for a temperature between 40-50°F (4-10°C) for most bulb types.
- Humidity: Bulbs require a certain level of humidity to prevent excessive drying out or moisture buildup. Ensure there is adequate air circulation in the storage area to minimize the risk of mold or fungal growth.
- Moisture: Monitor the moisture level of the storage medium, whether it’s potting mix or soil. The medium should remain slightly moist but not excessively wet. Avoid letting the bulbs dry out completely or becoming waterlogged.
- Inspect for signs of decay or rot: Regularly check the stored bulbs for any signs of decay, disease, or rot. Discard any bulbs showing soft spots, mold, or unusual discoloration to prevent the spread of issues to other bulbs.
- Pest control: Keep an eye out for any pests that may infiltrate the storage area and feed on the bulbs. Common pests include rodents, insects, and fungal gnats. Take appropriate measures to deter and eliminate pests if necessary.
- Labeling: Double-check the labels on the stored bulbs to ensure proper identification. This is especially important if you have different bulb varieties stored together or if you store bulbs from different planting areas.
- Rotate bulbs: If you store bulbs in containers, periodically rotate the containers to ensure even airflow and prevent any bulbs from being neglected or growing weak due to lack of light.
- Record keeping: Keep a record of the bulbs you have stored, including the variety, storage method, and any observations or actions taken during the monitoring process. This will help you track their progress and make improvements for future storage.
By consistently monitoring your stored bulbs, you can catch any issues early on and take appropriate action to maintain their health and vitality. With proper care and attention, your bulbs will be ready to thrive when it’s time for replanting.
Replanting stored bulbs
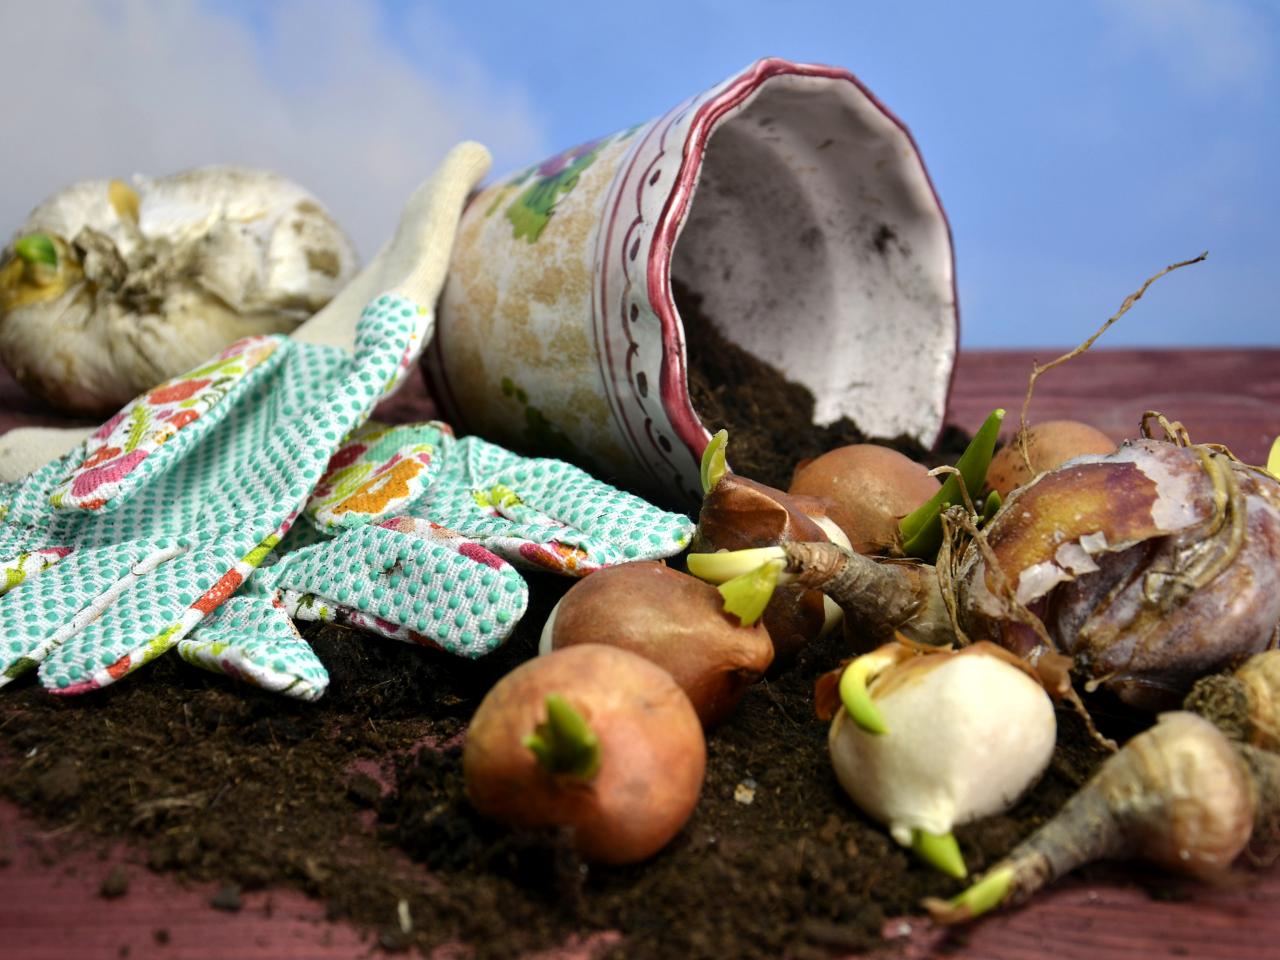
Replanting stored bulbs is an exciting process that allows you to rejuvenate your garden with beautiful blooms. Here are the steps to successfully replant your stored bulbs:
- Choose an appropriate planting location: Select a suitable area in your garden that matches the growing requirements of the specific bulb variety. Consider factors such as sunlight, soil type, and drainage.
- Prepare the soil: Ensure the soil is well-amended with organic matter and free from any weeds or debris. Loosen the soil to improve its texture and to facilitate root penetration.
- Dig the planting hole: Dig a hole that is deep enough to accommodate the bulb. As a general rule, the planting hole should be about 2-3 times the height of the bulb.
- Plant the bulbs: Place each bulb in the hole with the growing point facing upwards. Ensure the bulb is positioned at the correct depth, typically with about 2-3 inches of soil covering the top.
- Space the bulbs: Follow the recommended spacing guidelines for the specific bulb variety. This ensures proper airflow and allows the bulbs to develop without overcrowding.
- Backfill and firm the soil: Gently backfill the hole with soil, taking care not to damage the bulb. Firm the soil around the bulb to eliminate air pockets and provide stability.
- Water thoroughly: After planting, water the bulbs thoroughly to settle the soil and ensure proper hydration. This helps initiate root growth and establishment.
- Mulch and protect: Apply a layer of mulch, such as straw or wood chips, around the newly planted bulbs. This helps conserve moisture, suppress weeds, and insulate the soil temperature.
- Maintain regular care: Provide consistent watering and monitor the bulbs as they begin to grow. Follow specific care instructions for the bulb variety, including fertilization, pruning, and pest control.
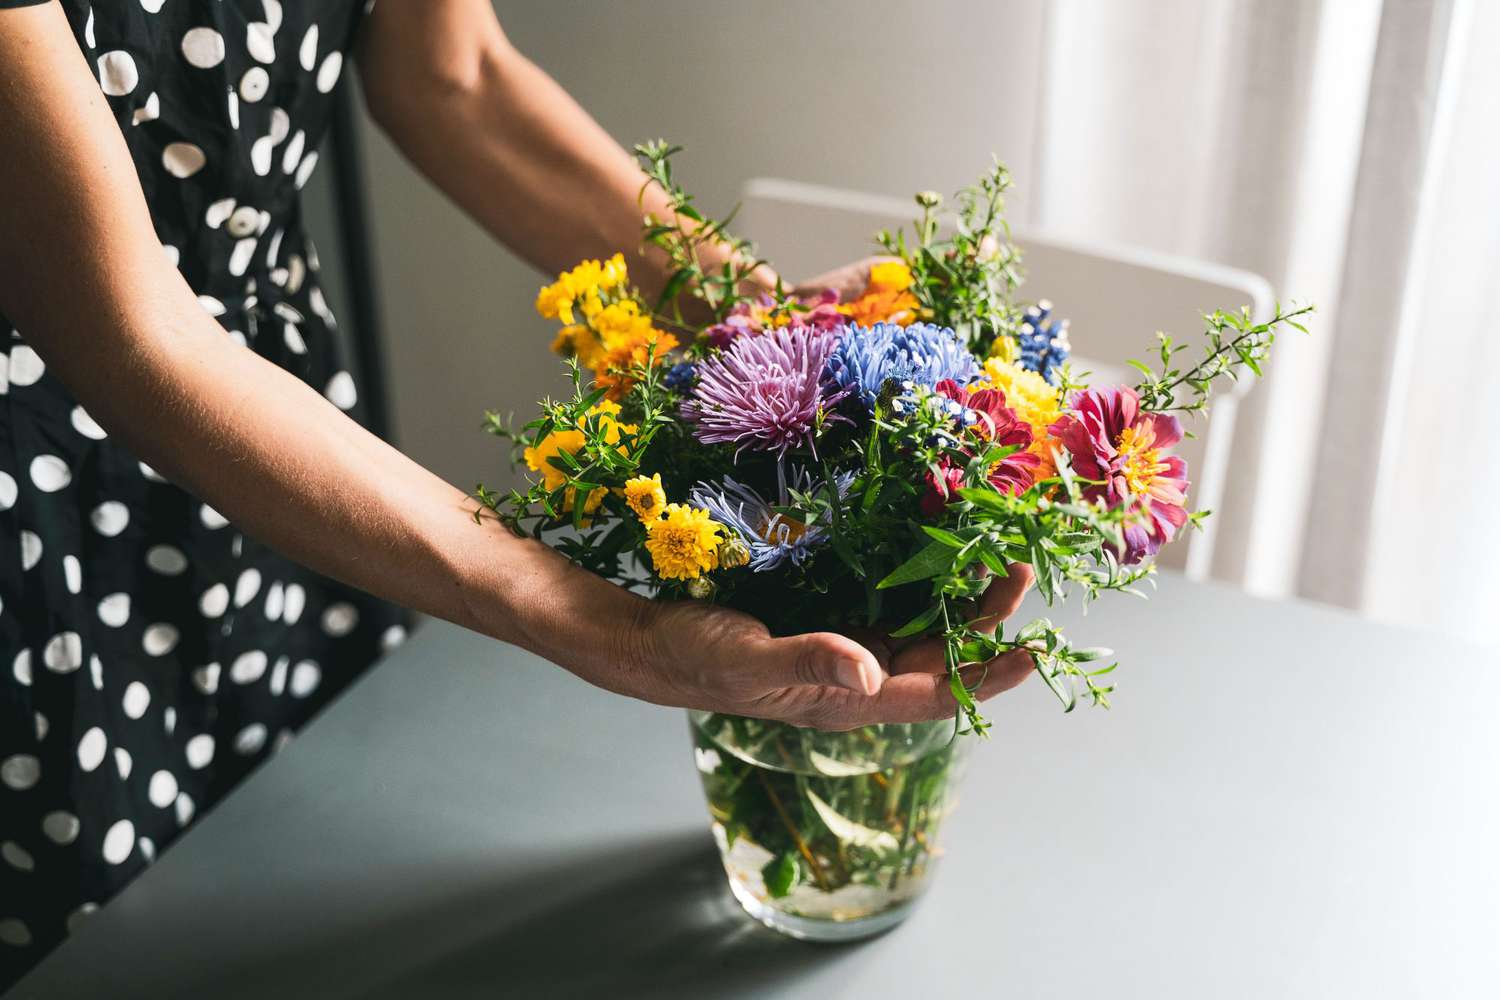
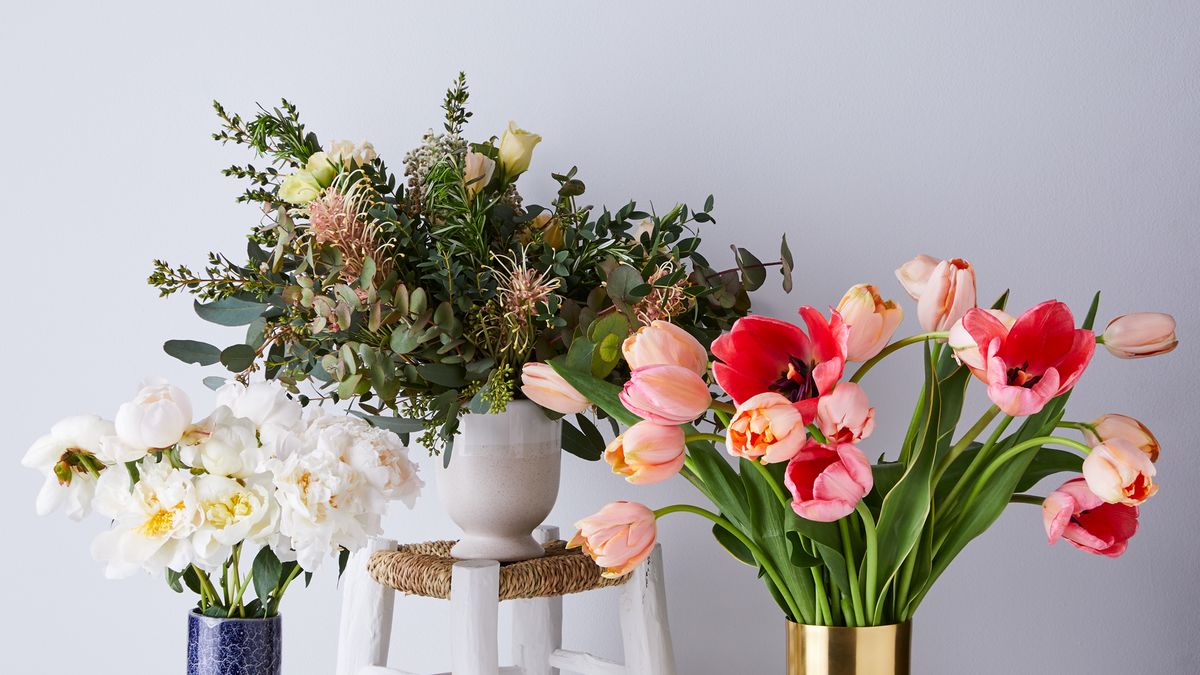
- Enjoy the blooms: With proper care and favorable growing conditions, your replanted bulbs will gradually emerge and produce beautiful flowers, adding color and charm to your garden.
Replanting stored bulbs allows you to continue enjoying their beauty and fragrance year after year. By following these steps, you can ensure a successful transition for your bulbs from storage to the garden, and watch them flourish once again.
Conclusion
Storing bulbs after flowering is a critical step in maintaining their health, promoting dormancy, and ensuring their ability to produce stunning blooms in the future. Whether you choose to store bulbs in containers or in the ground, following proper techniques and monitoring their condition is key to their success.
By allowing the foliage to wither naturally, gently removing the bulbs from the ground, and preparing them for storage, you set the stage for their rejuvenation. Storing bulbs in containers offers convenience and control, while storing them in the ground provides a more natural and traditional approach.
Regular monitoring of stored bulbs involves checking temperature, humidity, moisture levels, and inspecting for any signs of decay or pests. Keeping accurate labels and records will aid in tracking the progress of the bulbs and making improvements for future storage and replanting.
When the time comes to replant the stored bulbs, choose an appropriate location, prepare the soil, and ensure proper spacing. Water the bulbs thoroughly, mulch around them for protection, and provide regular care to witness the beauty of their blossoms once again.
Remember, the process of storing and replanting bulbs is a rewarding and fulfilling experience. It allows you to enjoy the stunning blooms of your favorite bulbous plants year after year, and adds vibrancy and joy to your garden.
So, whether you have a collection of tulips, daffodils, hyacinths, or any other bulb variety, following the guidelines and techniques shared in this article will enable you to successfully store and replant your bulbs, ensuring their longevity and continued beauty in your garden.
Frequently Asked Questions about How To Store Bulbs After Flowering
Was this page helpful?
At Storables.com, we guarantee accurate and reliable information. Our content, validated by Expert Board Contributors, is crafted following stringent Editorial Policies. We're committed to providing you with well-researched, expert-backed insights for all your informational needs.

0 thoughts on “How To Store Bulbs After Flowering”