Articles
How To Store Flower Bulbs Over Winter
Modified: January 17, 2024
Learn how to store flower bulbs over winter with our informative articles. Find tips and tricks to ensure your bulbs survive and thrive for next season.
(Many of the links in this article redirect to a specific reviewed product. Your purchase of these products through affiliate links helps to generate commission for Storables.com, at no extra cost. Learn more)
Introduction
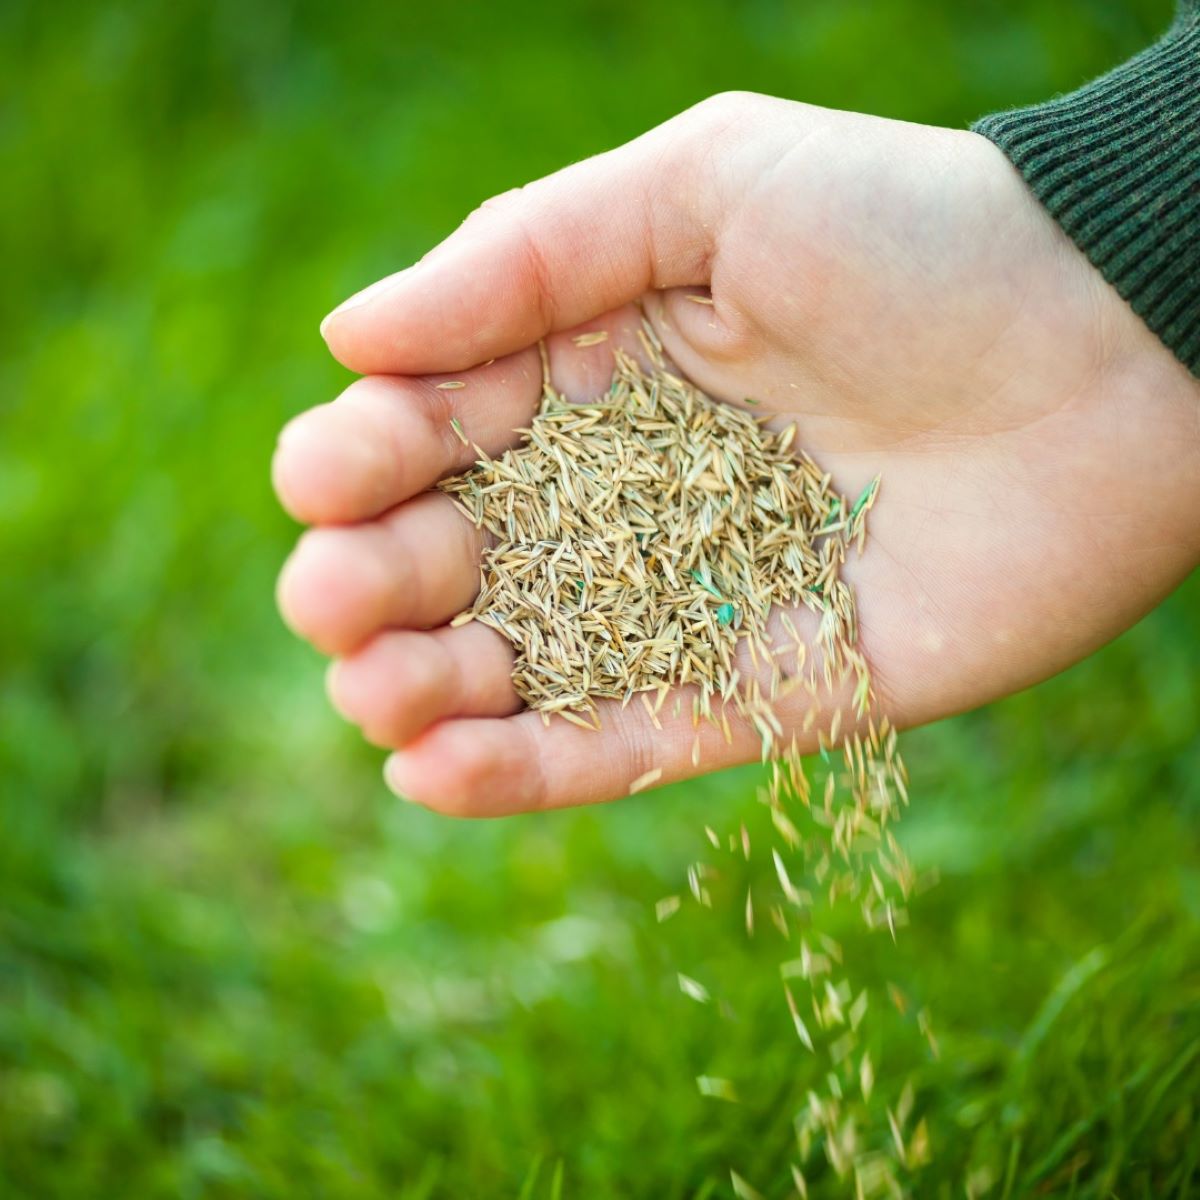
Storing flower bulbs over winter is a crucial step for gardeners who want to preserve their bulbs for the next growing season. By providing the right conditions for storage, you can ensure that your bulbs remain healthy and ready for replanting in the spring. This article will guide you through the process of storing flower bulbs effectively, so you can enjoy beautiful blooms year after year.
Why Store Flower Bulbs?
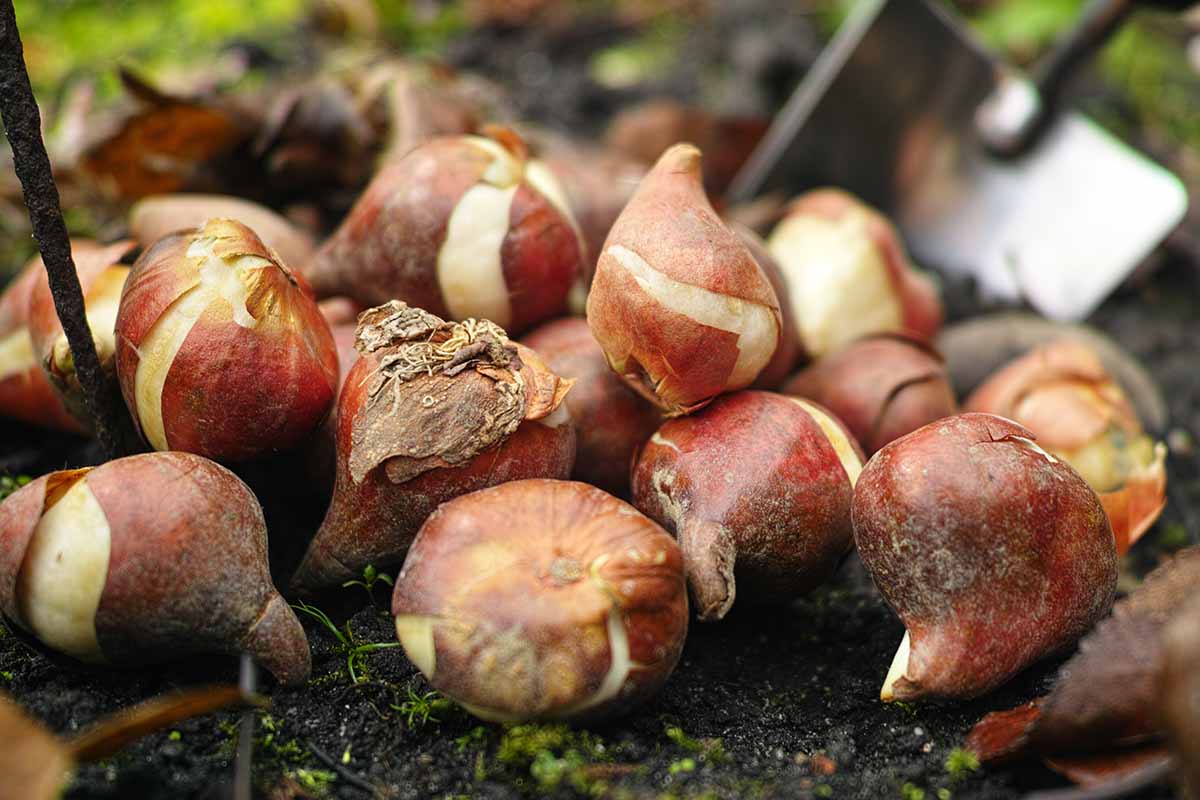
Storing flower bulbs is essential for several reasons. Firstly, some flower bulbs, such as tulips, daffodils, and hyacinths, are not winter hardy in certain climates. By storing these bulbs during the colder months, you can protect them from frost and ensure their survival. Additionally, storing bulbs allows you to control the conditions they are exposed to, which is particularly useful if you live in an area with extreme temperatures or high humidity.
When to Store Flower Bulbs
The timing for storing flower bulbs depends on the specific type of bulb and your local climate. In general, most bulbs should be dug up and stored after the foliage has died back naturally. This typically occurs in late summer or early fall, before the first frost. However, it’s important to check the specific recommendations for each type of bulb, as some may require different timing.
Preparing Bulbs for Storage
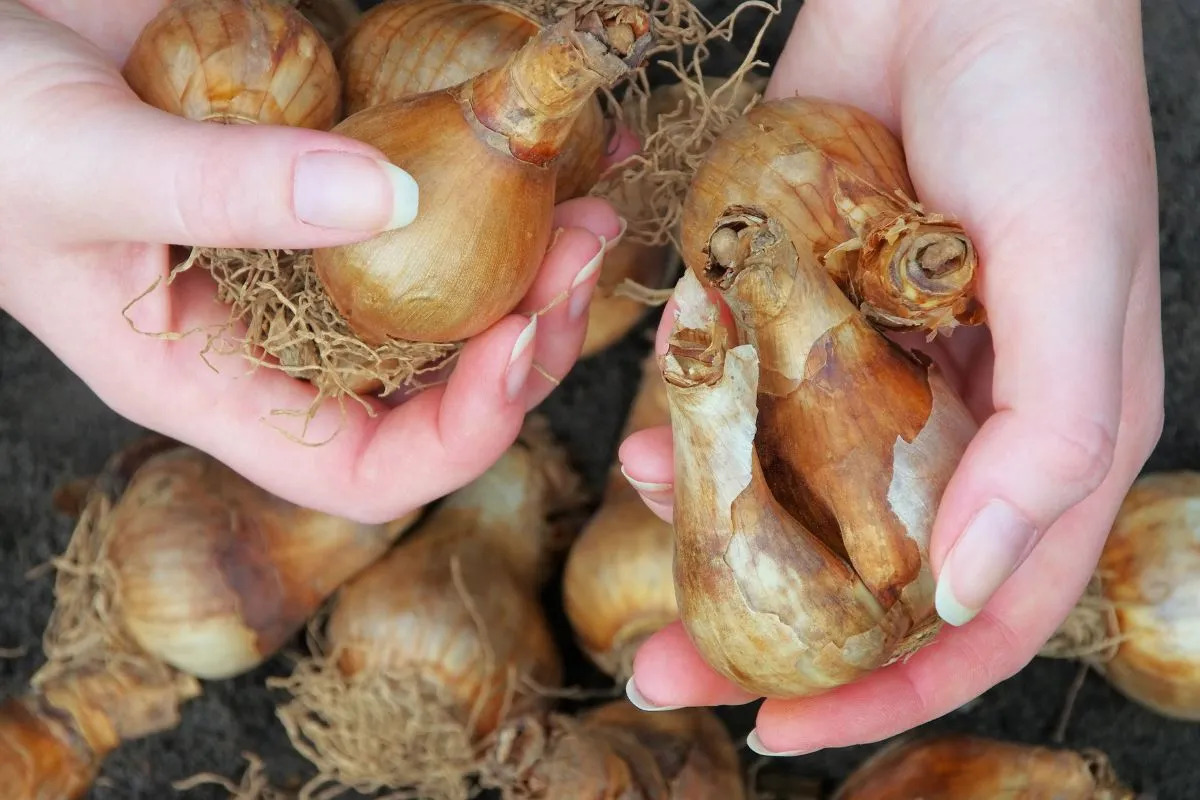
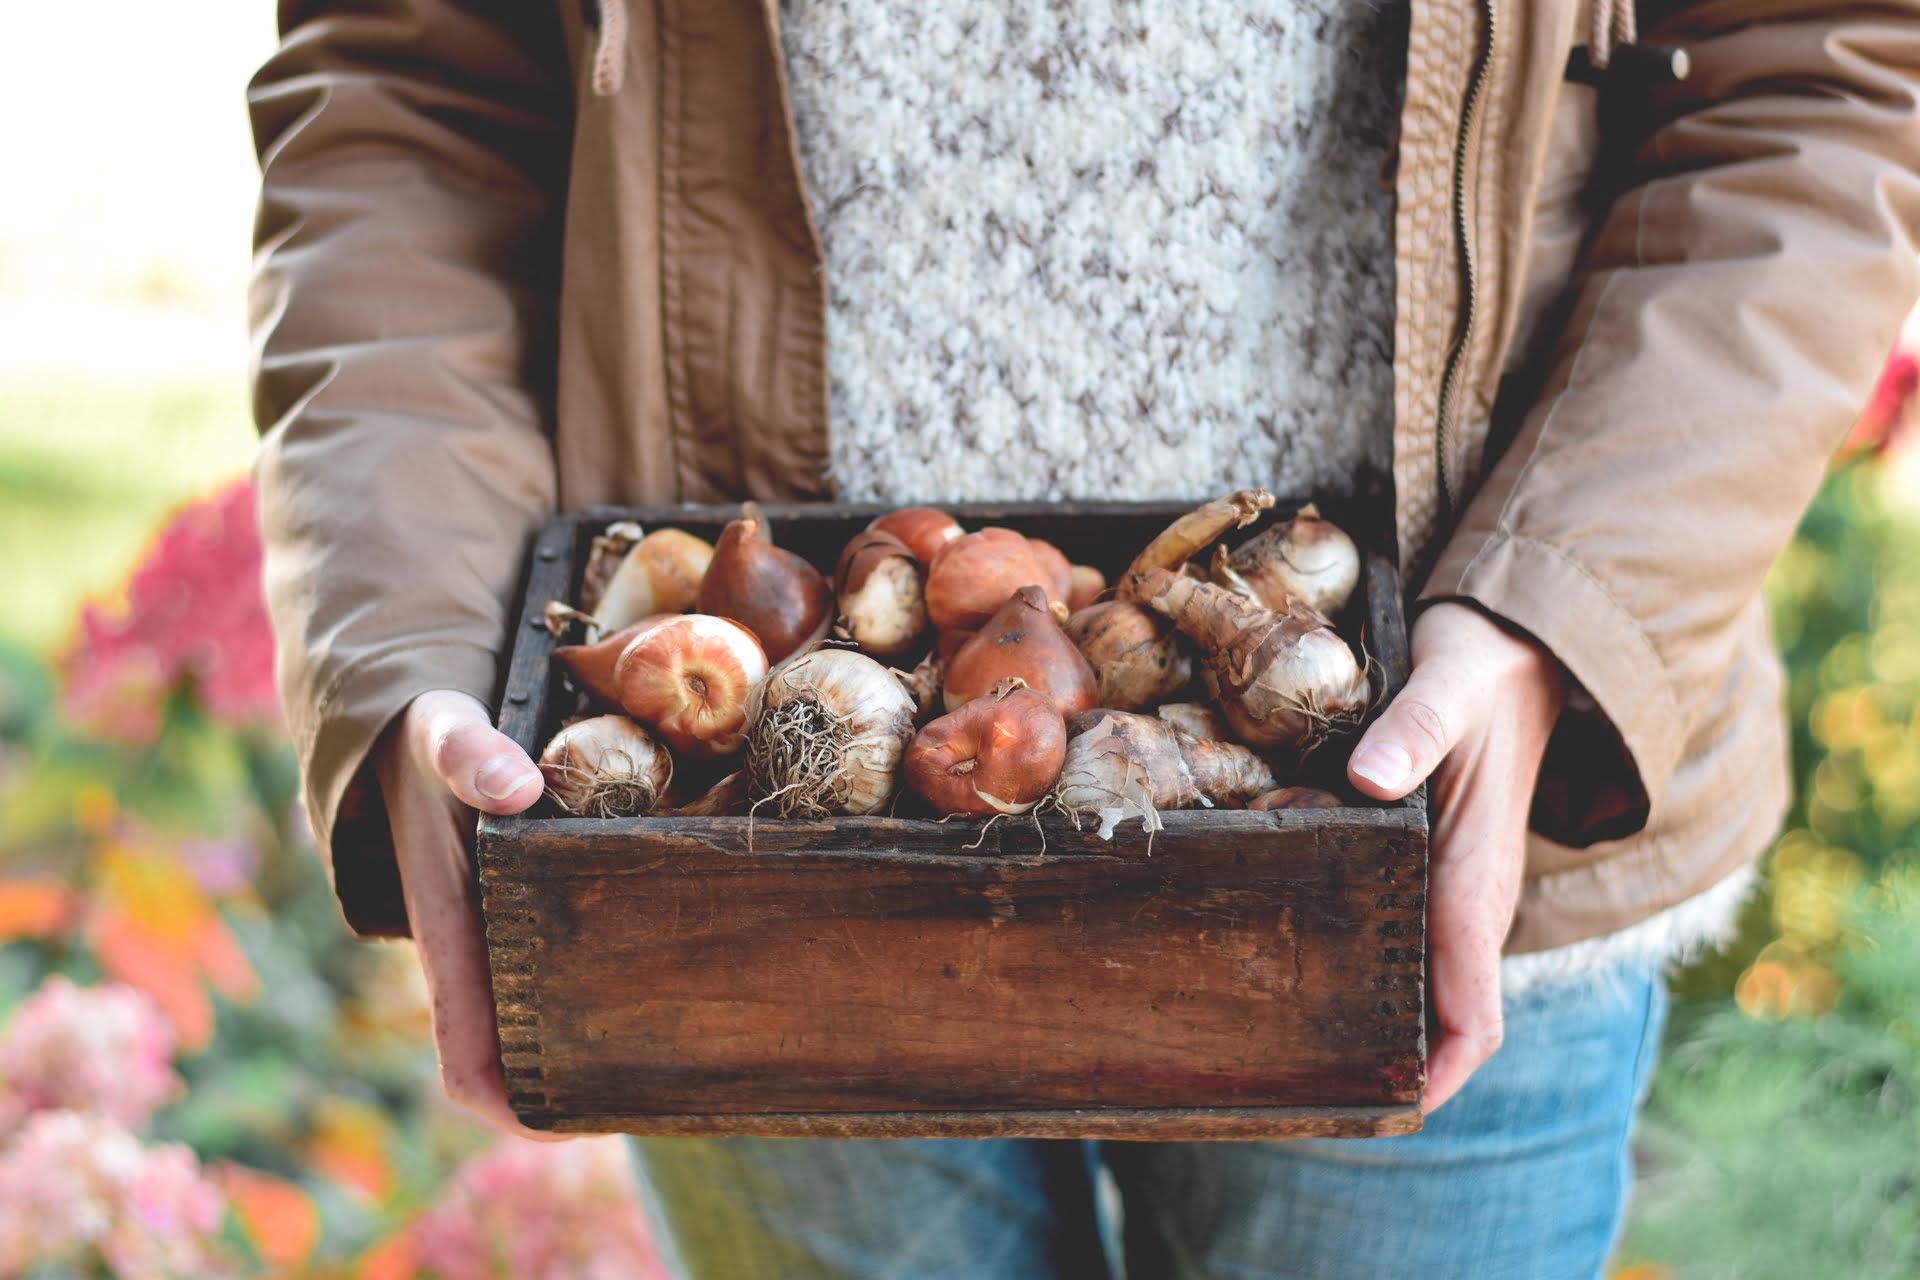
Before storing your flower bulbs, it’s important to prepare them properly. Start by gently digging up the bulbs using a garden fork or trowel, being careful not to damage them. Once they are out of the ground, remove any excess soil and trim off any foliage or stems. Allow the bulbs to dry naturally in a cool, well-ventilated area for a few days. This will help prevent mold or rot during storage.
Choosing the Right Storage Container
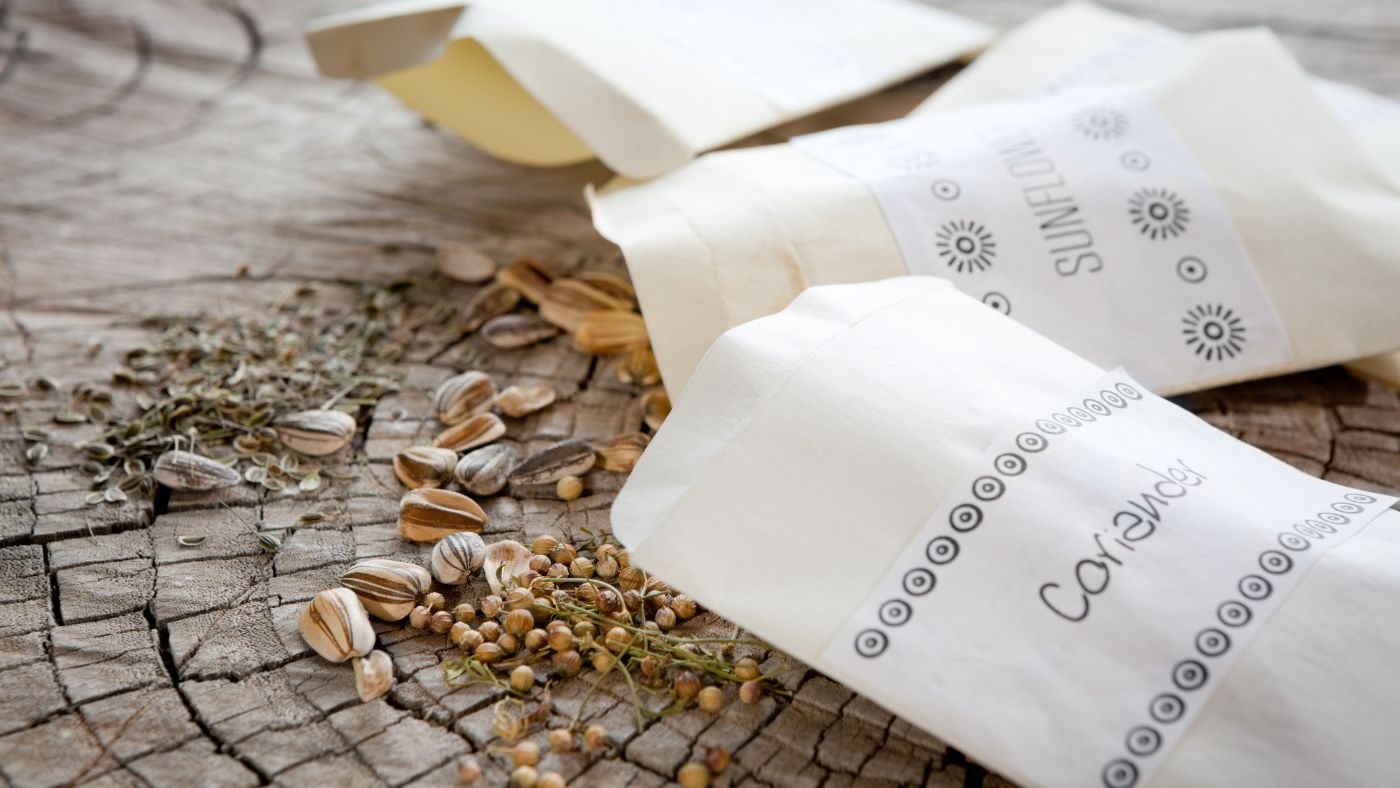
The next step in storing flower bulbs is choosing the right storage container. It’s important to use a container that provides adequate protection from moisture and pests. Ideally, the container should have small ventilation holes to allow for airflow. You can use a variety of options, such as mesh bags, paper bags, or plastic containers with lids. Just make sure that the container is clean and dry before placing the bulbs inside.
Creating the Ideal Storage Environment
The environment in which you store your flower bulbs plays a key role in their survival. Most bulbs prefer a cool and dry environment, with temperatures ranging between 40°F (4°C) and 50°F (10°C). Humidity levels should be low to prevent the bulbs from becoming damp or moldy. If you have a cool, dry basement or an unheated garage, these can be ideal storage locations. Ensure that the bulbs are protected from extreme temperatures and fluctuations in temperature.
Key Takeaways:
- Storing flower bulbs over winter is essential to protect them from frost, control conditions, preserve quality, avoid pests, and save money, ensuring vibrant blooms year after year.
- Properly preparing and storing flower bulbs in the right environment, whether cold or warm, is crucial for their long-term health and vitality, leading to a successful replanting season and a stunning display of blooms.
Read more: How To Store Bulbs Over Winter
Why Store Flower Bulbs?
Storing flower bulbs is crucial for their survival and continued growth. Here are a few reasons why it is important to store flower bulbs over winter:
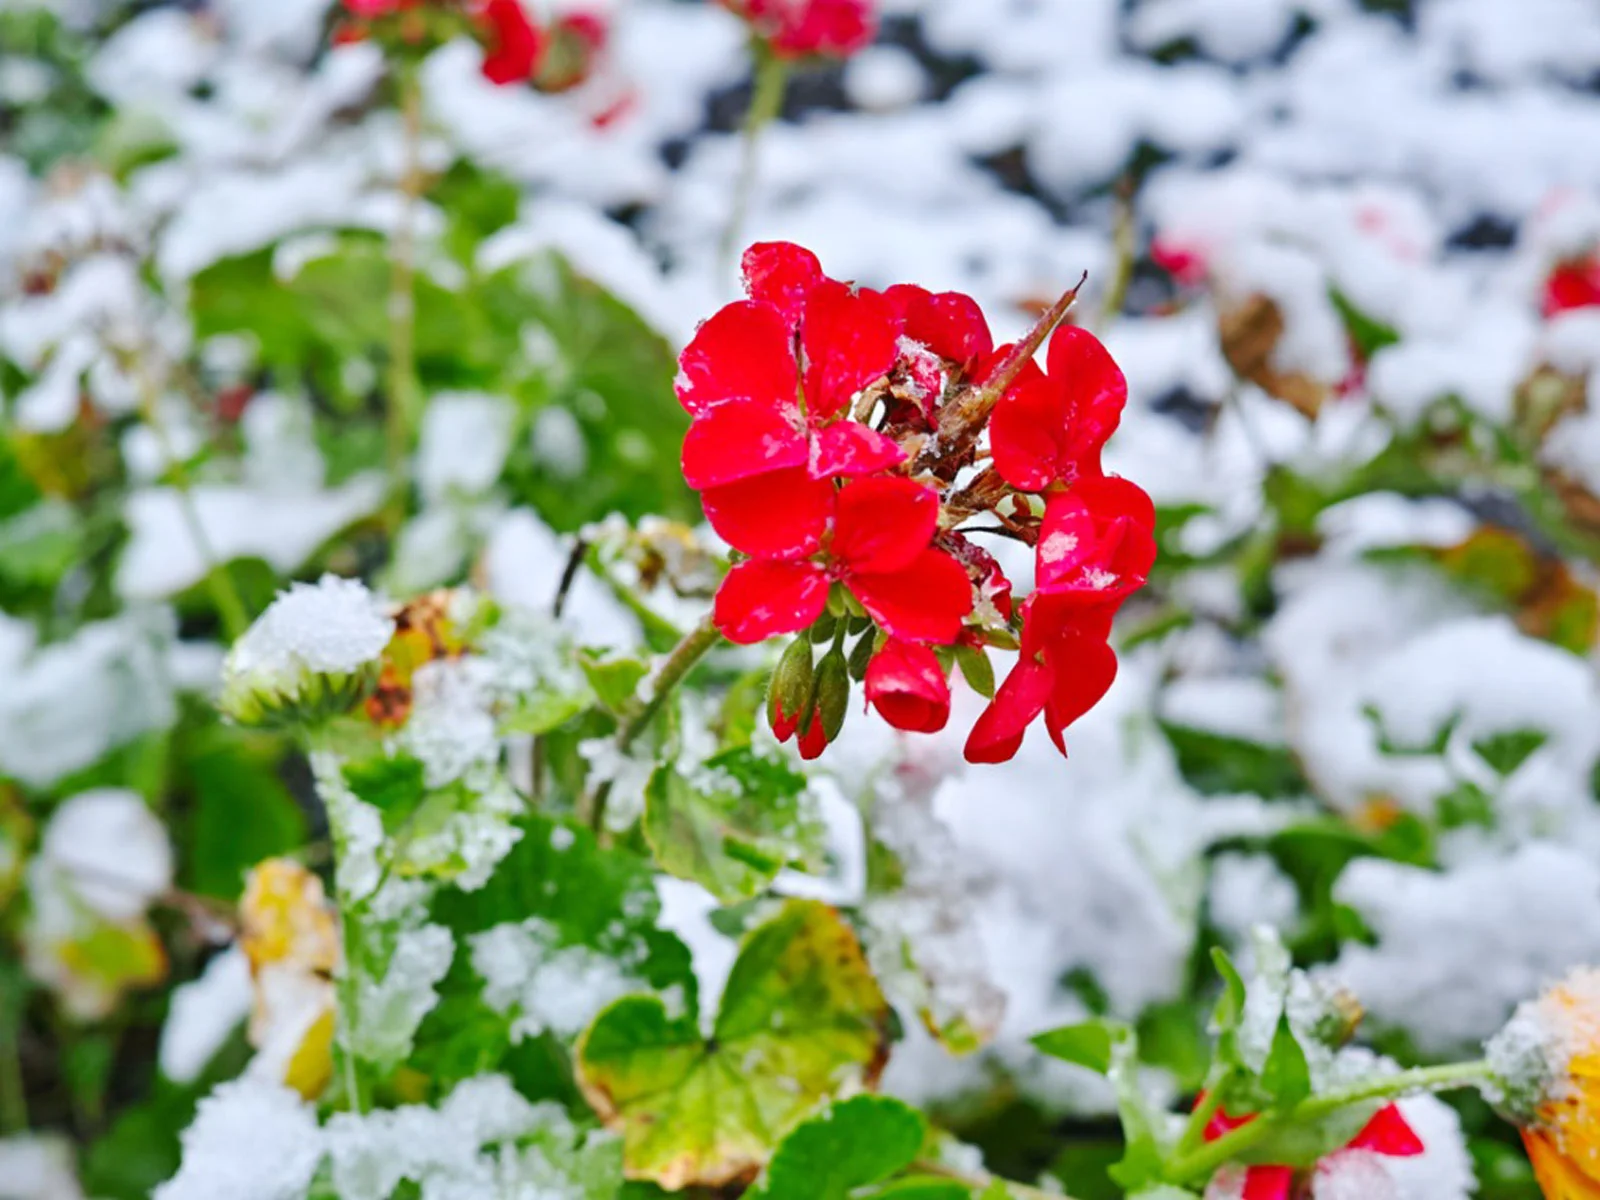
1. Protection from Frost: Many flower bulbs, such as tulips, daffodils, and hyacinths, are not winter hardy in certain climates. Freezing temperatures can damage their delicate structures and prevent them from blooming in the following spring. By storing these bulbs in a controlled environment, you can protect them from frost and ensure their survival.
2. Controlling Conditions: By storing flower bulbs, you have the ability to control their exposure to extreme temperatures or high humidity. This is particularly important if you live in regions that have harsh winters or excessive moisture. Storing bulbs allows you to provide the optimal conditions required for their storage, ensuring their long-term health and vitality.
3. Preserving Bulb Quality: Flower bulbs are living organisms that rely on stored energy to produce blooms. If bulbs are left in the ground over winter, they may not receive adequate nourishment, resulting in weaker and smaller blooms the following year. By carefully storing bulbs, you can preserve their quality and ensure a vibrant display of blossoms in the upcoming spring.
4. Avoiding Pest Infestations: Storing flower bulbs can help prevent pest infestations. Bulbs left in the ground may attract rodents, insects, or other pests that can damage or feed on them. By removing the bulbs from the ground and storing them in a secure container, you reduce the risk of pest damage and protect your investment.
5. Long-term Cost Savings: Storing flower bulbs allows you to reuse them in subsequent growing seasons, saving you money in the long run. Rather than purchasing new bulbs each year, you can store and replant bulbs that have multiplied or require a dormant period to thrive. This not only reduces expenses but also allows you to cultivate a collection of bulbs that acclimatizes to your specific garden environment over time.
Overall, storing flower bulbs over winter is essential for preserving their quality, protecting them from harsh winter conditions, and saving money in the long run. By following proper storage techniques and providing the right conditions, you can ensure the continued health and beauty of your flower bulbs, bringing joy to your garden year after year.
When to Store Flower Bulbs
The timing for storing flower bulbs depends on the specific type of bulb and your local climate. While there are general guidelines, it’s important to consult specific recommendations for each type of bulb, as some may have unique requirements.
In general, most flower bulbs should be dug up and stored after their foliage has died back naturally. This typically occurs in late summer or early fall, before the first frost sets in. However, there are a few key factors to consider when determining the optimal time for bulb storage:
1. Foliage Condition: As the bulb’s foliage starts to turn yellow or brown and wither, it is a sign that the bulb has completed its growth cycle for the year. This is the ideal time to dig up the bulbs and prepare them for storage. Be sure to wait until the foliage has fully died back, as this indicates that the bulb has absorbed all the necessary nutrients for the next season’s growth.
2. Climate and Frost Dates: It’s important to be aware of the average frost dates in your region. If you live in an area with early or unpredictable frosts, you may need to dig up your bulbs earlier than usual to protect them. Conversely, if you live in a region with mild winters, you may be able to delay bulb storage until later in the season. Understanding the local climate and frost patterns can help you determine the best time for bulb storage in your area.
3. Bulb Type: Different types of bulbs have varying dormancy periods and storage requirements. Some bulbs, such as daffodils and hyacinths, require a shorter drying out period and can be stored sooner after their foliage begins to wither. On the other hand, bulbs like tulips may benefit from a longer drying out period before storage. Refer to specific guidelines for each bulb variety to ensure you are storing them at the optimal time.
4. Growth Cycle: Some bulbs, particularly those native to warmer climates, may prefer to stay in the ground year-round. These bulbs, such as cannas or gladioli, may not require storage and can survive mild winters without any extra care. Research the specific growth habits of these bulbs to determine their storage needs.
It’s important to note that while most bulbs benefit from being stored, there are a few exceptions. Some bulbs, like garlic or lilies, actually require a period of cold storage to initiate growth. Others, like amaryllis, are tropical bulbs that do not require a dormant period and should be allowed to continue growing year-round. Always research the specific needs of each bulb variety and consult expert advice to determine the appropriate storage approach.
By considering the condition of the foliage, local climate patterns, bulb type, and growth cycle, you can determine the ideal time to store your flower bulbs. Following these guidelines will help ensure that your bulbs remain healthy and ready for replanting in the spring, resulting in a beautiful display of blooms year after year.
Preparing Bulbs for Storage
Properly preparing your flower bulbs for storage is a crucial step in ensuring their long-term health and vitality. Here are the necessary steps to follow:
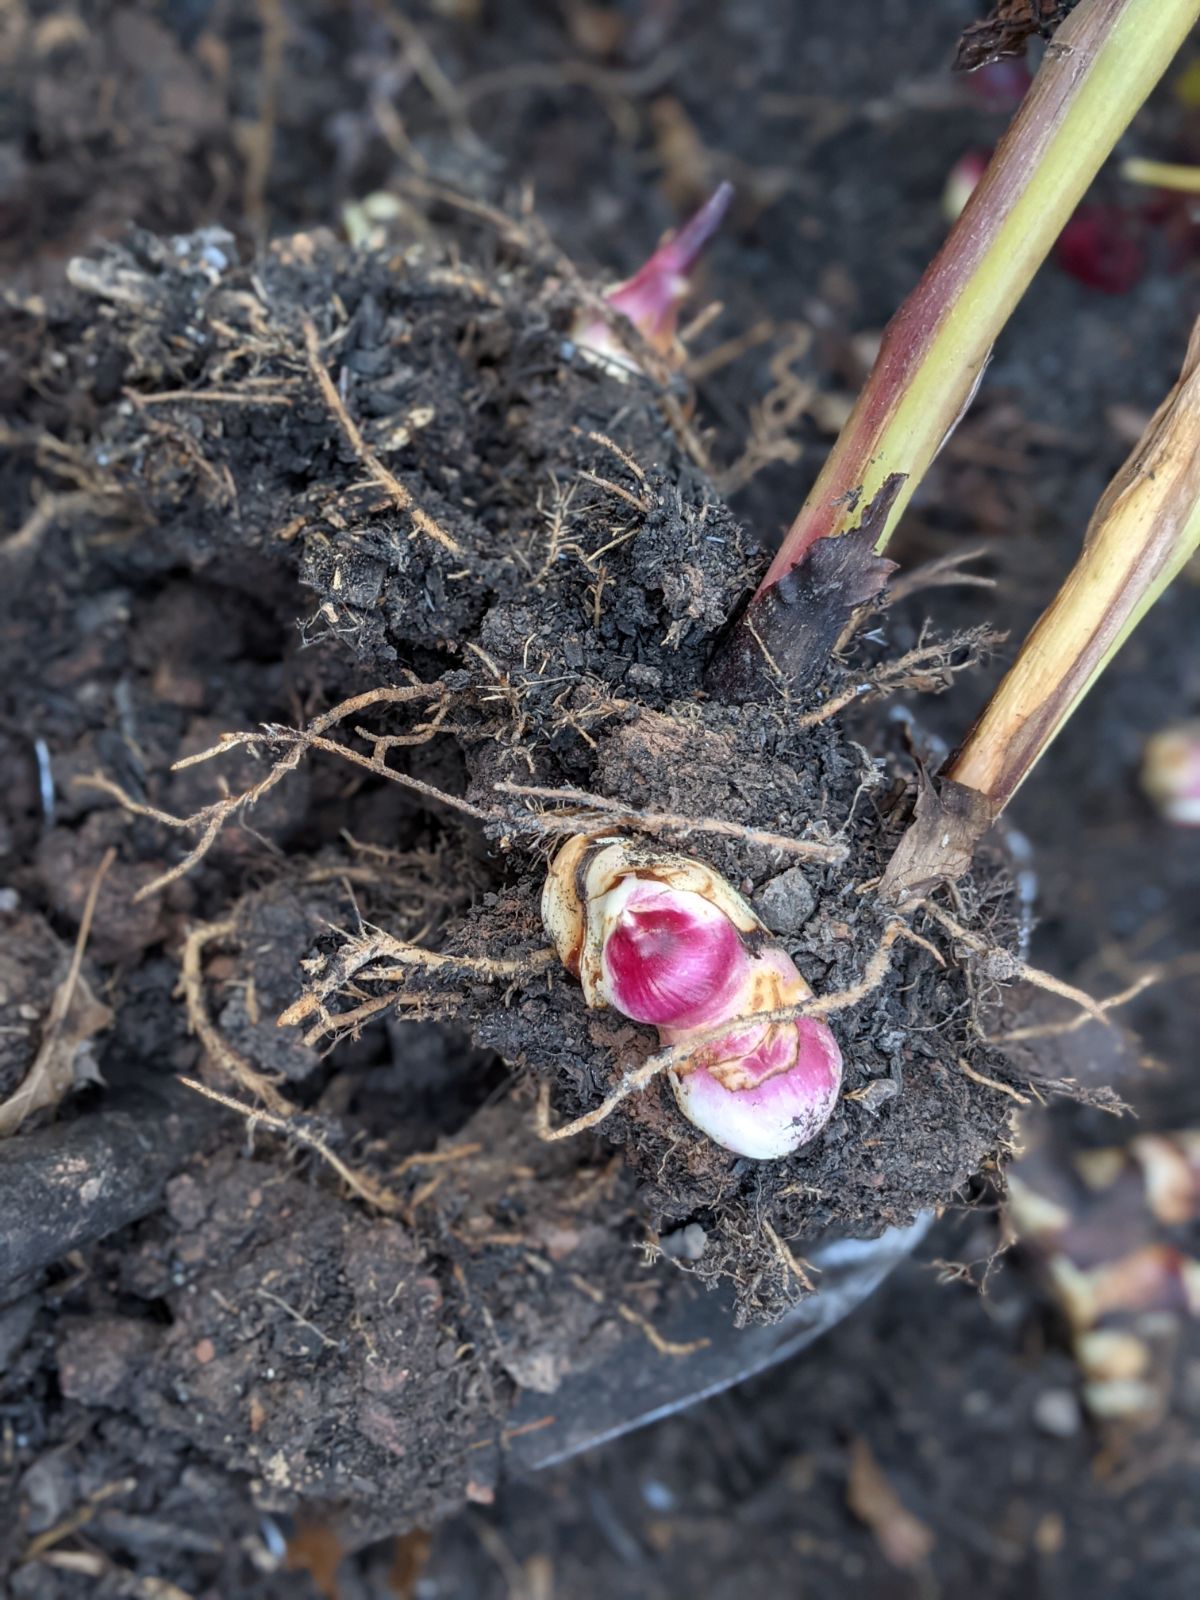
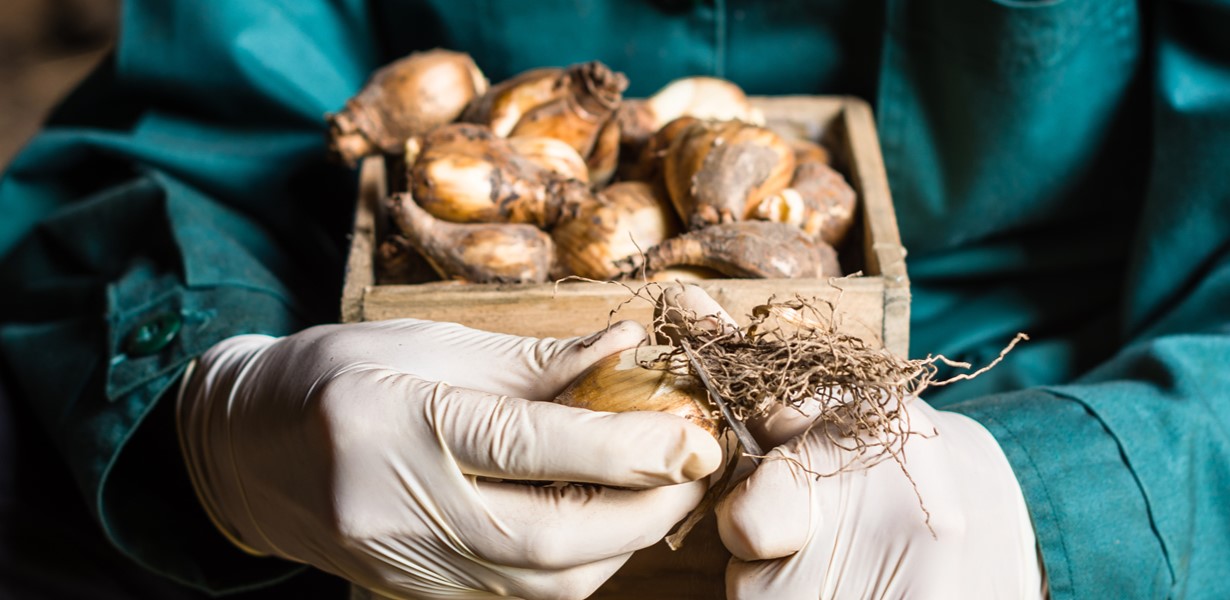
1. Digging up the Bulbs: Begin by carefully digging up the bulbs from the ground using a garden fork or trowel. Take care not to damage the bulbs or their roots during this process. Gently shake off any excess soil from the bulbs, but avoid washing them, as moisture can encourage rot during storage.
2. Removing Foliage or Stems: Trim off any remaining foliage or stems from the bulbs, leaving approximately an inch (2.5 cm) of the stem attached. Removing the foliage is important because it can harbor pests or diseases that may affect the stored bulbs. By cutting off the foliage, you reduce the risk of pest infestations and prevent the spread of diseases during storage.
3. Drying the Bulbs: After removing the foliage, place the bulbs in a cool, well-ventilated area to dry. This allows any remaining moisture on the bulbs to evaporate and helps prevent mold or rot during storage. Avoid exposing the bulbs to direct sunlight or excessive heat, as this can cause the bulbs to dry out too quickly.
4. Curing Bulbs (Optional): Some bulbs, like garlic or onions, benefit from a curing process before storage. Curing helps toughen the outer skin of the bulbs and extends their shelf life. To cure bulbs, place them in a warm, dry location with good airflow for several weeks. Once the outer skin feels dry and papery, the bulbs are ready for storage.
5. Inspecting for Damage or Disease: Before storing the bulbs, carefully inspect each one for any signs of damage or disease. Discard any bulbs that are soft, mushy, or show signs of rot or fungal infection. These damaged bulbs can spread disease to the healthy bulbs during storage, so it’s important to remove them from the batch.
6. Labeling Bulbs: It’s helpful to label your bulbs before storing them. Use a marker or labels to indicate the variety or color of each bulb. This will make it easier to organize and identify the bulbs when it’s time for replanting.
7. Choosing the Storage Container: Select a suitable storage container that provides protection from moisture and pests. Mesh bags, paper bags, or plastic containers with ventilation holes are all viable options. Make sure the container is clean and dry before placing the bulbs inside.
8. Placing the Bulbs in Storage: Once your bulbs are dry and inspected, carefully place them in the storage container. Avoid overcrowding or squeezing the bulbs too tightly together, as this can cause damage or mold growth. Leave some space between the bulbs for adequate airflow.
9. Storing the Bulbs in the Right Environment: Finally, store the bulbs in a cool and dry location until you are ready to replant them. Aim for a storage temperature between 40°F (4°C) and 50°F (10°C), with low humidity levels. This will help maintain the bulbs’ dormancy and prevent them from sprouting prematurely. Avoid storing bulbs near fruits, as the ethylene gas released by ripening fruits can negatively affect the bulbs.
By following these steps and taking the time to properly prepare your flower bulbs for storage, you can ensure their health and vitality during the winter months. Stored under optimal conditions, your bulbs will be ready for a successful replanting season and will reward you with stunning blooms in the following spring.
Choosing the Right Storage Container
When it comes to storing flower bulbs, selecting the right storage container is essential for maintaining their quality throughout the dormant period. The container you choose should provide adequate protection from moisture, pests, and temperature fluctuations. Here are some factors to consider when choosing a storage container:
1. Material: The material of the container should be durable and moisture-resistant. Common options include mesh bags, paper bags, or plastic containers with lids. Mesh bags allow for good airflow, which helps prevent moisture buildup and mold. Paper bags provide a breathable environment, but they may not be as durable as plastic containers. Plastic containers with ventilation holes offer a balance of protection and airflow.
2. Size: The size of the storage container depends on the number of bulbs you have and the space available for storage. Ensure that the container is large enough to comfortably accommodate the bulbs without overcrowding, as this can lead to damage or mold. However, avoid using excessively large containers, as the bulbs may shift and become damaged during storage.
3. Ventilation: Adequate airflow is crucial for preventing mold and rot. Choose a container that provides some ventilation, such as mesh bags or plastic containers with ventilation holes. This will allow for proper air circulation and help maintain the bulbs’ health during storage.
4. Security: Pests, such as mice or insects, can be attracted to stored bulbs. Consider choosing a container with a secure lid to prevent pests from accessing the bulbs. If using mesh bags or paper bags, ensure that they can be tightly closed or sealed to deter pests.
5. Cleanliness: Before using a storage container, ensure that it is clean and dry. Any residue or moisture in the container can lead to mold or disease development. If reusing a container from a previous season, thoroughly clean and sanitize it before storing new bulbs.
6. Labels or Markings: It’s helpful to label your storage container with the bulb variety, color, or any other identifying information. This will make it easier to locate specific bulbs when it’s time for replanting. You can use adhesive labels, markers, or even print out labels to attach to the container.
7. Stackability: If you have limited storage space, consider containers that are stackable. This will help save space and keep your storage area organized. However, be mindful not to stack the containers too high or place heavy objects on top, as this can cause damage to the bulbs inside.
Remember to choose a storage container that best meets your specific needs and the requirements of your bulbs. Providing the right storage conditions through proper container selection will help ensure the successful preservation of your flower bulbs over winter.
Read more: How To Store Caladium Bulbs Over Winter
Creating the Ideal Storage Environment
Creating the ideal storage environment for your flower bulbs is essential to maintain their long-term viability and ensure their successful growth in the following season. Here are some key factors to consider when creating the optimal storage environment:
1. Temperature: Most flower bulbs prefer a cool storage temperature between 40°F (4°C) and 50°F (10°C). This temperature range allows the bulbs to remain in a state of dormancy, preventing them from sprouting prematurely. Avoid storing bulbs in areas that experience extreme temperature fluctuations or are prone to freezing, as this can damage the bulbs.
2. Humidity: Low humidity is important for bulb storage, as high moisture levels can encourage mold growth and rot. Aim for a humidity level below 60%. If the storage area is naturally humid, consider using a dehumidifier or moisture-absorbing packets to maintain the desired humidity level. It’s also crucial to ensure proper airflow to prevent excess moisture buildup around the bulbs.
3. Darkness: Flower bulbs require a period of darkness during storage to maintain their dormancy. Store the bulbs in a dark area, away from direct sunlight or artificial light sources. Exposure to light can stimulate premature sprouting, which can weaken the bulbs and reduce their flowering potential in the following season.
4. Air Circulation: Proper air circulation is crucial to prevent mold, rot, and condensation around the stored bulbs. Ensure there is sufficient airflow in the storage area by keeping the space well-ventilated. Avoid storing bulbs in airtight or sealed containers unless there are ventilation holes to allow for proper air exchange. Mesh bags or containers with ventilation holes are ideal for promoting adequate air circulation.
5. Pest Protection: Protecting your stored bulbs from pests is essential to maintain their health and prevent damage. Make sure that your storage area is free from rodents, insects, and other pests that may feed on or damage the bulbs. Use containers with secure lids or consider placing pest deterrents, such as mothballs or cedar chips, near the storage area to deter pests.
6. Safe from Chemicals: Keep your stored bulbs away from chemicals, such as pesticides, fertilizers, or paints. These substances can emit fumes or release harmful vapors that may damage the bulbs. It’s important to store bulbs in a clean environment that is free from any potential chemical contamination.
7. Regular Monitoring: Regularly check on your stored bulbs throughout the winter storage period. Inspect them for signs of mold, rot, or pest infestation. Remove any bulbs that show signs of damage or disease to prevent spreading to the rest of the batch.
By creating the ideal storage environment with the right temperature, humidity, darkness, air circulation, and pest protection, you can ensure that your flower bulbs remain healthy and ready for replanting in the upcoming spring. Paying attention to these factors will help preserve the quality and vitality of your bulbs, resulting in vibrant blooms and a flourishing garden in the next growing season.
Store flower bulbs over winter in a cool, dry place with good air circulation. Avoid storing them in airtight containers or areas with high humidity to prevent rot. Check bulbs periodically for any signs of mold or decay.
Storing Bulbs in a Cold Location
Storing flower bulbs in a cold location is a common method to ensure their successful overwintering. Cold storage provides the bulbs with the necessary dormant period required for their long-term health. Here are some key steps to follow when storing bulbs in a cold location:
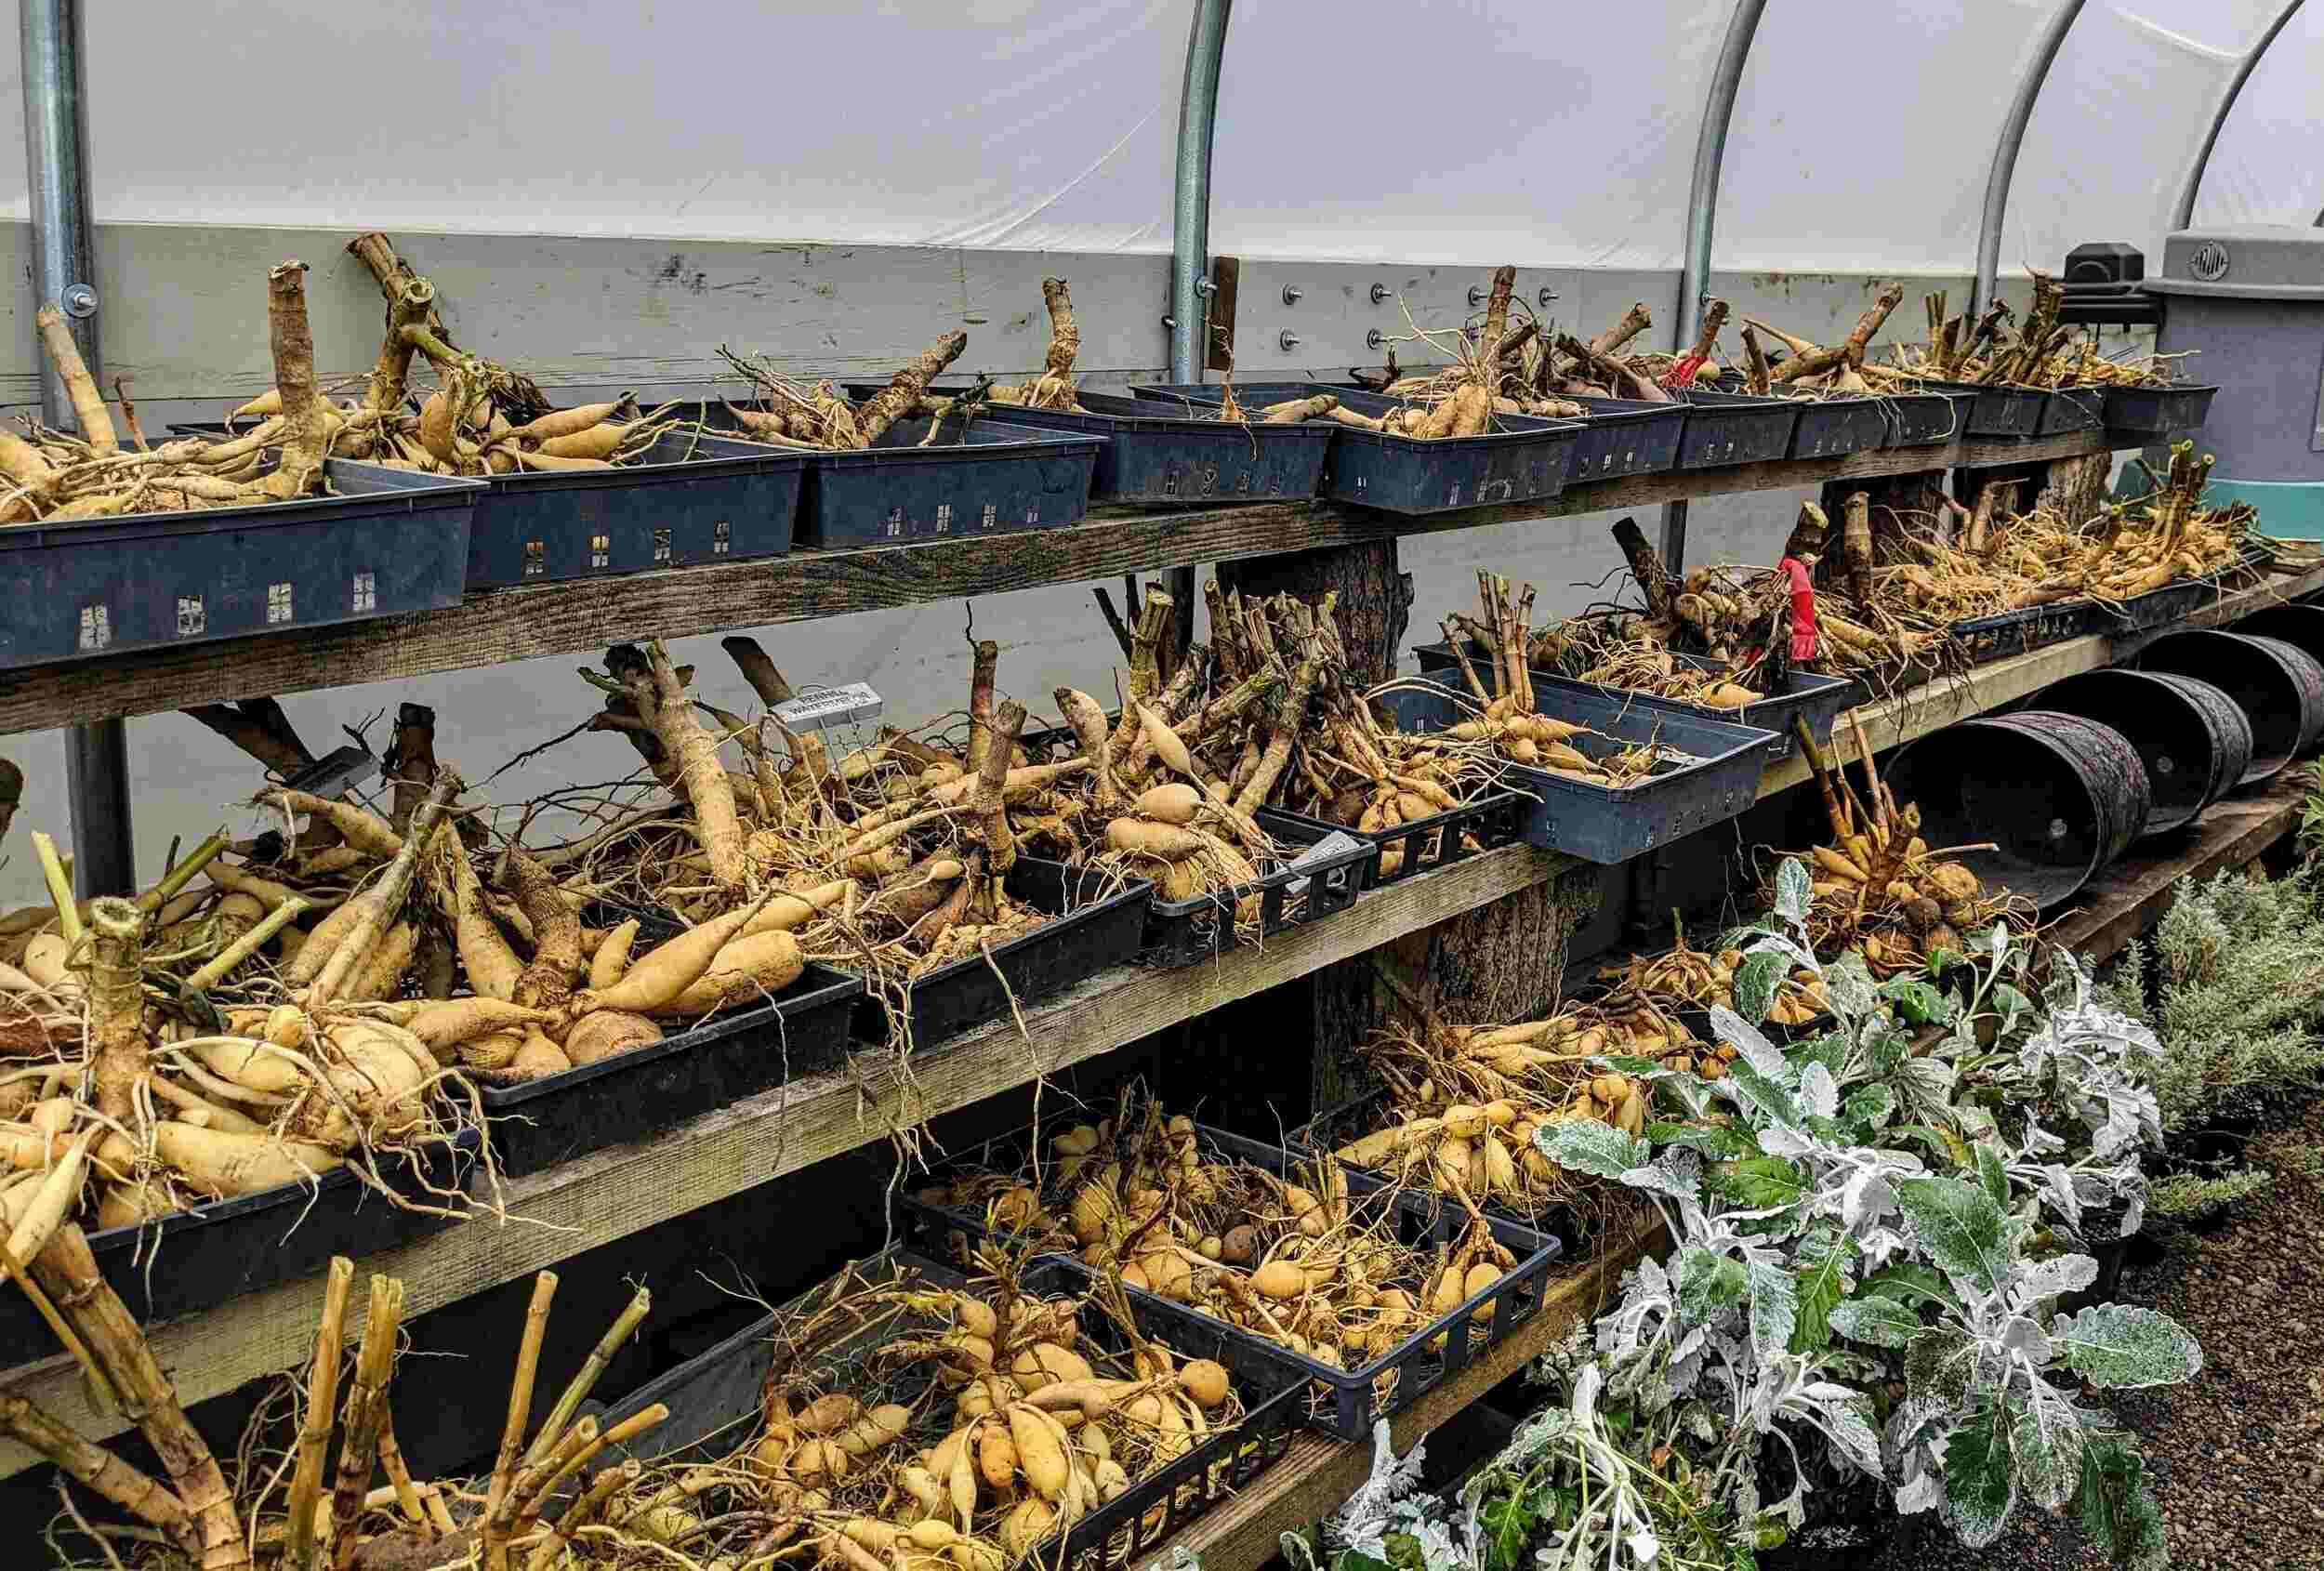
1. Choosing the Right Cold Storage Area: Identify a suitable cold storage location, such as an unheated basement, cellar, or garage. The area should maintain a consistently cool temperature between 40°F (4°C) and 50°F (10°C) throughout the winter months. Ensure that the storage area is well-insulated and protected from extreme temperatures.
2. Preparing the Bulbs for Cold Storage: Before placing the bulbs in cold storage, ensure that they have been properly dried and inspected for any signs of damage or disease. Remove any excess soil, trim off foliage or stems, and allow the bulbs to fully dry in a cool, well-ventilated area for a few days. This will help prevent moisture buildup and mold during storage.
3. Container Selection: Choose a storage container that provides protection from moisture and pests. Mesh bags, paper bags, or plastic containers with ventilation holes are all viable options. Avoid airtight containers, as they can trap excessive moisture and hinder airflow.
4. Arranging the Bulbs: Place the dried bulbs in the storage container. Ensure that the bulbs are not overcrowded or touching each other, as this can lead to damage or fungus growth. Leave some space between the bulbs to allow for airflow.
5. Labeling the Bulbs: It’s helpful to label the bulbs before storing them. Use markers or adhesive labels to indicate the variety, color, or any other identifying information. This will simplify the process of identifying and organizing the bulbs when it’s time for replanting.
6. Cold Storage Environment: Position the storage container in the chosen cold storage location. Ensure that the location is dark, as exposure to light can stimulate premature sprouting. Avoid storing bulbs near fruits, as fruits release ethylene gas that can negatively affect the bulbs’ quality.
7. Regular Monitoring: Regularly check on the stored bulbs throughout the winter months. Inspect them for any signs of mold, rot, or pest infestation. Remove any bulbs showing signs of damage to prevent the spread to the remaining bulbs.
8. Temperature and Humidity Control: Maintain a consistent and cool temperature in the storage area. Monitor the humidity levels, aiming for a humidity level below 60% to prevent mold growth. If the storage area is prone to high humidity, consider using a dehumidifier or moisture-absorbing packets to maintain optimal conditions.
By following these steps and storing your flower bulbs in a cold location, you are providing them with the necessary conditions for a proper dormant period. This will ensure their health and vigor, resulting in beautiful blooms when you replant them in the spring.
Storing Bulbs in a Warm Location
While storing flower bulbs in a cool, dry environment is typically recommended, there may be instances where storing bulbs in a warm location is necessary or preferred. Here are some important considerations and steps to follow when storing bulbs in a warm location:
1. Selecting the Right Warm Storage Area: Identify a warm storage area with a consistent temperature range of 60°F (15°C) to 70°F (21°C). This can be a heated room, a closet near a heat source, or above a heated garage. Ensure that the storage area is well-insulated and protected from extreme temperature fluctuations.
2. Preparing the Bulbs for Warm Storage: Before storing the bulbs, ensure they have been thoroughly dried and inspected for any signs of damage or disease. Gently clean off excess soil and remove any foliage or stems. Allow the bulbs to air dry in a cool and well-ventilated area for a few days to ensure they are completely free from moisture.
3. Storage Container Selection: Choose a storage container that offers good ventilation and is resistant to moisture and pests. Mesh bags, paper bags, or bulb trays with ventilation holes are suitable options. Avoid airtight containers, as they can cause excess moisture buildup.
4. Placing the Bulbs in Storage: Arrange the dried bulbs in the chosen storage container, making sure they are not overcrowded. Leave sufficient space between the bulbs to allow for airflow and minimize the risk of mold or rot development.
5. Labeling the Bulbs: It’s important to label the bulbs before storing them in a warm location. Use markers or adhesive labels to indicate the variety, color, or any other identifying information. This will help you identify and organize the bulbs easily when it’s time for planting.
6. Warm Storage Environment: Position the storage container in the warm storage area. Ensure that there is no direct exposure to sunlight or intense heat sources, as this can cause premature sprouting or damage the bulbs. Shield the bulbs from any drafts or fluctuating temperatures that could disrupt their dormant state.
7. Regular Monitoring: Regularly check on the stored bulbs to ensure they are in good condition. Inspect them for any signs of mold, rot, or pest infestation. Remove any infected or damaged bulbs to prevent the spread of disease to the rest.
8. Temperature and Humidity Control: Maintain a consistent warm temperature in the storage area, avoiding extreme fluctuations. Monitor humidity levels, as warm environments can sometimes be more prone to higher humidity. Consider using dehumidifiers or moisture-absorbing packets if necessary to maintain optimal humidity levels.
It’s important to note that storing bulbs in a warm location may not be suitable for all bulb varieties. Some bulbs require a period of cool or cold storage to complete their natural cycles. Always consult specific guidelines and recommendations for the particular bulb types you are storing to ensure their long-term health and successful growth.
By following these steps and providing the right conditions, storing flower bulbs in a warm location can be a viable option. Maintaining the proper temperature, humidity, and airflow will help ensure the bulbs remain dormant and in good health until it’s time for replanting.
Checking Bulbs During Winter Storage
While flower bulbs are in winter storage, it’s important to regularly check on them to ensure their health and make any necessary adjustments. Monitoring the bulbs during this period will help prevent issues such as mold, rot, or pest infestation. Here are some key steps to follow when checking bulbs during winter storage:
1. Regular Inspection: Plan on inspecting your stored bulbs every few weeks during the winter storage period. Carefully examine each bulb for any signs of damage, disease, or pest activity. Look for soft spots, discoloration, mold, or any unusual growth on the bulbs. This will allow you to catch and address any issues early on.
2. Remove Damaged Bulbs: If you encounter any bulbs that show signs of rot, mold, or disease, it is crucial to remove them immediately. Damaged bulbs can spread disease to the healthy bulbs and compromise their health. Remove and dispose of any infected bulbs to prevent further damage and ensure the well-being of the remaining bulbs.
3. Adjust Temperatures and Humidity: Check the temperature and humidity levels in the storage area. Ensure they remain within the recommended range for bulb storage. If the temperature is too high or the humidity is excessive, take steps to adjust it. This could involve moving the storage container to a cooler or drier area, using a dehumidifier, or adding moisture-absorbing packets if the environment is too humid.
4. Assess Air Circulation: Ensure that there is proper airflow around the stored bulbs. Proper ventilation helps prevent the buildup of excess moisture and keeps the bulbs in a healthy state. If necessary, adjust the positioning of the storage container to ensure adequate air circulation or consider using a fan to improve airflow in the storage area.
5. Pest Control: Regularly check for any signs of pests, such as rodents or insects, in the storage area or around the bulb container. Watch out for droppings, chewed bulbs, or signs of nesting. If pests are present, take appropriate measures to eliminate them, such as using traps or deterrents. Be cautious when using chemical pesticides, as they may harm the bulbs.
6. Reorganize if Needed: As you check on the bulbs, you may notice that they have shifted or become crowded in the storage container. Take the opportunity to reorganize them, ensuring they have enough space for proper airflow. Adjust their arrangement to prevent bulbs from touching or crushing each other, reducing the risk of damage and promoting healthy storage.
7. Maintain Records: Keep a log or record of your observations and any actions taken during the winter storage period. This will help you track the bulbs’ condition over time and make adjustments in future storage seasons. Noting any issues encountered and their resolutions can be valuable information for future reference.
By regularly checking your stored bulbs during winter storage, you can address any problems promptly and ensure the optimal conditions for their health and vitality. It’s a preventive measure that will contribute to a successful replanting season and a beautiful display of blooms in the following spring.
Read more: How To Store Tulip Bulbs Over Winter
Replanting Bulbs in Spring
Replanting flower bulbs in the spring is an exciting time, as it allows you to bring vibrant blooms back to your garden. To ensure successful replanting and a stunning display, follow these steps:
1. Determine the Timing: Determine the appropriate time to replant your specific bulbs based on their recommended planting window and your local climate. In general, most spring-blooming bulbs should be planted in the fall before the ground freezes. However, some bulbs, such as summer-blooming varieties or tender bulbs, may require planting in the spring after the danger of frost has passed. Refer to the specific guidelines for each bulb variety to determine the ideal timing.
2. Select the Planting Location: Choose a suitable planting location based on the sunlight requirements, soil conditions, and space availability for your bulbs. Most bulbs prefer well-draining soil and at least six hours of direct sunlight each day. Consider factors such as garden aesthetics, color combinations, and height variations when planning the placement of different bulb varieties.
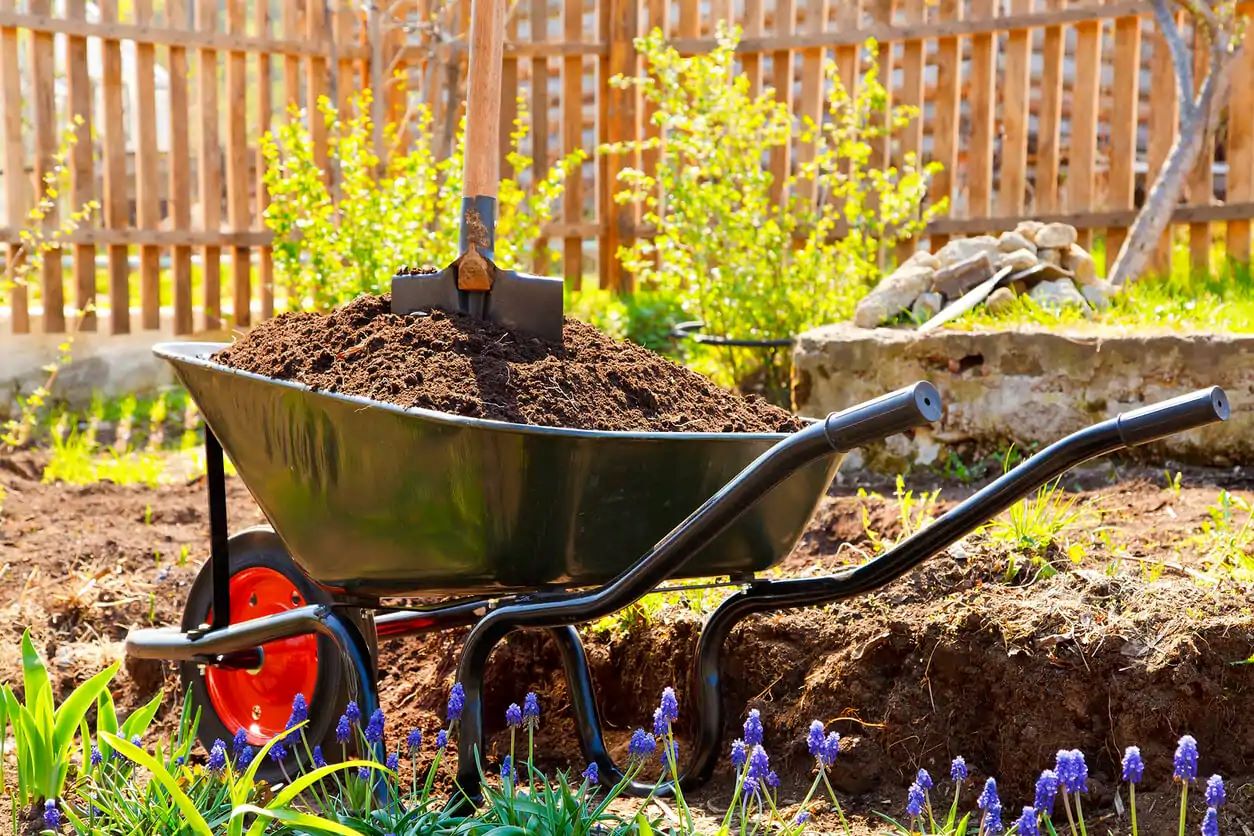
3. Prepare the Soil: Before planting, prepare the soil by removing any weeds, rocks, or debris. Loosen the soil using a garden fork or tiller, ensuring good drainage and root penetration. Consider adding organic matter, such as compost or well-rotted manure, to improve the soil’s fertility and structure.
4. Dig the Planting Holes: Dig individual planting holes for each bulb, ensuring a depth that is approximately two to three times the bulb’s height. Use a bulb planter or a garden trowel to create the holes. If planting multiple bulbs in a group or cluster, dig a wider hole to accommodate the bulbs comfortably.
5. Plant the Bulbs: Place each bulb in the planting hole with the pointed end facing upwards. Ensure the bulbs are positioned at the correct depth, with the bottom of the bulb sitting securely in the hole. Gently backfill the hole with soil, being careful not to damage the bulb. Avoid compacting the soil excessively, as this can impede root growth and drainage.
6. Watering After Planting: After planting your bulbs, water the area thoroughly. This will help settle the soil around the bulbs and provide them with essential moisture. Maintain regular watering throughout the growing season, especially during dry periods, to support the bulb’s growth and development.
7. Mulching: Consider applying a layer of organic mulch, such as straw or wood chips, around the planted bulbs. Mulching helps conserve moisture, suppresses weed growth, and insulates the soil, protecting the bulbs from temperature fluctuations. Maintain a layer of mulch that is approximately 2-3 inches (5-7 cm) deep, ensuring it is not in direct contact with the bulbs.
8. Care and Maintenance: Provide regular care and maintenance to your newly planted bulbs. Monitor moisture levels, ensuring the soil remains evenly moist but not waterlogged. As the bulbs begin to emerge and grow, apply a balanced fertilizer to provide essential nutrients. Remove any weeds that may compete for nutrients and sunlight. Additionally, stake taller varieties if needed to provide support as they grow.
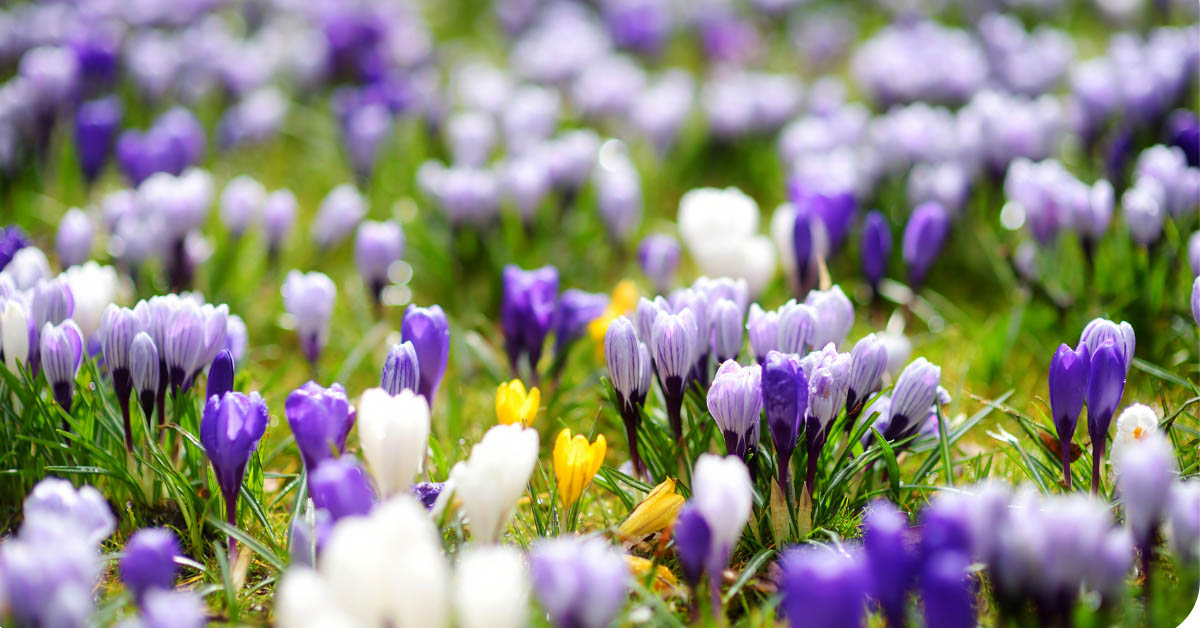
9. Enjoy the Blooms: With proper care and attention, your replanted bulbs will begin to emerge from the soil and bloom into colorful and beautiful flowers. Take time to appreciate their beauty and fragrance, and make sure to capture the moments through photographs or sketches.
10. After Blooming: Once the flowering period is over, resist the urge to remove the foliage immediately. Allow the foliage to wither and turn yellow naturally. This process allows the bulbs to store energy for the following year’s growth. Once the foliage has completely died back, you can gently remove it from the garden.
Replanting flower bulbs in the spring is a rewarding experience that allows you to witness the growth and beauty of your carefully stored bulbs. By following these steps, you can ensure a successful replanting season and enjoy a splendid display of blooms in your garden.
Conclusion
Storing flower bulbs over winter is a vital process for gardeners who want to protect their bulbs and enjoy beautiful blooms year after year. By following the proper steps and providing the right storage conditions, you can ensure the long-term health and vitality of your bulbs.
Storing bulbs offers multiple benefits, such as protecting them from frost, controlling conditions, preserving bulb quality, avoiding pest infestations, and achieving long-term cost savings. Whether you choose to store your bulbs in a cold location or a warm location, it is crucial to consider the specific needs of each bulb variety and the requirements of your local climate.
Preparing bulbs for storage involves digging them up, removing foliage or stems, drying them, inspecting for damage or disease, and selecting the right storage container. Creating the ideal storage environment involves considering factors such as temperature, humidity, darkness, air circulation, pest protection, and safety from chemicals.
Regularly checking bulbs during winter storage is essential to monitor their condition, address any issues, and ensure the proper storage environment is maintained. This includes inspecting for damage, adjusting temperatures and humidity if needed, assessing air circulation, controlling pests, and reorganizing if necessary.
When spring arrives, it’s time to replant your stored bulbs. Consider the timing, select a suitable planting location, prepare the soil, dig the planting holes, plant the bulbs at the proper depth, water them, apply mulch, and provide ongoing care and maintenance. By following these steps, you can enjoy a beautiful display of blooms in your garden.
In conclusion, storing flower bulbs over winter is a rewarding process that allows you to protect your bulbs and ensure their long-term success. By understanding and implementing the proper techniques, you can enjoy the beauty and joy of blooming flowers season after season. So, take the time to store your bulbs correctly, monitor them during winter, and replant them with care in the spring. Your efforts will be rewarded with a vibrant and flourishing garden that fills your outdoor space with color and fragrance.
Frequently Asked Questions about How To Store Flower Bulbs Over Winter
Was this page helpful?
At Storables.com, we guarantee accurate and reliable information. Our content, validated by Expert Board Contributors, is crafted following stringent Editorial Policies. We're committed to providing you with well-researched, expert-backed insights for all your informational needs.


0 thoughts on “How To Store Flower Bulbs Over Winter”