Home>Articles>How To Store Hyacinth Bulbs After Flowering In Water

Articles
How To Store Hyacinth Bulbs After Flowering In Water
Modified: May 6, 2024
(Many of the links in this article redirect to a specific reviewed product. Your purchase of these products through affiliate links helps to generate commission for Storables.com, at no extra cost. Learn more)
Introduction
If you’ve enjoyed the beauty and fragrance of hyacinth bulbs blooming in water, you may be wondering how to store them after they have finished flowering. Storing hyacinth bulbs properly is essential to ensure their health and vitality for the next growing season. By following a few simple steps, you can preserve your hyacinth bulbs and enjoy their vibrant blooms year after year.
Hyacinth bulbs are known for their stunning clusters of colorful flowers and delightful fragrance. Whether you’ve grown them indoors in a vase of water or in an outdoor garden, these bulbs need proper care to maintain their dormant state until they can be replanted. Storing hyacinth bulbs correctly will help prevent rot and ensure their viability for future growth.
In this article, we will guide you through the process of storing hyacinth bulbs after they have finished flowering in water. You’ll learn how to prepare the bulbs for storage, choose the right location, and how to care for them during their dormant phase. Let’s dive in and discover the steps to successfully store your hyacinth bulbs!
Key Takeaways:
- Preserve hyacinth bulbs’ health by preparing, cleaning, and storing them in a cool, dark, and well-ventilated location after flowering in water. Regularly check for rot and damage to ensure successful replanting in the next season.
- Enjoy vibrant hyacinth blooms year after year by following proper storage techniques. From bulb preparation to careful inspection, each step contributes to maintaining their health and vitality for future growth.
Read more: How To Store Grape Hyacinth Bulbs
Step 1: Prepare the hyacinth bulbs for storage
Before storing your hyacinth bulbs, it’s important to prepare them properly to ensure their health and longevity. Here’s how you can do it:
- Start by removing any dead or decaying foliage from the bulbs. Gently grasp the foliage near the base and twist it until it separates from the bulb. Be careful not to pull too forcefully, as this can damage the bulb.
- Inspect the bulbs for any signs of rot or disease. If you notice any soft or discolored areas, trim them off with a clean, sharp knife. This will help prevent the spread of disease during storage.
- Next, gently brush off any excess dirt or debris from the bulbs. You can use a soft-bristled brush or your fingers to remove the dirt without damaging the bulb.
- If your hyacinth bulbs were grown in water, they may have formed roots. Carefully untangle the roots, taking care not to break them. Trim off any excessively long or damaged roots with sterilized scissors.
- Once you’ve prepared the bulbs, it’s important to let them dry before storing. Place them in a dry and well-ventilated area for about a week. This will allow any remaining moisture to evaporate and prevent rot during storage.
By taking these steps to prepare your hyacinth bulbs for storage, you’ll ensure that they remain in optimal condition until the next growing season. Now that your bulbs are ready, let’s move on to the next step: removing them from the water.
Step 2: Remove the hyacinth bulbs from the water
After the hyacinth bulbs have finished flowering in water, it’s time to transition them to dry storage. Here’s how you can safely remove the bulbs from the water:
- Carefully lift the entire hyacinth plant, including the bulb and roots, out of the water. Do this gently to avoid damaging the delicate roots.
- If there are any decorative stones or pebbles in the water, carefully remove them from the root system. This will help prevent any potential damage to the roots during the removal process.
- Gently pat the roots and bulb dry with a soft cloth or paper towel. Be careful not to rub or scrub the bulb, as this could cause damage.
- Inspect the bulb and roots for any signs of damage or disease. If you notice any soft spots, discoloration, or signs of rot, it’s best to discard the affected bulb to prevent the spread of disease to the other bulbs.
- Once the bulbs are dry and free from moisture, it’s time to move on to the next step: cleaning the bulbs and removing any excess water.
By following these steps, you can safely and effectively remove the hyacinth bulbs from the water and prepare them for dry storage. Proper handling during this step is critical to maintaining the bulb’s health and ensuring its successful storage. Let’s move on to the next step and learn how to clean the bulbs.
Step 3: Clean the bulbs and remove any excess water
Properly cleaning the hyacinth bulbs after removing them from the water is crucial to prevent the growth of molds or fungi and ensure their successful storage. Follow these steps to clean the bulbs:
- Fill a basin or sink with lukewarm water. Avoid using hot water as it can damage the bulbs.
- Gently place the bulbs in the water and swirl them around to remove any remaining dirt or debris. You can also use a soft brush or your fingers to gently scrub the bulbs.
- After cleaning the bulbs, carefully rinse them under cool running water to remove any soap residue or dirt particles.
- Once the bulbs are thoroughly cleaned, it’s important to remove any excess water to prevent rot during storage. Shake off the excess water or pat the bulbs dry with a soft cloth or paper towel.
- Allow the bulbs to air dry for a few hours in a well-ventilated area to ensure they are completely dry before storage. This will help prevent the growth of mold or rot.
By following these steps, you’ll remove any dirt, debris, or excess water from the hyacinth bulbs, ensuring their cleanliness and drying them effectively. Clean and dry bulbs are less prone to disease and will have a better chance of remaining healthy during storage. Now that the bulbs are clean and dry, it’s time to select the right storage location.
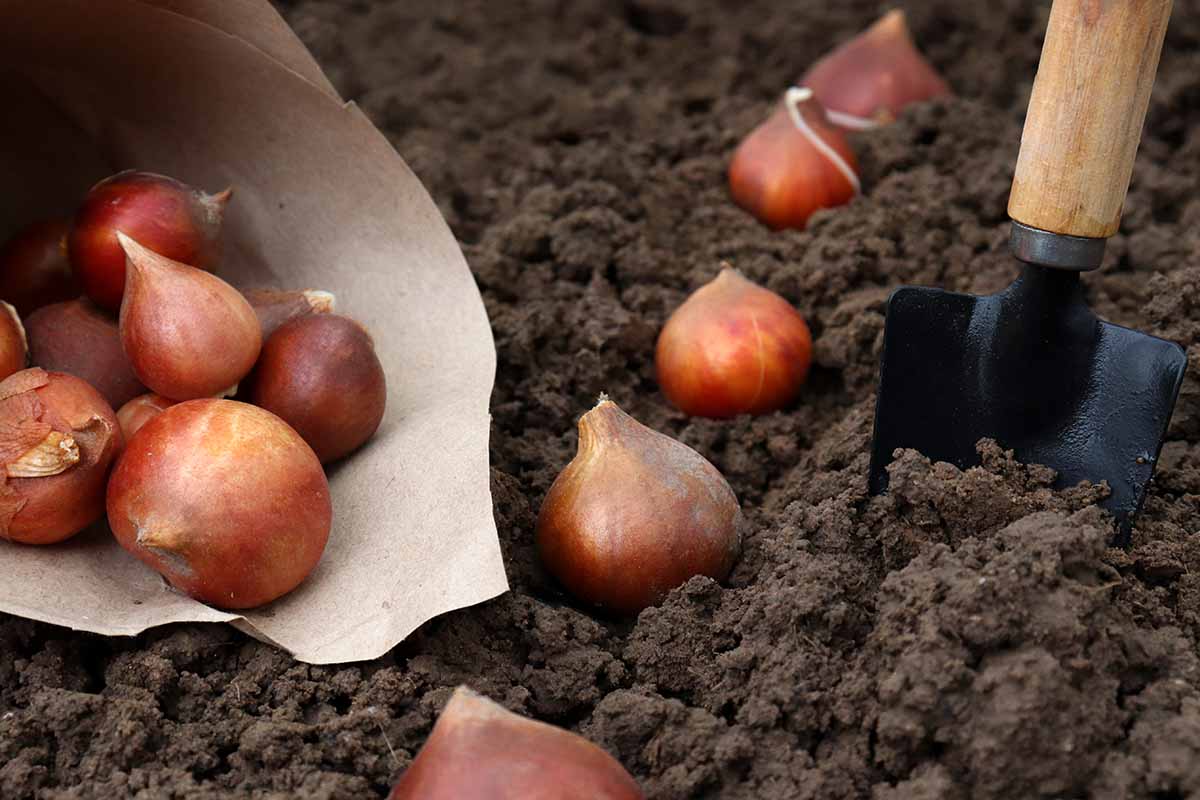
Step 4: Choose the right storage location for the bulbs
Choosing the right storage location for your hyacinth bulbs is essential to their successful dormancy period. Here are some factors to consider when selecting the appropriate storage location:
- Temperature: Hyacinth bulbs require cool conditions for storage. Ideally, the temperature should be around 35-45°F (1-7°C). Avoid storing them in areas that are too warm, as this can encourage premature sprouting.
- Humidity: It is important to store the bulbs in a location with low humidity. High levels of moisture can promote the growth of mold or rot. Choose a dry environment such as a basement or a cool closet.
- Light: Hyacinth bulbs should be stored in a dark location. Exposure to light can trigger premature growth and hinder the dormancy period. Use opaque containers or paper bags to keep the bulbs protected from light.
- Air circulation: Proper air circulation is essential to prevent the buildup of moisture and reduce the risk of mold. Ensure that the storage location has adequate ventilation to promote airflow.
- Pest control: Check the chosen storage area for signs of pests such as rodents or insects. These critters can damage or feed on the bulbs, compromising their condition. Take appropriate measures to prevent infestations.
Consider these factors when selecting the storage location for your hyacinth bulbs. A cool, dry, dark, and well-ventilated area will provide the optimal conditions for the bulbs to remain dormant and healthy. Now that you’ve chosen the storage location, it’s time to move on to the next step: storing the hyacinth bulbs.
After the hyacinth bulbs have finished flowering in water, allow the foliage to die back naturally. Once the leaves have turned yellow, carefully remove the bulbs from the water and allow them to dry for a few days. Store the bulbs in a cool, dry place until it’s time to plant them in the fall.
Read more: What Is A Flower Bulbs
Step 5: Store the hyacinth bulbs in a cool and dry place
Proper storage is crucial to maintain the health and viability of hyacinth bulbs during their dormant phase. Follow these steps to store your hyacinth bulbs in a cool and dry place:
- Prepare the containers: Choose containers that are breathable and can provide sufficient airflow to the bulbs. Paper bags or mesh bags are ideal options. Avoid using plastic bags or airtight containers, as they can trap moisture and lead to rot.
- Arrange the bulbs: Place the bulbs in the containers, making sure there is ample space between them. Avoid overcrowding, as this can increase the risk of rotting and mold formation.
- Bulb orientation: Position the bulbs upright in the containers, with the roots facing downwards and the shoot (if present) facing upwards. This mimics their natural growth orientation and helps maintain their vitality.
- Add dry storage medium: If desired, you can add a dry storage medium like peat moss, sawdust, or dry sand around the bulbs. This helps to absorb excess moisture and provides insulation during storage.
- Label the containers: It’s important to label the containers with the type of bulbs stored and the storage date. This will help you keep track of their variety and ensure proper rotation of older bulbs.
- Place in the storage location: Transfer the containers to the chosen storage location, such as a cool basement, garage, or cellar. Make sure the area maintains the recommended temperature and humidity levels.
- Regularly check for rot or damage: Throughout the storage period, inspect the bulbs regularly for any signs of rot, disease, or damage. Remove any affected bulbs immediately to prevent the spread to healthy bulbs.
By following these steps, you can create an ideal environment for your hyacinth bulbs, ensuring they stay dormant and healthy during their storage period. Now that you’ve stored the bulbs, let’s move on to the next step: checking on the bulbs regularly.
Step 6: Check the bulbs regularly for any signs of rot or damage
Regularly monitoring the condition of your stored hyacinth bulbs is crucial to catch any signs of rot, disease, or damage early on. Follow these steps to check your bulbs and ensure their health:
- Set a schedule: Establish a regular schedule for checking on your stored bulbs. Aim to inspect them at least once a month during the storage period.
- Inspect for rot: Carefully examine each bulb for any soft spots, mold, or signs of rot. Gently squeeze the bulb to check for any areas that feel mushy or show discoloration.
- Check for damage: Look for any physical damage to the bulbs, such as cuts or bruises. These can create entry points for pathogens or pests, compromising the bulb’s health.
- Remove affected bulbs: If you notice any bulbs showing signs of rot or damage, promptly remove them from the storage container. Discard the affected bulbs to prevent the spread of disease.
- Adjust storage conditions if necessary: If you consistently find issues with rot or damage, reassess the storage conditions. Ensure that the area is properly ventilated, and check for any changes in temperature or humidity levels.
- Make note of observations: Keep a record of any observations or actions taken during your bulb check-ups. This information can help you identify patterns or make adjustments in your storage techniques for future seasons.
By regularly checking your hyacinth bulbs for signs of rot or damage, you can quickly address any issues and prevent the spread of disease. This proactive approach will help ensure the overall health and successful storage of your bulbs. Now that you’ve checked on the bulbs, let’s move on to the next step: preparing them for planting in the next season.
Step 7: Prepare the bulbs for planting in the next season
Preparing your hyacinth bulbs for planting in the upcoming season is essential for their successful growth and blooming. Follow these steps to ensure your bulbs are ready:
- Remove from storage: When the time comes to plant your hyacinth bulbs, carefully remove them from the storage containers. Handle them gently to avoid causing any damage to the bulbs.
- Inspect the bulbs: Examine each bulb closely for any signs of rot, damage, or disease. Discard any bulbs that are soft, mushy, or showing extensive signs of decay.
- Remove storage medium: If you’ve stored your bulbs with a dry storage medium such as peat moss, gently brush off any excess material from the bulbs. Make sure the bulbs are clean and free from debris.
- Soak the bulbs: Prior to planting, it can be beneficial to give the bulbs a soak in water for a few hours. This helps to rehydrate them and kickstart the growth process.
- Inspect roots and shoots: Check the roots and shoots (if present) of each bulb. Trim off any damaged or excessively long roots, and remove any weak or withered shoots.
- Prepare planting location: Choose a suitable location in your garden for planting the hyacinth bulbs. Ensure the soil is well-drained and enriched with organic matter.
- Plant the bulbs: Dig a hole that is approximately three times the depth of the bulb and place the bulb with the roots facing downward. Cover it with soil and gently firm the soil around the bulb.
- Provide proper care: Water the newly planted bulbs thoroughly after planting. Maintain regular watering throughout the growing season and provide appropriate sunlight and fertilizer for optimal growth.
By following these steps, you’ll ensure that your hyacinth bulbs are prepared for planting in the next season. Proper inspection, cleaning, and planting techniques will set the stage for healthy growth and beautiful blooms. Now that you’ve prepared the bulbs for planting, let’s move on to the final step: replanting them in the desired location.
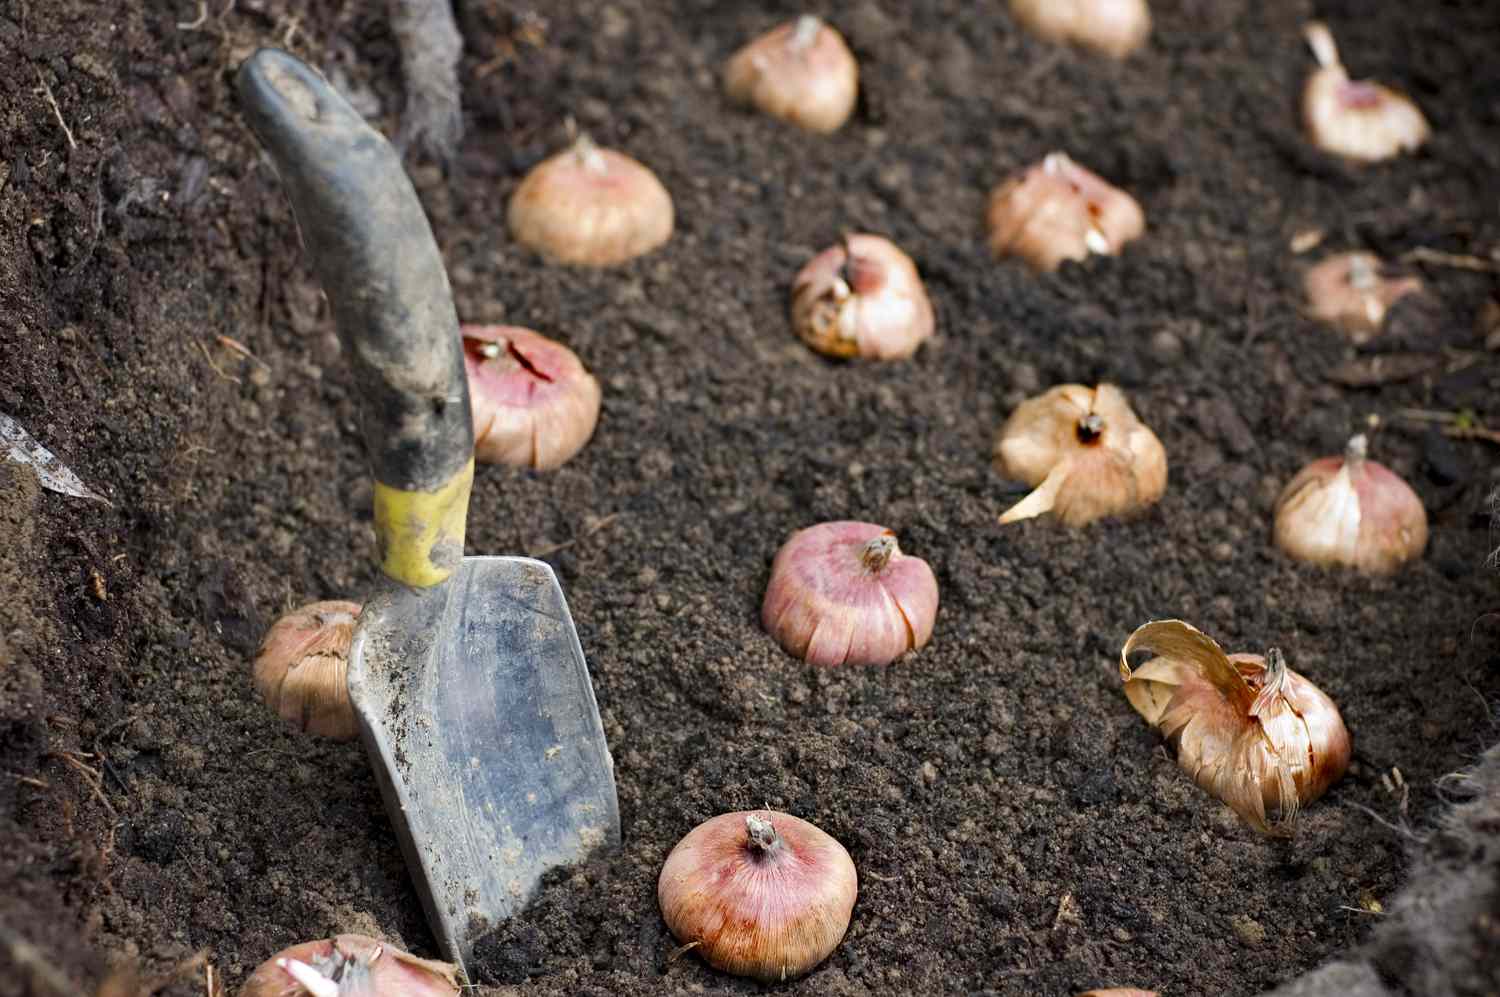
Step 8: Replant the hyacinth bulbs in the desired location
Now that your hyacinth bulbs have been prepared, it’s time to replant them in the desired location in your garden. Follow these steps to ensure a successful replanting process:
- Select the planting location: Choose a well-suited spot in your garden where the hyacinth bulbs will receive adequate sunlight and have enough space to grow. Consider the color, fragrance, and height of the hyacinth variety when selecting the location.
- Prepare the planting area: Clear any weeds or debris from the planting area. Loosen the soil to improve drainage and mix in some organic matter, such as compost or well-rotted manure, to enrich the soil.
- Planting depth and spacing: Dig holes that are approximately 6-8 inches deep, or about three times the height of the bulb. Space the bulbs about 6-8 inches apart to allow room for growth.
- Place the bulbs in the holes: Position each bulb in the hole with the pointed end facing up and the roots facing downwards. Gently cover the bulbs with soil, ensuring they are firmly planted but not excessively compressed.
- Water the newly planted bulbs: After planting, thoroughly water the bulbs to settle the soil around them and provide necessary hydration. This will help stimulate root growth and establish a good foundation.
- Apply mulch: Mulching can help retain moisture, suppress weed growth, and regulate soil temperature. Apply a layer of organic mulch around the planted bulbs, but keep it away from direct contact with the bulbs themselves.
- Monitor growth and provide care: Keep an eye on the progress of your hyacinth bulbs as they start to grow. Water them regularly, especially during dry spells, and provide any additional care specific to the variety you’re growing.
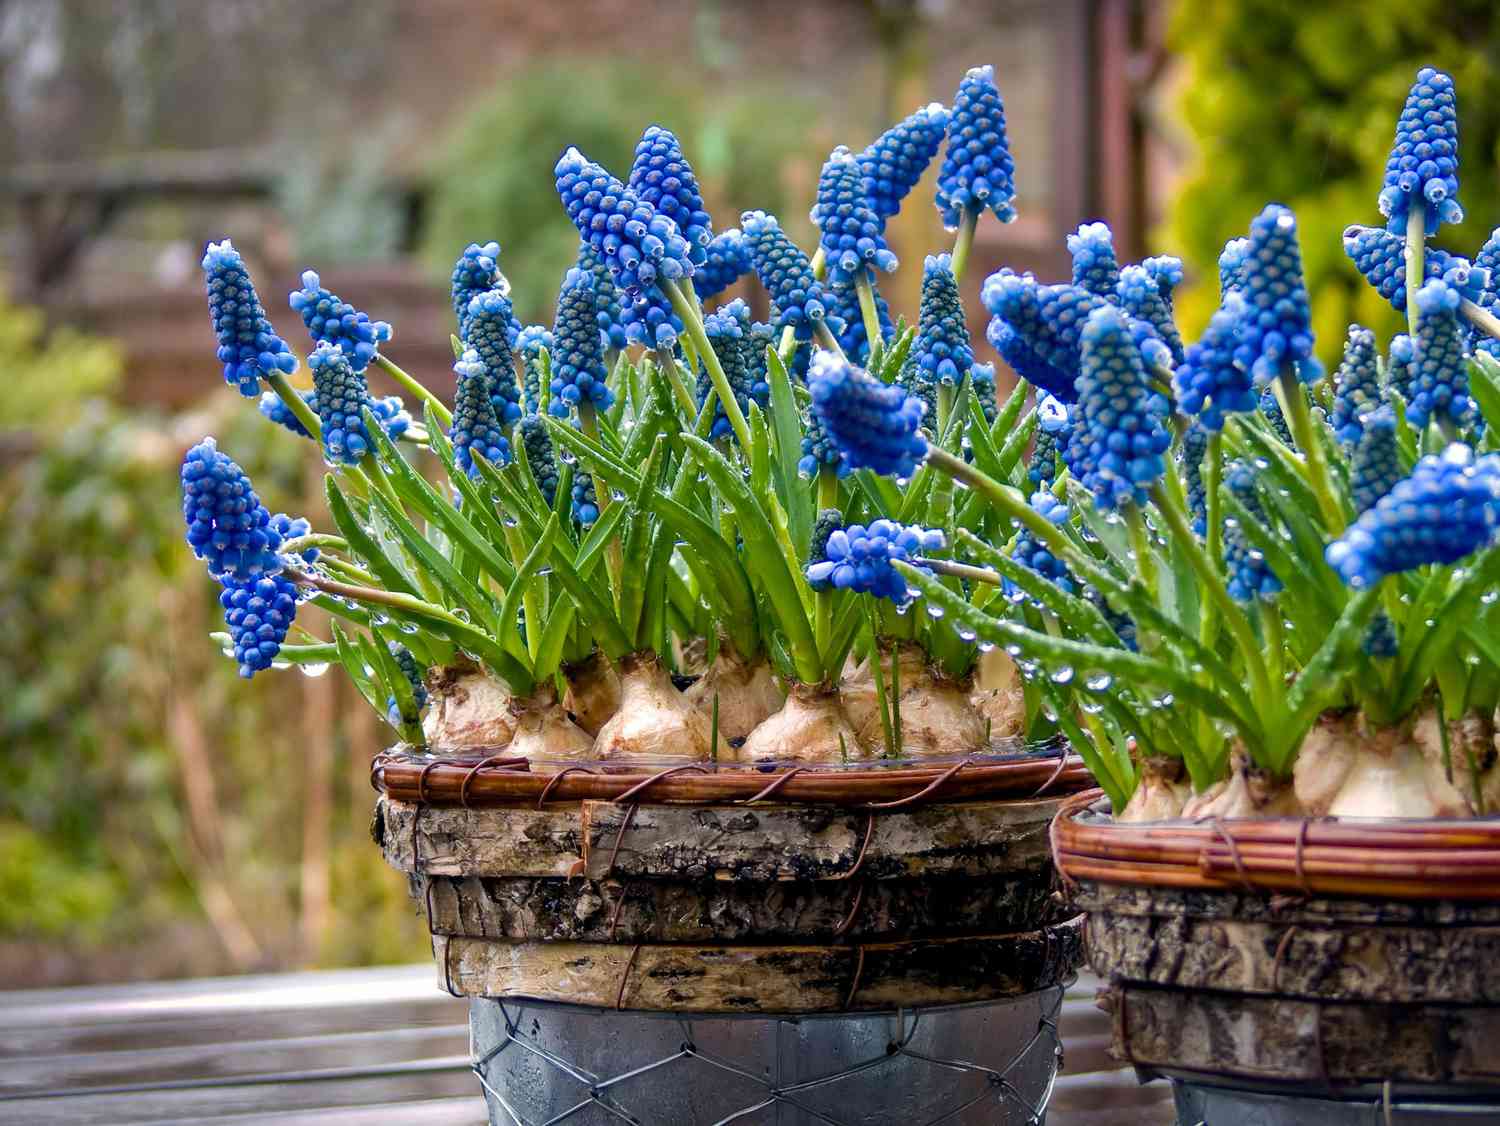
- Enjoy the blooms: With proper care, your hyacinth bulbs will reward you with beautiful blooms in the upcoming season. Take the time to appreciate their vibrant colors and delightful fragrance.
By following these steps, you’ll successfully replant your hyacinth bulbs in your desired location, setting the stage for a stunning display of blooms in the upcoming season. With proper care and attention, your hyacinths will thrive and bring beauty to your garden for years to come.
That concludes our guide on how to store hyacinth bulbs after flowering in water. By taking the time to properly prepare, clean, and store your bulbs, you can ensure their health and viability for future growth. Happy gardening!
Read more: How To Store Hyacinth Bean Seeds
Conclusion
Storing hyacinth bulbs after flowering in water can be a rewarding way to enjoy their beauty and fragrance year after year. By following the steps outlined in this guide, you can ensure that your bulbs remain healthy and ready for the next growing season.
From preparing the bulbs for storage to choosing the right location, cleaning them, and storing them in a cool and dry place, each step is crucial to maintaining their vitality. Regularly checking for signs of rot or damage and properly preparing the bulbs for planting in the next season further contribute to their success.
Remember to handle the bulbs with care, inspect them regularly, and take prompt action if you notice any signs of decay. With proper storage and attention to their needs, your hyacinth bulbs will reward you with vibrant blooms and fill your garden with their delightful fragrance.
So, whether you’ve grown your hyacinth bulbs in water or in the garden, make sure to follow these steps to store them properly. By doing so, you’ll ensure that they remain in optimal condition, ready to bring joy and beauty to your garden year after year.
Thank you for reading this guide on how to store hyacinth bulbs after flowering in water. Happy gardening!
Now that you've mastered storing hyacinth bulbs, why not give your garden a new vibe with some creative fencing? Discover various garden fence ideas that will transform your outdoor space into a sanctuary. Whether you're looking for something functional or purely decorative, these ideas are bound to inspire your next garden project. Ready to spruce up your garden's perimeter? Let’s find the perfect fence to complement your blooming flowers!
Frequently Asked Questions about How To Store Hyacinth Bulbs After Flowering In Water
Was this page helpful?
At Storables.com, we guarantee accurate and reliable information. Our content, validated by Expert Board Contributors, is crafted following stringent Editorial Policies. We're committed to providing you with well-researched, expert-backed insights for all your informational needs.


0 thoughts on “How To Store Hyacinth Bulbs After Flowering In Water”