Home>Articles>How To Store Tulip Bulbs After Digging Them Up
Articles
How To Store Tulip Bulbs After Digging Them Up
Modified: October 31, 2024
Learn the proper technique to store tulip bulbs after digging them up in this informative article. Keep your bulbs fresh and ready for the next planting season.
(Many of the links in this article redirect to a specific reviewed product. Your purchase of these products through affiliate links helps to generate commission for Storables.com, at no extra cost. Learn more)
Introduction
Tulips are beautiful and vibrant flowers that bring color and elegance to any garden. As the seasons change and winter approaches, it becomes necessary to dig up tulip bulbs to protect them from the cold temperatures and potential frost damage. Storing tulip bulbs properly after digging them up is crucial in ensuring their survival and a successful bloom in the following spring.
In this article, we will discuss the reasons for digging up tulip bulbs, the best time to do so, as well as the steps to take in cleaning, preparing, and storing the bulbs for the winter season. By following these guidelines, you can preserve the health and vigor of your tulip bulbs, allowing them to thrive when it’s time to replant them in your garden.
Key Takeaways:
- Preserve the health and vitality of tulip bulbs by digging them up after foliage turns yellow, cleaning and drying them, and storing in a cool, dry location to ensure successful blooming in the following spring.
- Replant tulip bulbs in the fall, providing proper spacing, depth, and soil conditions to establish healthy root systems and enjoy vibrant blooms year after year.
Read more: How To Store Tulip Bulbs In The Refrigerator
Reasons for Digging Up Tulip Bulbs
While tulips are generally hardy plants, there are a few key reasons why it is recommended to dig up and store tulip bulbs during the winter months:
- Protection from frost: Tulip bulbs are susceptible to damage caused by freezing temperatures and frost. By digging up the bulbs and storing them indoors, you can shield them from the harsh winter conditions.
- Prevention of rot and disease: Leaving tulip bulbs in the ground throughout the winter can expose them to various types of rot and diseases. Digging up the bulbs allows you to inspect them for any signs of damage or disease and take appropriate measures to prevent further spread.
- Control over growing conditions: Storing tulip bulbs gives you greater control over their growing environment. You can provide them with the ideal conditions of temperature and moisture, ensuring their optimal growth and future blooms.
- Bulb multiplication: Digging up tulip bulbs also provides an opportunity to divide and multiply the bulbs. Over time, tulip bulbs can multiply and become overcrowded, leading to diminished blooms. By separating and replanting the bulbs, you can rejuvenate their growth and ensure healthier flowers.
It is important to note that not all flower bulbs require digging up and storing during winter. Some hardy varieties, like daffodils and crocuses, can be left in the ground without any ill effects. However, tulip bulbs are more sensitive and require proper care during the winter months to ensure their longevity and successful growth in the following spring.
When to Dig Up Tulip Bulbs
The timing of when to dig up tulip bulbs is crucial to their survival and future blooming. Generally, the best time to dig up tulip bulbs is after the foliage has turned yellow or brown and dried up. This usually happens in late spring to early summer, depending on your location and the specific tulip variety.
It is important to allow the tulip foliage to complete its natural growth cycle before digging up the bulbs. This period is essential for the bulbs to absorb and store nutrients necessary for their growth and flowering in the following year. Prematurely cutting back or digging up the bulbs while the foliage is still green can weaken the bulbs and reduce their chances of blooming again.
Once the foliage has yellowed and dried, gently remove it by cutting it near the base of the plant. Be careful not to damage the bulb while removing the foliage. This signals that the bulbs have entered a dormant state and are ready to be dug up.
While the general guideline is to dig up tulip bulbs after the foliage has dried, it’s essential to consider your local climate and the specific growth habits of your tulips. If you live in a region with mild winters, you may be able to leave the bulbs in the ground for a bit longer. On the other hand, if you experience harsh winters with freezing temperatures, it is advisable to dig up the bulbs earlier to protect them from potential frost damage.
By timing the digging of tulip bulbs correctly, you can ensure the bulbs’ health and increase their chances of producing vibrant blooms in the upcoming spring.
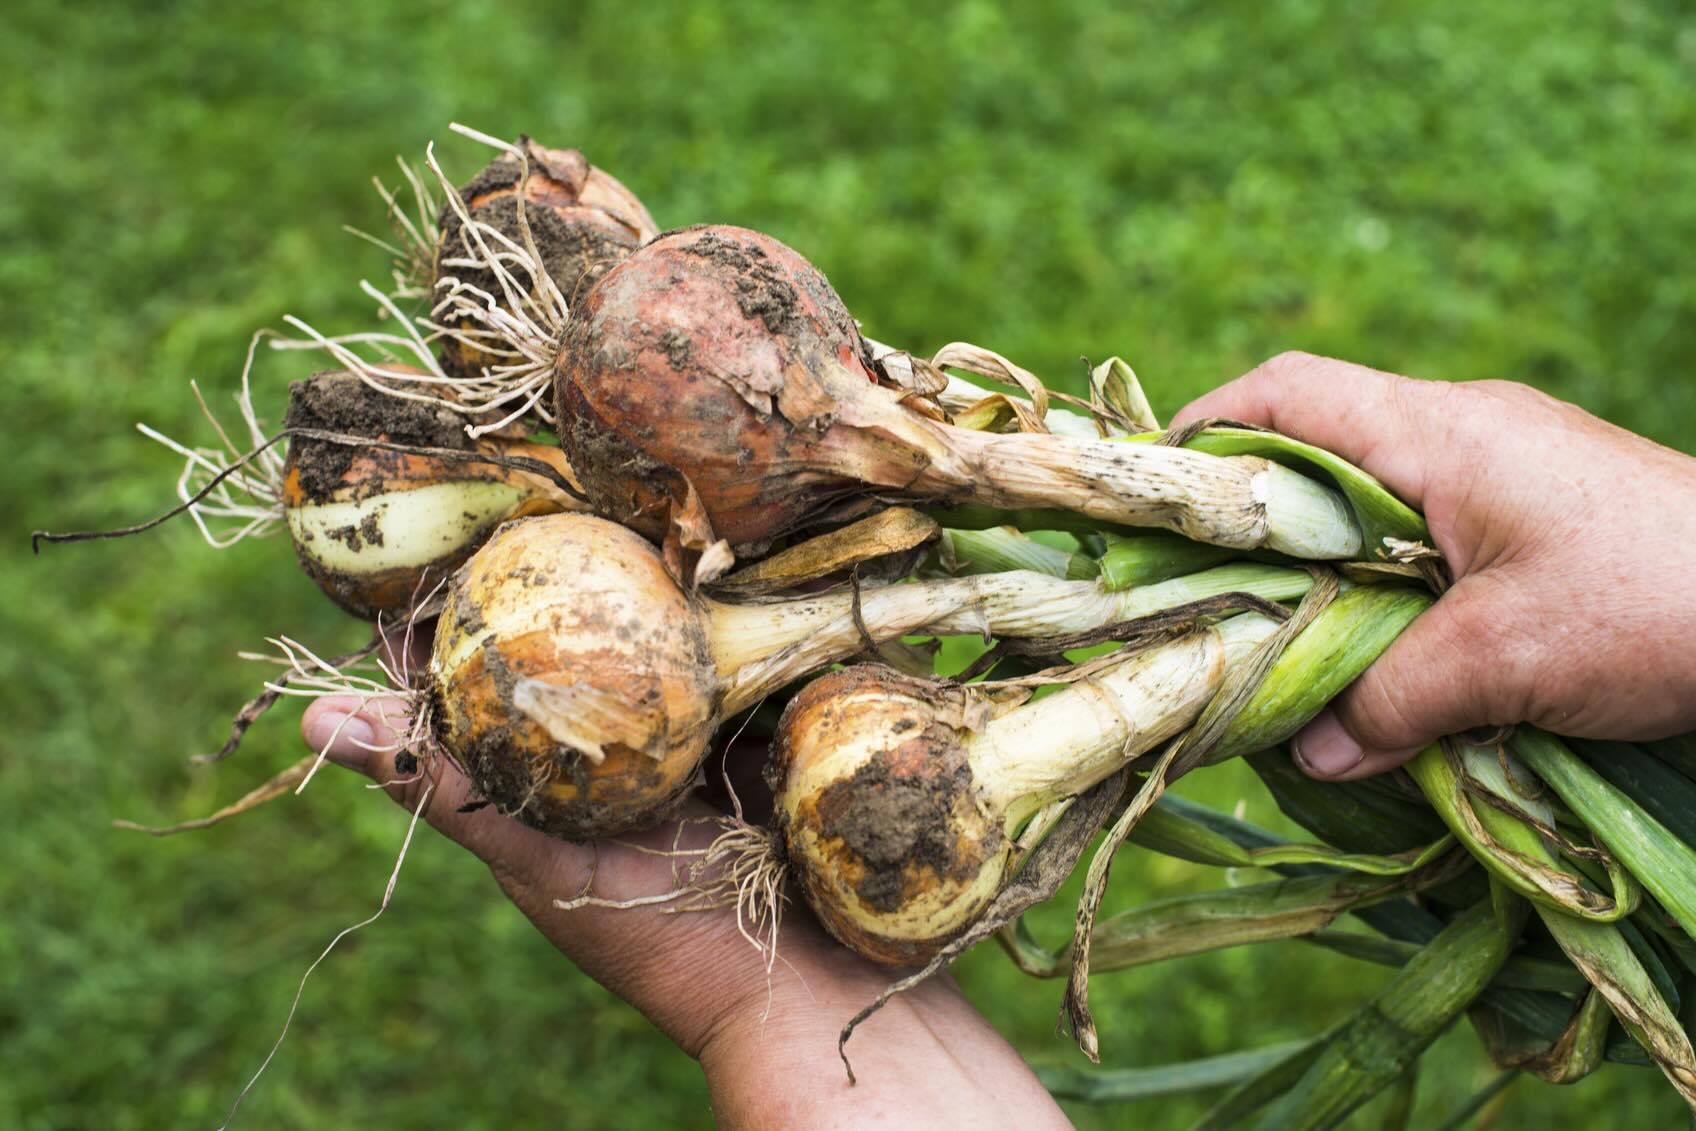
How to Dig Up Tulip Bulbs
Digging up tulip bulbs requires a careful and gentle approach to avoid causing any damage to the bulbs. Here is a step-by-step guide on how to dig up tulip bulbs:
- Gather the necessary tools: Before you begin, gather the tools you’ll need, including a garden fork or spade, a trowel, and a gardening knife or scissors.
- Prepare the area: Clear away any debris, weeds, or foliage around the tulip plants to have easy access to the bulbs.
- Insert the fork: Position the garden fork or spade a few inches away from the tulip plant’s base and gently insert it into the soil at an angle. Be cautious not to damage the bulbs with the tool.
- Lift the bulbs: Once the fork is inserted, carefully lift it to loosen the soil around the bulbs. Gradually and gently pry the bulbs out of the ground. If the bulbs are firmly stuck in the soil, use the trowel or gardening knife to carefully dig around them and loosen the soil.
- Separate the bulbs: If you notice that the tulip bulbs have multiplied and formed clusters, you can separate them to ensure better air circulation and prevent overcrowding. Gently separate the bulbs, being mindful not to damage the individual bulbs.
- Trim the foliage: After digging up the bulbs, trim any remaining foliage to about 1-2 inches above the bulb. This will help conserve energy and resources as the bulbs go into dormancy.
Once you have dug up the tulip bulbs and separated any clusters, it’s important to proceed to clean and prepare the bulbs for storage. This will help maintain their condition and improve their chances of thriving in the upcoming season.
Cleaning and Preparing Tulip Bulbs for Storage
Cleaning and preparing tulip bulbs for storage is an essential step in ensuring their health and successful growth in the future. Here are the steps to clean and prepare tulip bulbs for storage:
- Remove excess soil: Gently shake off any loose soil from the dug-up tulip bulbs. Avoid scrubbing or washing the bulbs, as excessive moisture can lead to rotting.
- Inspect for damage or disease: Take the time to examine each bulb carefully for any signs of damage, rot, or disease. Discard any bulbs that are mushy, discolored, or showing signs of infection.
- Dry the bulbs: Place the cleaned tulip bulbs in a well-ventilated area to dry. Spread them out in a single layer on a dry newspaper or a mesh tray. Allow the bulbs to air dry for about a week. This will help remove any excess moisture and prevent fungal growth during storage.
- Remove outer layers: After the bulbs have dried, you may notice that some of the outer layers or skins have become loose or papery. Gently remove these outer layers from the bulbs, being careful not to damage the inner layers.
- Label the bulbs: To keep track of the tulip bulb varieties, it is helpful to label them. Use a waterproof marker or small labels to write the name or color of each bulb variety.
Once you have completed the cleaning and preparation process, the next step is to choose the right storage container for your tulip bulbs.
After digging up tulip bulbs, store them in a cool, dry place for 1-2 weeks to allow them to cure. Once cured, remove any excess soil and store in a paper bag or mesh bag in a cool, dark, and well-ventilated area until replanting in the fall.
Read more: How To Store Tulip Bulbs Before Planting
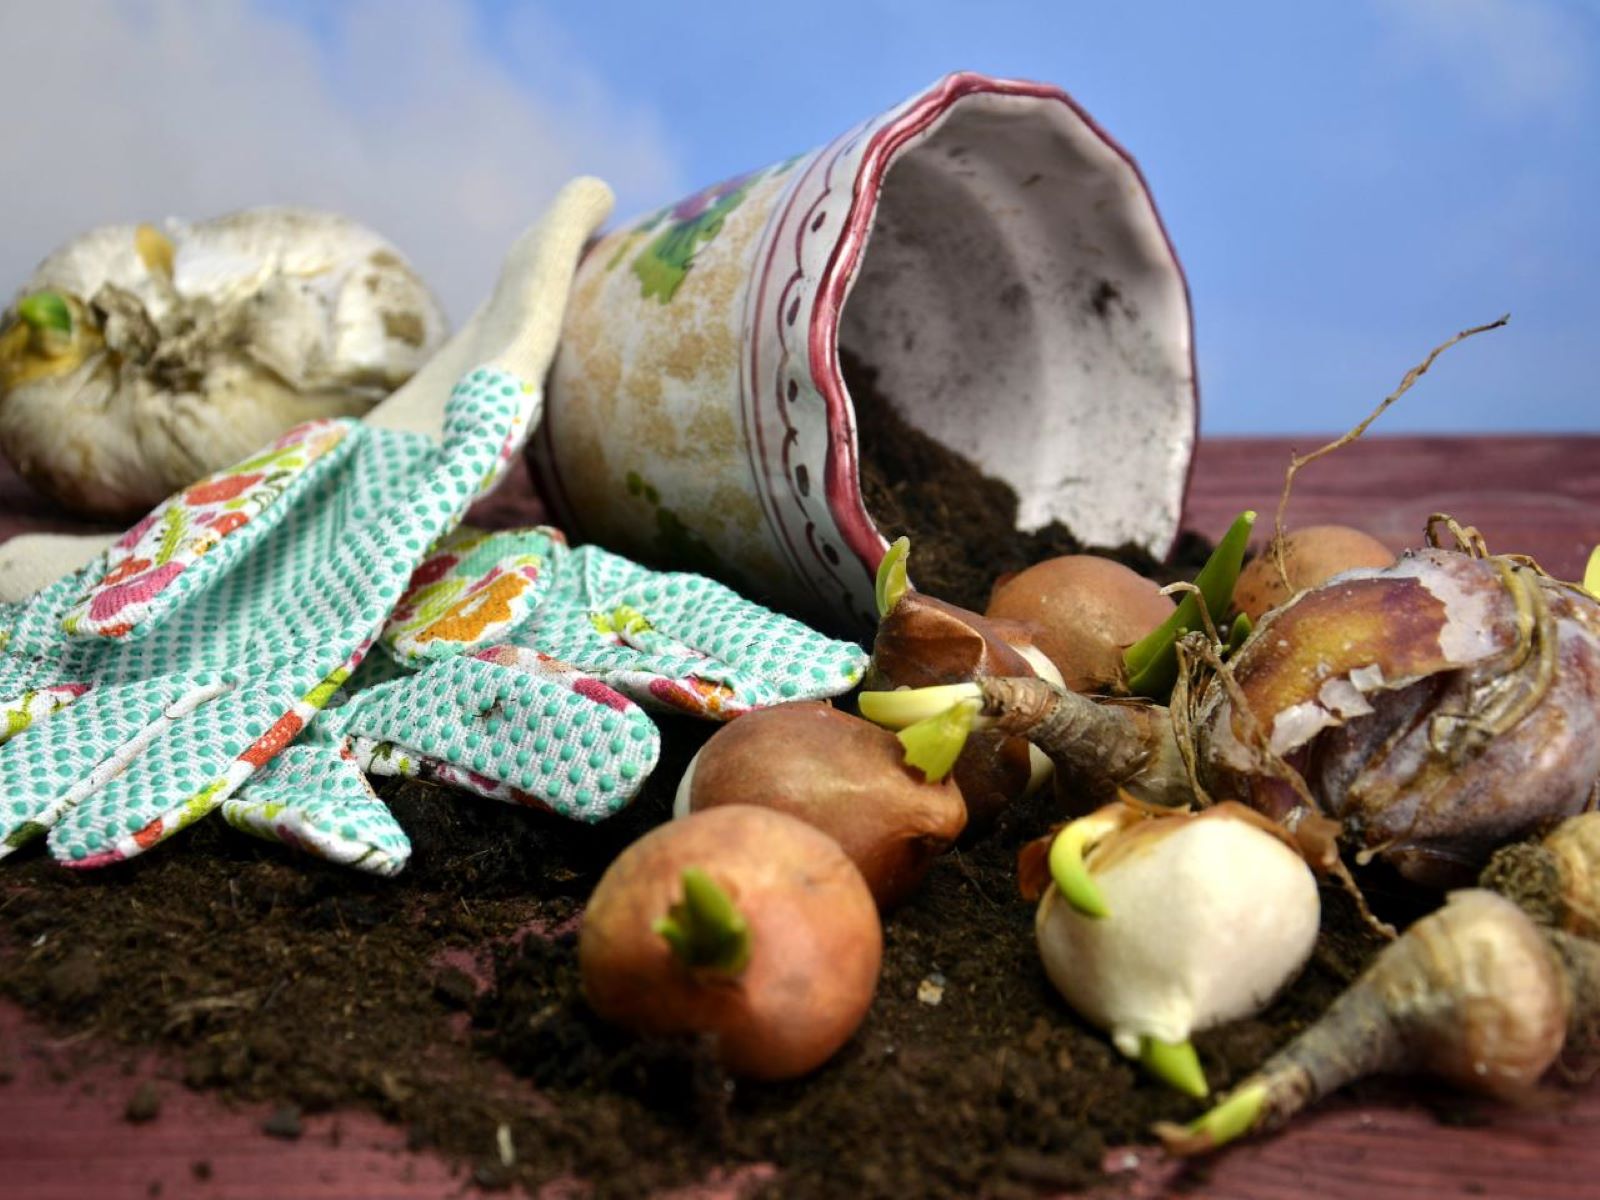
Choosing the Right Storage Container
Choosing the appropriate storage container is crucial in maintaining the quality and viability of your tulip bulbs during the winter months. Here are some factors to consider when selecting a storage container:
- Air circulation: Opt for a container that allows good air circulation to prevent excess moisture buildup. This helps prevent rot and fungal growth. Avoid using airtight containers or plastic bags that can trap moisture.
- Size: Select a container that is spacious enough to accommodate the tulip bulbs without overcrowding. It is best to store bulbs in a single layer to promote even air circulation and prevent bulbs from touching each other.
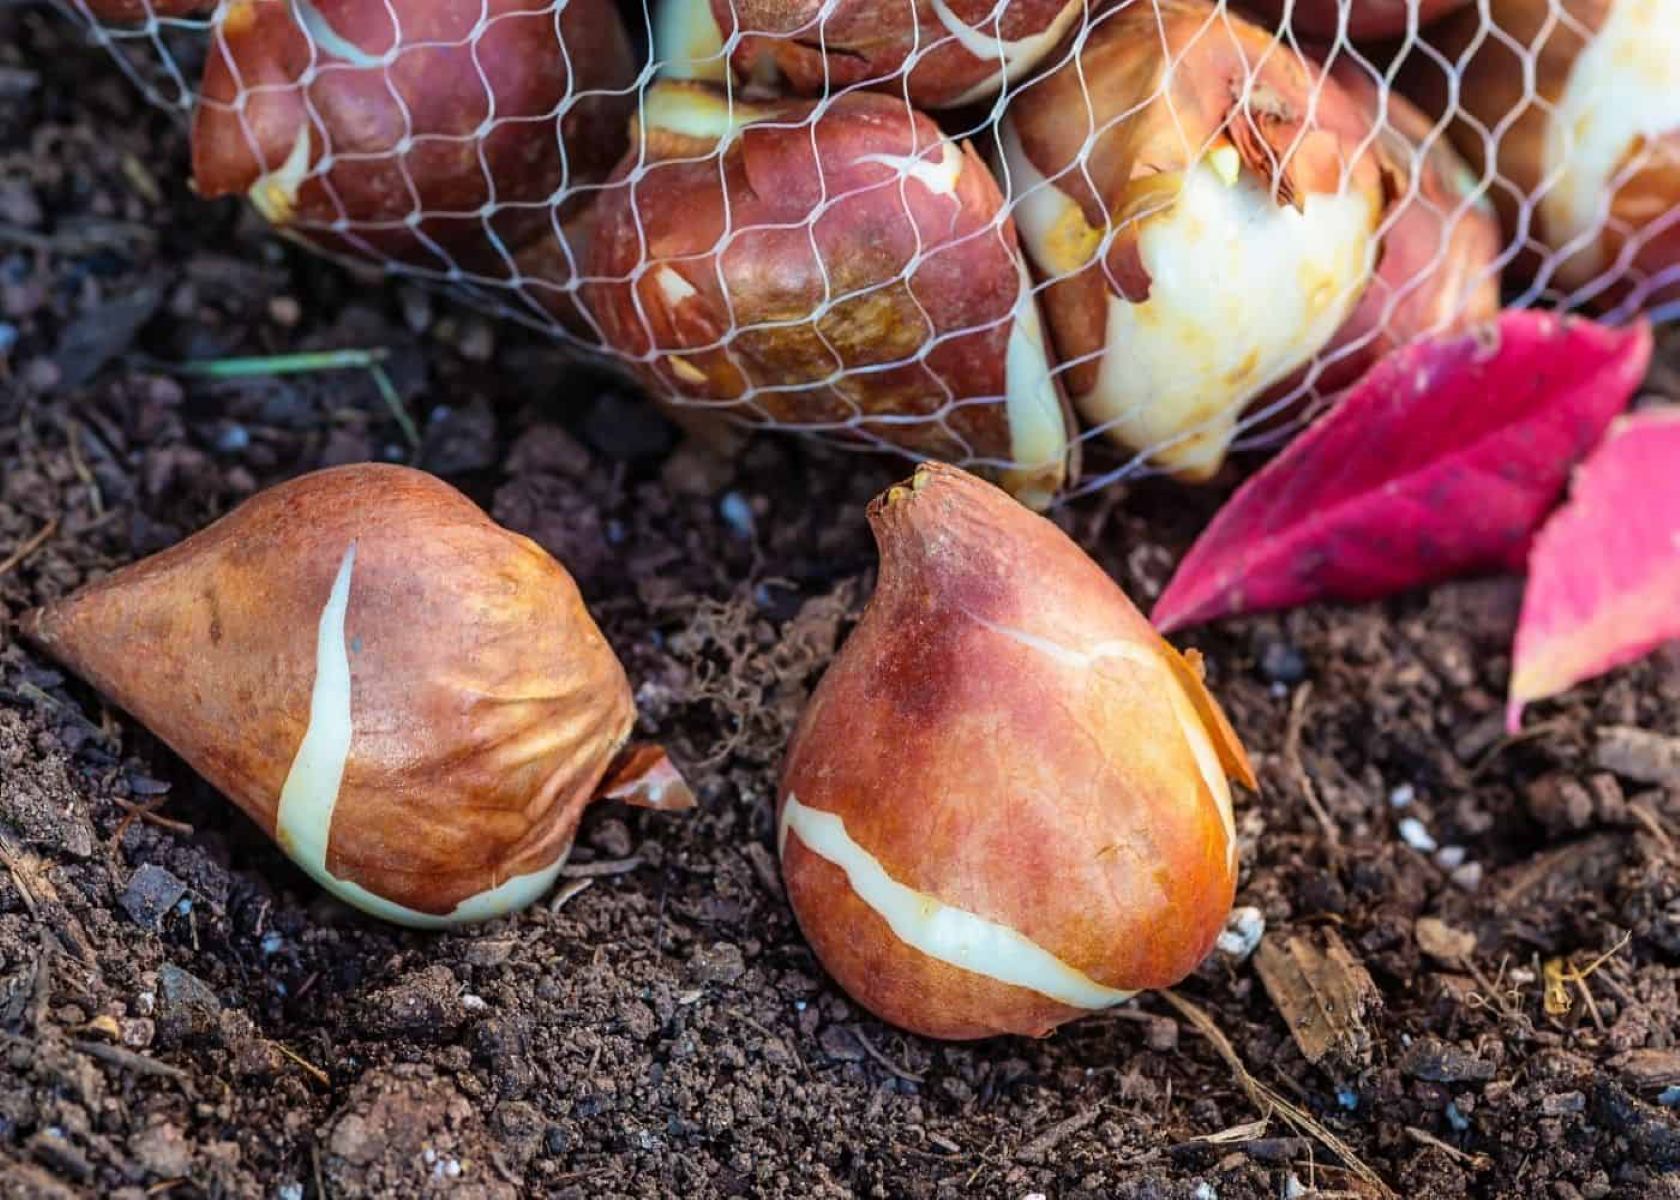
- Material: Consider using containers made of breathable materials such as mesh bags, paper bags, or wooden crates. These materials allow for better air circulation and help prevent the bulbs from rotting.
- Labeling: Ensure that the chosen container allows for easy labeling. This will help you identify the tulip bulb varieties and keep track of their storage duration.
When storing tulip bulbs, it is essential to keep them in a cool and dry location to ensure optimal conditions for their dormancy. The storage area plays a vital role in preserving the health and vitality of the bulbs.
Preparing the Storage Area
Preparing the storage area properly is an essential step in ensuring the longevity and health of your tulip bulbs during storage. Here are some tips to help you prepare the storage area:
- Choose a cool location: Look for a cool location in your home, such as a basement, cellar, or garage. The ideal temperature for storing tulip bulbs is between 40-50°F (4-10°C).
- Avoid direct sunlight: Ensure that the storage area is away from direct sunlight. Too much heat can cause the bulbs to sprout prematurely or rot.
- Control humidity: Maintain a low humidity level in the storage area to prevent excess moisture from damaging the bulbs. Avoid storing bulbs in areas with high humidity, such as a damp basement.
- Provide good ventilation: Make sure the storage area has proper ventilation to allow for air circulation. This helps prevent mold or fungus growth and keeps the bulbs dry.
- Avoid storing near fruits: Keep the tulip bulbs away from fruits or vegetables. Some fruits release ethylene gas, which can negatively affect the dormancy of the bulbs.
- Keep away from rodents and pests: Take precautions to protect the stored bulbs from rodents and pests. Ensure that the storage area is well-sealed to prevent any unwelcome visitors.
By preparing the storage area with these considerations in mind, you can create an optimal environment for the tulip bulbs’ dormancy and protect them from external factors that may diminish their quality.
Storing Tulip Bulbs in a Cool and Dry Location
Proper storage conditions are crucial for maintaining the quality and vitality of tulip bulbs during the winter season. Here are steps to ensure optimal storage:
- Place bulbs in a single layer: Arrange the tulip bulbs in a single layer in your chosen storage container. Avoid stacking or overcrowding the bulbs, as this can lead to moisture buildup and rotting.
- Ensure dryness: Make sure the bulbs are completely dry before storing them. Any moisture can cause rotting during storage. If needed, continue air-drying the bulbs for a few more days before storing them.
- Add a dry storage medium: Consider adding a dry storage medium, such as peat moss or vermiculite, to the container. This helps absorb any remaining moisture and provides additional insulation to the bulbs.
- Store in a cool location: Place the storage container in a cool area with a consistent temperature of 40-50°F (4-10°C). Avoid storing the bulbs in areas prone to temperature fluctuations or extreme cold.
- Keep in the dark: Ensure that stored tulip bulbs are kept in a dark environment. Light can stimulate premature sprouting, leading to weak or damaged bulbs.
- Monitor the storage area: Regularly check the storage area for any signs of mold, rot, or pest activity. If you notice any issues, remove the affected bulbs immediately to prevent further spread.
Remember that tulip bulbs require a period of dormancy during storage to prepare for future growth and blooming. Providing a cool and dry storage environment helps maintain their dormancy and preserves their energy for the upcoming spring season.
Checking on Tulip Bulbs During Storage
While tulip bulbs are in storage, it’s important to periodically check on them to ensure their well-being and address any issues that may arise. Here are some guidelines for checking on tulip bulbs during storage:
- Inspect for rot or disease: Regularly examine the stored bulbs for any signs of rot, mold, or disease. Look for any soft or discolored spots on the bulbs. If you notice any issues, remove the affected bulbs immediately to prevent further damage to the others.
- Check for moisture: Monitor the moisture level in the storage container. Excessive moisture can lead to rotting, while extremely dry conditions can cause the bulbs to shrivel. Adjust the storage medium as needed to maintain a balanced moisture level.
- Ensure proper ventilation: Make sure there is adequate air circulation in the storage area. Good ventilation helps prevent the buildup of stagnant air, reducing the risk of mold or fungal growth on the bulbs.
- Monitor temperature: Keep an eye on the temperature fluctuations in the storage area. Sudden temperature changes or extreme cold can harm the bulbs. Maintain a consistent cool temperature within the recommended range.
- Check for pest activity: Be on the lookout for any signs of pests in the storage area. Rodents, insects, and other pests can damage or consume the tulip bulbs. If you notice any pests, take appropriate measures to eliminate them and protect the stored bulbs.
- Rotate bulbs if necessary: If you notice uneven growth or sprouting in the stored bulbs, gently rotate them to ensure equal exposure to the storage conditions. This helps promote even dormancy and ensures healthier growth when it’s time to replant the bulbs.
Regularly checking on your tulip bulbs during storage allows you to address any potential issues promptly and make necessary adjustments to ensure their well-being. By providing attentive care, you increase the chances of enjoying beautiful blooms when it comes time to replant the tulip bulbs in your garden.
Read more: How To Store Tulip Bulbs Over Winter
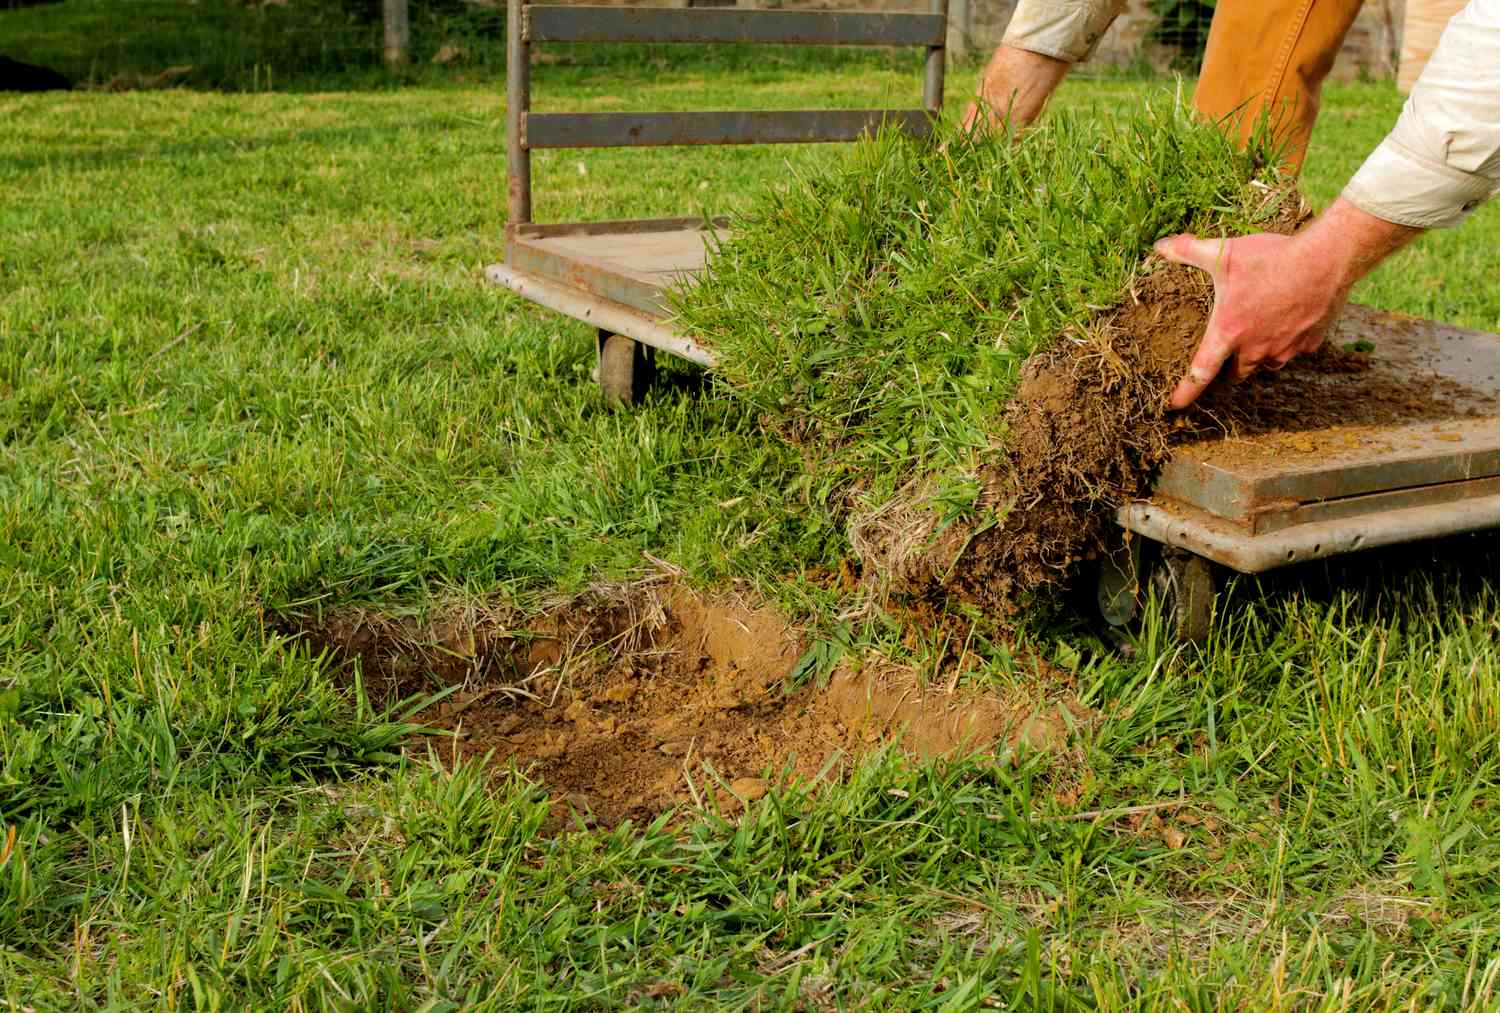
Replanting Tulip Bulbs in the Garden
After storing tulip bulbs during the winter months, it’s time to replant them in your garden to enjoy their vibrant blooms once again. Follow these steps for successful tulip bulb replanting:
- Choose the right time: The ideal time to replant tulip bulbs is in the fall, about 6-8 weeks before the first frost. This allows the bulbs to establish their root systems before winter.
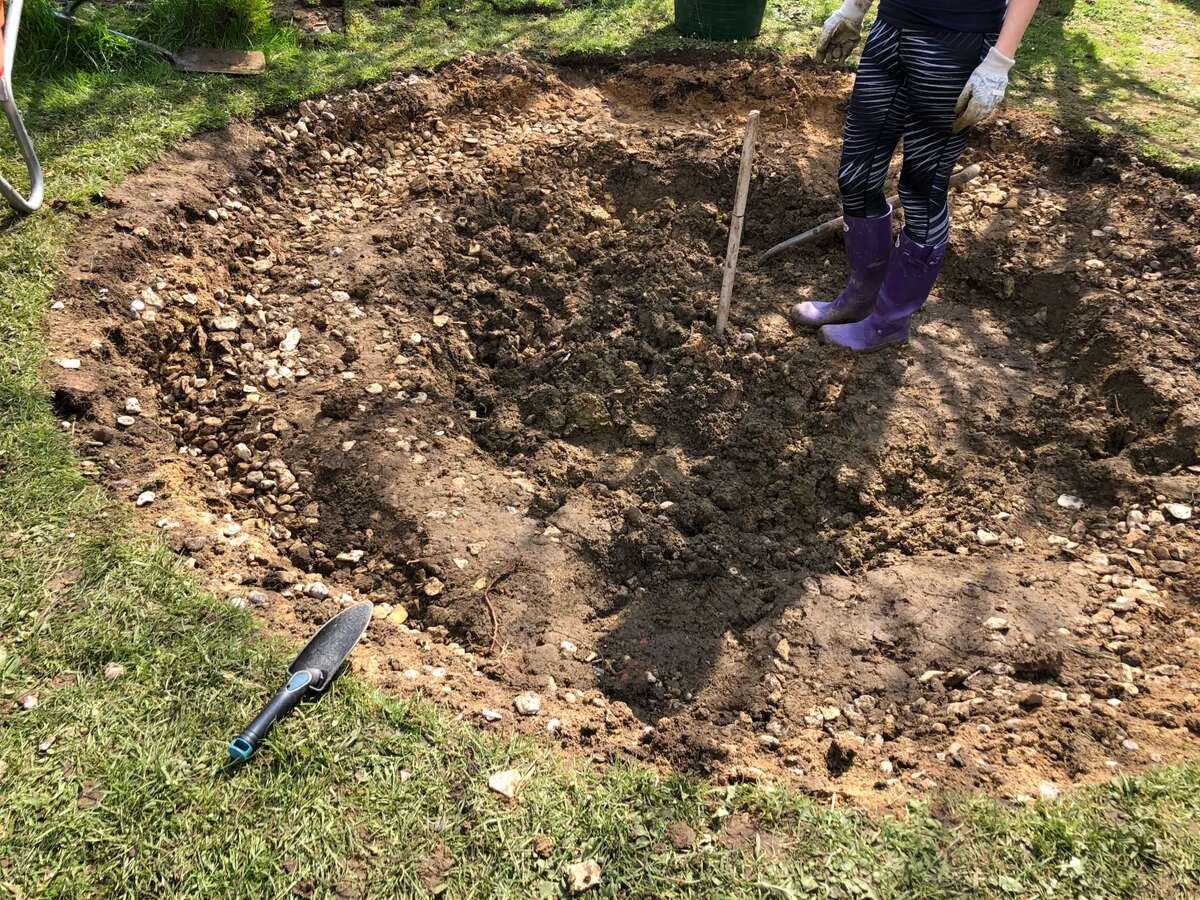
- Prepare the soil: Select a location in your garden with well-draining soil that receives full or partial sunlight. Remove any weeds or debris and loosen the soil to a depth of about 12 inches.
- Plant at the right depth: Dig a hole or trench in the soil that is about 2-3 times the height of the bulb. The general guideline is to plant tulip bulbs at a depth of 6-8 inches, but check the specific planting depth recommendations for your tulip variety.
- Spacing: Leave adequate space between each bulb to allow for growth and proper airflow. As a general rule, space the bulbs 4-6 inches apart, but again, check the specific spacing requirements for your tulip variety.
- Orient the bulbs correctly: Place the bulbs in the hole or trench with the pointed end facing upwards. This is where the stem and leaves will emerge from.
- Backfill and water: Gently cover the bulbs with soil, making sure they are securely planted. Water thoroughly to settle the soil and provide moisture to the bulbs.
- Consider fertilization: If your soil lacks nutrients, you can apply a balanced bulb fertilizer or compost as per the package instructions. This provides essential nutrients for the bulbs’ growth.
- Mulch and protect: Mulch the area around the newly planted bulbs with a layer of organic mulch to insulate the soil and protect the bulbs from extreme temperatures.
- Watering and maintenance: Keep the soil evenly moist but not soggy throughout the growing season. Remove any weeds that may compete with the tulips for nutrients and sunlight.
With proper care and attention, your replanted tulip bulbs will establish themselves in the garden and reward you with beautiful blooms in the spring.
Remember that tulip bulbs will benefit from periodic division and replanting every few years to prevent overcrowding and maintain their vigor. By following these tips, you can enjoy the beauty of tulips in your garden year after year.
Frequently Asked Questions about How To Store Tulip Bulbs After Digging Them Up
Was this page helpful?
At Storables.com, we guarantee accurate and reliable information. Our content, validated by Expert Board Contributors, is crafted following stringent Editorial Policies. We're committed to providing you with well-researched, expert-backed insights for all your informational needs.


0 thoughts on “How To Store Tulip Bulbs After Digging Them Up”