Articles
How To Store Tulip Bulbs Before Planting
Modified: May 6, 2024
Discover the best way to store tulip bulbs before planting. Read our informative articles to ensure your bulbs stay fresh and ready for a beautiful spring bloom.
(Many of the links in this article redirect to a specific reviewed product. Your purchase of these products through affiliate links helps to generate commission for Storables.com, at no extra cost. Learn more)
Introduction
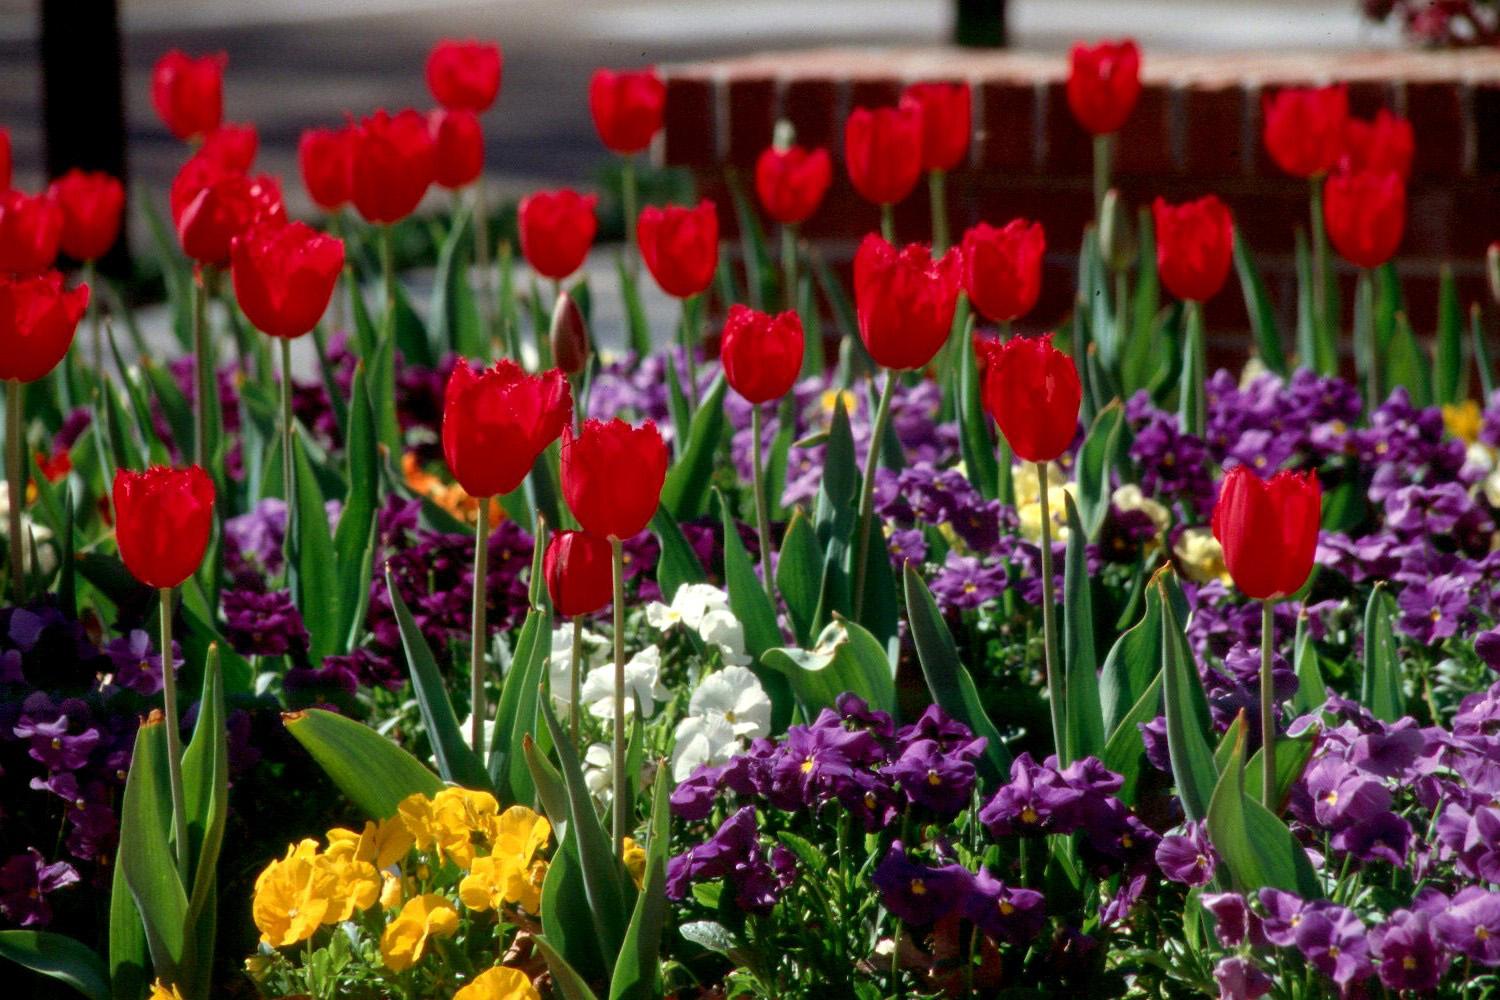
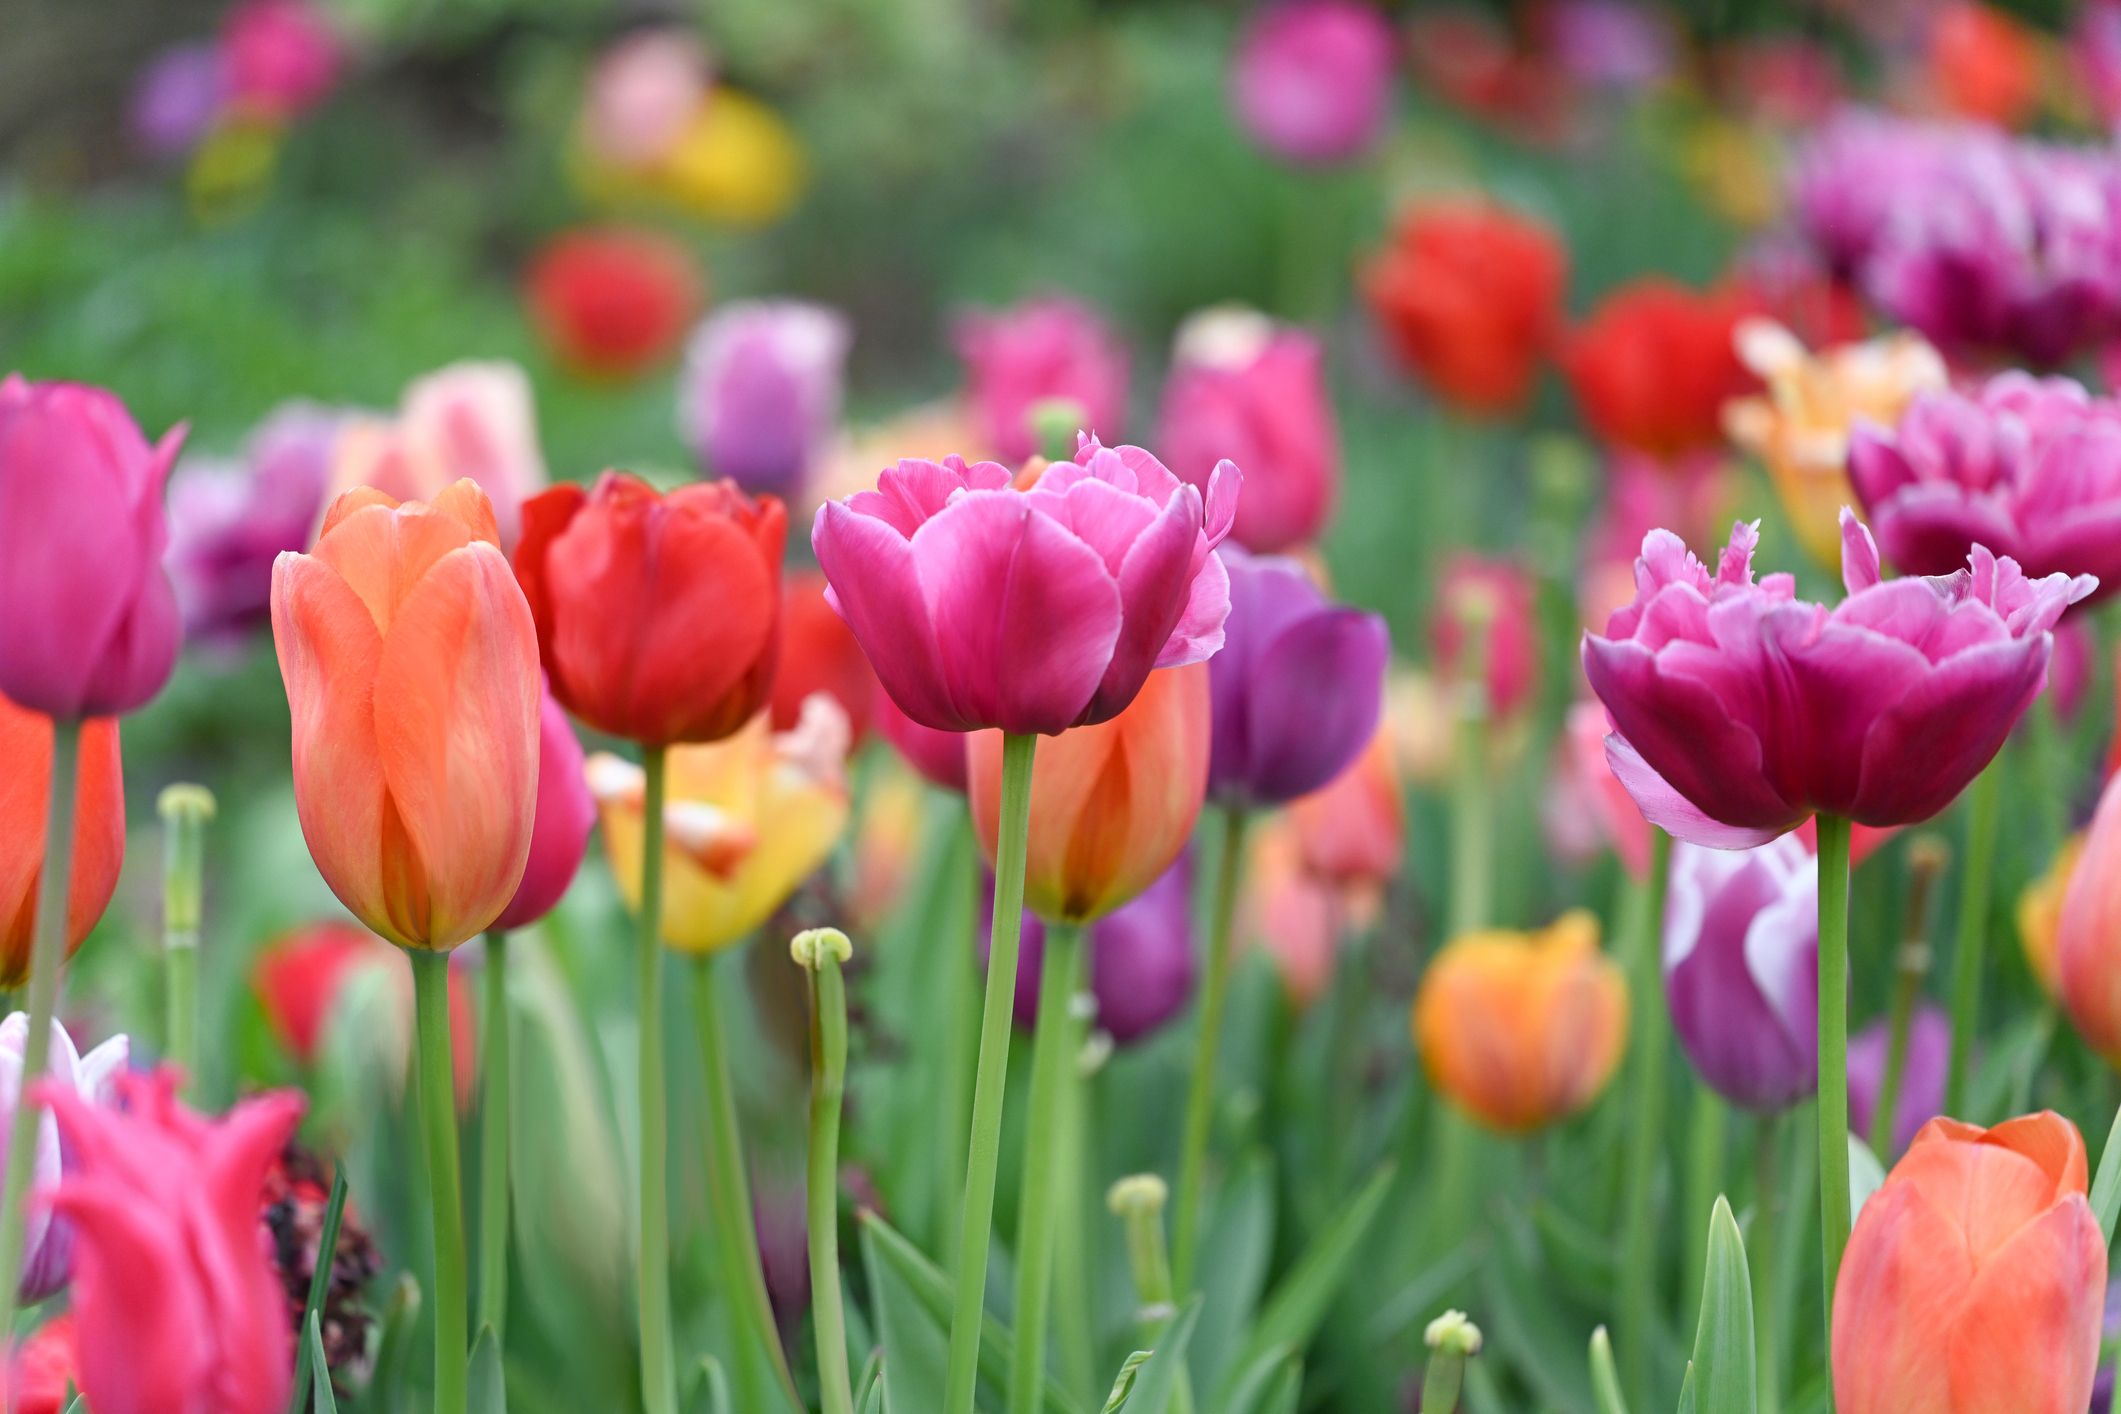
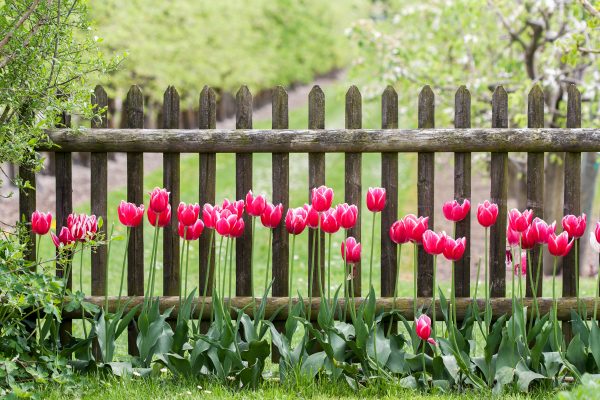
Tulips are one of the most beloved and vibrant flowers that signify the arrival of spring. These beautiful blooms bring joy and color to gardens, parks, and flower beds. If you want to enjoy their beauty year after year, it’s essential to store tulip bulbs properly before planting them.
Whether you’ve recently purchased tulip bulbs or have dug up bulbs from your garden, knowing how to store them correctly is crucial for their survival and successful growth. Storing tulip bulbs allows you to protect them from harsh weather conditions, pests, and diseases during the dormant period until the next planting season.
In this article, we will guide you through the steps to store tulip bulbs effectively. By following these instructions, you’ll ensure that your tulip bulbs remain healthy and ready for planting when the time is right.
Key Takeaways:
- Properly storing tulip bulbs is essential for their survival and successful growth. Choose high-quality bulbs, prepare them for storage, find an ideal storage location, and check on them periodically to ensure their well-being.
- When preparing tulip bulbs for planting, allow them to acclimate to room temperature, soak them if desired, and follow specific planting guidelines for the variety. This sets the stage for healthy growth and vibrant blooms.
Read more: How To Store Tulip Bulbs In The Refrigerator
Step 1: Choosing the Right Bulbs
When it comes to storing tulip bulbs, selecting the right bulbs initially is crucial for their long-term success. Here are some factors to consider when choosing tulip bulbs for storage:
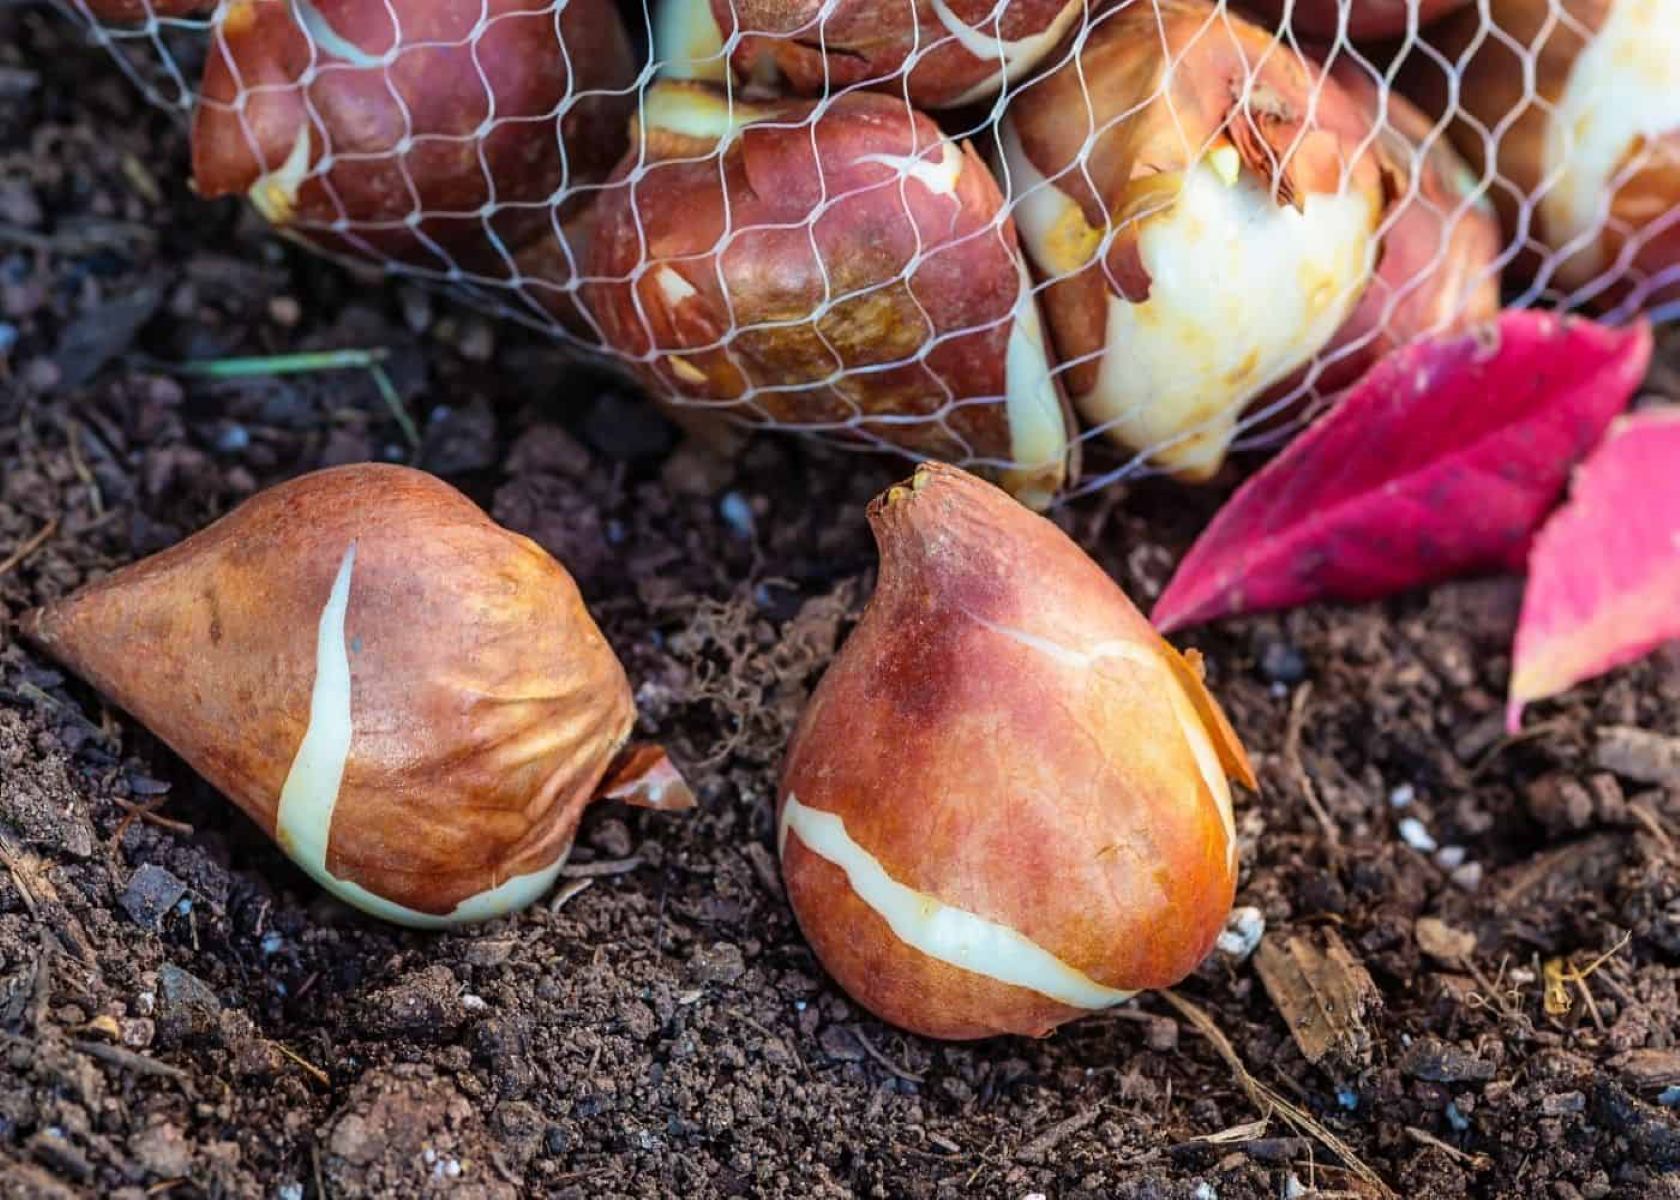
- Quality: Choose bulbs that are firm, plump, and free from any signs of damage, mold, or disease. Healthy bulbs are more likely to survive the storage period and produce beautiful blooms.
- Size: Opt for larger-sized bulbs as they tend to have more nutrients stored within them, which will support the growth of strong and vibrant tulips.
- Variety: Consider the specific variety of tulip you have and make sure to choose bulbs that belong to that variety. Different tulip varieties have varying preferences for temperature, moisture, and storage conditions.
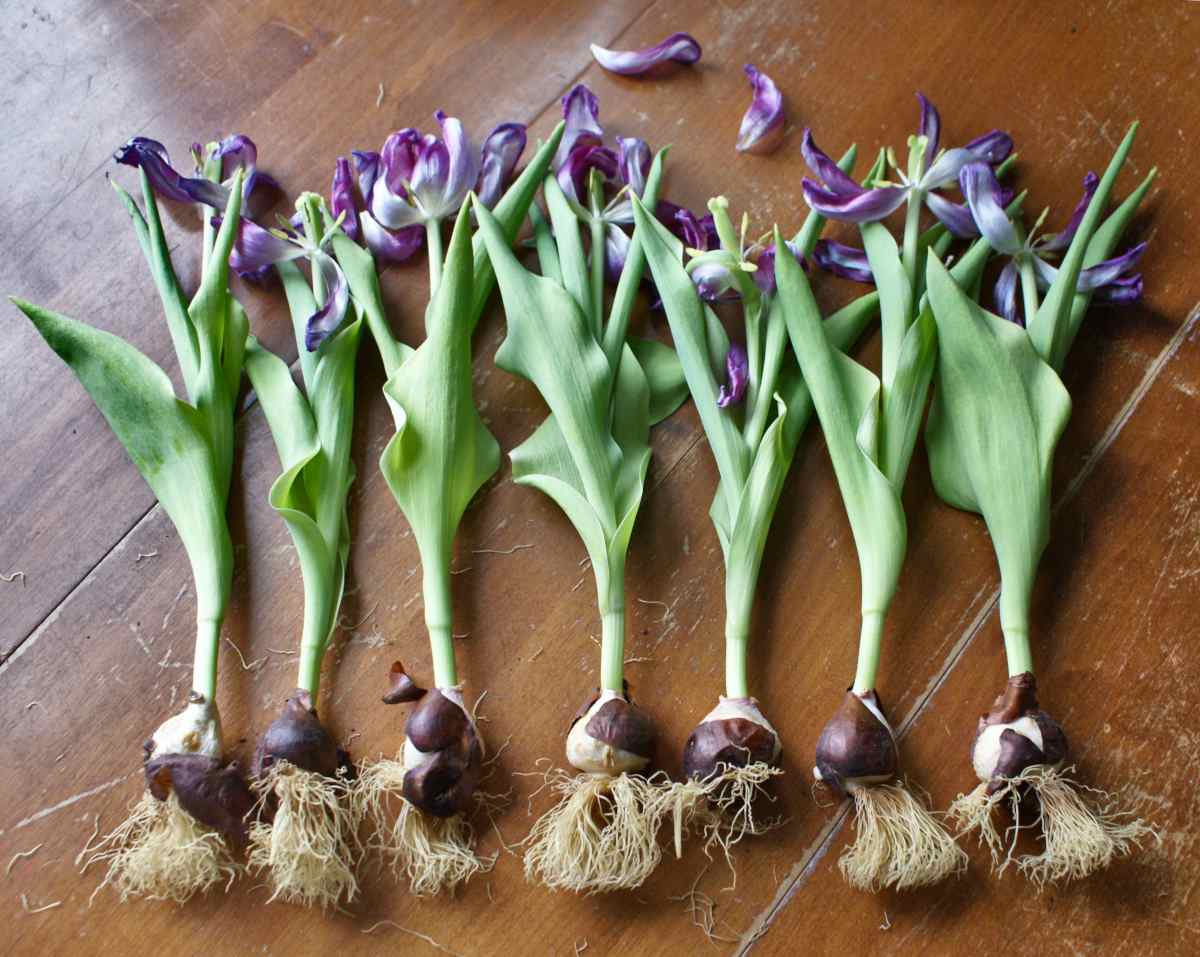
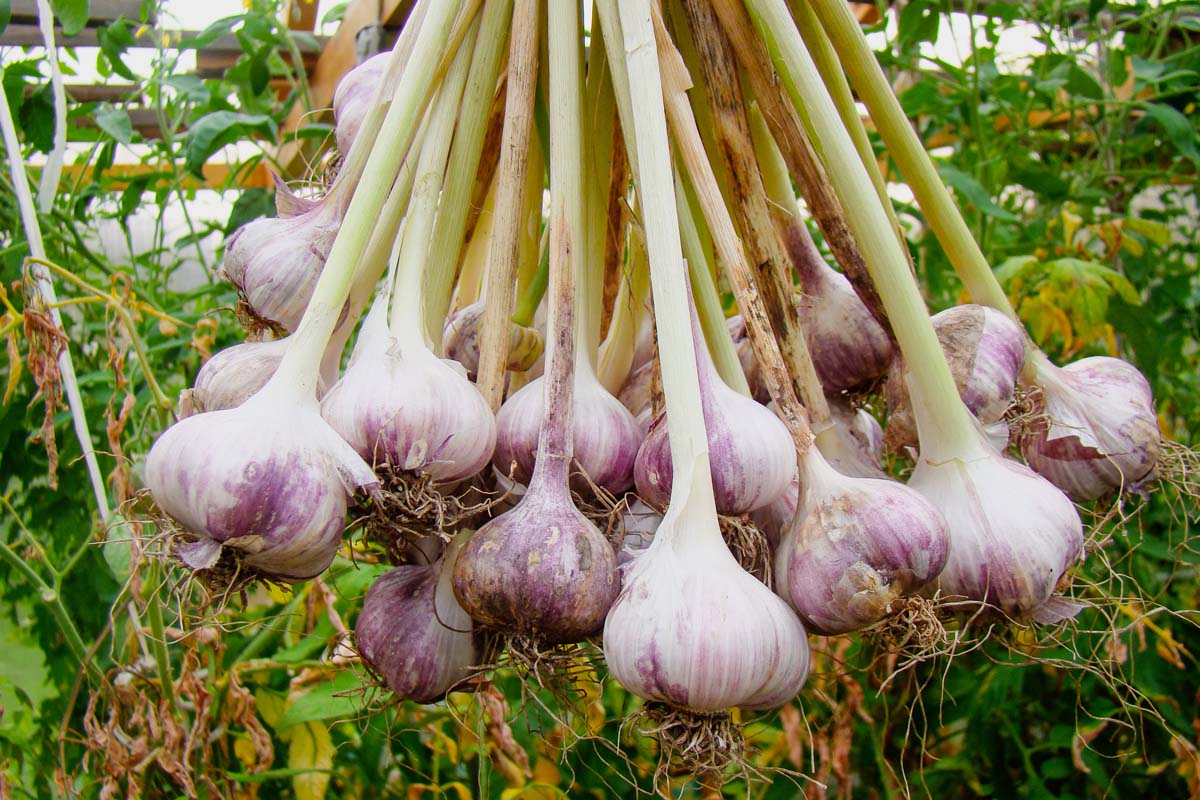
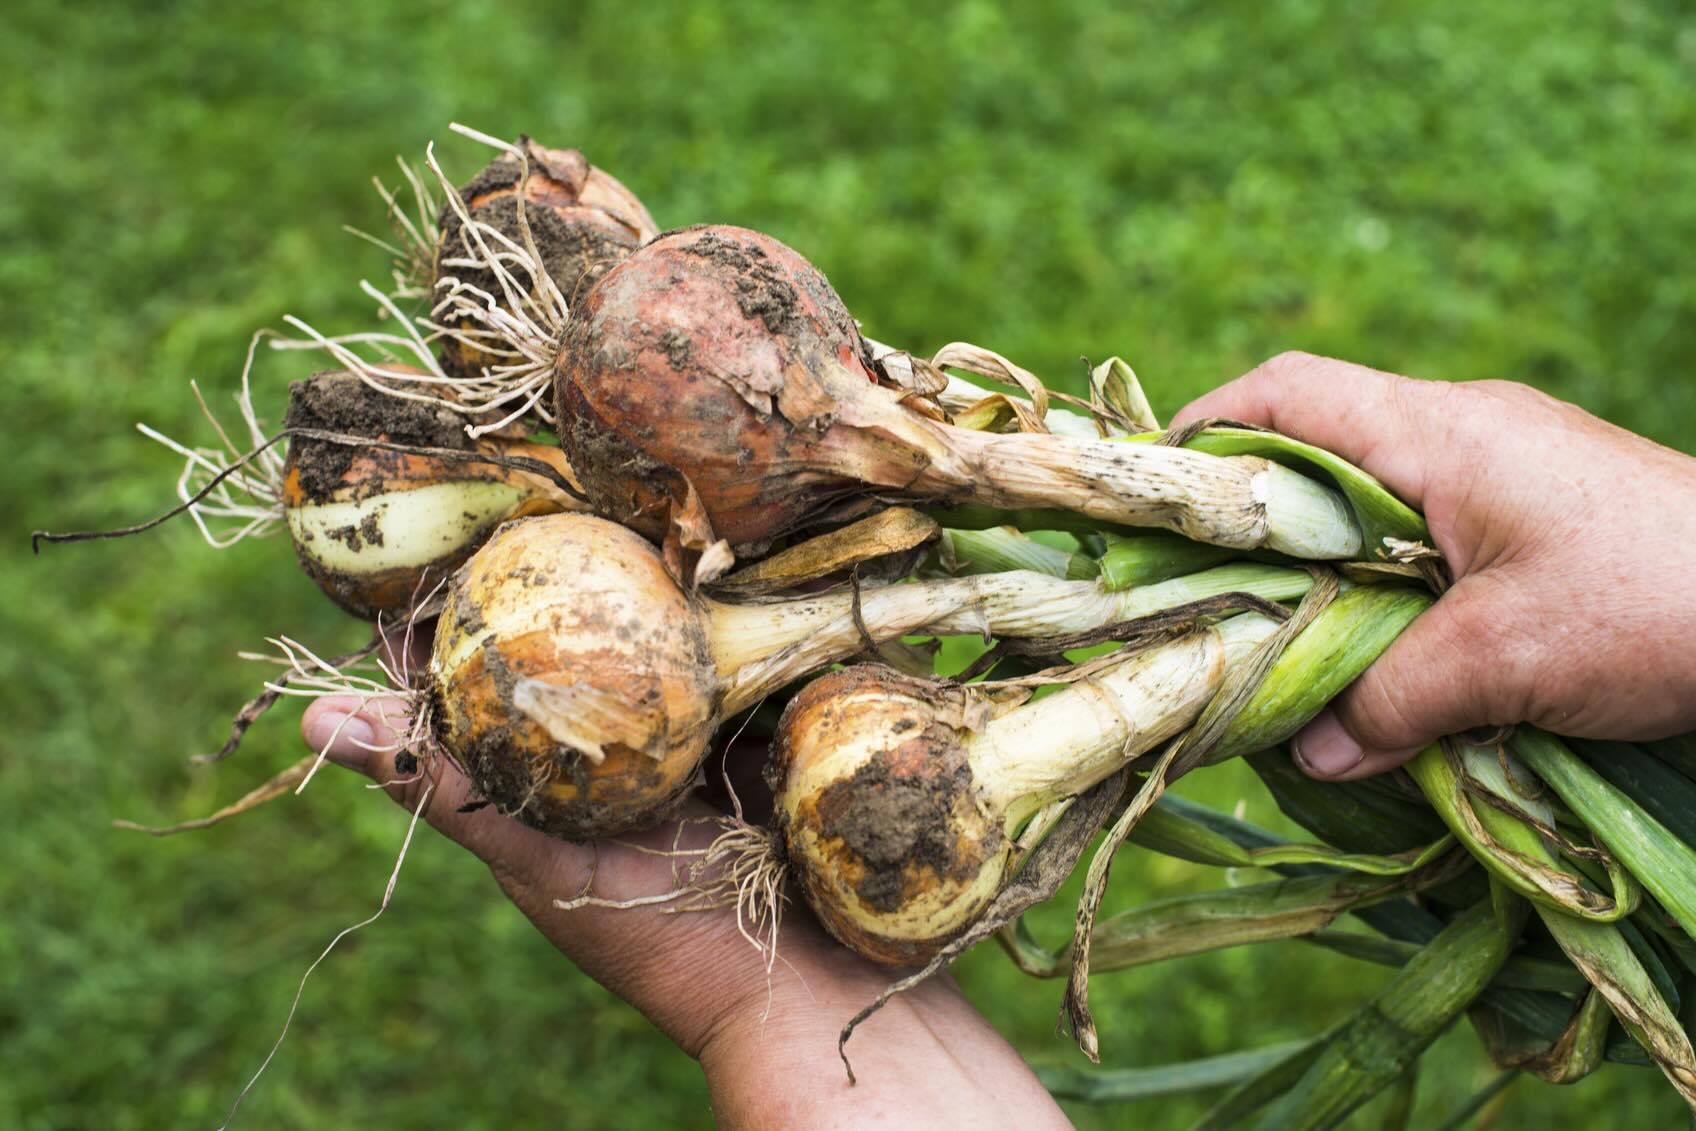
Additionally, it’s essential to purchase or excavate tulip bulbs at the right time. Tulip bulbs are usually available at garden centers and nurseries in the fall, as this is the best time for planting. If you’re digging up bulbs from your garden, do so when the foliage has completely withered and turned yellow, typically around six weeks after blooming.
By selecting the right bulbs and ensuring they are in good condition, you’ll maximize the chances of successful storage and future blooming.
Step 2: Preparing the Bulbs for Storage
Before storing tulip bulbs, it’s essential to prepare them properly to ensure their viability and longevity. Follow these steps to prepare your bulbs for storage:
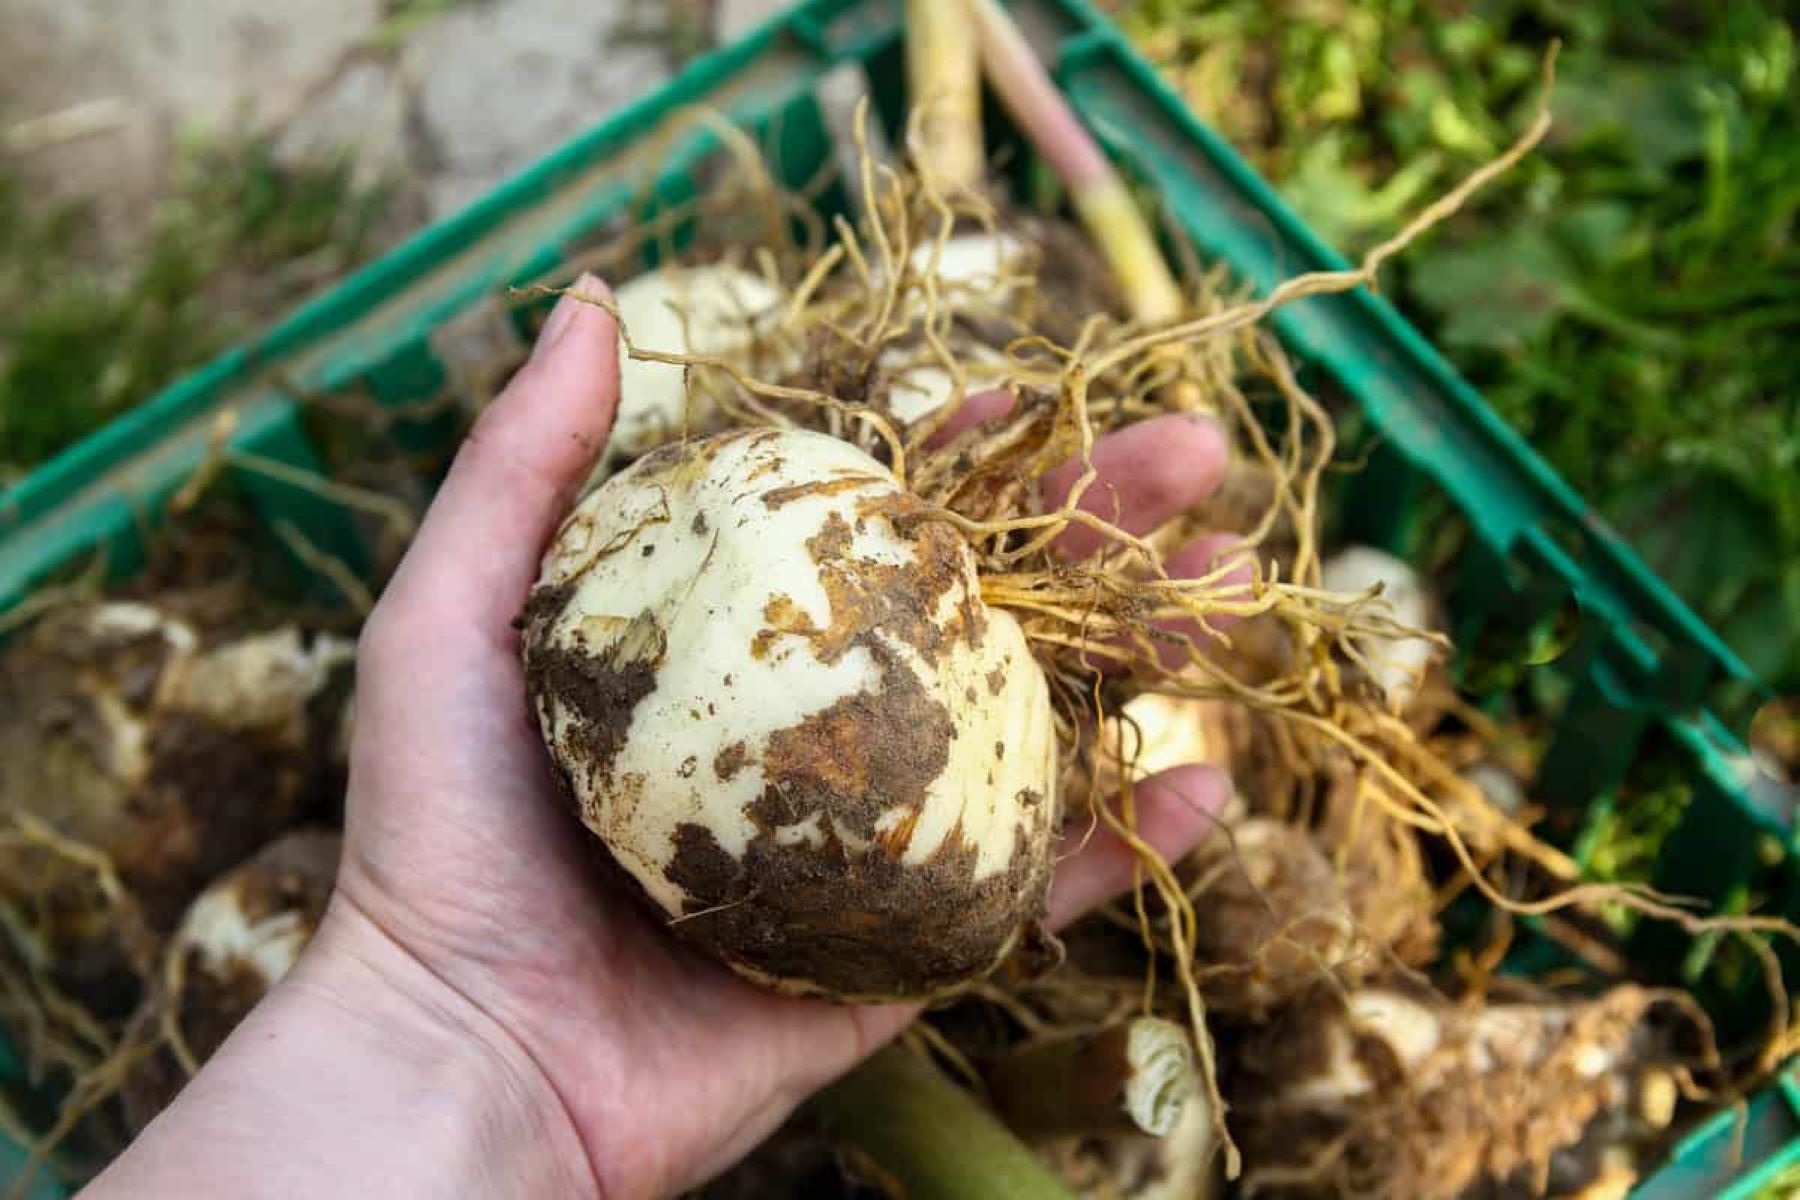
- Clean the bulbs: Gently remove any excess soil or debris from the bulbs. You can use a soft brush or your hands to remove the dirt without causing any damage to the bulbs.
- Cut off the foliage: Trim the foliage of the bulbs, leaving about an inch of stem attached. This will help the bulbs enter dormancy and prevent the foliage from rotting during storage.
- Inspect for damage: Examine the bulbs closely for any signs of damage, such as cuts, bruises, or rot. Discard any bulbs that show signs of damage, as they may not survive the storage period.
- Dust with fungicide: To protect the bulbs from fungal diseases during storage, you can dust them lightly with a fungicide powder. Follow the instructions on the fungicide package for proper application.
- Label the bulbs: It’s important to label the bulbs if you have different varieties or colors. This will help you identify them easily when it’s time for planting.
By taking these steps to prepare your bulbs for storage, you’ll ensure that they are clean, healthy, and ready for the dormant period ahead.
Step 3: Finding the Ideal Storage Location
Choosing the right storage location is crucial for the successful storage of tulip bulbs. Here are some factors to consider when finding the ideal storage location:
- Temperature: Tulip bulbs require a cool and dry environment for proper storage. The ideal temperature for storing tulip bulbs is around 45 to 55 degrees Fahrenheit (7 to 13 degrees Celsius). Avoid storage areas that are too cold or too warm, as extreme temperatures can impact the viability of the bulbs.
- Humidity: High humidity can lead to bulb rot, so it’s important to store tulip bulbs in a location with low humidity. Aim for a humidity level of around 50 to 60 percent. If the storage location is too humid, consider using a dehumidifier or moisture-absorbing desiccant packets to maintain the appropriate humidity level.
- Light: Tulip bulbs should be stored in a dark area. Exposure to light can cause the bulbs to sprout prematurely or weaken their energy reserves. Choose a storage location that is free from light or cover the bulbs with a dark cloth or paper bag.
- Air circulation: Good air circulation is important for preventing mold and rot. Avoid storing tulip bulbs in airtight containers. Instead, opt for breathable storage containers or mesh bags that allow for proper airflow.
Some suitable storage locations for tulip bulbs include a cool basement, unheated garage, or a dedicated refrigerator drawer. Ensure that the chosen location is free from pests that may damage the bulbs.
By finding the ideal storage location with the right temperature, humidity, and darkness, you’ll create optimal conditions for the bulbs to remain healthy during the storage period.
Store tulip bulbs in a cool, dry place with good air circulation, such as a paper bag or mesh bag. Keep them away from direct sunlight and moisture to prevent rot.
Step 4: Storing the Bulbs in the Right Conditions
Once you’ve prepared the tulip bulbs and found the ideal storage location, it’s time to store them in the right conditions. Here are some guidelines to ensure proper storage:
- Choose the right container: Select a breathable container for storing tulip bulbs, such as mesh bags or crates. Avoid using airtight containers, as they can trap moisture and lead to bulb rot. Make sure the container has enough room for the bulbs, allowing for proper airflow.
- Arrange the bulbs: Place the tulip bulbs in a single layer inside the container. Avoid overcrowding the bulbs, as this can increase the chances of mold or rot. If you’re storing multiple varieties, consider separating them into different containers or using dividers to keep them organized.
- Add a protective layer: To provide additional protection during storage, you can add a layer of dry peat moss, vermiculite, or sawdust between the bulbs. This layer will help insulate and prevent moisture buildup.
- Check for pests: Before sealing the container, inspect the bulbs for any signs of pests or disease. Remove any infected bulbs to prevent the spread of problems. If necessary, you can dust the bulbs with a pest deterrent powder or spray before storage.
- Seal the container: Close the container securely to maintain the desired conditions. If using a mesh bag, tie it tightly at the top to prevent pests from entering.
After you’ve stored the tulip bulbs in the right conditions, place the container in the designated storage location. Avoid moving the bulbs frequently, as this can disturb their dormancy and affect their ability to bloom in the future.
By storing the bulbs properly in the right conditions, you’ll give them the best chance to remain healthy and ready for planting when the time comes.
Read more: How To Store Onion Plants Before Planting
Step 5: Checking on the Bulbs Periodically
While the tulip bulbs are in storage, it’s important to check on them periodically to ensure their well-being and make any necessary adjustments. Here are some steps to follow when checking on the bulbs:
- Inspect for rot or mold: Regularly check the stored bulbs for any signs of rot or mold. If you notice any bulbs showing signs of decay, remove them immediately to prevent the spread of disease to other bulbs.
- Adjust humidity if needed: Monitor the humidity levels in the storage area. If you find that the humidity is too high, consider using a dehumidifier or moisture-absorbing desiccant packets to maintain the appropriate level. On the other hand, if the storage area is too dry, you can place a shallow tray of water near the bulbs to increase the humidity.
- Check for pests: Keep an eye out for any pests that may have found their way into the storage container. Common pests that can damage tulip bulbs include mice, voles, and insects. If you notice any signs of pest activity, take appropriate measures to remove or deter them.
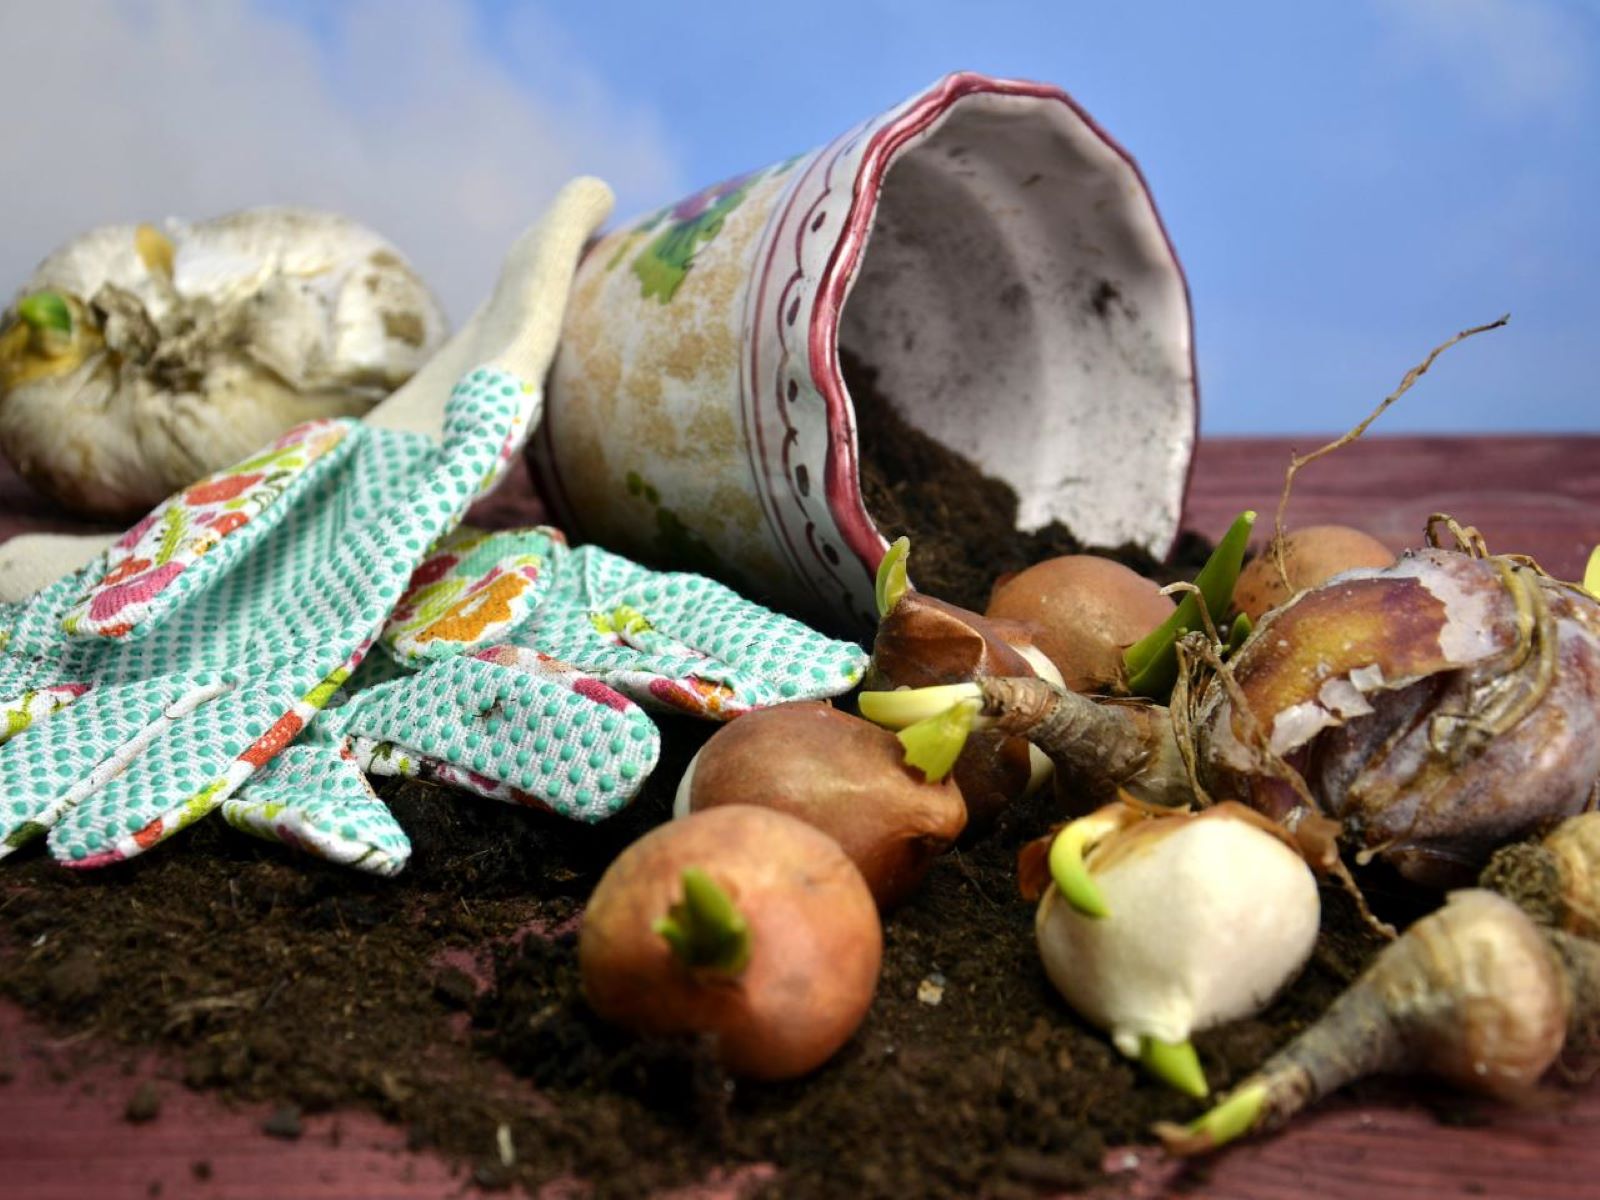
- Inspect the bulbs for sprouting: Periodically check the bulbs for any signs of premature sprouting. If you notice any bulbs beginning to sprout, it may indicate that the storage conditions are not optimal. Move the affected bulbs to a cooler and darker location to slow down the sprouting process.
- Adjust temperature if necessary: If the storage area experiences extreme temperature fluctuations, consider moving the bulbs to a more stable location. Sudden temperature changes can trigger premature growth or damage the bulbs.
By regularly checking on the bulbs and making any necessary adjustments, you’ll be able to ensure their well-being and increase the chances of successful blooming after the storage period.
Step 6: Preparing the Bulbs for Planting
Once the storage period is coming to an end and the time for planting tulip bulbs approaches, it’s important to prepare them properly to ensure successful growth. Here are the steps to follow when preparing the bulbs for planting:
- Remove from storage: Carefully take the tulip bulbs out of the storage container. Inspect them once again, discarding any bulbs that show signs of damage or disease.
- Allow them to acclimate: Before planting, it’s essential to allow the bulbs to acclimate to room temperature. This helps them transition from the cool storage conditions to the warmer planting environment.
- Soak the bulbs (optional): If you prefer, you can soak the tulip bulbs in a bucket of water for a few hours before planting. This step can help rehydrate the bulbs and promote healthy root development.
- Prepare the planting area: Choose a well-draining location in your garden or containers for planting the bulbs. Loosen the soil and remove any weeds or debris to create a clean planting bed.
- Plant the bulbs: Dig holes in the planting area that are about 6 inches deep. Place the bulbs with the pointed end facing up and the flat side down. Space the bulbs according to the planting guidelines for the specific variety you’re planting.
- Cover and water: Once the bulbs are placed in the holes, cover them with soil and gently pat it down. Give the newly planted bulbs a thorough soak of water to help them settle in.
It’s important to note that tulip bulbs generally require a period of cold dormancy to initiate blooming. This is why they are typically planted in the fall for spring blooming. However, some varieties may have specific planting requirements, so be sure to follow the instructions provided with your specific bulbs.
By properly preparing the tulip bulbs for planting, you’ll set the stage for healthy growth and vibrant blooms in the upcoming season.
Conclusion
Storing tulip bulbs before planting is a crucial step in ensuring their survival and successful growth. By following the steps outlined in this guide, you can provide the optimal conditions for your tulip bulbs during their dormant period. Here’s a quick recap of the key steps:
First, choose high-quality bulbs that are firm and free from damage. Prepare the bulbs by cleaning them, trimming the foliage, and dusting them with a fungicide if necessary. Find an ideal storage location with the right temperature, humidity, and darkness. Store the bulbs in breathable containers, ensuring they are arranged in a single layer and protected from pests. Check on the bulbs periodically, inspecting for rot or mold, and making necessary adjustments to humidity and temperature. Finally, when it’s time to plant, prepare the bulbs by acclimating them to room temperature and soaking them if desired. Plant the bulbs in a well-draining area, making sure to follow the specific planting guidelines for the variety you’re planting.
By following these steps, you’ll have a higher likelihood of enjoying healthy and vibrant tulips when they bloom. Remember to store different varieties separately and label them to avoid confusion during planting. Additionally, conduct regular inspections during the storage period and address any issues promptly to prevent the spread of diseases or pests.
Now that you have a comprehensive understanding of how to store tulip bulbs before planting, you can embark on this exciting journey with confidence. Enjoy the anticipation of seeing your tulips come to life and bring beauty to your garden when spring arrives.
Now that you know how to keep tulip bulbs fresh, why not enhance your garden's charm with some creative boundaries? Our next article serves up some fantastic garden fence ideas. Whether you're looking for something simple or more elaborate, these options will surely spruce up your outdoor space. Ready to make your neighbors green with envy? Dive into our guide on sprucing up garden perimeters.
Frequently Asked Questions about How To Store Tulip Bulbs Before Planting
Was this page helpful?
At Storables.com, we guarantee accurate and reliable information. Our content, validated by Expert Board Contributors, is crafted following stringent Editorial Policies. We're committed to providing you with well-researched, expert-backed insights for all your informational needs.


0 thoughts on “How To Store Tulip Bulbs Before Planting”