Articles
How To Store Cherry Pie
Modified: December 7, 2023
Learn the best methods for storing cherry pie in this comprehensive article. Discover expert tips and tricks to keep your pie fresh and delicious for longer.
(Many of the links in this article redirect to a specific reviewed product. Your purchase of these products through affiliate links helps to generate commission for Storables.com, at no extra cost. Learn more)
Introduction
Welcome to the wonderful world of cherry pies! Bursting with the sweet and tangy flavors of juicy cherries, encased in a flaky crust, cherry pie is a classic dessert that never fails to delight. Whether you’re a seasoned baker or just starting out, learning how to store cherry pie properly is essential to ensure it stays fresh and delicious for as long as possible.
When it comes to storing cherry pie, there are a few key considerations to keep in mind. From selecting the freshest cherries to preparing the filling and crust, each step plays a crucial role in maintaining the pie’s quality and taste. By following the tips and techniques outlined in this article, you’ll have a cherry pie that’s not only a treat for your taste buds but also one that can be enjoyed over time.
So, let’s dive in and discover how to store cherry pie to perfection!
Key Takeaways:
- Select the freshest cherries by looking for firmness, vibrant color, and fragrant aroma. Properly wash and pit the cherries before preparing the filling to ensure a delicious and flavorful cherry pie.
- Master the art of making a flaky and buttery pie crust by combining the ingredients, shaping, and chilling the dough. Assemble, bake, and store the cherry pie properly to enjoy its scrumptious flavors over time.
Read more: How To Store A Cherry Pie
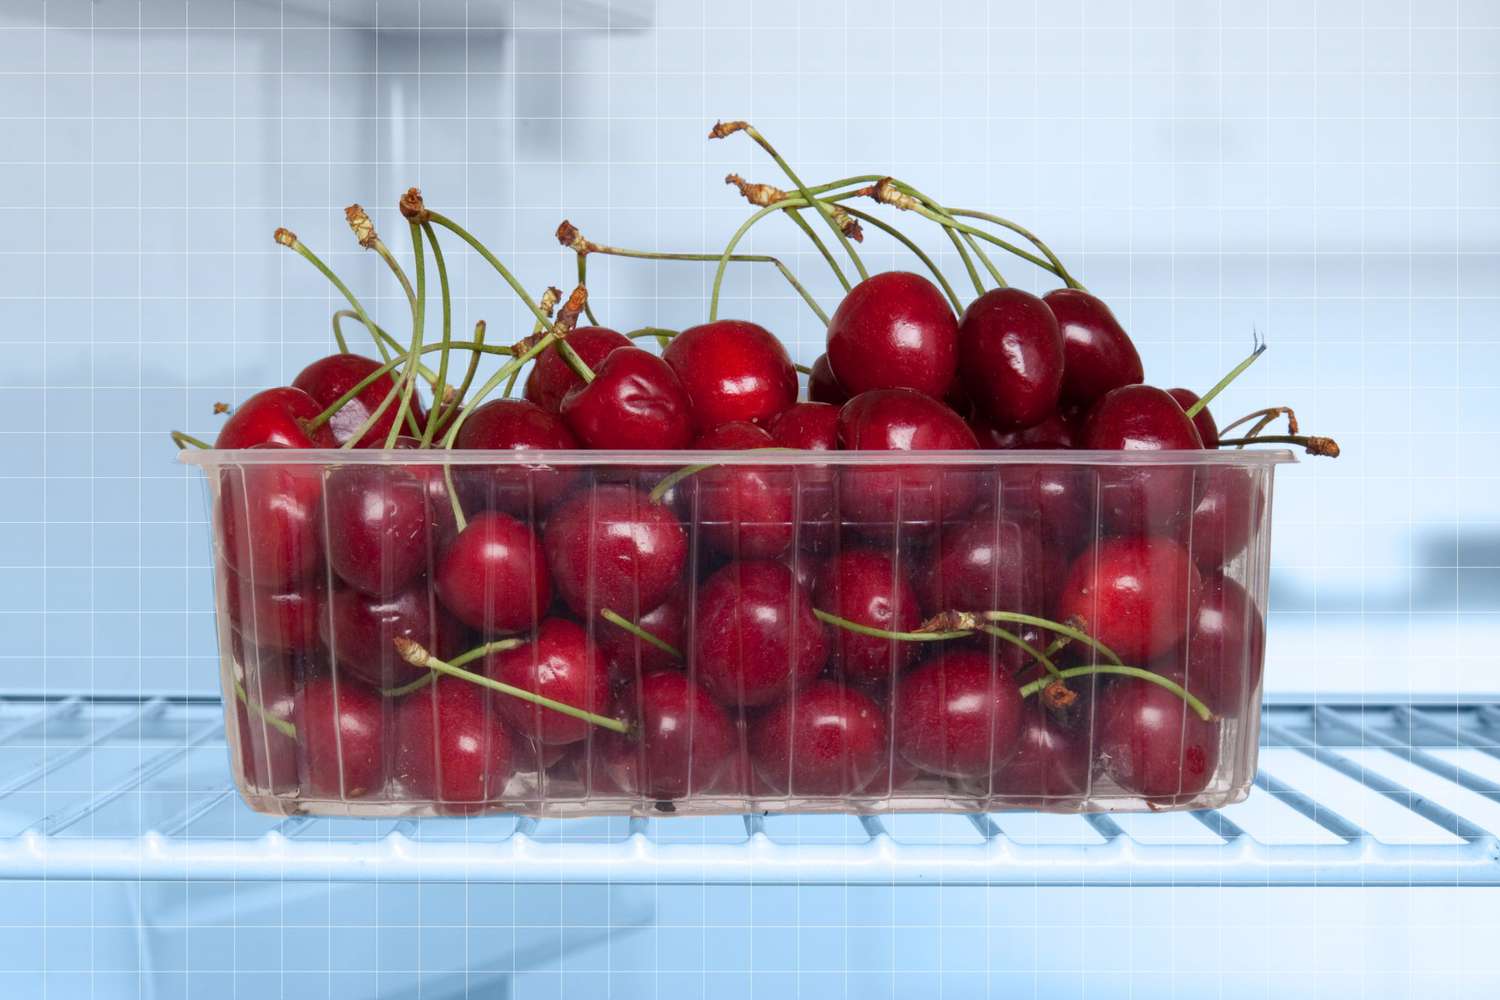
Selecting Fresh Cherries
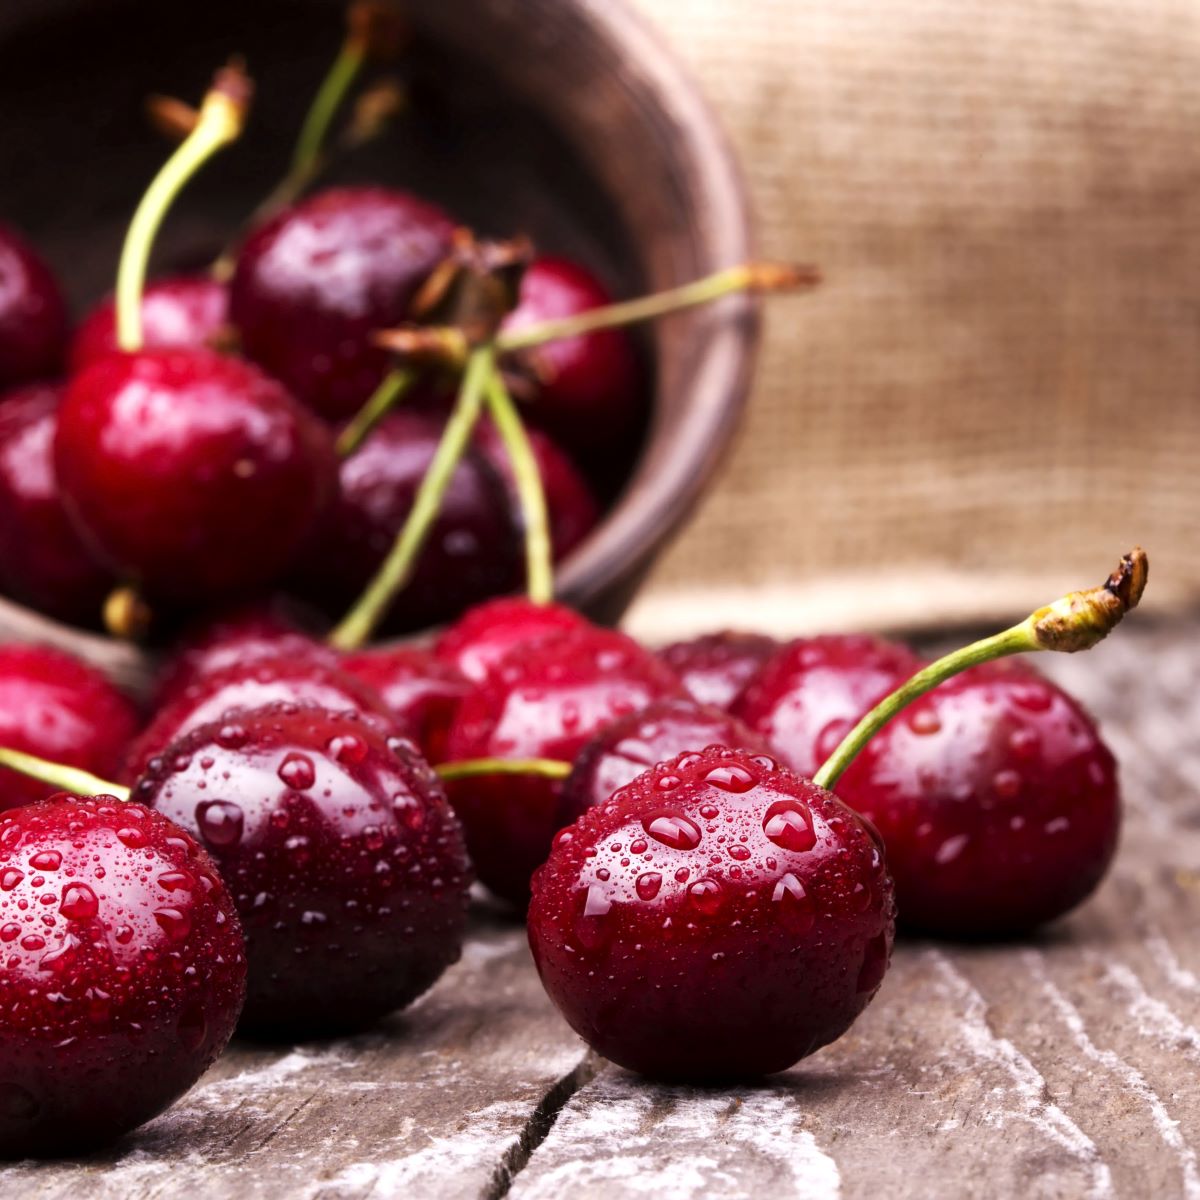
When it comes to making a delicious cherry pie, choosing the right cherries is the first essential step. Here are some tips for selecting the freshest cherries:
- Look for firm cherries: When buying cherries, make sure to select ones that are firm and plump. Avoid cherries that are overly soft or mushy, as they may be past their prime.
- Check for vibrant color: The color of cherries is an indicator of their ripeness. Look for cherries that have a vibrant, rich color. Depending on the variety, cherries can range from dark red to bright yellow, so choose the color that is characteristic of the type you prefer.
- Inspect the stems: The stems of cherries should be green and firm. Avoid cherries with dry or moldy stems, as this can be an indication of poor quality.
- Scent test: Give the cherries a gentle sniff. The aroma should be sweet and fragrant. If the cherries lack a strong, pleasant scent, they may not be as flavorful.
- Seasonal considerations: Cherries have a limited growing season, typically from late spring to early summer. Try to purchase cherries when they’re in season to ensure maximum freshness and flavor.
Once you’ve selected your cherries, it’s important to store them properly until you’re ready to use them in your pie. Keep them refrigerated in a breathable container, such as a mesh bag or a shallow bowl covered with a damp paper towel. Avoid washing the cherries until you’re ready to use them, as moisture can cause them to spoil more quickly.
Now that you’ve handpicked the finest cherries, it’s time to move on to preparing the delectable cherry filling for your pie!
Preparing the Cherry Filling
The cherry filling is the heart and soul of a delicious cherry pie. It’s important to prepare the filling properly to bring out the full flavor of the cherries. Here’s how to do it:
- Wash and pit the cherries: Start by washing the cherries under running water and removing the pits. You can use a cherry pitter or a small knife to gently remove the pits. This step is essential to prevent any unwanted crunch in your pie.
- Add sweetener and flavorings: Depending on your taste preference and the natural sweetness of the cherries, you may want to add sweeteners such as sugar or honey to enhance the flavor. Additionally, consider adding a sprinkle of lemon juice and a pinch of salt to balance the sweetness and intensify the cherry’s natural tartness.
- Thicken the filling: To prevent a runny pie, it’s important to thicken the cherry filling. You can achieve this by using cornstarch or tapioca starch. Mix the starch with a small amount of cold water before adding it to the cherries. This will ensure that it disperses evenly and avoids clumping.
- Stir gently: Once you’ve added the desired sweeteners and thickeners, gently stir the cherry filling mixture to ensure everything is well combined. Be careful not to smash the cherries; you want to maintain their shape while ensuring the flavors are evenly distributed.
- Let it rest: Allow the cherry filling to rest for a few minutes to allow the flavors to meld together. This resting time will also give the starches a chance to activate and thicken the filling further.
With the cherry filling ready, it’s time to move on to creating the perfect crust to hold this delicious filling. Let’s dig into the next step of making the pie crust!
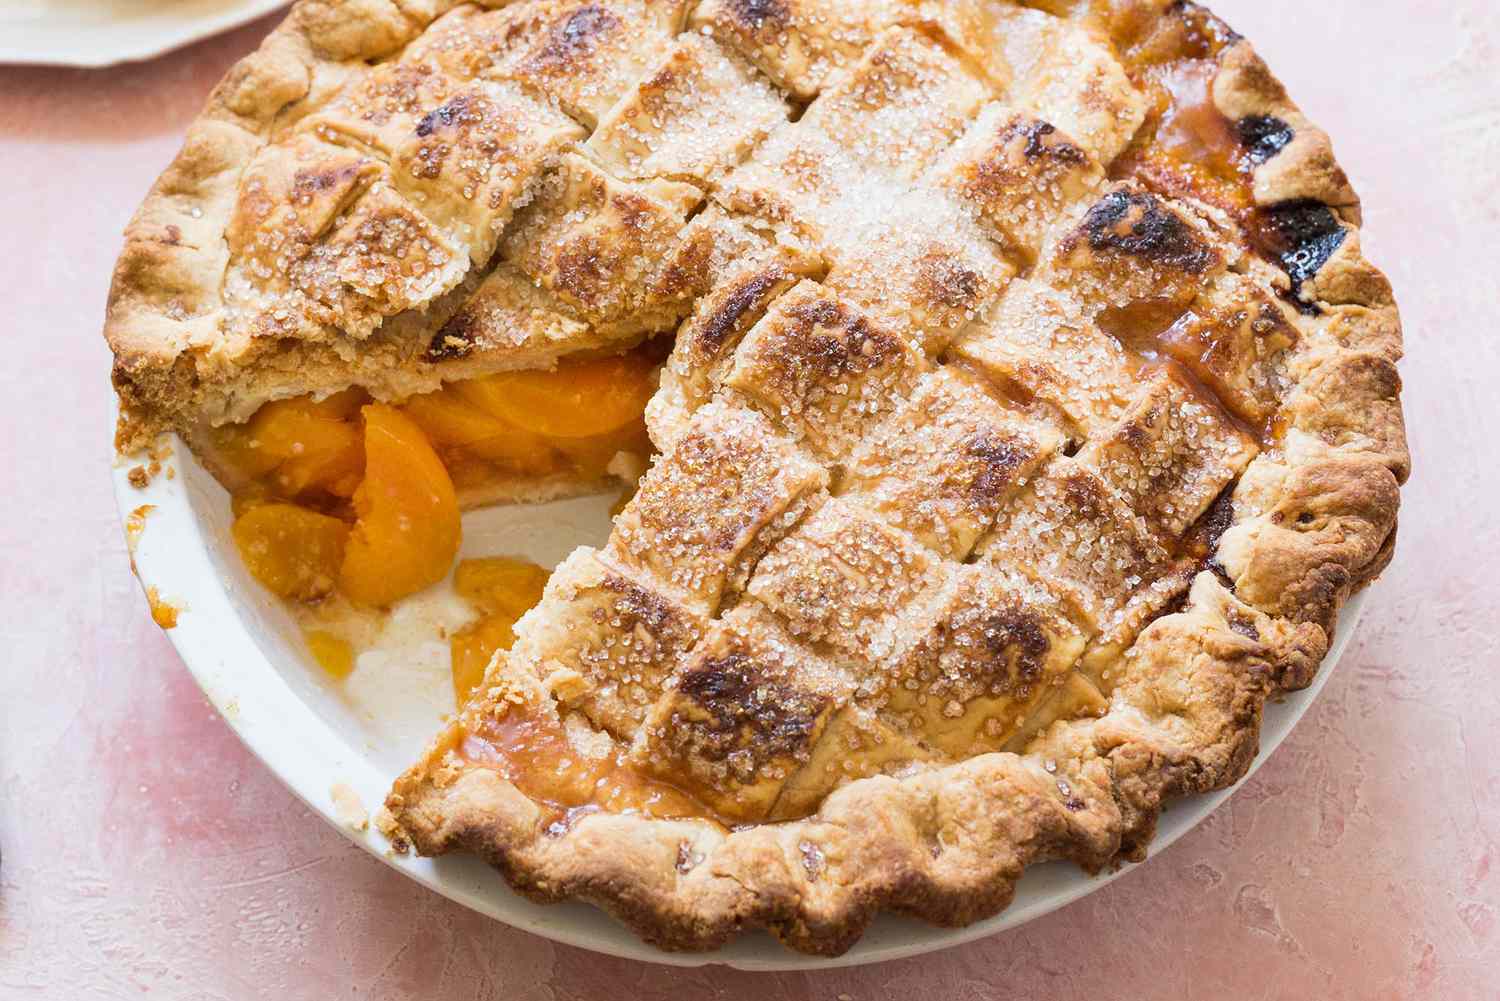
Making the Pie Crust
The pie crust is the foundation of a delectable cherry pie. Creating a flaky and buttery crust requires a few key steps. Here’s how to make the pie crust from scratch:
- Gather your ingredients: You’ll need all-purpose flour, cold unsalted butter, salt, sugar, and ice water for your pie crust. Make sure your butter is cold and cut into small cubes for easier incorporation.
- Combine dry ingredients: In a mixing bowl, whisk together the flour, salt, and sugar until well combined.
- Add cold butter: Add the cold butter cubes to the dry ingredients. Using a pastry cutter or your fingers, cut the butter into the flour mixture until it resembles coarse crumbs. Be careful not to overmix, as you want small chunks of butter throughout the dough for a flaky texture.
- Add ice water: Gradually add ice water to the mixture, a tablespoon at a time, while gently stirring with a fork. Continue adding water until the dough comes together and can be easily formed into a ball. Be cautious not to add too much water, as it can make the dough sticky.
- Shape and chill the dough: Transfer the dough onto a lightly floured surface and shape it into a disk. Wrap it in plastic wrap and refrigerate for at least 30 minutes. Chilling the dough allows the gluten to relax and ensures a tender crust.
- Roll out the dough: After chilling, remove the dough from the refrigerator and let it sit for a few minutes to soften slightly. On a lightly floured surface, roll out the dough into a circle, about 12 inches in diameter, to fit your pie dish.
- Transfer the crust: Roll the dough onto your rolling pin and gently transfer it to your pie dish. Carefully press it into the dish, making sure it’s evenly spread and covers the bottom and sides. Trim any excess dough and crimp the edges for a decorative finish.
Now that you’ve mastered the art of making a homemade pie crust, it’s time to bring the cherry pie together by assembling the filling and crust. Let’s move on to the next step!
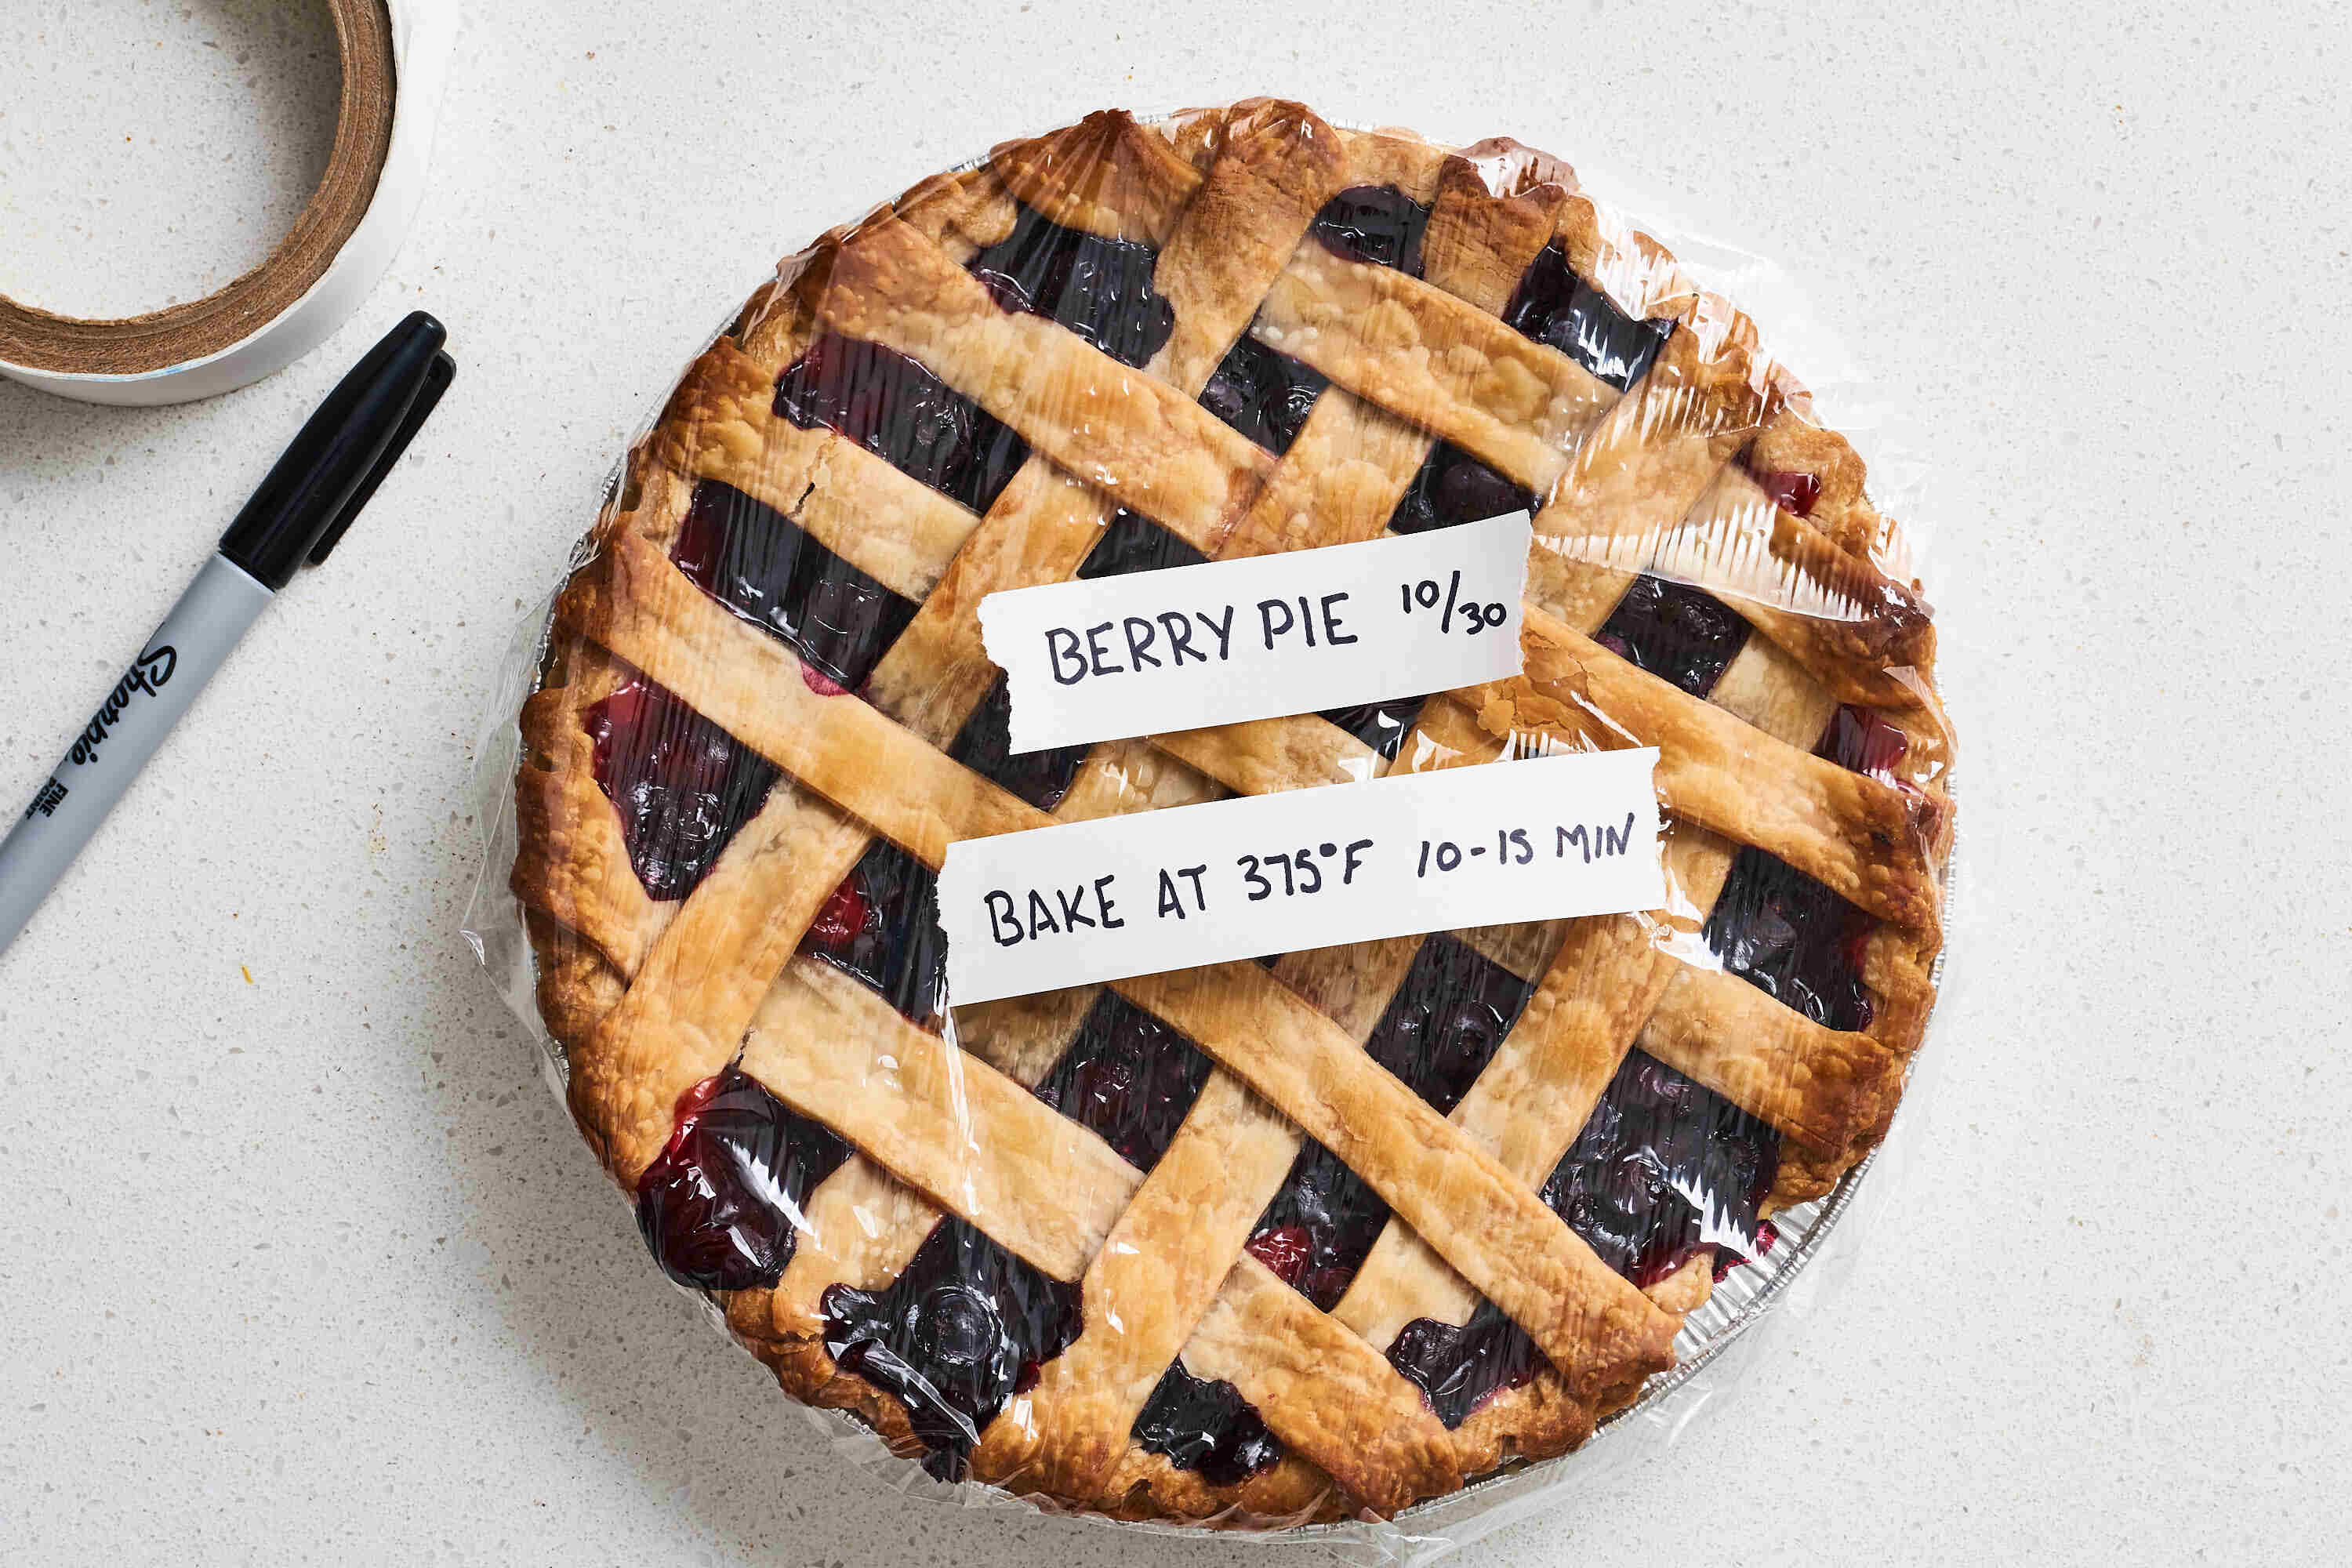
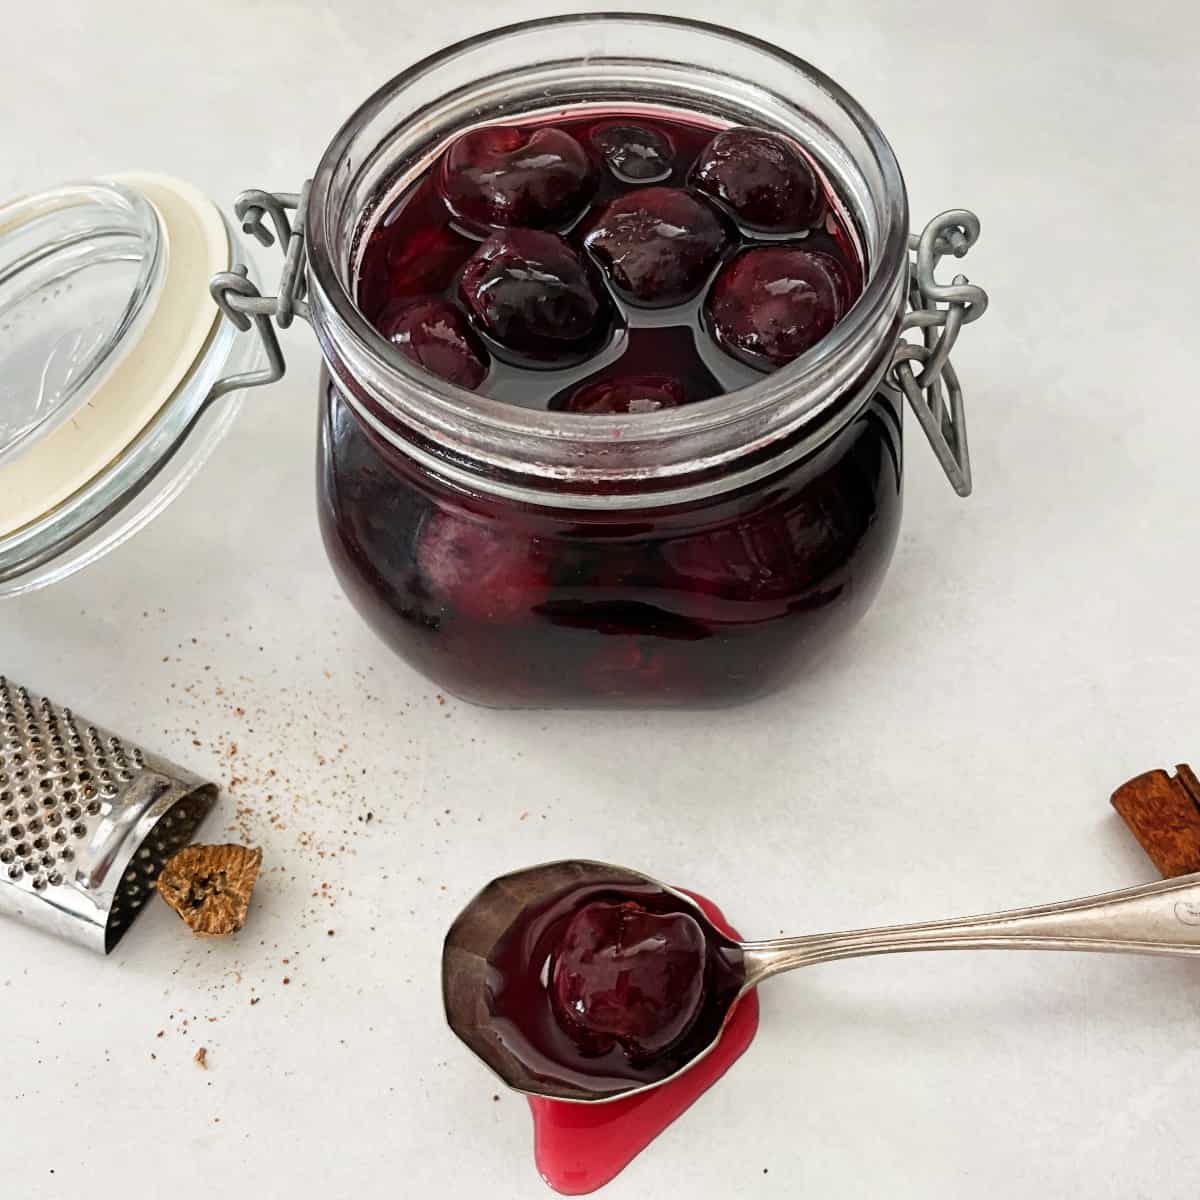
To store cherry pie, cover it with plastic wrap or aluminum foil and refrigerate for up to 3 days. For longer storage, wrap it tightly and freeze for up to 2 months.
Assembling the Cherry Pie
Now that you have prepared the cherry filling and made the perfect pie crust, it’s time to assemble your cherry pie. Follow these steps to bring everything together:
- Preheat your oven: Preheat your oven to the appropriate temperature as indicated in your pie recipe. This ensures that the pie bakes at the right temperature, resulting in a golden, perfectly baked crust.
- Prepare the pie dish: Place the rolled-out pie crust into the bottom of the pie dish, gently pressing it against the sides and bottom. Make sure there is no air trapped between the crust and the dish.
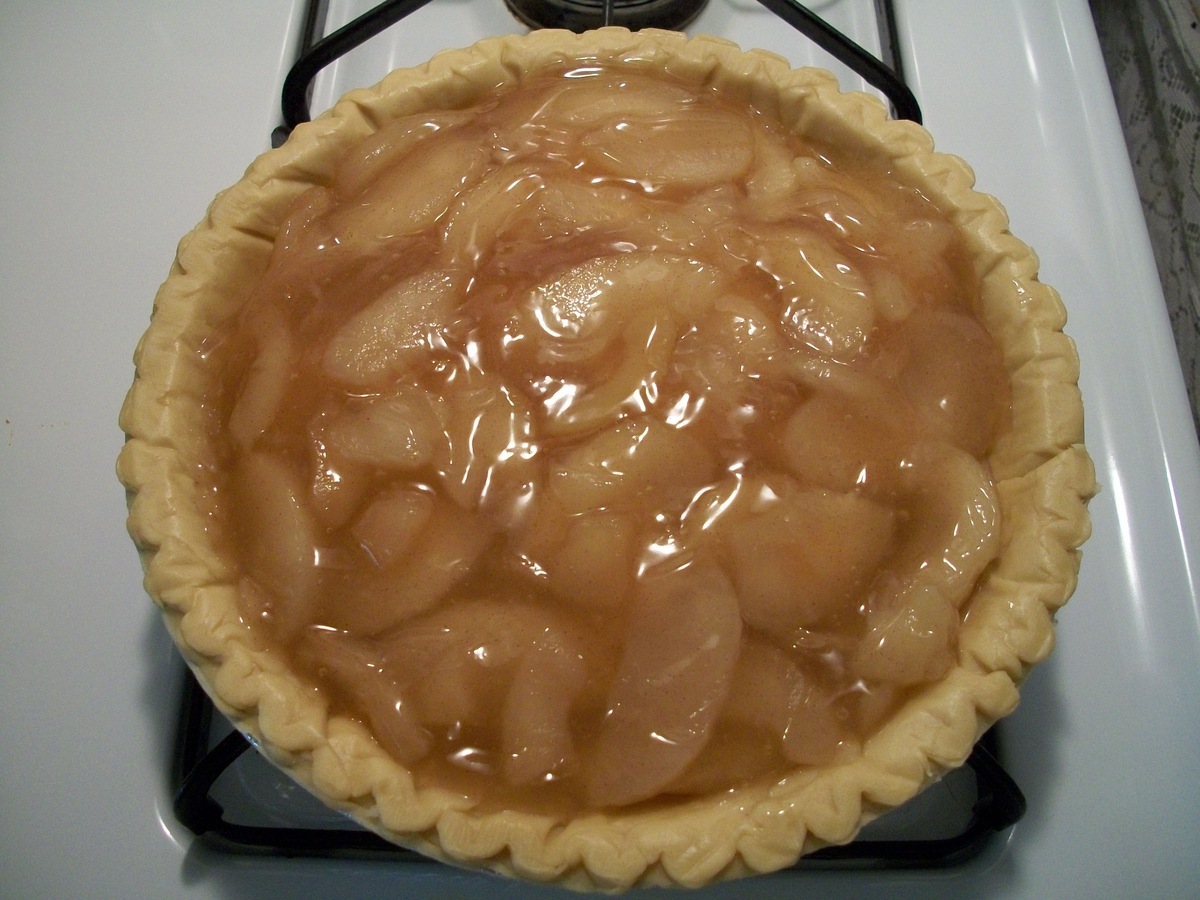
- Add the cherry filling: Pour the prepared cherry filling into the pie crust, spreading it evenly. Be careful not to overfill the pie to prevent spills during baking. If desired, you can add a few dots of butter on top of the filling for added richness.
- Roll out the second crust (optional): If you prefer a double-crust cherry pie, roll out the second pie crust and carefully place it on top of the cherry filling. Trim any excess dough and seal the edges by crimping or pressing them together with a fork. Vent the top crust by cutting slits or creating a decorative lattice pattern.
- Apply an egg wash (optional): For a beautifully glossy and golden crust, you can brush the top crust with an egg wash. Simply whisk an egg with a tablespoon of water and brush it over the crust before baking.
With the cherry filling and crust assembled, it’s time to pop your pie into the oven and let the magic happen. Let’s move on to the next step: baking the cherry pie!
Read more: How To Store Cherries
Baking the Cherry Pie
Once you have assembled your cherry pie, it’s time to bake it to golden perfection. Follow these steps to ensure a beautifully baked pie:
- Preheat the oven: Preheat your oven to the temperature specified in your recipe. This allows for even baking and ensures that your cherry pie cooks thoroughly.
- Place the pie in the oven: Carefully place your assembled cherry pie on a baking sheet or directly on the oven rack in the middle of the preheated oven. This allows for even heat distribution and prevents any potential spills from dirtying your oven.
- Bake according to the recipe: Follow the baking time and temperature instructions in your recipe. Depending on the recipe and the size of your pie, baking times may vary. It’s important to keep a close eye on the pie to avoid over-browning or under-cooking.
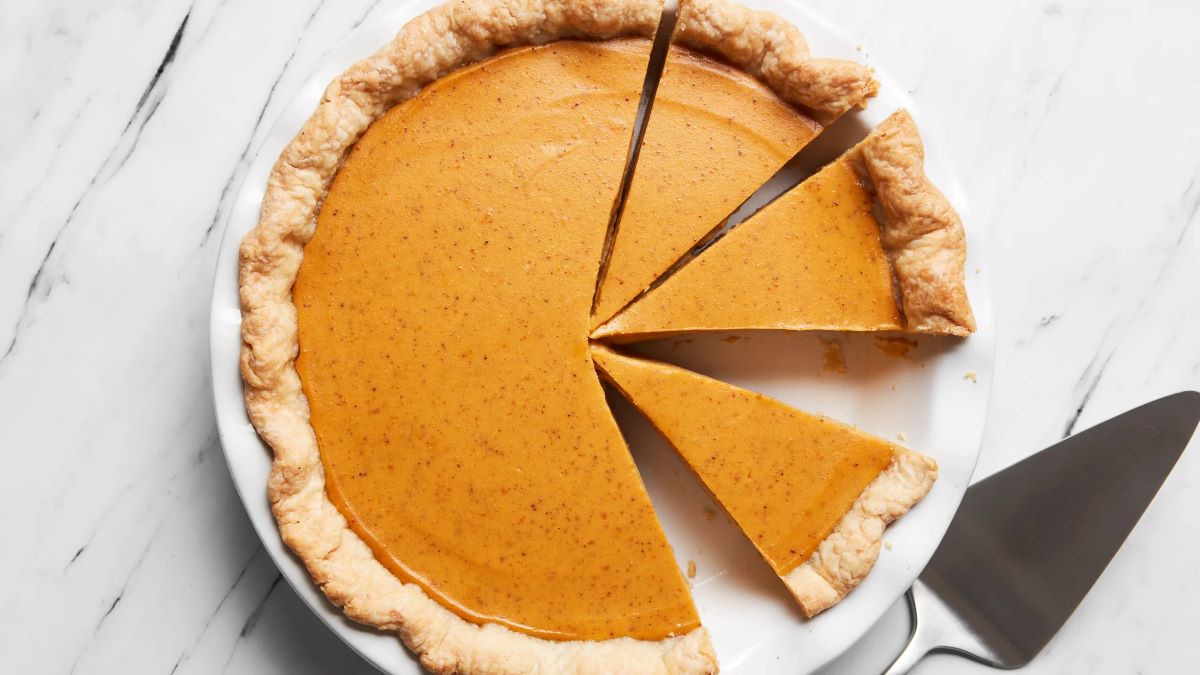
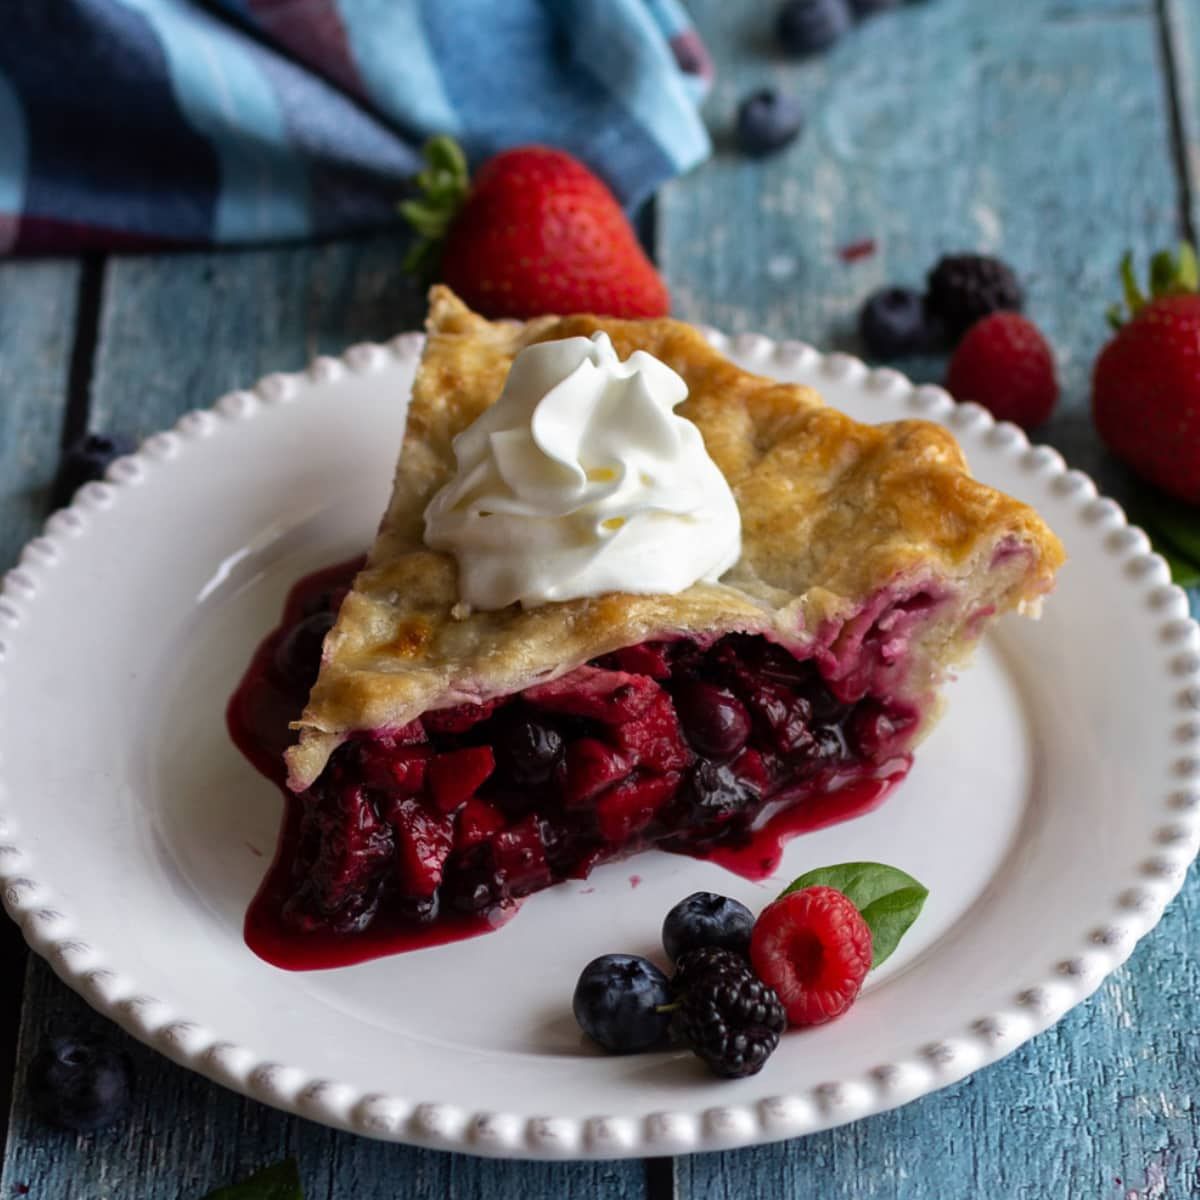
- Check for doneness: To check if your cherry pie is done, look for a golden-brown crust and bubbling filling. The crust should be crisp and flaky, and the filling should be thickened and glossy. You can also insert a toothpick or a knife into the center of the pie to ensure that the cherries are tender.
- Cool the pie: Once the cherry pie is done baking, carefully remove it from the oven and place it on a wire rack to cool. Allowing the pie to cool completely ensures that the filling sets properly and makes for cleaner slices.
Now that your cherry pie is out of the oven and cooling, it’s time to move on to the final stage: properly cooling and storing the pie to maintain its freshness and flavor. Let’s delve into the next step!
Cooling and Storing the Cherry Pie
After baking your delicious cherry pie, it’s important to properly cool and store it to maintain its freshness and flavor. Follow these steps to ensure your cherry pie stays delicious:
- Cool the pie: Allow your cherry pie to cool completely on a wire rack. This usually takes around 2 hours. Cooling the pie helps the filling set and prevents it from becoming too runny when sliced.
- Room temperature storage: If you plan to enjoy the cherry pie within the next day or two, you can store it at room temperature. Simply cover it loosely with a clean kitchen towel or plastic wrap to protect it from dust and insects.
- Refrigerator storage: If you want to keep the cherry pie for a longer period, it’s best to store it in the refrigerator. Cover the pie with plastic wrap or aluminum foil and place it in the refrigerator. Properly stored, it can stay fresh for up to 3-4 days.
- Freezer storage: If you want to store the cherry pie for an extended period, consider freezing it. Wrap the pie tightly in plastic wrap and then in aluminum foil to prevent freezer burn. Place it in the freezer, and it will stay fresh for up to 3 months.
- Thawing and reheating: If you have frozen the cherry pie, thaw it in the refrigerator overnight before serving. Once thawed, you can enjoy it cold or reheat it in the oven for a few minutes at a low temperature to regain its crispness.
- Enjoying leftovers: Leftover slices of cherry pie can be individually wrapped in plastic wrap or stored in an airtight container. They can be enjoyed cold or warmed in the oven or microwave before serving.
Remember to always check the condition of the pie before consuming it. If it shows any signs of spoilage, such as mold or an off smell, it’s best to discard it.
Now that you know how to properly cool and store your cherry pie, you can enjoy its scrumptious flavors over time. Happy indulging!
Conclusion
Congratulations! You have learned the art of storing cherry pie to perfection. By following these steps, you can ensure that your homemade cherry pie remains fresh, flavorful, and enjoyable for as long as possible.
Start by selecting the freshest cherries, looking for firmness, vibrant color, and fragrant aroma. Remember to properly wash and pit the cherries before preparing the filling. Add sweeteners and flavorings to enhance the natural cherry taste, and thicken the filling to prevent a runny pie.
Mastering the art of making a flaky and buttery pie crust is essential. Combine the ingredients, cut in the cold butter, and add just enough ice water to bring the dough together. Shape and chill the dough before rolling it out and placing it in your pie dish.
Assemble the pie by adding the cherry filling to the crust, and optionally, add a top crust and seal the edges. Apply an egg wash for a beautiful golden finish. Bake the pie until the crust turns golden brown and the filling is bubbling.
Once baked, allow the pie to cool completely on a wire rack. Store it at room temperature for short-term enjoyment or refrigerate it for longer-term storage. Freezing is an option for even longer storage periods. Remember to thaw and reheat the pie properly before serving.
Whether you savor a warm slice of cherry pie fresh out of the oven or indulge in a leftover piece days later, the joy of this classic dessert will linger on your taste buds. So, go ahead and enjoy every sweet and tangy bite.
Now that you have learned the secrets of storing cherry pie, it’s time to put your skills to the test. Gather those luscious cherries, whip up a flaky crust, and relish the delightful flavors of a homemade cherry pie that will steal the hearts of all who taste it. Happy baking!
Frequently Asked Questions about How To Store Cherry Pie
Was this page helpful?
At Storables.com, we guarantee accurate and reliable information. Our content, validated by Expert Board Contributors, is crafted following stringent Editorial Policies. We're committed to providing you with well-researched, expert-backed insights for all your informational needs.


0 thoughts on “How To Store Cherry Pie”