Articles
How To Store Pizza Dough In Fridge
Modified: August 17, 2024
Learn how to store pizza dough in the fridge to keep it fresh and ready for your next pizza night. Follow these simple tips and tricks to preserve your dough for longer periods.
(Many of the links in this article redirect to a specific reviewed product. Your purchase of these products through affiliate links helps to generate commission for Storables.com, at no extra cost. Learn more)
Introduction
When it comes to making homemade pizza, having fresh dough is crucial for delivering that perfect, crispy crust. But what do you do if you don’t plan to use all the dough at once? That’s where storing pizza dough in the fridge comes in handy. By properly storing your pizza dough, you can keep it fresh and ready to use for up to a few days, ensuring that you can enjoy delicious homemade pizza whenever you please.
Storing pizza dough in the fridge offers a convenient and practical solution, allowing you to prepare the dough in advance or save any leftovers. It not only saves time but also enhances the flavor and texture of the dough over time. Whether you’re a seasoned pizza chef or a novice in the kitchen, learning how to properly store pizza dough in the fridge will ensure that you maintain its quality and make the most out of your pizza-making experience.
In this article, we will walk you through the step-by-step process of storing pizza dough in the fridge. You’ll learn about the reasons why it’s beneficial to store pizza dough, how to choose the right container, how to prepare the dough for storage, the proper way to store it in the fridge, and the factors to consider to maximize its shelf life. We’ll also provide you with some helpful tips, precautions, and common mistakes to avoid, as well as suggestions on how to use the stored pizza dough effectively.
So, if you’re ready to take your homemade pizza game to the next level, let’s dive into the wonderful world of storing pizza dough in the fridge!
Key Takeaways:
- Slow fermentation in the fridge enhances pizza dough flavor and texture, providing convenience and control over the rising process, resulting in a perfect, chewy crust for delicious homemade pizzas.
- Choosing the right container, preparing the dough with oil, and monitoring temperature and moisture levels are essential for maximizing the shelf life and quality of stored pizza dough. Enjoy versatile pizza styles and creative culinary creations with your stored dough.
Read more: How To Store Pizza Dough Overnight
Why Store Pizza Dough in the Fridge
Storing pizza dough in the fridge offers several benefits that can greatly improve the quality and taste of your homemade pizza. Here are a few compelling reasons why refrigerating pizza dough is a smart choice:
- Slow fermentation: When pizza dough is stored in the fridge, it undergoes a slow fermentation process. This allows the flavors to develop more intensively, resulting in a more flavorful crust. The extended fermentation time also enhances the texture and creates a light and airy crust with a perfect chew.
- Convenience: By storing pizza dough in the fridge, you can prepare it in advance and have it ready to use whenever you want to make pizza. This is particularly beneficial if you have a busy schedule or if you’re planning to host a gathering and need to have the dough prepared ahead of time.
- Improved dough elasticity: Cold fermentation in the fridge helps the gluten in the dough to relax and develop its elasticity. This makes the dough easier to shape and stretch, resulting in a more uniform and professional-looking crust.
- Controlled rise: Storing dough in the fridge slows down the rising process, allowing you to have better control over the dough’s readiness. This means you can let the dough rise partially in the fridge and then take it out to finish rising at room temperature, giving you more flexibility in timing your pizza preparations.
- Reduced yeast activity: The cool temperature in the fridge slows down the activity of the yeast, which helps to prevent the dough from overproofing. This is particularly beneficial if you plan to store the dough for an extended period, as it keeps the dough from becoming too acidic and losing its desirable texture and flavor.
By storing your pizza dough in the fridge, you can achieve superior results in terms of flavor, texture, and convenience. It’s a simple yet effective method that allows you to have fresh dough on hand whenever you’re in the mood for a delicious homemade pizza.
Choosing the Right Container for Storing Pizza Dough
Choosing the right container is an important aspect of properly storing pizza dough in the fridge. Here are some factors to consider when selecting a container:
- Airtightness: It’s crucial to choose a container with a tight-fitting lid or cover to ensure that no air can enter or escape. This helps to keep the dough fresh and prevents it from drying out or absorbing any odors from other foods in the fridge.
- Size and shape: Opt for a container that is spacious enough to accommodate the size of your dough while leaving some room for expansion. A rectangular or round container works well, as it allows the dough to maintain its shape and makes it easier to store in the fridge.
- Material: Glass or food-grade plastic containers are the best options for storing pizza dough. They are easy to clean, don’t retain odors, and are safe for food storage. Avoid using metal containers, as they can react with the dough and alter its taste.
- Ease of use: Look for a container that is easy to open and close, allowing you to access the dough without any hassle. Additionally, consider containers that are stackable, as they save space in the fridge and help to keep things organized.
- Transparency: Opting for a transparent container allows you to easily monitor the condition and progress of the dough without having to open the container. This helps to avoid unnecessary exposure to air and temperature fluctuations.
It’s worth noting that if you don’t have a dedicated dough container, you can use other options that are readily available in your kitchen. For example, a large resealable plastic bag or a bowl covered tightly with plastic wrap can work well for storing dough.
Remember to always clean and sanitize the container before using it to store dough. This helps to maintain proper hygiene and prevents any unwanted contamination.
By selecting the right container for storing pizza dough, you can ensure that the dough stays fresh, protected, and ready to use whenever you’re craving a delectable homemade pizza.
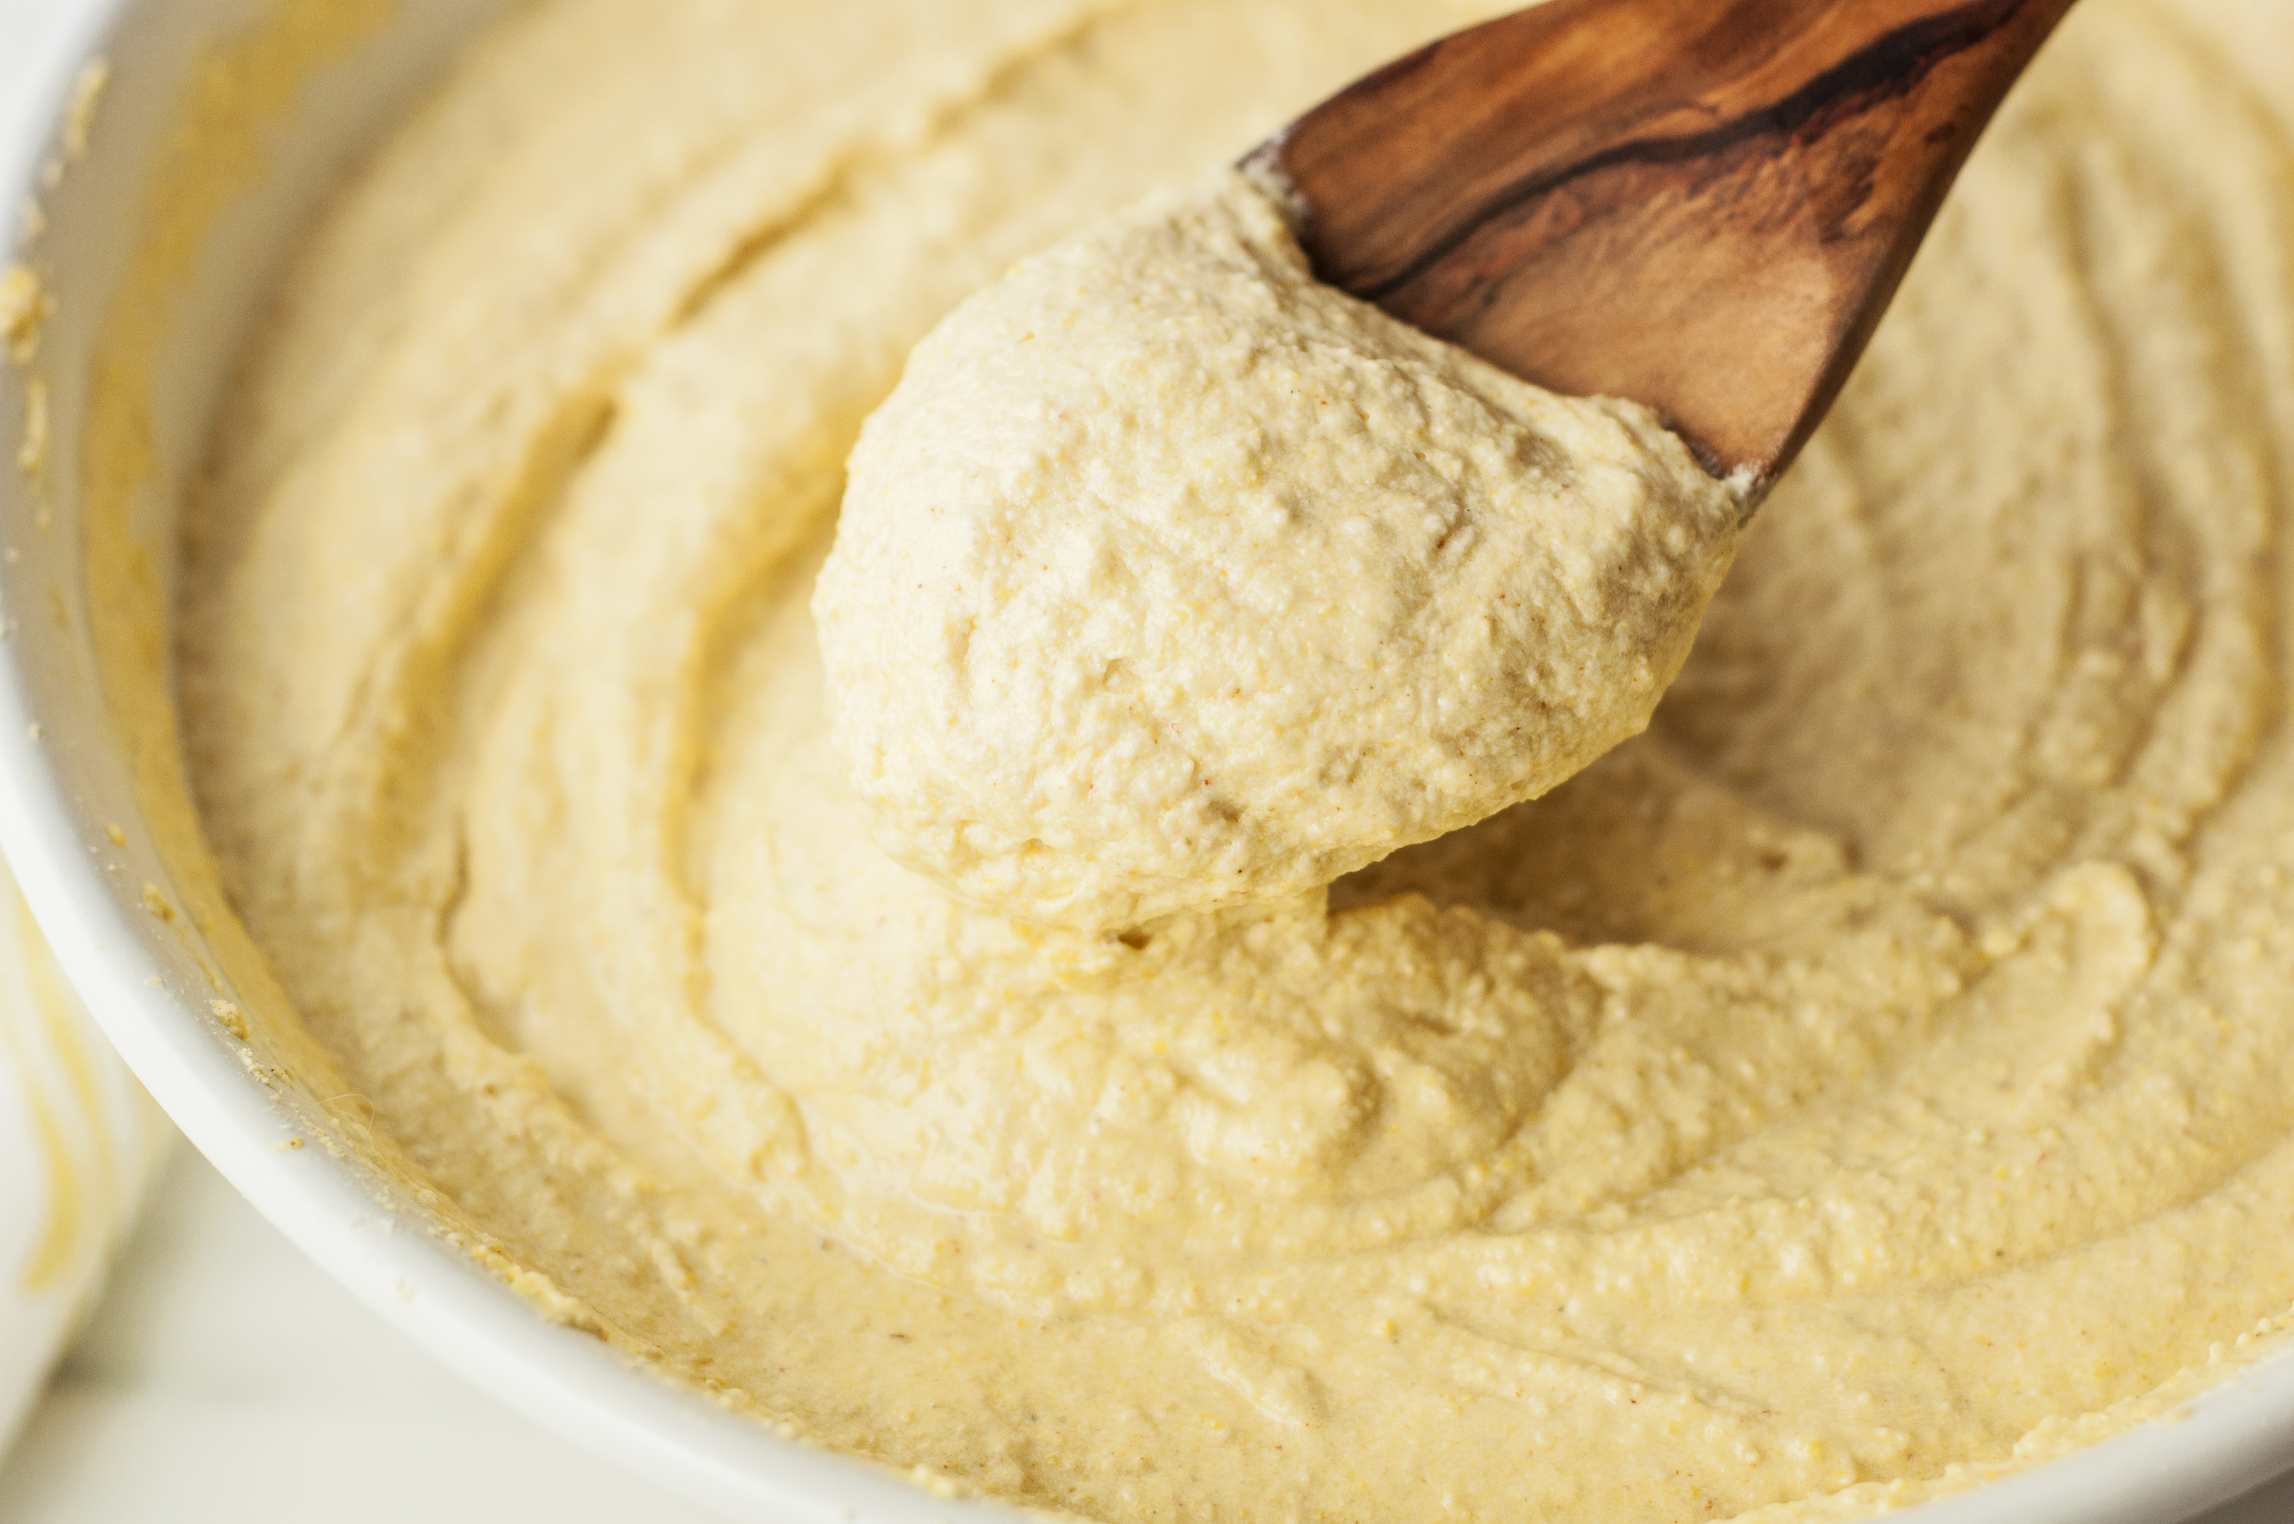
Preparing the Dough for Storage
Before you can properly store pizza dough in the fridge, it’s important to prepare it appropriately. Here are the steps to follow.
- Allow the dough to rise: After kneading the pizza dough, give it enough time to rise until it doubles in size. This can take anywhere from 1 to 2 hours, depending on the recipe and ambient temperature.
- Punch down the dough: Once the dough has risen, gently punch it down with your fists. This helps to release any air bubbles and redistribute the yeast throughout the dough.
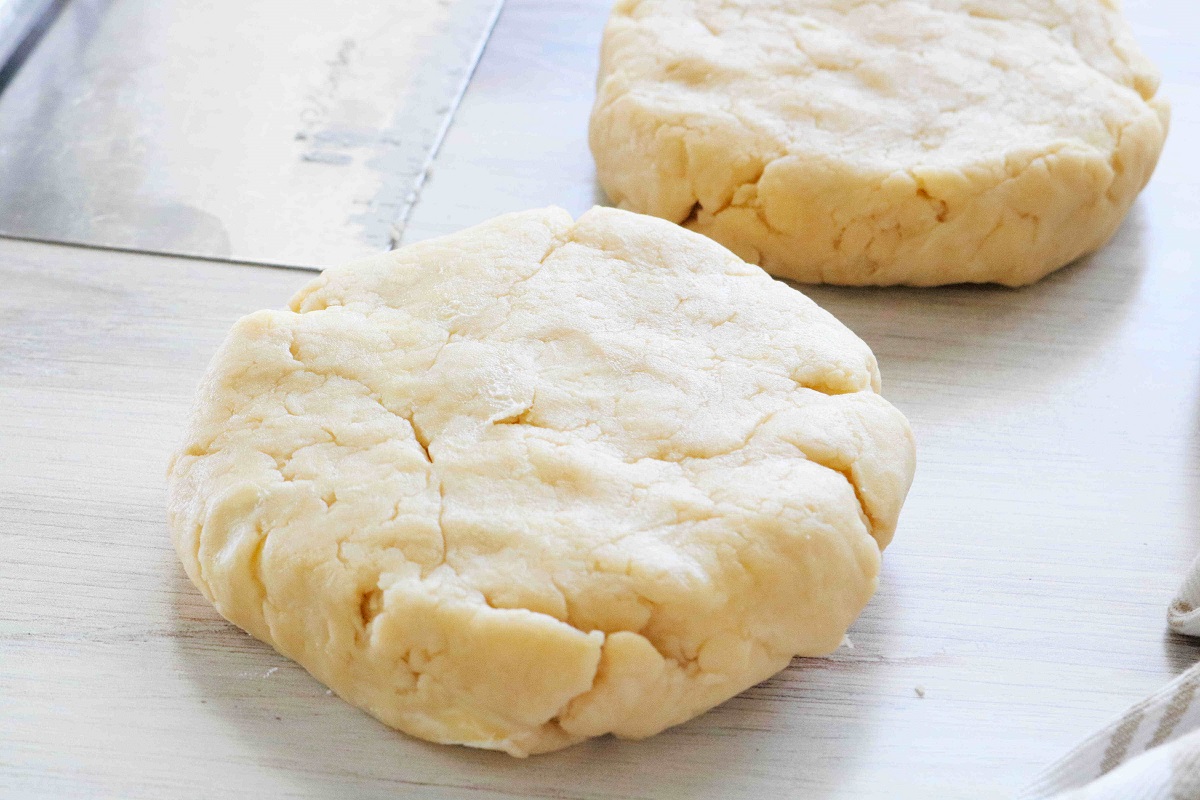
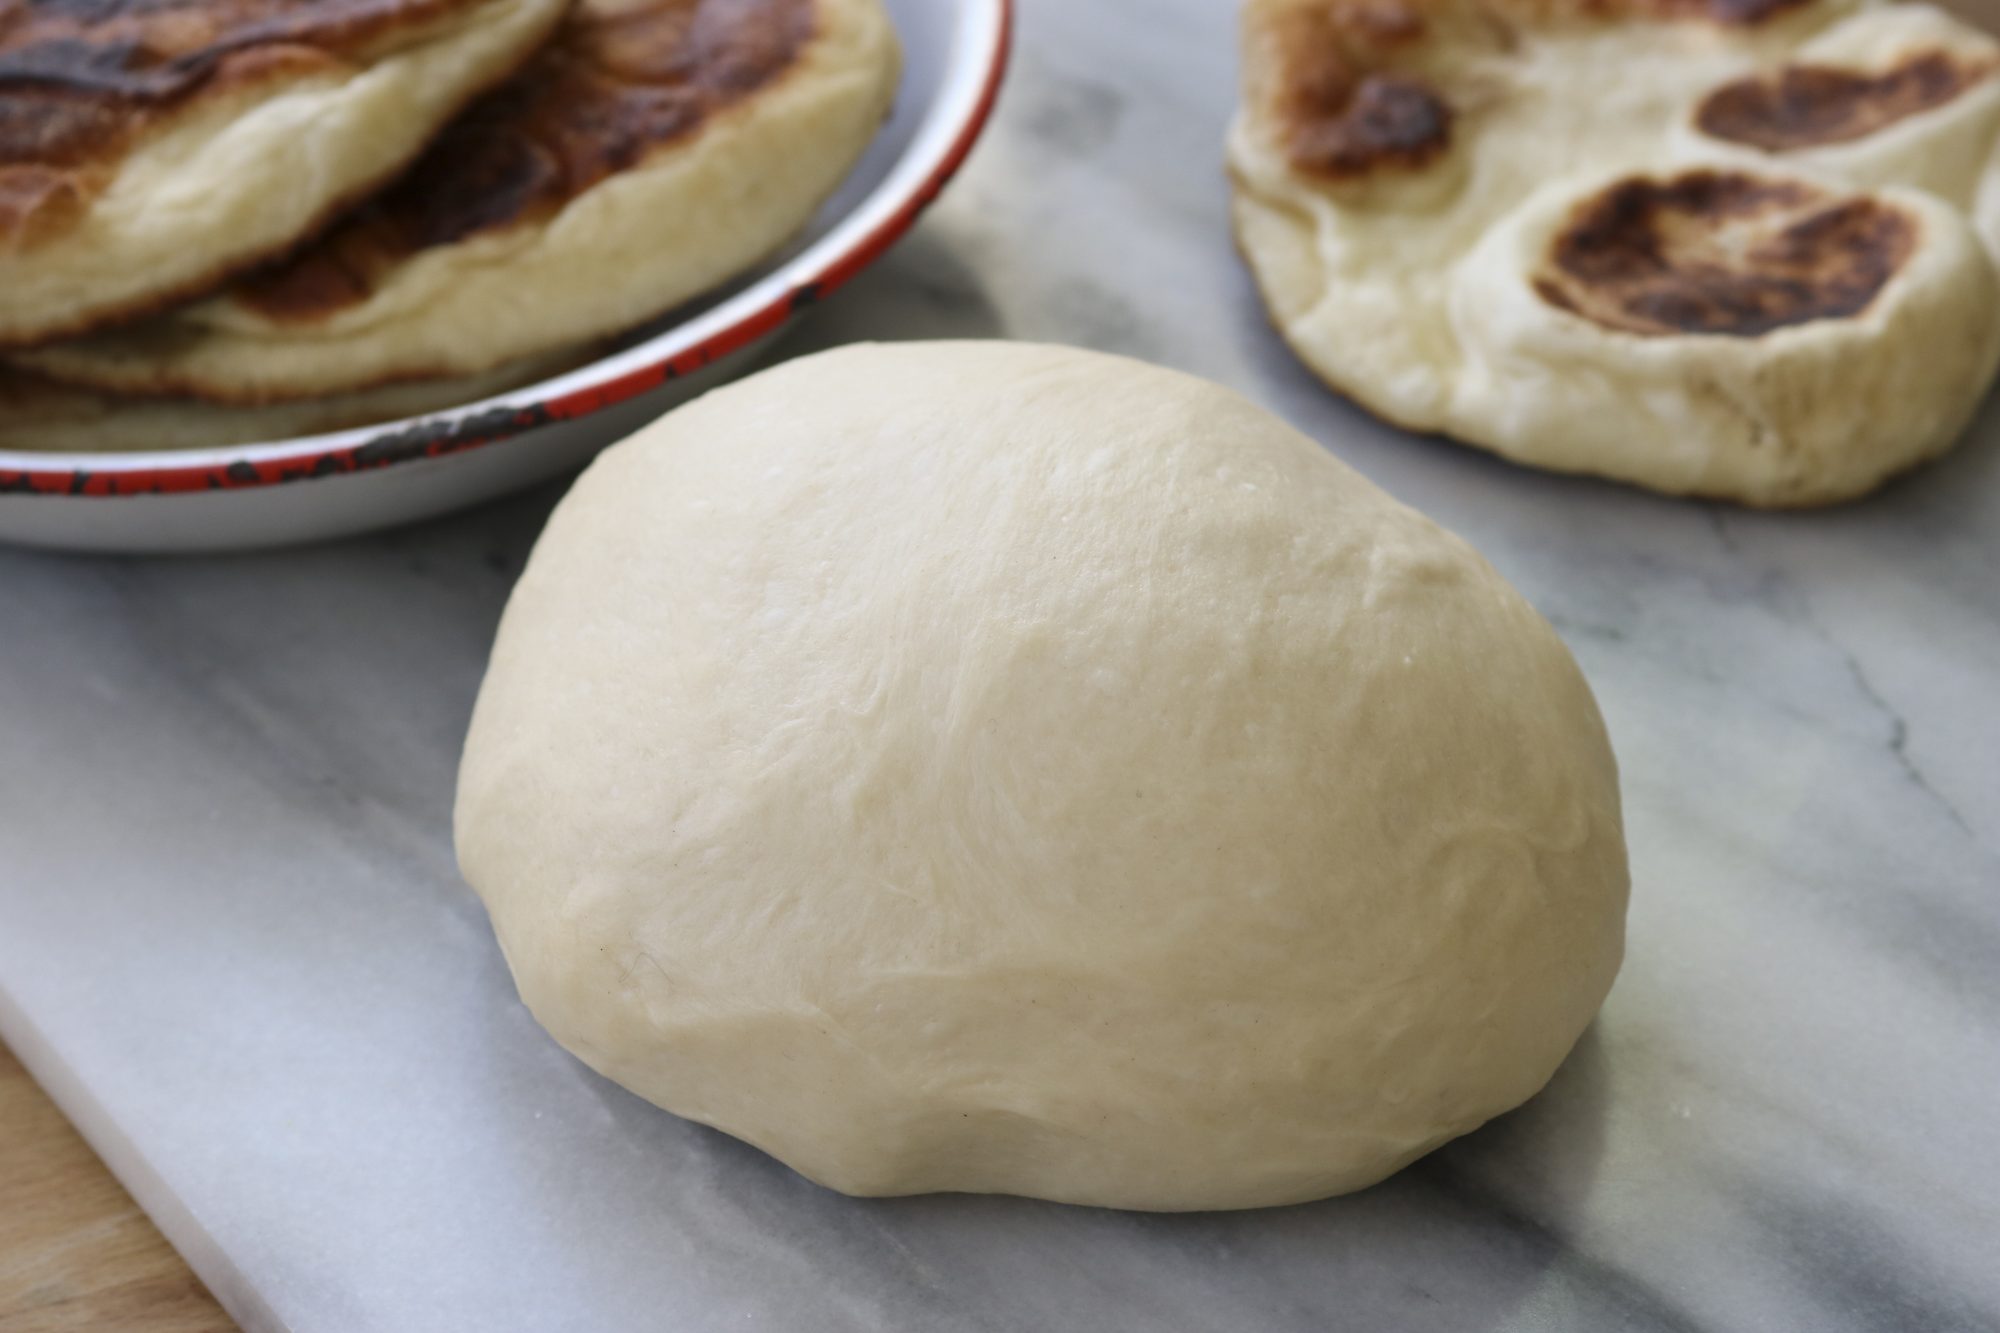
- Divide the dough: If you have a large batch of dough, consider dividing it into individual portions before storing. This makes it easier to handle and allows you to take out only the amount you need for each pizza.
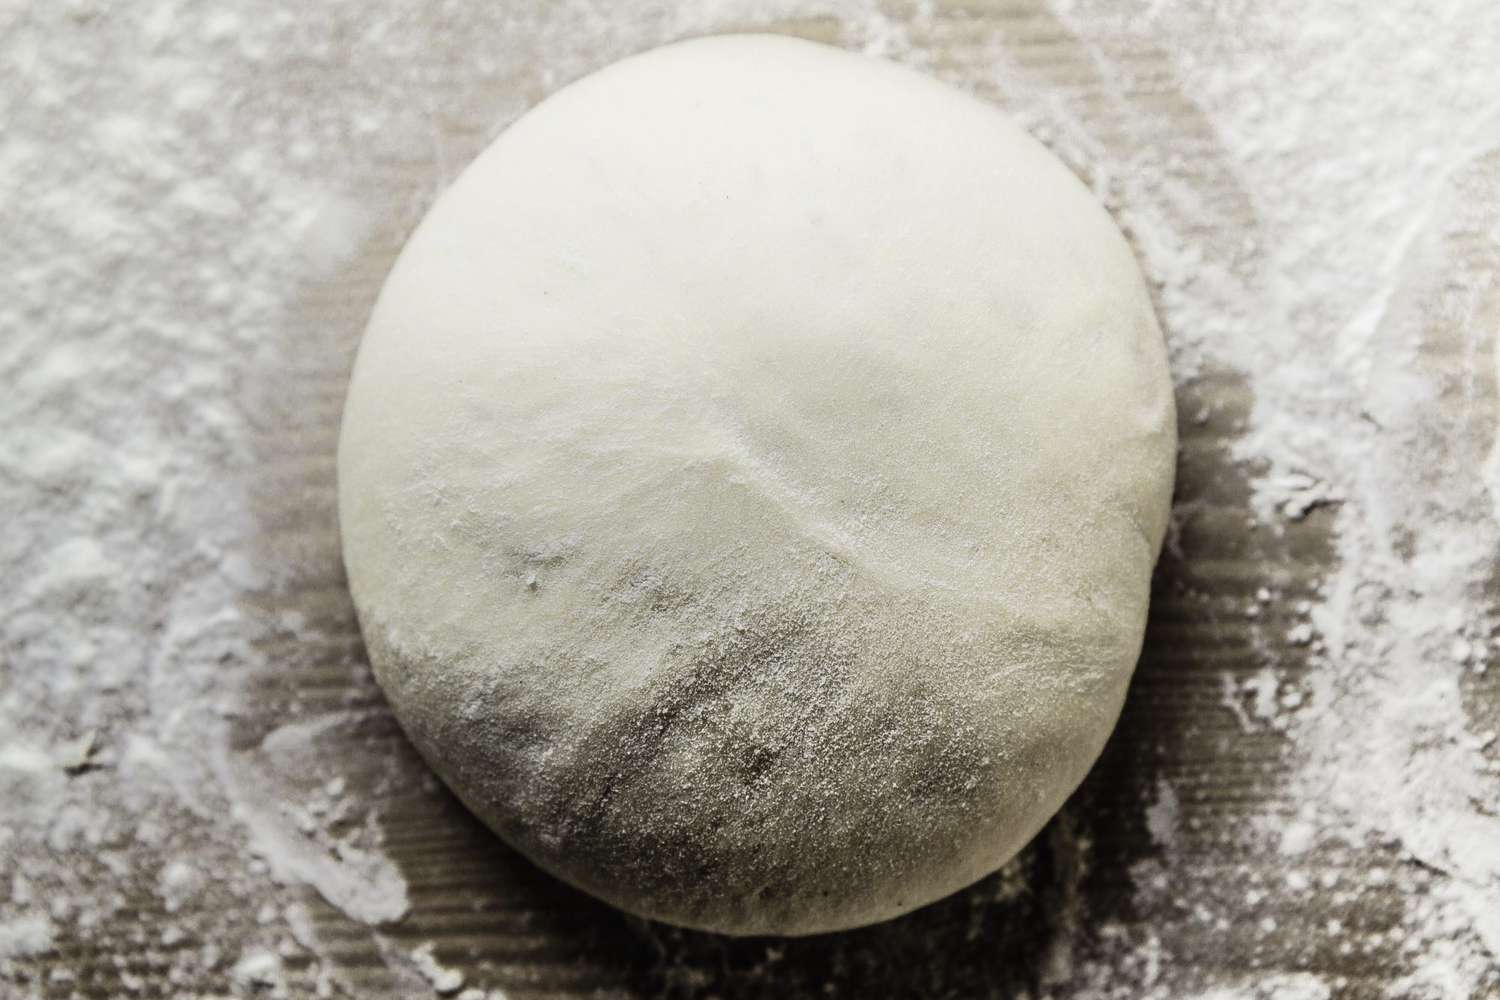
- Shape the dough: Shape each portion of the dough into a round ball by folding the edges towards the center and pinching them together. Use your hands to create a smooth and uniform surface on each dough ball.
- Oil the dough: Lightly coat each dough ball with olive oil or any other neutral cooking oil. This helps to prevent the dough from drying out and forming a hard crust.
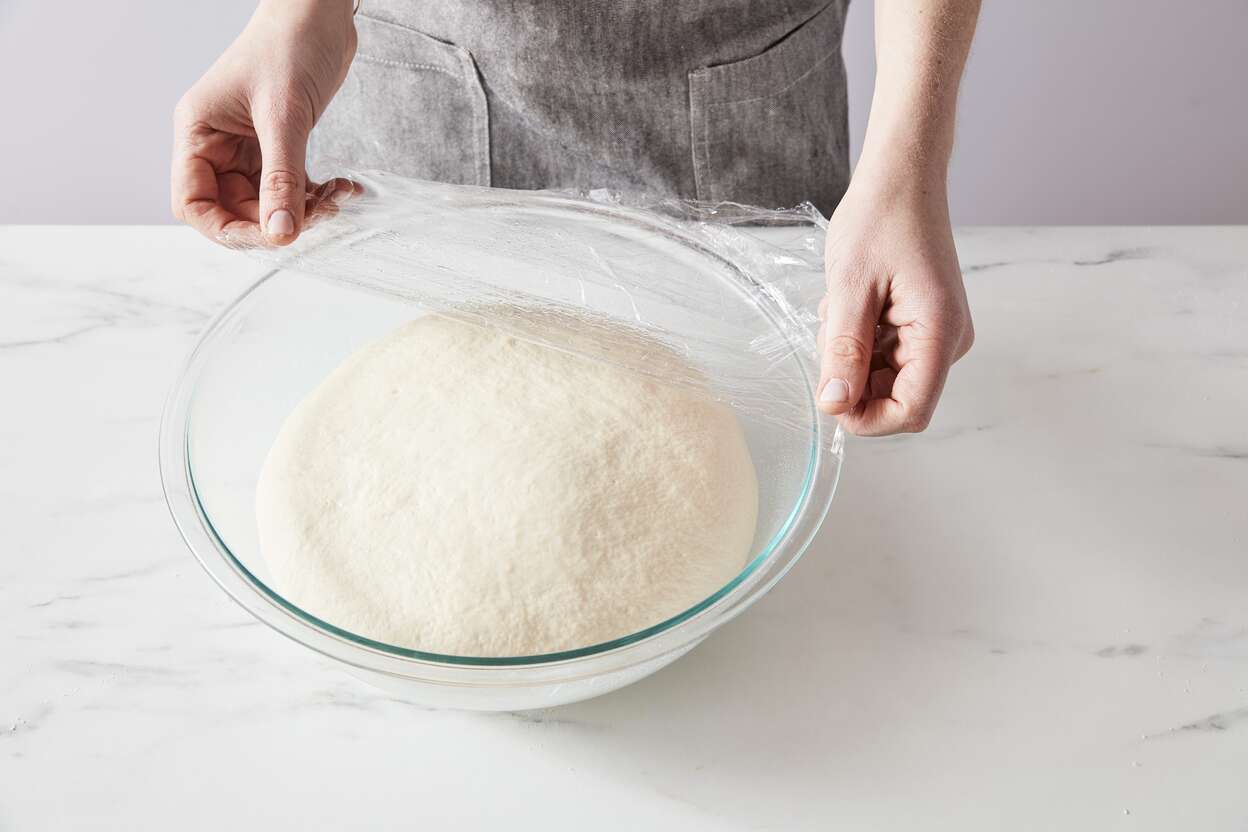
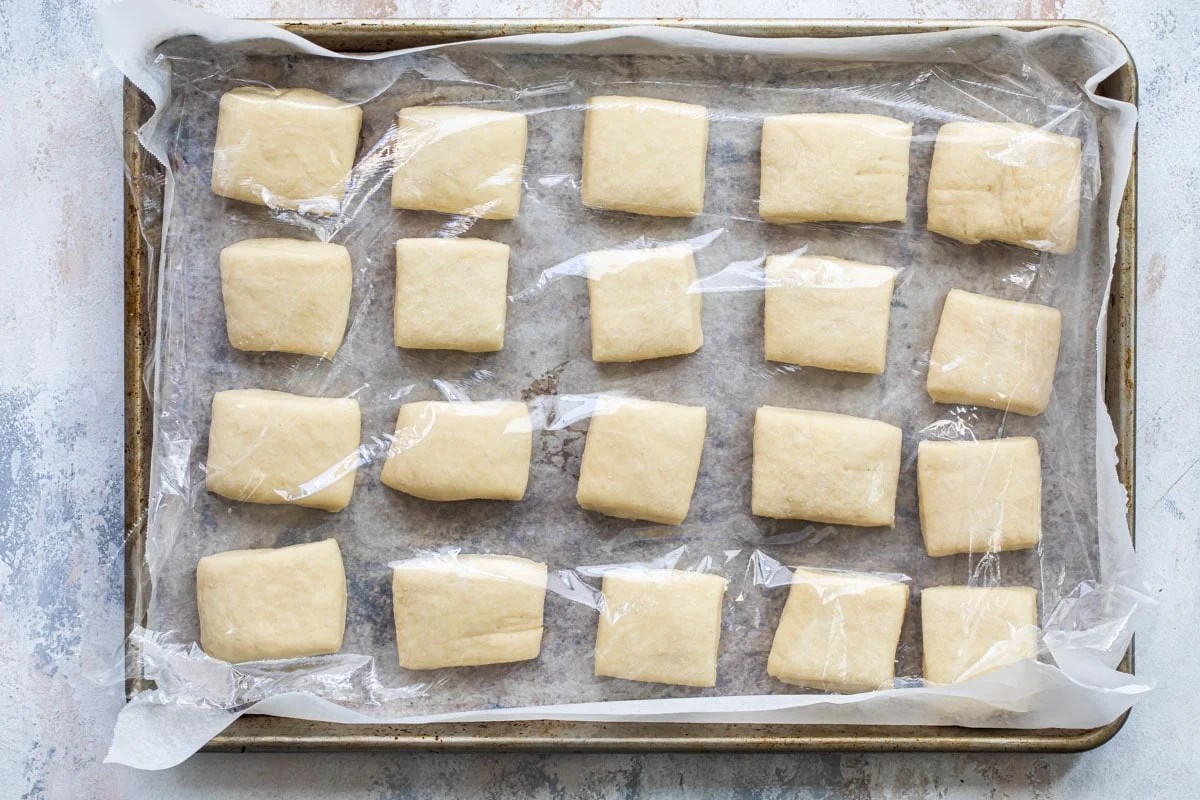
After following these steps, your pizza dough is ready to be stored in the fridge. Remember to cover each dough ball individually with plastic wrap or place them in separate airtight containers to prevent them from sticking together.
If you’re using a resealable plastic bag, you can place each dough ball in a separate bag and squeeze out any excess air before sealing it tightly. This helps to provide airtight protection and keeps the dough fresh for longer.
By preparing the dough properly before storage, you set the stage for achieving exceptional results when it’s time to bake your pizzas.
Storing Pizza Dough in the Fridge
Now that you have prepared your pizza dough for storage, it’s time to properly store it in the fridge. Follow these steps to ensure that your dough stays fresh and ready to use:
- Choose the ideal spot: Find a suitable spot in your fridge where the temperature is consistently cold, preferably between 32°F (0°C) and 40°F (4°C). This ensures that the dough maintains its quality without freezing.
- Place the dough in the container: If you’re using a container, gently place each prepared dough ball inside, making sure to leave some space between them to prevent sticking. If you’re using resealable plastic bags, put each dough ball inside a separate bag and seal it tightly.
- Label the container: If you are storing multiple dough balls or if you’ve stored the dough for different durations, it’s helpful to label the container or bag with the date of preparation. This allows you to track the freshness and ensure that you use the dough within the recommended timeframe.
- Store the dough: Once the dough is securely placed inside the container or bag, put it in the fridge. Avoid placing it near strong-smelling foods, as the dough can absorb odors. Ideally, store it on a shelf away from direct contact with other foods.
- Check and replenish: Occasionally check the dough to ensure that it remains in good condition. If you notice any condensation or the dough appears dry, you can lightly oil the dough again to keep it moist.
When stored properly, pizza dough can typically be kept in the fridge for up to 3-5 days without compromising its quality. However, it’s best to use the dough within the first 48 hours for optimal results.
Note: If you plan to store pizza dough for longer periods, it is recommended to freeze the dough instead of keeping it in the fridge. This allows the dough to maintain its quality for an extended period.
By following these steps, you can ensure that your pizza dough is stored safely and maintains its freshness until you’re ready to transform it into a delicious homemade pizza.
After preparing the pizza dough, coat it lightly with olive oil to prevent it from drying out, then place it in an airtight container or plastic wrap before storing it in the fridge. This will help maintain the dough’s moisture and prevent it from sticking to the container.
Read more: How To Store Bread Dough In Fridge
Factors to Consider When Storing Pizza Dough in the Fridge
When storing pizza dough in the fridge, there are several factors to consider to ensure that the dough remains fresh and maintains its optimal quality. Here are the key factors to keep in mind:
- Temperature: The temperature of your fridge plays a vital role in the quality of the stored pizza dough. Cold temperatures between 32°F (0°C) and 40°F (4°C) help to slow down the fermentation process and maintain the dough’s consistency. Avoid storing the dough at temperatures above 40°F (4°C) to prevent it from over-fermenting or drying out.
- Moisture: Moisture control is essential to prevent the dough from drying out or becoming too wet. Make sure the container or bag you use to store the dough is airtight to minimize moisture loss. Additionally, checking the dough periodically and lightly oiling it if it appears dry can help maintain its moisture content.
- Air circulation: Proper air circulation is important to prevent the dough from developing a sticky or clammy texture. Avoid tightly packing the dough balls together or overcrowding the storage container. Allow some space for air circulation to prevent the dough from sticking to itself or becoming too moist.
- Dough age: The age of the dough can impact its storage time in the fridge. Freshly made dough is ideal for storing in the fridge and should be used within 3-5 days. Older dough, especially if it has been frozen and thawed, may have a shorter shelf life and should be used within 24-48 hours.
- Hygiene: Ensure that the storage container or bag you’re using is clean and sanitized before placing the dough inside. This helps to avoid any contamination or cross-contamination that could affect the quality and safety of the dough.
- Exposure to other foods: To maintain the integrity of the dough’s flavor, store it away from strong-smelling foods in the fridge. Pizza dough can easily absorb odors, so it’s best to keep it separate or use an airtight container to prevent any unwanted flavor transfer.
By considering these factors, you can optimize the storage conditions for your pizza dough and ensure that it remains fresh and ready to be transformed into delicious pizzas.
Tips for Maximizing the Shelf Life of Pizza Dough
To extend the shelf life of your pizza dough when stored in the fridge, here are some helpful tips to keep in mind:
- Properly seal the container: Ensure that the container or bag you use to store the dough is tightly sealed to prevent air from entering or escaping. This helps to maintain the dough’s freshness and prevent it from drying out.
- Monitor the temperature: Check your refrigerator’s temperature regularly to ensure that it remains within the recommended range of 32°F (0°C) to 40°F (4°C). Fluctuations outside this range can affect the quality of the dough.
- Use high-quality ingredients: Start with fresh, high-quality ingredients when making your pizza dough. Good quality flour, yeast, and water contribute to better dough texture and shelf life.
- Divide the dough: If you don’t plan on using all the dough at once, consider dividing it into individual portions before storing. This allows you to take out only the amount you need, minimizing exposure to air and reducing waste.
- Label and rotate: If you have multiple dough balls stored in the fridge, label them with the date of preparation. Use the first-in, first-out method to ensure that you use the oldest dough first, maintaining freshness and preventing any dough from going to waste.
- Avoid over-proofing: Be mindful of the fermentation time for your dough. Over-proofing can lead to a loss of texture and flavor. Aim to use the dough within the recommended storage time to ensure the best results.
- Keep an eye on moisture content: Check the dough periodically, especially if stored for longer periods, to ensure it maintains the right amount of moisture. If it appears too dry, lightly brush or spray it with water. If it appears too wet, lightly flour it before using.
- Handle the dough gently: When taking out the dough from the fridge, handle it gently to avoid deflating or damaging the structure. Allow it to come to room temperature before shaping and baking for the best results.
By following these tips, you can maximize the shelf life of your pizza dough in the fridge and enjoy fresh, delicious pizzas whenever you desire.
Precautions and Common Mistakes to Avoid
When storing pizza dough in the fridge, it’s important to take certain precautions to ensure food safety and avoid common pitfalls. Here are some precautions to keep in mind and common mistakes to avoid:
- Proper handling and storage: Always handle the dough with clean hands and use clean utensils and containers. Sanitize the storage container or bag before use to prevent any bacterial contamination.
- Use fresh ingredients: Start with fresh, high-quality ingredients when making your pizza dough. Using expired flour, yeast, or water can affect the texture and taste of the dough and reduce its shelf life.
- Avoid over-kneading: Over-kneading the dough can result in a tough and dense crust. Follow the recipe instructions for kneading time, and stop when the dough is smooth and elastic.
- Do not freeze dough that has been refrigerated: If you have stored pizza dough in the fridge and want to extend its shelf life further, it’s best to freeze it instead of re-refrigerating. Freezing dough that has been refrigerated may negatively affect its texture and rise.
- Do not leave the dough at room temperature for too long: Once you take the dough out of the fridge, allow it to come to room temperature before shaping and baking. However, avoid leaving it at room temperature for too long to prevent over-fermentation and loss of texture.
- Do not store dough for too long: While refrigeration can extend the shelf life of pizza dough, it is not a long-term solution. The dough is best used within 3-5 days. Storing it for longer may affect its quality and result in a subpar crust.
- Avoid using the dough if it has an off odor or appearance: If the dough has developed an unusual smell or if it appears discolored or moldy, discard it immediately. It’s better to err on the side of caution and prioritize food safety.
- Don’t store dough near strong-smelling foods: Pizza dough easily absorbs odors, so avoid storing it near strong-smelling foods in the fridge. This ensures that the dough maintains its flavor integrity.
- Don’t use damaged or compromised containers: Ensure that the containers or bags used for storing the dough are intact and free from cracks or damage. Damaged containers may not provide adequate protection from air and moisture, affecting the dough’s quality.
By following these precautions and avoiding common mistakes, you can maintain the quality and safety of your pizza dough when storing it in the fridge.
Using the Stored Pizza Dough
Now that you have stored your pizza dough in the fridge and it’s time to put it to use, here are some tips on how to effectively utilize the dough for delicious homemade pizzas:
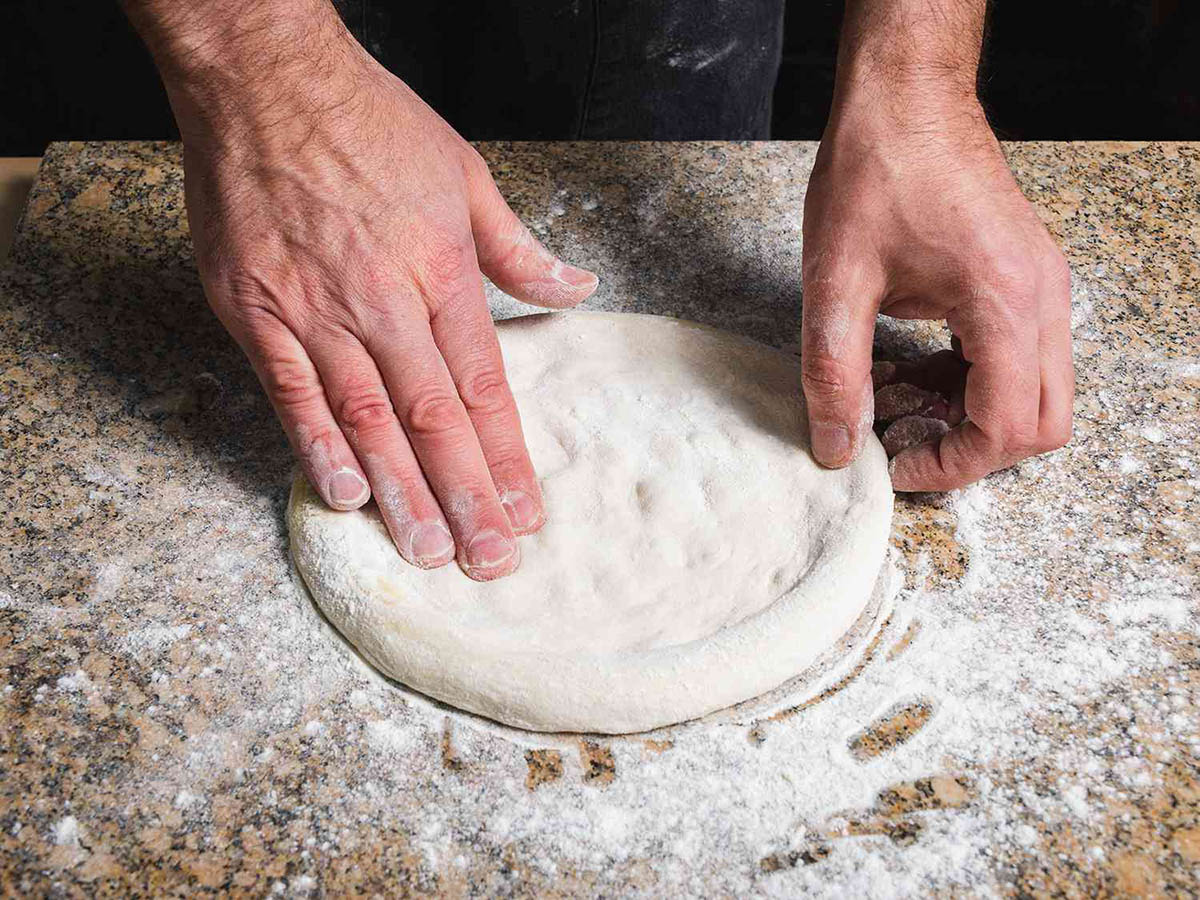
- Bring the dough to room temperature: Before using the stored dough, allow it to come to room temperature. This helps to make the dough more pliable and easier to work with.
- Divide and shape the dough: If you have stored the dough as one large ball, divide it into smaller portions based on your desired pizza size. Shape each portion into a smooth ball and let it rest for a few minutes to relax the gluten.
- Roll or stretch the dough: Roll or stretch the dough into your desired pizza shape. If you prefer a thinner crust, roll it out to a thinner consistency. For a thicker crust, leave it slightly thicker. Use a rolling pin or your hands to achieve the desired thickness.
- Add your favorite toppings: Once the dough is shaped, it’s time to add your favorite toppings. Whether you prefer classic options like tomato sauce, cheese, and pepperoni or more adventurous combinations, feel free to get creative and experiment with flavors.
- Bake to perfection: Preheat your oven to the recommended temperature for pizza baking. Transfer the topped pizza onto a preheated baking sheet or pizza stone and bake until the crust is golden brown and the cheese is bubbly and melted.
- Experiment with different pizza styles: Besides traditional pizzas, consider exploring different pizza styles using your stored dough. From thin and crispy Neapolitan to deep-dish Chicago-style, the possibilities are endless. Let your creativity soar and enjoy the versatility of your homemade pizza dough.
- Use leftovers for other recipes: If you happen to have leftovers from your pizza-making adventure, don’t let them go to waste. Leftover dough can be transformed into tasty breadsticks, calzones, or even a baked pasta dish. Get creative with your culinary creations and make the most out of your stored pizza dough.
Remember, each batch of stored pizza dough may have its own unique characteristics, so don’t be afraid to experiment and adjust the cooking time and temperature based on your specific dough and desired crust texture.
By following these tips, you can make the most out of your stored pizza dough and enjoy a wide variety of delicious homemade pizzas and other creative dishes.
Read more: How To Store Bread Machine Pizza Dough
Conclusion
Storing pizza dough in the fridge is a valuable technique that allows you to have fresh, homemade pizza whenever the craving strikes. By following the proper steps and considering important factors, you can prolong the shelf life of your pizza dough and ensure its optimal quality.
From choosing the right container to preparing the dough for storage and taking precautions to avoid common mistakes, each step plays a crucial role in maintaining the dough’s freshness and flavor. By storing the dough in airtight containers, monitoring the temperature and moisture levels, and using fresh ingredients, you can ensure that the dough stays in prime condition.
When it’s time to use your stored pizza dough, bring it to room temperature, shape it according to your desired crust thickness, add your favorite toppings, and bake it to perfection. Enjoy the pleasure of creating your own delicious homemade pizzas, indulging in different styles, and even repurposing leftovers into other tasty dishes.
Remember to adhere to food safety measures, use your senses to assess the dough’s condition, and discard it if there are any signs of spoilage. By practicing proper hygiene, handling, and storage, you can enjoy homemade pizza with peace of mind.
So, whether you’re planning a pizza night with friends, or simply want to satisfy a pizza craving anytime you like, storing pizza dough in the fridge provides the convenience, flavor enhancement, and quality you need. With a little preparation and some creative ideas, you can transform your stored pizza dough into mouthwatering pizzas that will impress family and friends.
Now, armed with the knowledge and tips shared in this article, go ahead and start experimenting with storing pizza dough in the fridge. Elevate your pizza-making experience, indulge in irresistible flavors, and enjoy the satisfaction of creating your own culinary masterpiece.
Frequently Asked Questions about How To Store Pizza Dough In Fridge
Was this page helpful?
At Storables.com, we guarantee accurate and reliable information. Our content, validated by Expert Board Contributors, is crafted following stringent Editorial Policies. We're committed to providing you with well-researched, expert-backed insights for all your informational needs.


0 thoughts on “How To Store Pizza Dough In Fridge”